Week 5 - 3D Scanning and Printing: Kabir, Collin, and Angelina
Assignment
The group assignment this week was to test the design rules for our various 3D printers, investigating limitations with overhang, bridges, infill, etc. You can access all of our files here.
Concept Definitions for 3D Printing
| Term | Link | |
|---|---|---|
| Overhang | Any shape that extends outward, above the previous layer, and doesn’t have a direct support | Source |
| Bridges | Material that needs to be extruded horizontally between two points without any support from below | Source |
| Clearance | Clearance refers to the dimensions that ensure two components fit well together; may vary based on material and geoemtry | Source |
| Infill | Refers to the internal structure of a 3D printed part; Infill can optimize part weight, strength, and printing time. | Source |
| Dimensions | Working area measurements in the x, y, and z axes | Source |
| Wall thickness | Thickness of the design; affects the durability of the print | Source |
| Anisotropy | Refers to the physical property of being directionally dependent; a design may have different stiffness in the x, y, and z directions. | Source |
| Surface finish | A post-processing technique that converts a raw 3D printed design into a finished product | Source |
All-in-One Torture Test with Prusa Mini
The first print we completed was with a comprehensive torture test, which encompassed overhang at different angles, bridging, etc. After downloading this .STL file from Thingiverse, we imported it into PrusaSlicer to create the g-code. We selected the Prusament PLA for the material, set infill to 15%, and scaled it down to 75% to expedite the print. Although this would mess up the scaling for certain aspects of the print (ex. hole test), we found that the main overhang was unaffected.
3D Printing Procedure for Prusa Mini
-
Download .STL/.OBJ/etc. file
-
Import files into slicing program and change settings
-
Slice the design and export the g-code
-
Bring the g-code into the webpage of the specific Prusa mini printer
-
Clean the print bed with alcohol
-
Click Print
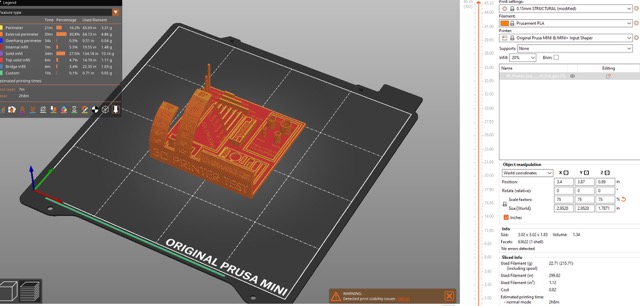
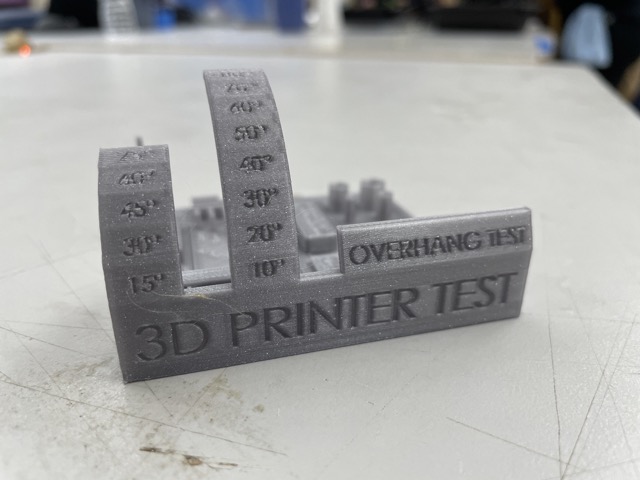
Although PrusaSlicer indicated that there would be stability issues at 80º overhang, the print had little to no distortions. This test was overall comprehensive in the overhang angles; however, it did not test 90º.


Infill test
To test the infill of the prusa mini, we created 3 1x1x1 cubes with 15% infill, 30% infill, and 60% infill. When printing, we stopped each print at 20% so we could see the inside infill.
15% Infill
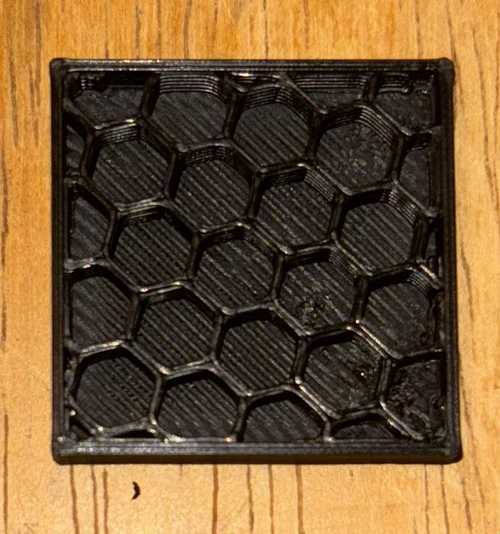
30% Infill

60% Infill
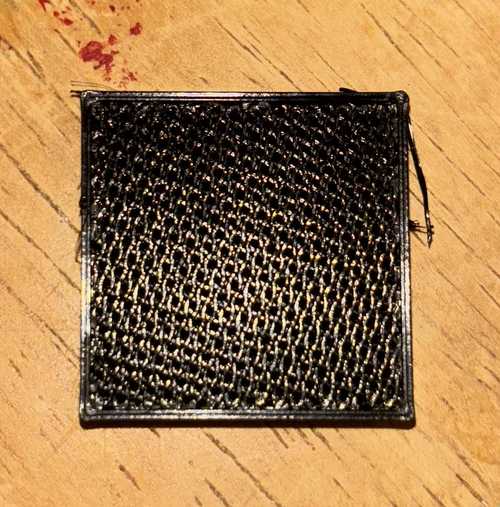
After printing, we smashed them all with a hammer to test integrity. Though the 60% was the strongest, it had a much longer printing time and the 30% wasn’t much different from the 15%. Based on this, we would recommend using around 20% infill for prints that should be fast but still sturdy.
Overhang Test with FormLabs
We ran a similar test with just overhang with the FormLab printer. Unlike the Prusa Mini, which used PLA, the FormLab applies resin for a more durable outcome. We imported the overhang design, taken from the FabAcademy schedule page for this week, into the FormLabs software.
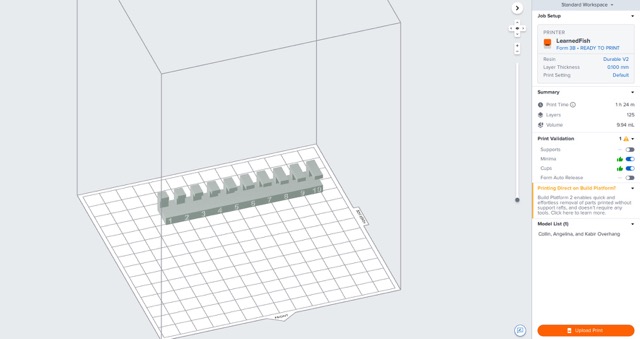
We configured the print settings, including selecting the printer type and layer thickness (0.100 mm thickness or 0.05 mm). We started the print after applying the settings, verifying printability, and sending the file to the FormLabs. It automatically began heating after the file went through.

The print was estimated to take around 1 hour, but it ended up lasting 1h30m. After putting on gloves, we unclamped the workspace from the top and scraped off the excess resin droplets that formed. Then, we carefully transferred the overhang to the cleaning tank, wiping down the workspace with isopropyl alcohol.

Here is the overhang test in the cleaning tank. The cleaning process took around 20 minutes.
The last part of the printing process was to cure the resin and ensure it was fully solidified. After opening up the curing machine, I placed the cleaned overhang inside and let it cure for sixty minutes.

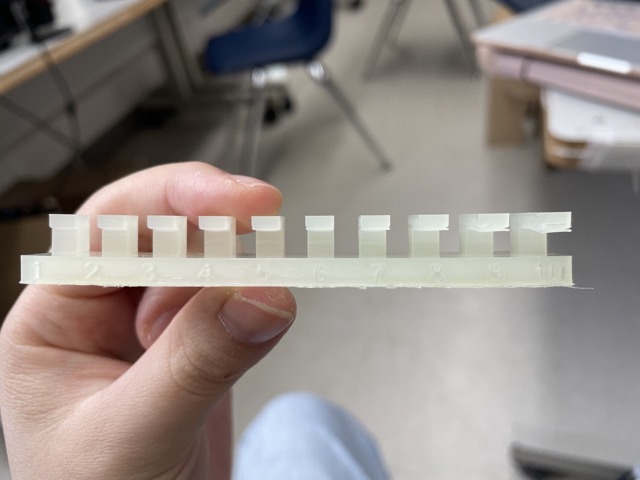
Overall, FormLabs sufficiently printed overhang with little issues. I found that the layering did become a little more scattered/inconsistent towards the end of the line with the longer overhangs (7-10). I convened with another group and observed the same issue.

3D Printing Procedure for FormLabs
-
Open FormLabs PreForm 3.28.1 on a computer
-
Open model file (either .STL or .OBJ).
-
Select type of resin (on right-hand side) that will be used (Durable) on the Form 3B printer.
-
Go to
File–> Open. Bring file in. It will place the file in the virtual workplane. -
Choose Printer Type (Form 3B for CLS). Choose a durable resin v2.
-
Choose layer thickness (default is 0.100 mm; or 0.050 mm).
-
Choose print settings. Use defaults. Type in a job name.
-
Hit
Apply. -
On right side of screen, verify
Printability. This should be green in color. -
On left side of screen, click on orange “Start A Print” button.
-
Select a printer; this should be selected based on material type.
-
Choose
select. -
Then
Upload Job. -
Go to printer to confirm that the build plate is clean and locked.
-
Follow on-screen prompts to get the print started.