3. Computer controlled cutting
During this week, the assignement was :
- cut something on the vinylcutter
- design, lasercut, and document a parametric construction kit
At the begining, we have done the group assignement here to learn how to use the laser cutting. I do the engraving and help with the cutting.
The first test
Alongside the engraving test, I carried out another test. The aim of this test was to practise making the covers for my reactors. They will be made of 8mm plexyglass.
To do that, I use Inkscape and I draw the lead like this :
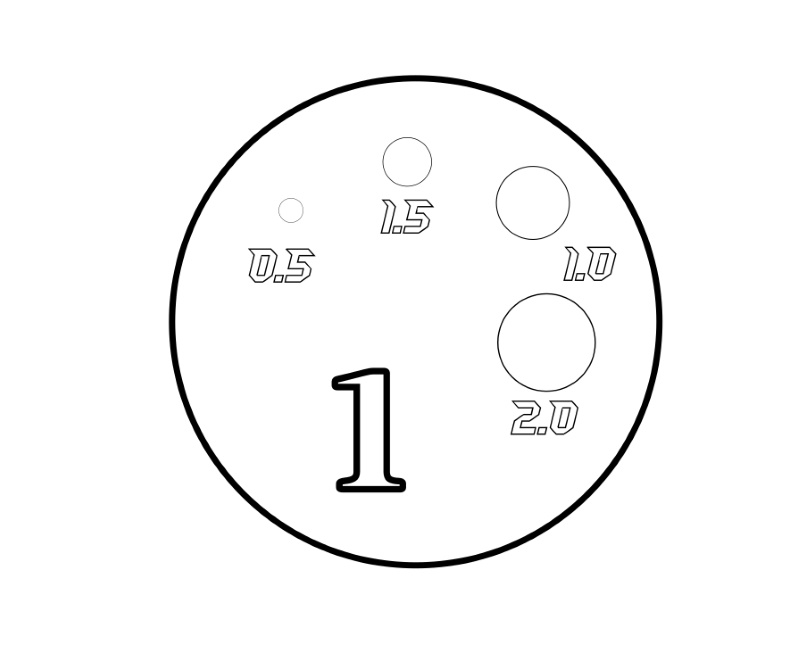
The aim was to make circles of different sizes and test engraving on Plexiglas. I use the circle tool and adjust the size I want with the “L” and “H” section at the top. Next, I wrote some text with the text tool and converted it to a vector using the object tool along the way. I export this file as a .dxf so that the laser software can read it. Then I open the laser software, change the power and speed and make the cut.
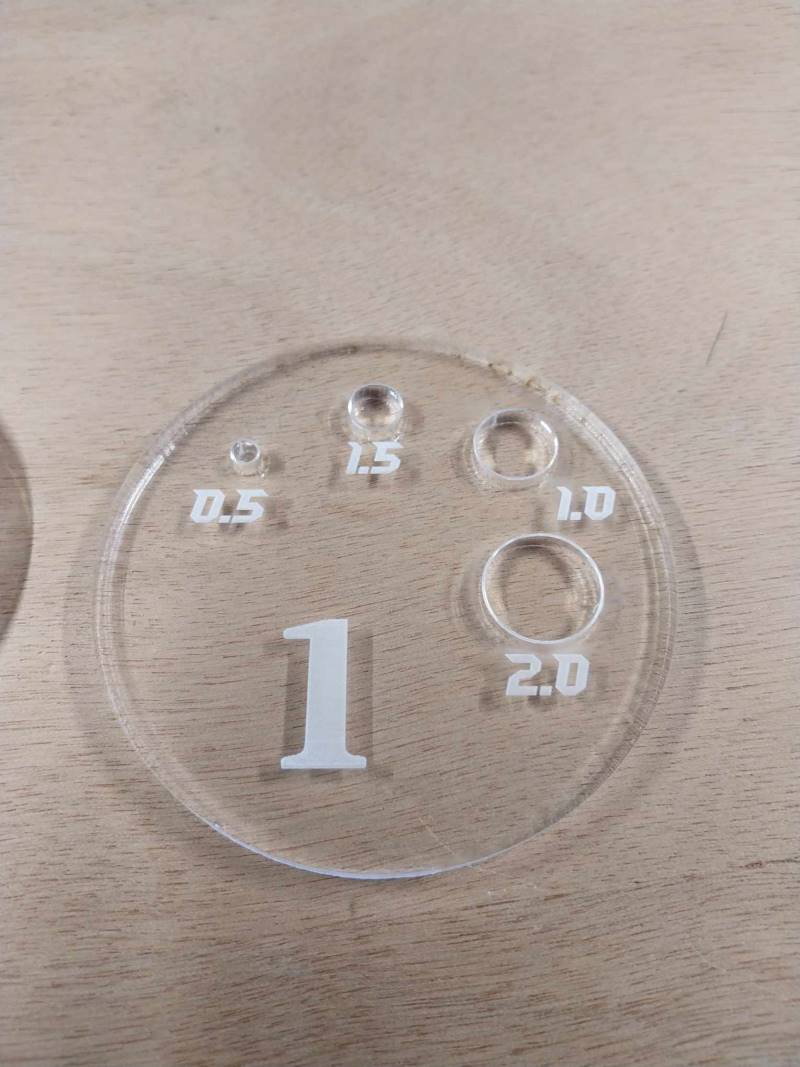
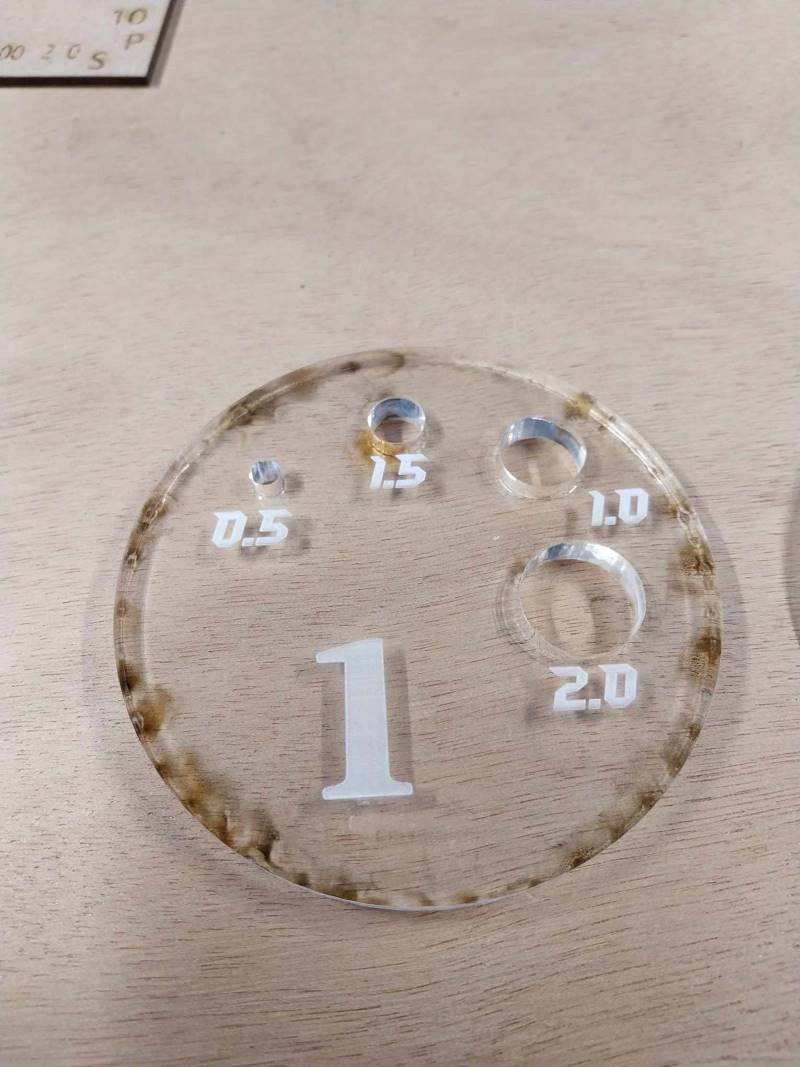
At first, the speed was too fast because I’d chosen a 6mm plate as a reference (100% power, 100 speed), so I had to start again but more slowly (60% power, 50 speed). Initially, the covers were not cut all the way through.
here you can find the .dxf file.
The joints
After the lid, I choose to make the joints. But for a change, I draw them in FreeCad. At first I used ondsel, but the export to the .dxf file keeps crashing, so I go back to FreeCad. At first, I made my drawing in the sketcher.
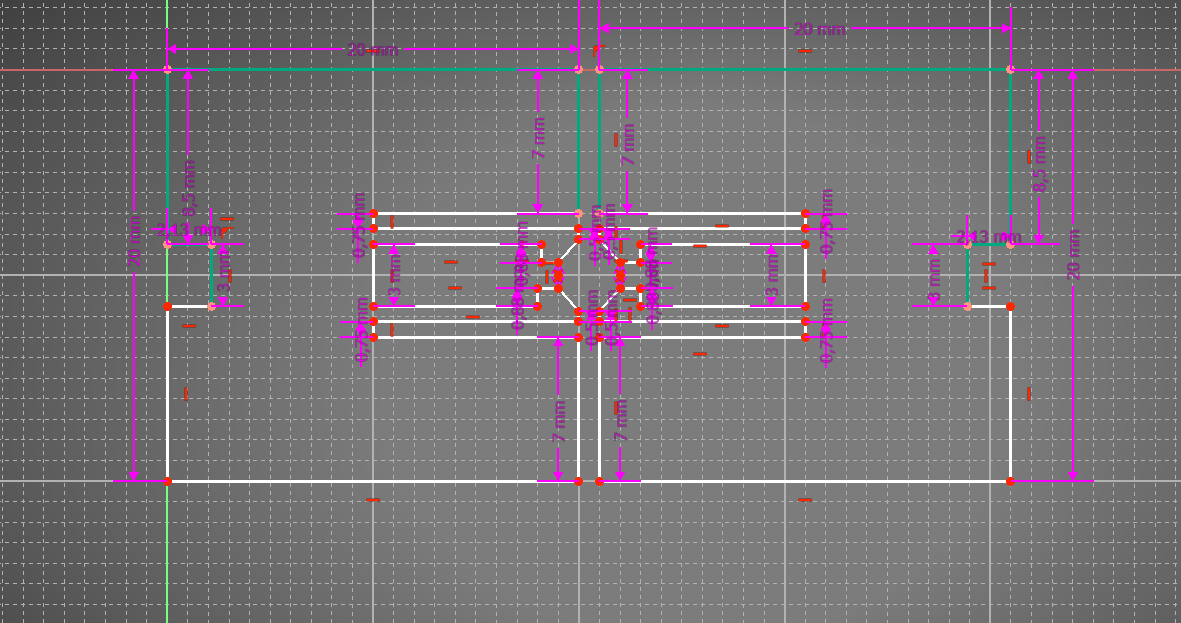

Then I go to the TechDraw page and create a new page. I go back to my sketch, select the TopView and click on TechDrawView. This adds a theme to my TechDraw page, and then I export it as a .dxf file.

Once again, I used the .dxf file to do the laser cutting in 3mm wood plate. But this time I forgot to take the kerf into account (0.25mm), which resulted in gaps.


Here you can find the FreeCad File.
Some parametric cutting
To do parametric cutting, I’m looking on FreeCad to see if there’s a way of including the saw cut in my sketches. I found a plug-in called LCInterlocking but I never managed to get a simple box… So I decided to use makercase. I set the information hight, leingt, kerf but the result is not good. The teeth don’t fit together.
So I chose a third option: OpenScad.
To learn how to use this software, I use ChatGPT 3.5 and the OpenScad [documentation] (https://openscad.org/cheatsheet/index.html).
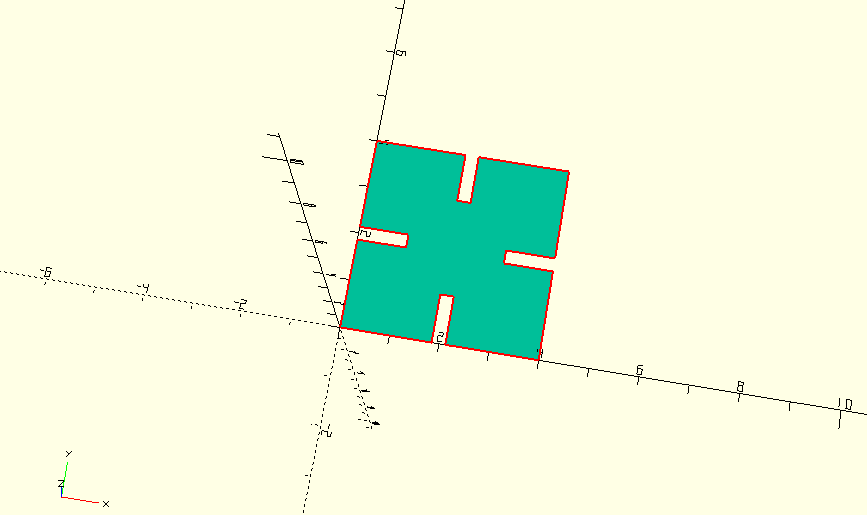
I managed to build this code :
$fn=180; // More precise shapes

$cote = 40; //big square lenght
$kerf = 0.25;
$deep = 10; // lenght of the small squares
$lenght = 0.25-$kerf; // lenght of the small squares


difference() {
square([$cote, $cote]);
translate([$cote/2-1.5, 0]) // down square
square([$lenght,$deep]);

translate([$cote/2-1.5, $cote-$deep]) // up square
square([$lenght,$deep]);

translate([0, $cote/2-1.5]) // left square
square([$deep,$lenght]);

translate([$cote-$deep, $cote/2-1.5]) // right square
square([$deep,$lenght]);}
This code gives this 2D rendering:
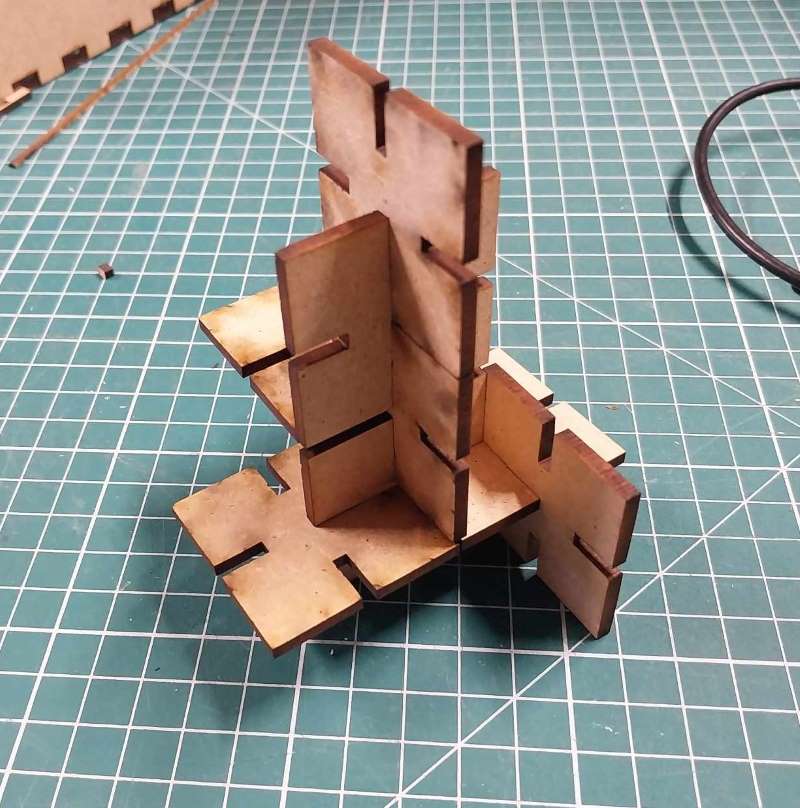
And after laser cutting on a 3mm wooden board :
here you can find the OpenScad File.
Art ? Yes please !
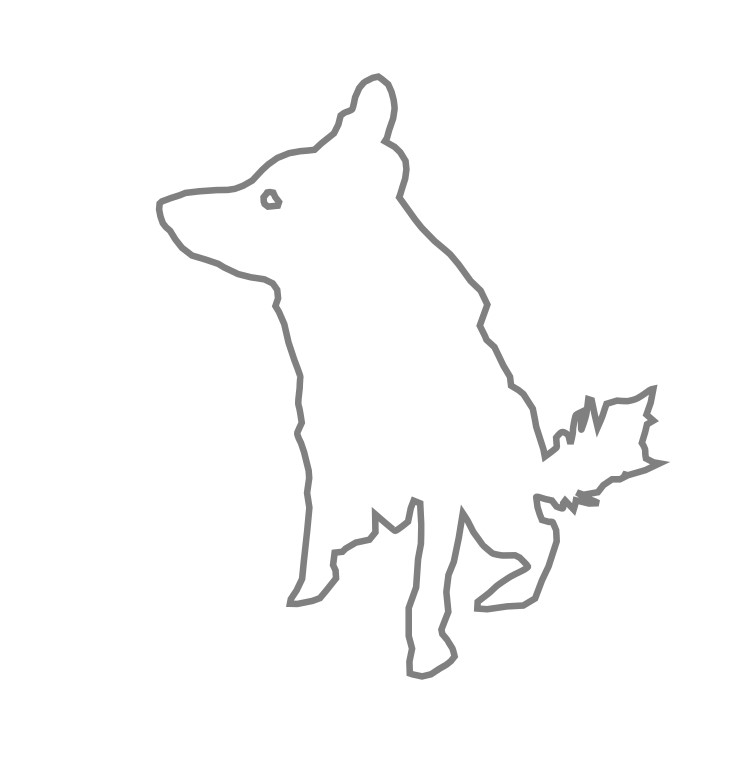
Once again, I used Inkscape, put in a photo and set the opacity to 50%. This allowed me to cut out my dog and create a vector shadow.
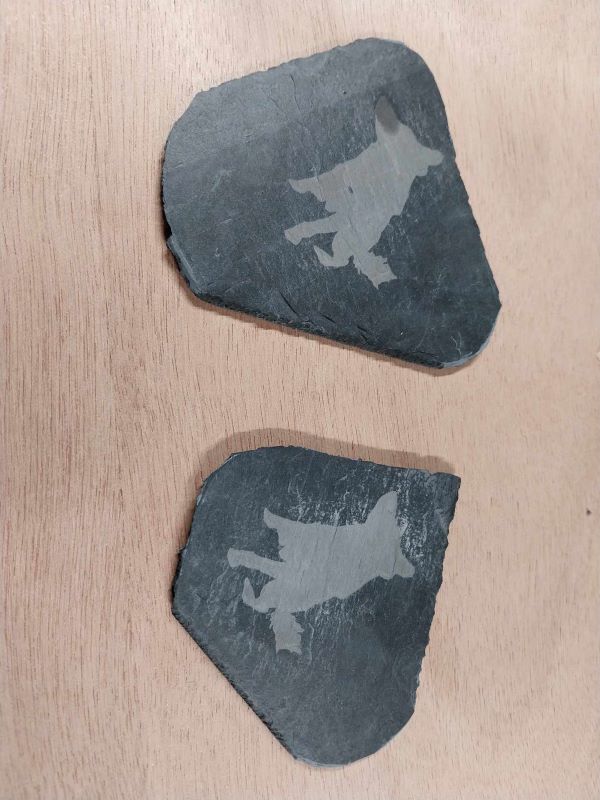
I then placed the .dxf file in the laser, and engraved a 4mm slate at 50% power and 900 speed. Slate is a stratified black stone that is easy to break. These parameters were chosen on the basis of a previous test carried out in the laboratory by my instructors. As slate is a very stable material, I decided to use these parameters. Originally I was going to leave an empty area, the eye, but I think the speed was too high so you can’t see it.
The vinyle cutter
I use the CAMM-1 GS-24 by Roland vinyle cutter.
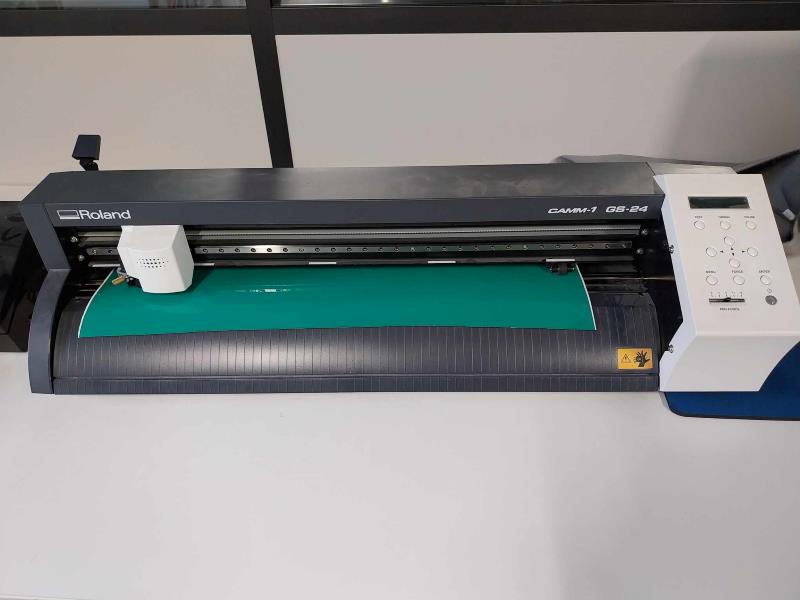
As with the 3D laser, I convert a drawing in Inkscape into text. I convert the text into a vector and go to the CutStudio section. The parameters are as follows: speed of 20 cm/s, pressure of 100 gf and depth of cut of 0.10. Once the machine has cut the vinyl, I remove the excess vinyl and place the cut letters on sticky paper. Then I place the letters from the sticky paper onto my final material. I use a hook and squeegee at each stage.


Here you can find the .svg File.
The files
Here you can find the FreeCad File.
here you can find the plexyglass .dxf file.
Here you can find the .svg vinyle File.
here you can find the art .dxf file.