Molding and Casting
Individual Assignment
This week we are tasked with: "design a mold around the stock and tooling that you'll be using, mill it, (rough cut + three-axis finish cut), and use it to cast parts". For extra credit we can try other molding and casting processes.
Group Assignment
Our group task this week is: review the safety data sheets for each of your molding and casting materials, then make and compare test casts with each of them. For extra credit we can use more than two mold parts. Link to our Group Page.
This week I am using the Smooth-On OOMOO Tin-Cure Silicone Rubber to discuss. I ended up wanting to use a food-safe material, so I switched later on in this page, but still made sure to follow all safety precautions recommended for it as well. From the OOMOO datasheet that came with our molding and casting materials, I learned a lot about the material and the safety precautions associated with it. I will go over some details below:
SAFETY:
Always use a properly ventilated area ("room size" ventilation). Wear safety glasses, long sleeves, and rubber gloves, vinyl gloves only. Latex gloves will prevemt the cure of the rubber. Contact with skin and eyes may cause irritation. Flush eyes with water for 15 minutes and seek immediate medical attention. Remove from skin with waterless hand cleaner followed by soap and water. User assumes all risk - be mindful when using.
TECHNICAL OVERVIEW:
Volume Resistance= >1.0E+14 Ohms. This is the measurement of resistance to flow of electric current through its volume.
Dielectric Constant k' @ 100 Hz= 3.33. This relates the ability of a material to carry alternating current to the ability of vacuum to carry alternating current. It essentially tells us about how easily a material can become polarized by the imposition of an electric field on an insulator.
Dissipation Factor @ 100 Hz= 0.01. This measures the inefficiency of a material to hold energy or behave as an insulating material.
Dielectric strength= 357 V/mil. This is an intrinsic property that represents the maximum electric field it can withstand before the insulating properties fail, and becomes conductive.
Useful Temperature Range= -65 degrees F to 400 degrees F. This is the range of temperatures where this material will perform at optimal levels. Use outside of this temperature range cannot guarantee the integrity of the mold/cast will be solid.
Shrinkage= 0.0025 in/in. This is a measure of how much the material shrank after 7 days at 73 degrees F/23 degrees C.
USE:
The ratio of A to B is 1:1 (equal parts). Once A and B are added together, stir for 3 minutes minimum, making sure to scrape the sides and bottom to ensure an even mixture. For best result, pour mixture on lowest point of the containment field , let the rubber level out over the model.
Allow to cure for 75 minutes (for OOMOO 25) and 6 hours (for OOMOO 30).
Useful Sources
- PDF for using the Modela MDX 50 to mill an object.
- Roland Modela MDX 50 Setup Guide
- Adrian Torres - Week 15. Molding and Casting page
- Molding and Casting Tips / Using Fab Modules
The first website was a step by step tutorial on how to use the Roland Modela MDX 50 to mill an object. It was very helpful in working through the proper settings to mill and getting us through issues within our machine and computer. The second webpage is the setup guide to the MDX50 and helped us make sure we had proper connections and communication between our computer and our CNC. I used Adrian Torres' webpage to get the general understanding of this weeks assignment and to find helpful tips and tricks for along the way.
Individual Assignment
Brainstorm
I started brainstorming what I wanted to make a mold of and had the idea to use it for an event we have that same week - a fundraiser (STEM of Spirits) for our non-profit to raise money for student programming this summer. The event theme is the Science of Food and Drink and I thought it would be fun to combine them, and coincidentally, my other two teammates on this thought the same thing. We decided that we wanted to get food safe products to use to create a chocolate disk (bar? treat?) for the fundraiser. Individually, I thought it might be a fun idea to make a stamp, so I may try that as well if I have time to do so.
Research
I started by looking for our STEM of Spirits logo in our system and found a .png and .jpg file. To make it easy on myself, I tried to use an online converter (link here) to convert the .png to a .dxf but it did not work. The image was all jumbled, parts were missing, etc. I then tried to convert form a .png to a .stl then to a .dxf and found that worked out just fine and brought over the parts that I needed into Onshape. I moved to the design.
Design
As stated above, I was planning to use Onshape to make a positive mold model of my chocolate disk. When I go into Onshape, the following are my steps:
- Start a new sketch on the top plane.
- Select insert DXF file. Import in the bottom left of the dropdown and select my downloaded DXF of the STEM of Spirits logo. If you do not have a vector file already, make a 2D model or find an image, and convert it.
- After import is complete, the DXF will be stored in the document files. Select the correct file and add it to your sketch.
- *note: you can also use an image on your sketch plane in the background, and use it as a guide to make a sketch on top of.
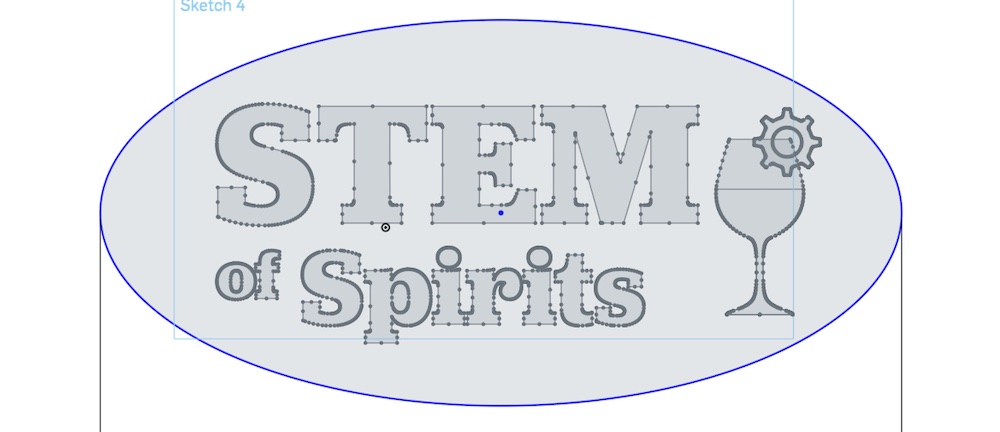
- I added another sketch on the same plane to add a wine glass to my design. You may add as many sketches and components that you'd like, but keep in mind how detailed you can get on your CNC machine when you go to mill out your model.
- Once you have your sketch, make a boundary of where you want your chocolate bar to end. This is your border.
- Now that I have a border, and a sketch for the desired image for the top of the chocolate, I will press extrude and select the faces that I want raised. I made the whole disk raised, then raised my letters and other details even higher to make it differentiated from one another.
- I used the fillet tool to smooth out the edge of my extruded design. This will make it so the chocolate bar is not squared off on the ends.
This is how I created my positive model of my chocolate bar.


This is how the process of making my 3D model went on Onshape.
STL File
Download Onshape File Here Download DXF Wine Glass File Here Download PAST DXF
Milling the Model
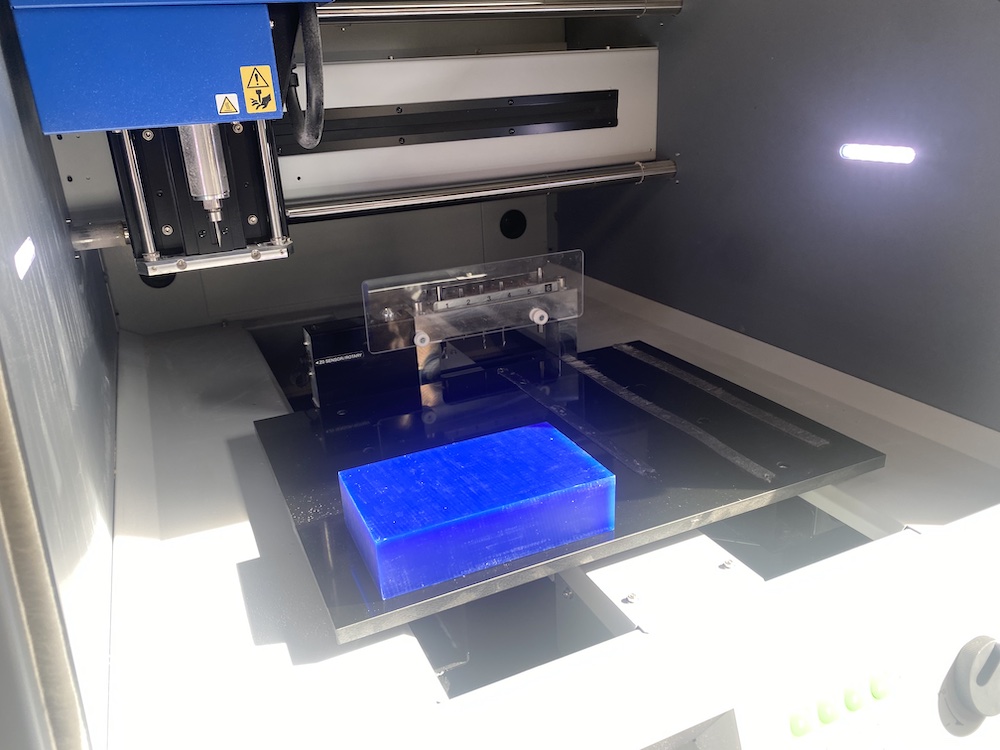
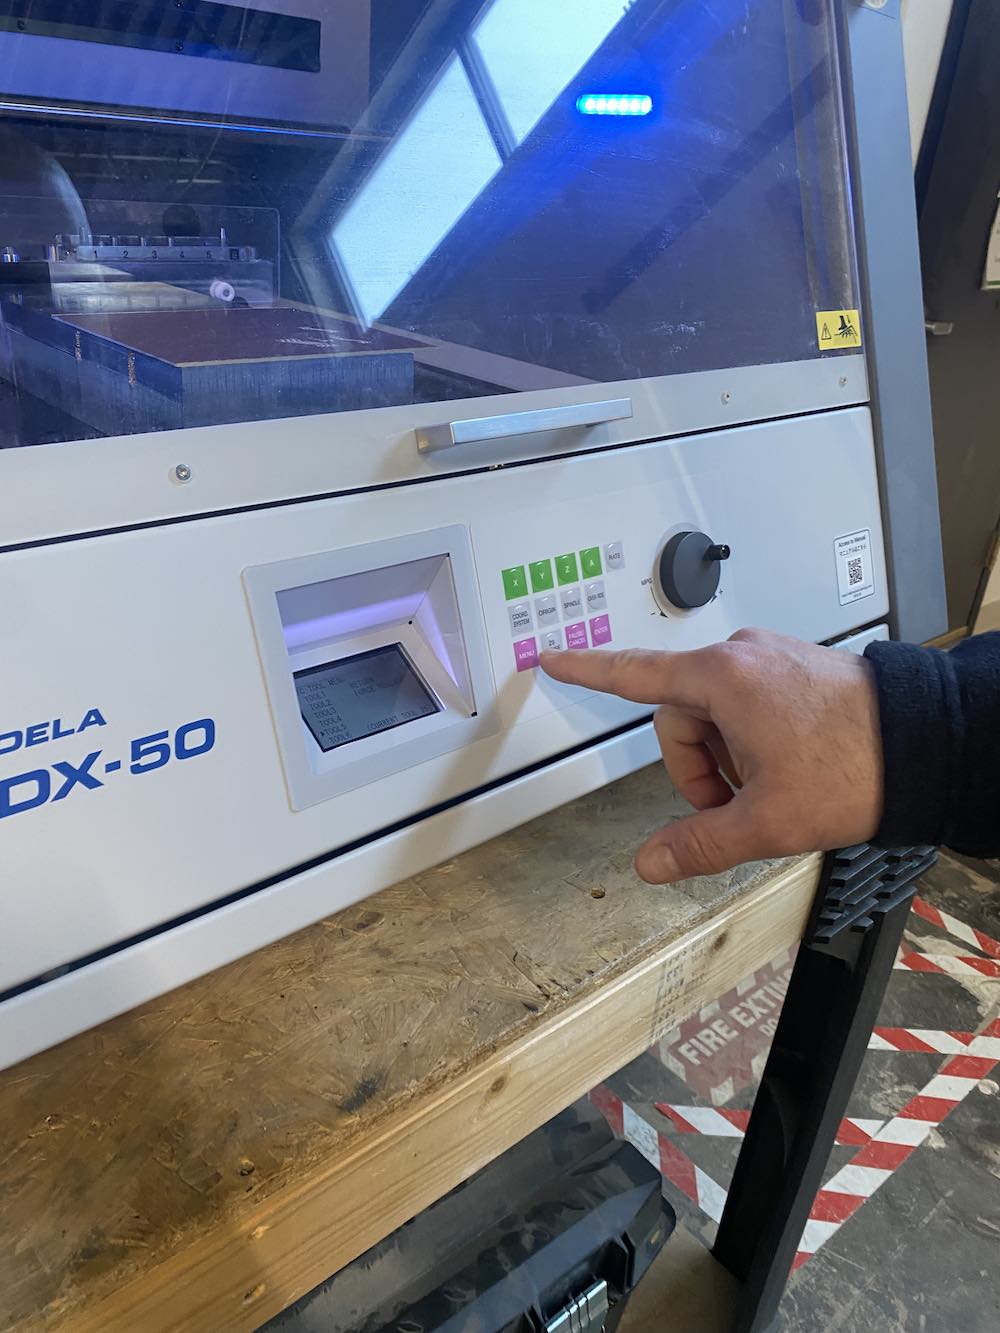
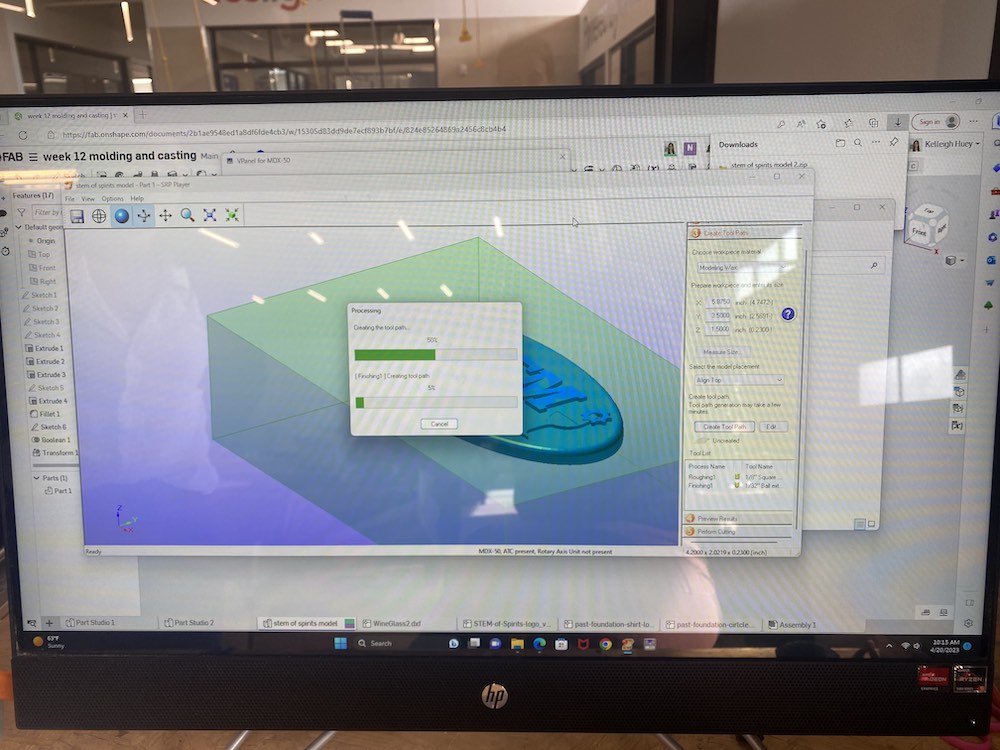
I used the Roland Modela MDX 50 to mill into the 5.875"x2.5"x1.5" machinable wax block. In our shop, we have a computer by our machine that has the proper software and programs that will run the machine. Before beginning, I set my machineable wax in position and secured it with double sided tape on the bottom to prevent it from moving. I used the manual turn knob on the Modela to select the X and Y positions of the bit and used the VPanel for MDX-50 application to set XY Home under settings -> origin -> set origin at this position. I used the Z-home sensor to detect the Z-home position. Next, I used SRP Player to import my model. In Onshape, I exported my file as a .STL. The SRP Player will take a 3D file and turns it into G-Code. I use this to import my file, and alter the model size on the right side of the screen. I wanted my chocolate to be large enough to see the detail and be stable, but small enough to where its portioned for one person. In the first section on the right, "Model Size and Orientation", I made the model 4.5" in the X direction, and the locked ration automatically made it about 2" in the Y-direction. Make sure your model is facing the correct direction and has the back flat on the bottom. The machine will be milling from the top, so orient it how you need to to be most efficient. Move to the next section "Type of Milling".
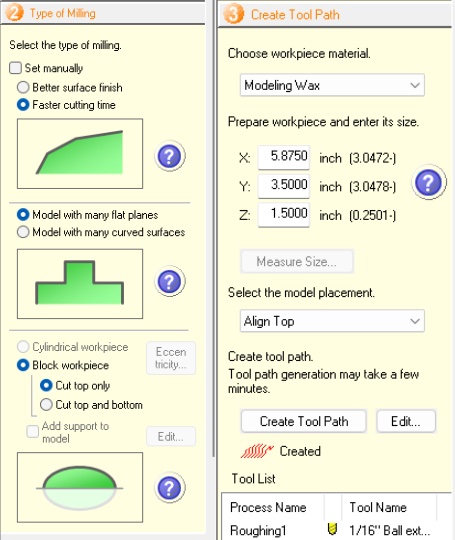
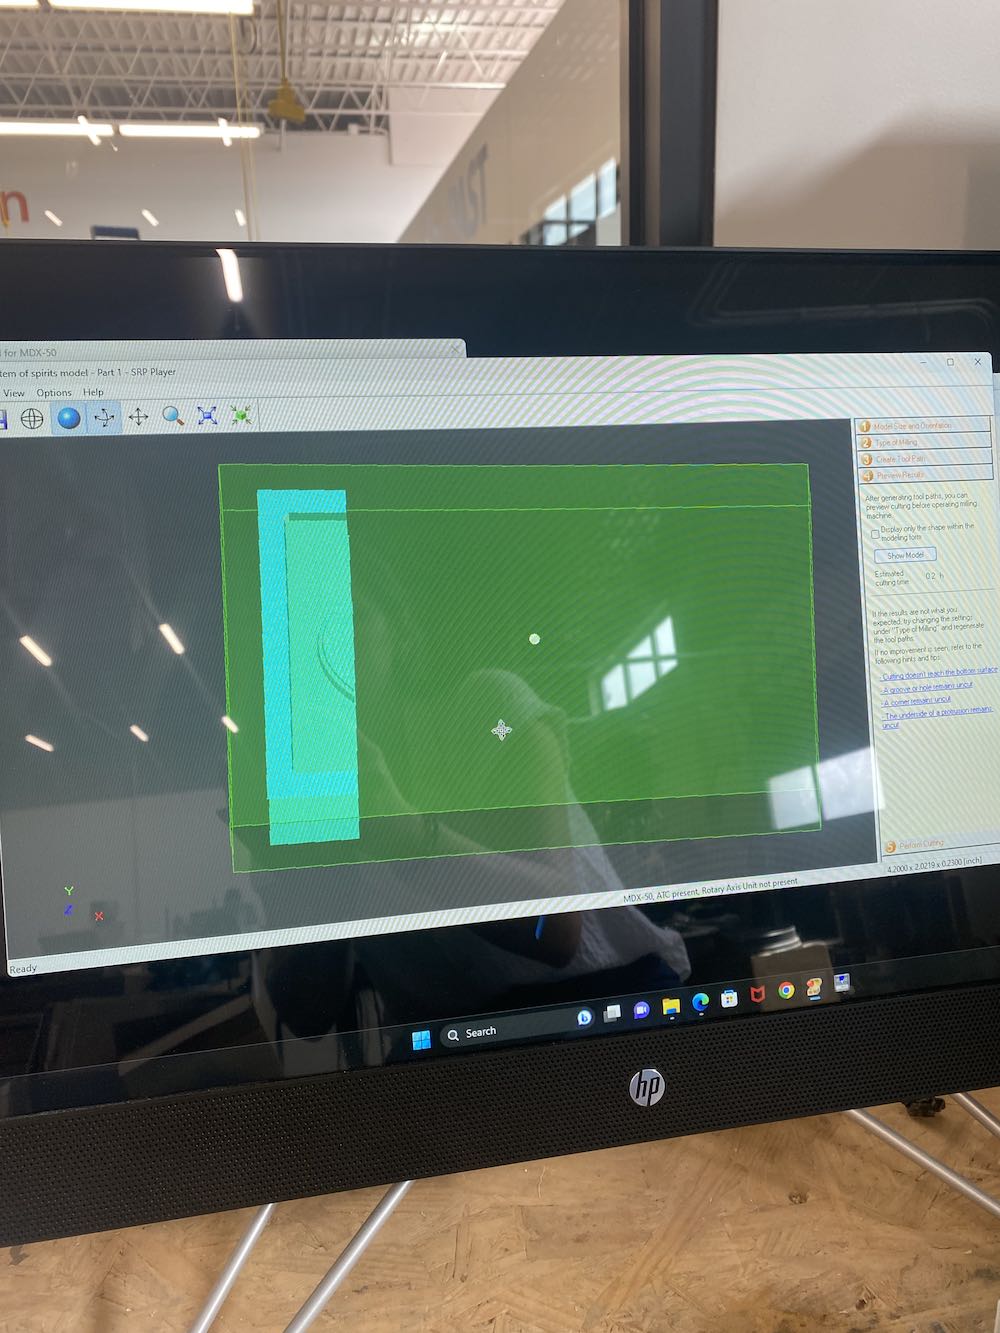
Under this section, "Type of Milling", I selected faster cutting time, model with many flat planes, and block workpiece (cut top only). Faster milling time will speed up the milling time and leave a little rougher of a mill. For the purposes of my chocolate mold, it did not have many round edges in the design so I went with this option. I selected model with many flat planes for the same reasons. I selected to cut the top only because I will be using the cavity it makes around the model to put my silicone into to make the mold. This will make more sense when you see the images below in the molding section. Move to the "Create Tool Path" section on the right side.
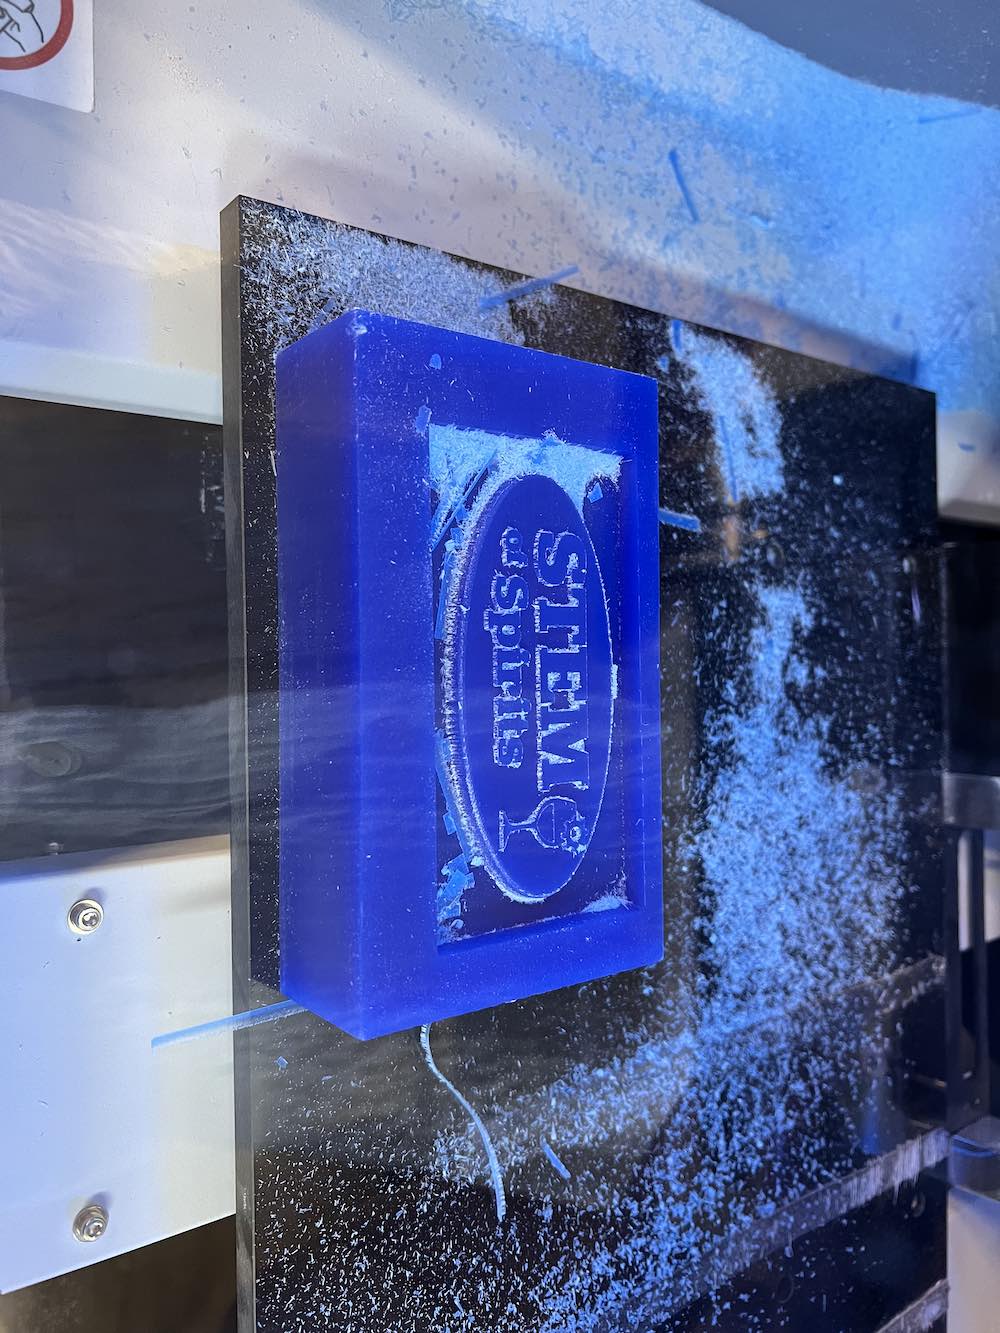
In the tool path section, you will enter the type of material you are milling into, and the size. I selected Machinable Wax and set the size to 5.875"x3.5"x1.5". I then needed to adjust which tools were in which spots and which ones I was using. I changed the rough pass to a 1/8" square-edge bit and the finishing pass to a 1/32" ball bit and hit apply. I then generated my toolpath. Next, I hit "Preview Results". At first, we had a lot of issues with generating a preview of our cutting. Every single time we clicked this, it would start to load, stop somewhere in the middle, and just crash the whole application for us. We would have to start from the beginning where we imported our 3D model file. We kept trying and eventually saw that somehow, each time we went through the process, there was a small button in the toolpath section that was turned off each time we went through. We didn't know it at the time, but that little button was supposed to be on and be blue.. it's the cutting button. It makes sure our machine receives the cutting pathway and allll our code that it needs. We also switched to doing just the roughing pass first, deleting the finishing path, then running the same thing again for the finishing pass. Once we turned that on and did one passing at a time, our preview started to work every time and the machine would actually have code to start moving. Great success.
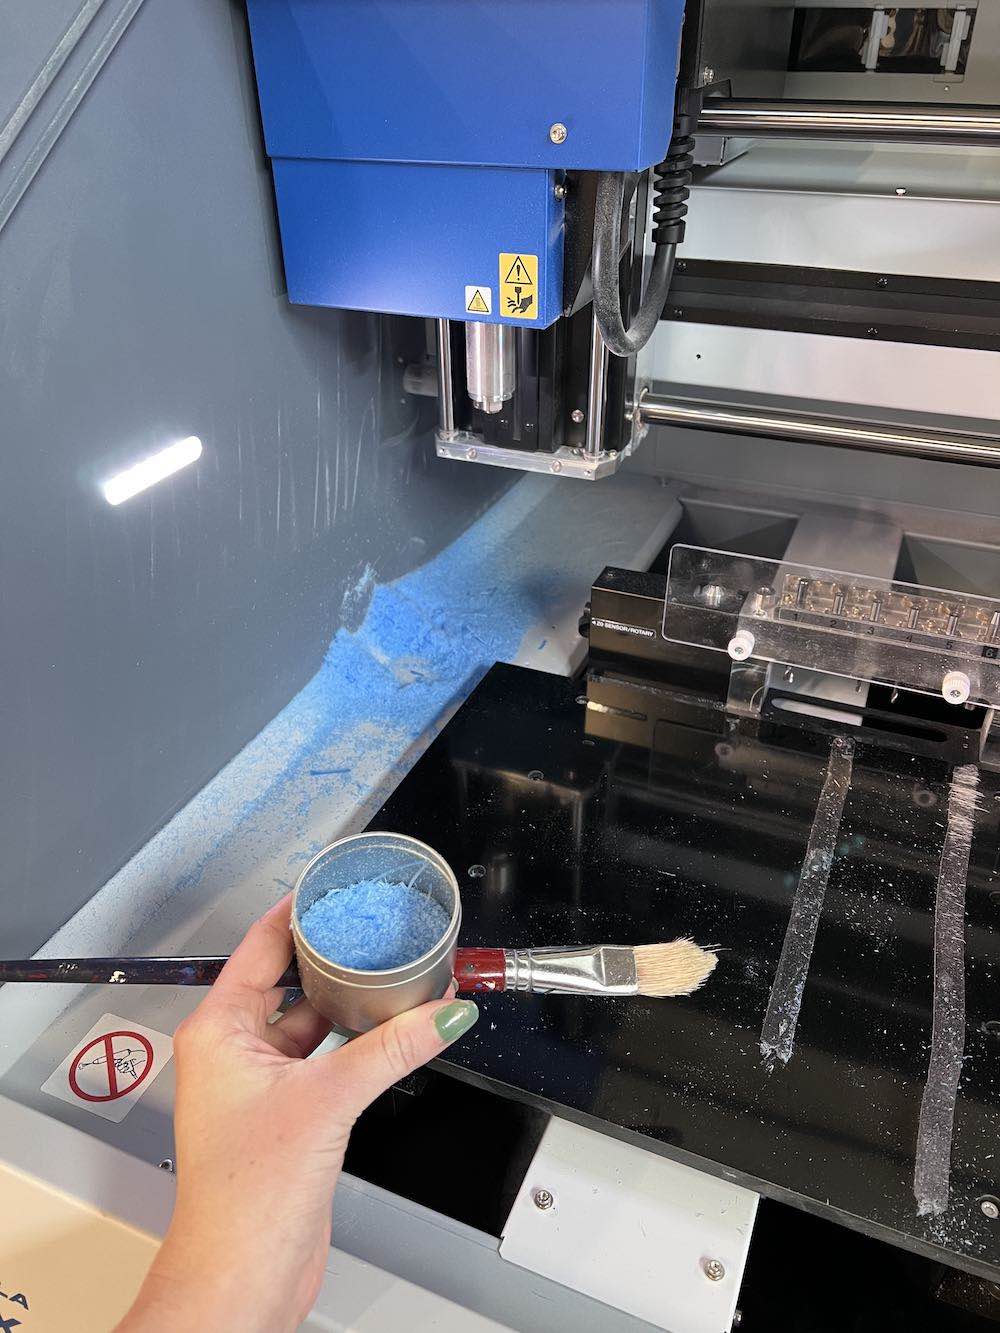
Once the model came out, I used a small brush to get the excess wax off of the block that I will be using to create the mold, and to collect the milled wax in the machine in a small container. The wax is reusable in the sense that you can melt it down and have another block of wax if you do it properly.
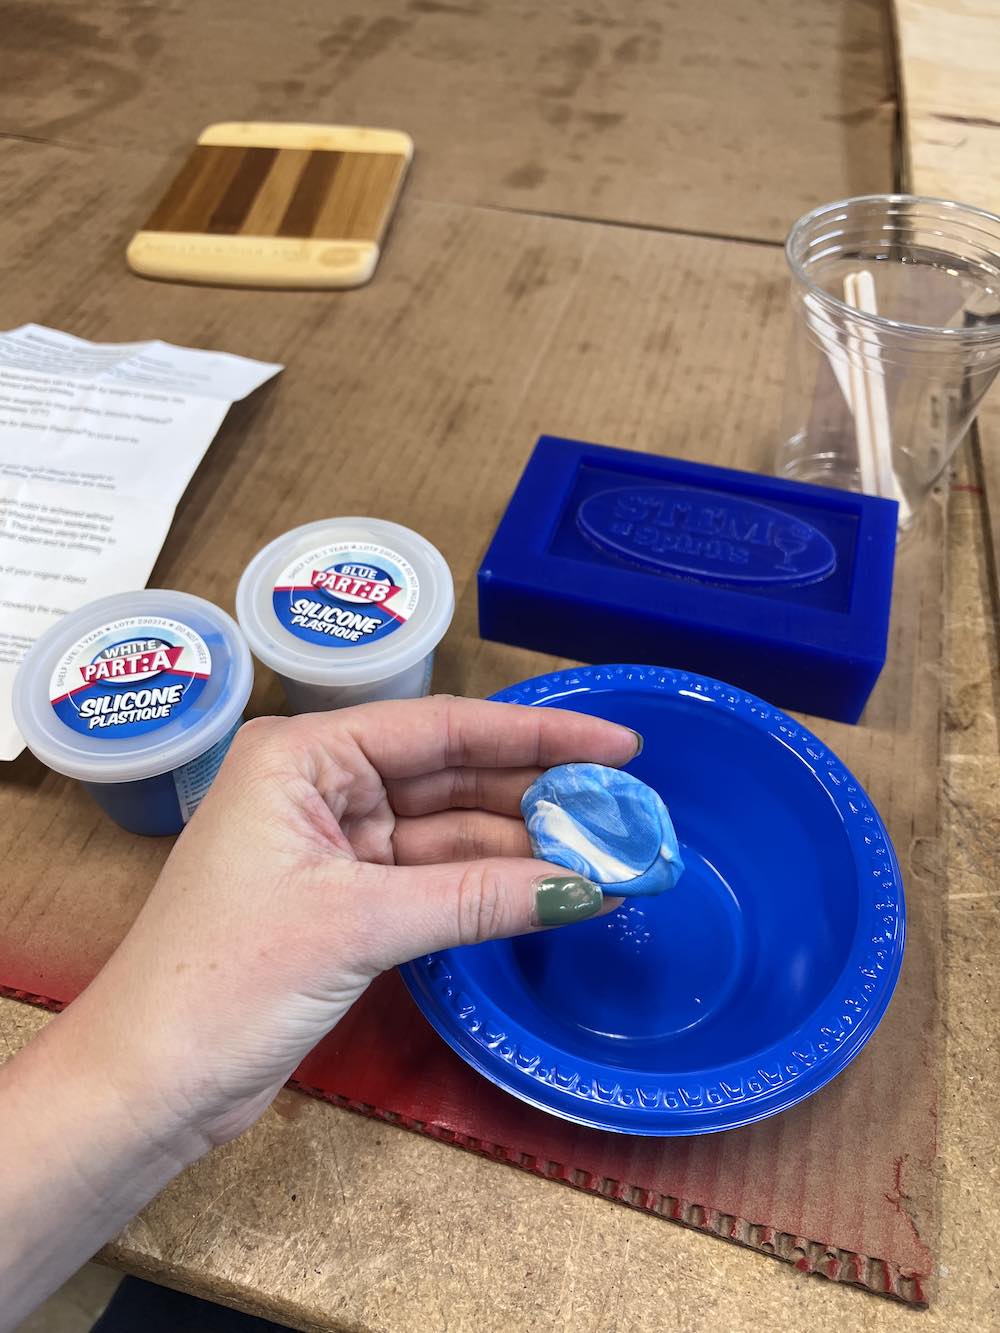
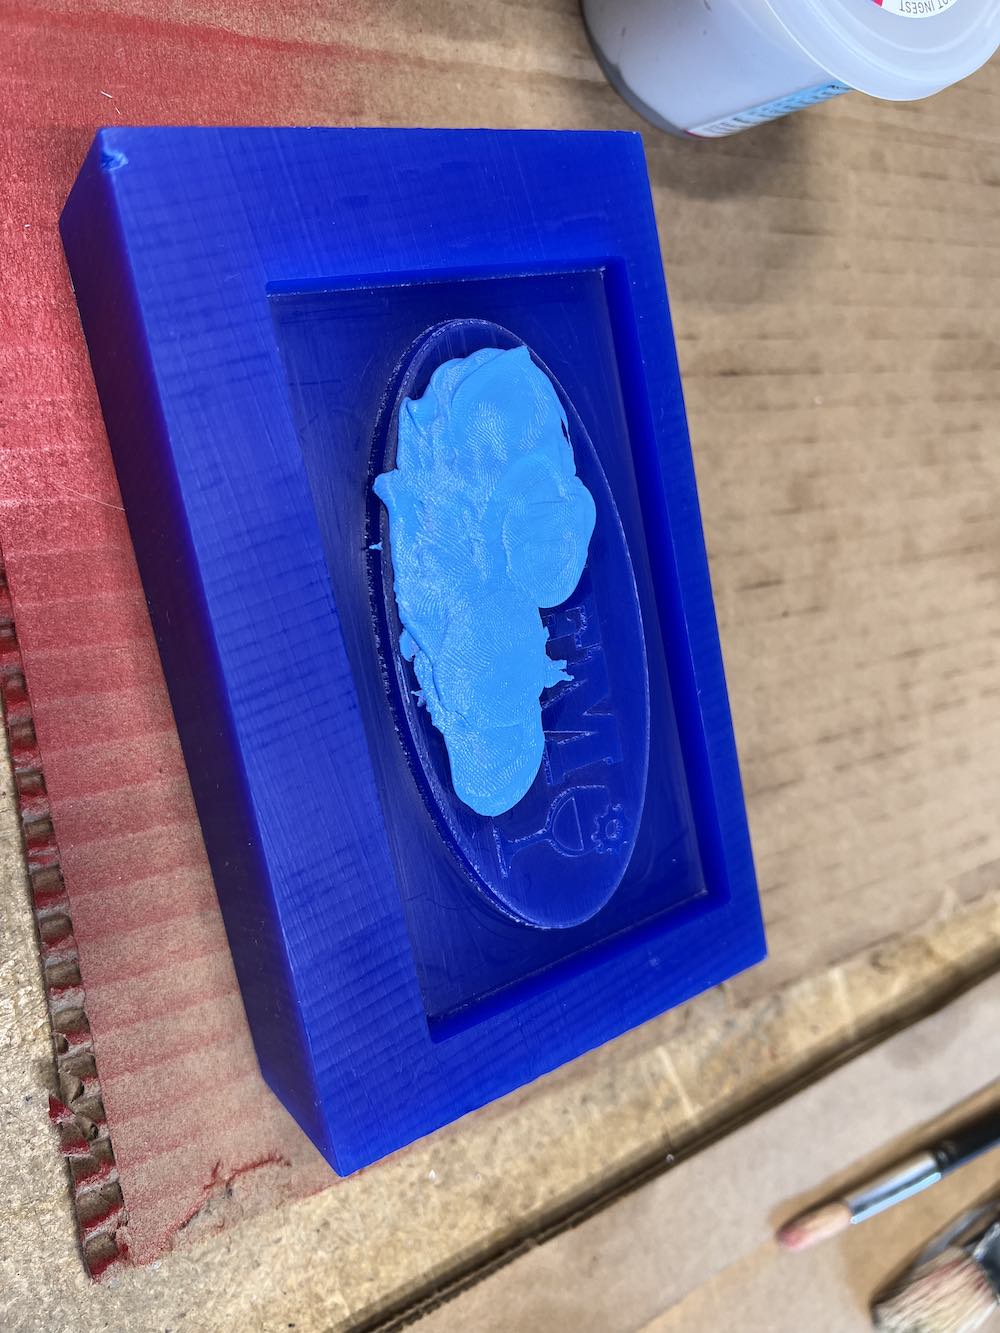
Making the Mold
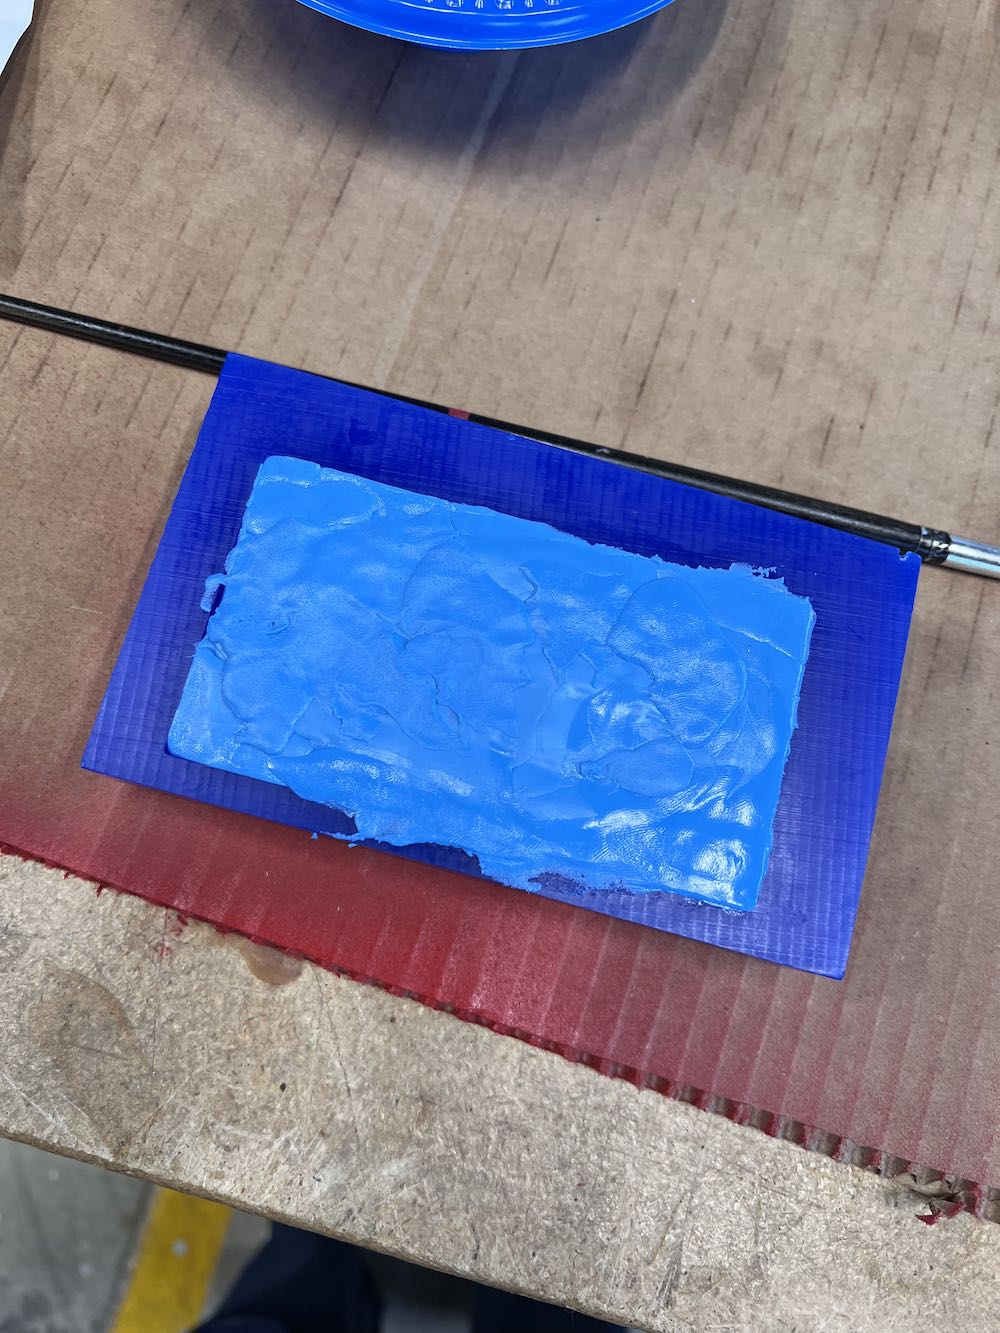
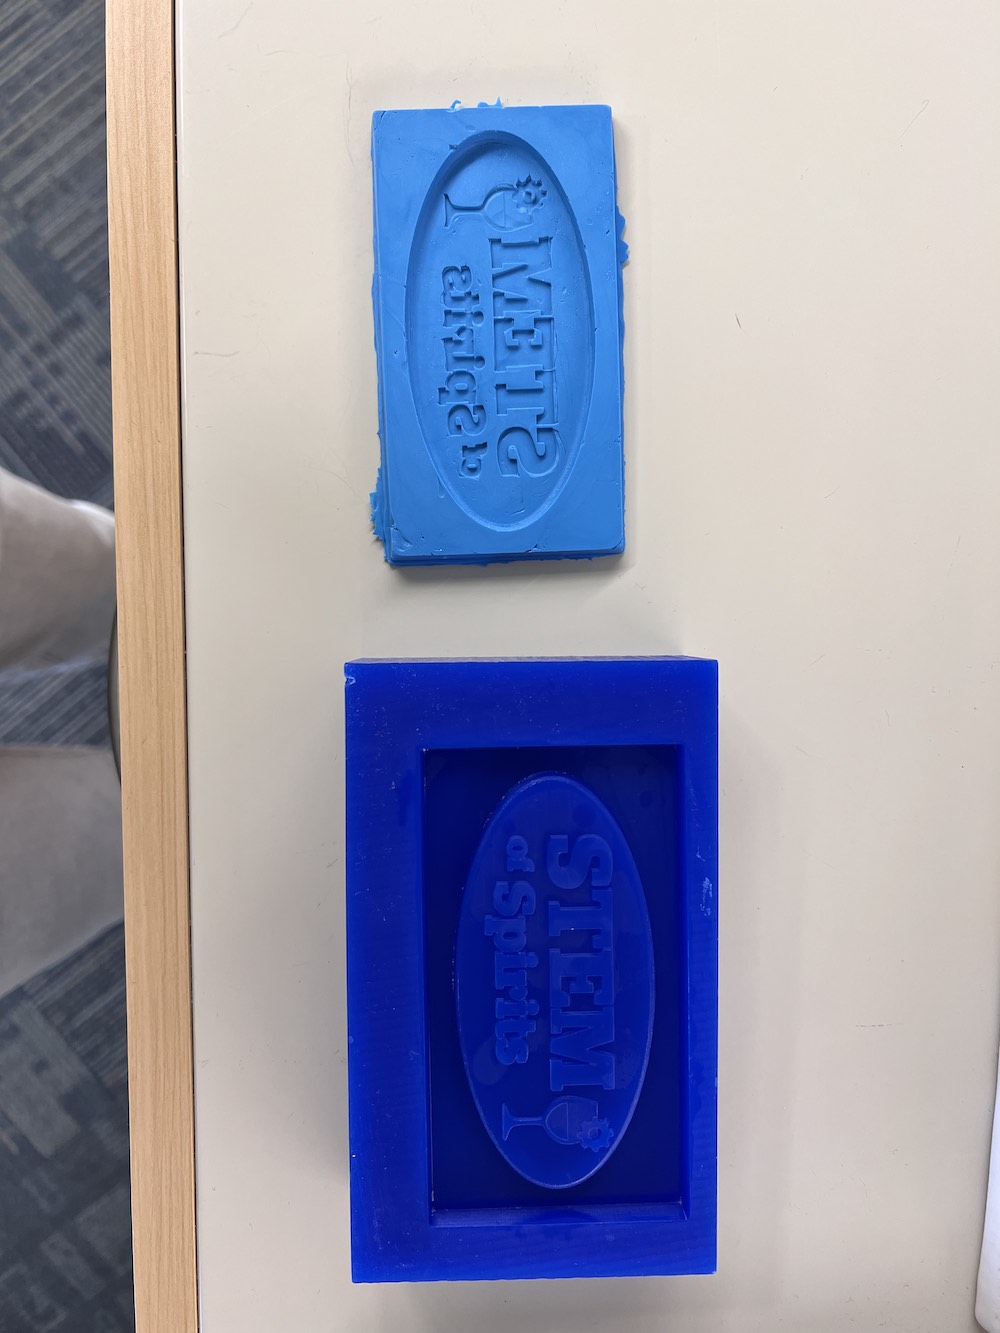
To make the mold, and make it food safe, I used Silicone Plastique brand food safe molding putty. To use it, I read the safety instructions, which there really weren't many precautions, and followed the directions. I kneeded equal parts of part A and part B together until they were uniform in color. I then used small amounts of the miixed putty to fill in the small details first and really pressed it into the model. I did this until all of the words were covered and had no air bubbles underneath. I used larger pieces of putty as I built on top of this. Once I finished pressing my putty on, I placed a sheet of plastic on top and pressed down firmly and evenly to try to eliminate creases between pieces of putty I put on and to smooshed any remaining air bubbles out. I left this to dry until the next day, carefully pulled it off of the model, and voila! I had a pretty decent mold for my first time.
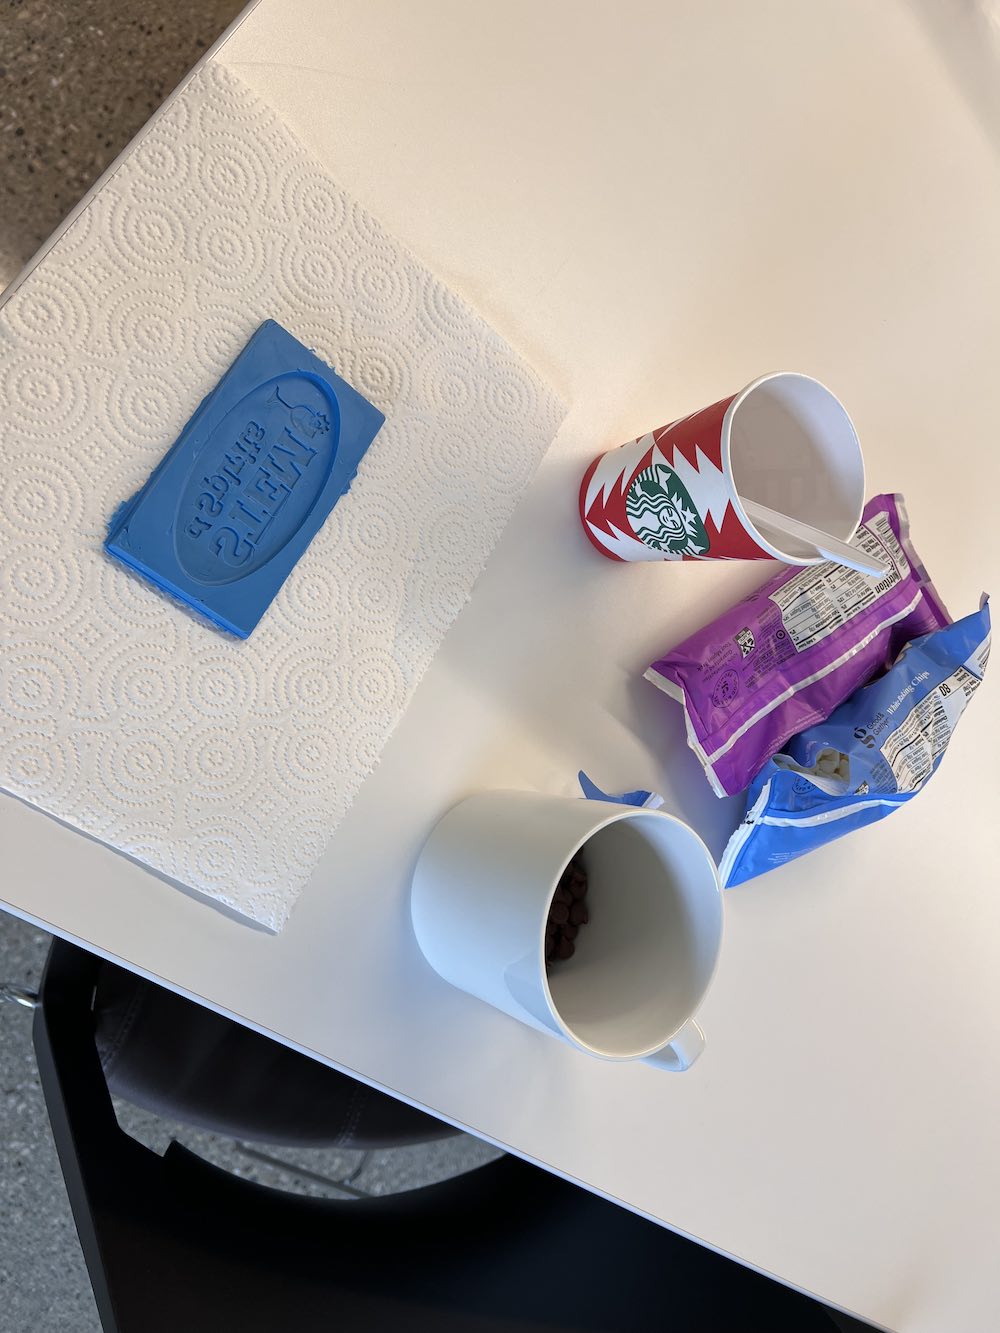
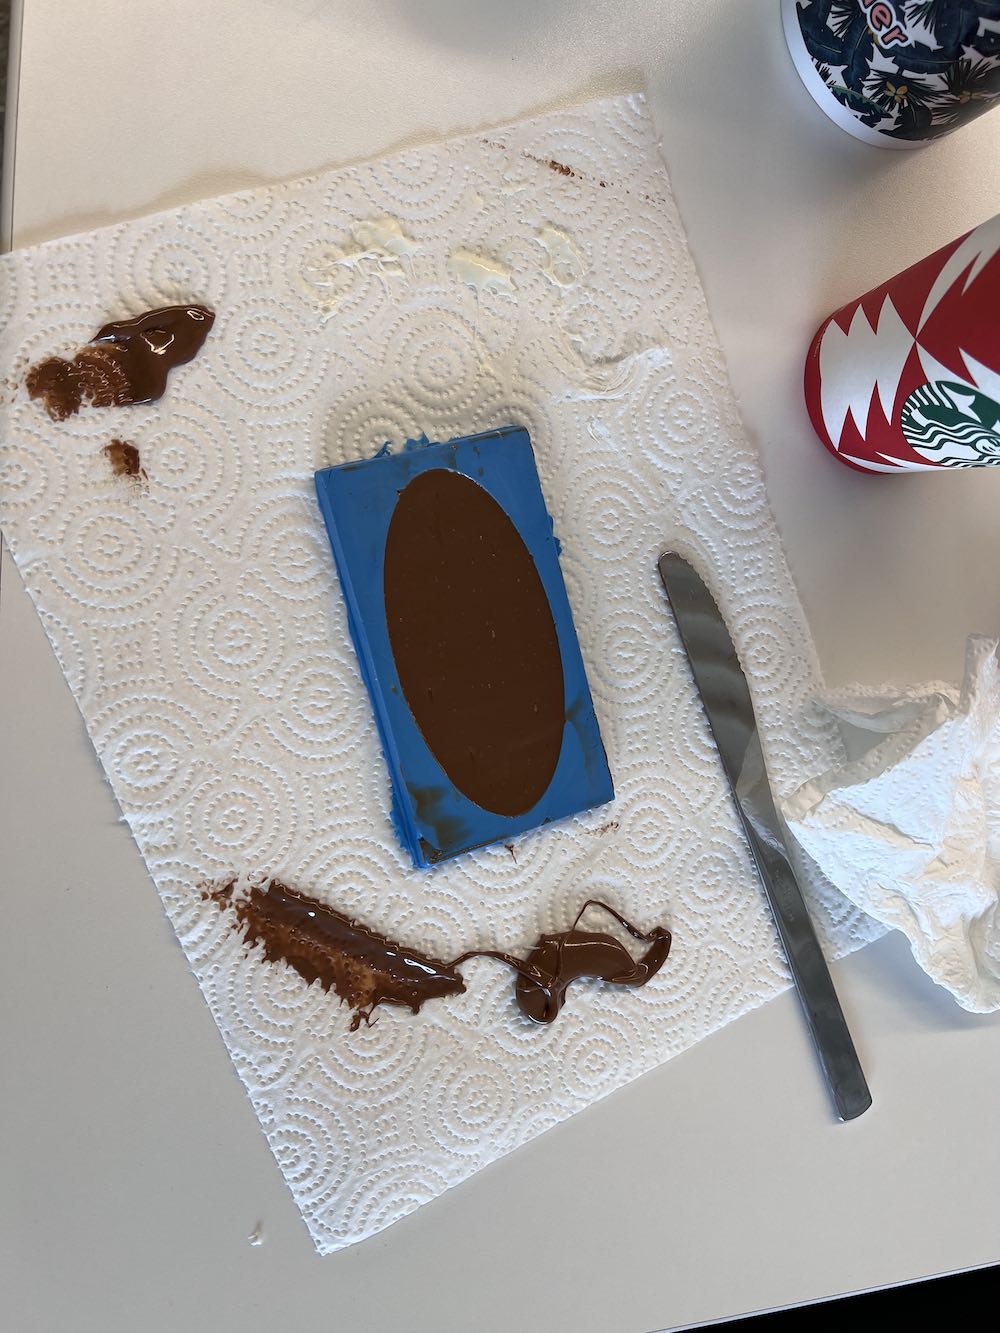
Casting the Chocolate
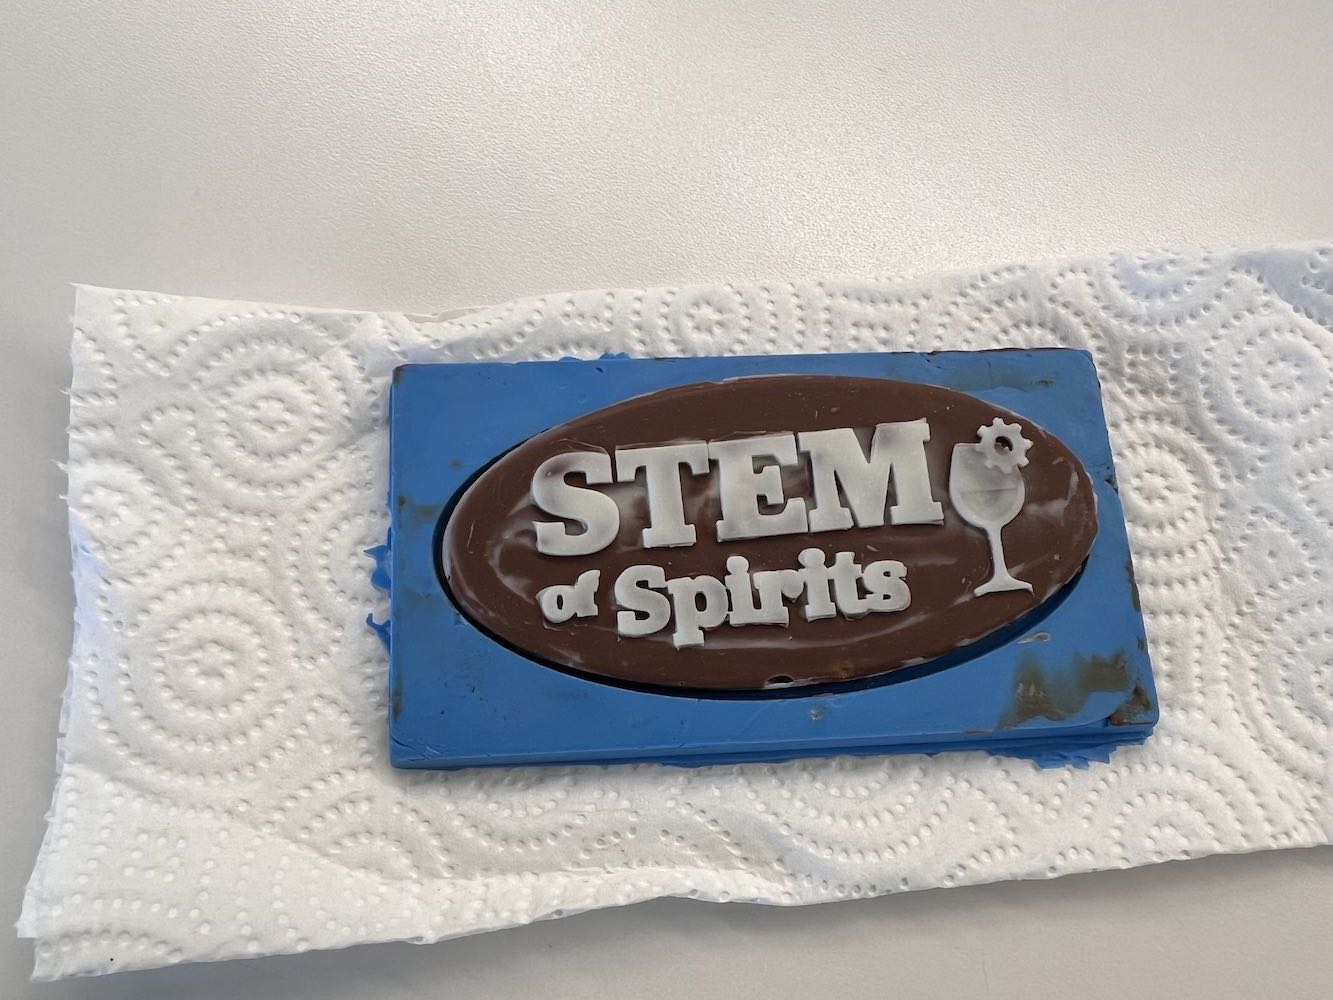
Now that I had a good mold to use, I went to the store and picked up some Target brand melting chocolate chips that reharden when cooled. I used a plastic spoon, butter knife, coffee mugs, and paper cups for my setup. I first melted the chocolate in a clean coffee mug. I started with white chocolate and followed the melting instructions on the bag. The white chocolate is going to fill my letters spaces and the rest of the chocolate bar will be milk chocolate. I used a plastic spoon to spread the white chocolate into the letters and smoothed out the rest of the mold so it didn't have too much excess white chocolate. I wanted to differentiate the letters from the background. Once I had my white chocolate where I wanted it, I melted the milk chocolate and carefully poured it in the remainder of the mold. I used the butter knife to smooth it off and get excess chocolate out of my mold (using the flat backside). I tapped the mold on the flat top of the counter in our work kitchen to eliminate any air bubbles that got trapped in the chocolate. I then placed this in the refridgerator to cool down and solidify. About 5 minutes later I checked and it was already ready to go. I carefully popped out my casting and there was my chocolate bar for my fundraiser. Next year we will definitely make a mold with multiple all together. This was a fun week!