Computer controlled machining
Group Assignment 2023
Our group assignment involved working with a Shopbot PRSalpha and VCarve Pro to prepare and cut various shapes from wood. The safety training was emphasized before we began operating the machine. We learned to never reach for the tool when it is working, always wear safety glasses and earpads, not wear gloves while operating the machine, and make sure that the part is well fastened to the machine.
After getting acquainted with the machine, we used VCarve Pro to set up the job, including defining the rectangle size of the base material, drawing basic geometrical shapes, setting up the toolpath, and adding tabs. We then proceeded to cut the wood, which involved fastening it to the MDF sacrificial layer using clamps and screws, turning on the machine, engaging the spindle, setting the zero point, and sending the job.
The results of our cutting were not exactly as expected, with deviations from the measurements and a small runout. We learned about the two families of cutting bits - upcut bits and downcut bits - and how they affect the cut quality. Overall, it was an insightful experience that taught us the importance of precision, attention to detail, and safety when operating a CNC router. You can find our Group Assignment here.
Group Assignment 2025
This week was all about CNC machining using the ShopBot PRSalpha in our lab. I had some experience with CNC before, but this was a great opportunity to go deeper, especially with group work and safety protocols.
We started the week by going through all the safety instructions: using PPE like goggles and ear protection, not wearing gloves or loose clothes, and keeping the working area clean. I took part in setting up the machine – helping fix the material to the sacrificial bed and assisting with the Z-axis zeroing using the Z plate. I also practiced changing the cutters safely, making sure everything was tightened correctly.
In the software part, I worked with VCarve Pro, preparing toolpaths. I focused on setting the correct cutting depths, step-downs, and adding tabs so that the parts would stay in place during cutting. I also made sure to leave enough space for clamps and checked that the paths wouldn’t collide with anything.
During the actual cutting, I stayed close to the machine to monitor the job. I helped with the dry-run process to avoid collisions and stopped the machine when necessary. After each job, I participated in the cleanup and made sure the spindle was stopped before removing any parts.
here you can check all work that we did
Individual Assignment
DXF file
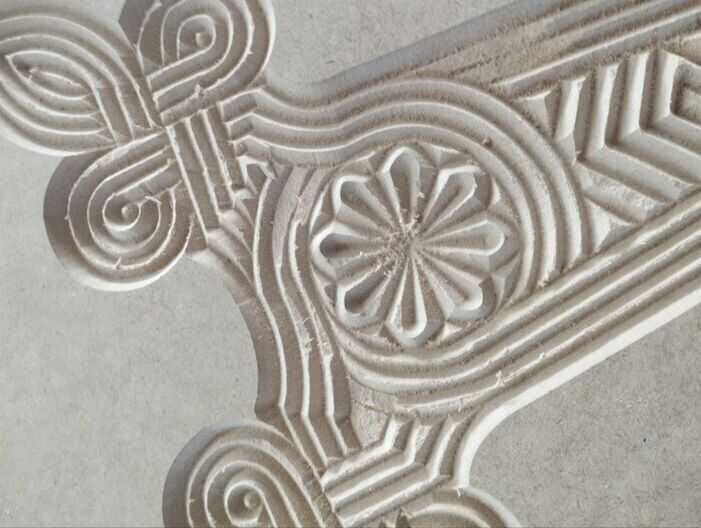
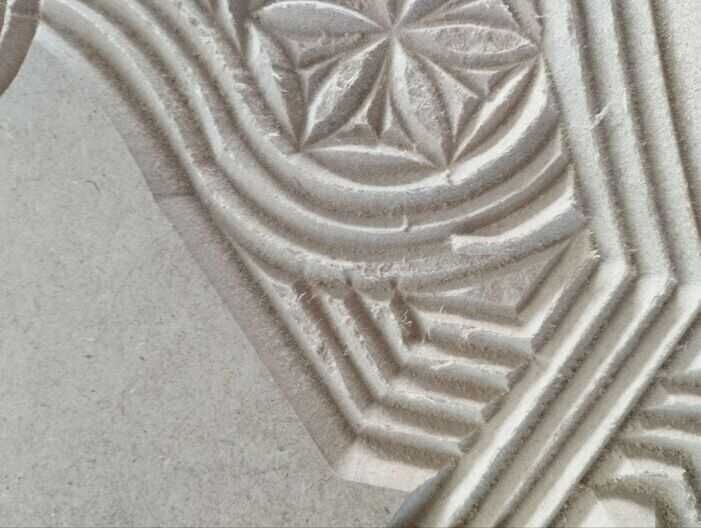
I decided to make one of Armenian natioanl symbols - ԽԱՉՔԱՐ (Khachkar - tr. cross stone)
Check out this link
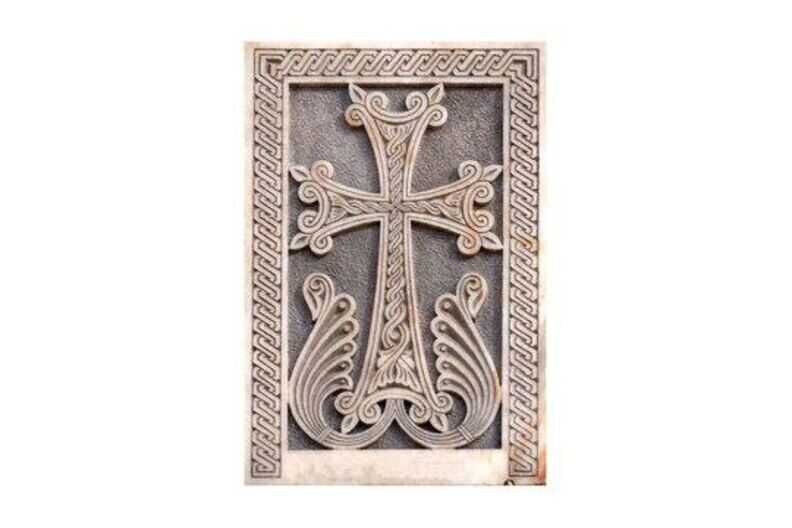
I found some black and white image, to make process of making it vectoric easier

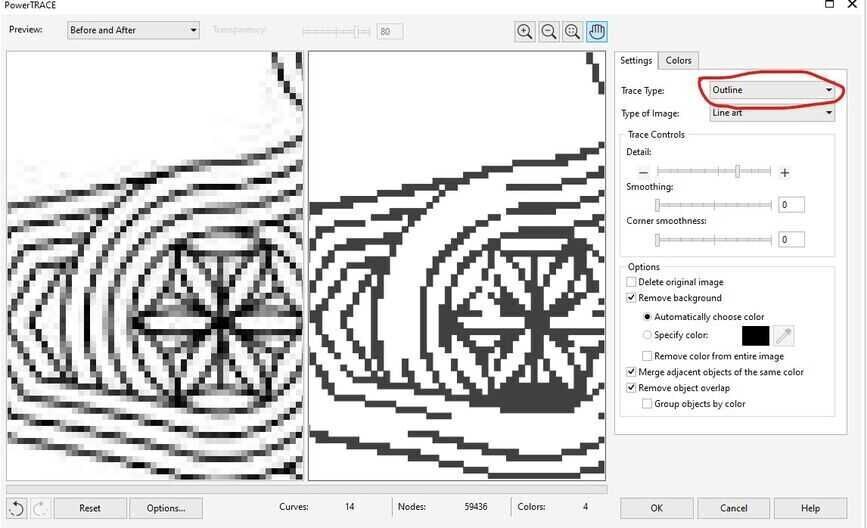
I am using CorelDraw’s Power Trace tool for that.
I selected Outline as trace type
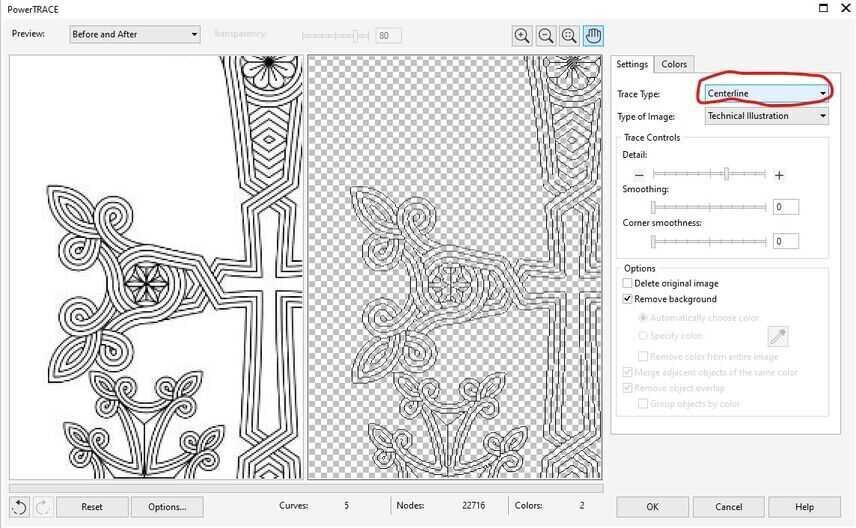
And alsotried with centerline
After many tries, i couldn’t make it up, and decided to draw khachkar my hand.
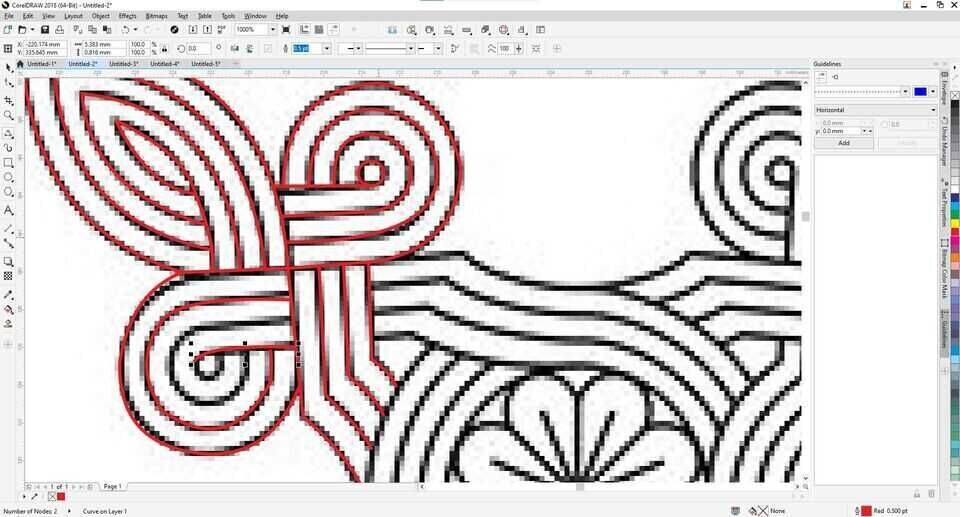
It takes a lot of time for that
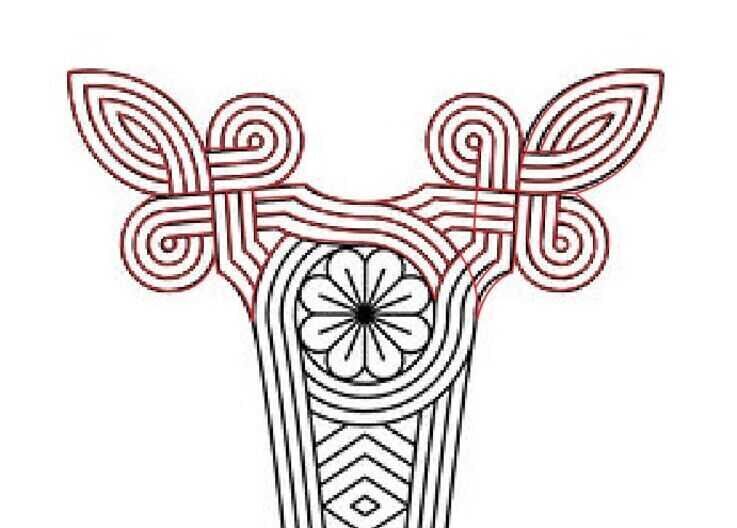
I stopped on main cross. I think it enough for trying.
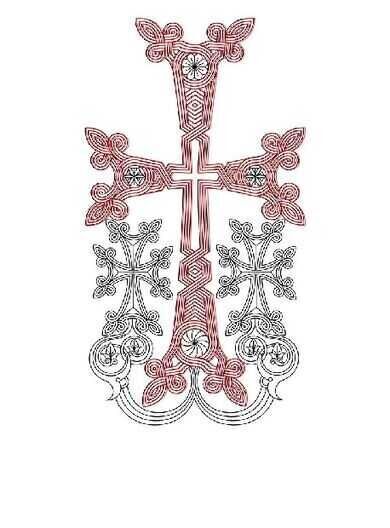
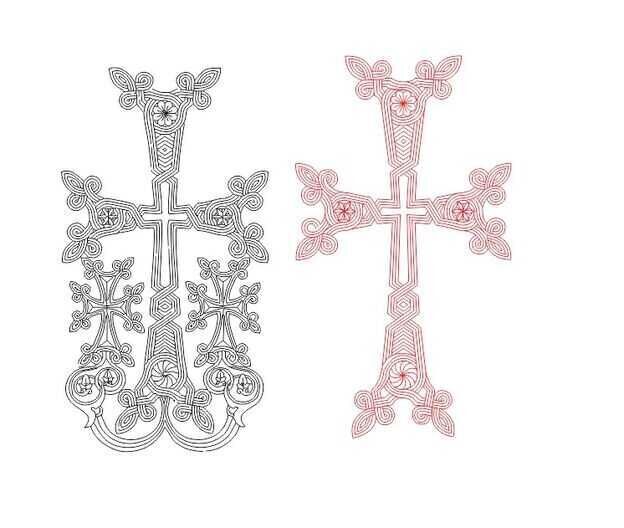
Here you can see original picture and vectoric side-by-side
After choosing material (piece of MDF) i took its sizes to scale my drawing.

Length and Width are 660mm and 900mm.
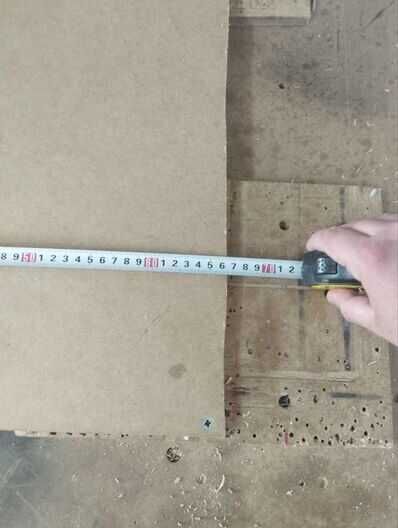
So I scaled my drawing to fit the material.
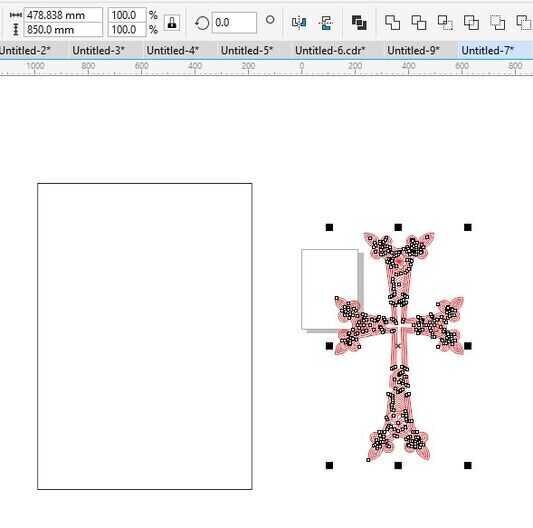
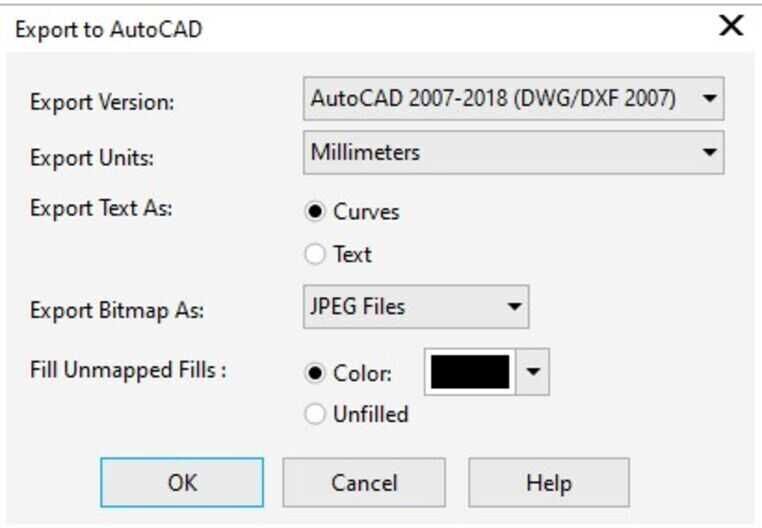
Then i Exported it as DXF file
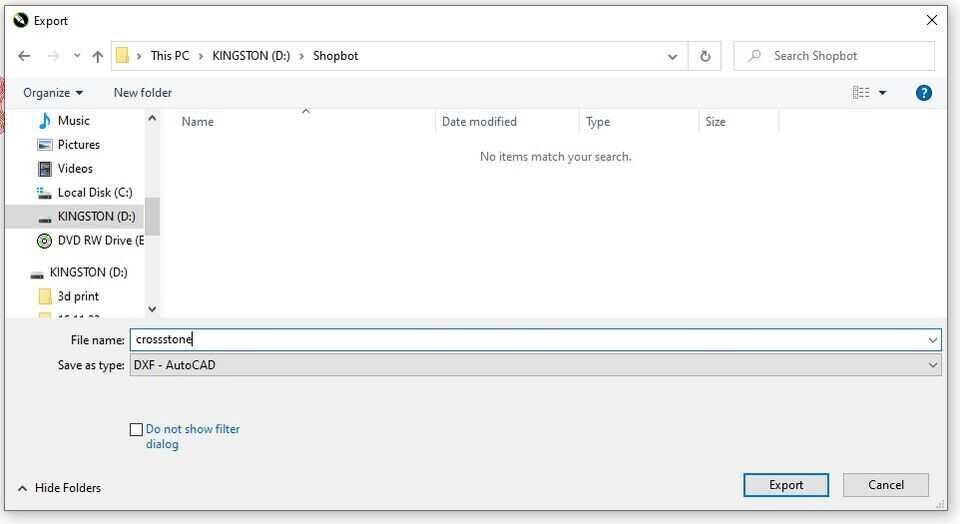
I selected option to export it as Curves.
VCarve
I opened DXF file in VCarve and set material parameters.
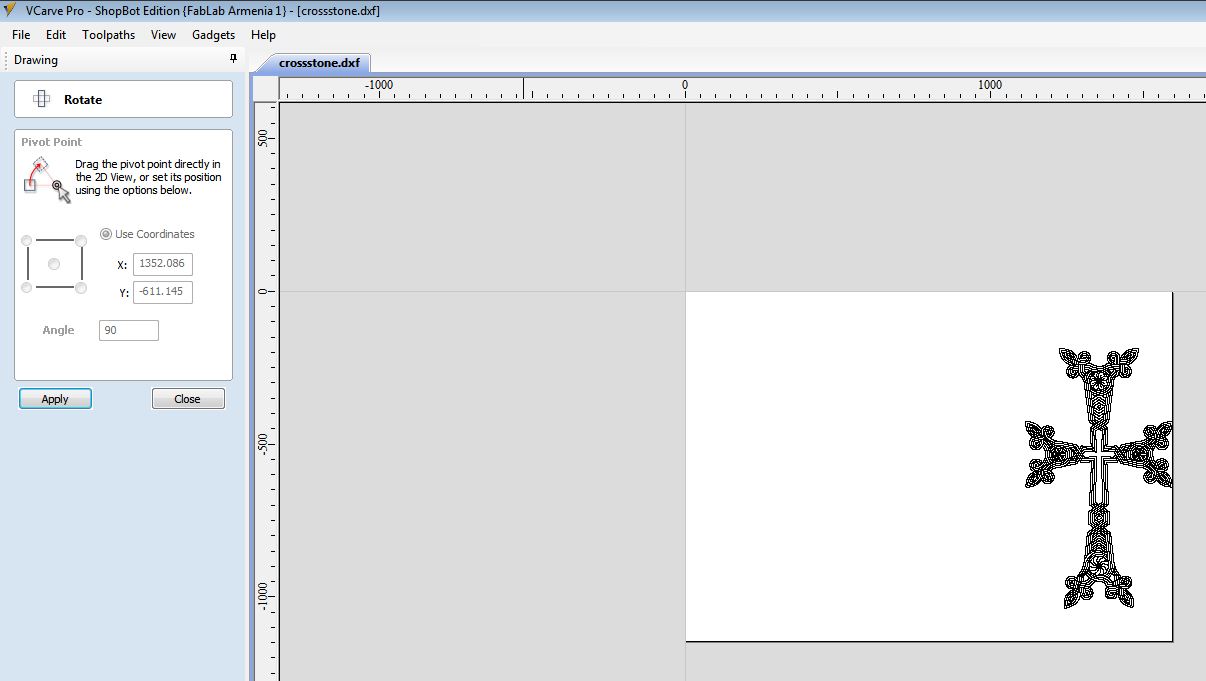
I selected cross to join all lines

VCarve has option to connect lines togeather and make 1 line, it is “Join open Vectors tool”
After that i choosed Profile Toolpath, then selected tool
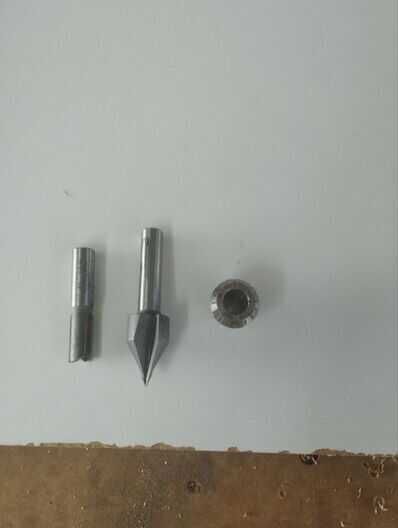
I am using 1/2 inch 60 degree mill, and to cut “ON” the line.
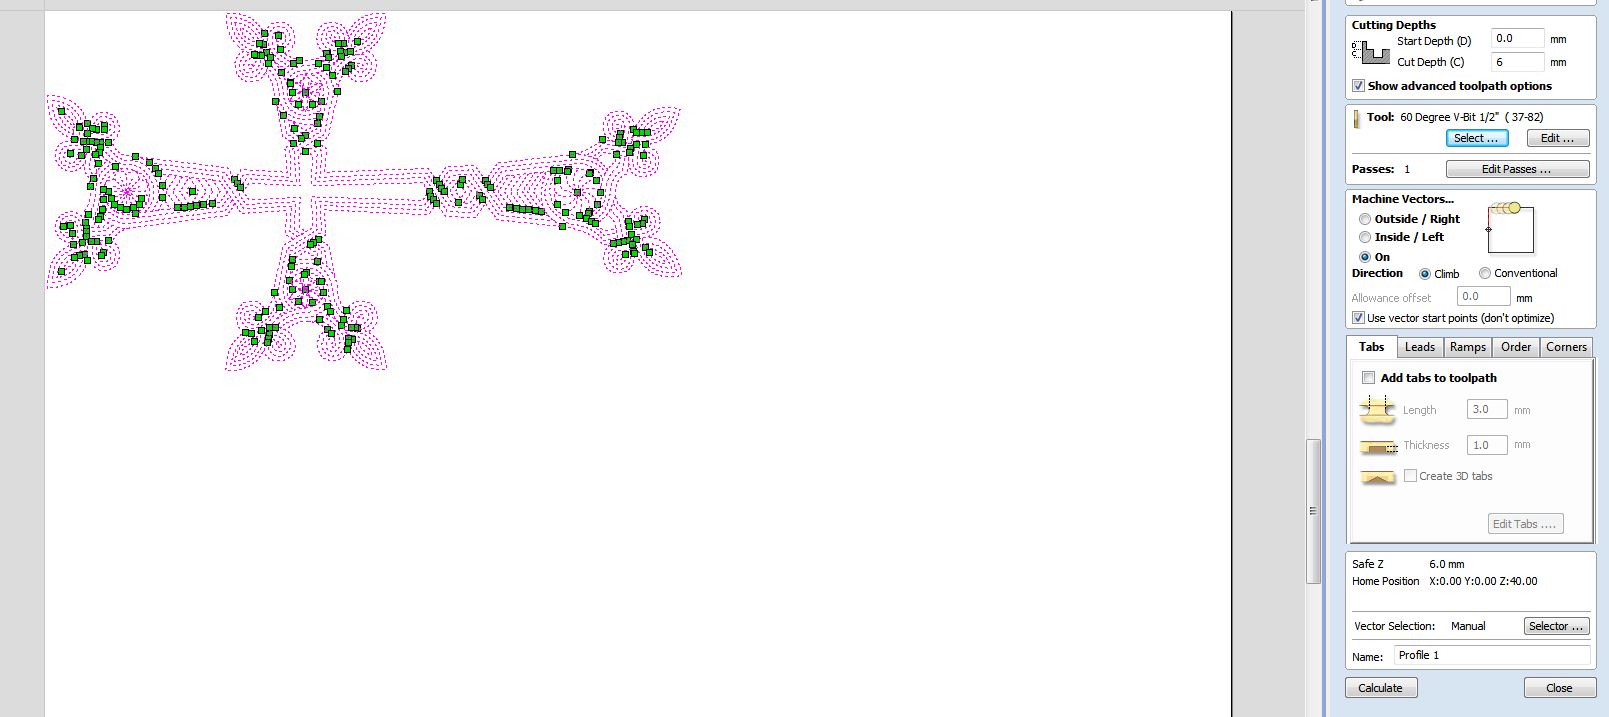
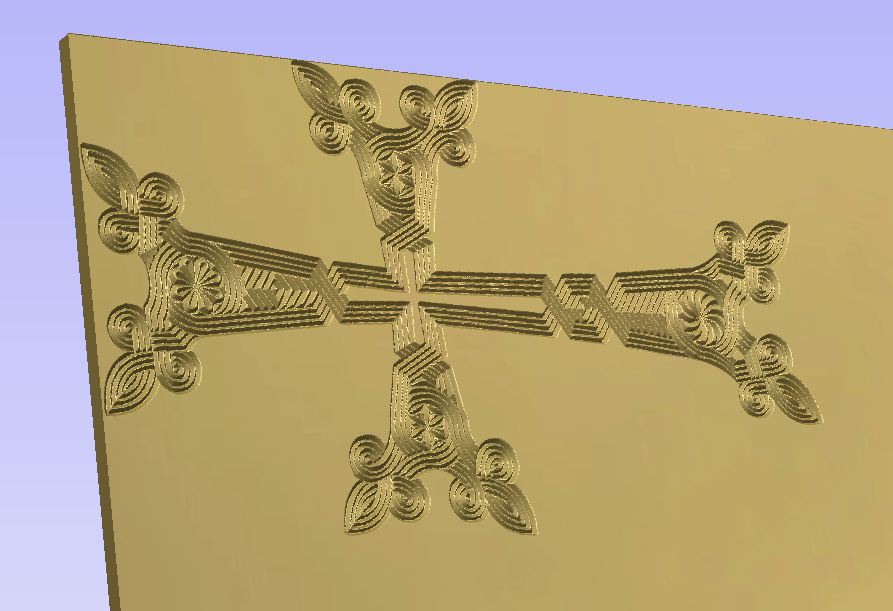
I checked Preview
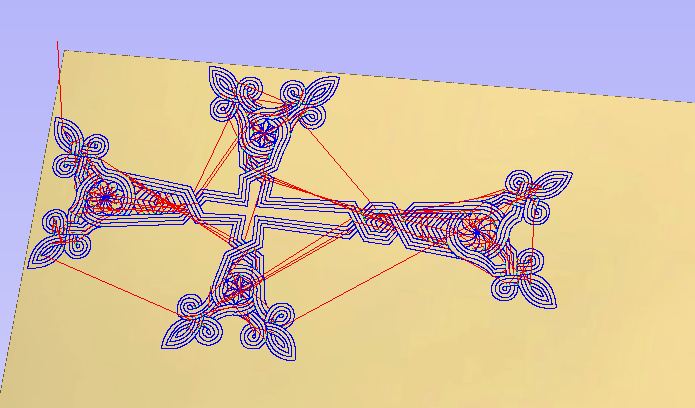
Yes, thats exactly what i need.
ShopBot
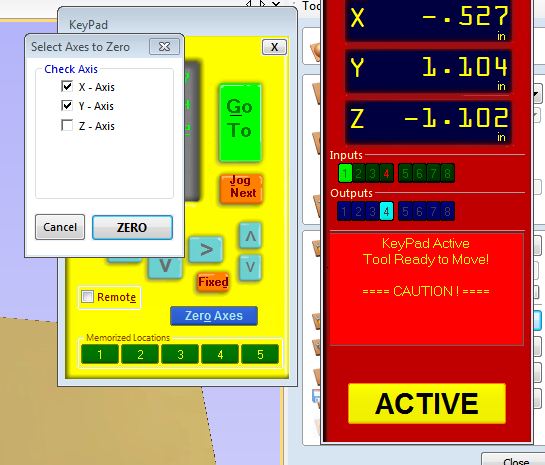
I set my (0,0) position in right upper corner, as i did in VCarve.
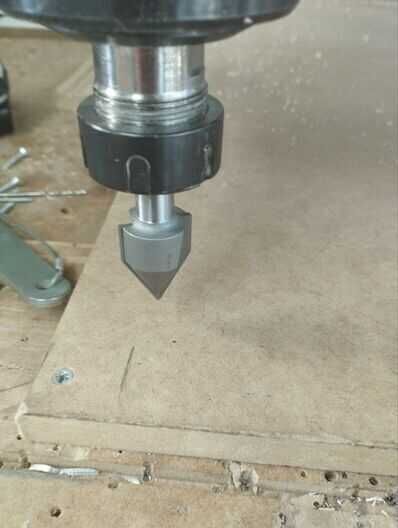
Then zeroing x and y position.
I always put material on the wooden parts, not on the table

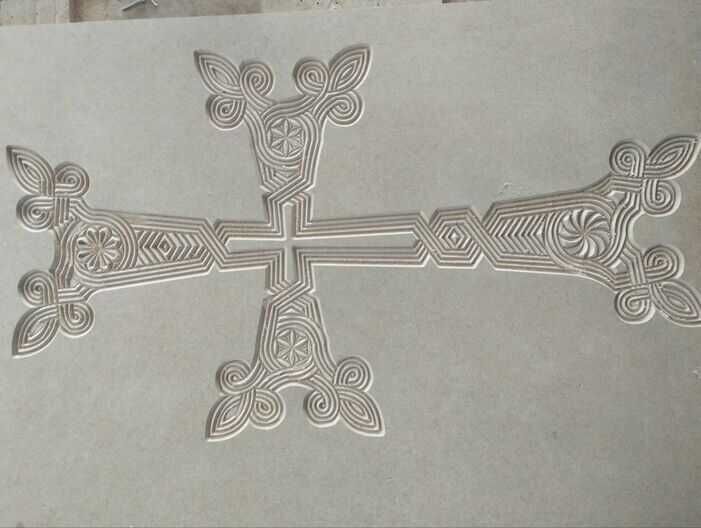
Then i started to cut.
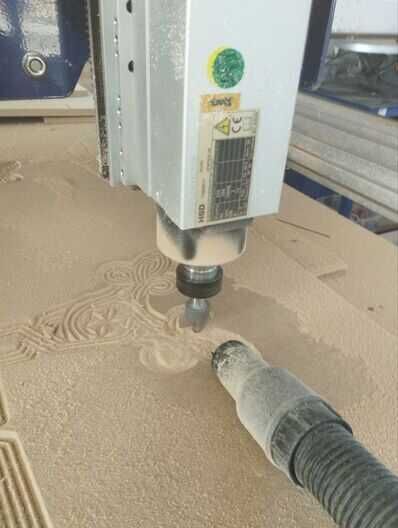
Here is it!!!
Closer view on Errors
As you can see many edges are damaged
The reason is that MDF is very soft material and is made of wooden dust mixed with glue
But overall it looks nice.
Guitar Stand
I saw on internet guitar stand for 6 guitars, that worths 1000$, i have 5 guitars, so i decided to make guitar stand like that, but much cheaper.
I will start from designing it in FreeCad.
Design
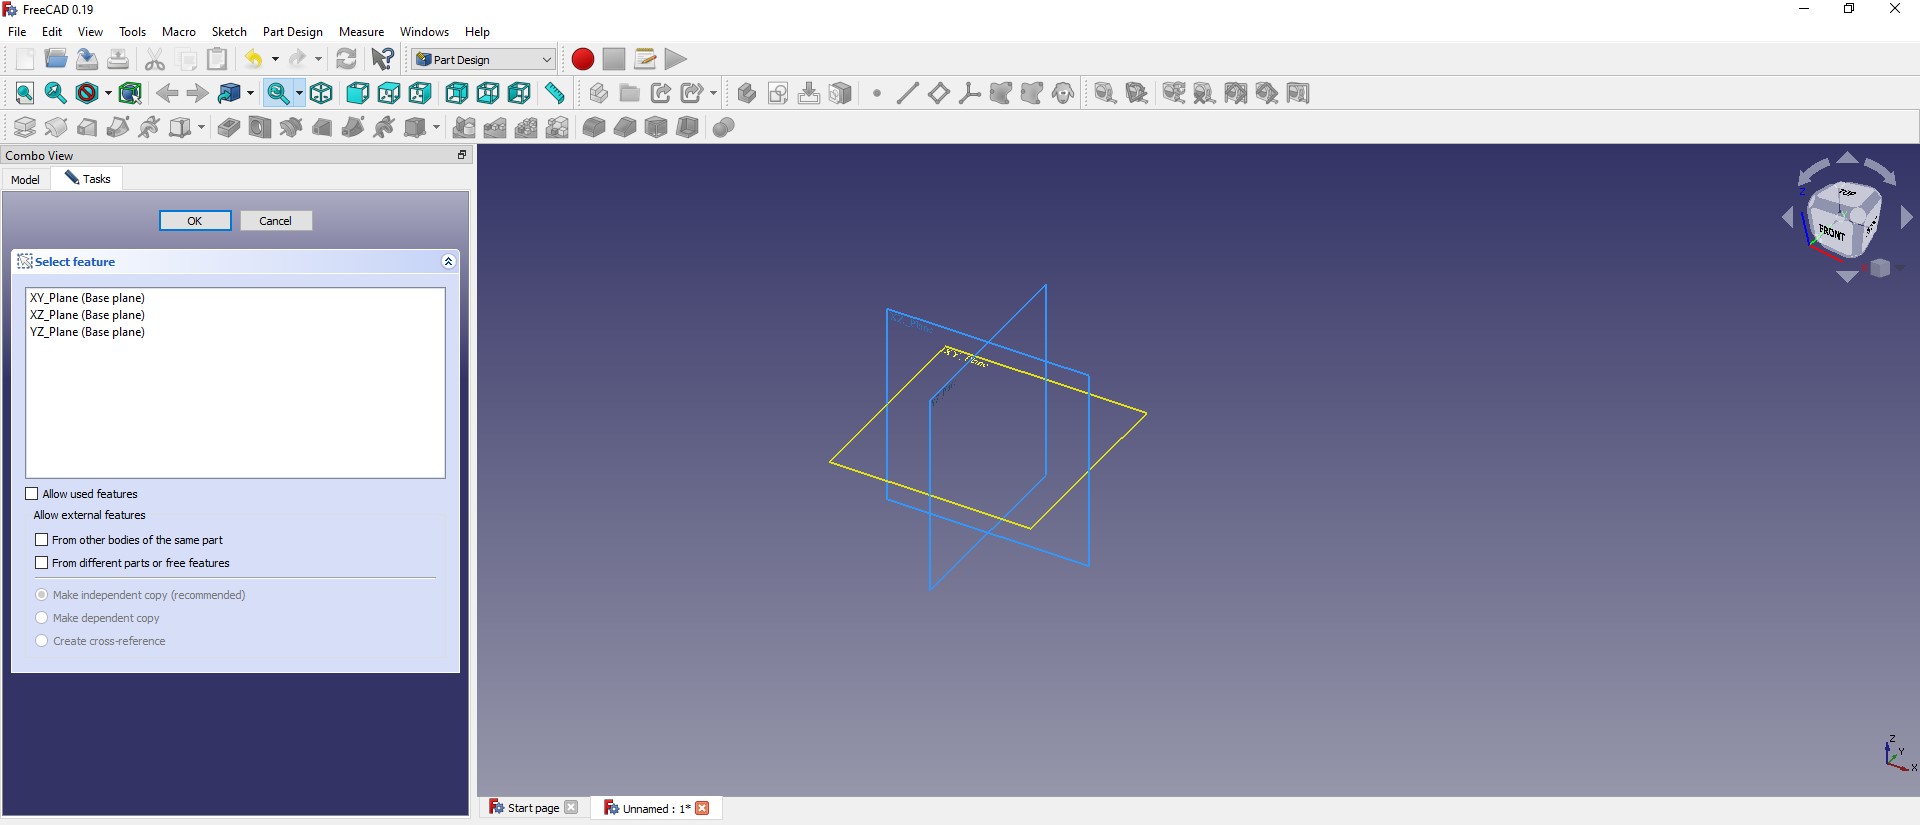
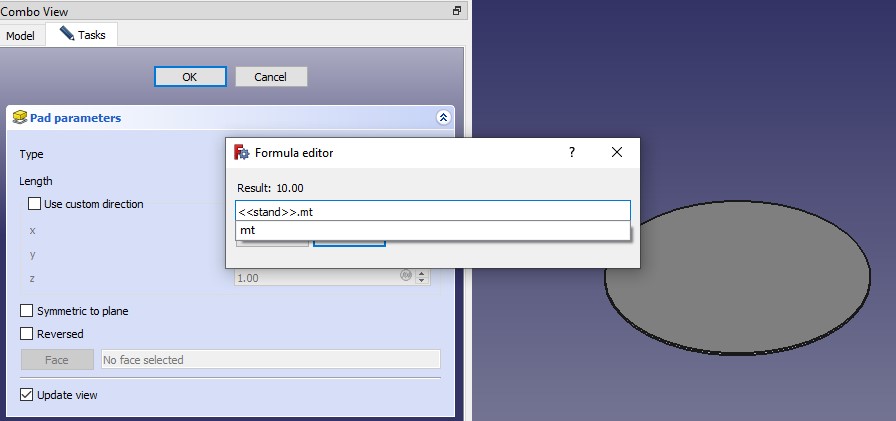
I will use SpreadSheet to make my design parametric, i wrote much more about Spreadsheets in my CAD week assignment
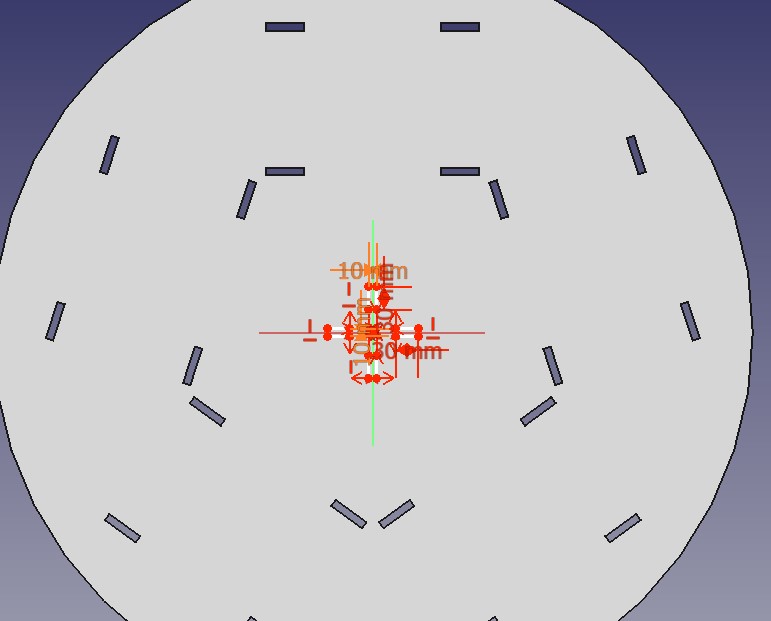
Firstly I calculated what Height my stand must be. I am using pythagoras formula.
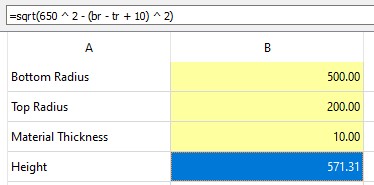
I am using parameters to set Height of materials, radiuses etc..
I will use 10mm plywood so value of first parameter is 10.
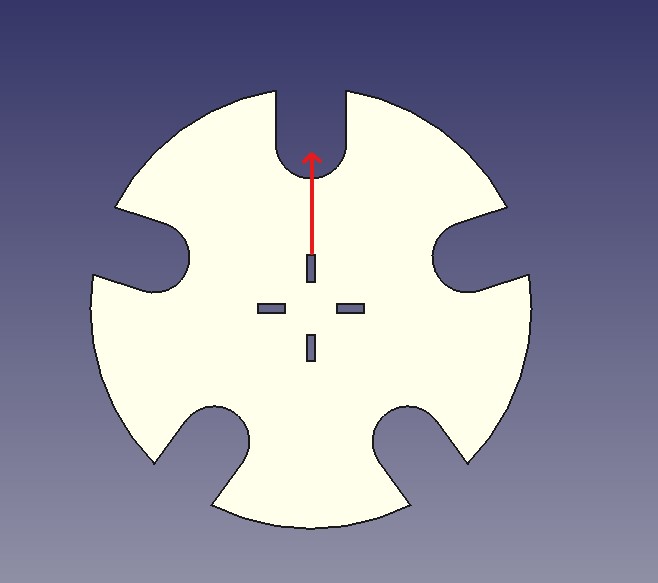
I tried to design my bottom part this way,
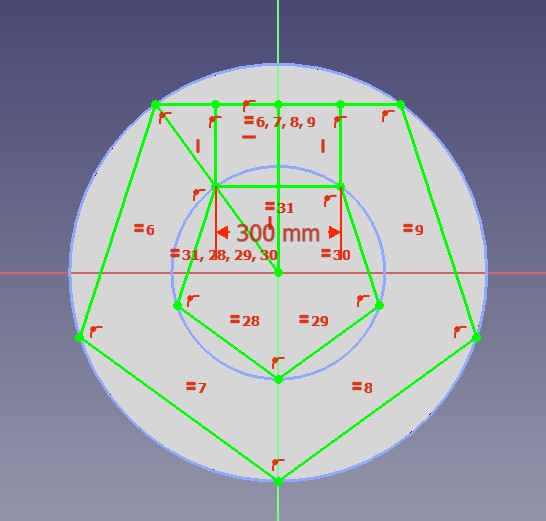
But then I realised that i can make one sector then with “Polar Pattern” tool multiply it
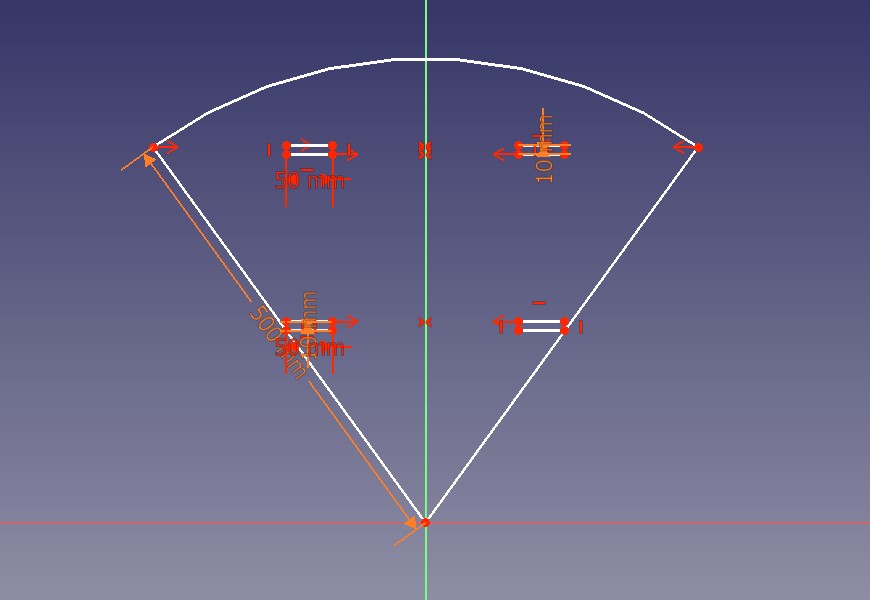
Here i have my bottom part.

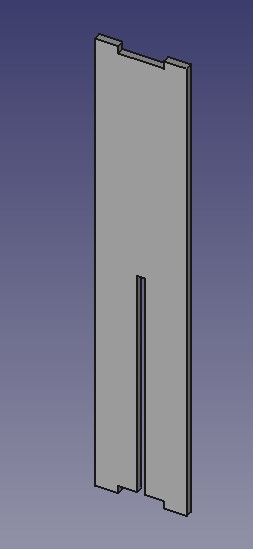
I drawed details that will connect to bottom part.
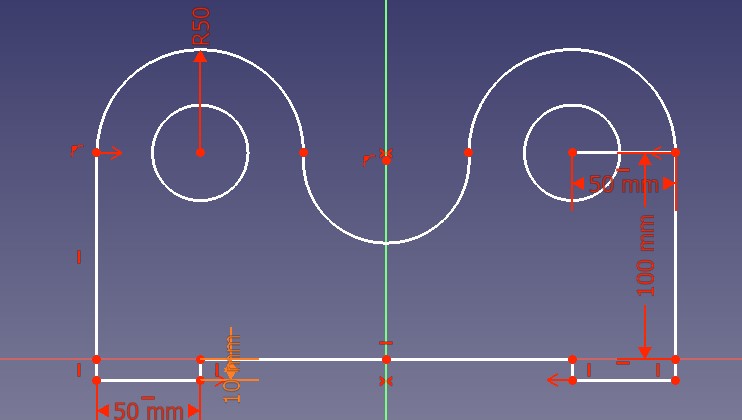
And extruded
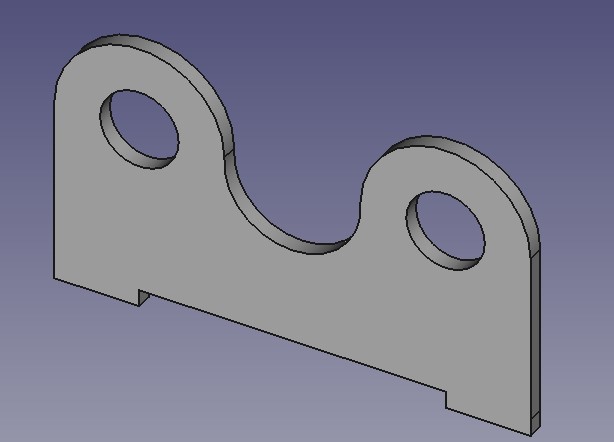
Then I realised that i don’t need holes through details, so i changed a little bit

And Cut-Extruded it from material
Yea, like this :)
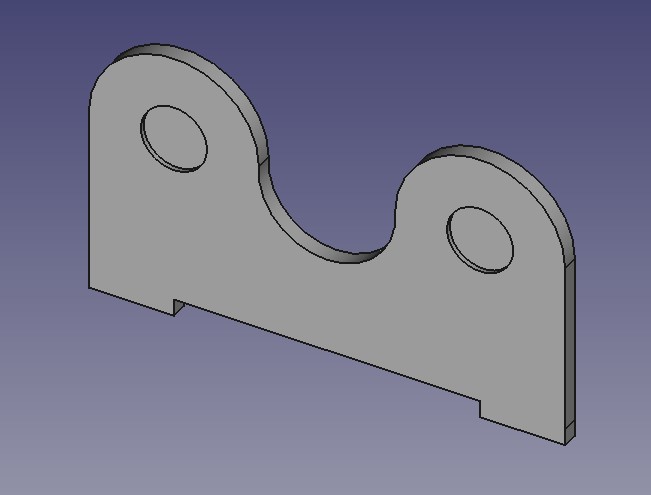
I have 2 details that will connect to each other, and will conect bottom part to top part.
And also I made Top part same way as bottom.

Top Part.
Also I must add 4 holes in top and bottom parts, to connect them with “height” detail.
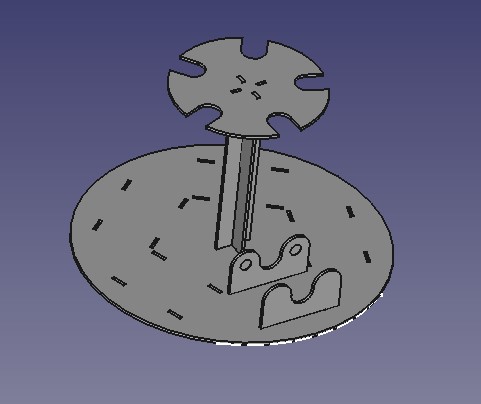
Assembly.
Material
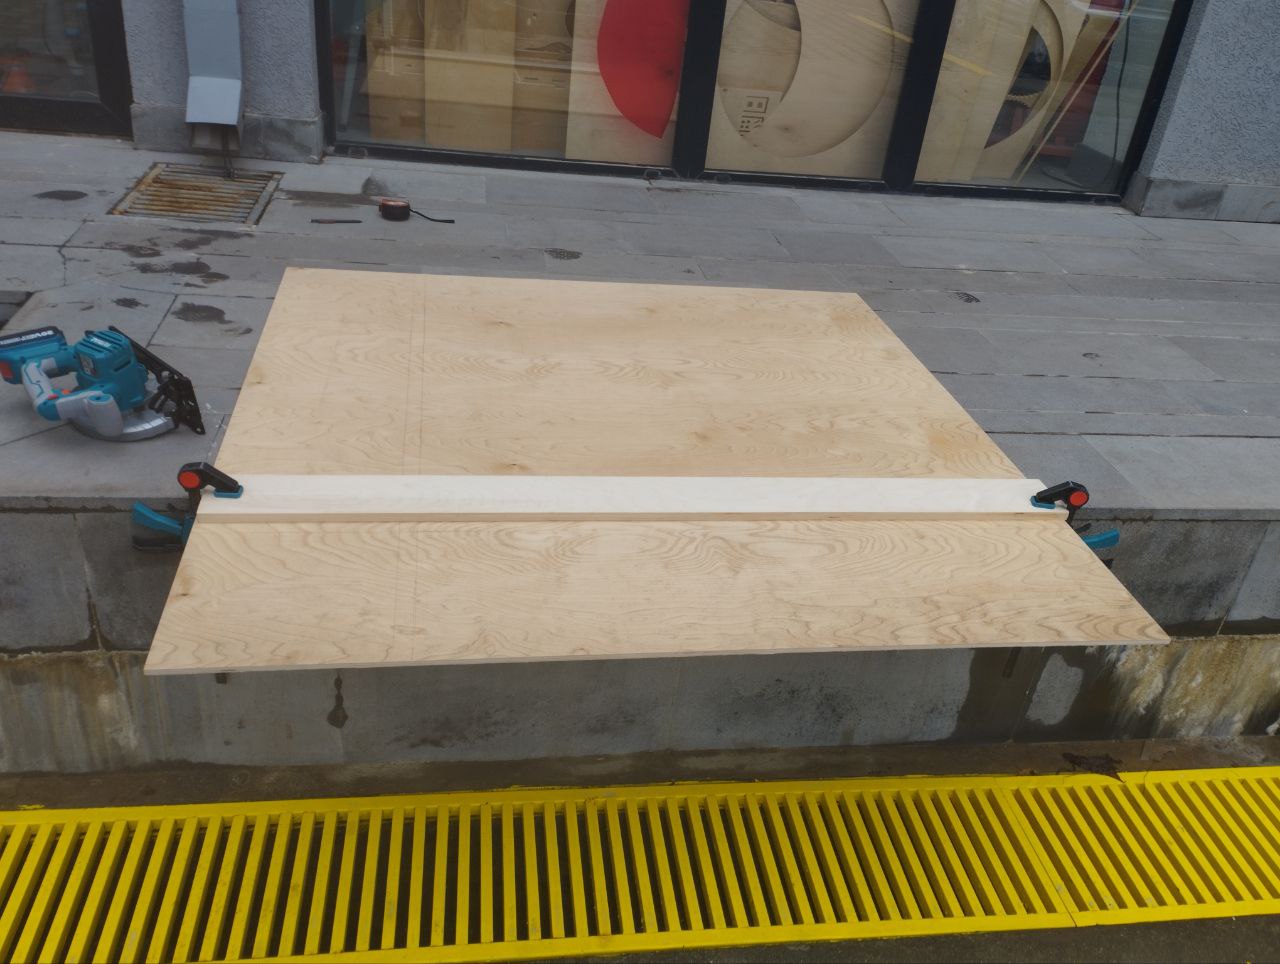
i am taking sizes of my material to cut it into size of my ShopBot RS Alpha table.
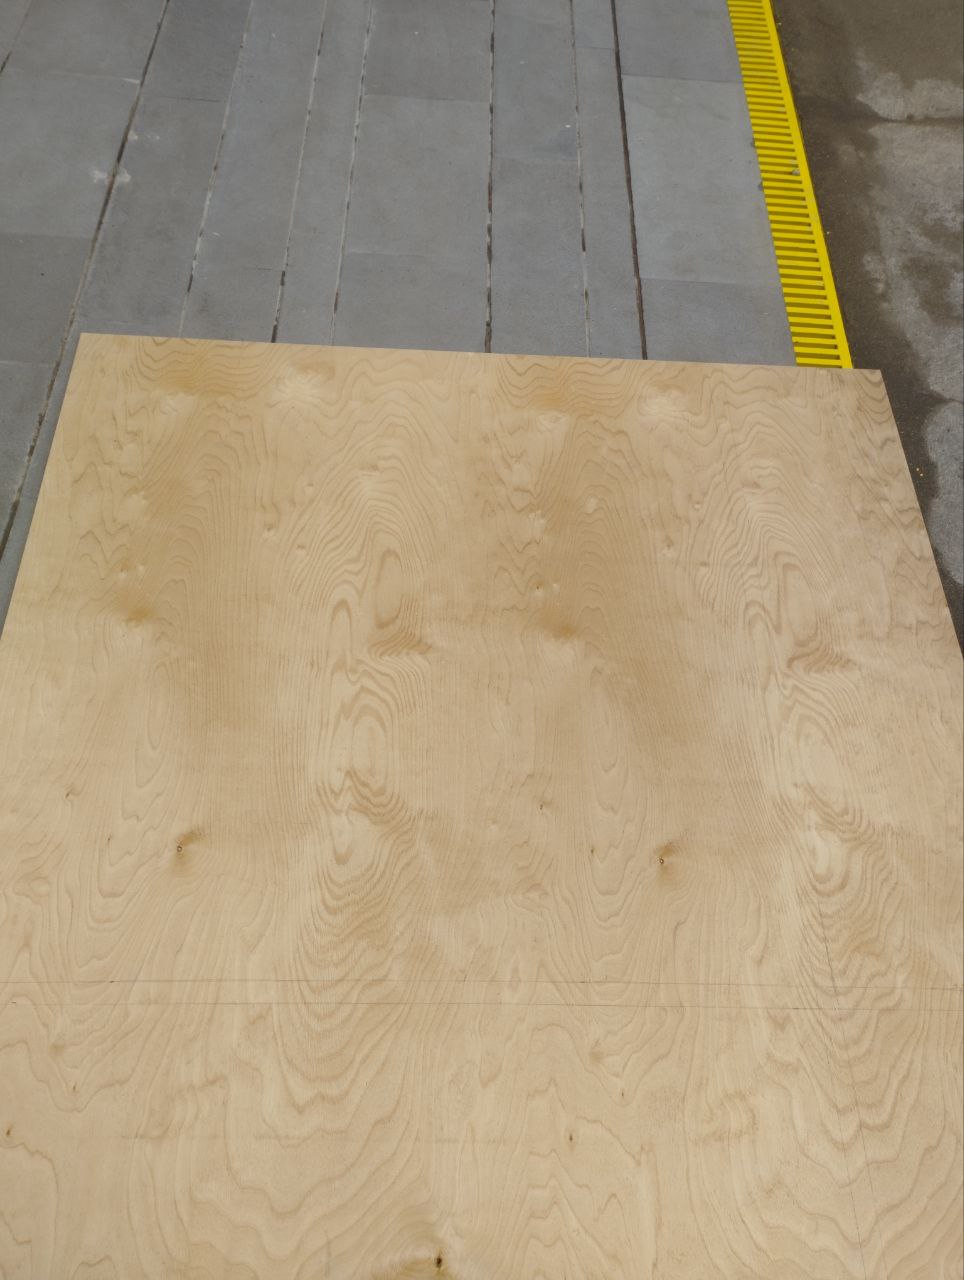
You can see black lines on my material i will cut square with 24 inch size, to fit ShopBot.
I am measuring Circular saw wall size, to add that size to my lines, so saw can goes right way.
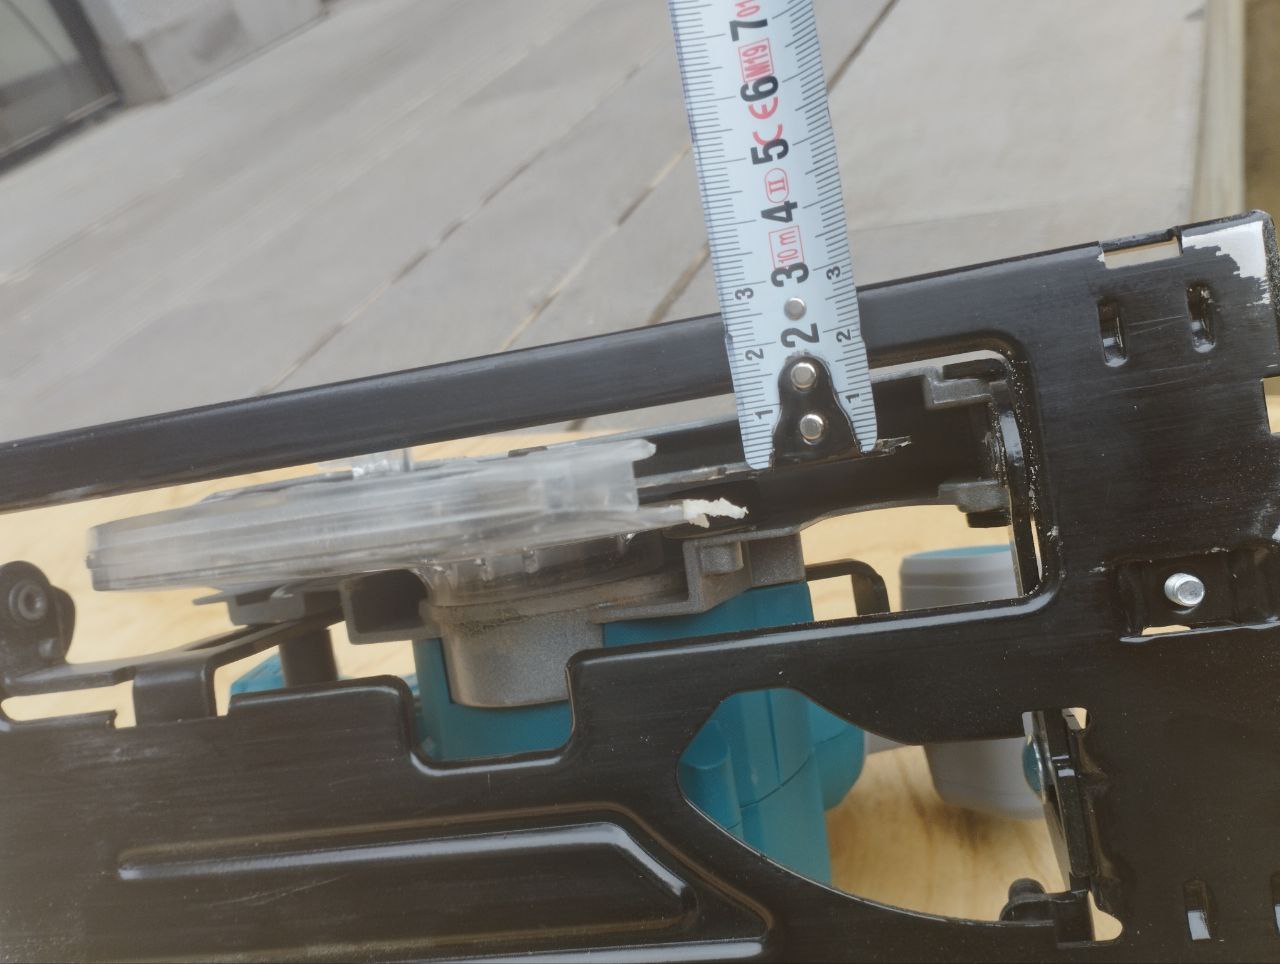
Here is my Saw cutting setup.
VCarve
I am using VCarve to generate g-codes for ShopBot.
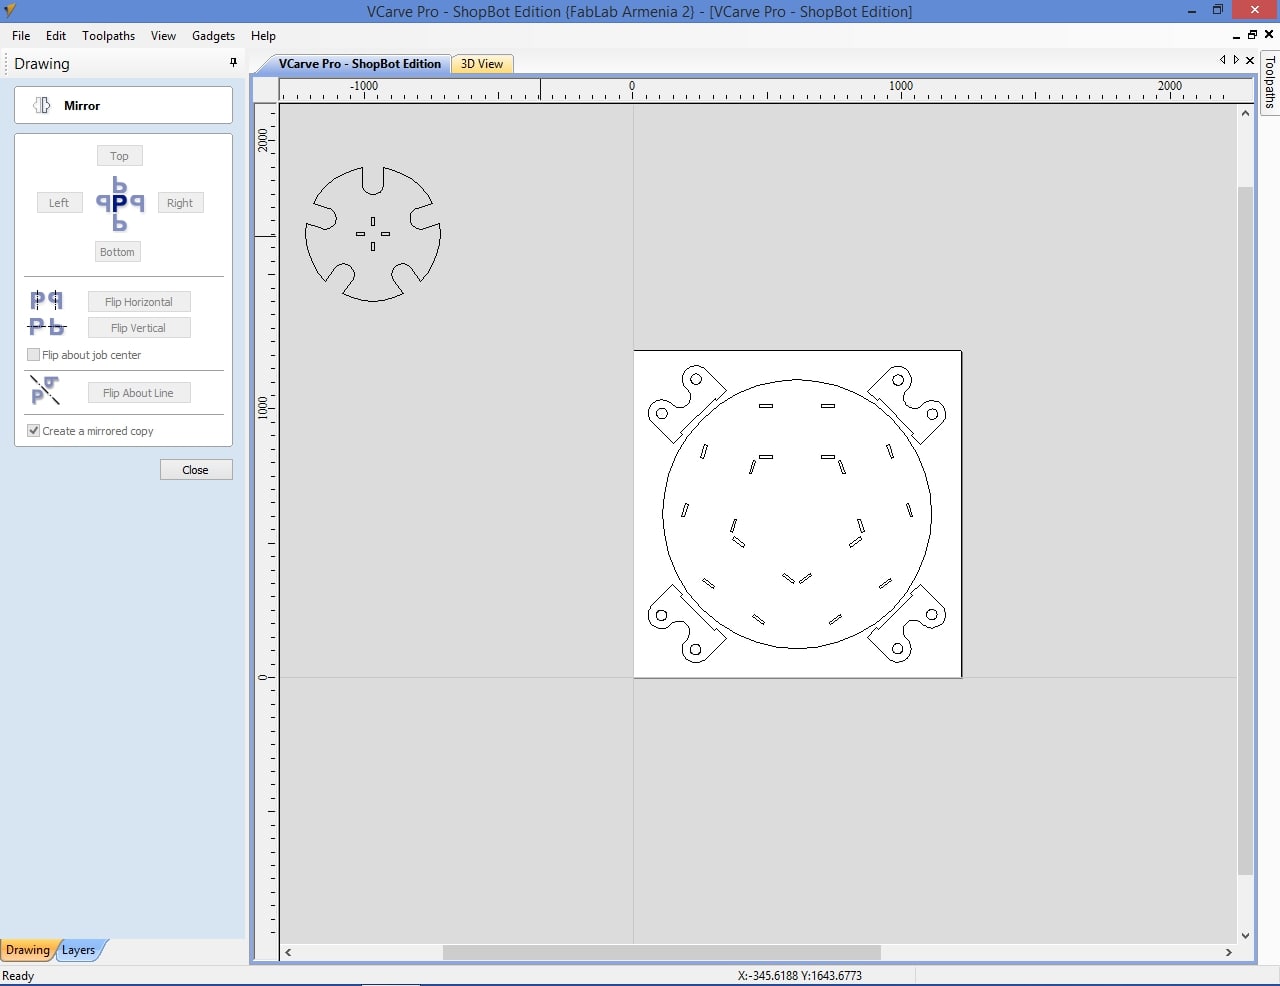
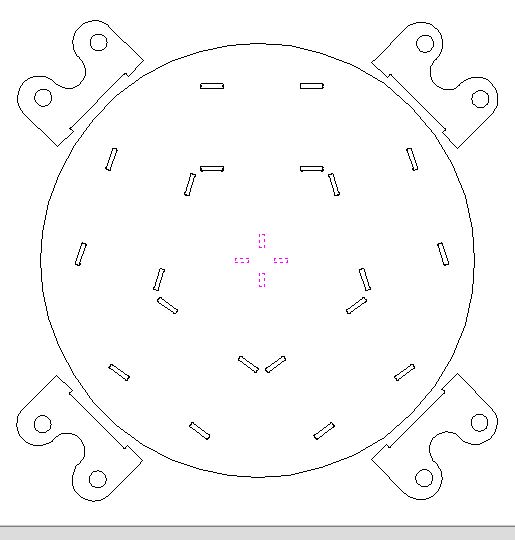
Putting pieces to optimize material use.
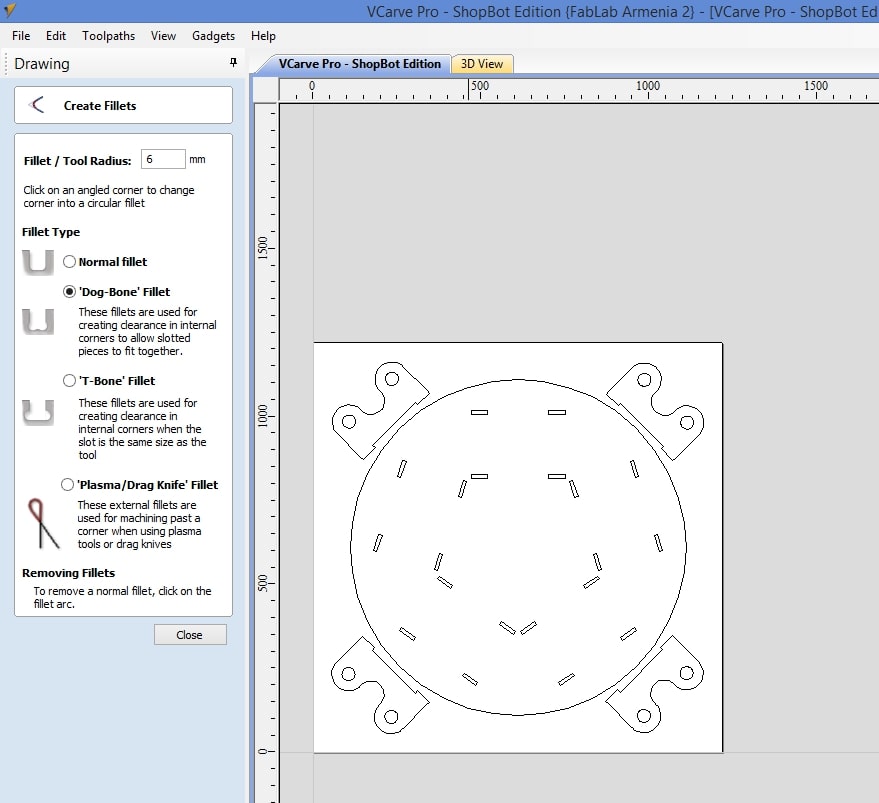
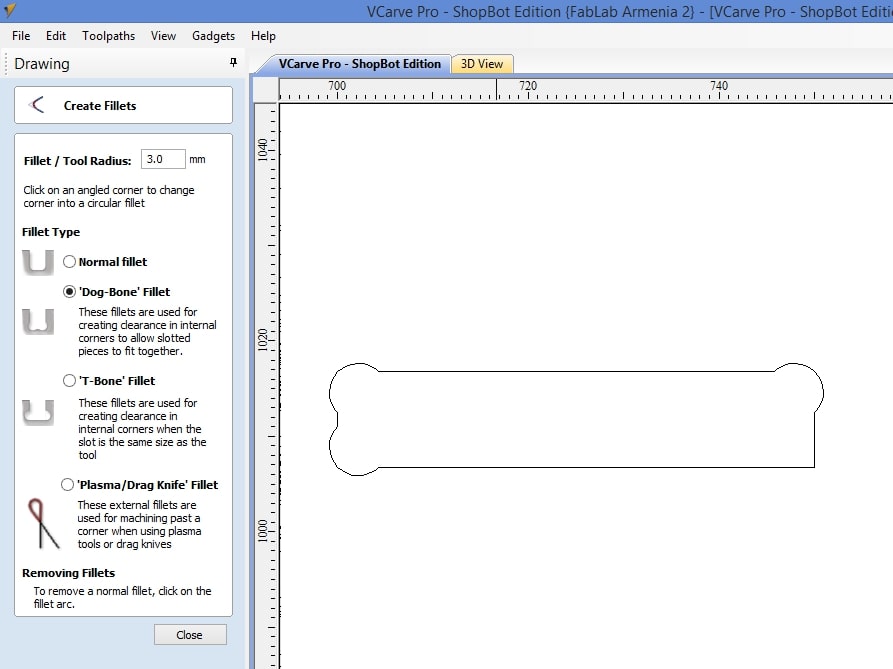
Then i will use “Dog Bones” to cut angles, to make details connect in right way.
Then i made profile toolpaths for cutting inside bottom part.
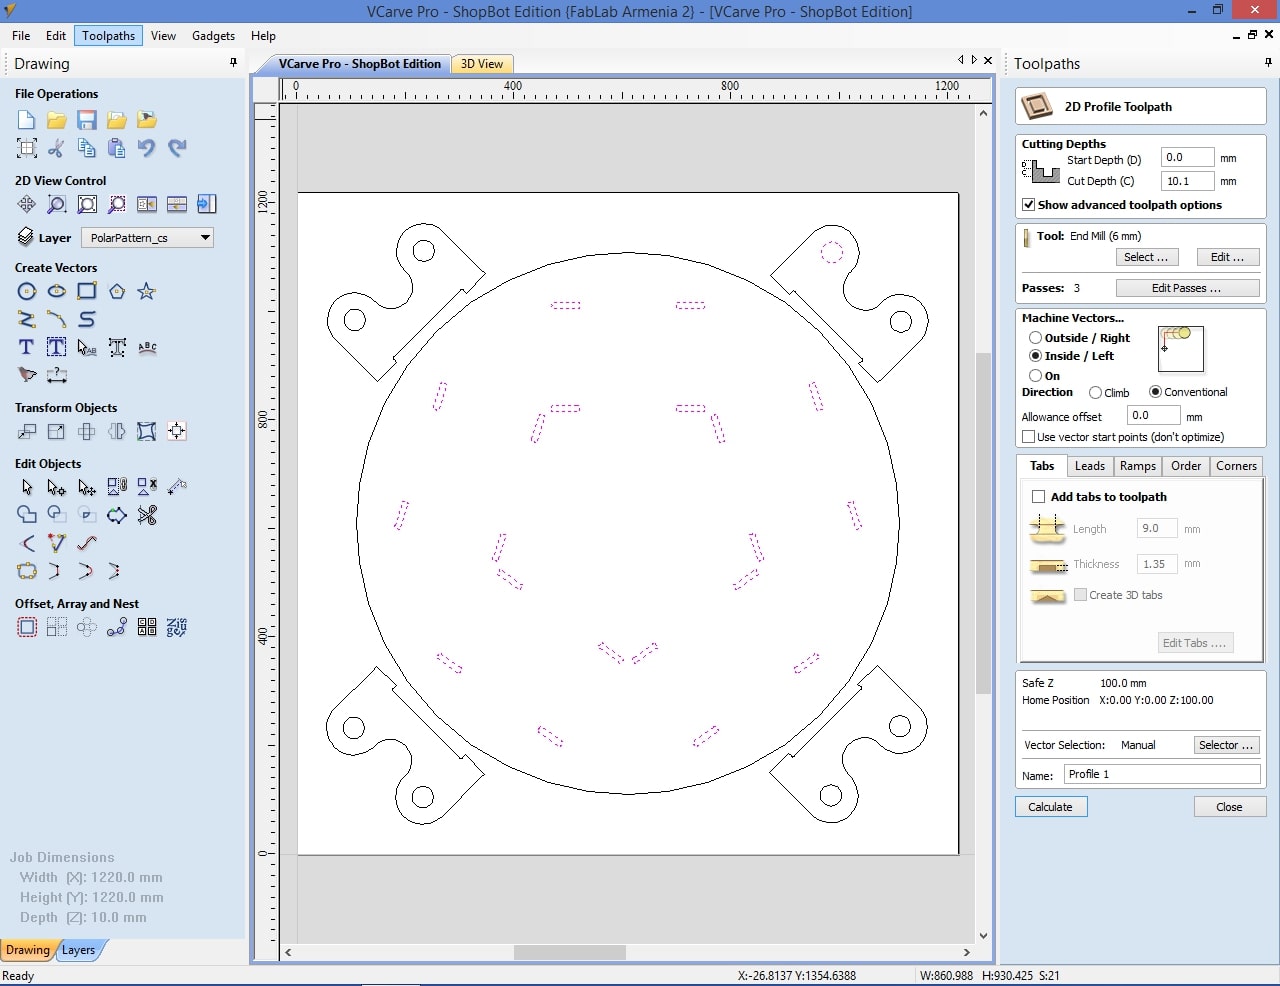
And Pocket Toolpaths for coneection details.
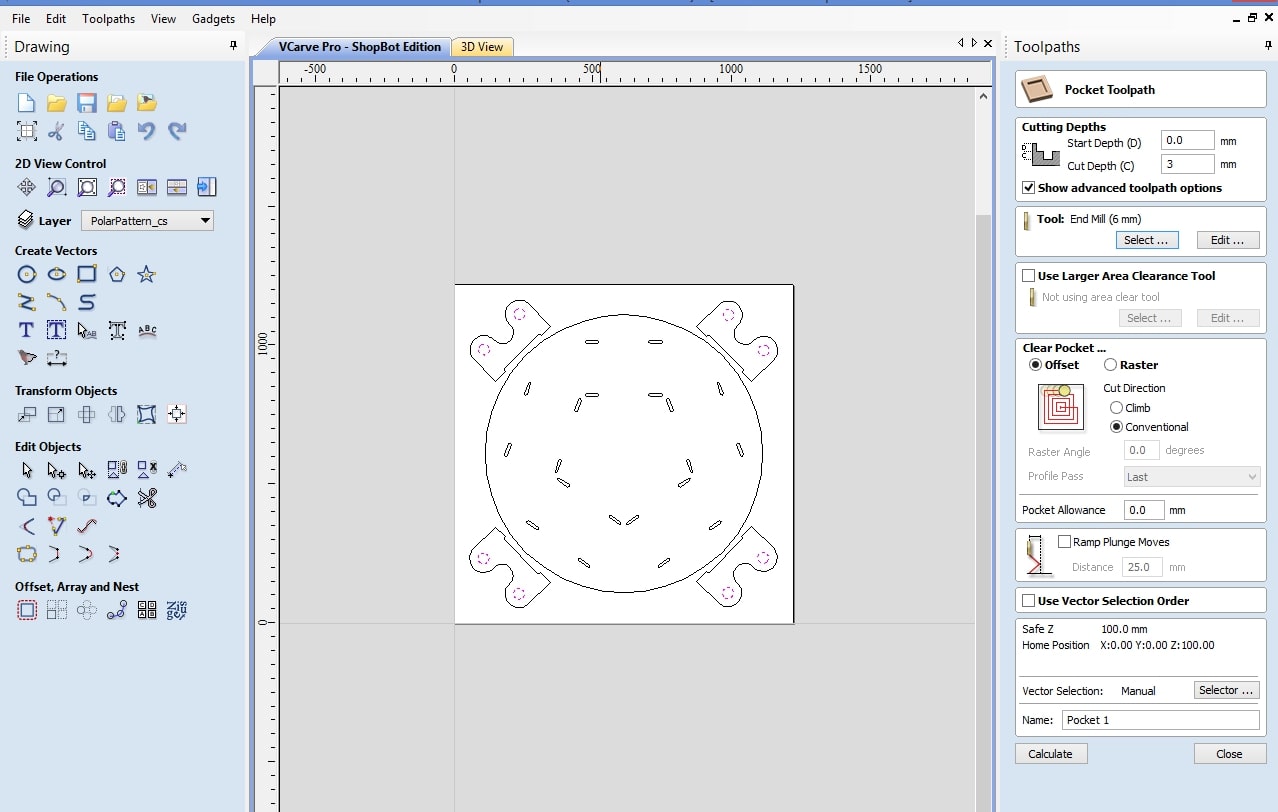
I added some Gaps to my details, not to break-out from my material after cutting.

Checking Safe Z.

Oh! I forgot to put here 4 profiles that will connect to Height detail))
ShopBot
Here is cutting process
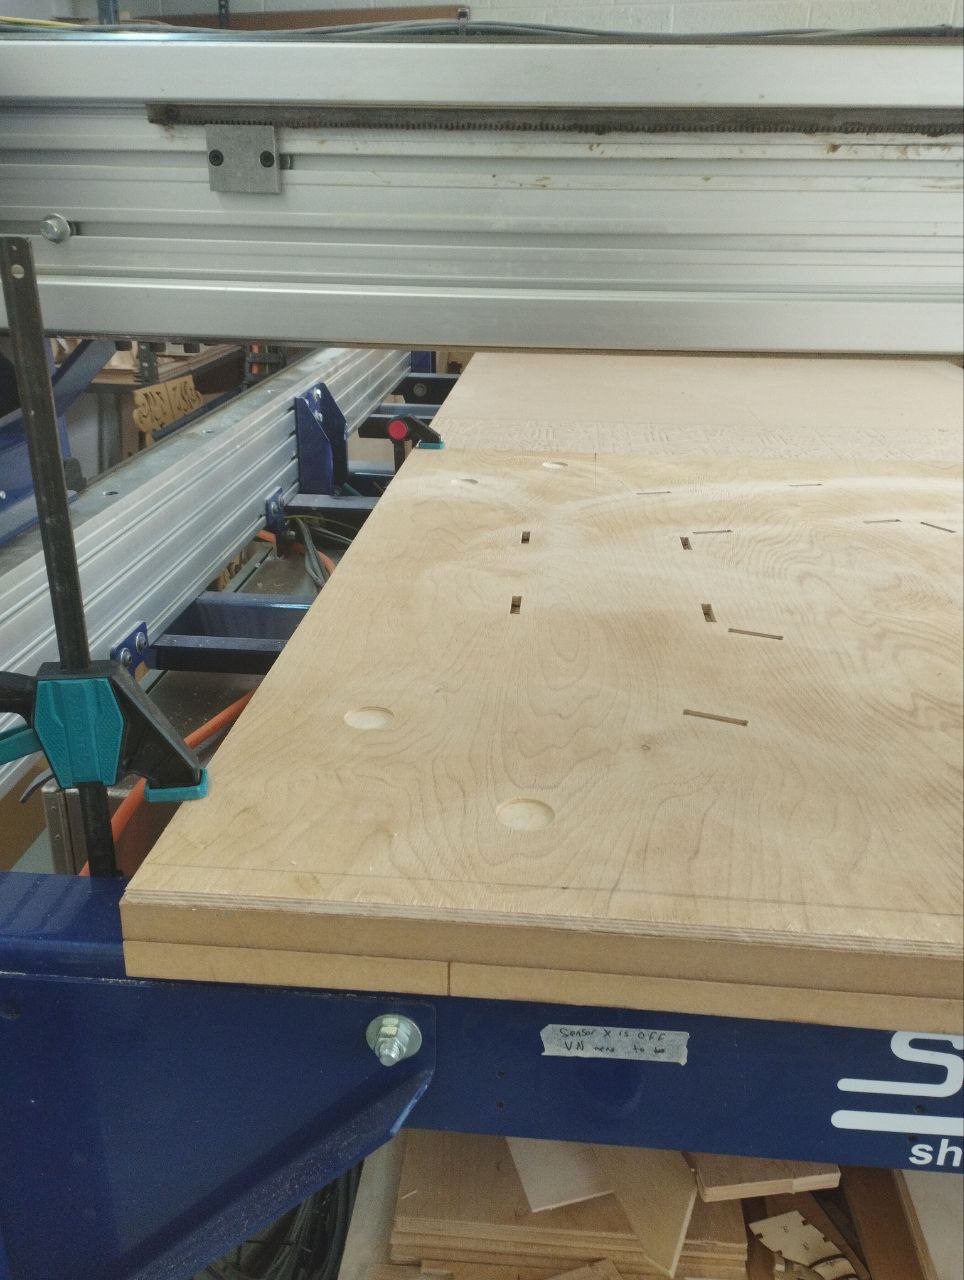
Everything goes well
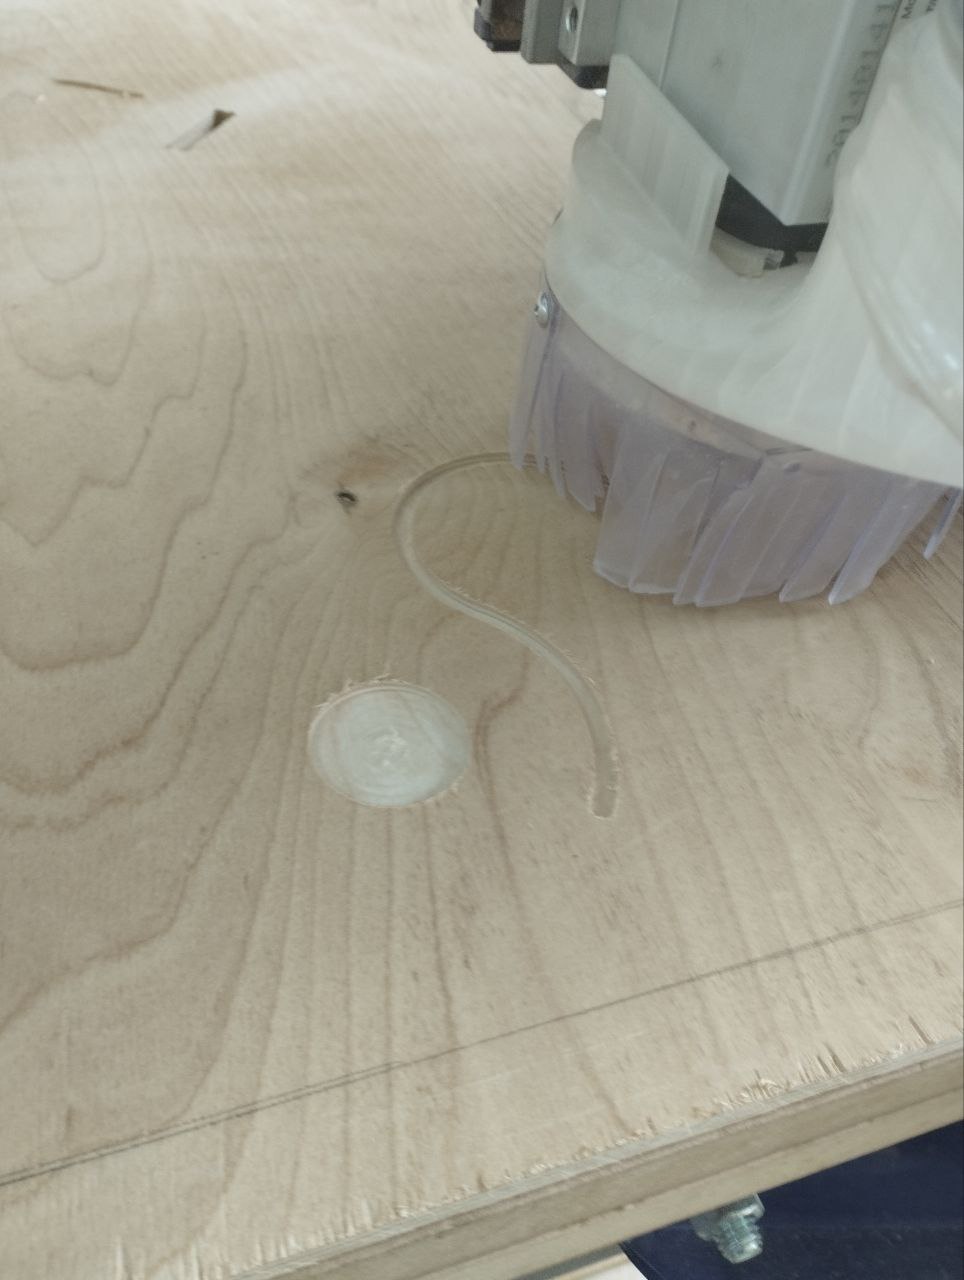
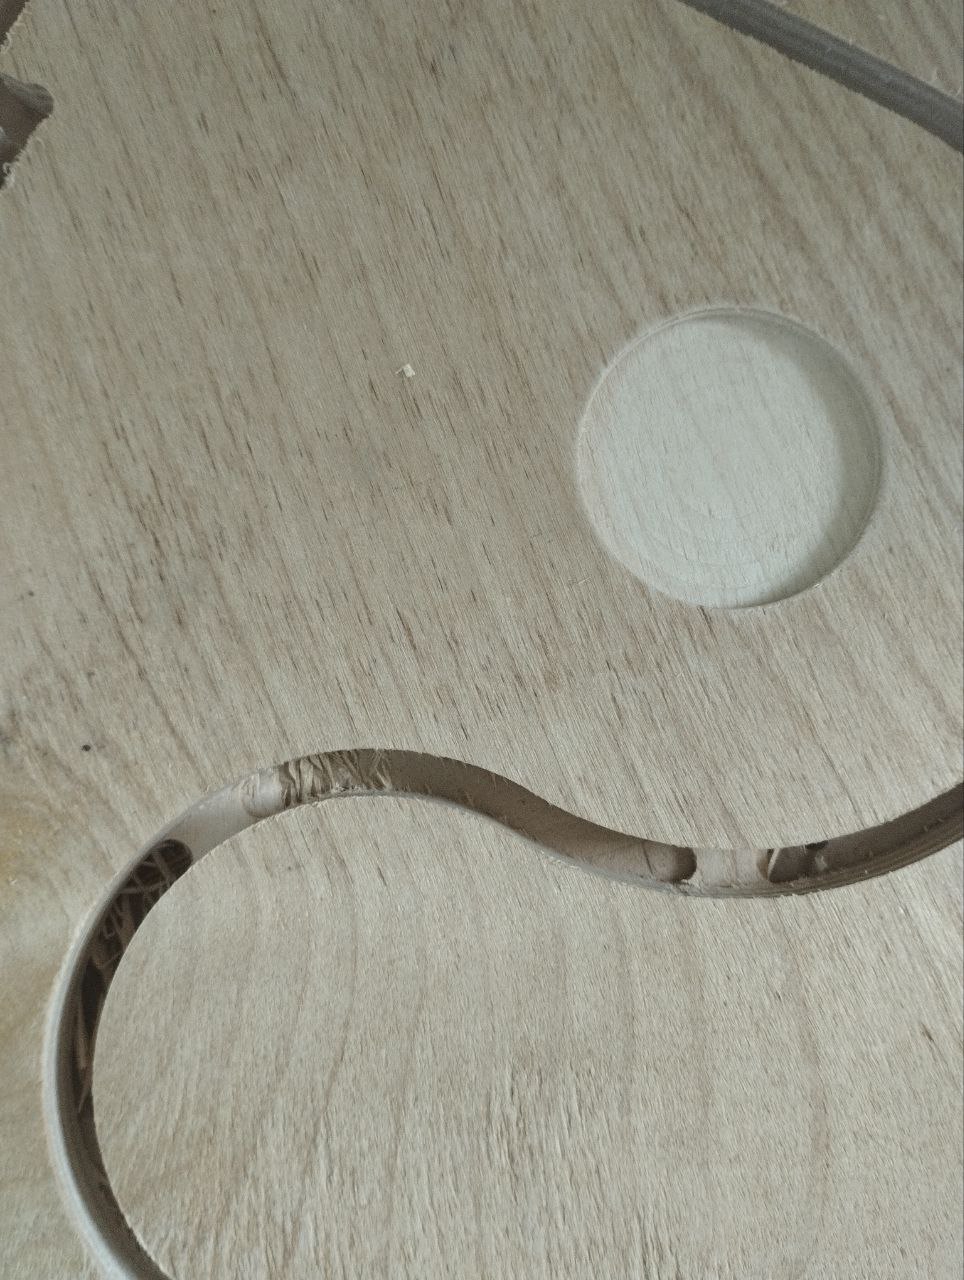
You can see gaps
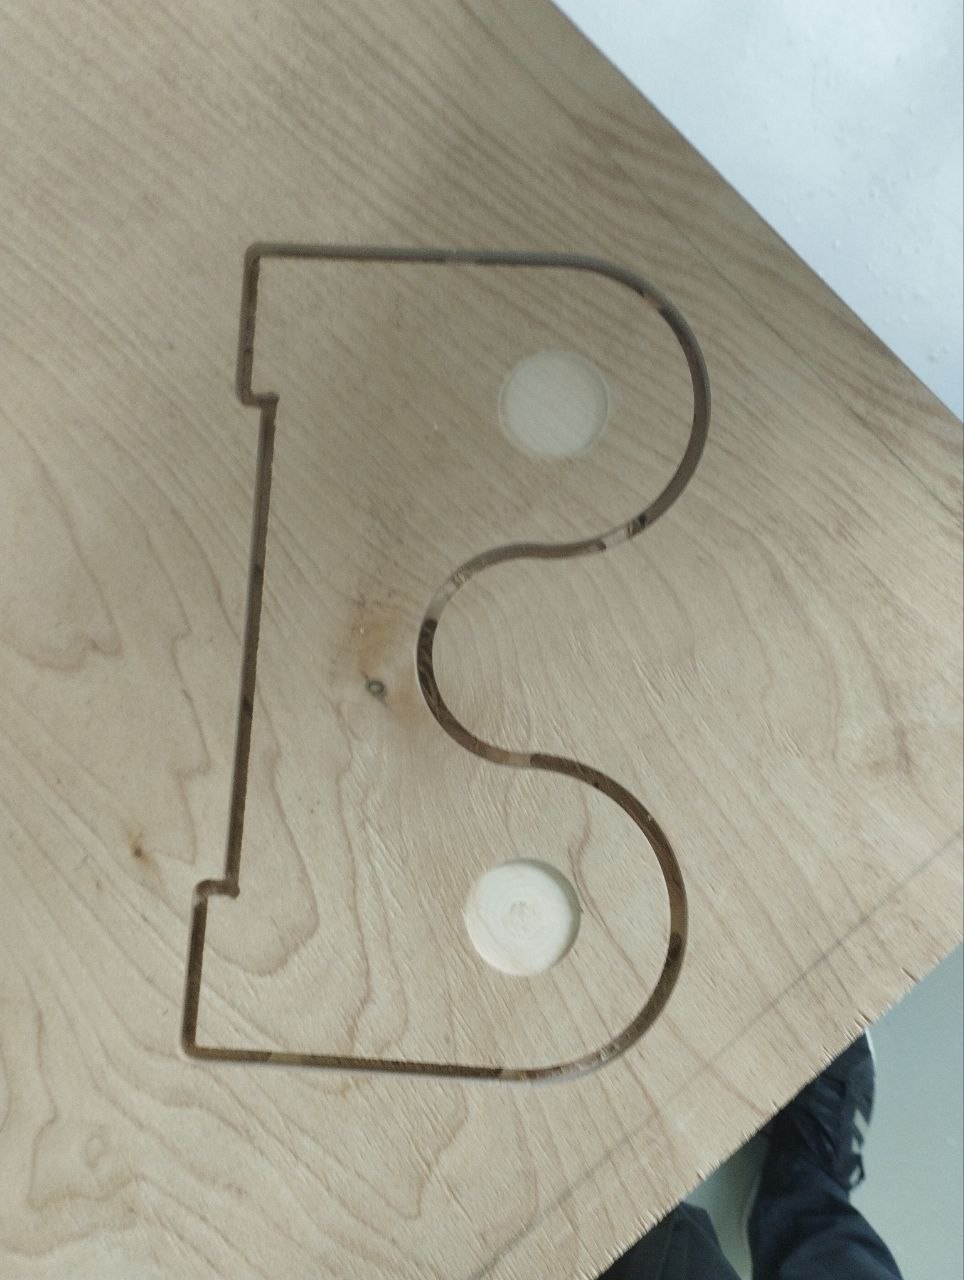
Closer look on Gaps
After cutting some details it started to look like what i want.
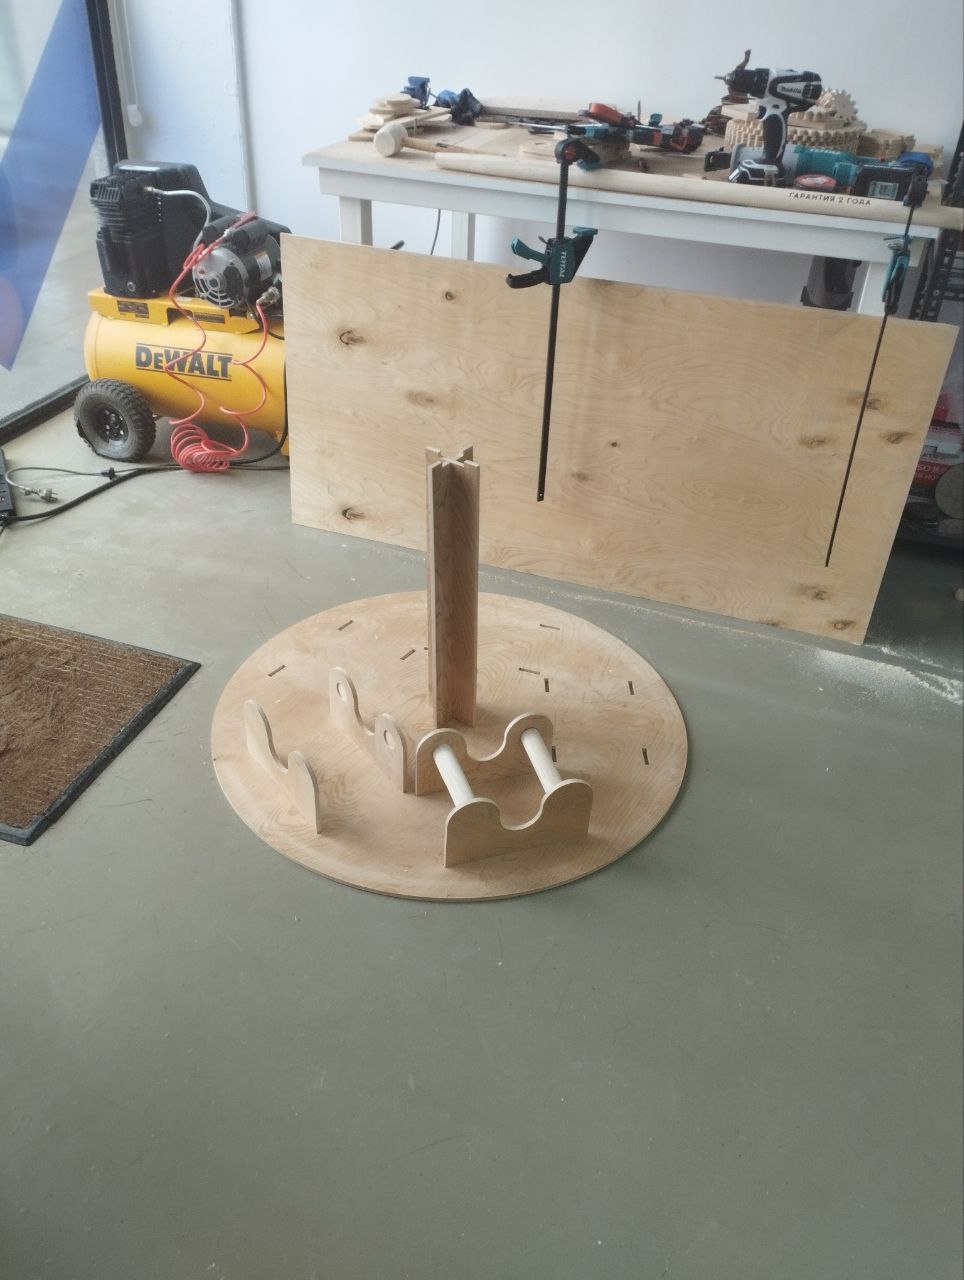
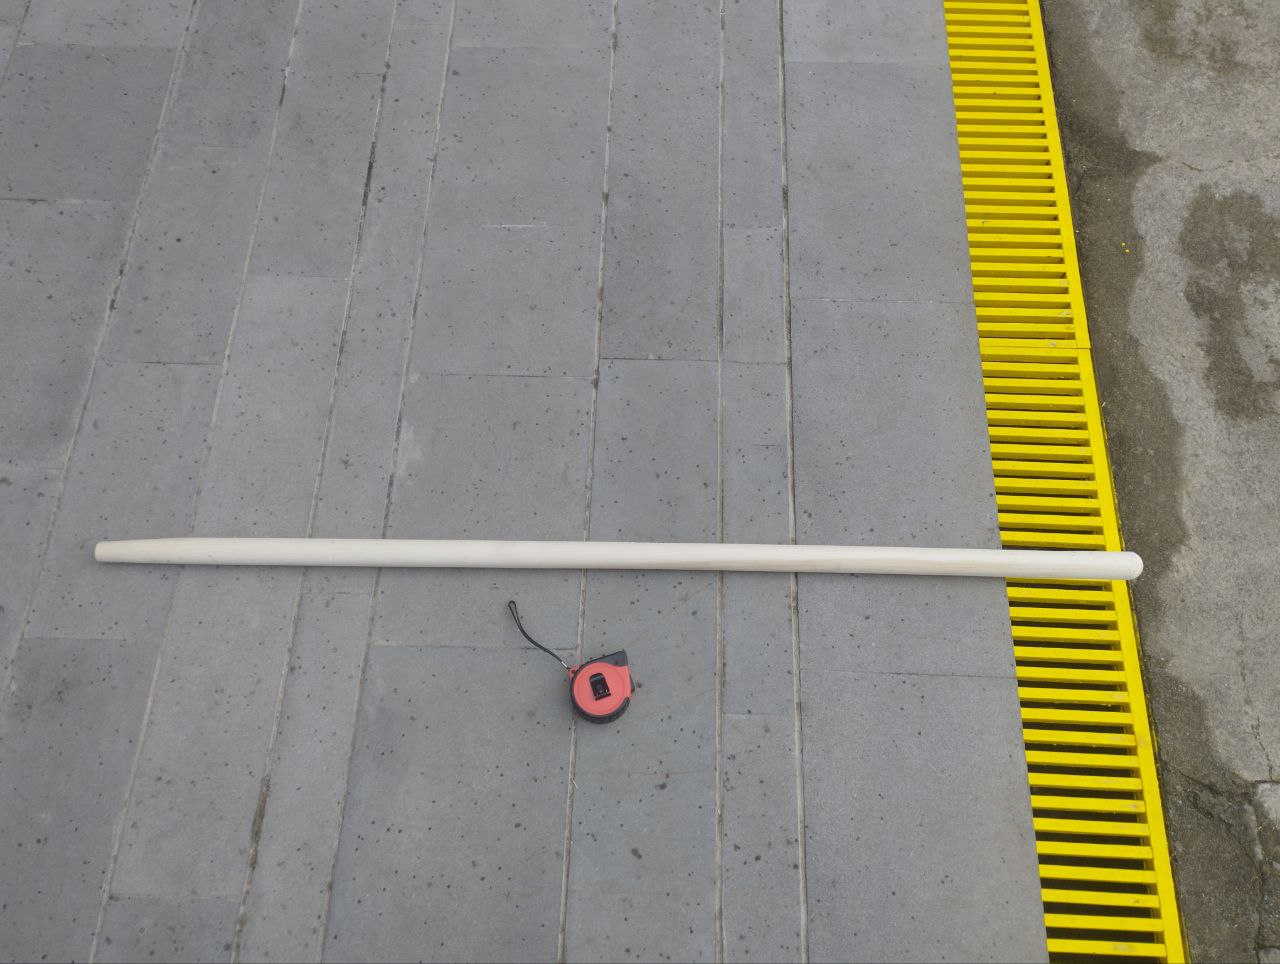
I am using Towel wood part, to make straight round pieces, i cut them by hand.
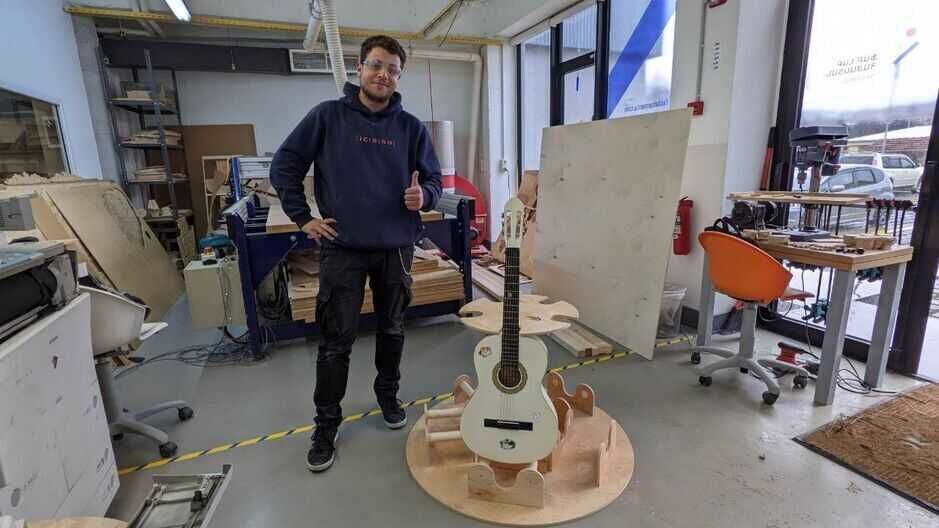
Final View
That’s it )))
Conclusion
This week was a great deep dive into working with CNC machines. I got more comfortable with the full process—from designing in FreeCAD, exporting files, preparing toolpaths in VCarve, and actually cutting on the ShopBot.
I really enjoyed making the Khachkar; even though it was just a test on MDF, the process of turning a hand-drawn sketch into a physical object was super satisfying. Can’t wait to redo it with real wood and better finish. Also, starting the guitar stand was exciting, it pushed me to use parametric design more seriously, and it’s cool seeing it come to life step by step.
There were definitely some challenges: learning to pick the right cutter, getting the dogbones right, and making sure everything fits. But I feel like I’m getting the hang of it.
Overall, it was a fun and productive week with lots of hands-on experience. I’m looking forward to finishing the stand and refining the Khachkar soon.
2025 Conclusion
All projects that are described here are made in 2023 and were approved by Global Evaluator, so after small redaction I decided to concentrate more on other weeks.
Files
Here is my files for FreeCad 0.19 (or older)
Parts that are connected to bottom part
and Assembly of all.