Computer Aided design
2023
This week i was designing my final project prototype.
For first, I decided to use Fusion 360, as i work with Fusion for many years, but then I decided to work with FreeCad, because i’ve always benn afraid of it, and FabAcademy is great opportunity to start.
3D Design
By selecting “Create New” we’ll go to our workspace
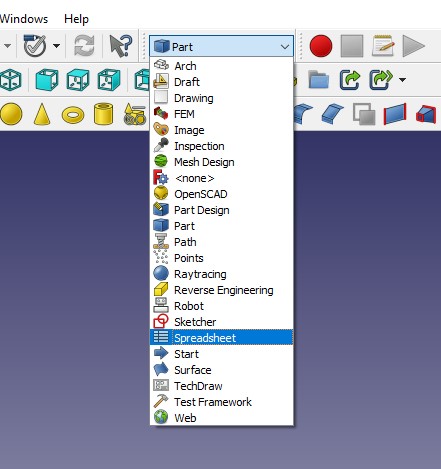
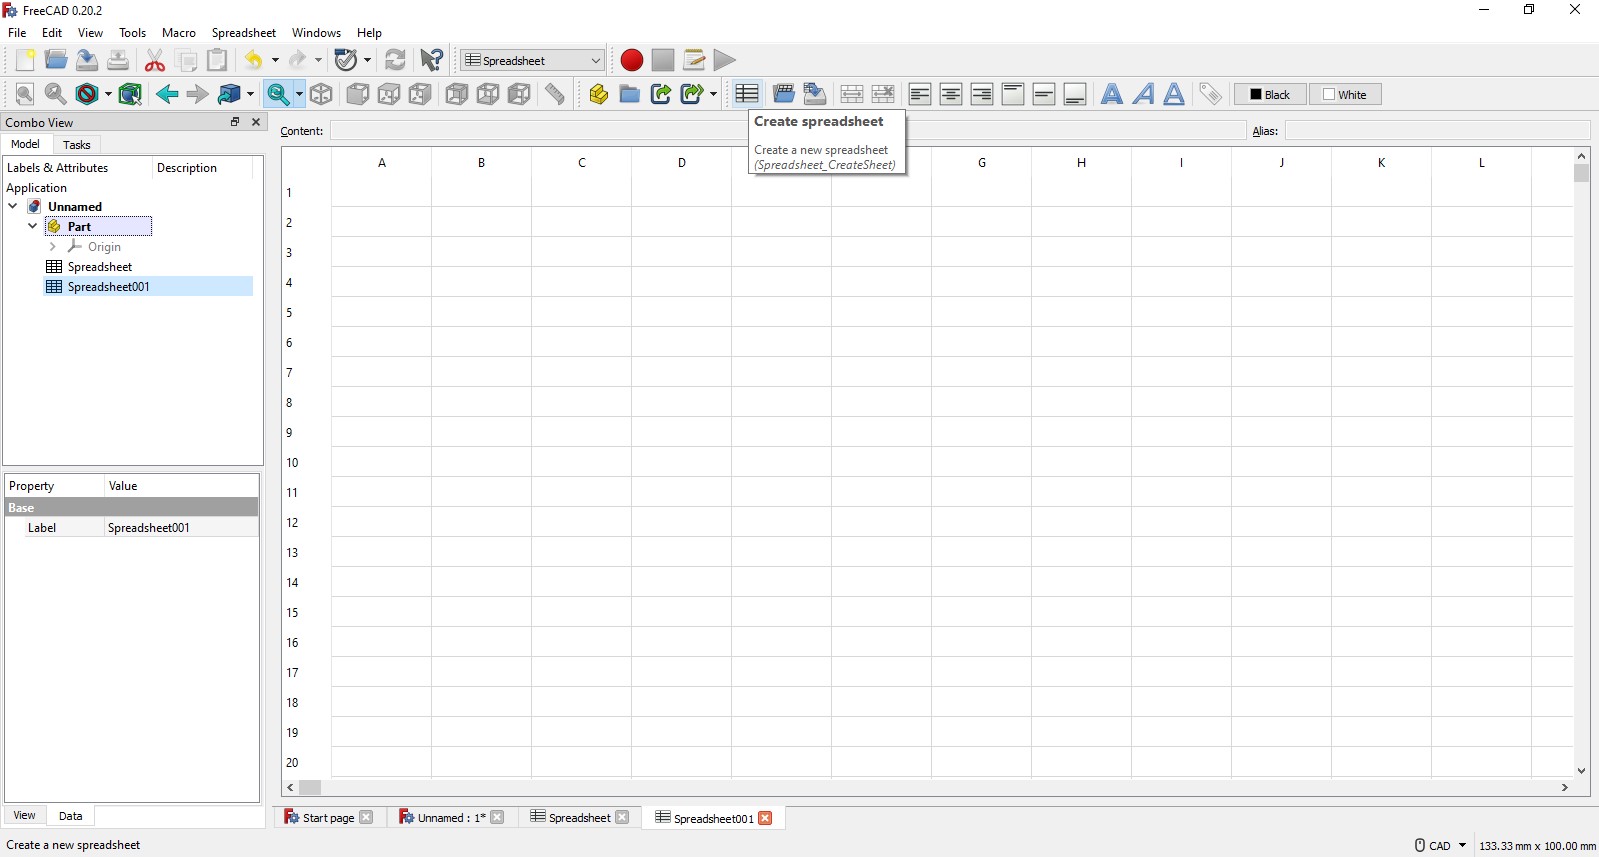
Creating Spreadsheet
I want my design to be changable, because i want to be able to change sizes of my table, so let’s create Spreadsheet,
Select Spreadsheet workbanch.
and put there lenght and width of my table

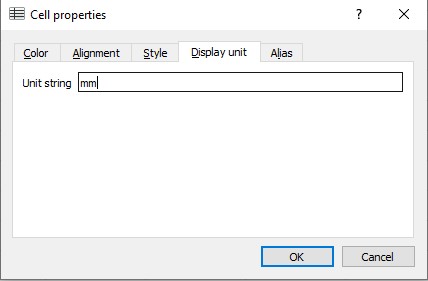
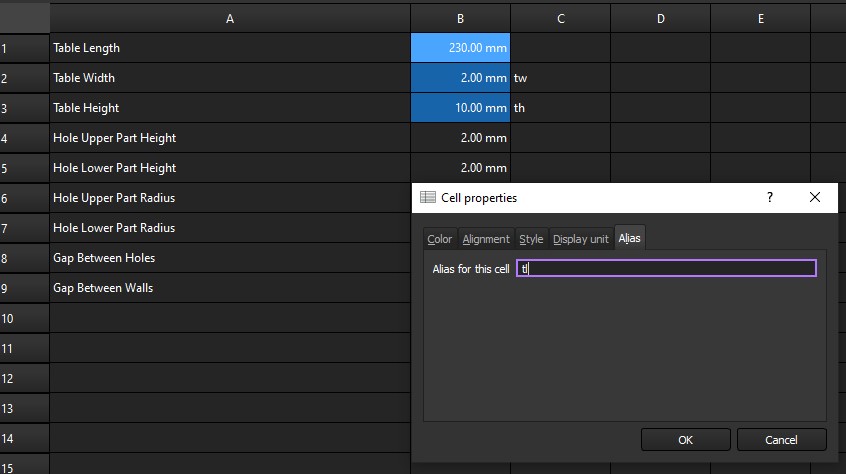
Right click on your numbers, and go to “Properties”, go to “Alias” and name your variable (You can also add display unit)
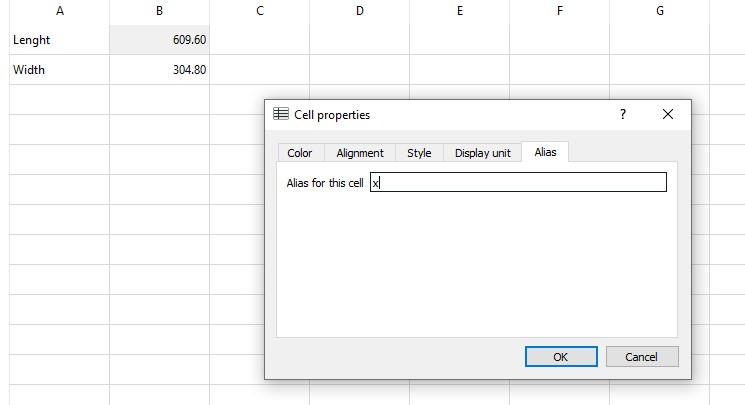
Then your numbers should turn yellow

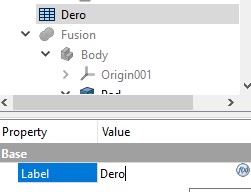
then change your spreadsheet name, by clicking on it in your “Model” and name it with something short, i put my own short name
Starting Sketch
Go to “Part Design” Workbench, and select “Create Sketch” tool.

Let’s make rectangle
By selecting 2 points and 1 line, and clicking symmetry you’ll make that 2 points be symmetrical by that line
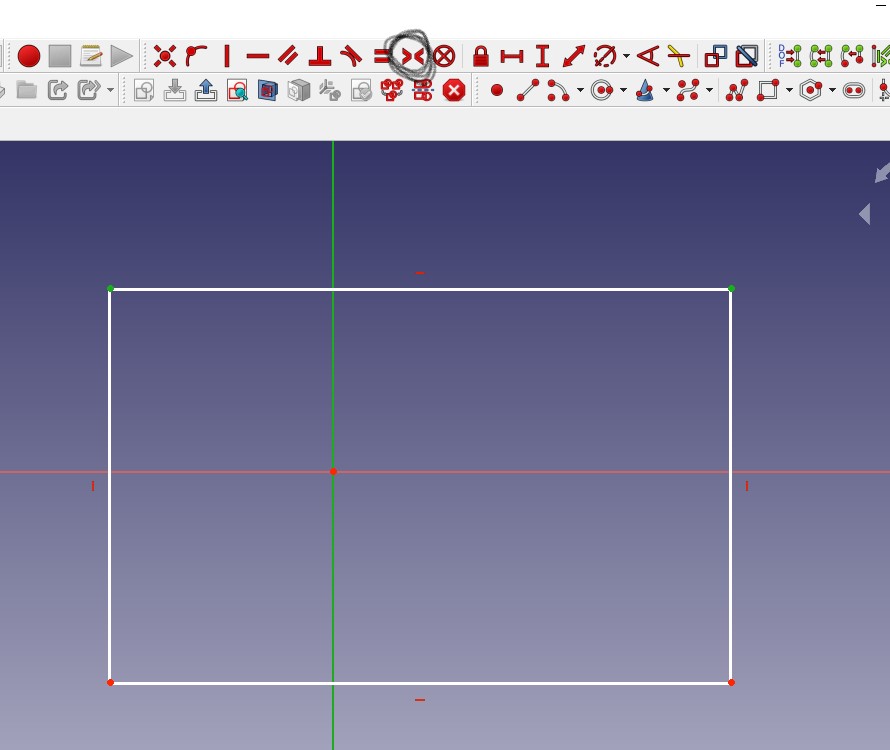
Then let’s fix our lines lenghtes, (in older version i used Shift+D shortcut, but it doesn’t work in 0.20 update :( )
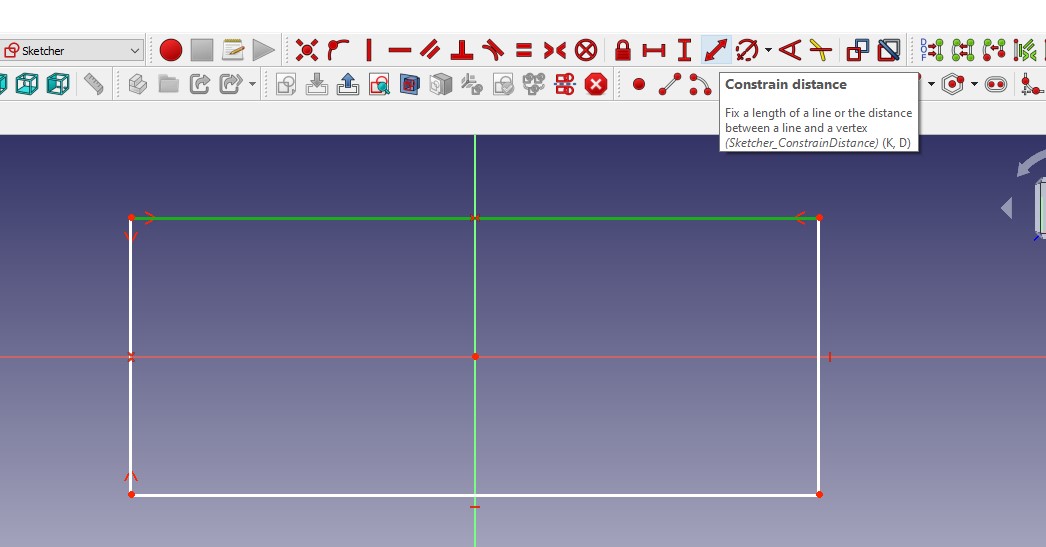
you’ll see small blue symbol, click on it
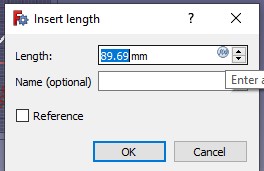
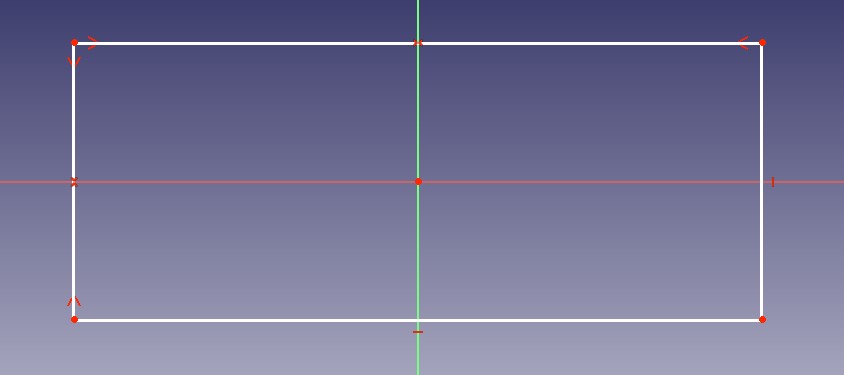
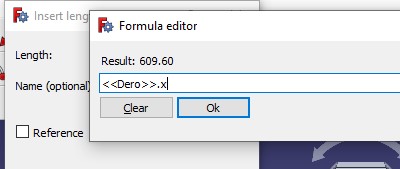
Then put variable from your spreadsheet in this form
<< Name of your Spreadsheet >>.name_of_your_variable
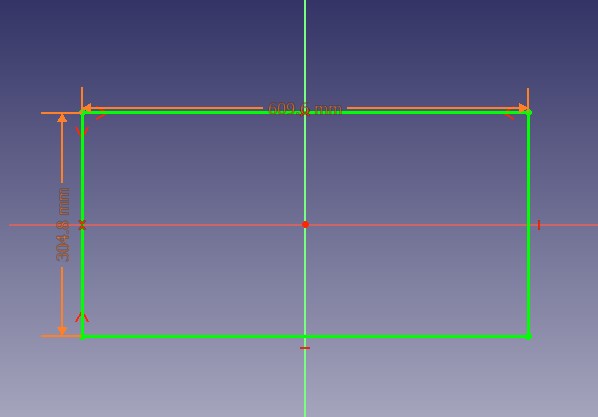
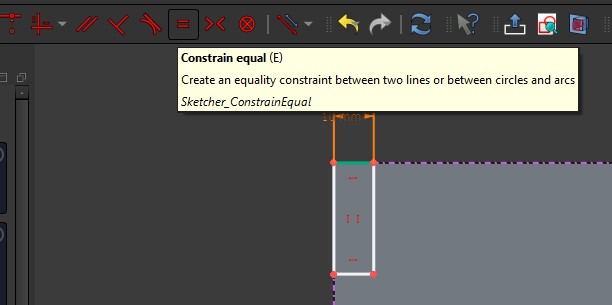
After doing that for all sides, you’ll see your rectangle became green, that means it is fully constraint.
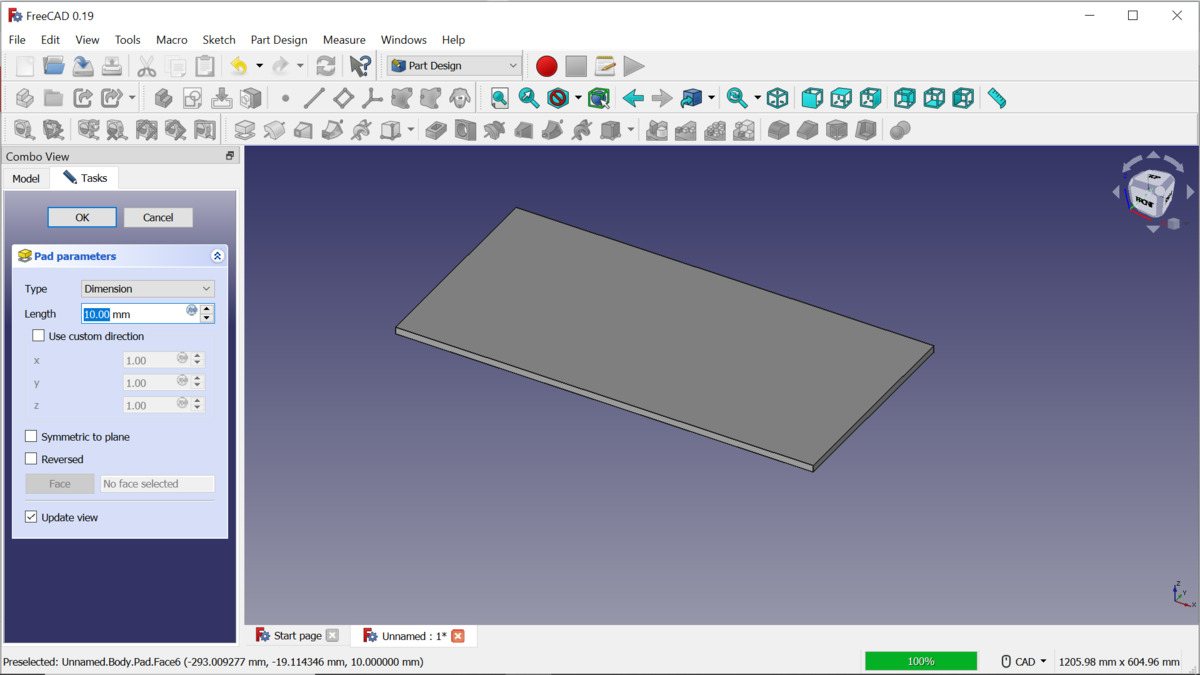
Then you can extrude (or pad) your sketch, revolve it etc.
Working with 3D objects
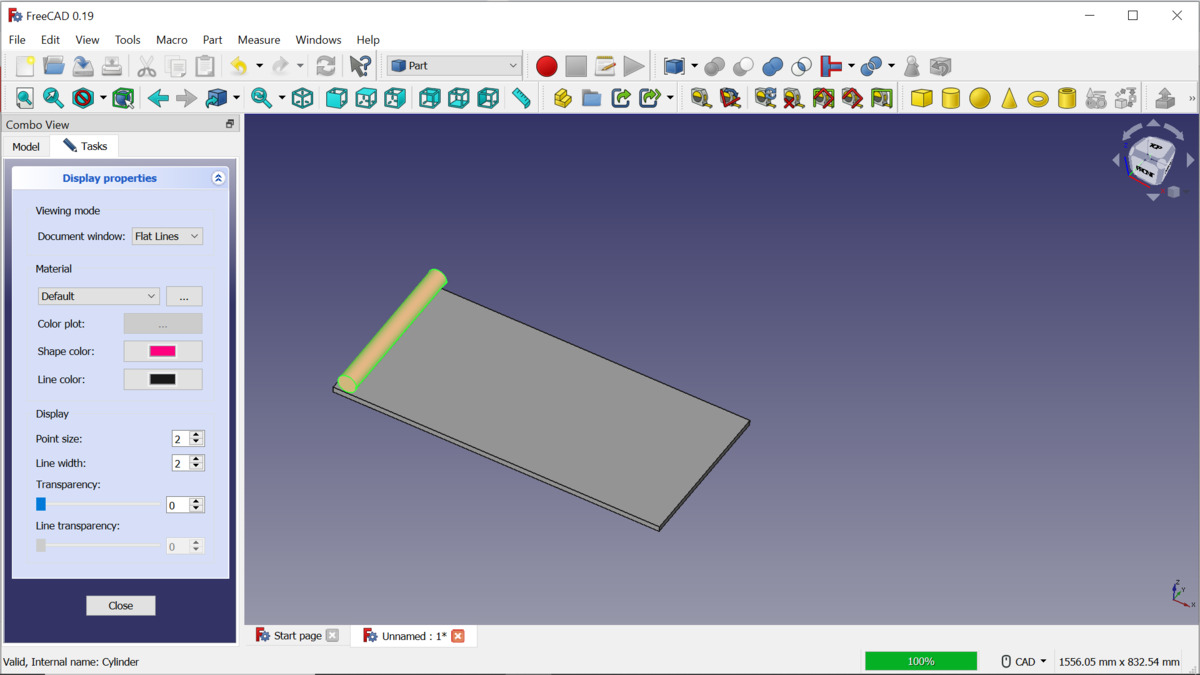
You can select your part color by Right Clicking on it, and selecting “Appearance”
When i was trying to select different colors for my part
i faced the problem, that one body can’t be colored in different colors, so i createt new bodie, for each material.
Then i used to combine that 2 bodies, so i used “Union” Tool in “Part” workbench.
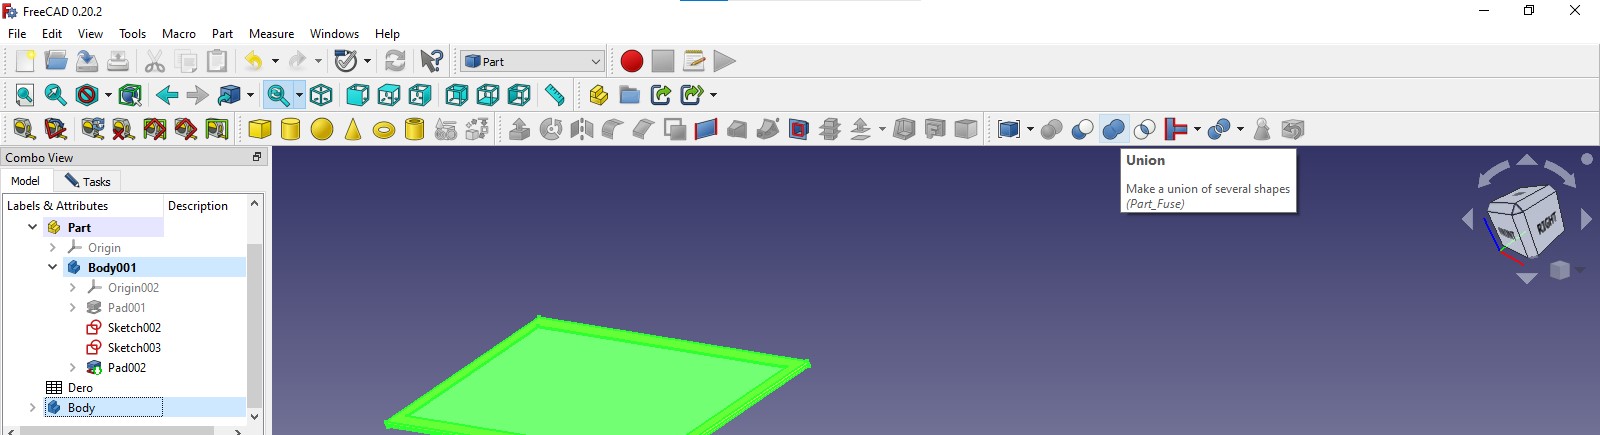
And it’s makes new bodie, that combines 2 other.
And program aftomaticly calles it .....
Dramatic part

Everything here reminds me of her((
Continuing Design
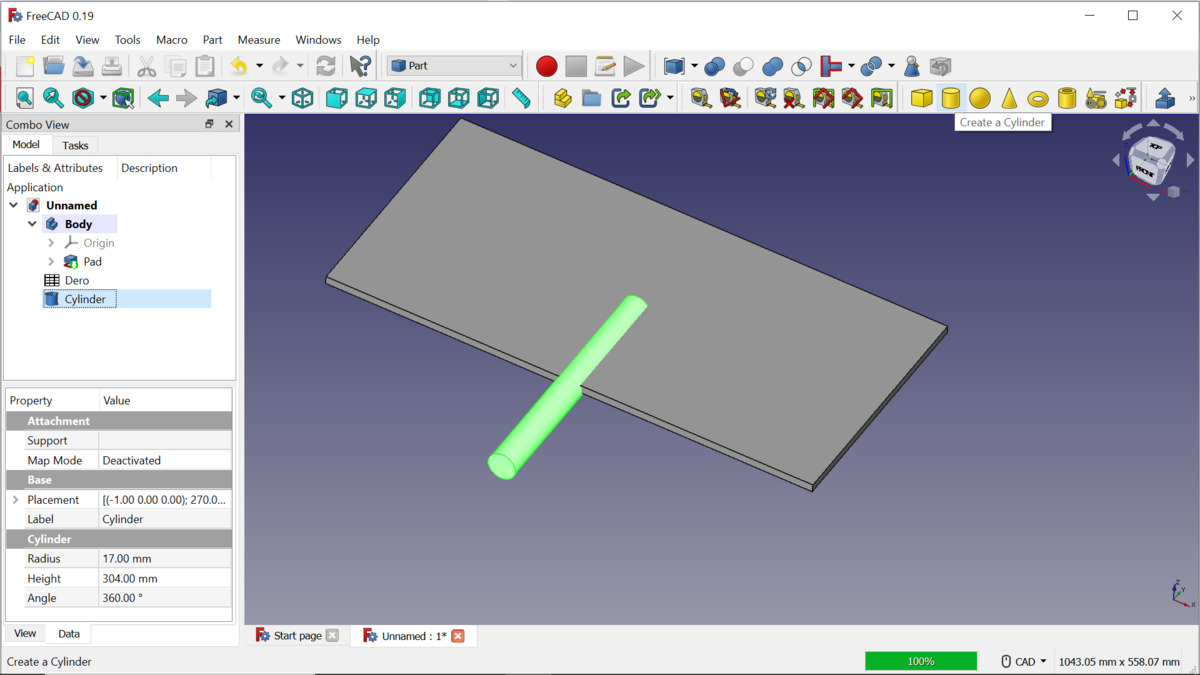
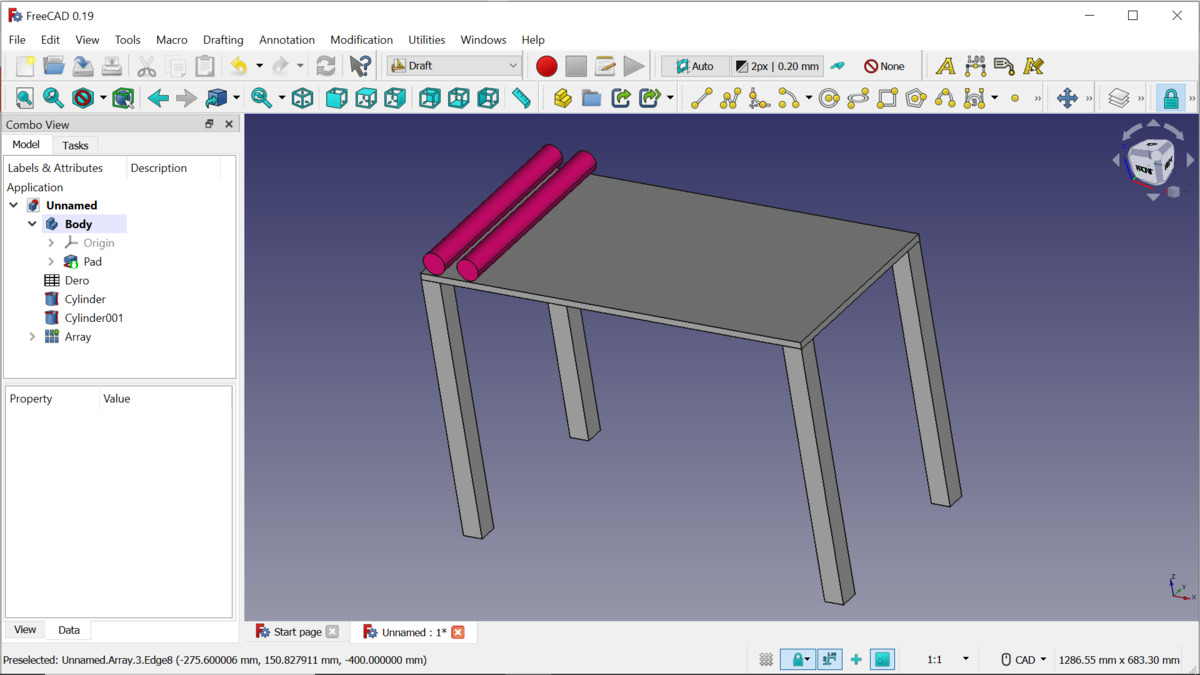
I added cylinders to my design that i want to go round, and push my acrylic sheet.
I set parameters of cylinder and created it.
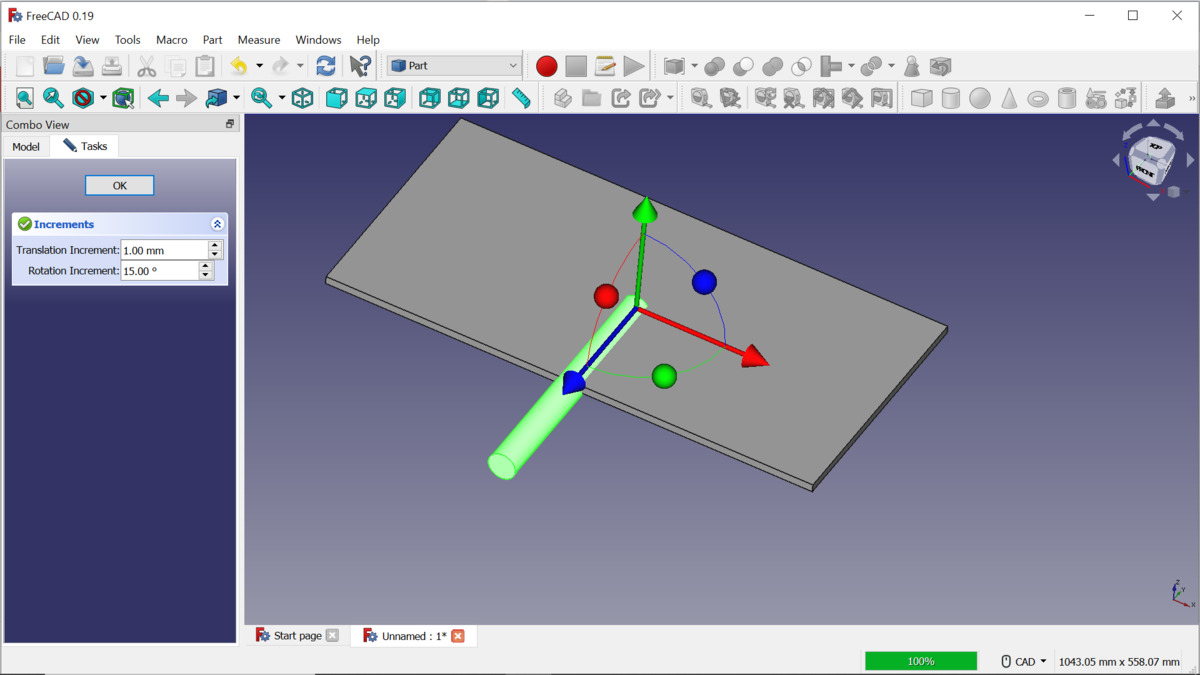
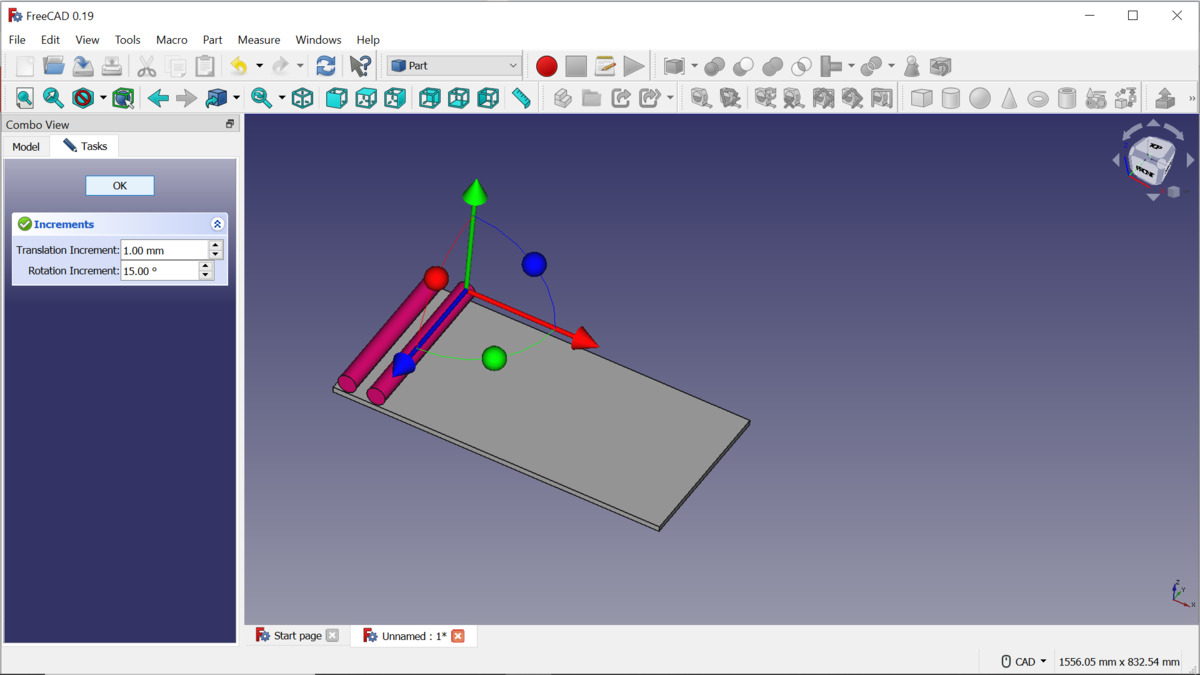
By right-clicking on it and selecting “Transform” i put it on right position.
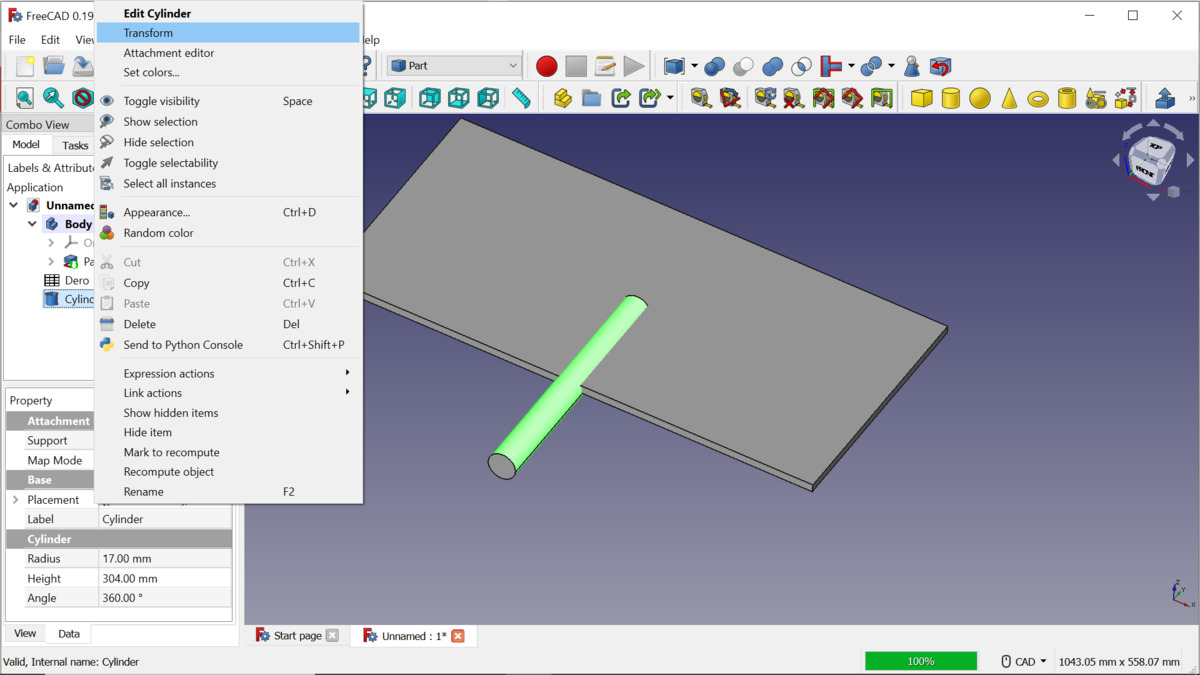
Then i copied it, as I want 2 cylinders there.
I created rectangulars “foot” for my table.
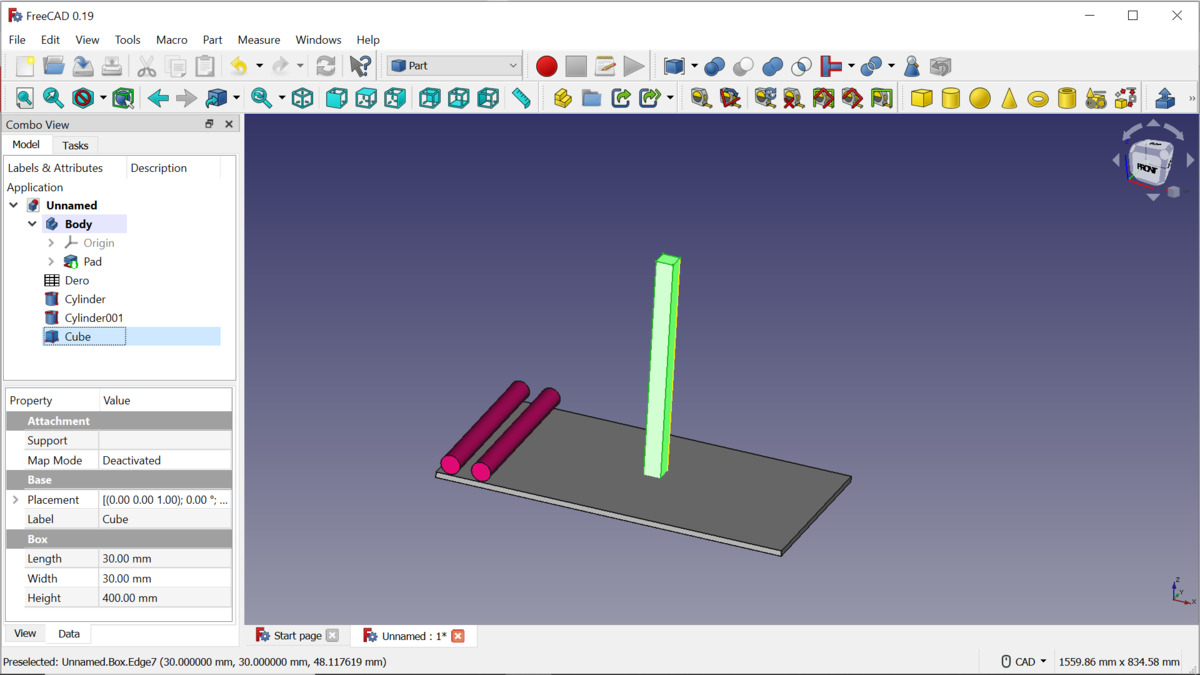
Using same method i put it on right position.
But no one needs table with one foot, neither do I.
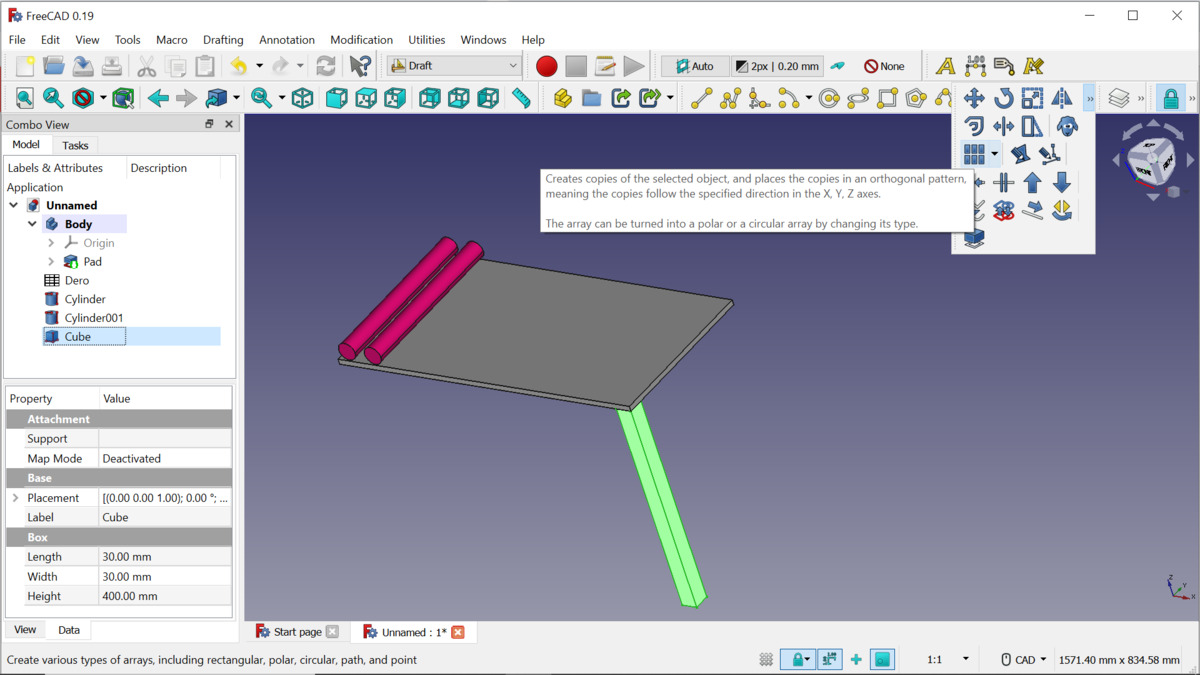
So I need to made other feet, and I changed my workbench to “Draft” and selected “Orthogonal array” tool for that.
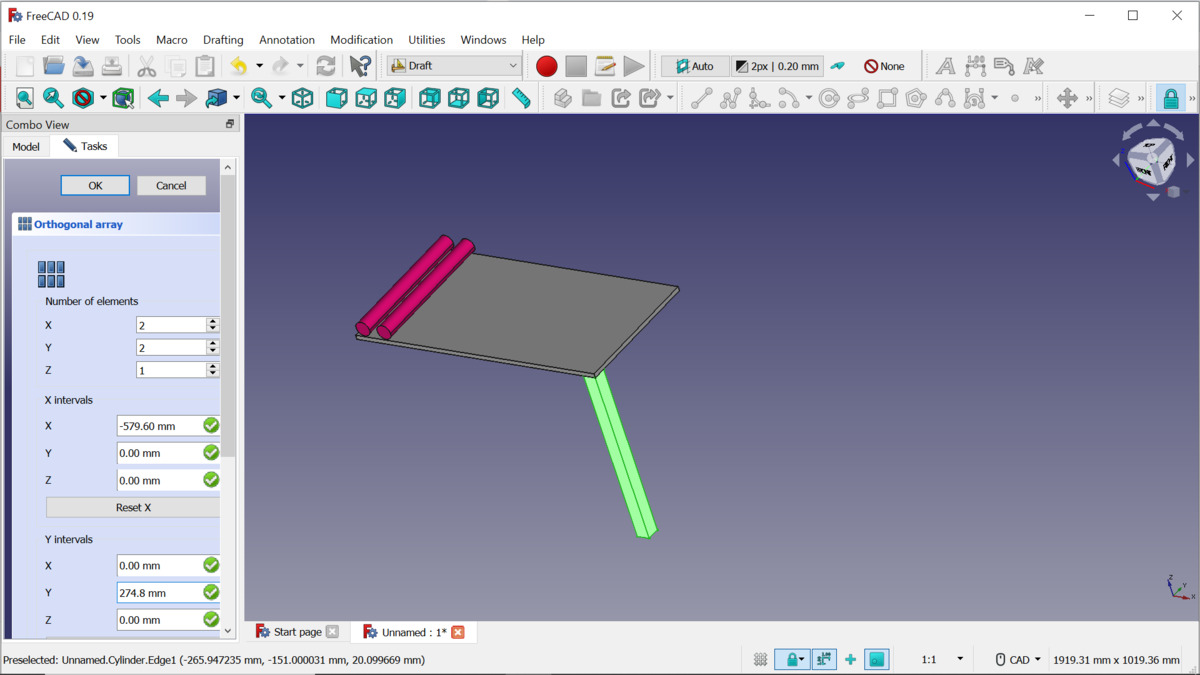
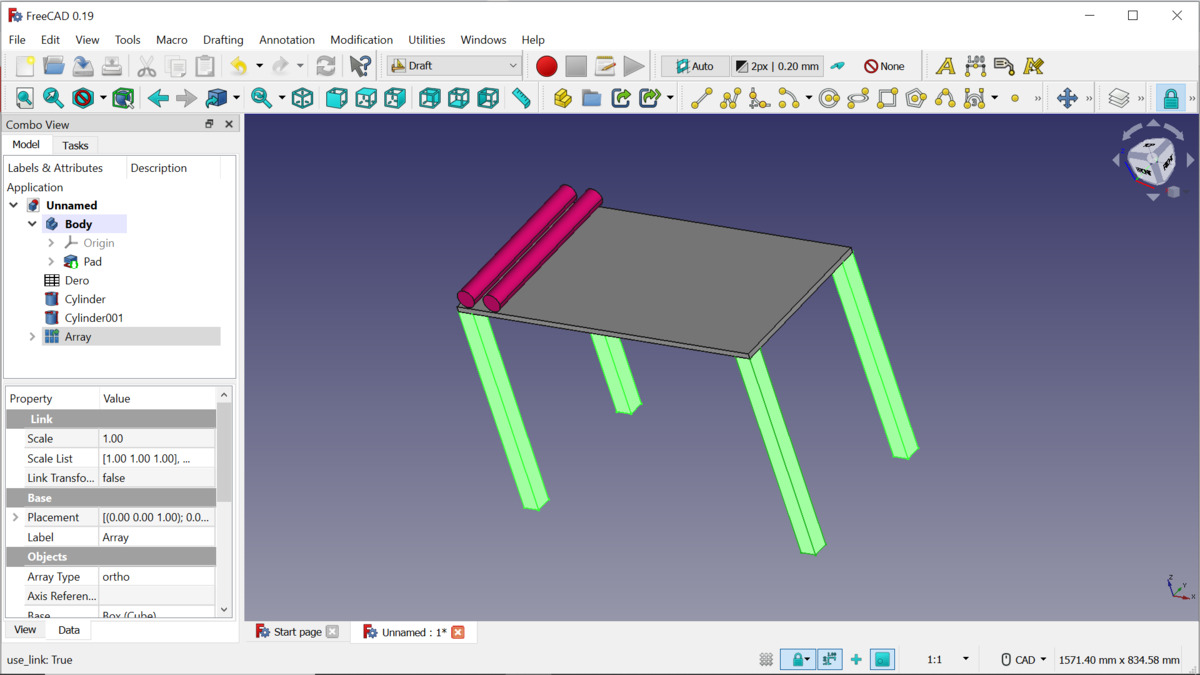
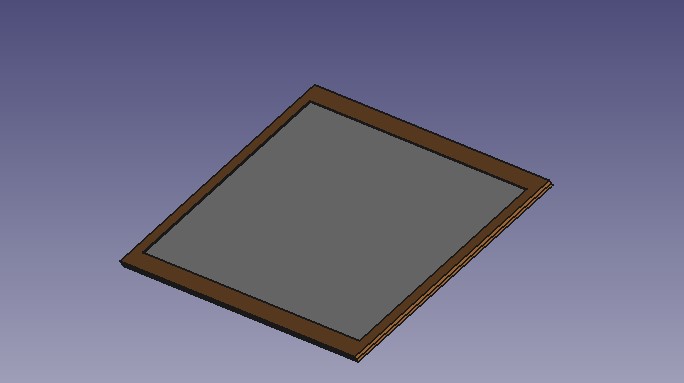
Here it is, my table with 2 cylinders.
2D Design
I checked some information in wikipedia about Raster Graphics and Vector Graphics And here is what I learnt
Raster software (like Krita or Adobe Photoshop) works with images made of pixels. Each pixel holds color information, and all the pixels together make up the full picture. Raster images are great for photos and detailed artwork because they allow smooth color transitions. But if you try to make them bigger, they can become blurry or pixelated.
Vector software (like Inkscape, CorelDRAW, or Adobe Illustrator) works differently. Instead of pixels, it uses math to draw shapes like lines, circles, and curves. Because of this, vector graphics can be resized to any size without losing quality. That’s why they’re perfect for things like logos, icons, and illustrations that need to stay sharp and clean at any size.
In short:
Raster = pixels, good for photos and painting, but not great when resized.
Vector = shapes, great for sharp, scalable designs like logos or signs.
Understanding the difference helps you choose the right tool — for example, raster for painting, vector for laser cutting.
Vector
Drawing
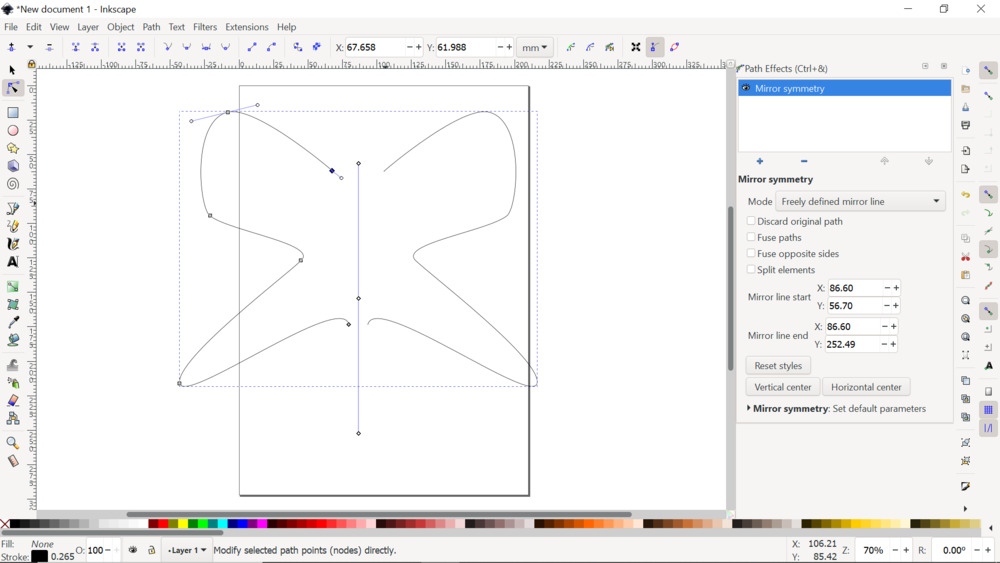
I will start with drawing Bezier curve. A Bezier curve is just a line that’s really smooth and curvy. You can make it change shape by moving some special points around. It’s often used in computer programs to draw things that look really nice and smooth.
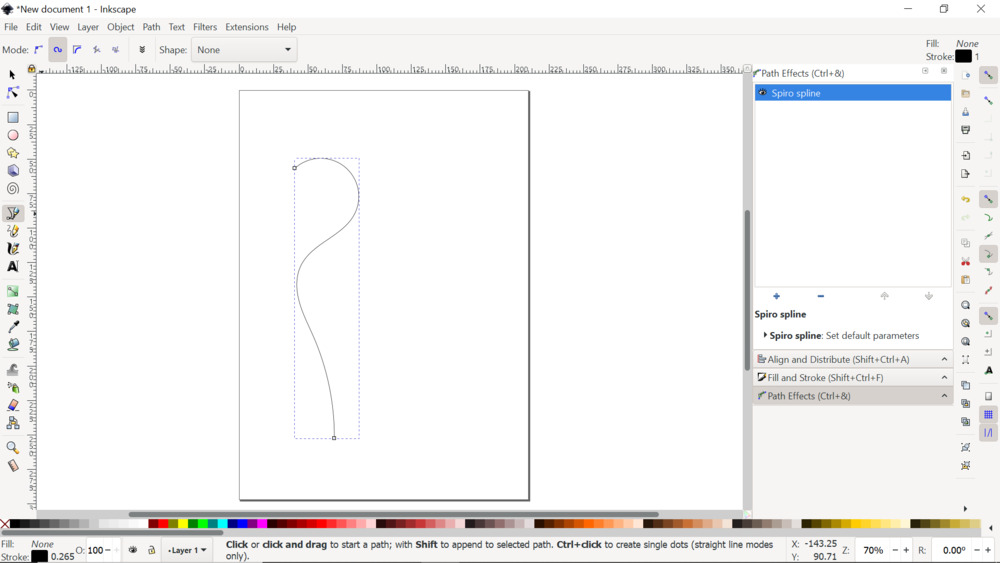
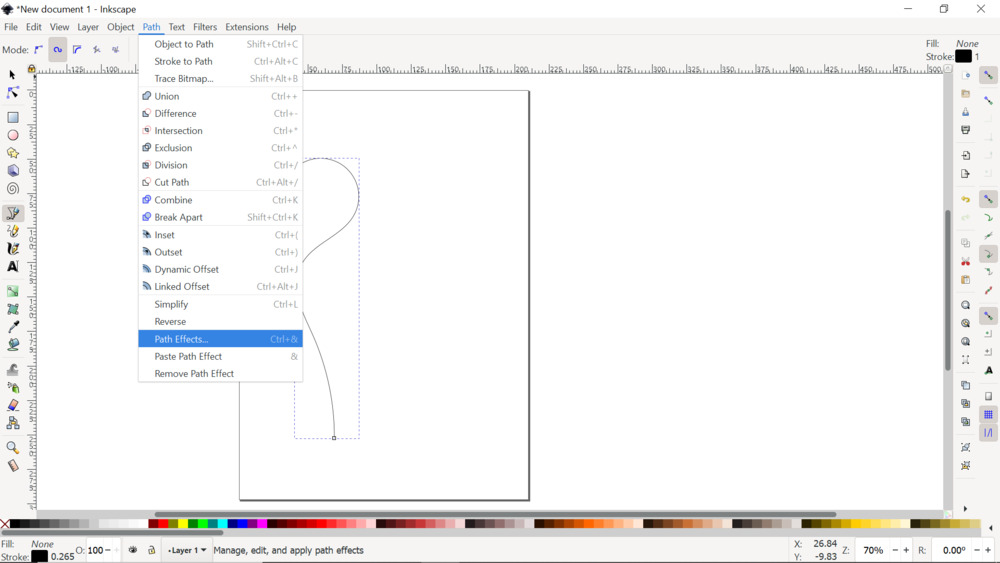
By clicking Path–>Path Effects you can choose effects you want to use.
By selecting “Mirror Semetry” I mirrored my curve and now my drawing is like vase.
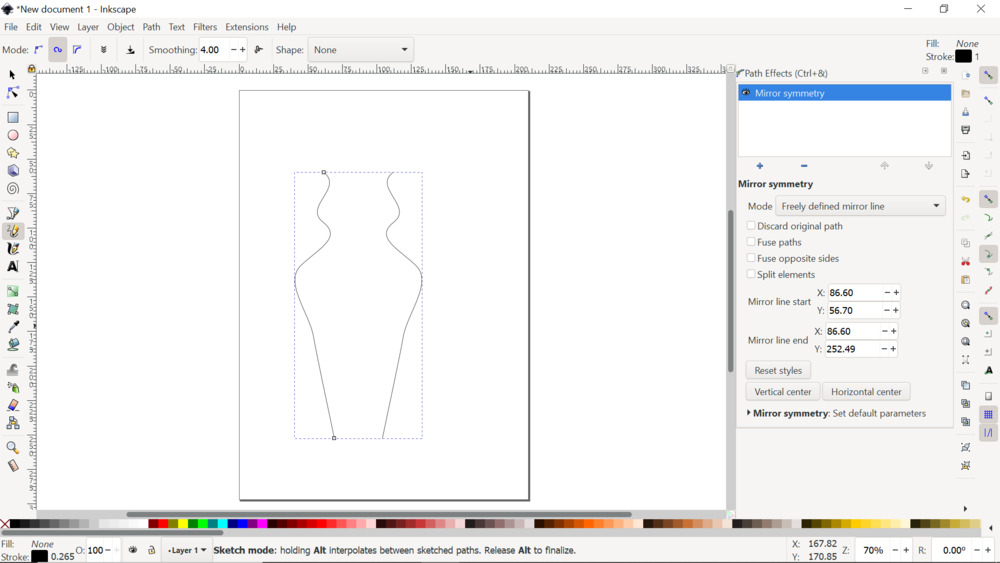
By moving edges of one line my images changes symmetricaly, and now it is like butterfly.
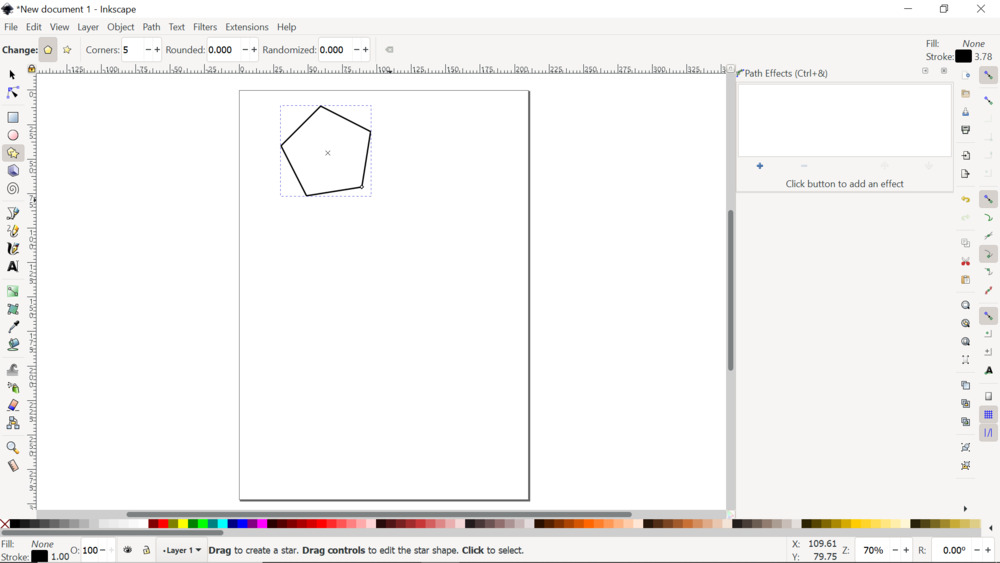
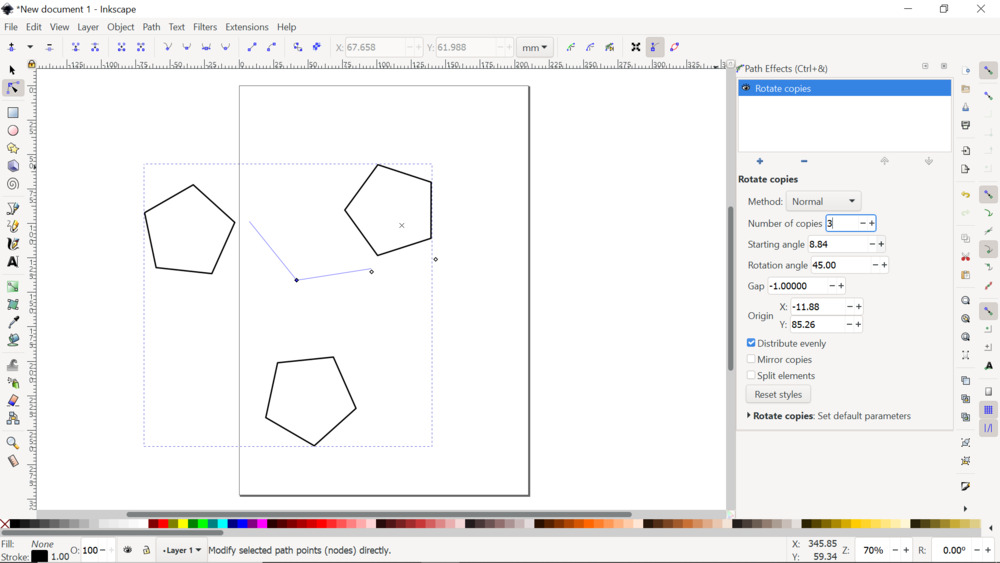
Now i will draw Pentagon and will try other effects.
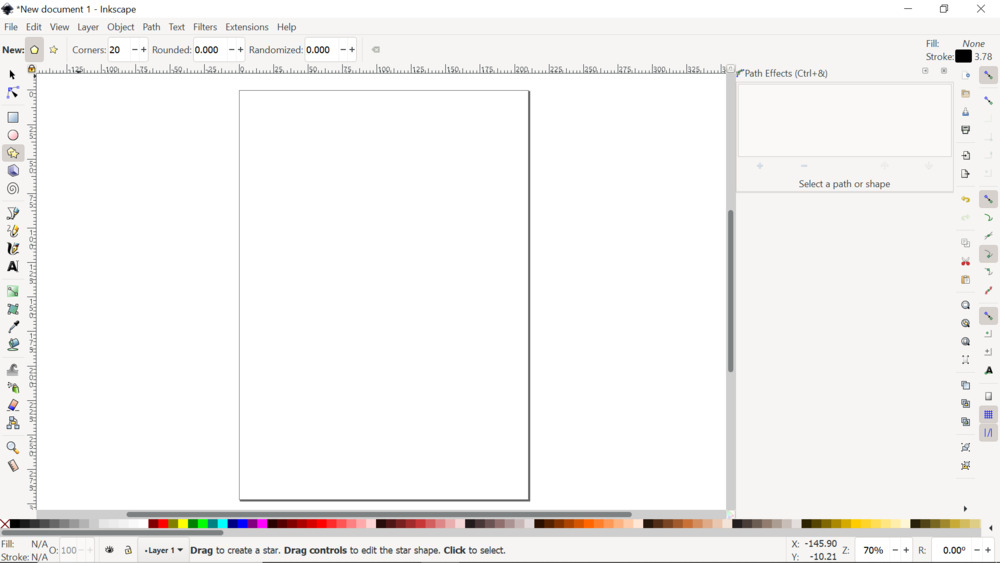
Near “New” you can see yellow image of polygon, by clicking it and selecting “5” as number of edges i created pentagon.
In Path effects I added “Rotate copies” effect
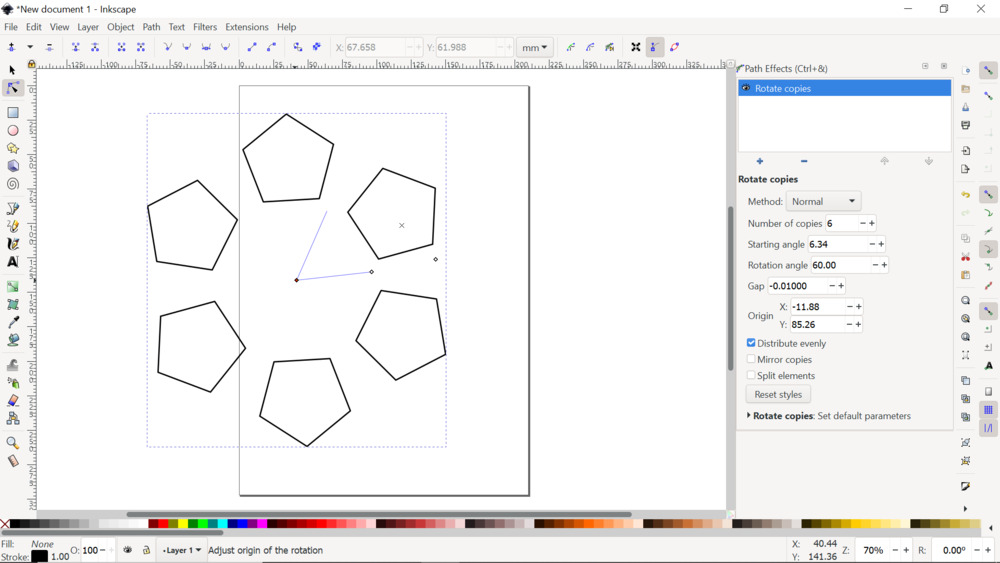
You can change parameters.
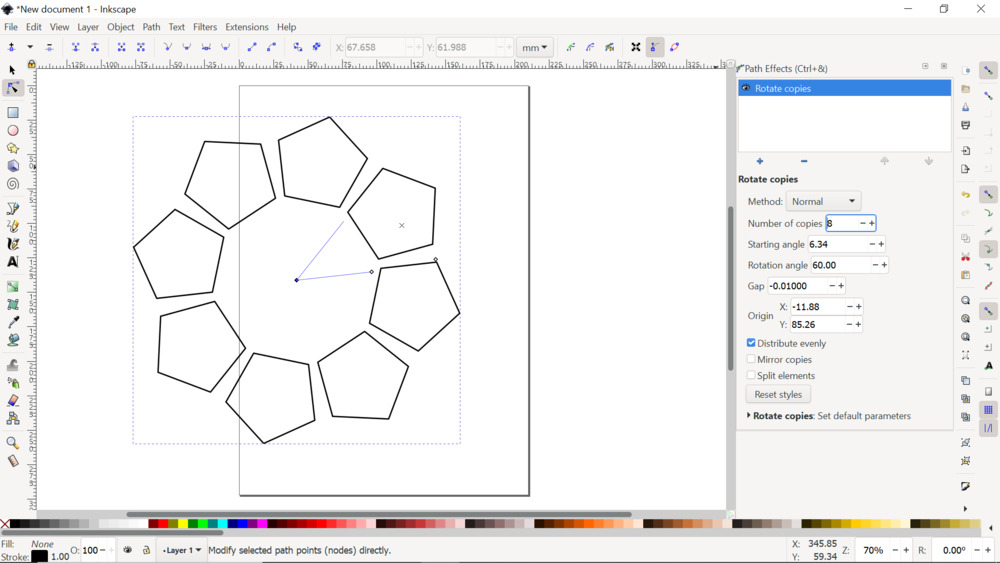
I change number of copies to 8 then to 3.
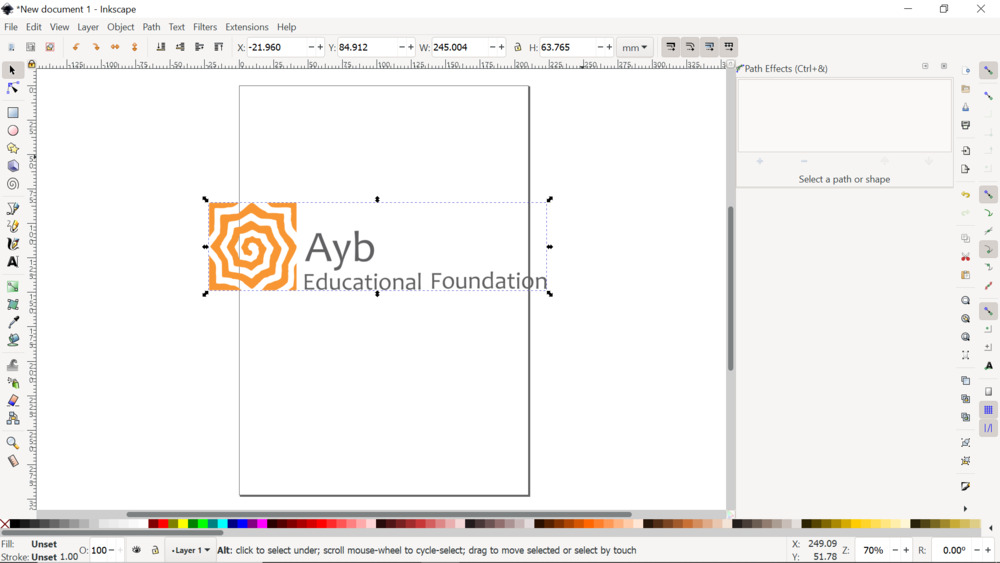
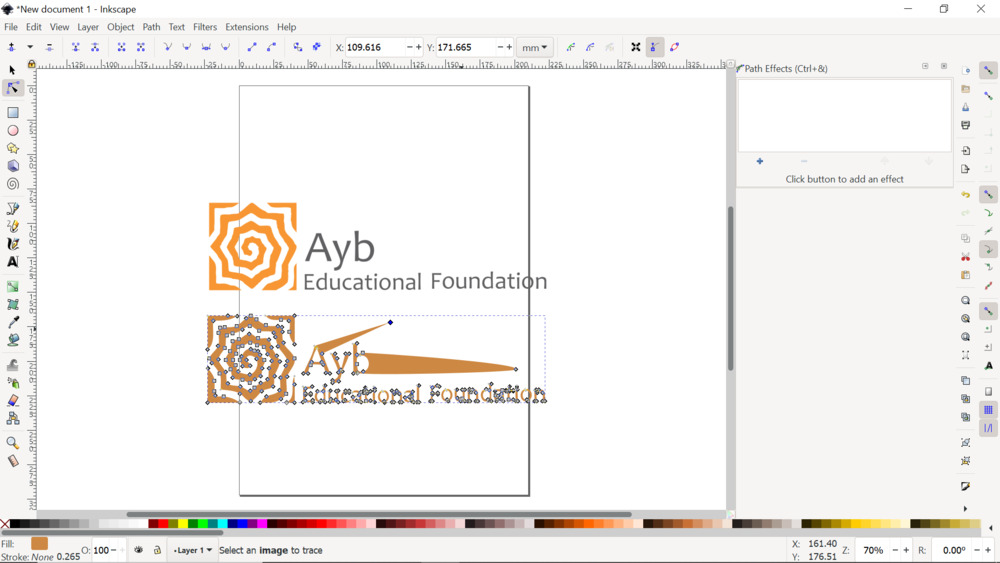
Trace Bitmap
I put logo of school where i work, and made trace bitmap of it.
Go to Path –> Trace Bitmap.
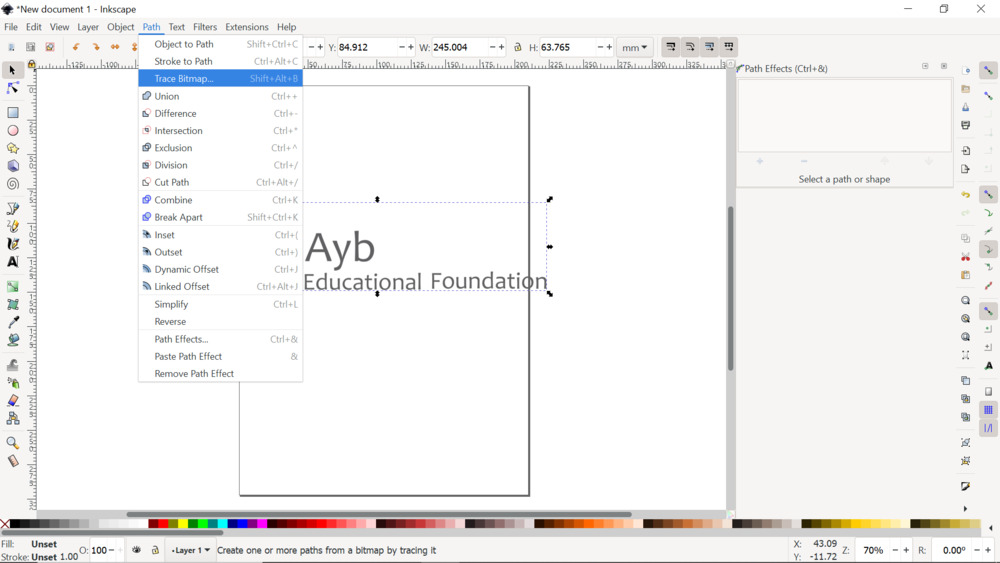
By selecting parameters i have logo as curves.
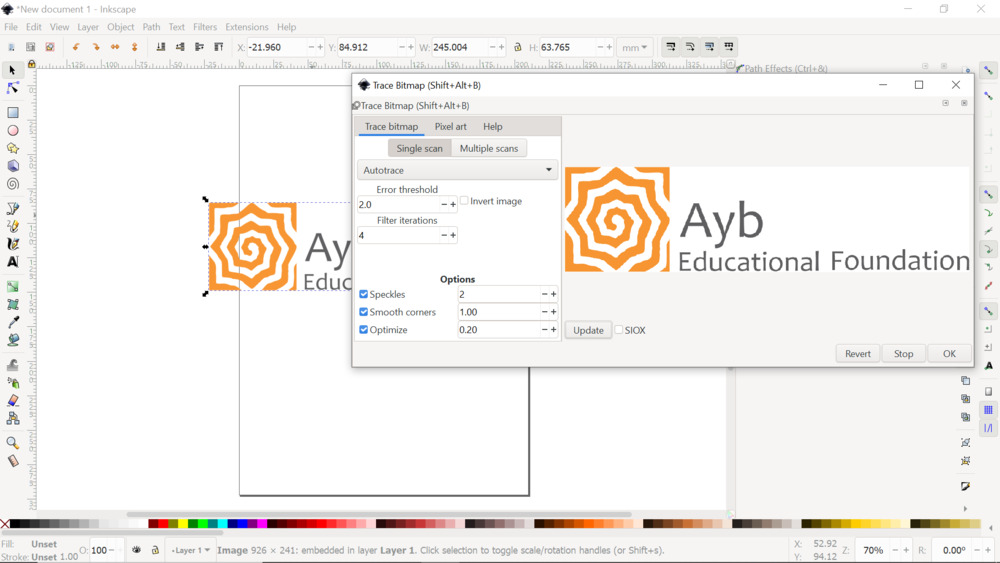
You can see dots that you can move and change your image
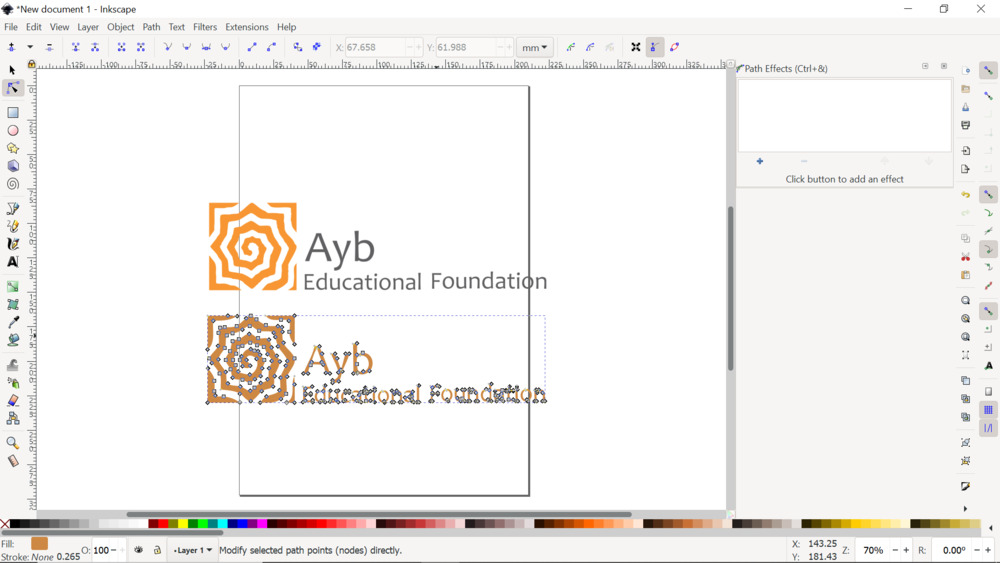
here you can see example.
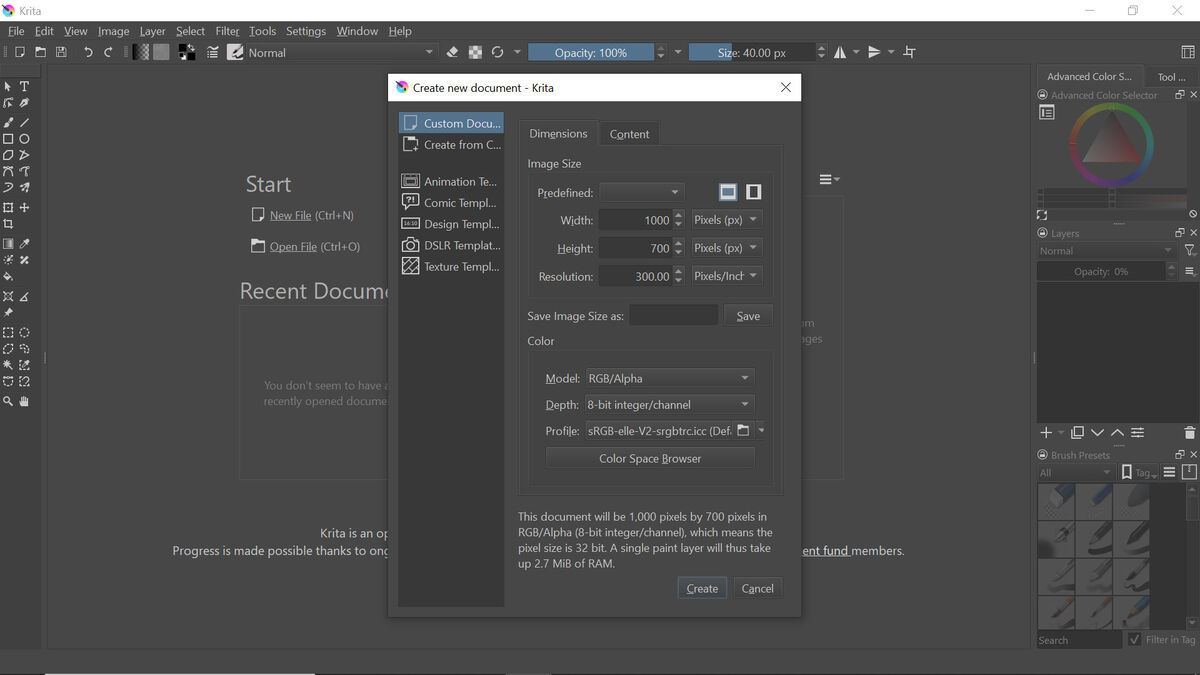
Raster
For Rastering i will use Krita software, which is open-source alternative to Photoshop. Also there is open-source software “Gimp”
I started with creating new page and setting its parameters.
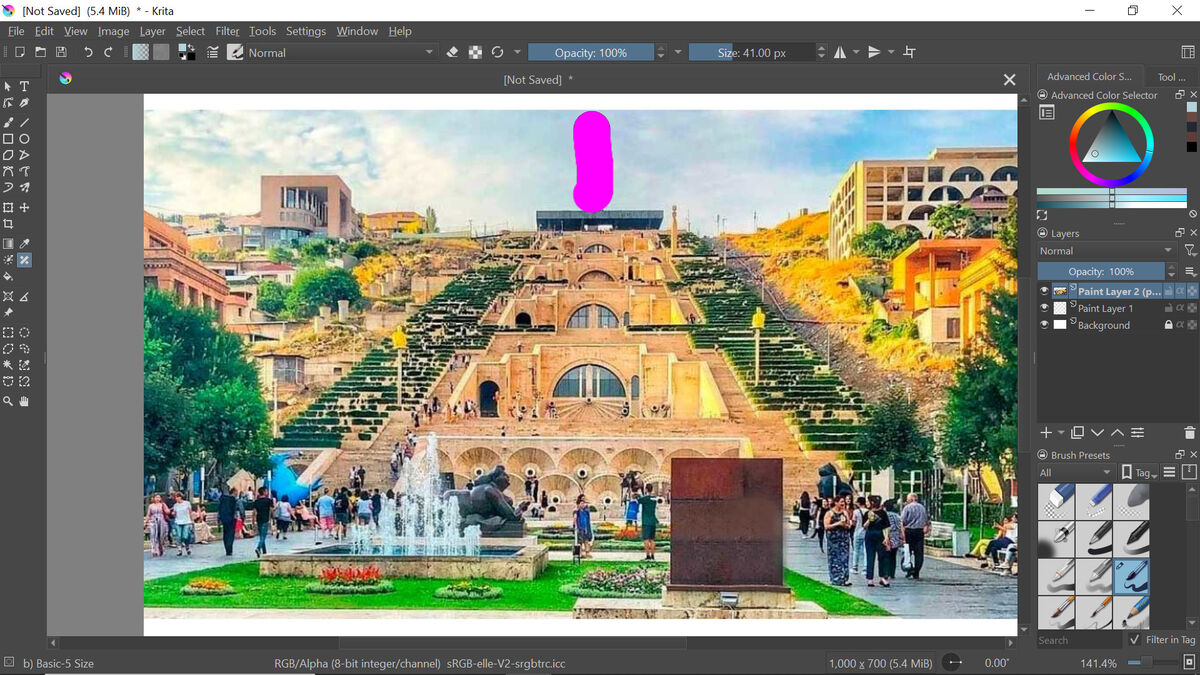
Then i imported image, that is on main main page in my website. It is image of “CASCADE” in Yerevan.
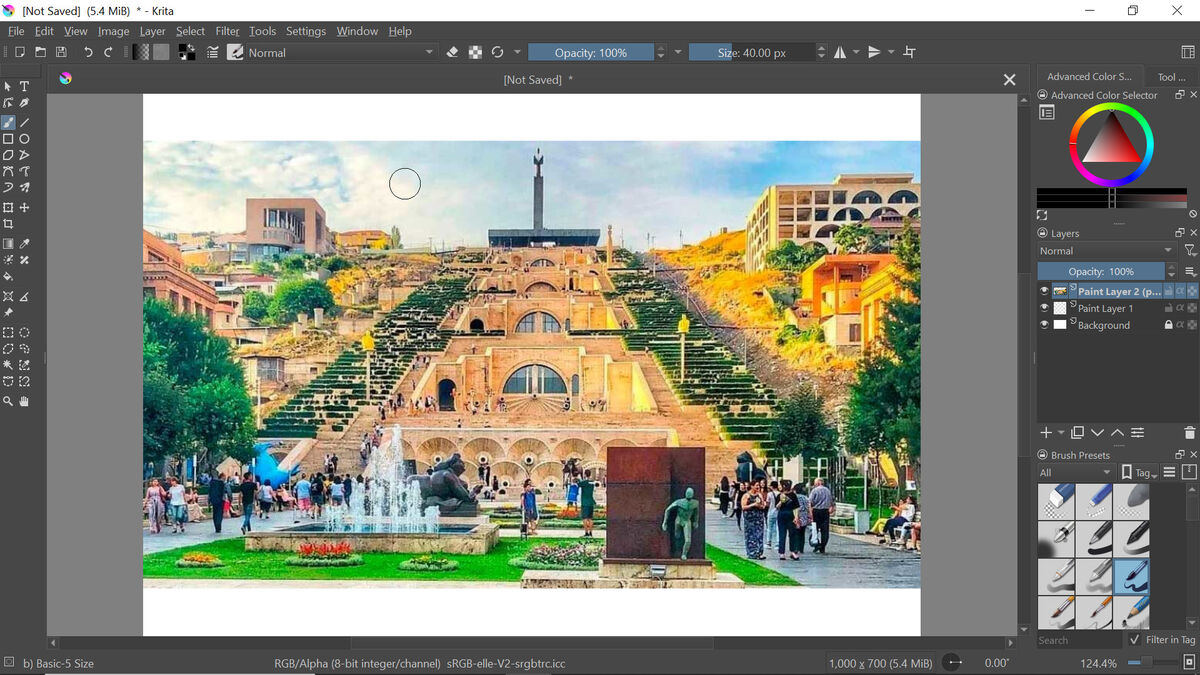
Now i will try to delete that man from the sculpture, to help him escape.
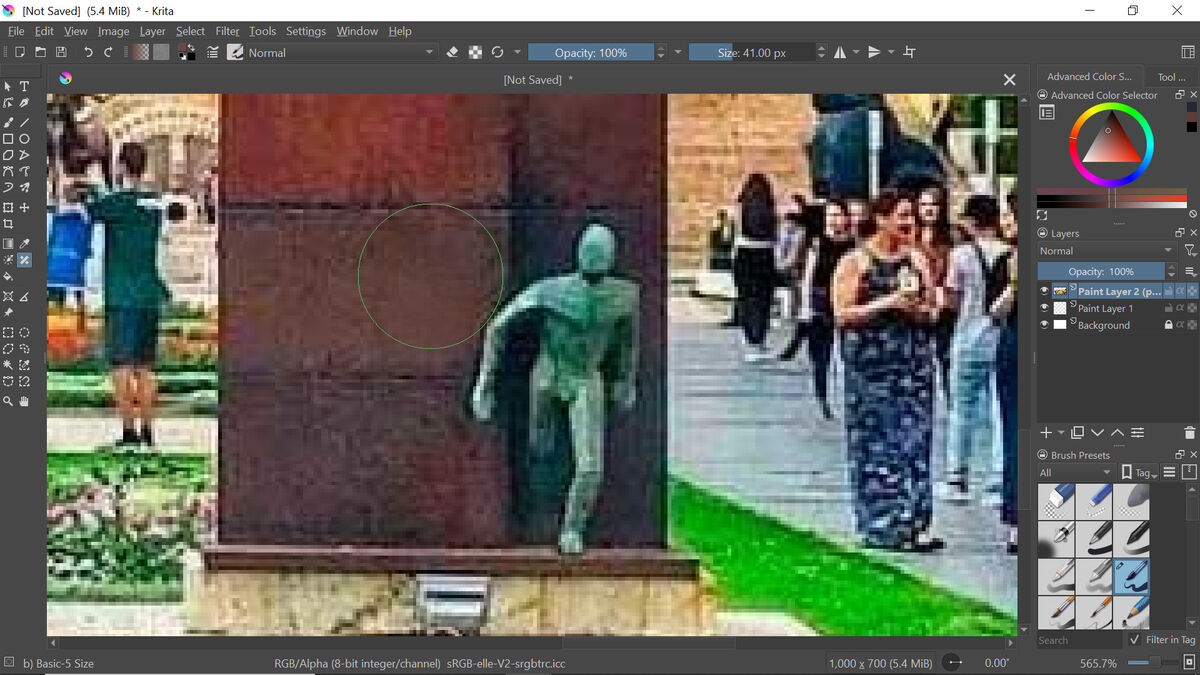
i will use magick brush to do that. After selecting area of color i want to use, i select area that i want to delete.
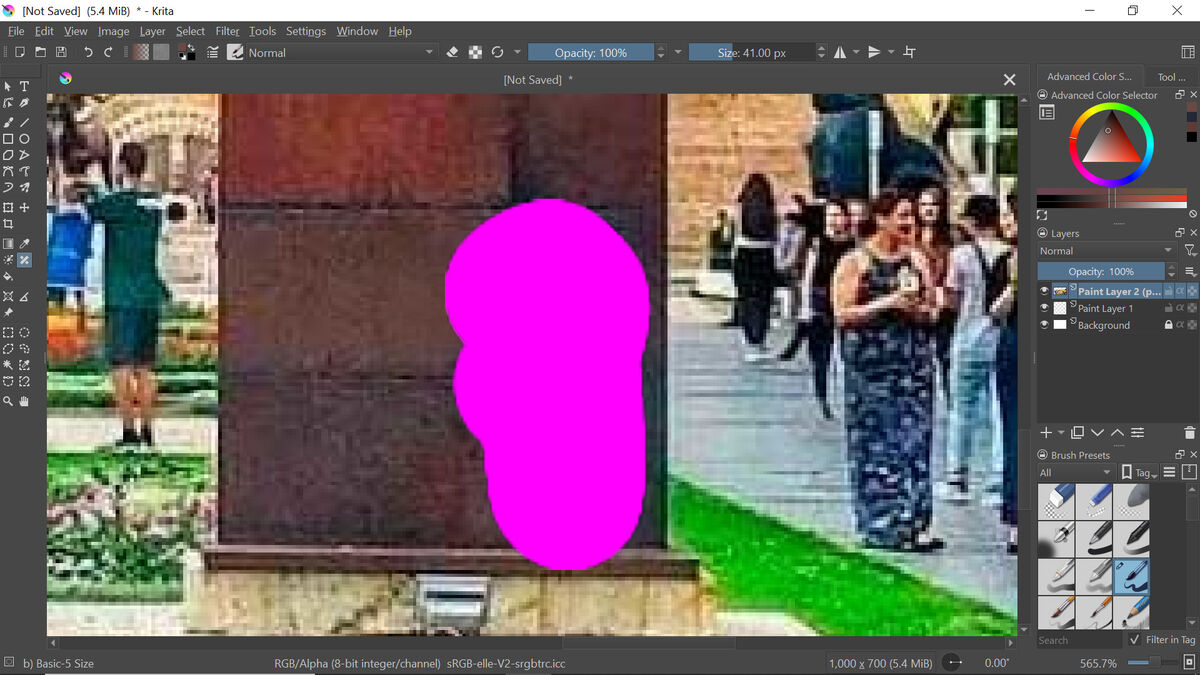
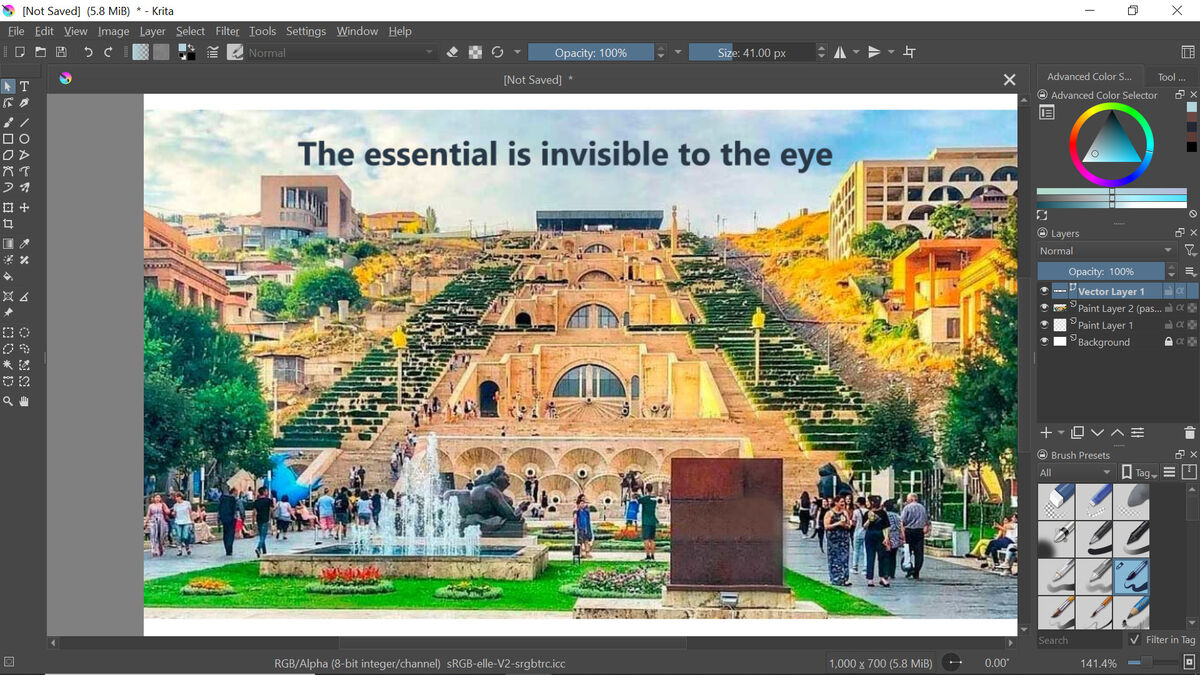
Here it is. Not ideal, but it works.
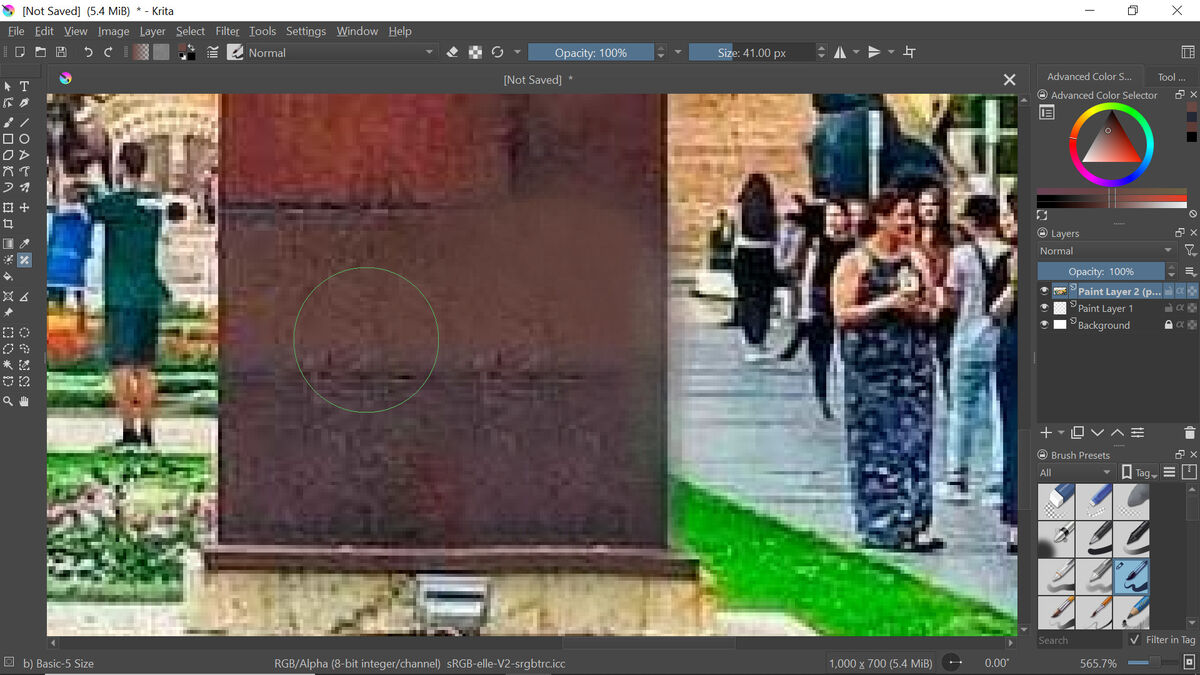
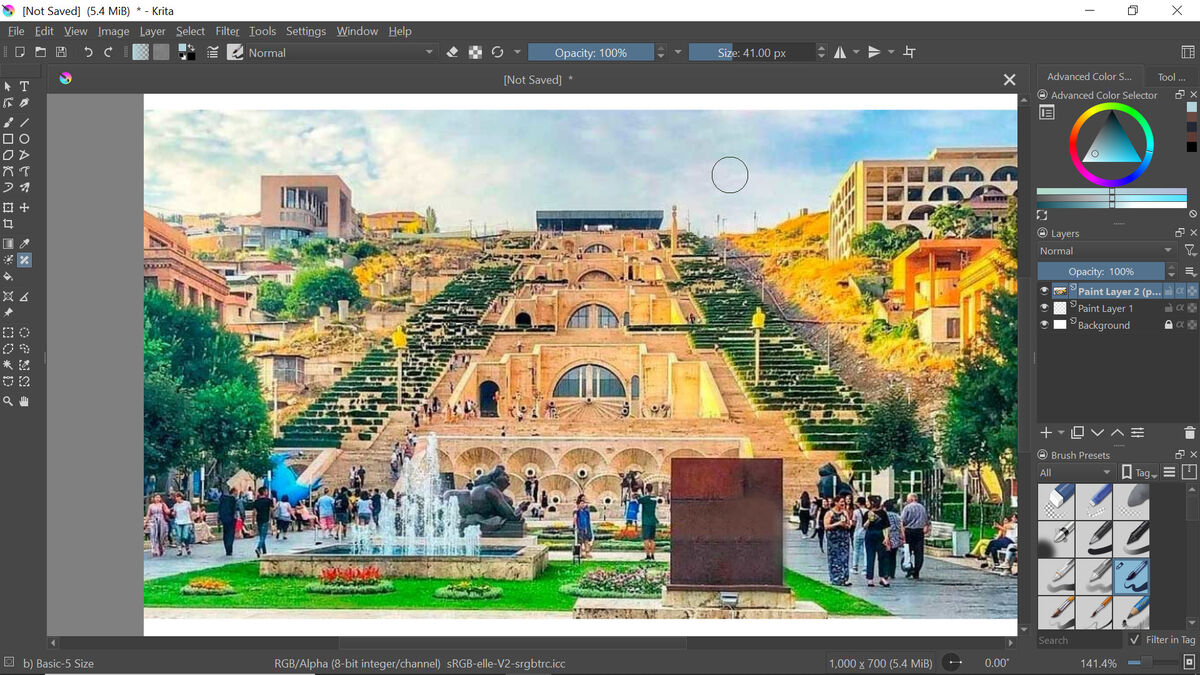
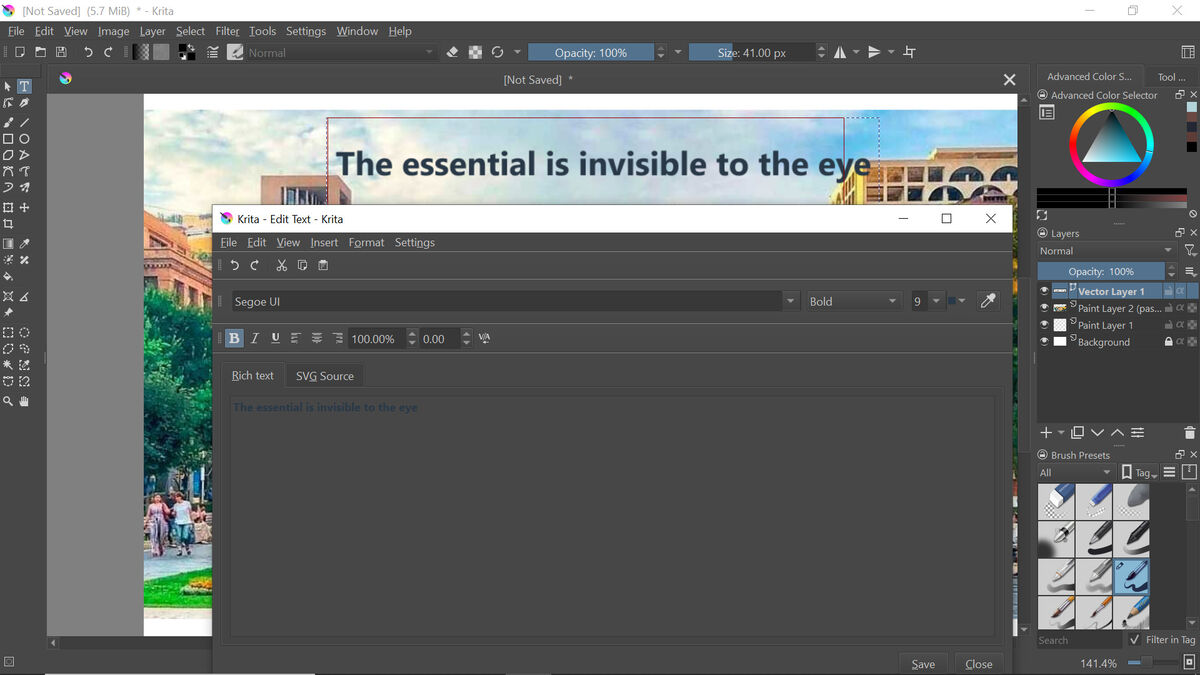
Then i delete Monument from image, just to have fun)
And added text.
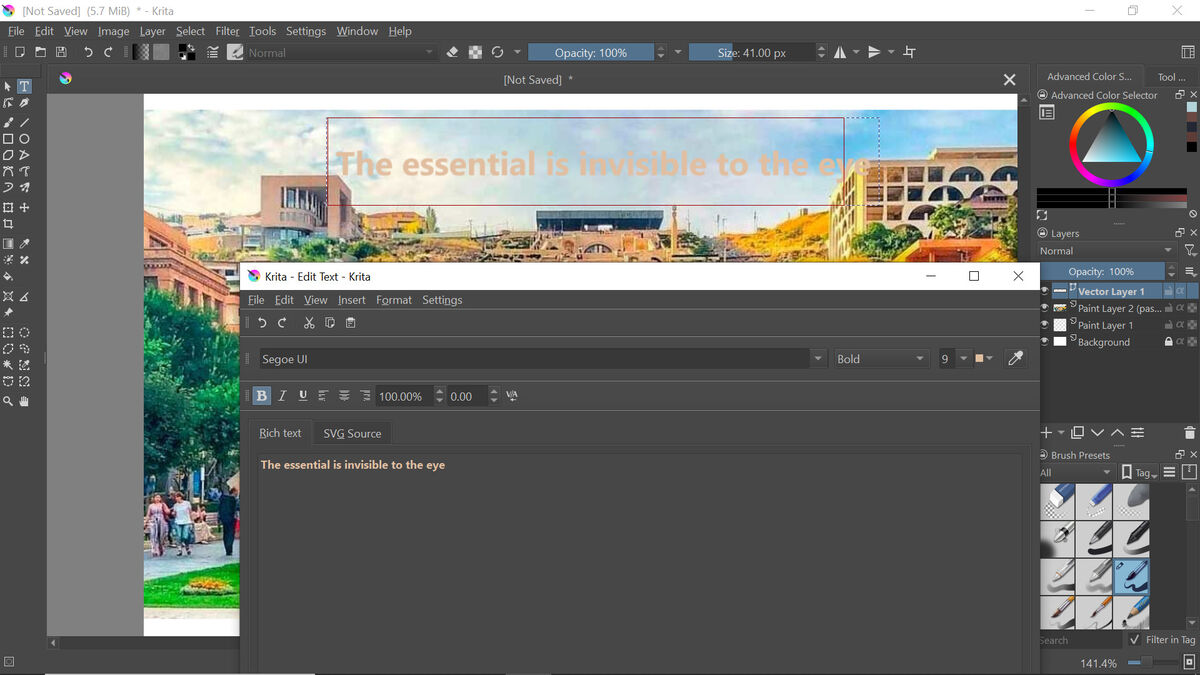
Canged Color of text by selecting it from building in image.
Here is my final image.
Files
2025
As my Final Project is building Vacuum table system for SRM-20 I will start with 3D Designing Table.
I am using latest version of FreeCAD which is open-source CAD program.
As i liked parametric design idea from previous projects, I decided to make my table fully variable-dependent, and started from creating Spreadsheet.
(This Technology is described at this page under 2023->3D Design part)
After adding name to cell and hitting “Enter” apostrophe is comming behind the name I wrote, and I dont like it)

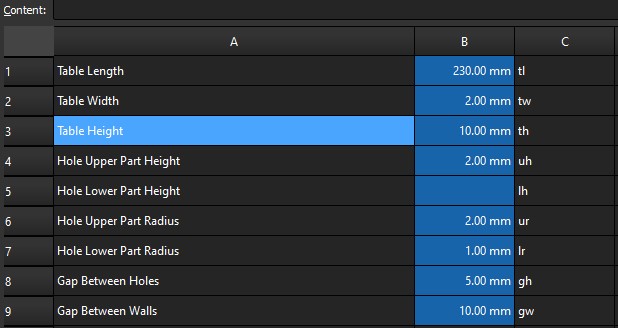
I added all variables that i need in my spreadsheet
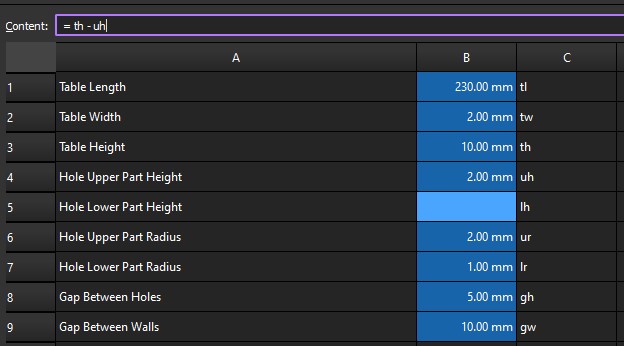
I want some dimentions to be dependent on others (for example I want Lower + Upper Heights to be Full Height in sum)
so I found that in FreeCADs Spreadsheet works like Excel, and i can write formulas
Just showing that it works right

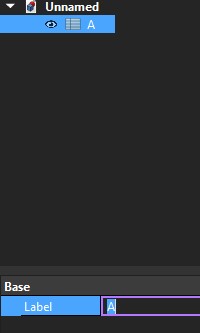
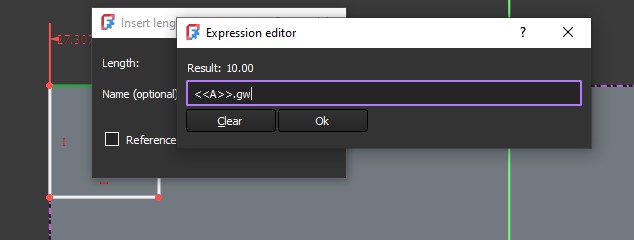
From my previous experience, short names for Spreadsheets make your work faster, i used only one letter “A”
After creating rectangle using tl (Table length) and tw (Table Width) variable as its parameters, i used “Pad” tool to extrude it by th (Table Height) parameter

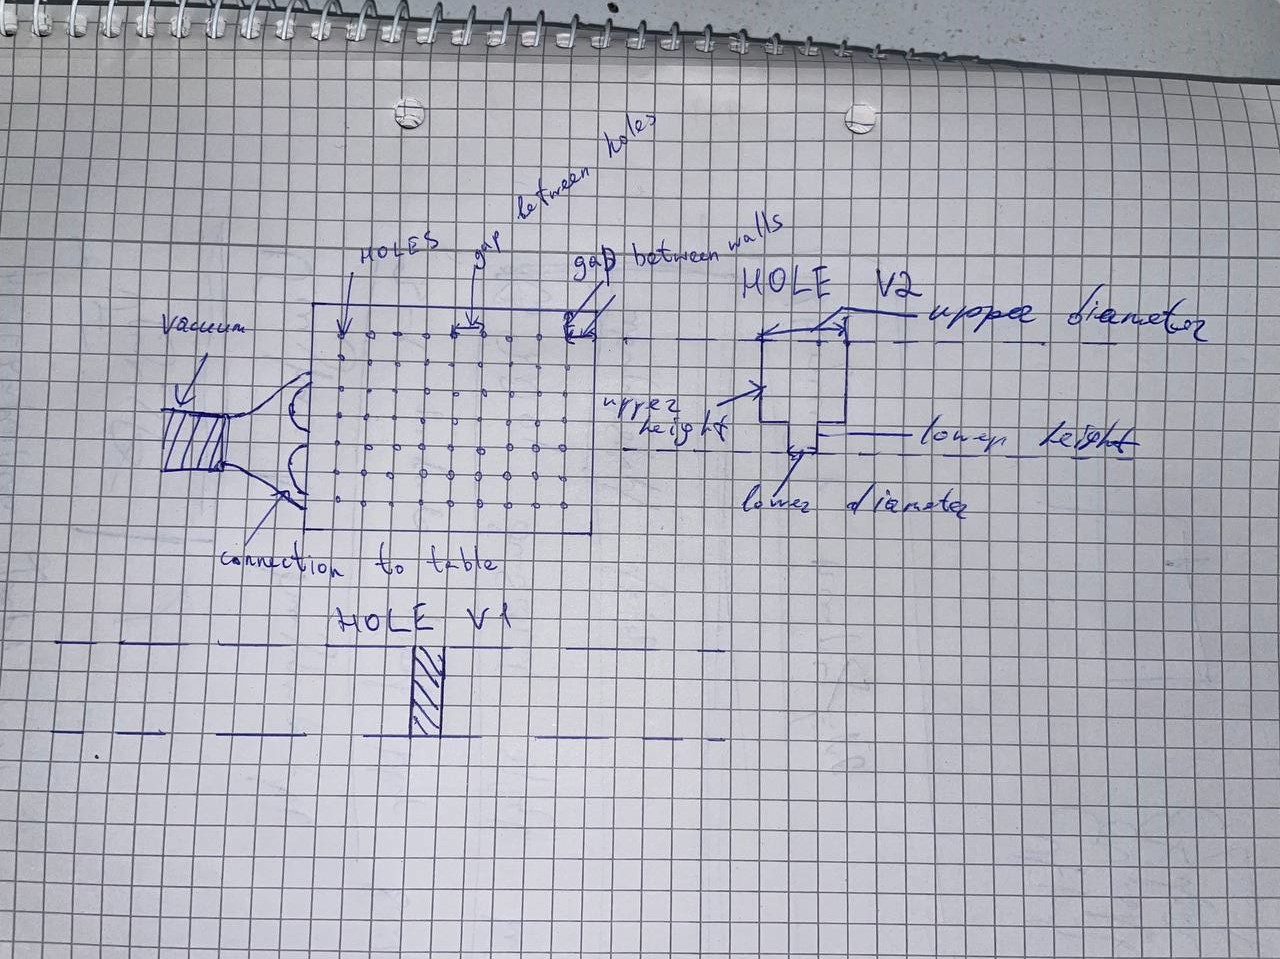
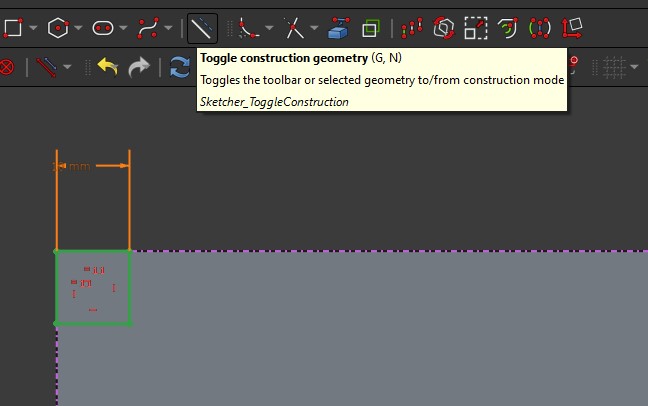
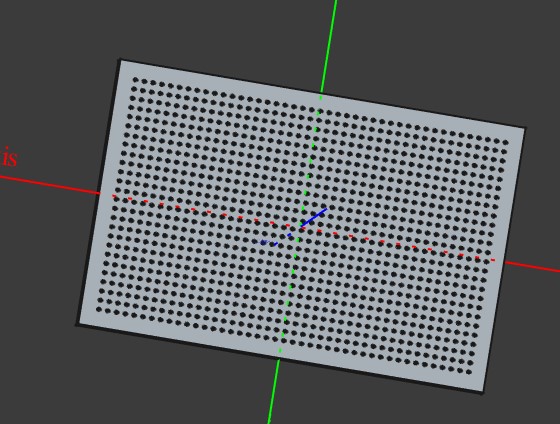
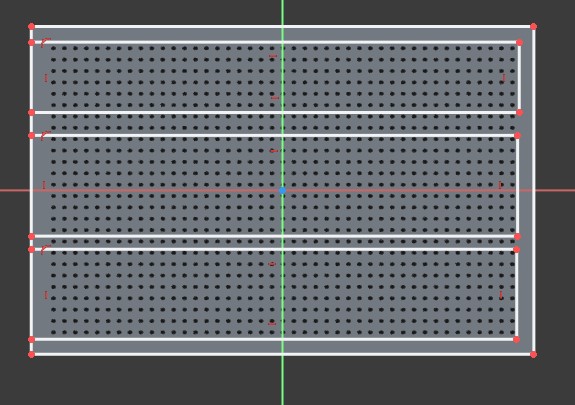
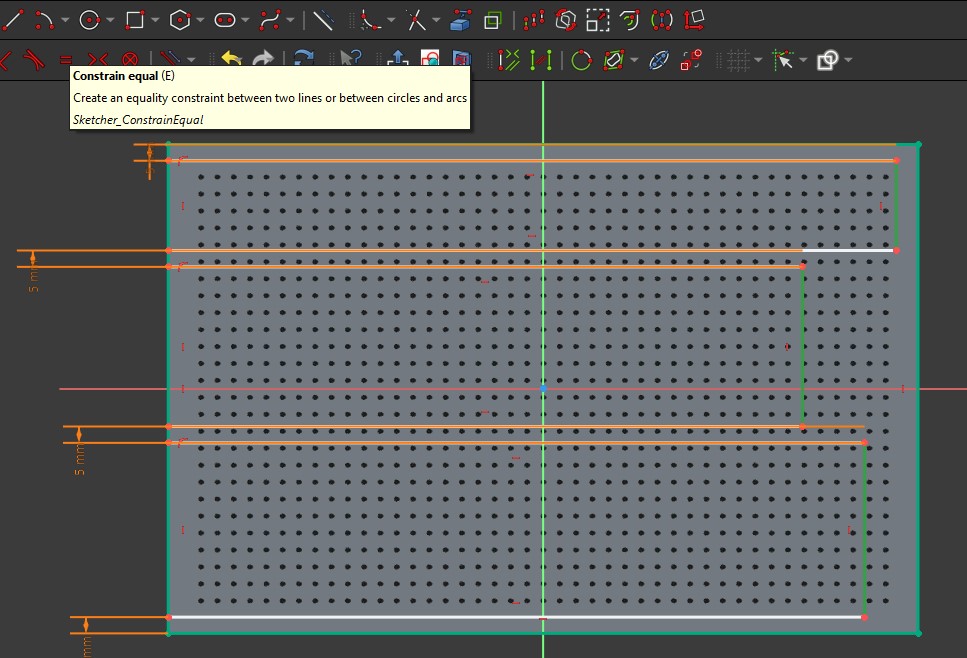
Then i created sketch on my table’s surface to set area where my holes are located

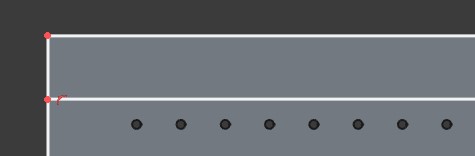
it separated from tables edges by parameter gw (Gap Between Walls)
it separated from tables edges by parameter gw (Gap Between Walls)
As I am using this square just as reference i must make them construction geometry

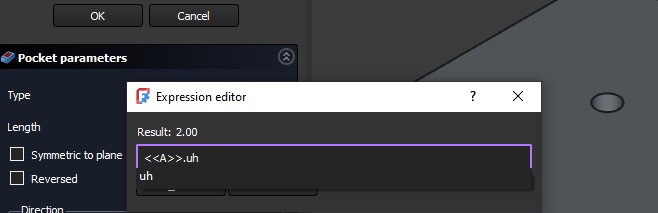
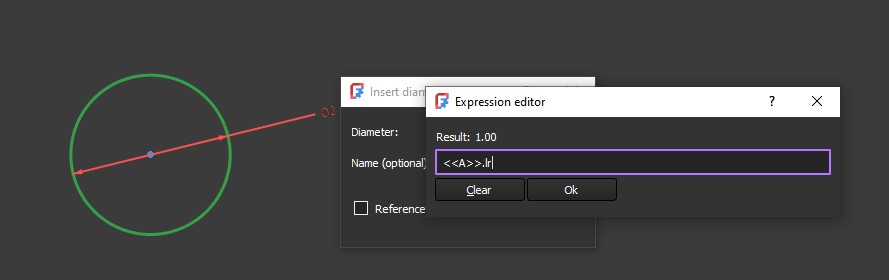
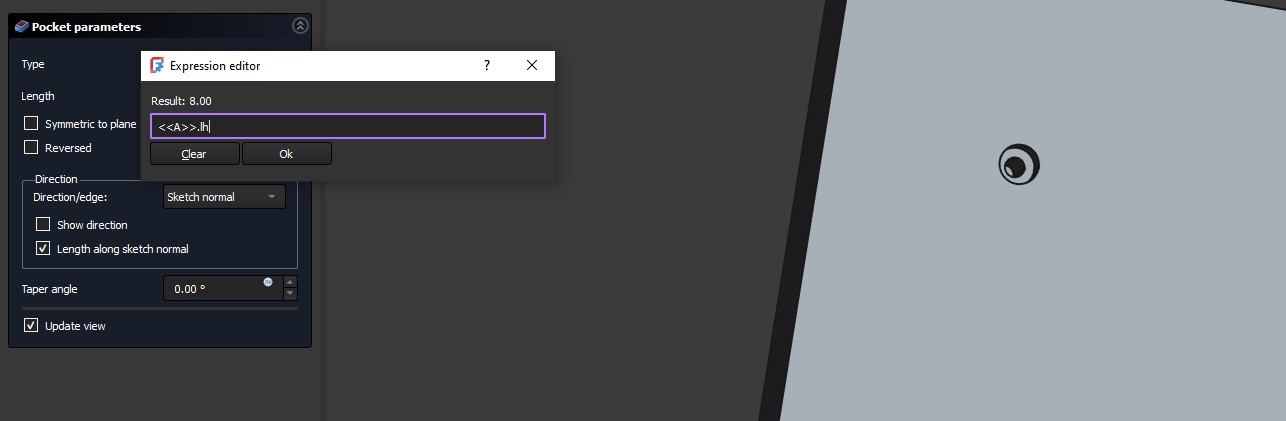
So i start to make sketch for holes, i will start from drawing upper part circle, and set its diameter dependent on variable ur (Upper Part Radius)
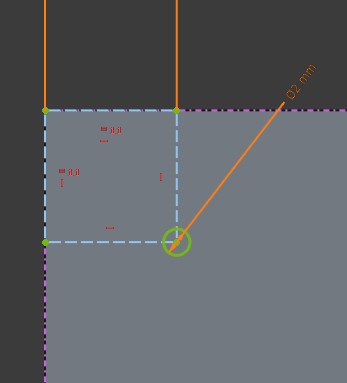
Then using Pocket tool, i will “Cut out” it by parameter uh (Upper Part Height)
Now want to draw lower part circle on to edge plane.
I want to mension, that it is much more easier to select plane , then “Create Sketch” then selecting plane after clicking Create Sketch
To get correct center on this plane i used “Create External Geometry” Tool

Beautiful, isn’t it?

Same steps for lower part
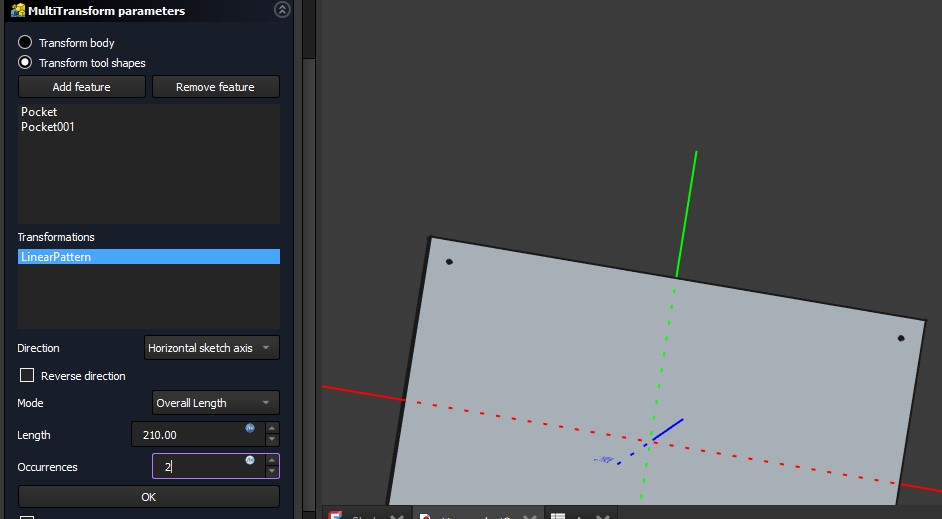
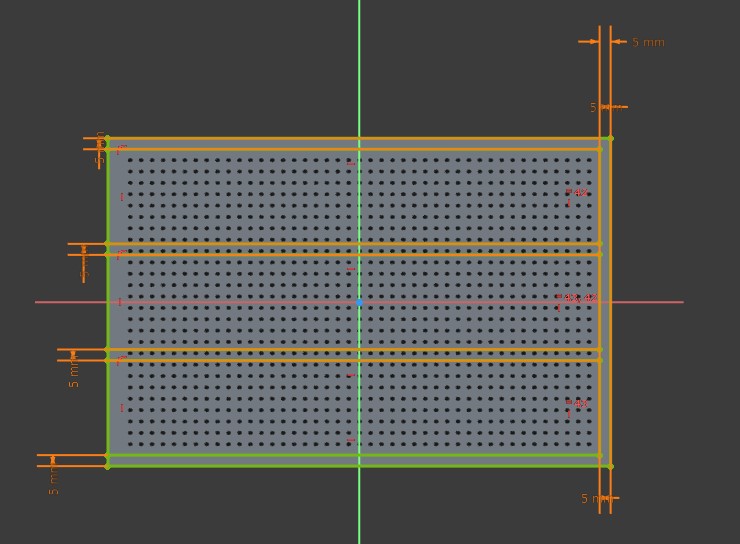
Now, I want to multiply my holes, I am using “Linear Pattern” tool for it.
Here is full instruction for 2 way linear patter function.
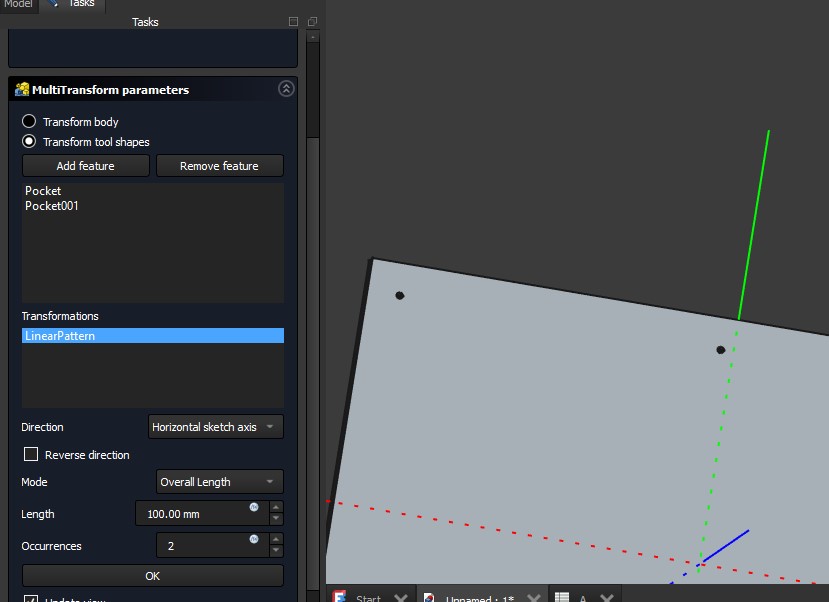
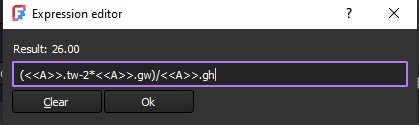
I want my holes to have same gap between all walls, i put my pattern Length to Table Length - 2 * Gap Between Walls
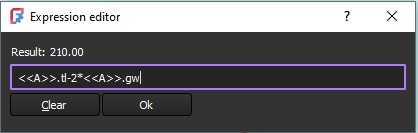
Now i must set number of occurances
I calculate that number using this formula
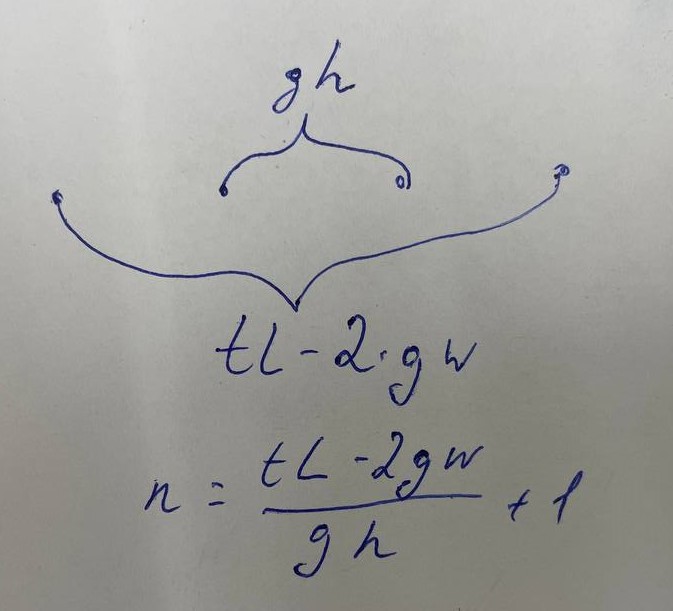

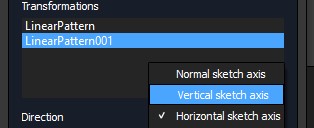
Now lets do same with perpendicular axis
Same calculations for other axis.
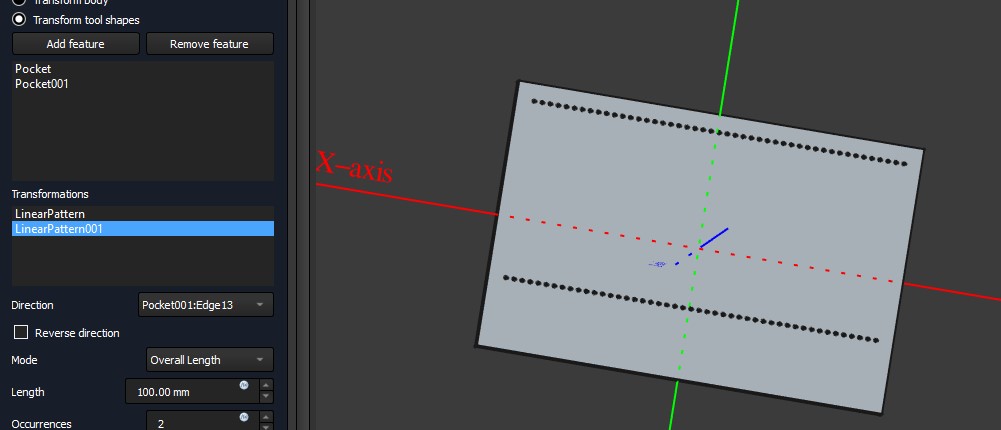
Here it is, my tables top view.
Then I am drawing bottom part, i decided to make 3 champhers for table
I added one more variable, to make the thickness of walls varyng.
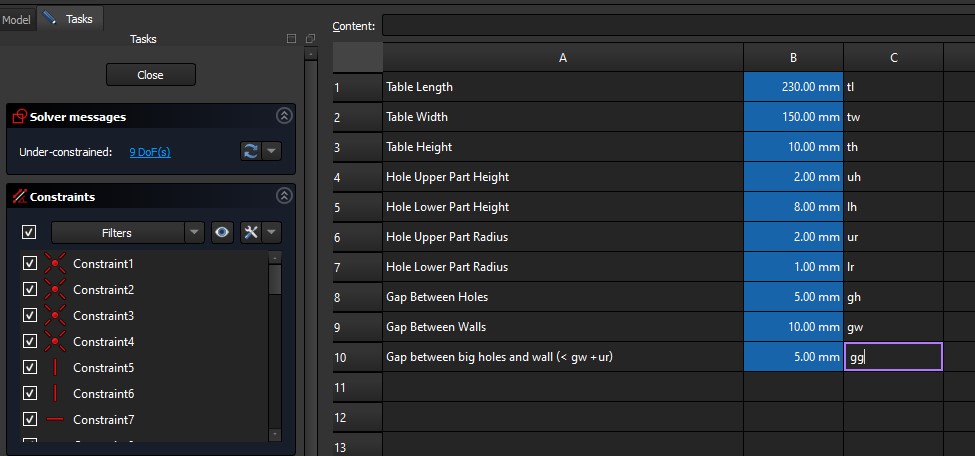

Adding some constrains not to set dimentions by one, but one for all.
Then I used same Pad tool for extruding walls
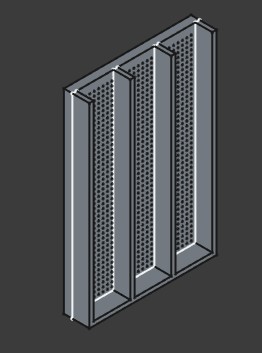
And Bottom Part.
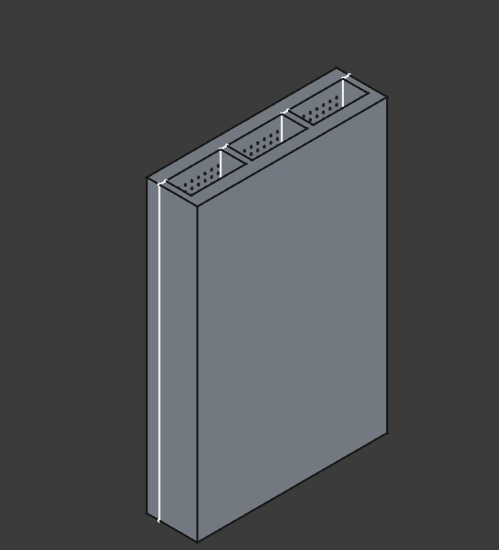
Final View.
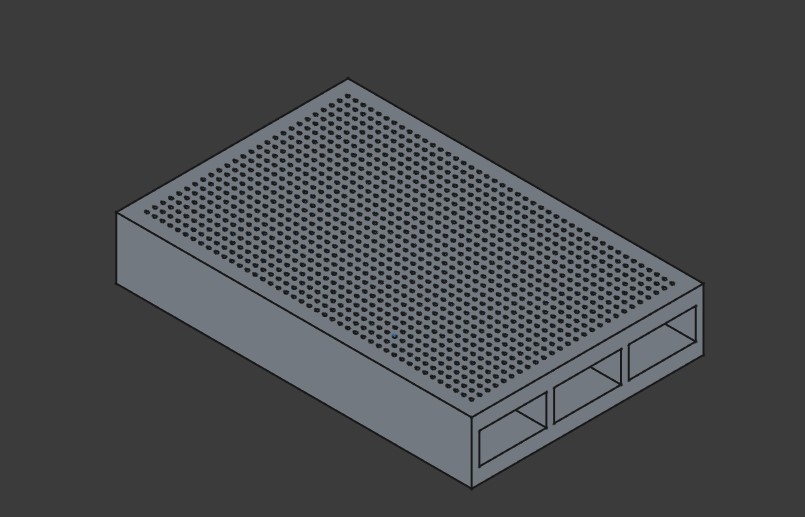
The whole idea of doing parametric model was making number and form of holeas varying, i must make some calculations based on Bernoulli’s principle to expand pressure that will hold PCB on place. After whole calculations the only thing to do will be changing numbers in spreadsheet, and not designing whole table from 0.
Image Compressing
for Image compressing I am using ImageMagick open-source tool
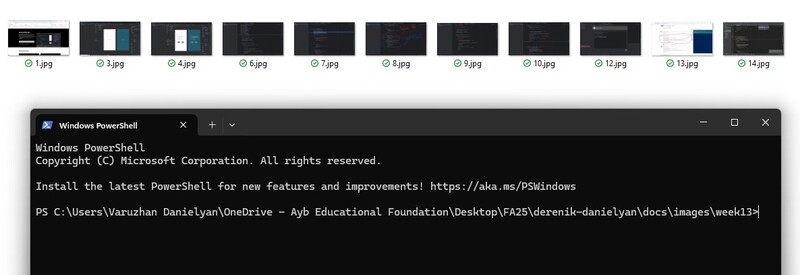
So I downloaded it from official website and opened Window Powershell in folder with images that I want to compress
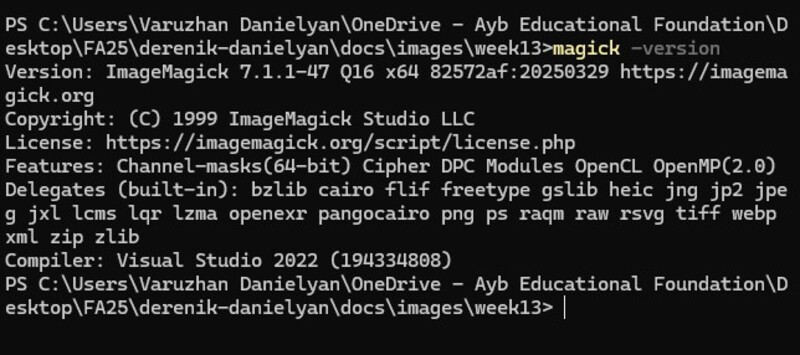
I want to check if ImageMagick is properly installed, so firslty i write
magick -version
Nice!
Next, I want to scale all my images to one size, so I write
New-Item -ItemType Directory -Force -Path resized
Get-ChildItem *.jpg | ForEach-Object {
    magick $_.FullName -resize 800x600 ("resized\" + $_.Name)
}

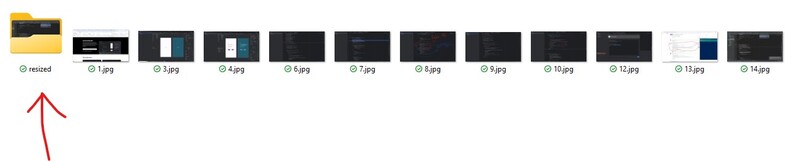
Then I can see New Folder called “resized” which contains all resized images
ImageMagick can do much more, so I want to show some of it’s other features too
ImageMagick Basics
Convert Image Format
Convert a .png image to .jpg:
magick input.png output.jpg
Resize Images
Resize to exact dimensions (may change aspect ratio):
magick input.jpg -resize 800x600 output.jpg
Resize and maintain aspect ratio (specify only width):
magick input.jpg -resize 800 output.jpg
Crop Image
Crop a 100x100 square starting from (10,10):
magick input.jpg -crop 100x100+10+10 output.jpg
Add Text to Image
Add text to the bottom center of an image:
magick input.jpg -gravity South -pointsize 36 -annotate 0 "Hello World" output.jpg
Create GIF from Images
Combine all .png images into an animated .gif:
magick -delay 100 -loop 0 *.png output.gif
Batch Resize Images (PowerShell)
Resize all .jpg images in a folder and save them to resized/:
New-Item -ItemType Directory -Force -Path resized
Get-ChildItem *.jpg | ForEach-Object {
    magick $_.FullName -resize 800x600 ("resized\" + $_.Name)
}
Useful Options
| Option | Description |
|---|---|
-resize WxH |
Resize to width W and height H |
-crop WxH+X+Y |
Crop image of size WxH at (X,Y) |
-annotate angle text |
Add text with rotation |
-gravity |
Set position for cropping or annotating |
-delay |
Delay between GIF frames (in 1/100s) |
-loop |
Number of GIF animation loops |
Video Compressing
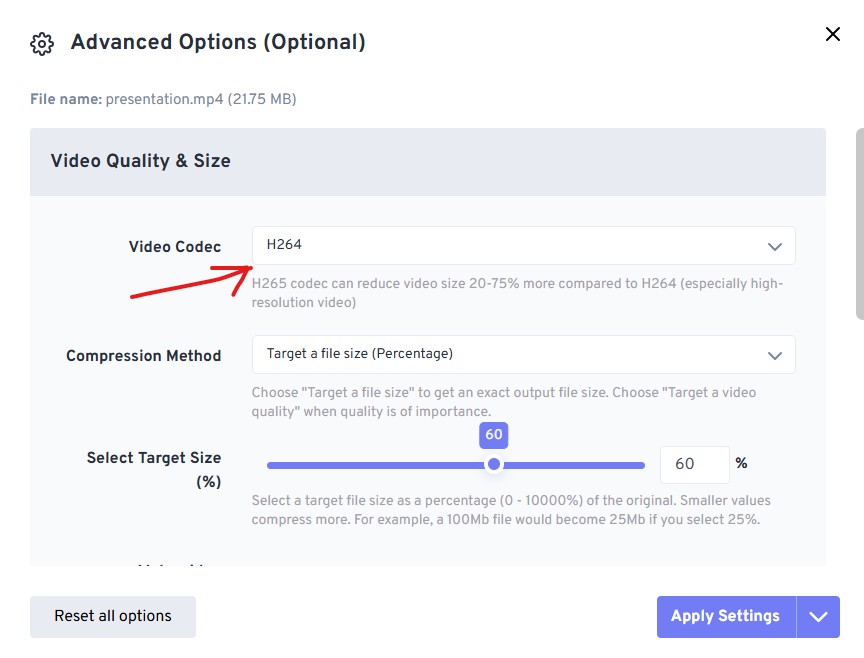
For Video Compressing I use just free websites like FreeCovert
It is important to select H264 as Video Codec
Conclusion
I switched from Fusion 360 to FreeCAD, mastering parametric design by creating a spreadsheet-driven vacuum table with dynamic hole patterns and formulas. I explored 2D design fundamentals: in Inkscape, I drew Bézier curves, used symmetry effects, and traced bitmaps; in Krita, I edited photos by removing objects and adding text. I also automated image compression with ImageMagick scripts and documented my open-source workflow. This week built my CAD confidence and advanced my final project’s prototype significantly.y
Files
Here is FreeCad file of my table.