Final Project
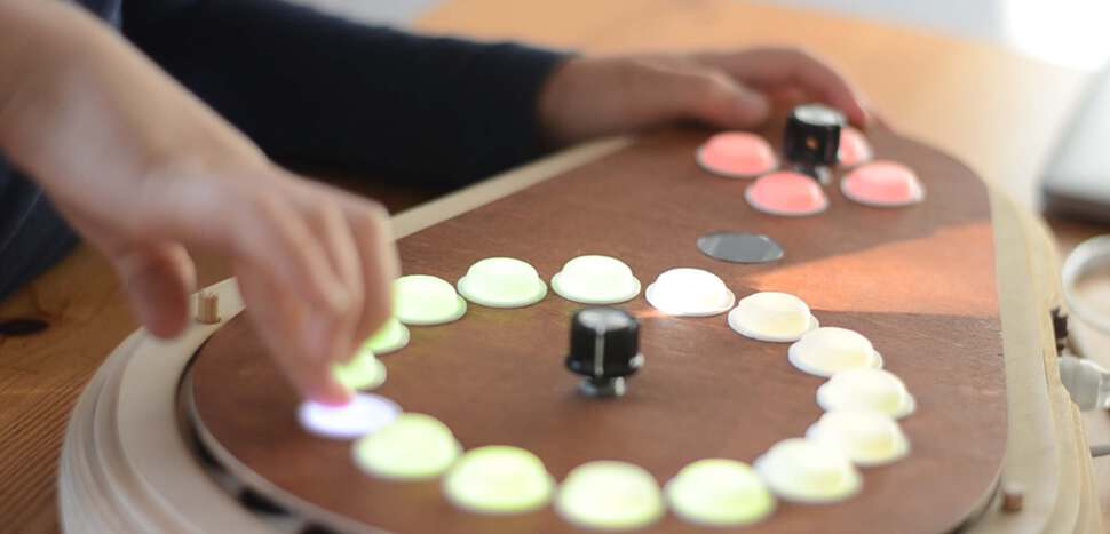
Final project Initial conception (Febuary 2022) Learning to play any musical instrument takes a very long time and a lot of effort. To enjoy music …

I have always been fond of 3d printing not merely as a way to produce an end result but to create models that would act as an in-between step in order to create something else. Therefore I wanted to explore the technique of vacuum forming. We don’t have a vacuum former in the lab at de Waag but, according to many people on youtube, it shouldn’t be too hard to make your own. I was particularly inspired by the instructions from the Punished Props channel.
If it all works I want to use this method to perhaps make molds from 3d printed objects for casting.
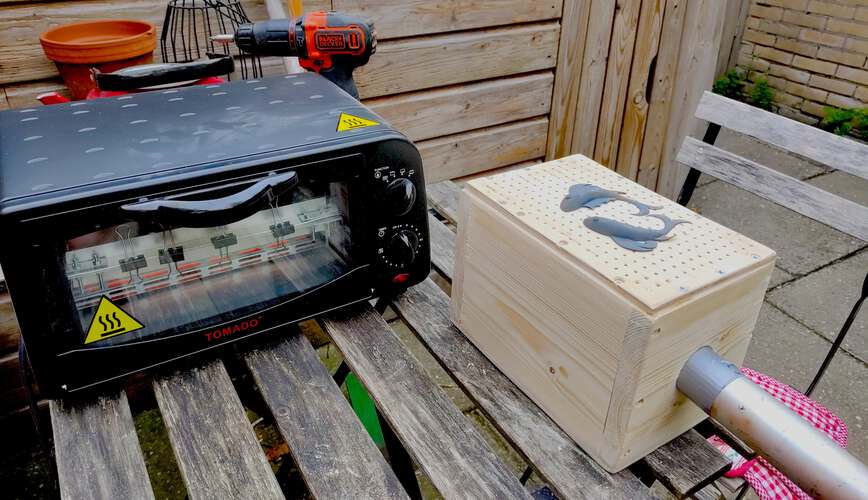
The DIY vacuum former is basically a wooden box with lots of holes on top and a large hole on the side for a vacuum cleaner. A plastic sheet is heated up in an oven to get it to deform and when it deforms it is quickly placed on an object that is placed on the top of the box.
For the box and frame:
| Article | Amount |
|---|---|
| 140mmx2500mm spruce wood plank | 1x |
| 15x15mm aluminum angle profile | 2x |
| 10mmx3mm flat top bolt | 32x |
| 3mm nut | 32x |
| Wood screws | lots |
| Silicone kit | 1x |
For the vacuum forming I used:
To make the box and the frame I used:
For the vacuum forming process itself I used a snack-toaster I had lying around to eventually use as a reflow soldering oven and a cheap shop-vacuum cleaner.
Even though the design is very simple, I still took the time to draw the box and the frame in Fusion360, because I don’t trust myself when it comes to accurate dimensions. The size of the box was based on the size of the frame, which was based on the size of the snack-toaster oven. The height of the box was based on the type of spruce wooden plank I procured.
 |
|---|
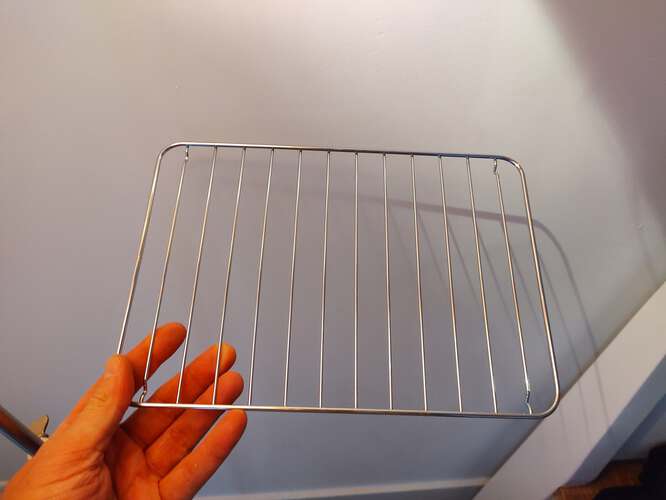
| The size of the grill that came with the toaster oven was helpful for determining the dimensions of the box. |
 |
 |
|---|---|
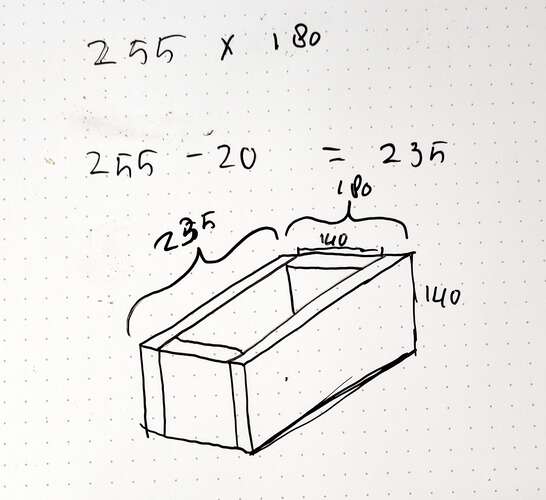
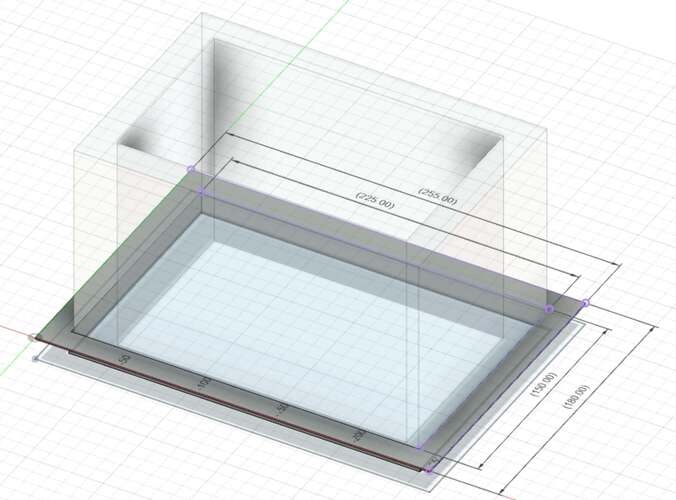
| First a hand drawn sketch. | Also in fusion, to be sure to get the dimensions right, |
|
|---|
| The dimensions of the box and frame |
For the holes on the of of the box I needed a template.
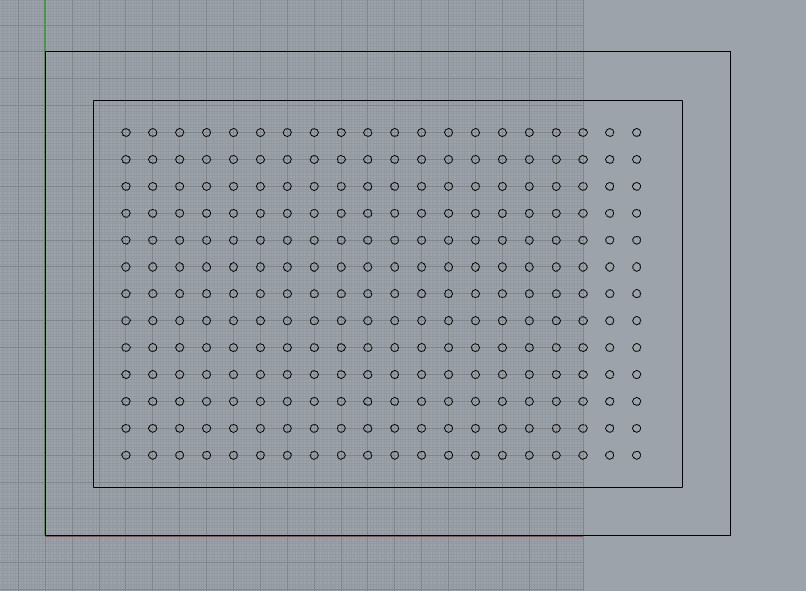 |
|---|
| I used Rhino to make and print the template for the holes |
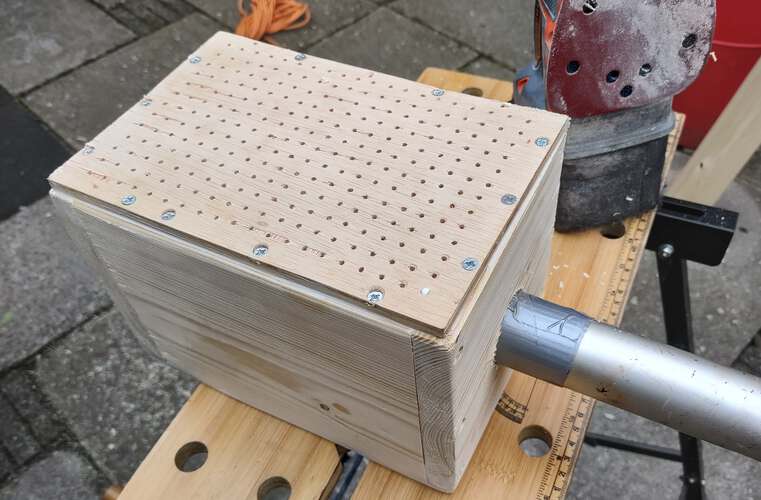
The density of holes is high because I figured that many holes would distribute the vacuum more evenly, preventing molten plastic from being sucked in the holes.
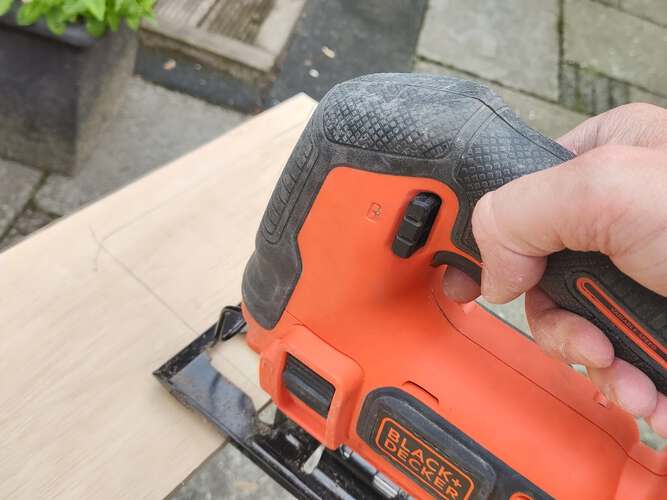
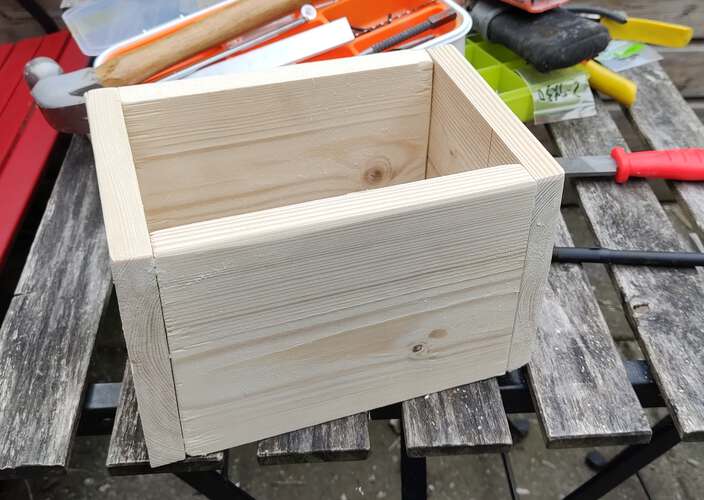
Making the box was basically an entire Sunday of measuring, marking, sawing, drilling, screwing, kitting and testing.
 |
|---|
| The entire box was made of spruce wood planks, cut to size |
 |
|---|
| All the box parts were screwed together. The seams were coated with a thick layer of silicone kit to prevent air from leaking through any gaps and diminishing the vacuum. |
 |
|---|
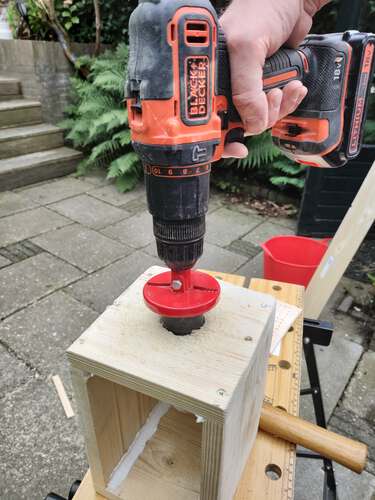
| A hole was made on the side to snugly fit the end of the vacuum cleaner |
| Using the template, I tediously marked all the holes for the top of the box |
 |
 |
|---|---|
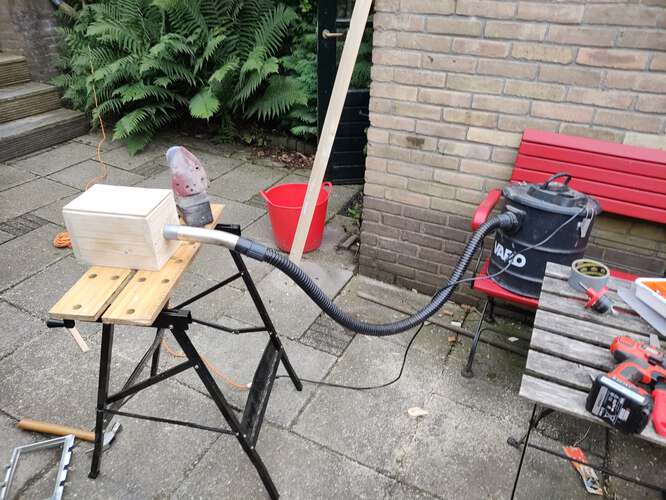
| To better fit the vacuum hose I wrapped it in duct-tape | Quickly testing the vacuum. A piece of paper was sucked to the surface so effectively I could pull on it horizontally and drag the box along |
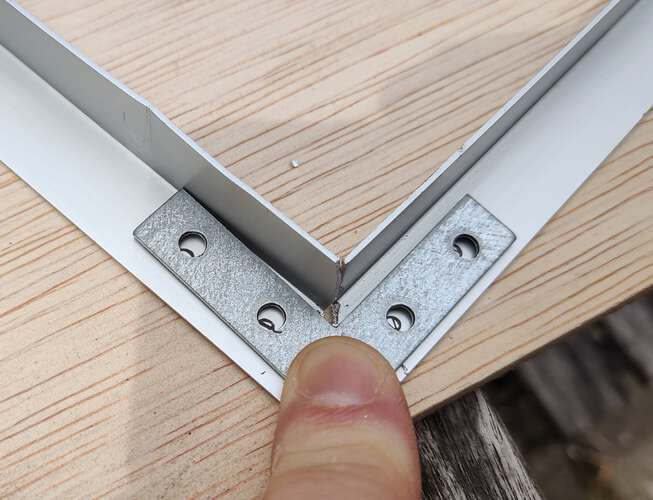
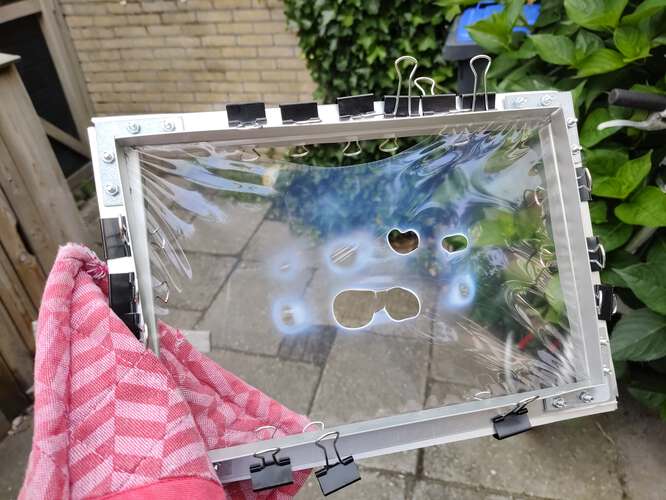
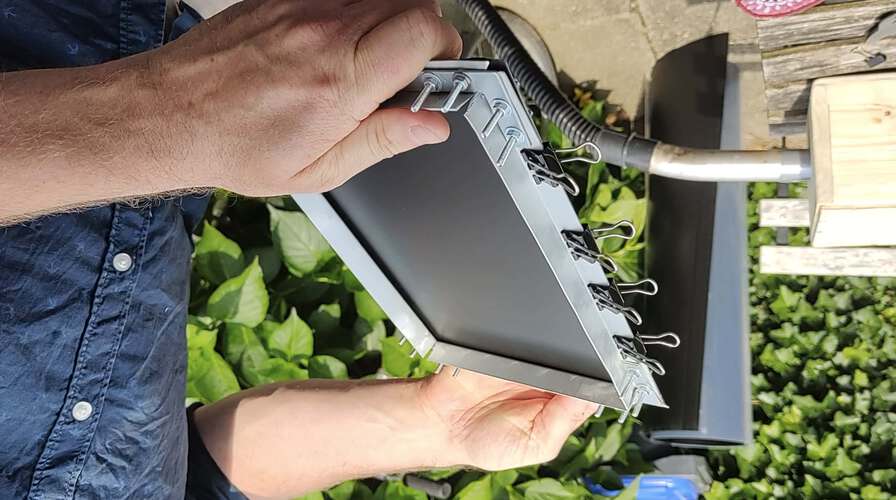
A double frame was made to hold a sheet of plastic in the oven.
 |
 |
|---|---|
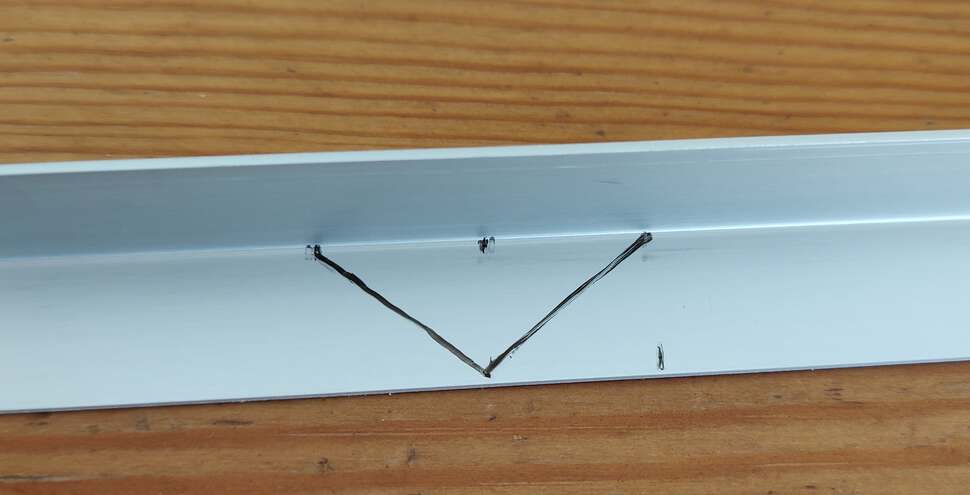
| Aluminum angle profiles were marked and cut to size | Metal angle pieces were used to create a frame |
After finishing the frame and the box it wad ready for testing.
 |
|---|
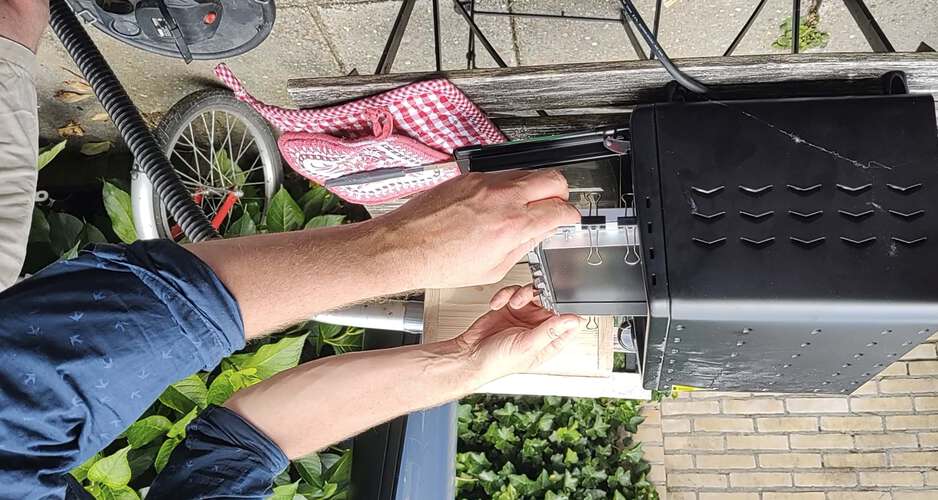
| Putting the plastic in the oven. I moved the whole setup outside as to not inhale any toxic vapours coming from the plastic |
The instructions told me to wait until the plastic started to sag in the oven. I gambled on using overhead transparencies because these are so widely available. It turned out these were of the wrong kind of plastic that is not thermo-deformable at all.
 |
|---|
| The plastic I used shrunk, got holes and deformed irregularly. Eventually it git brittle and started to crack. Overhead transperencies are definitely not the correct material to use for vacuum forming. |
I am going to acquire plastic materials that will deform properly when heated. Probably polypropylene.
Still, I have great confidence in this setup. I tested it with some aluminum foil and, although it didn’t give as good a result as with proper plastic, I could clearly see great detail in the result. Even some of the layer lines of the 3d print were indented in the foil.
| Testing with aluminum foil gives me confidence that this setup will work." |
Eventually I bought a large sheet of polypropylene.
 |
 |
|---|---|
| I cut a piece to size and clipped in in the frame | It fit neatly in the oven |
It turns out the material melts way faster than I expected.
| The polypropylene got too liquid too fast and leaked all over the heating elements in the toaster oven. I was glad I did the experiment outside |
I was faster at the second try.
| I was very happy with the result. The 3d printer part came free from the sheet very easily. The next step would be to use this imprint as a mold. |
Final project Initial conception (Febuary 2022) Learning to play any musical instrument takes a very long time and a lot of effort. To enjoy music …
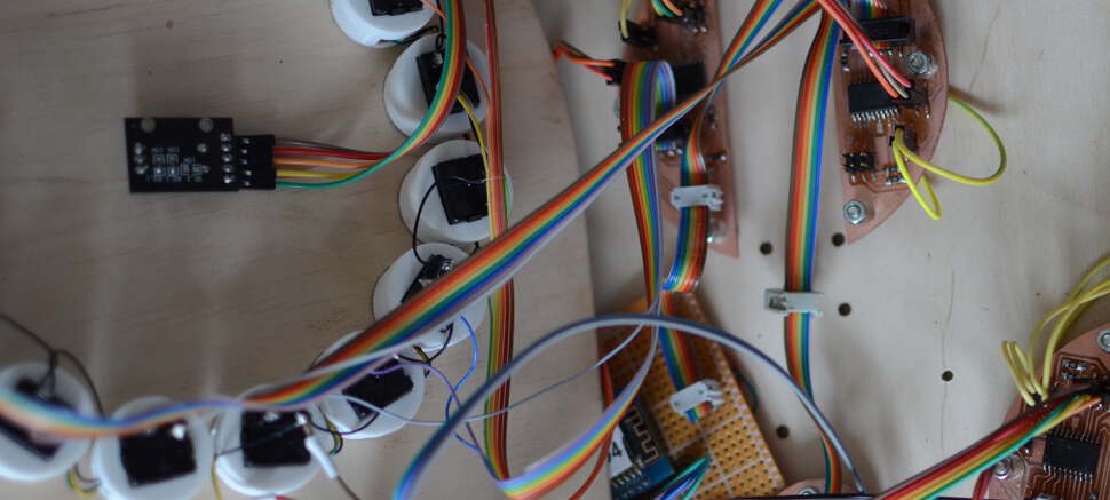
What I did. I created the enclosure and designed and milled all the PCBs. TODO Hardware Priority 1 20 x Button LED caps 8x Octave1 8x Octave2 4x chord …