Final Project
Final project Initial conception (Febuary 2022) Learning to play any musical instrument takes a very long time and a lot of effort. To enjoy music …

In the first week of the FabAcademy working methods and best practices are introduced, ranging from best practices regarding time and task management (spiral design, triage, supply-side time management) to software (git, static site generators, gitlab) to working procedures (automating common tasks using the command-line)
Neil’s random generator picked me in the first week, saving me a lot of anxiety during random reviews later in the cycle.
To make the most of the FabAcademy experience I would like to approach the weekly experiences by formulating learning stories:
Participants in the FabAcademy are constantly warned about the pressure to deliver your work on a weekly basis. Therefore I need to optimize my workflow in the first week so I can facilitate my future self in writing documentation and organizing my work.
In order to have an optimal workflow and structure I can prepare the following:
After adding a public key to the gitlab server I cloned my git repository and studied the existing static site generator called mkdocs.
mkdocs is a set of python scripts that will convert markdown files into a structures HTML page. The gitlab configuration at the FabAcademy allows the server to automatically build
I want the git repo to reflect my work and the static site to reflect the documentation. Therefore I decided to have the documentation and its SSG configuration in a separate documentation directory. Each sub-project of the FabAcademy will start out in it’s own branch, later to be merged in the main branch and appear as a separate project folder in the main repo.
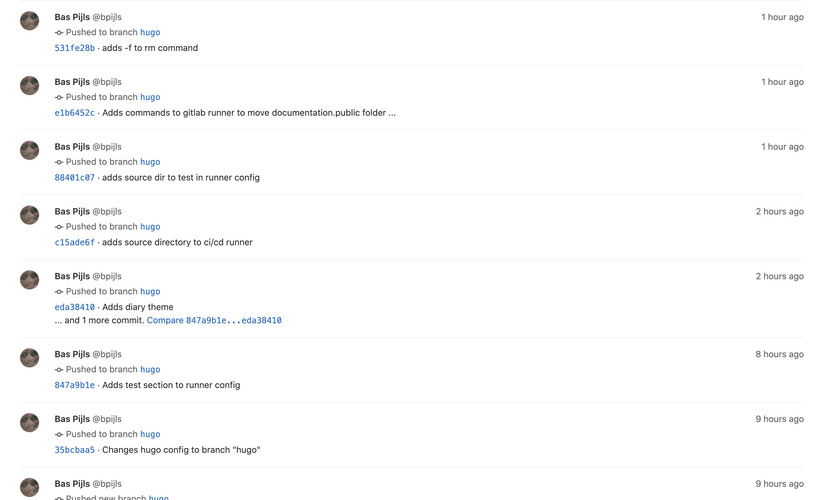
To always have a working project while potentially destroying your project experimenting, I decided to make heavy use of branches. To research a new static site generator I made the branch “hugo”, in which I proceeded to delete all the mkdocs files and setting up my own hugo installation. After I had some trouble getting rid of git submodules, I deleted the entire branch and started over.
 |
|---|
| This nights work got lost. |
When I thought I was working in a fresh hugo branch, I committed and pushed some troublesome code, not knowing I was actually in the master branch. Submodules are quite hard to get rid of, especially if they’re already pushed to the remote.
After deliberating what to do I decided that this error contributed to making my choice to go for the hugo ssg with the bookworm theme. I will try not to branch too often.
We are warned to to commit and push files larger than 10MB to the gitlab server. Most images from common cameras are too large for web format. Therefore, a lot of rescaling is going to be needed. My procedure will be:
Imagemagic is a command line too to automatically resize images. The command to resize a large number of files in a folder is mogrify:
mogrify -resize 970 -quality 80 -path ../bas-pijls/documentation/assets/images *.jpg
This command is good if all images in the raw_images folder are larger than the highest allowed width, but a lot of images will be smaller, such as screenshots. Therefore I found a more elaborate shell script that would check the size of images first:
mogrify -format jpg *.png
rm *.png

files=*.jpg
minimumWidth=970
minimumHeight=500
output_path=../bas-pijls/documentation/assets/images

for f in $files
do
    echo do $f
    imageWidth=$(identify -format "%w" "$f")
    imageHeight=$(identify -format "%h" "$f")
    echo $f is $imageWidth x $imageHeight
    if [ "$imageWidth" -gt "$minimumWidth" ] || [ "$imageHeight" -gt "$minimumHeight" ]; then
        mogrify -path $output_path -resize ''"$minimumWidth"x"$minimumHeight"'' $f
    else
        cp $f $output_path
    fi
done
This shellscript also converts all .png images to .jpg images, which are smaller. Since I don;t need transparency in images, .jpg is good enough for this project.
I copied the commands in a file called ‘process_images.sh’ which I placed in my ‘raw_images’ directory and made executable by:
chmod +x ./process_images.sh
and now it can be uses:
./process_images.sh
Eventually I wanted to have the raw_images folder to mimic the structure of the blog-post folder, so the script now recursively traverses the raw images directory, converts png images in place and copies the entire processed folder to any destination directory. The final script can be found here
![]()
By default FabAcademy repositories come with an mkdocs installed site. mkdocs converts markdown files to static html pages. When pushing changes to gitlab, a ci/cd runner is automatically converting the md files to a site. To not have to push all changes and wait for the runner to complete, it’s best to run a local server.
I first installed mkdocs using brew:
brew install mkdocs
mkdocs will compile the md files in the ‘docs’ folder in the git repository. This is done using the command:
mkdocs serve
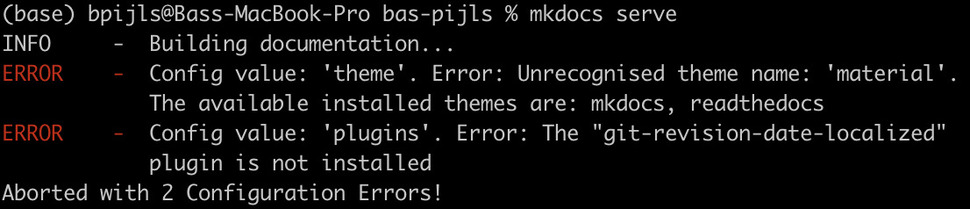 |
|---|
| which did not work out of the box. |
The plugin error could be resolved by using the command:
pip3 install mkdocs-git-revision-date-localized-plugin
found here
Eventually it became clear the mkdocs configuration on the server used a specific theme which needs to be installed using pip3:
pip3 install mkdocs-material
I wanted to have more control over the theme that mkdocs presented me but I had a hard time finding the source files for the theme. These are not typically stored in the repository but are stored in a different location on any machine that runs the mkdocs server. So I decided to go with another static site generator.
![]()
Hugo is another static site generator that delivers clean sites that have their themes embedded in the repository, making the themes tweakable. Hugo can be installed with homebrew:
brew install hugo-extended
Setting up a hugo site is as easy as:
hugo new site documentation
in your repository directory. This generates a lot of folders so I decided to keep the documentation separate in the documentation folder in the repository.
Hugo doesn’t work without a theme, so you can install themes by linking them as a git submodule. I chose the bookworm theme for its clean looks.
If you want to modify the theme later on, you better link the theme submodule as a forked version, or just clone the theme and copy-paste it into your repository.
The bookworm theme came with a nice example site which contained information on the preferred folder structure and the configuration file, the config.toml.
theme = "bookworm-light"
relativeURLs = true
baseURL = "/"
title = "Bass FabAcademy"
author = "Bas Pijls"
copyright = "CC BY-NC-SA 4.0 Bas Pijls"
# post pagination
paginate = "5"
# post excerpt
summaryLength = "20"
# etc....
Not altering the baseURL in your config.toml leads to your hugo site not being able to find assets, such as its css:
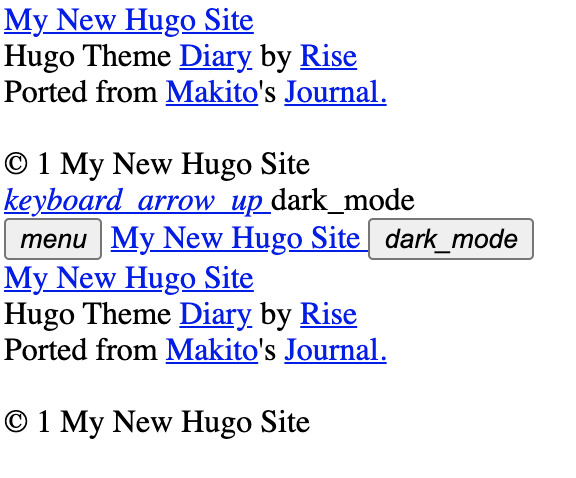 |
|---|
Having the wrong url in the config.toml lead to a page without markup |
Hugo supports archetypes which enable you to quickly generate new post with all the important fields already filled. Some content is generated by putting a “frontmatter” section before your markdown. Eventually my blog post archetype looks like:
---
title: "Week2"
date: 2022-02-02T23:59:00+00:00
image: "Week2.jpg"
author: "Bas Pijls"
tags: ["Project Management"]
categories: ["assignments"]
draft: false
---

## Introduction
## Think
## Make
## Check
In the course of this project I will probably want to offer readers of these pages some form of interactivity by embedding small javascript applications. To test this I chose to write a little program with the p5.js library and embed this in a page. I wrote the following program using the p5.js online editor:
function setup() {
  createCanvas(800, 400);
  noStroke();
}

function draw() {
  background(255);

  fill("5FC4B7");

  for (var iS=0; iS<10; iS++) {
    fill(100, 200, 200, (iS/10.0)*255);
    for (var iX = 100; iX<700; iX++) {
      let x = iX/100.0;
      let y = sin(x*10)*x*x*2.5/iS;

      ellipse(iX, y+height/2, 20, 20);
    }
  }
}
To embed this in markdown I tried to copy the .js files of the p5.js sketch to a know location and copy-paste the HTML parts in markdown:
html
<head>
<script src="https://cdnjs.cloudflare.com/ajax/libs/p5.js/1.4.0/p5.js"></script>
    <script src="https://cdnjs.cloudflare.com/ajax/libs/p5.js/1.4.0/addons/p5.sound.min.js"></script>
    <link rel="stylesheet" type="text/css" href="style.css">
    <meta charset="utf-8" />

  </head>
  <body>
    <script src="sketch.js"></script>
  </body>
This didn’t work because there already was a <body> and a <head> section generated by the template. Eventually I altered the template file partials/head.html to include the two p5.js library files in the <head> section and just include the <script> section in the markdown file. This worked…in a way:
 |
|---|
| Just adding the p5 sketch makes it appear at the bottom |
The javascript canvas appeared at the bottom of the pages. It turns out you have to bind the p5.js sketch to a specific HTML element, such as a <div>:
html in markdown:
<div id="logo">
    <script src="logo.js"></script>
</div>
p5.js sketch setup function:
function setup() {
  let canvas = createCanvas(800, 400);
  canvas.parent('logo');
  noStroke();
}
Which results in:
This allows me to post small interactive demos with p5.js or 3d visualizations using three.js.
Every time a user pushes new commits to the gitlab server a process is started, called a runner. This runner starts a docker container in which you can install specific modules to help with the deployment of your application. In my case I want the runner to run a hugo build and copy the output html files to a webserver location. To do this I had to edit the gitlab-ci.yaml file to look like this:
variables:
  GIT_SUBMODULE_STRATEGY: recursive

pages:
  image: registry.gitlab.com/pages/hugo/hugo_extended
  script:
    - hugo -F --source ./documentation
    - rm -f -r public
    - mv ./documentation/public ./public
  artifacts:
    paths:
    - public
  only:
  - master
I had to adjust the setting in order to support having a sub directory that holds my hugo source files. An external runner is checking for files in the ./public folder and my files ended up in the ./documentation/public folder. You can run console commands in the runner, so I deleted the public folder and replaced it with my own.
As my main editor I am using visual studio code with the following packages (for now):

I also installed powerline10 in my zsh shell. This allows me to at least easily see in which branch I am operating:
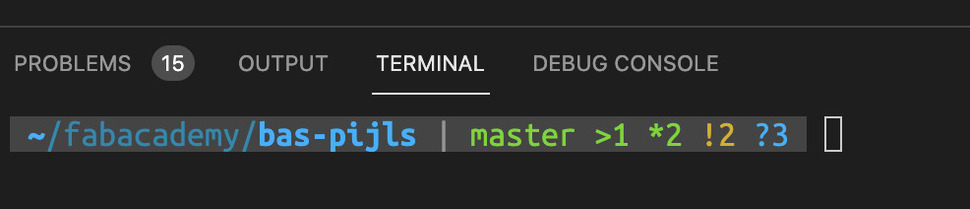 |
|---|
| Powerlevel10k allows me to always see the branch I’m |
Did I achieve my goals for this week:
Adopt a git workflow to provide me with a safe sandbox environment every time I want to start something new, to facilitate spital design. I should always be able to go back to the previous, working product.
Sometimes branches are more pain than it’s worth. If you are working on a project in a theme, branching is of vital importance. On your won, probably not so much. I will still branch occasionally but be careful doing so. Hopefully the powerlevel10 theme for my shell helps me keeping informed on the status of my git repo.
Automate common tasks. Scaling images, documenting my process, documenting code. These tasks should not distract me from working on the assignments.
The CI/CD runner configuration and the image re-scaler script will probably save me a lot of time in the future
Presenting my work. I would like a nice, clean looking webpage that shows what I am working on in a clear way. Furthermore, code and markdown should be automatically checked on quality guidelines
Final project Initial conception (Febuary 2022) Learning to play any musical instrument takes a very long time and a lot of effort. To enjoy music …
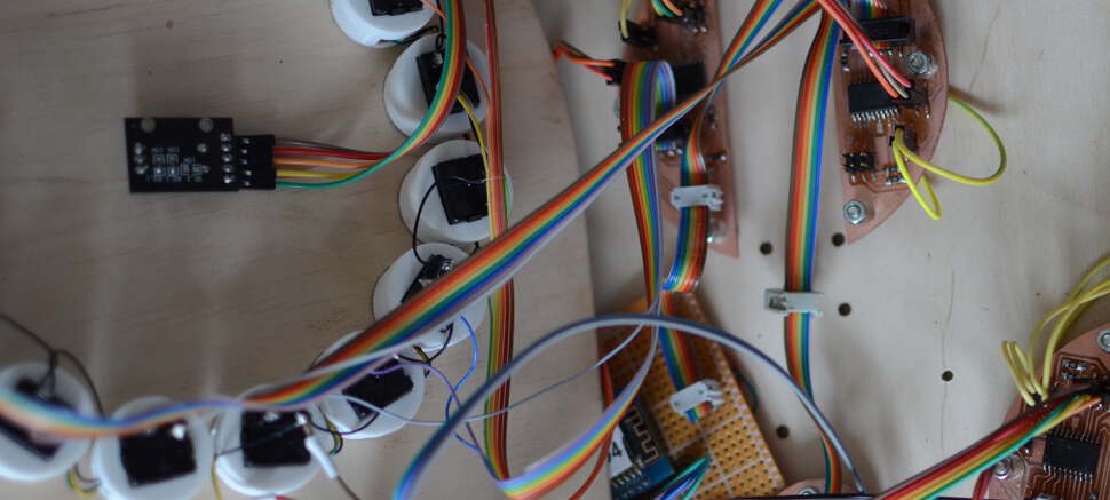
What I did. I created the enclosure and designed and milled all the PCBs. TODO Hardware Priority 1 20 x Button LED caps 8x Octave1 8x Octave2 4x chord …