10. Molding and Casting
Objectives
- design a mold arround the stock and tooling that you’ll be using ,mill it (rough cut +three-axis finish cut), and use it to cast part
- extra credit: using more then two mold parts
Group assignment Group Assignment page
- review the safety data sheets for each of your molding and casting materials,then make and compare test casts with each of them
- extra credit: try other molding and casting processes
The Tenth week’s class of my fab academy life took place and the professor Neil class started as usual,this week assignmend as khown as Molding and Casting
According to datasheets, there are certain typical safety and first-aid measures to be remembered.
Safty measures
Please read the datasheet before using any of the substances, because Some may be extremely dangerous and necessitate the use of specialised equipment.
Always ensure that the space you are utilising is not enclosed and that appropriate ventilation is provided.
Check FDA certification before casting any edible meterials.
Make sure you use heat resistant gloves as most of the mixing process involved is exothermic reaction and also make sure you don’t make any contact with the chemicals bare handedly.
You can also use Safety glasses to avoid eye splashes during mixing and pouring.
Use mask and wash hands properly.
Do not throw any mix or chemicals in the basin as it may clot the pipeline. and makesure the wast are disposed properly.
Close all the lids after use as the chemicals may not be reusable if left it open in atmosphere.
First-Aid
Inhalation: Remove affected person from source of contamination. Move affected person to fresh air and keep warm and at rest in a position comfortable for breathing. Maintain an open airway. Loosen tight clothing such as collar, tie or belt. When breathing is difficult, properly trained personnel may assist affected person by administering oxygen. Place unconscious person on their side in the recovery position and ensure breathing can take place.
Ingestion: Rinse mouth thoroughly with water. Remove any dentures. Give a few small glasses of water or milk to drink. Stop if the affected person feels sick as vomiting may be dangerous. Do not induce vomiting unless under the direction of medical personnel. If vomiting occurs, the head should be kept low so that vomit does not enter the lungs. Never give anything by mouth to an unconscious person. Move affected person to fresh air and keep warm and at rest in a position comfortable for breathing. Place unconscious person on their side in the recovery position and ensure breathing can take place. Maintain an open airway. Loosen tight clothing such as collar, tie or belt.
Skin contact: Rinse with water and soap.
Eye contact: Rinse immediately with plenty of water. Remove any contact lenses and open eyelids wide apart. Continue to rinse for at least 10 minutes.
Protection of first aiders: First aid personnel should wear appropriate protective equipment during any rescue. Wash contaminated clothing thoroughly with water before removing it from the affected person, or wear gloves. It may be dangerous for first aid personnel to carry out mouth-to-mouth resuscitation.
ref: rs-online.com
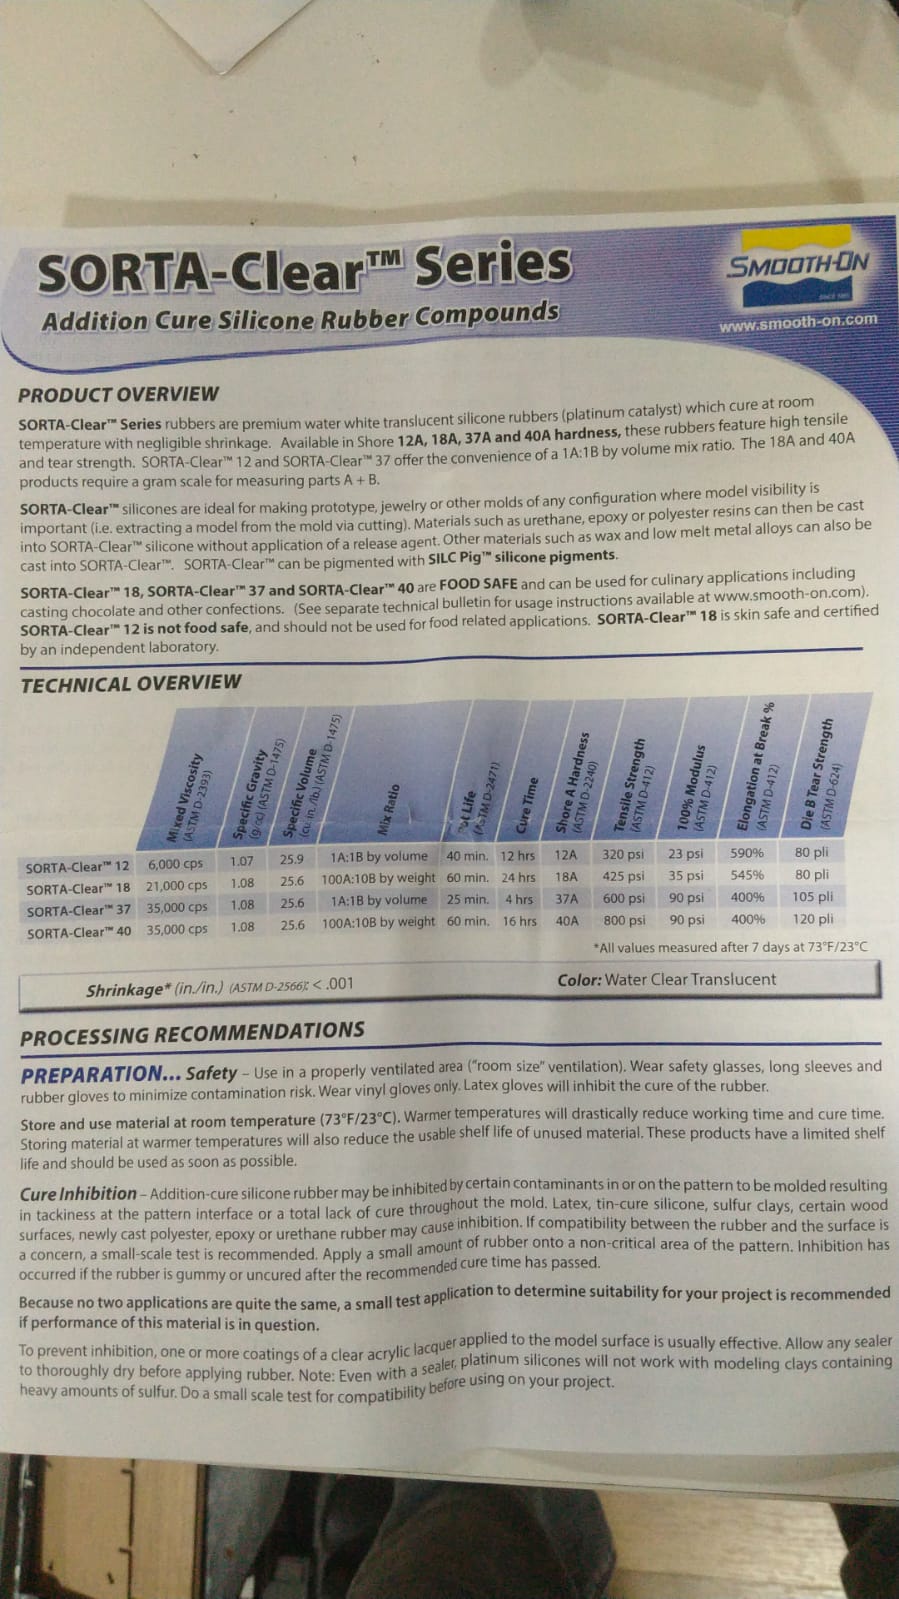
SORTA-Clear™ 37
![]()
SORTA-Clear™ Series rubbers are premium water white translucent silicone rubbers (platinum catalyst) which cure at room temperature with negligible shrinkage.these rubbers feature high tensile and tear strength.This is ideal for making prototype. Materials such as urethane, epoxy or polyester resins can then be cast into SORTA-Clear™ silicone without application of a release agent. Other materials such as wax and low melt metal alloys can also be cast into SORTA-Clear™.
![]()
technical datasheet of SortA-Clear 37 Click here, And for safety datasheet Click here.
Smooth-Cast™ 305
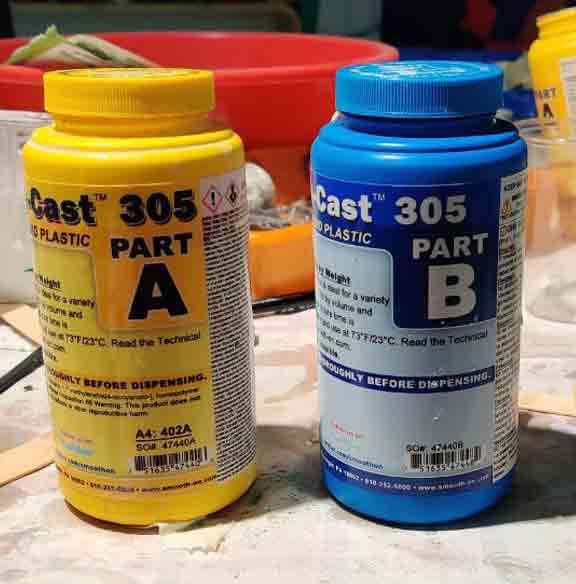
The Smooth-Cast™ 300 Series of liquid plastics are ultra-low viscosity casting resins that yield castings that are bright white and virtually bubble free. Vacuum degassing is not necessary. They offer the convenience of a 1A:1B by volume or 100A:90B by weight mix ratio. The differences between them are pot life and demold time. These resins readily accept fillers (such as URE-FIL™ 3 from Smooth-On) and can be colored with SO-Strong™, UVO™ or Ignite™ color tints (Smooth-Cast™ 325 series accepts pigments better than the Smooth Cast™ 300 series). Fully cured castings are tough, durable, machinable and paintable. They resist moisture and mild solvents. plications for Smooth-Cast™ 300 Series Liquid Plastics include reproducing small to medium size sculptures, making prototype models, special effect props and decorative jewelryschem. For technical datasheet of Smooth-Cast 305 Click here. And for safety datasheet Click here.
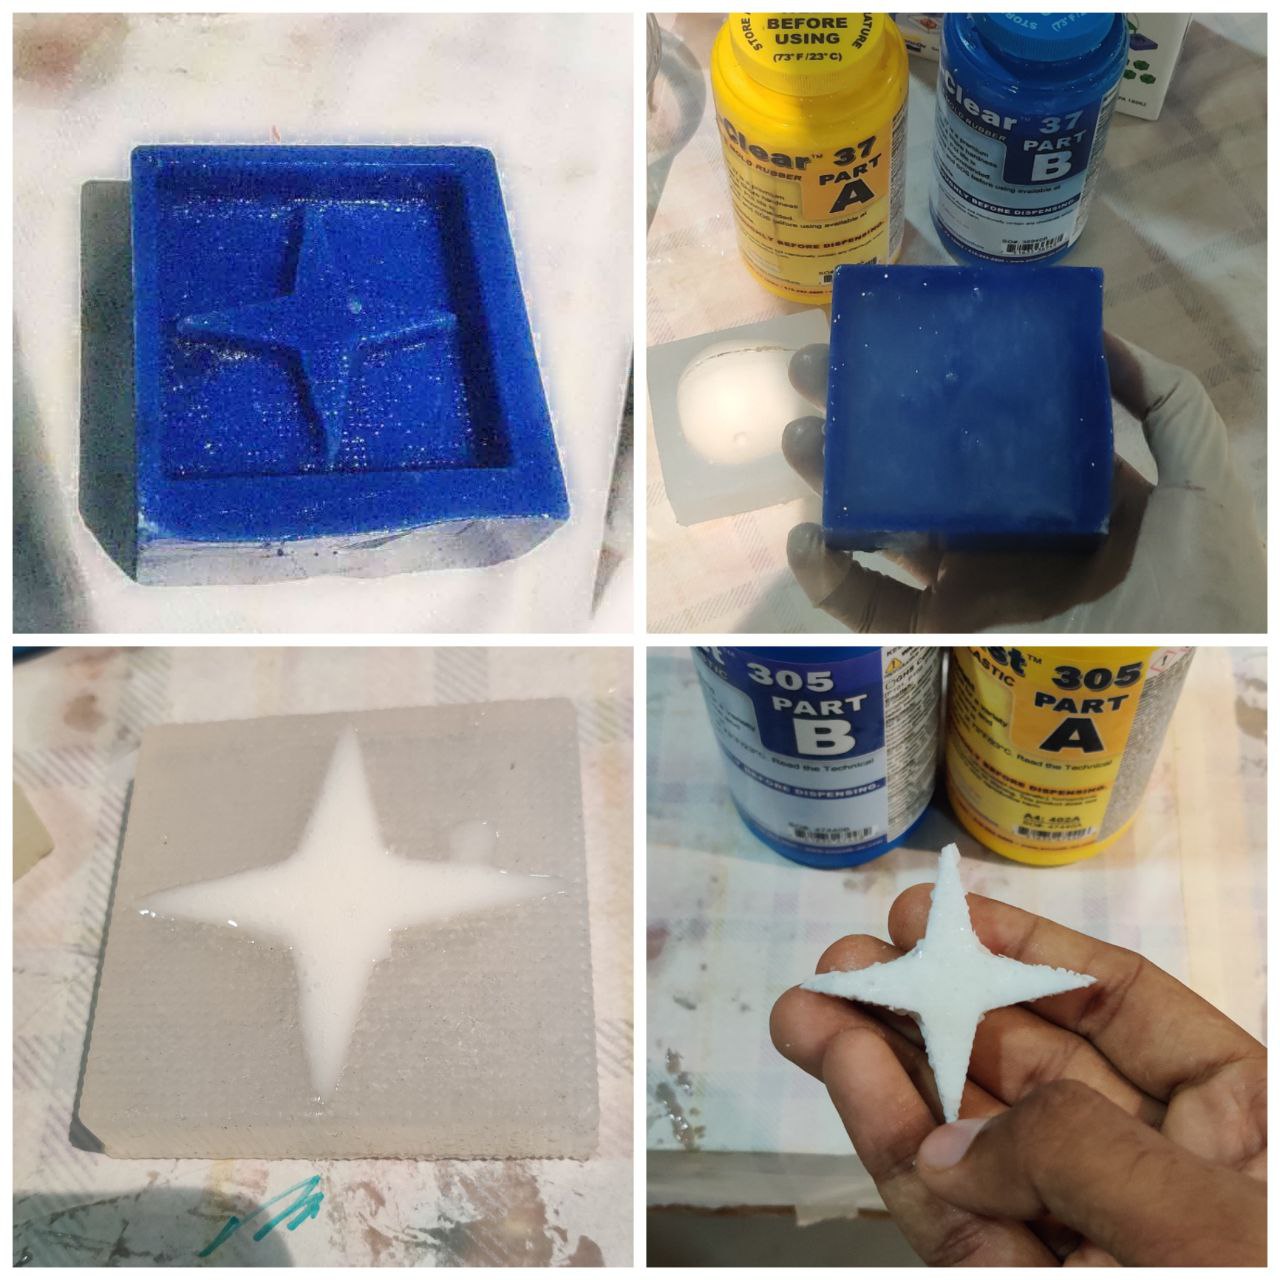
Test Cast
we used an alrady milled negative die made by mr saarang sumesh
and made the mold for casting using SORTA-Clear™ 37 and kept overnight to cure the mold and the next day we casted out the star using Smooth-Cast™ 305 and found out it will take more than 3 hrs to cast the product using it.
Let’s Start
In fist I explor the previous student’s Assignment , I watched it very well aand I get the basic idea if this week assignment
 then I fixed the design I take casting a Glass Bowl
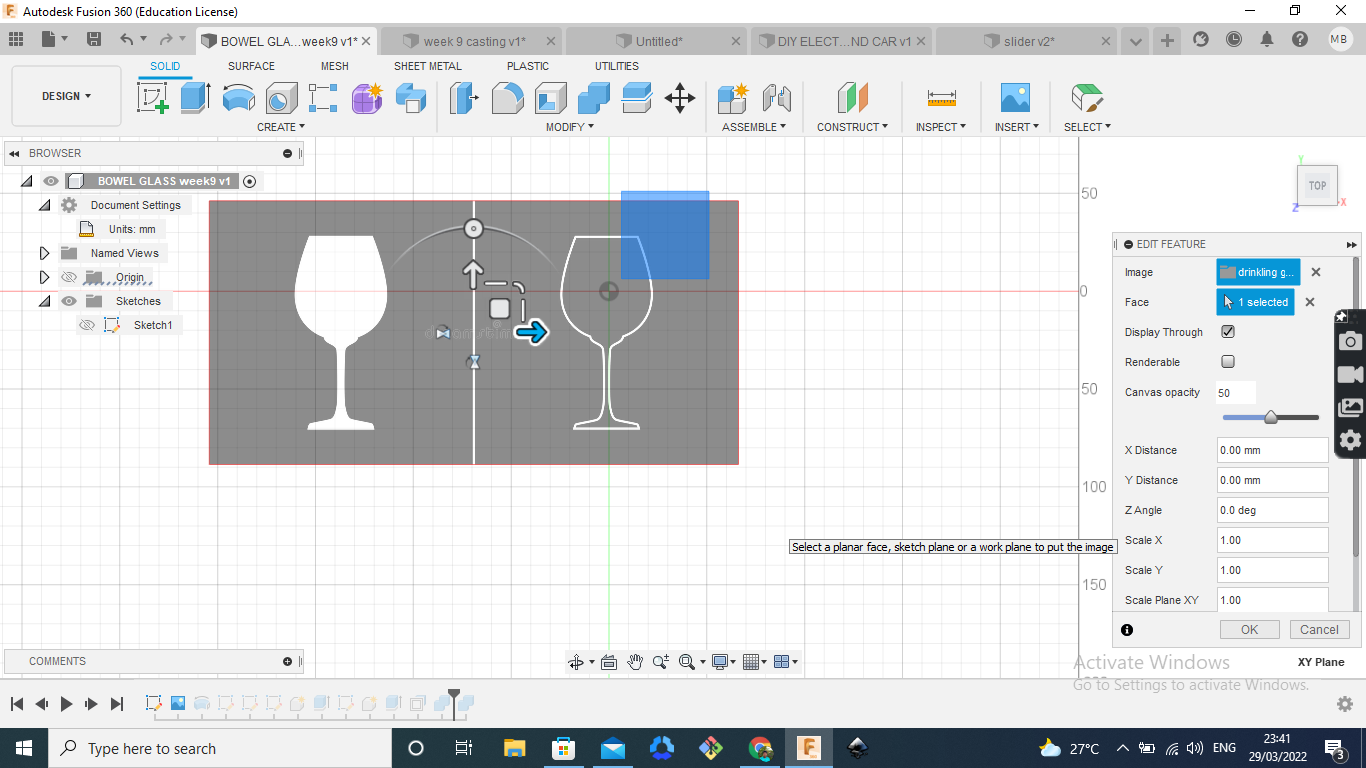 Then I start the designing process I desiging to the model using software is Fusio360,then I import a pictuer
 Then start to revolve the sketch
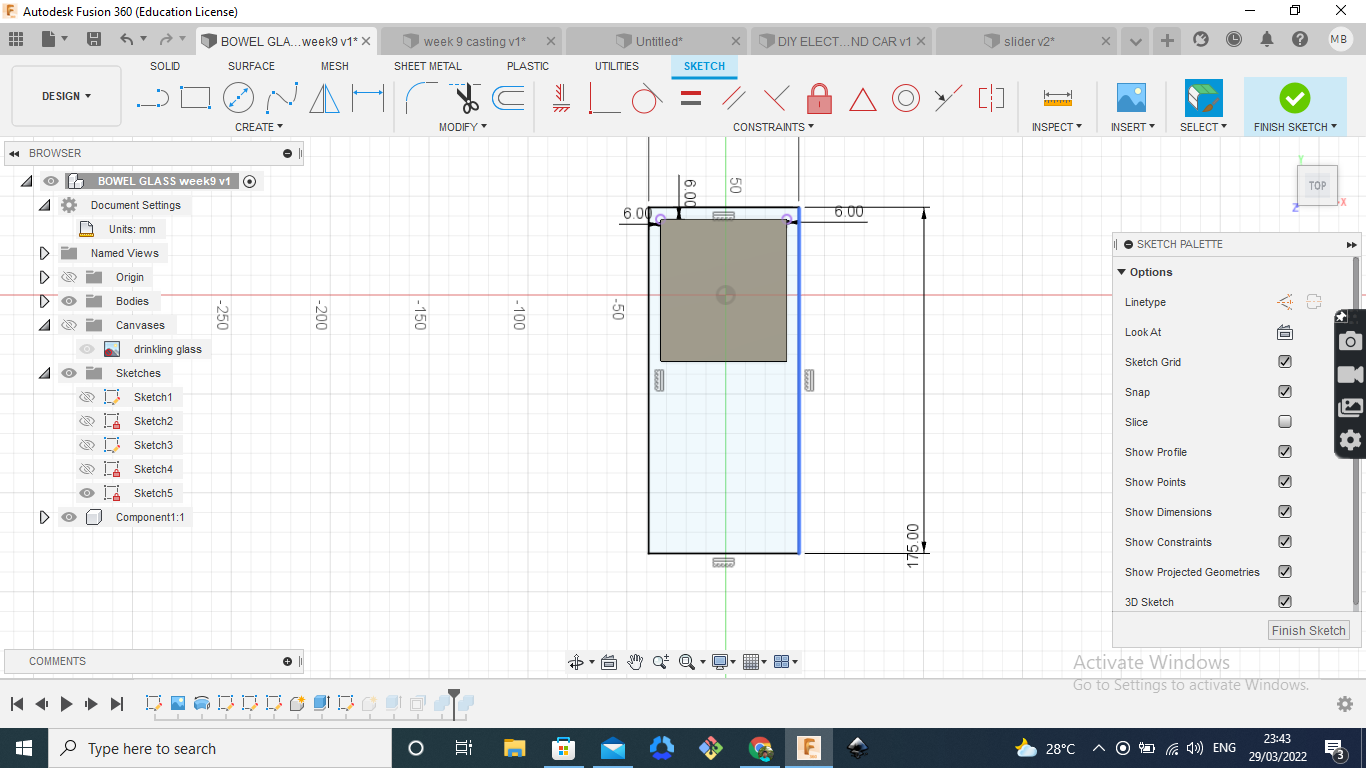
 This is the design sketch
 Then I draw a clearance box and extrude it
Then next creat wax block
Then I draw a clearance box and extrude it
Then next creat wax block
 The compair the wax and clearace box to cut
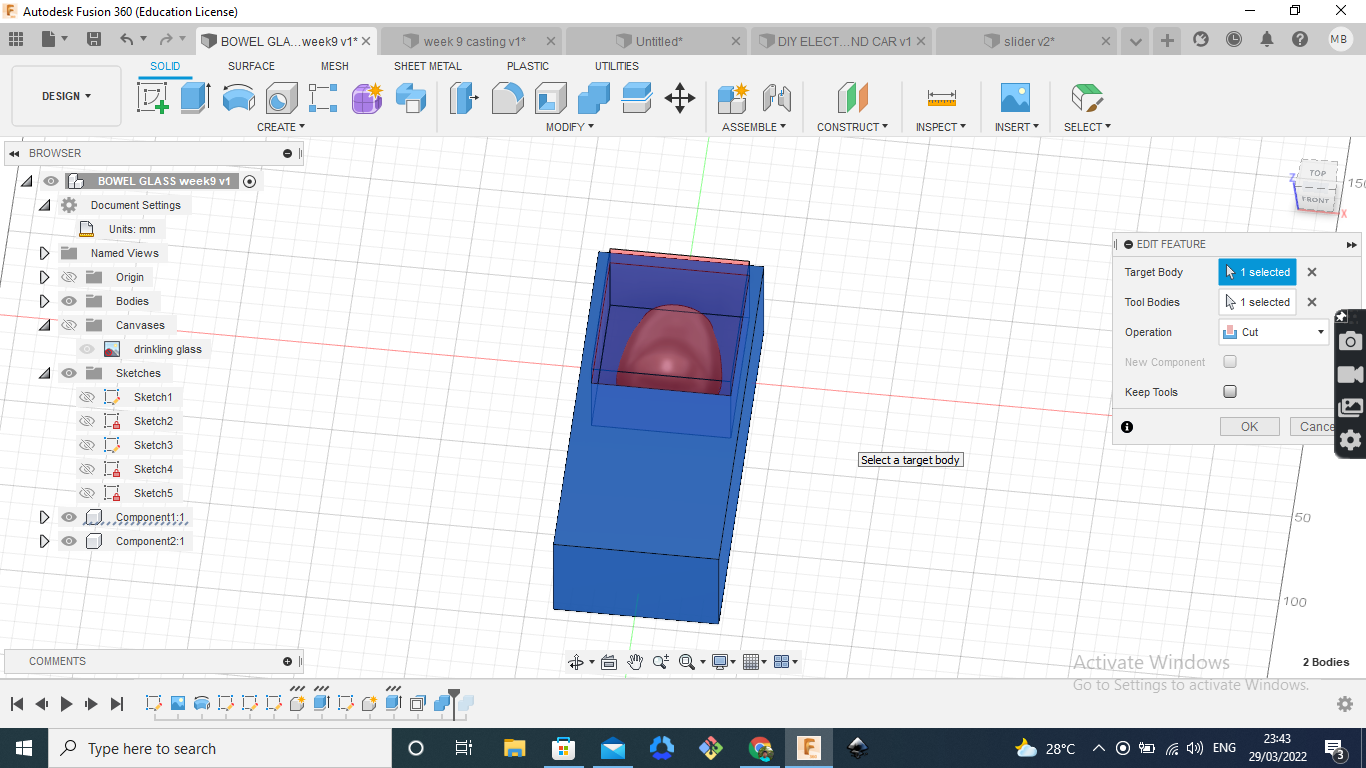 The mold design is ready
Thes is the mold design
The mold design is ready
Thes is the mold design
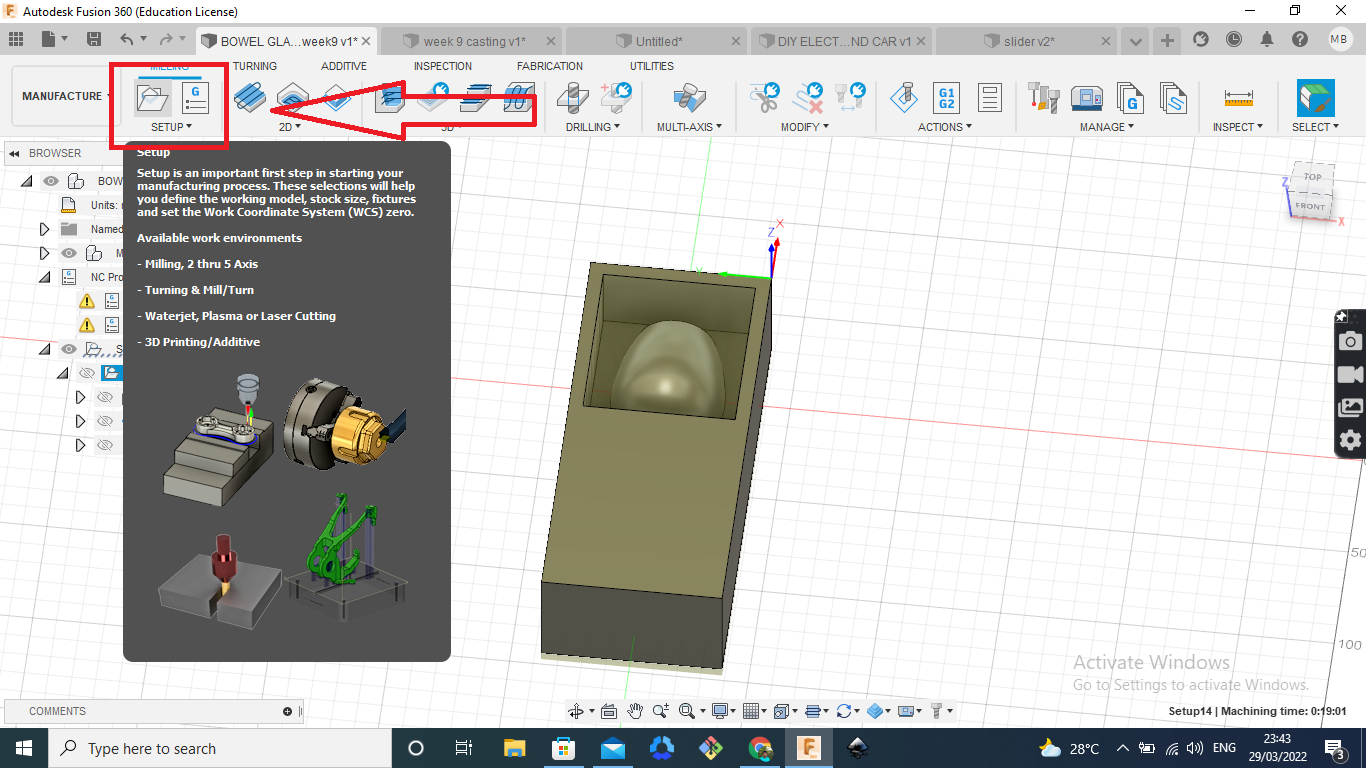 Then next arrange the setup
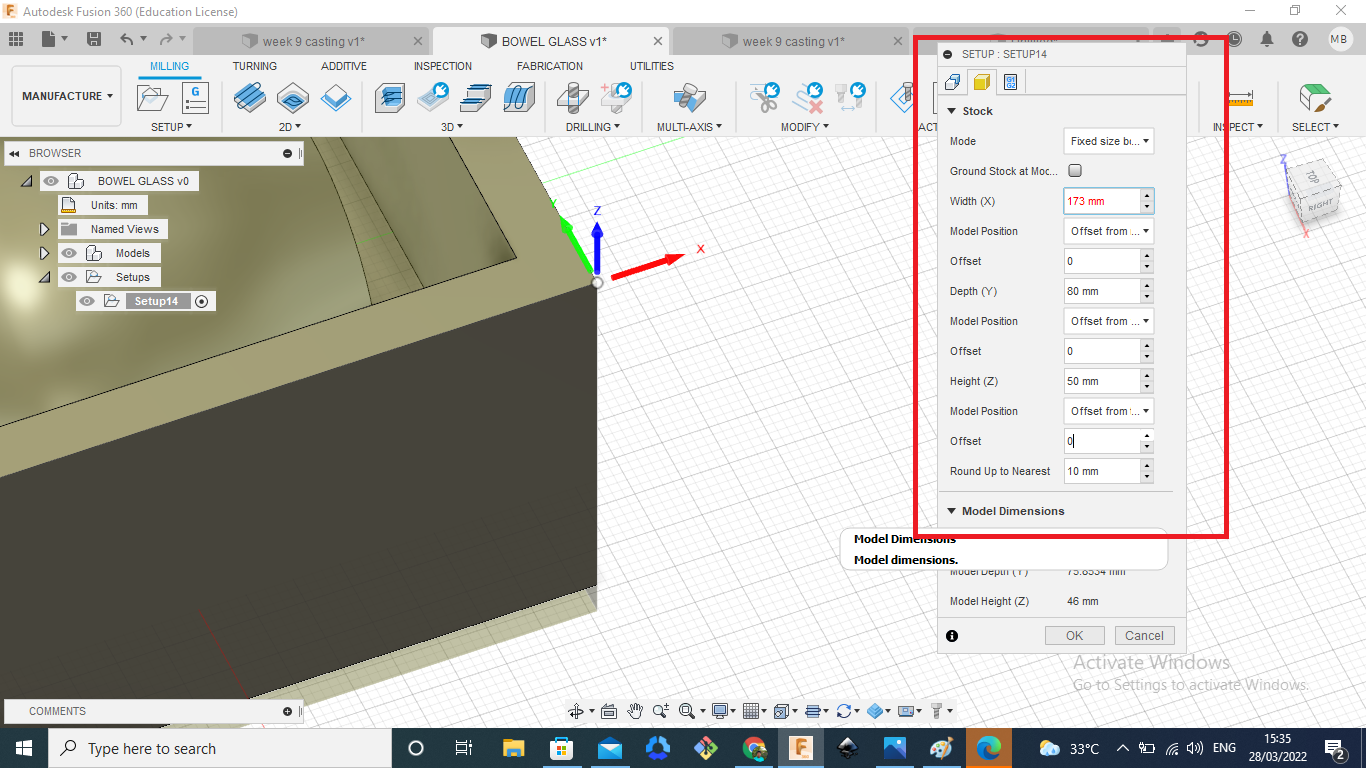
The add orjin point on X- Y-Z
I add the messermend of the X -Y-Z
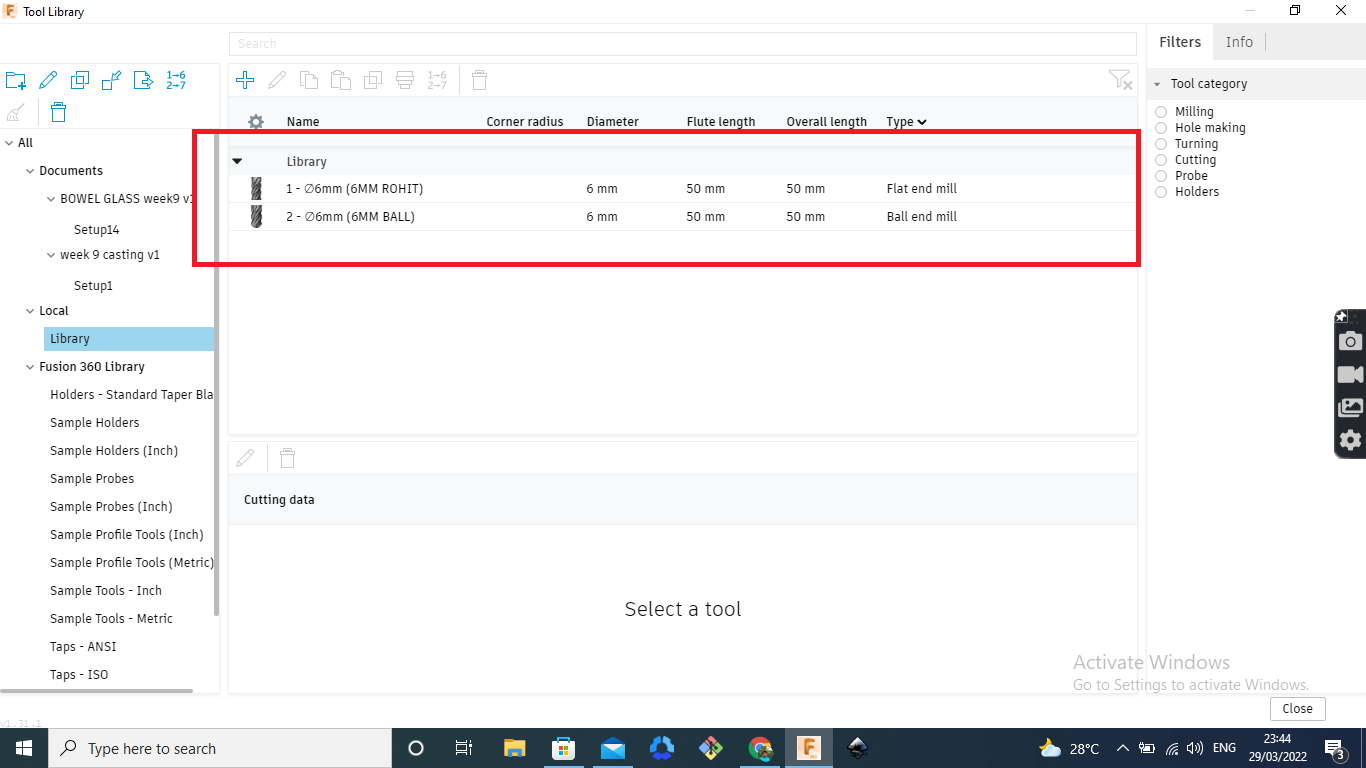
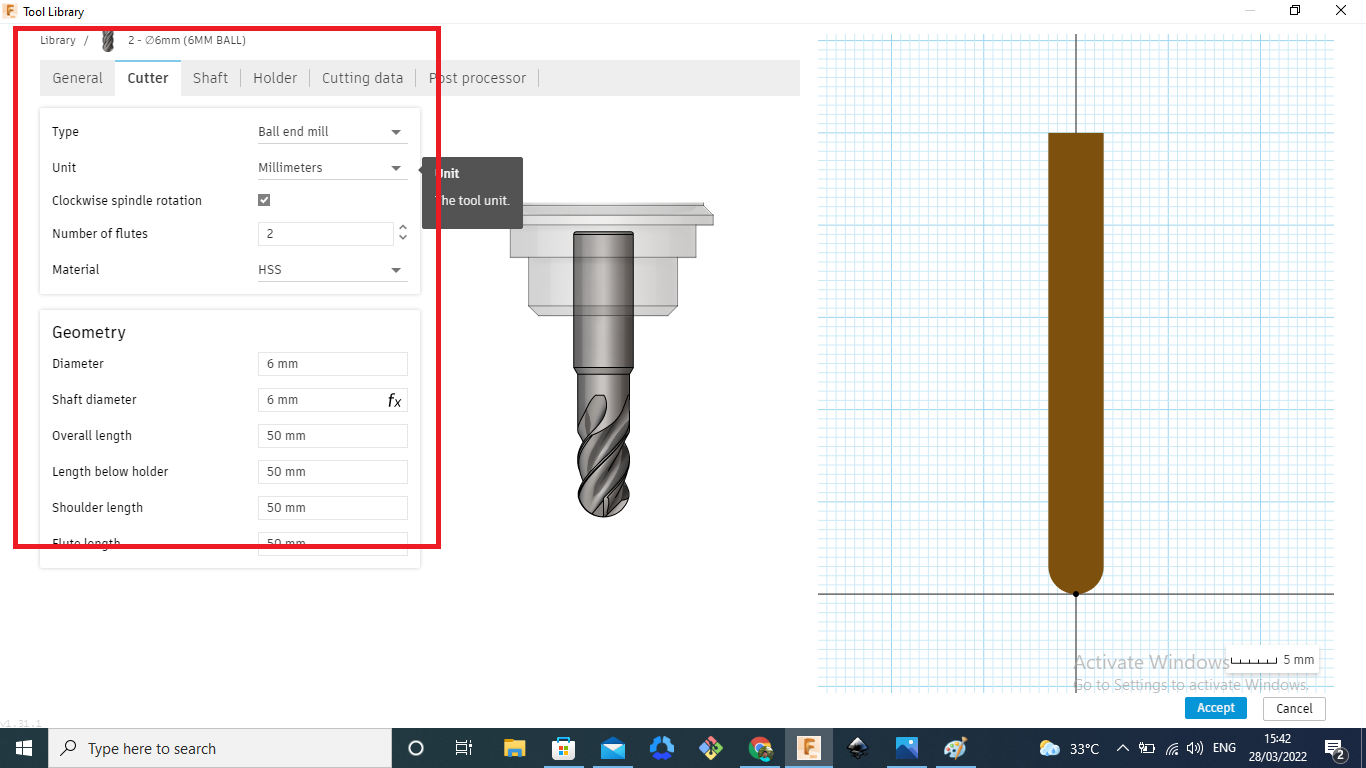
 Then next select bits ferom library
set bit in this prosses I take 6mm flat end mill bit and 6mm ball end bit
Then next select bits ferom library
set bit in this prosses I take 6mm flat end mill bit and 6mm ball end bit
 Arrange the values of the bit


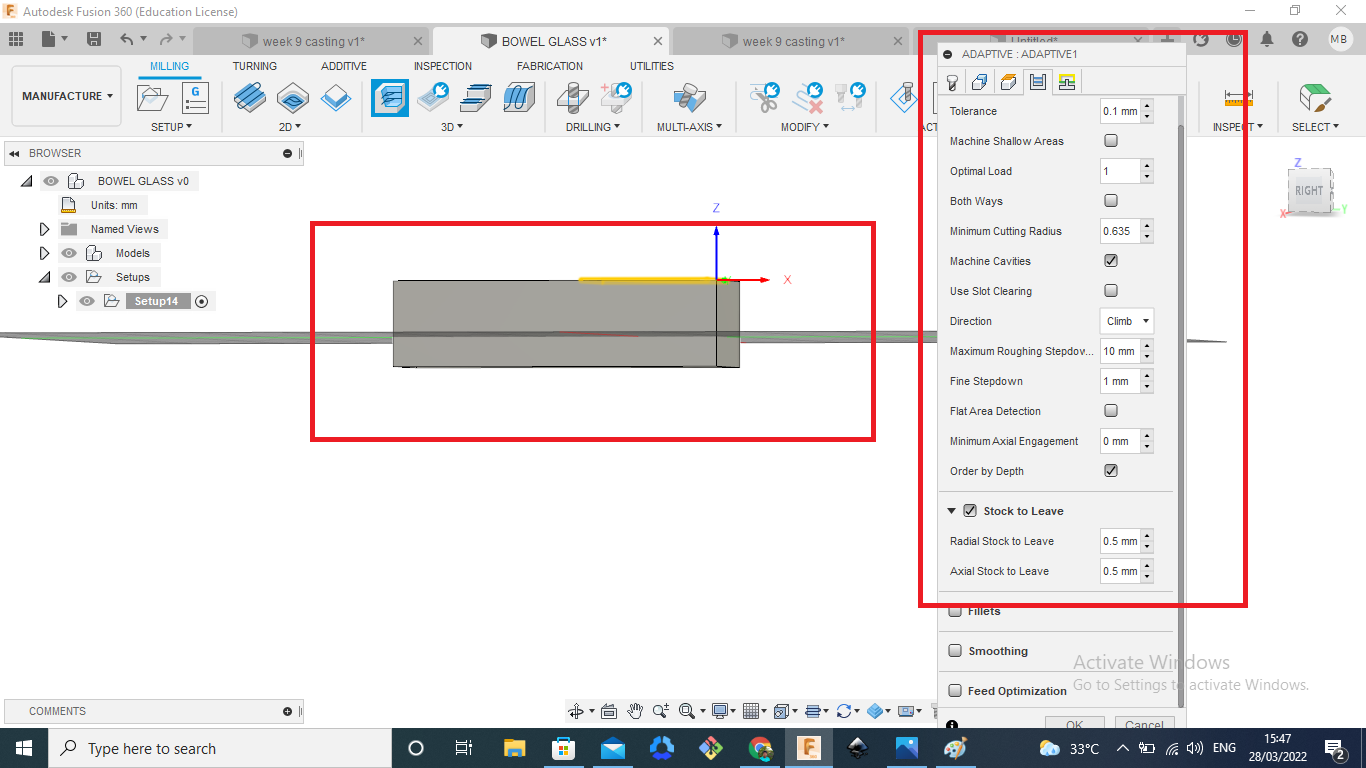
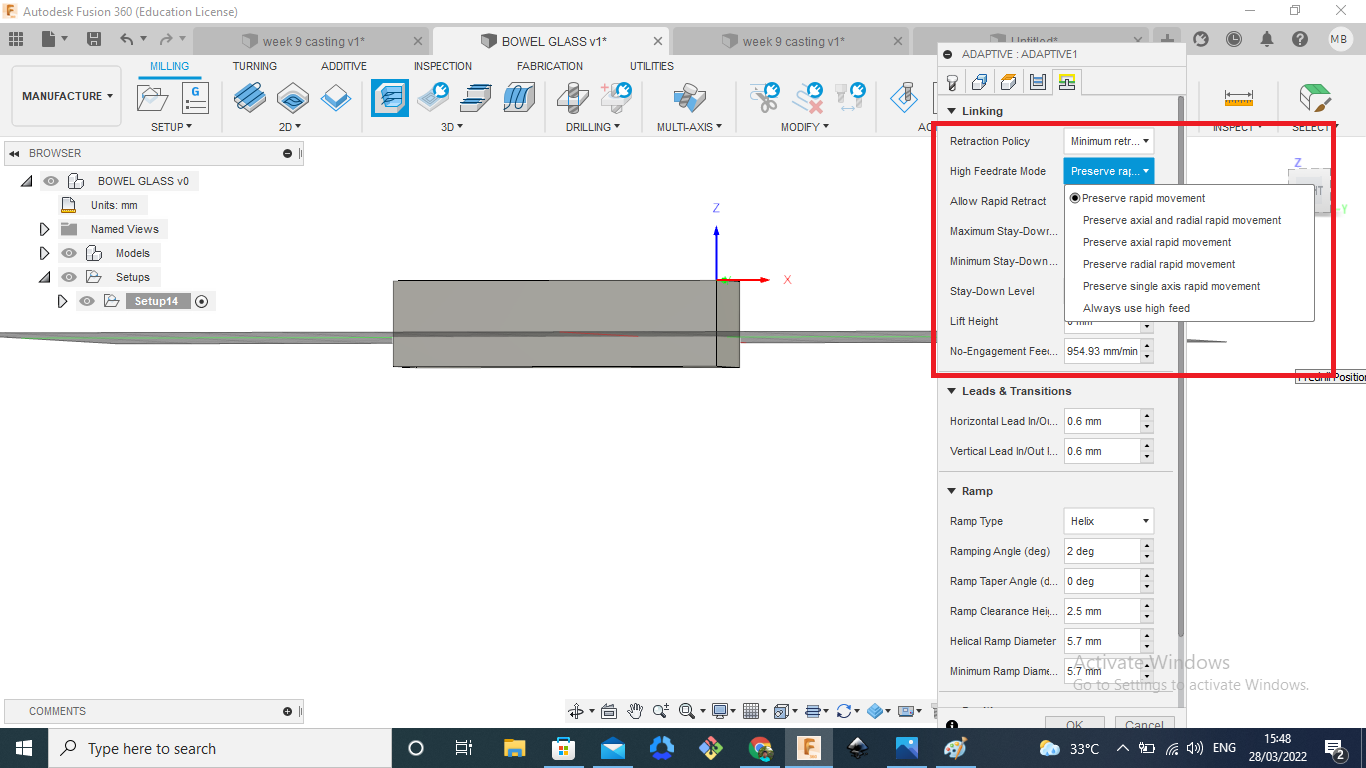
Add the adiptive values of the bits
select the starting point
 select the offset point


 select the 2D contours
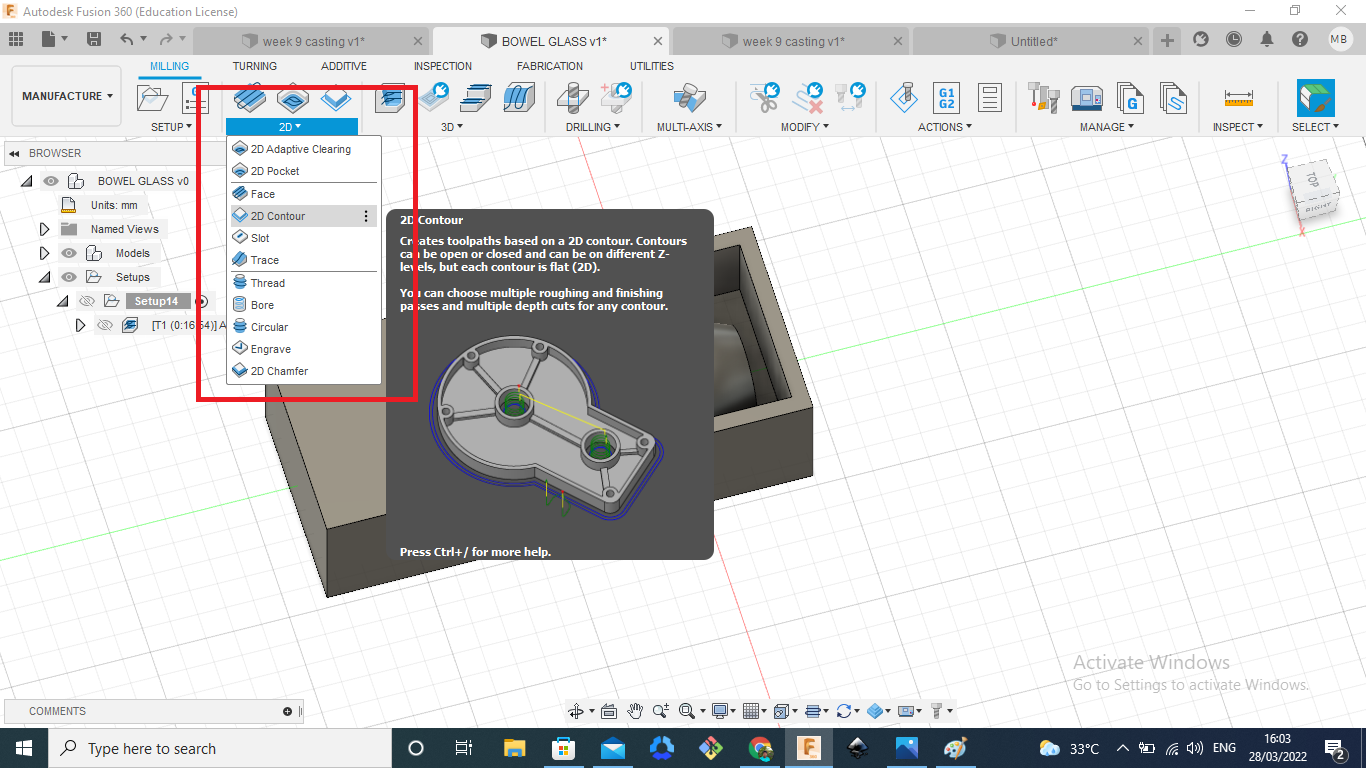 This is the contour point and this arrow denoted by the milling part is inside

then next I chack the simulates
This is the 6mm flat end mill bit adaptive simulation

Milling mold on Proto TRAK DPR X2

I milled my mold in ProtoTRAK. It was amazing.
Our mentors Rahul and Jogin explained about the machine operation
The steps are given below.
- Turn on MCB and wait for the machine to booting
- Long press the reset button on the DRO to enable the controller.
- Place the wax block on the vise
-
Set X, Y origin at the corner of the wax block
- Go to DRO → JOG
- Remove any tool in the spindle
- Insert the R8 drill chuck in spindle
- Start spindle at 600 rpm
- Zero X-axis
- approach the wax block from X+ to X- till the edge finder became concentric
- move the tool about 10 um in to the material and make sure the edge finder dislocatese at the edge
- bring it 10um back to the original point
- exit from JOG - press the X button and set the current position as 2(edge finder dia/2) and press the “set absolute” button
- Zero Y-axis
- approach the wax block from Y- to Y+ till the edge finder became concentric
- move the tool about 10 um into to the material and make sure the edge find dislocates at the edge
- bring it 10um back to the original point
- exit from JOG - press the Y button and set the current position as -2 (edge finder dia/2) and press “set absolute” button
- Press “program In/Out” → Select 1st GCODE file
- Go to “Tool Table”
- Remove any tool holder/tool in spindle → Press JOG and move the spindle close to to the base point (Back of vise)
- Exit from JOG → Release the quill and press it against the base → Select base → Press “Set absolute ” to set the base point.
- select the tool for the operation → If not create a new one by specifying the type and diameter
- Insert the tool holder and tool in the spindle → If the newly created tool →Press the tool against the base →Select “Z offset” → Press “Set absolute ” to set the tool offset.
- Set Z origin
- Move to → DRO → JOG
- Jog the tool just above the wax block
- Release the quill and press it against the wax → exit JOG → Press Z → Press “Set absolute ” to set the Z origin.
- Set safe retract → Move tool Z-axis_ a few CM away from the wax block
- Go to setup → select the Z to retract status button → Press “Set absolute ” to set the Z safe to retract height
- Considering the safety of machine and operator It is better to start GCODE Manuel feed
- Go to → “RUN” → “Start” → ”Tracking”→ Press Spindle “REV” → Press “FEED GO”
- Rotate the jog wheel to manually feed the machine (Rotate clockwise to advance in GCODE rotate anticlockwise to travel backward in GCODE)
- if everything is okey press “FEED STOP”
- Press “CNC Run” → Press “FEED GO”
2nd operation
- Tool Change → raise Z axis → hold hands on the tool holder → release tool by pressing the” tool” out button in the pneumatic control box.
- Insert the new tool
- Press “program In/Out” → Select 2st GCODE file
- Go to “Tool Table”
- Press JOG and move the tool close to the base point (Back of vise)
- select the tool for the operation → If not create a new one by specifying the type and diameter
- Insert the tool holder and tool in the spindle → If the newly created tool →Press the tool against the base →Select “Z offset” → Press “Set absolute ” to set the tool offset.
- Go to → “RUN” → “Start” → ”RUN CNC”→ Press Spindle “FWD” → Press “FEED GO”
- Fix R8 holder in spindle.
- Click on X button and click on jog. and click on spindle on Key
- Rotate the * until (((( kicks on the box.
- Click on Y button and click on jog. and click on spindle on Key
- Rotate the * until (((( kicks on the box.
Changing the tool
- Pull up the z axis, and remove the chuck.
- Go to Tool Library, Click on the **, and touch the spindle on vice and click on Abs set.
- Fix 6 mm flat bit in the holder.
- Then add the detail of the tool in tool Library.
- Click on *** and at that time touch the bit on the top of vice block using jog and handle. and click the Abs set button.
Milling.
- Click on run button.
- Check the tool path by clicking on Toolpath button.
- We can track the gcode by clicking track button. X spinle is for cafafds and Y spindle is for fine tuning.
- We can
Let’s Start the milling
Then I upload the files in the machine using pendrive
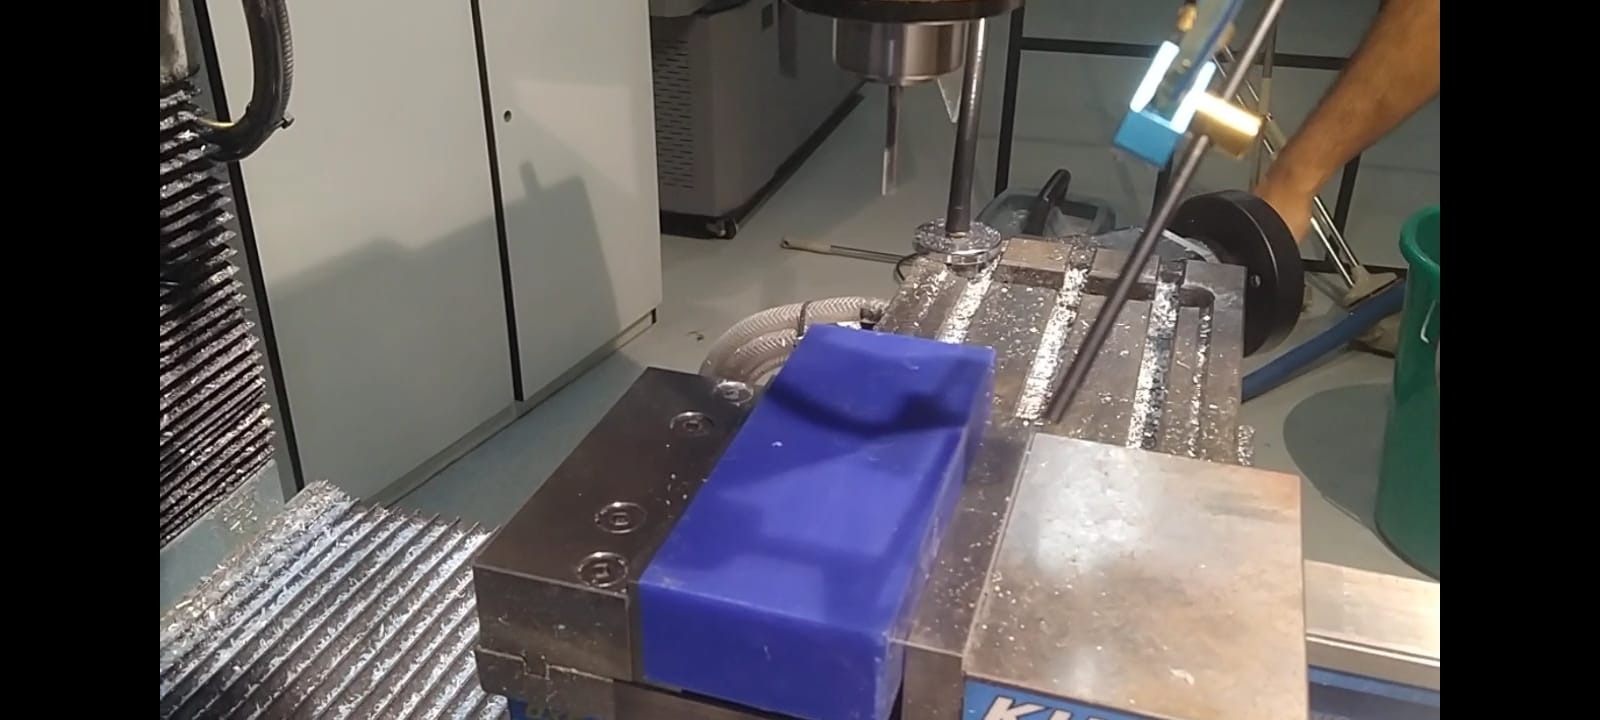 Then I take a old wax and fix it on the bench vise
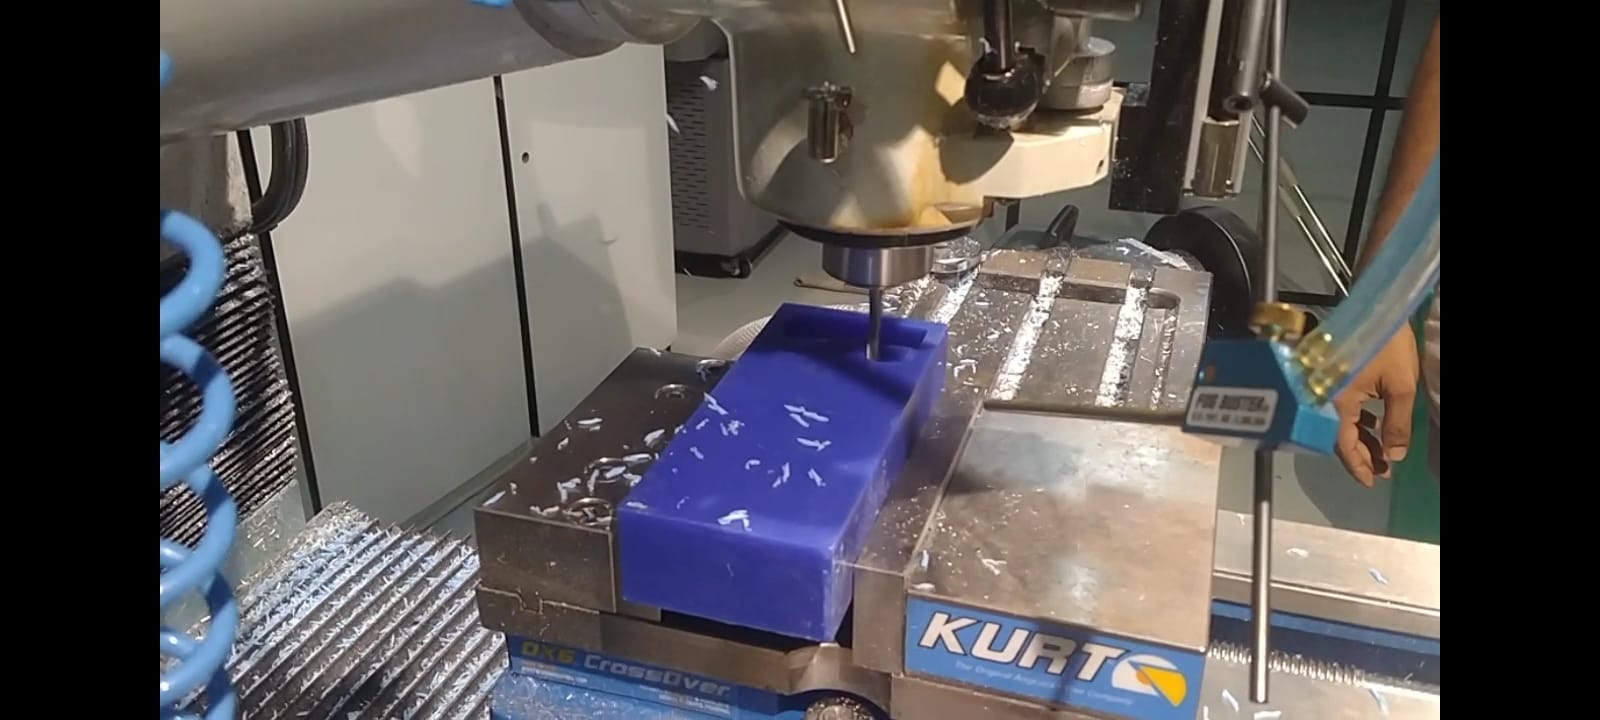
The milling process working
In millig process first I used 6mm flat end mill bit

In 6mm flat end mill bit using this milling process
This is the scallop process using 6mm ball end mill bit
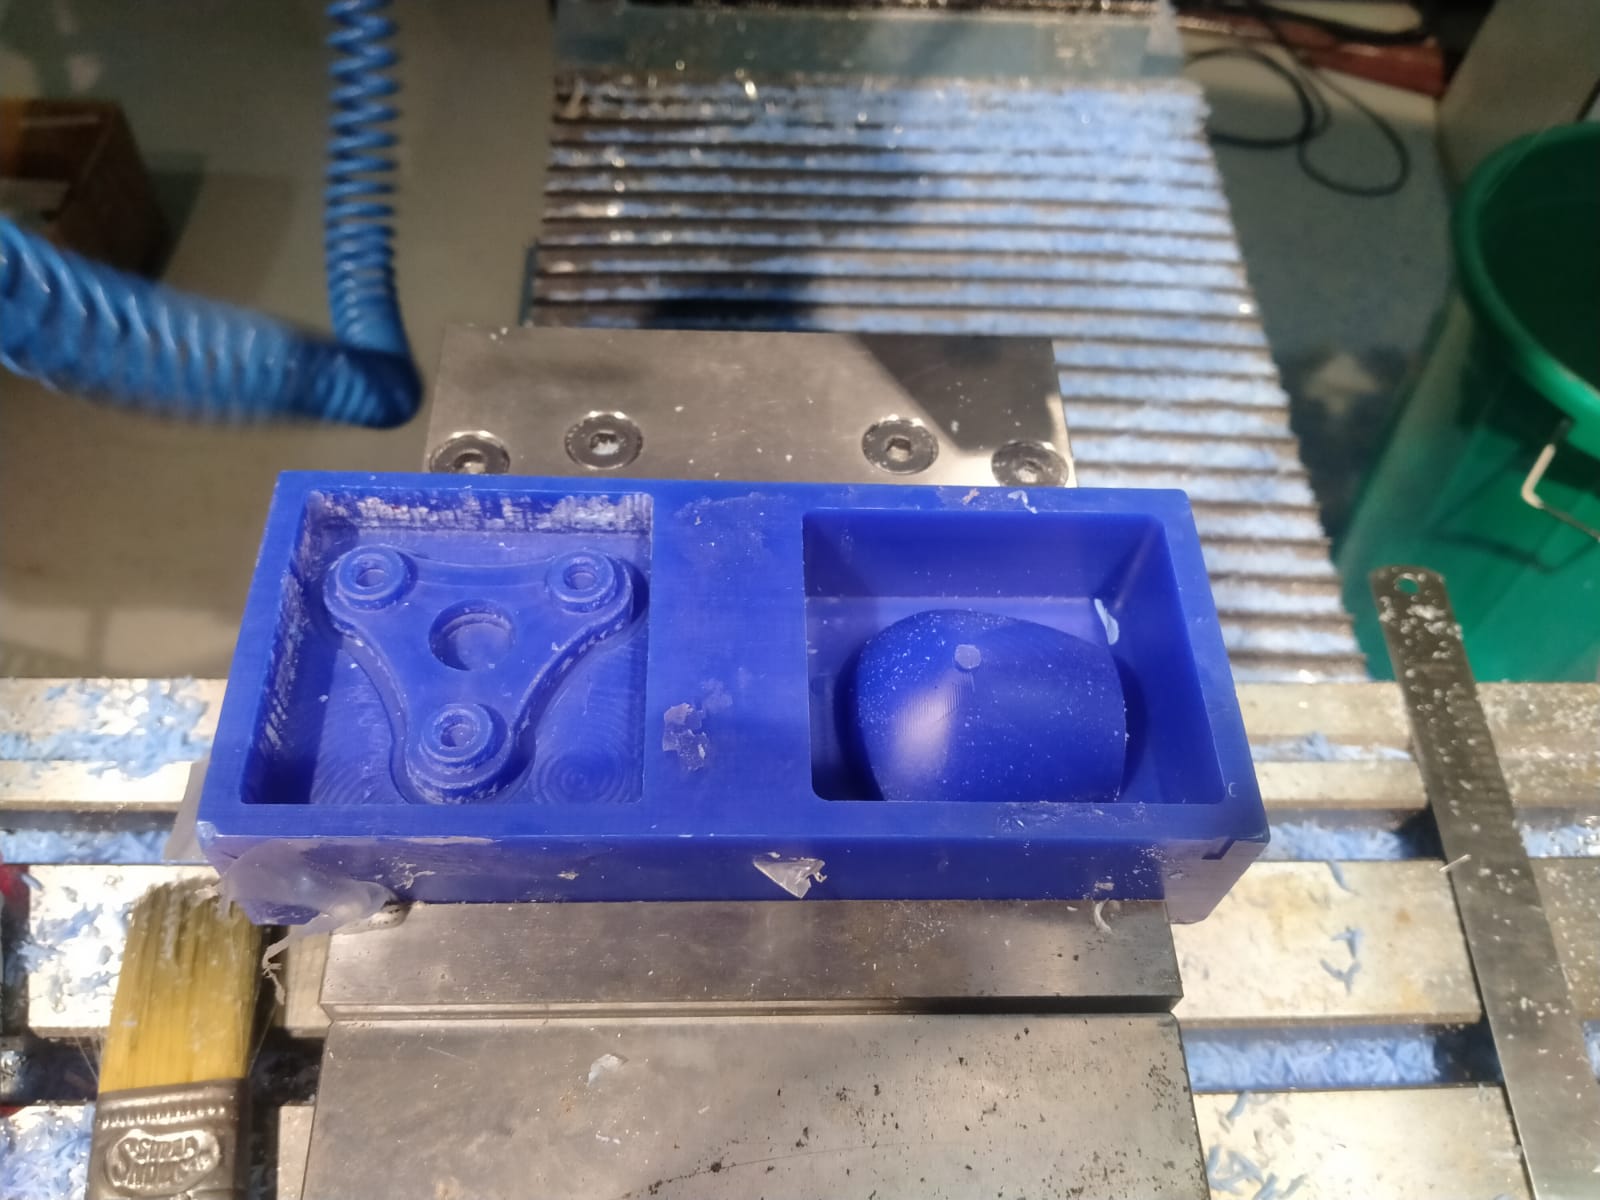
This is the final result of milling process
Casting the Molding
After the milling process I do to the cast the mold
In first of this process we reade the safty rouls and read the data sheet the mixing value is 1:1
In this process I take oomoo 37 Silicone Rubber this is the silicon the I take 2 beaker and 1 large beaker gloves and craft stick
 This is ths data sheet
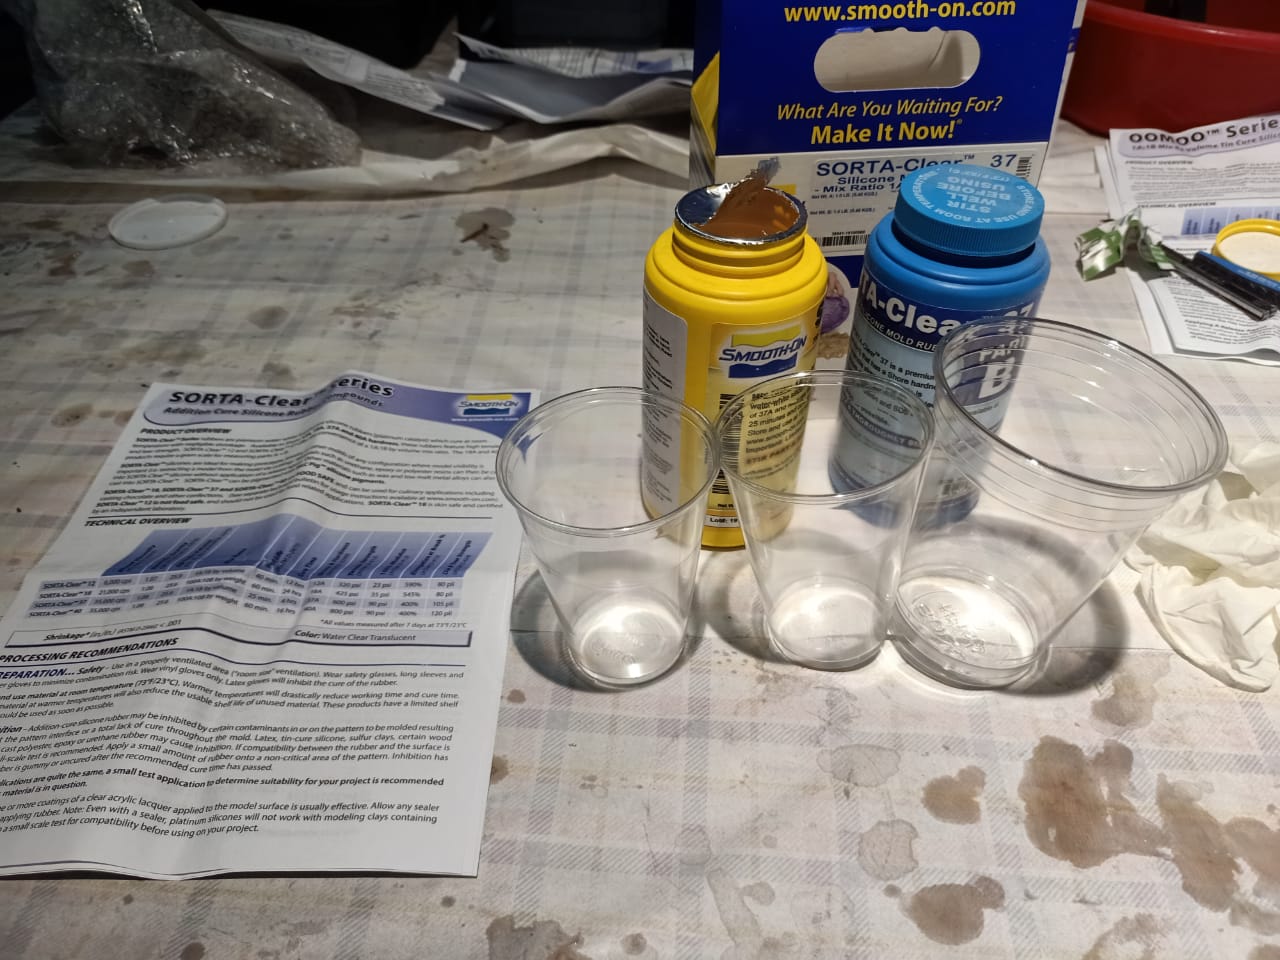
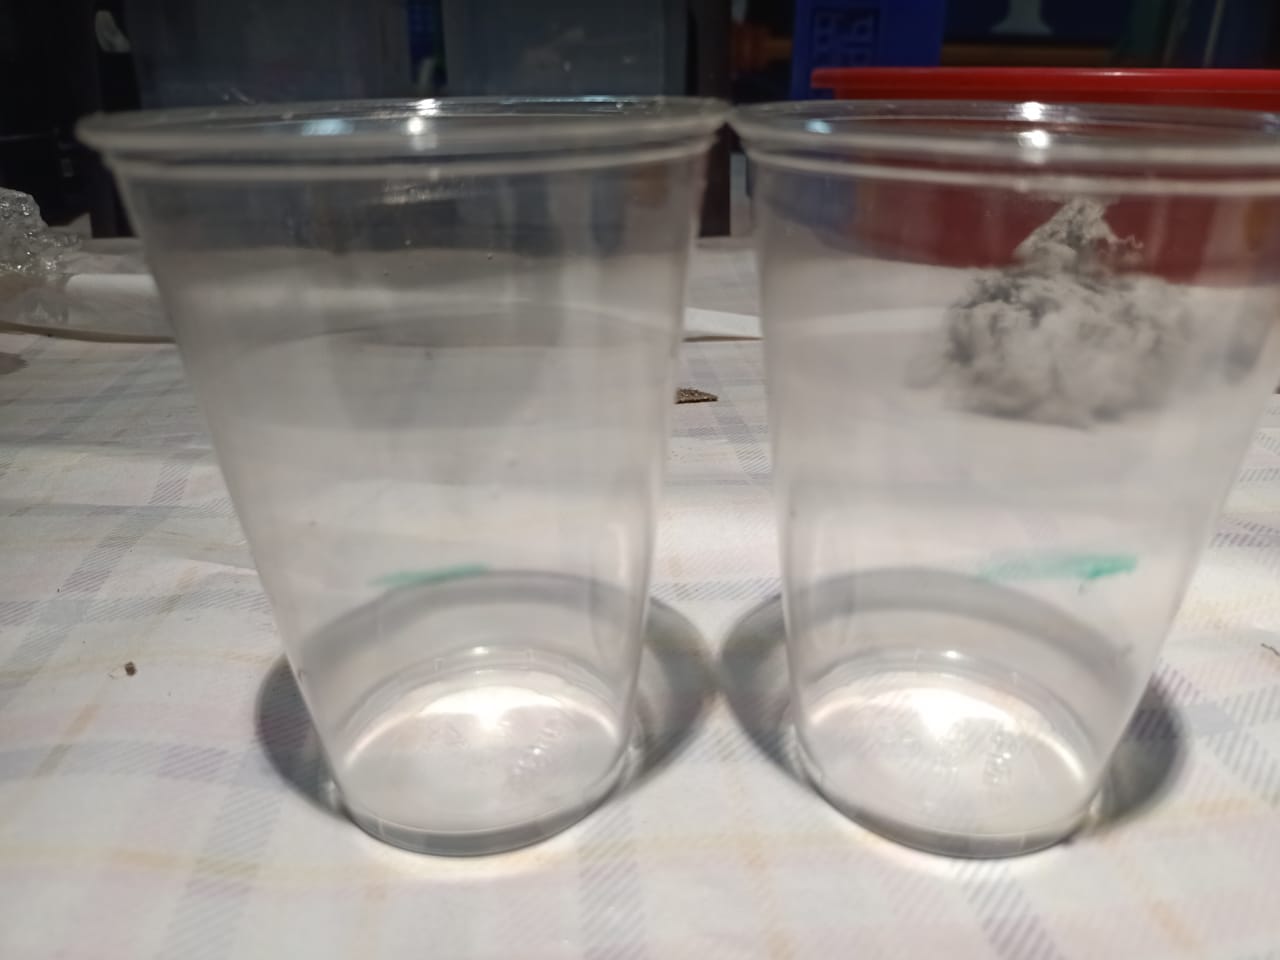
In first find the volum of the molde, In that used to the water filled with the molde at that water pour to the two beakers equaly, then mark a line

That take the oomoo 37 silicone rubber part A and Part pour in the 2 beaker
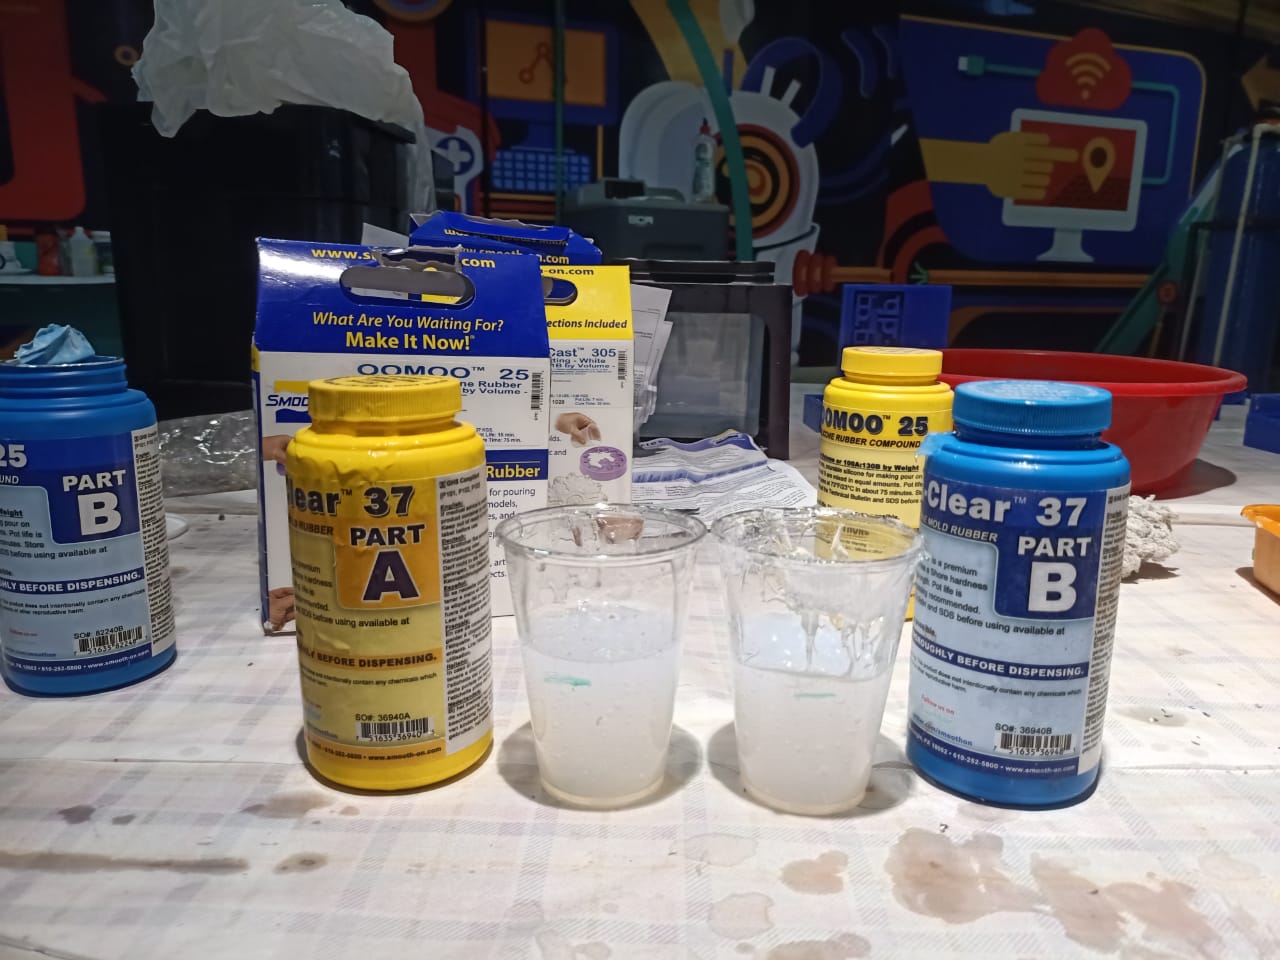
At that 2 beaker to pour in one large beaker and mixed very well
 mixing
Next I do the mixed silicone pour the molde in slowly,Then shaike the molde and the silicon pullout all sides
mixing
Next I do the mixed silicone pour the molde in slowly,Then shaike the molde and the silicon pullout all sides
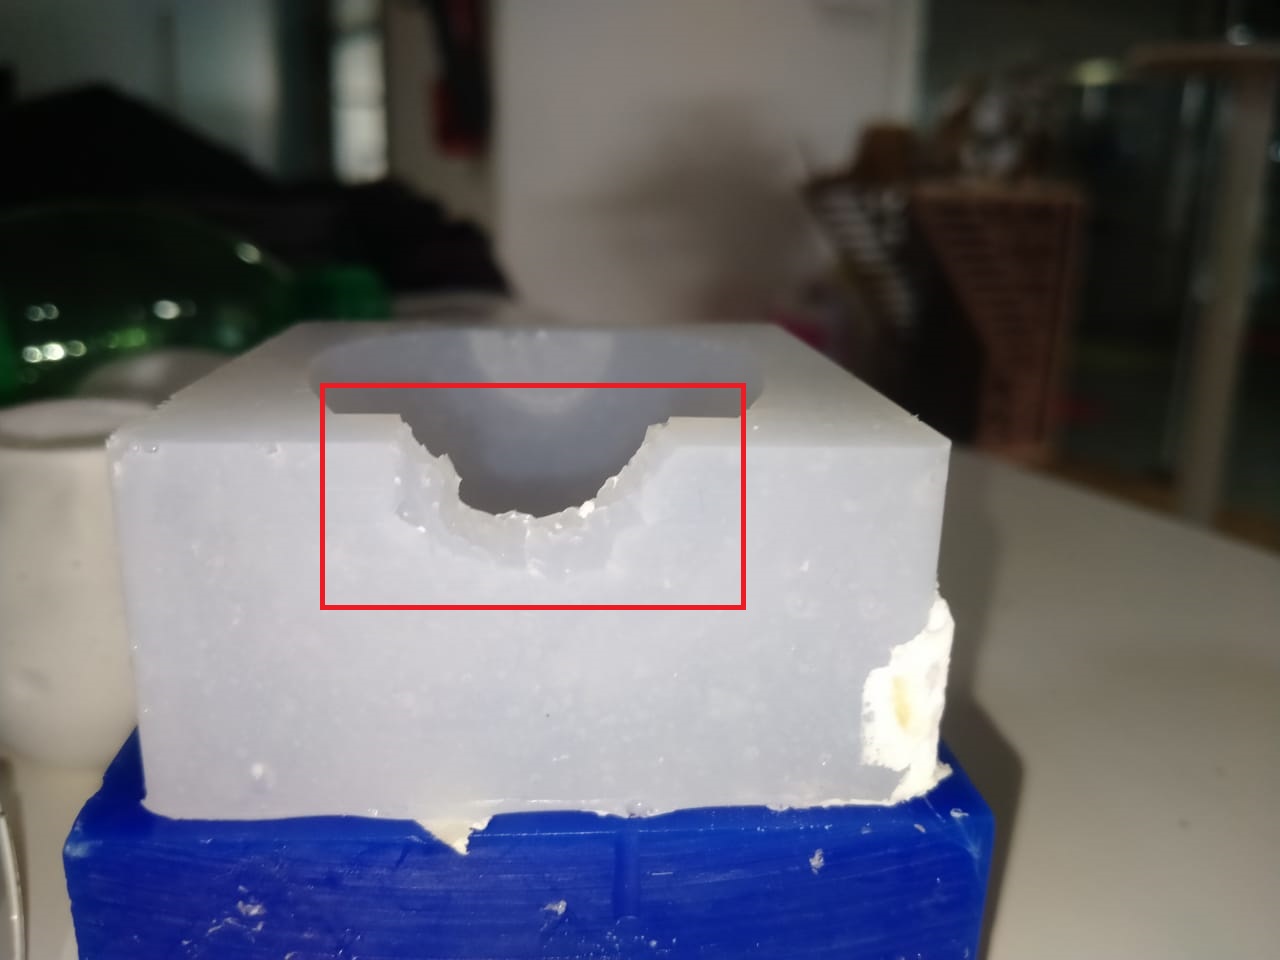
 At next day I take out the output from the molde,This is the result
Then I do this same procedure repet again because in this design casing I want to two molde that is my design is two side cast design so I take two moldes

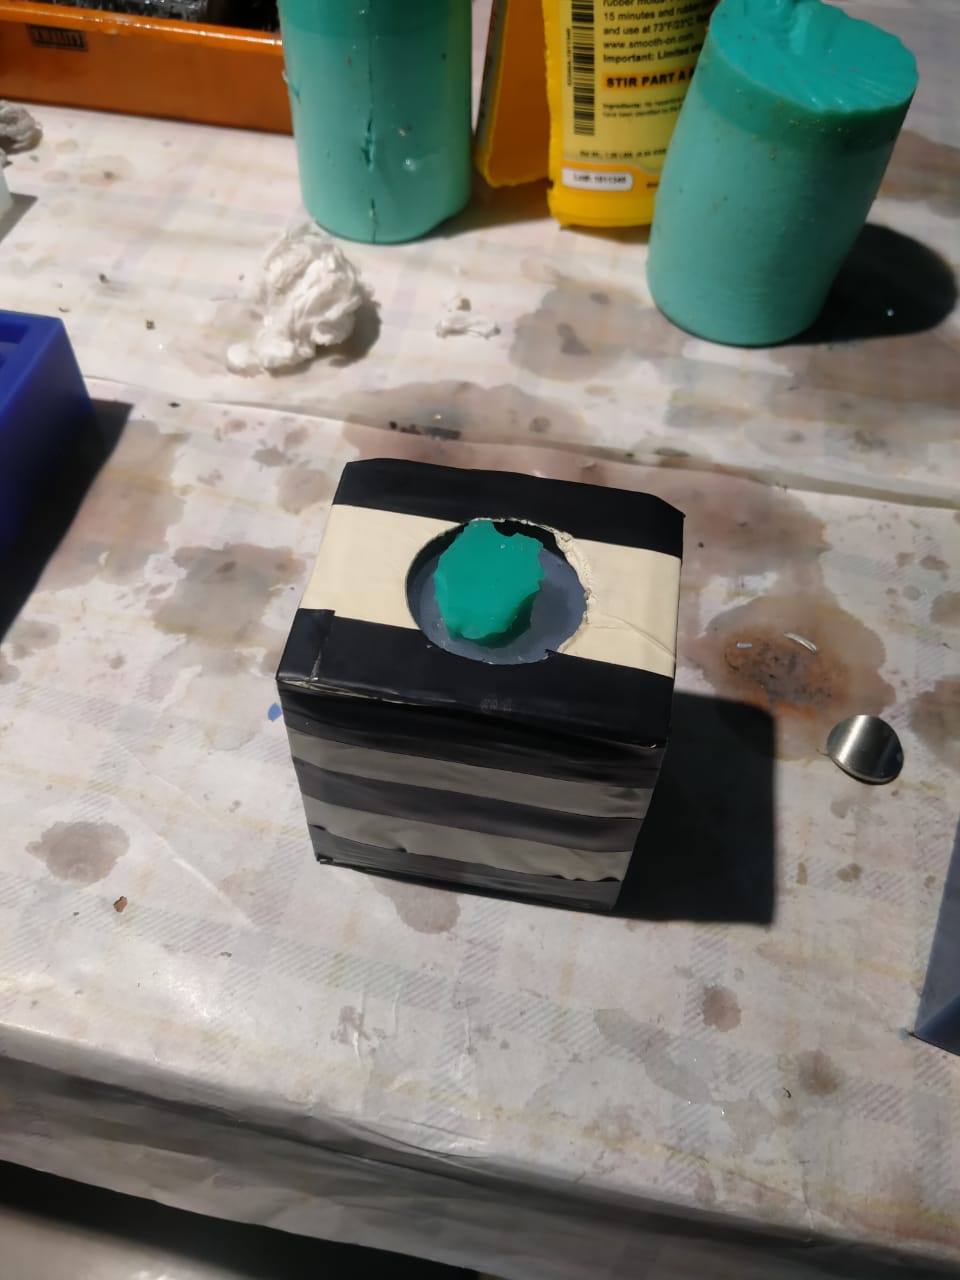
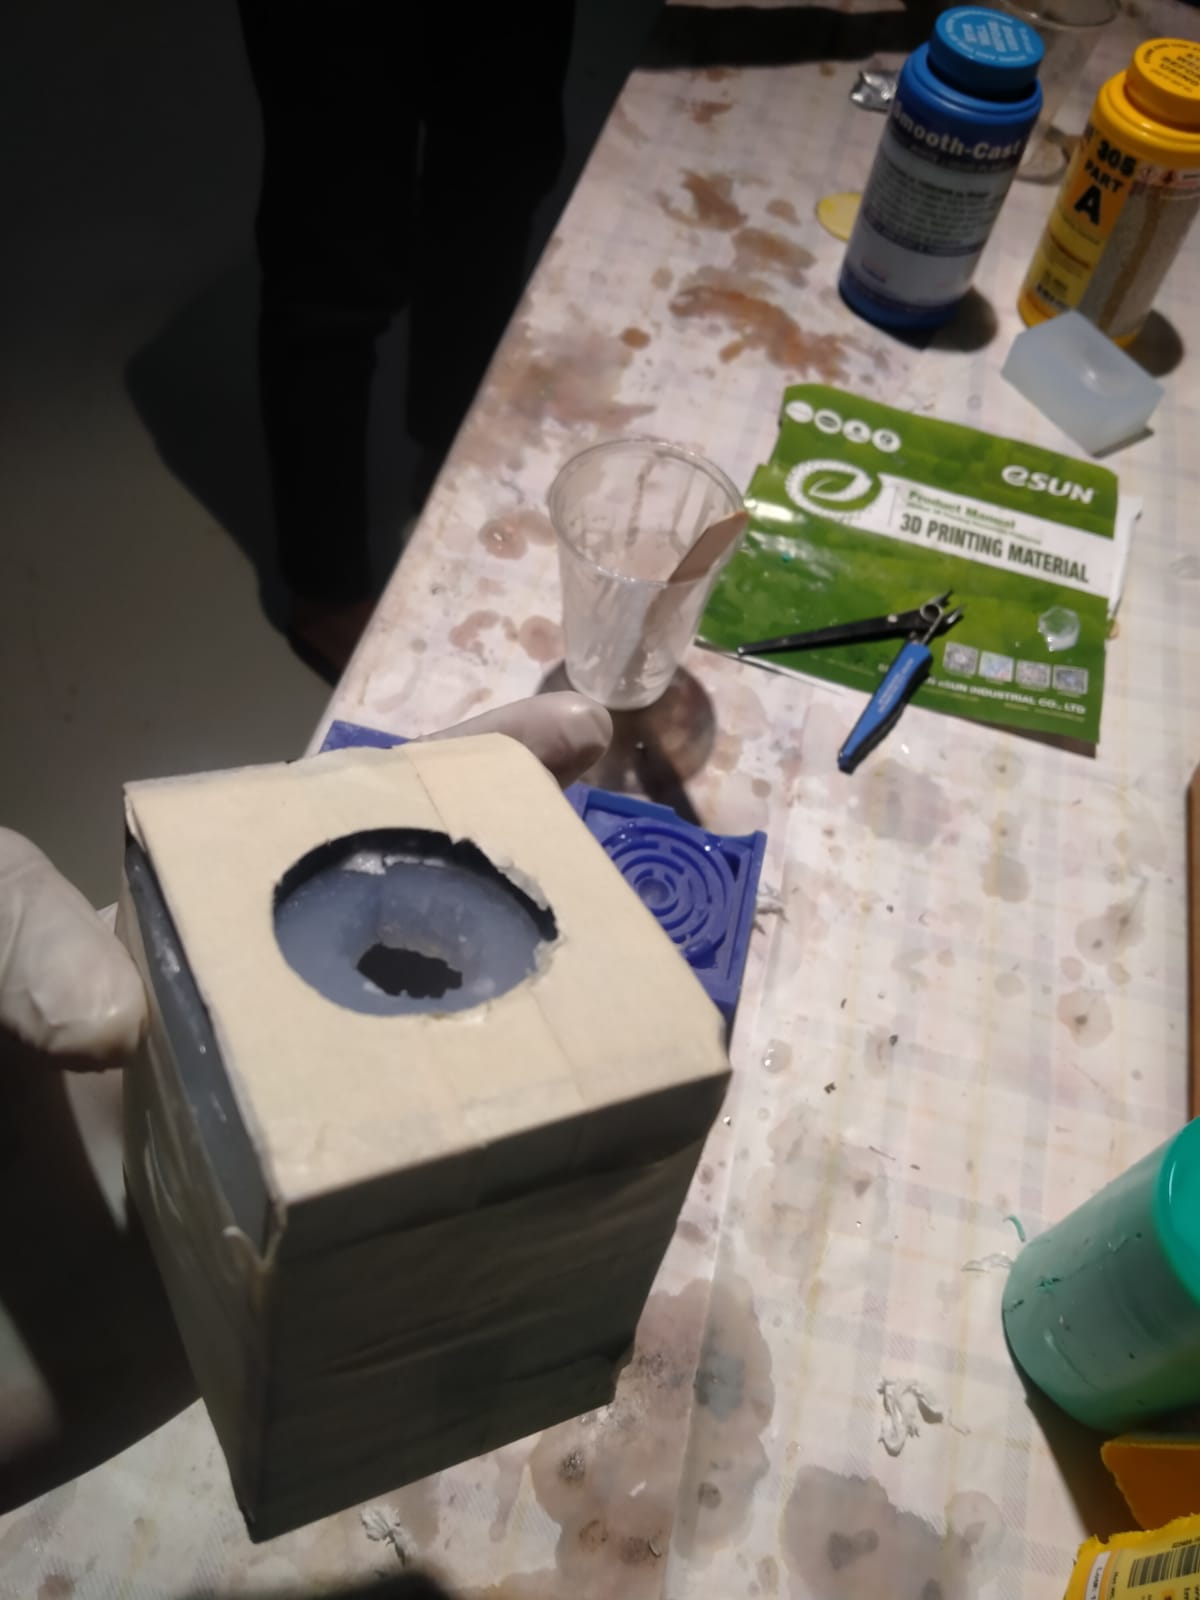
Then I make a holl for the molde because paur the resin

Then next I arange the silicon moldes in fixed two moldes on inside joint
I fixed the acrilic sheet on the sides of the molde
Casting
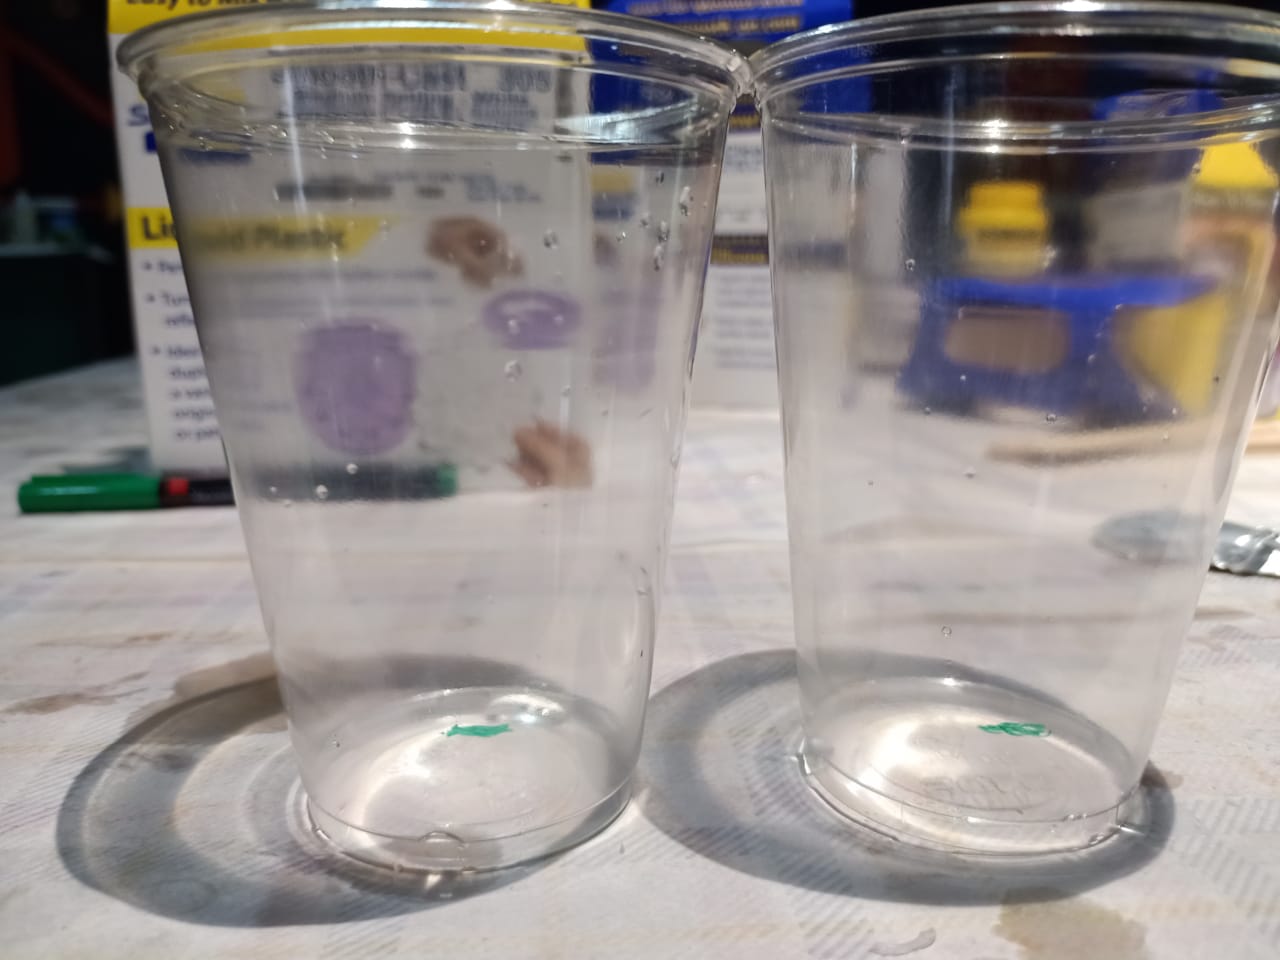
We used to casting the meterial is smooth-cast liquid plastic 305 this we used we take and mixed in the value is 1:1 so we read the data sheet and let start the mixing


My casting type
I casted with the rotational casting also called rotomolding or rotational casting is a process for manufacturing seamless hollow plastic parts for a variety of applications ranging from liquid storage tanks to containers of various shapes. Consumer products such as furniture, playground equipment, and toys are made by this technique.

This is the sample of rotational casting video
cradit :SpookyDad
In this method I use but the rotational machine is not availabe in our fab lab, so I rotate it with my hand
This is the video
In this system I rotate it almost 10 minutes
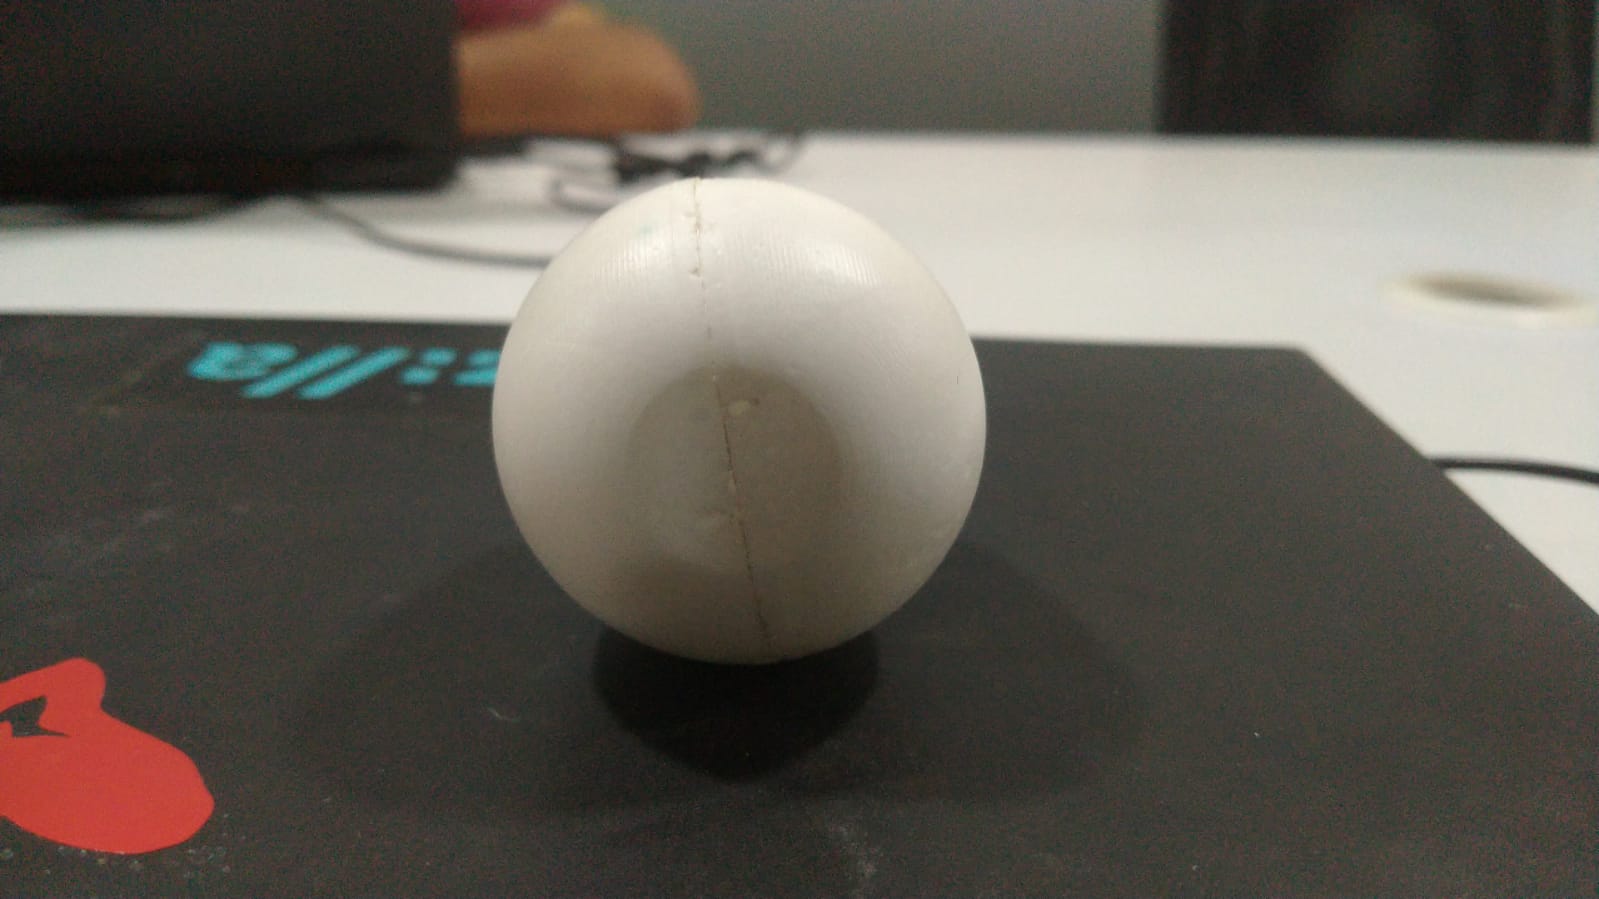
But it is failed

In second time I repet the same process again
again I rotate it almost 15 minutes
then take out the molde
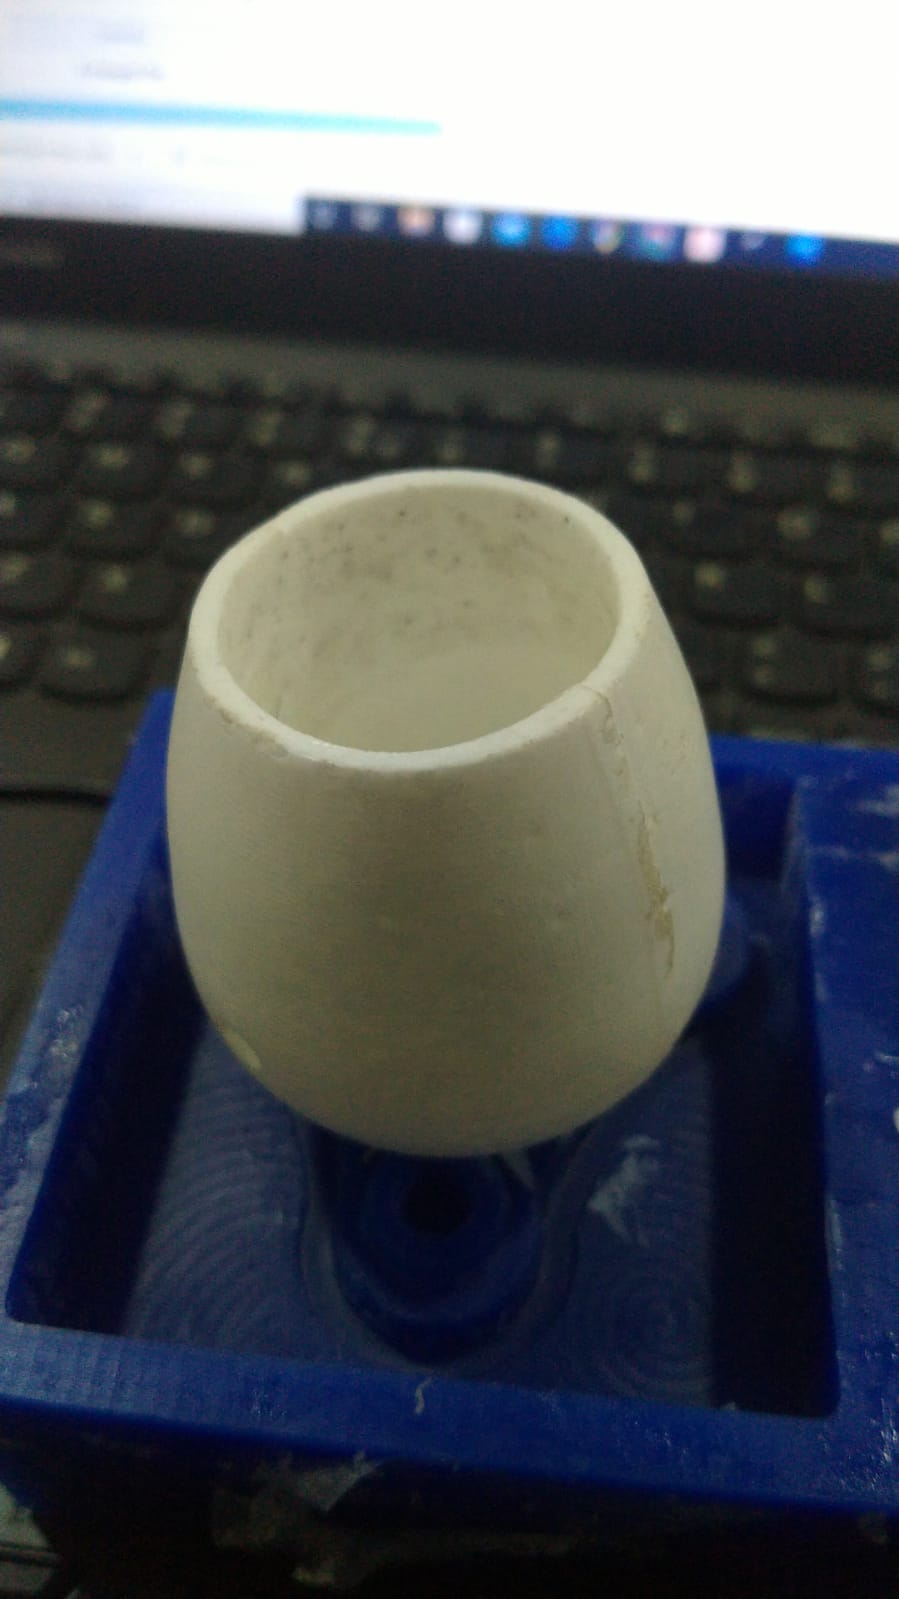
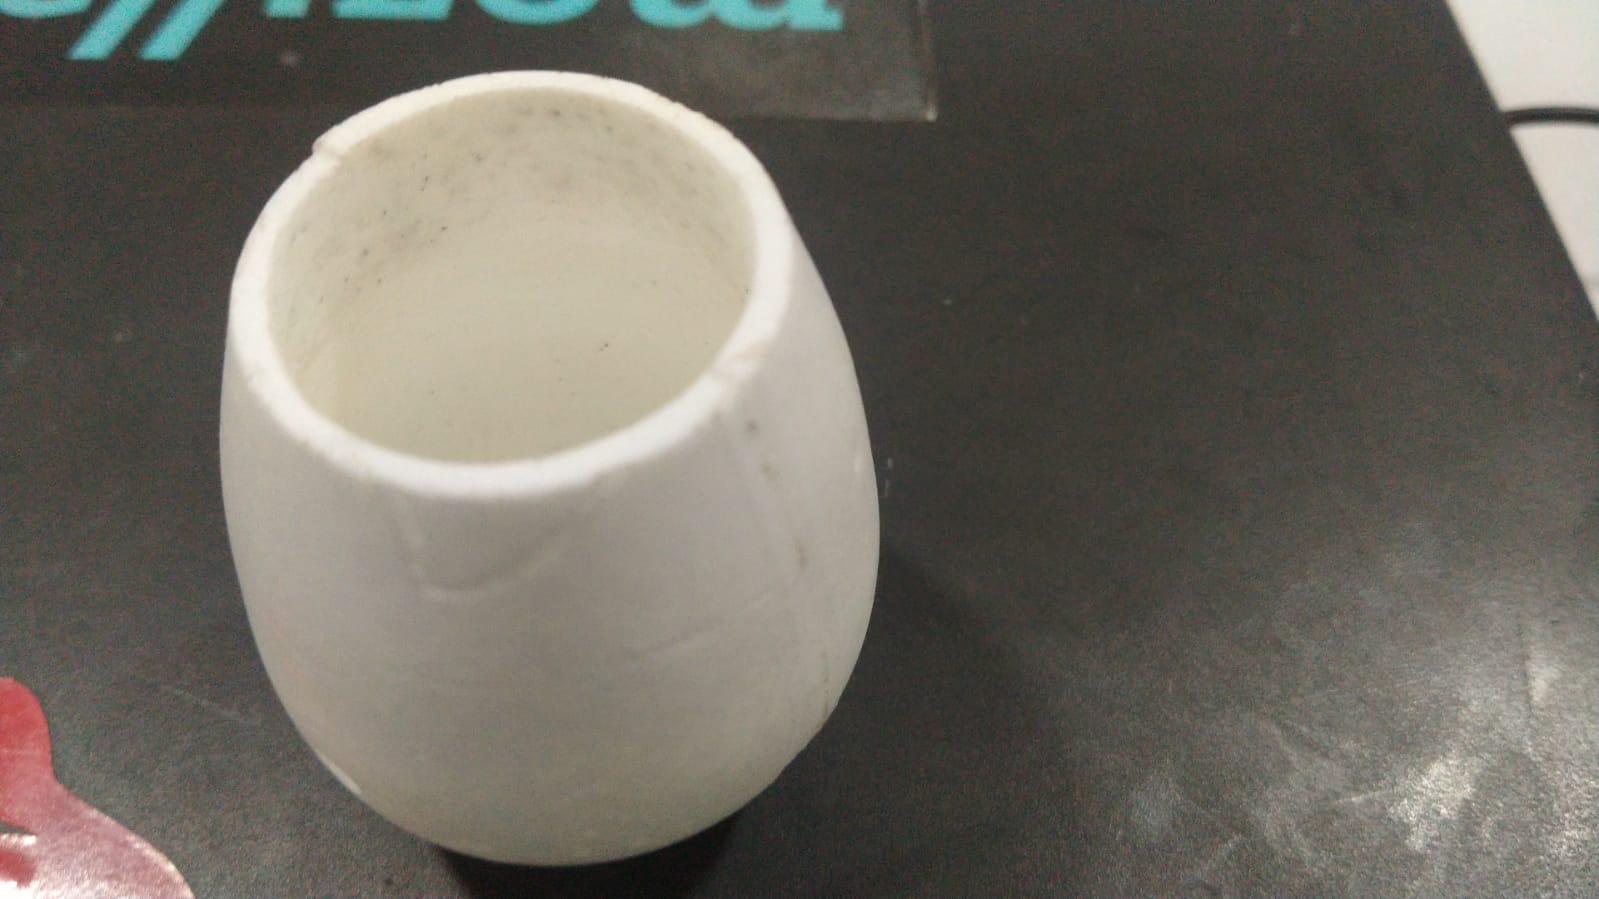
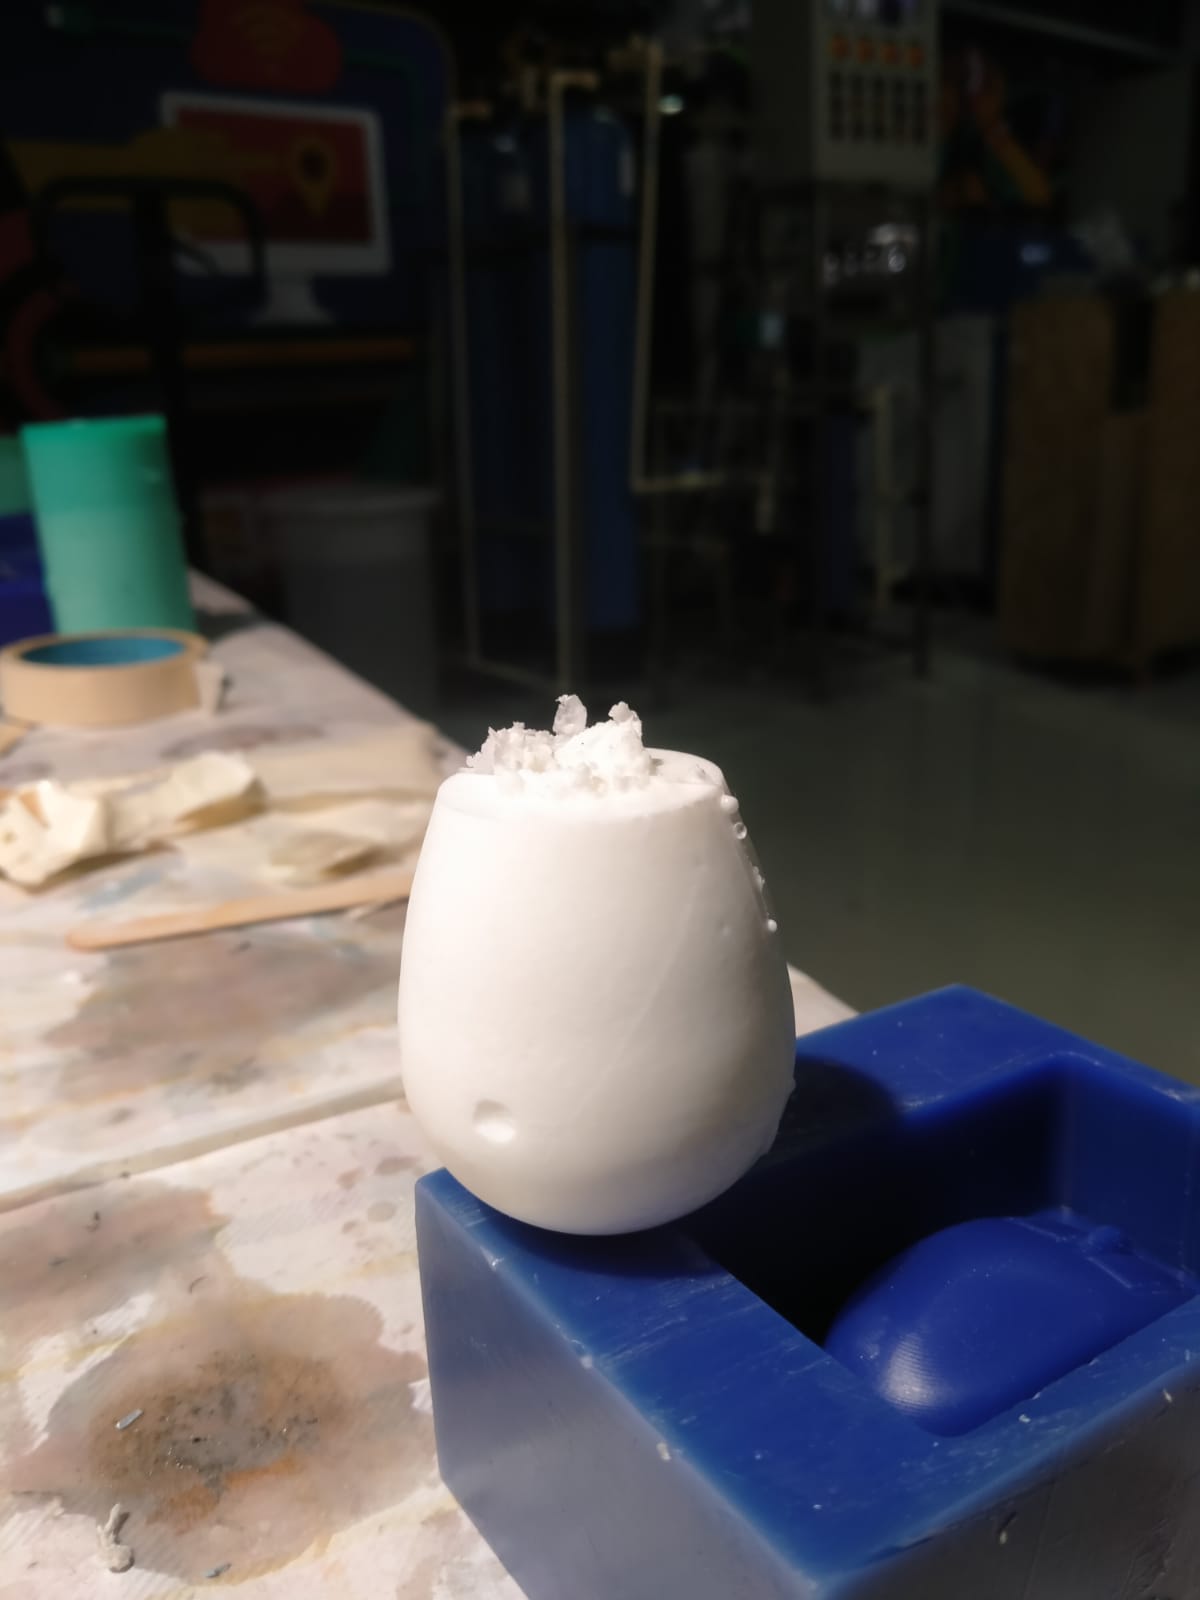 This is the result it is not clear
I grinted very well
This is final result

All Files Download here Download