6. 3D Scanning and Printing
Objectives
Designing and 3D printing an object
3D scanning an object
Group Assignment Group Assignment page
- Test the design rouls for your 3D printer
The Sixth week’s class of my fab academy life took place and the professor Neil class started as usual,this week assignmend as khown as 3D Scanning and printing
What is 3D printing 3D printing or additive manufacturing is the construction of a three-dimensional object from a CAD model or a digital 3D model.It can be done in a variety of processes in which material is deposited, joined or solidified under computer control, with material being added together (such as plastics, liquids or powder grains being fused), typically layer by layer.
In this week assignment is 3D designing and printing An object, I used to printing the printer is PRUSA i3 MKS3
Group Assignment In first we do to print the model of test the design rouls for your printer
We print that design
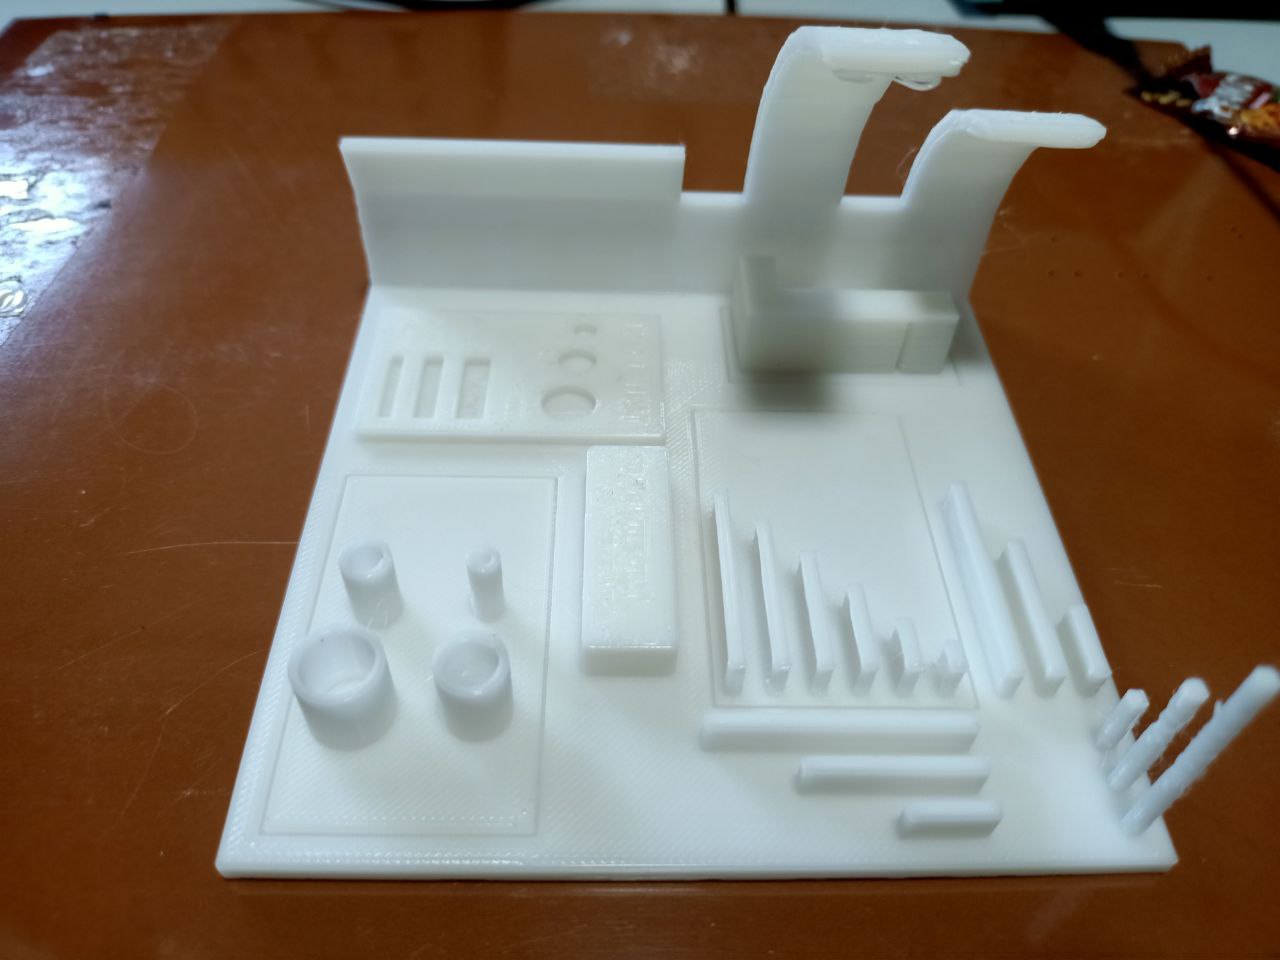
 The test Result
- Over hang of 70 degrees could be printed without support
- Bridge width of 25mm is possible without support but the strength of the bridge is much lower
- Max tower height for the printer is 20mm
- Hole test, Dimeter test (1mm wall thickness) was comletely sucessfull
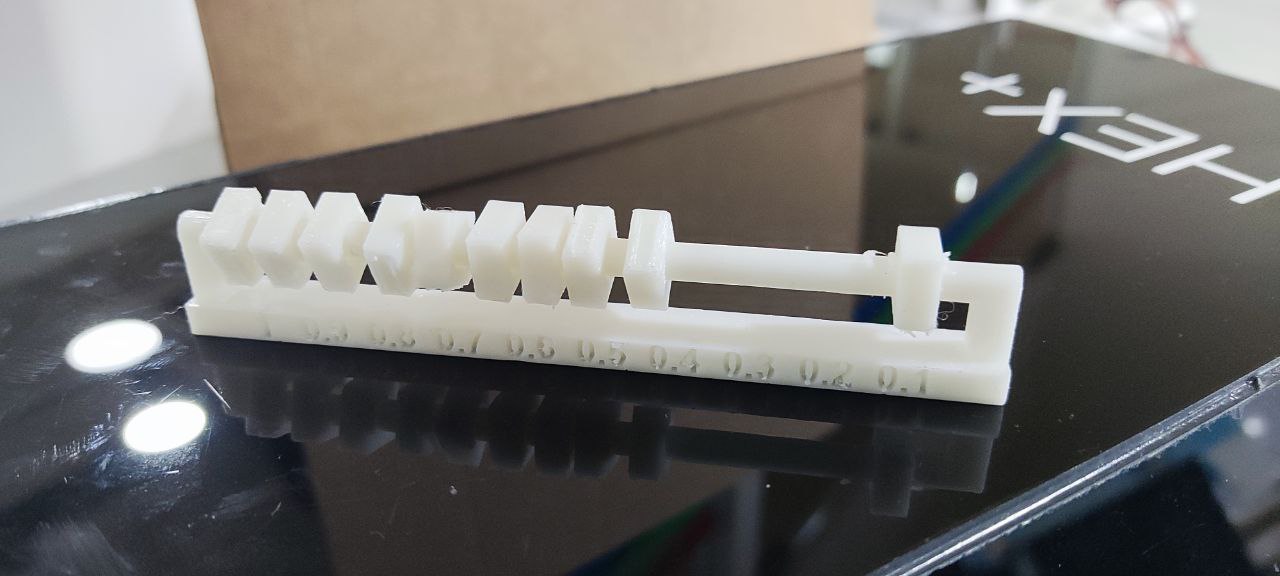
- For clearence we can take it till 0.2mm
Indivitul Project
1. Designing and 3D printing an object
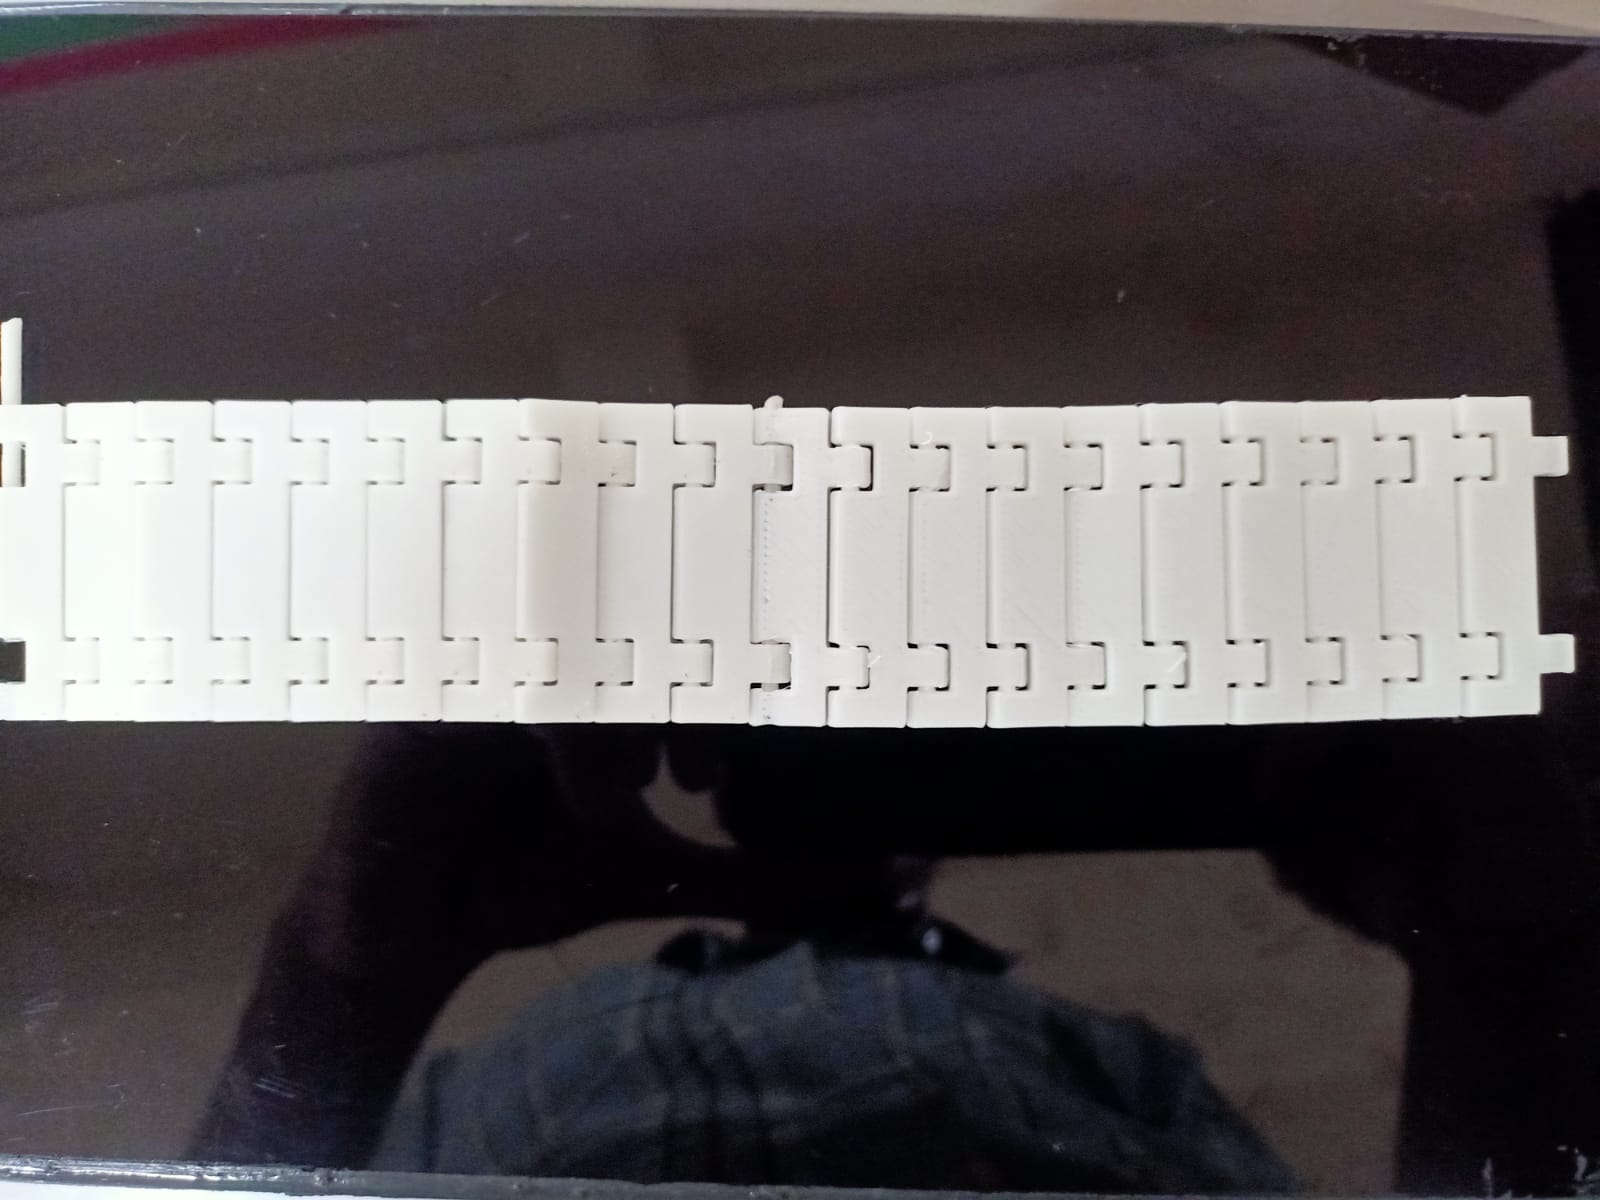
I started a design an object in using fusion 360, In my designed a chain becoaus chain is not make to use milling machine so that designed it
 This is the 2D skech of the object
 Then this is the 3D pectuer of the design
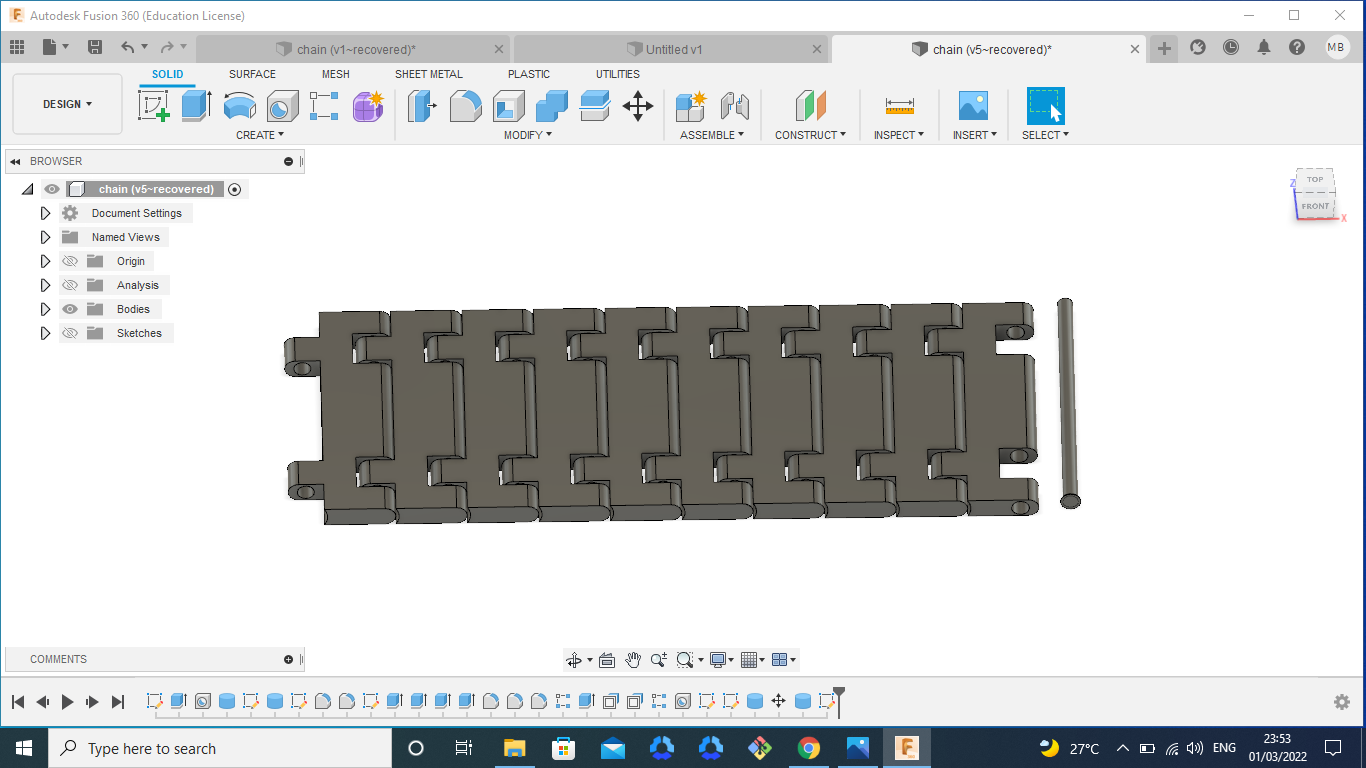 The full 3D design of chain and the jointer after designing the file saved in stl file
Then after designing in this design file to converted G-code file ,In that prosses I use to the Prusa Slicer App,Then i open that app
 This is the Prusa Slicer app
 In the design stl file import to the prusa app
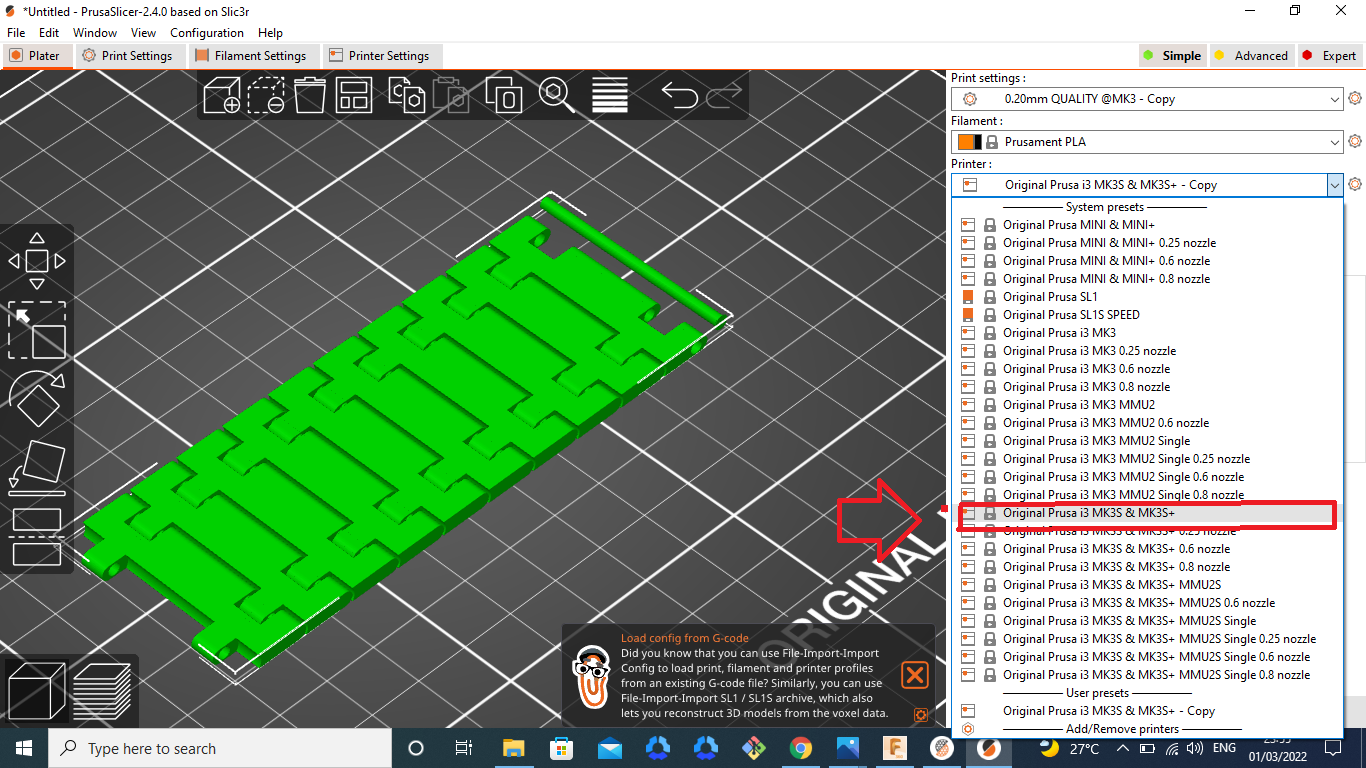 Then first i select the printer
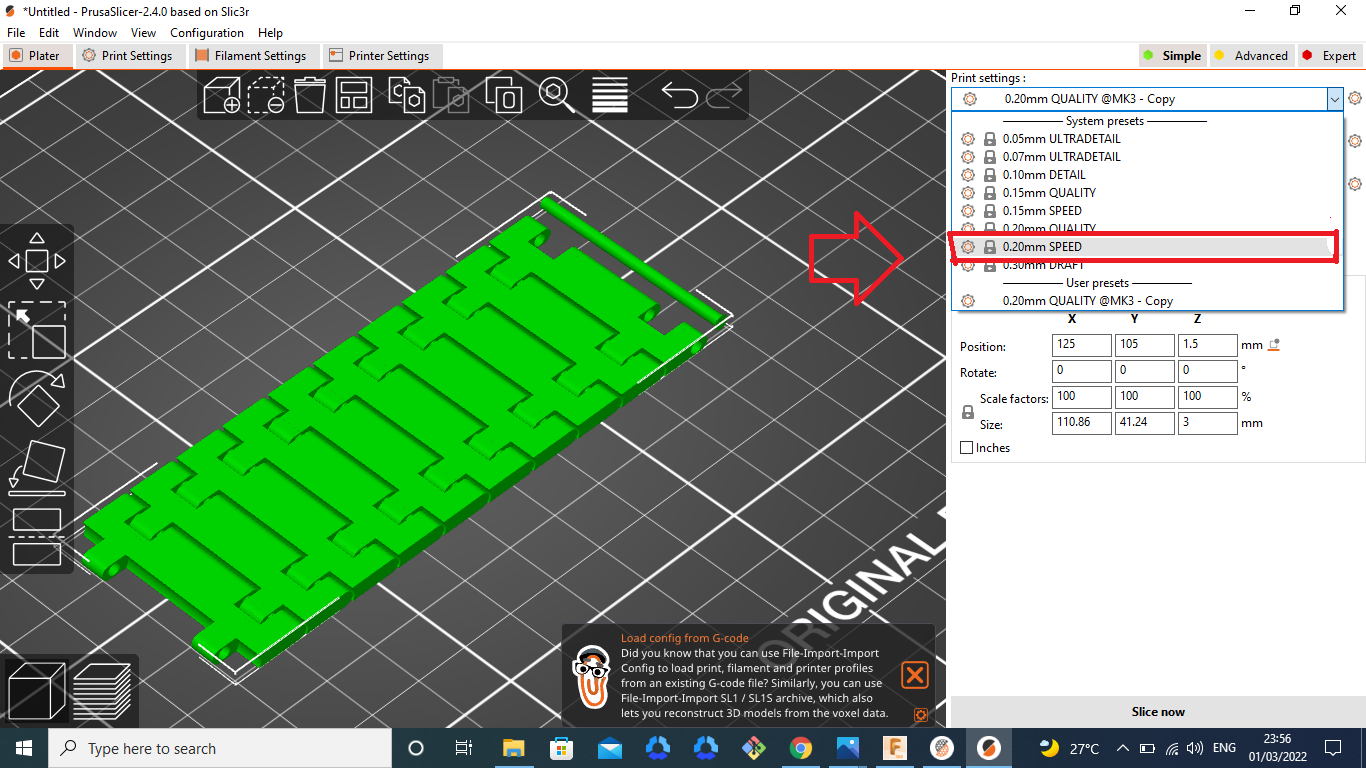 Then select the Quality of the printer 0.20mm Speed
 Next I selected to the supports selection in this design i have not use the supporter becoaus my object is very small, so is slected none
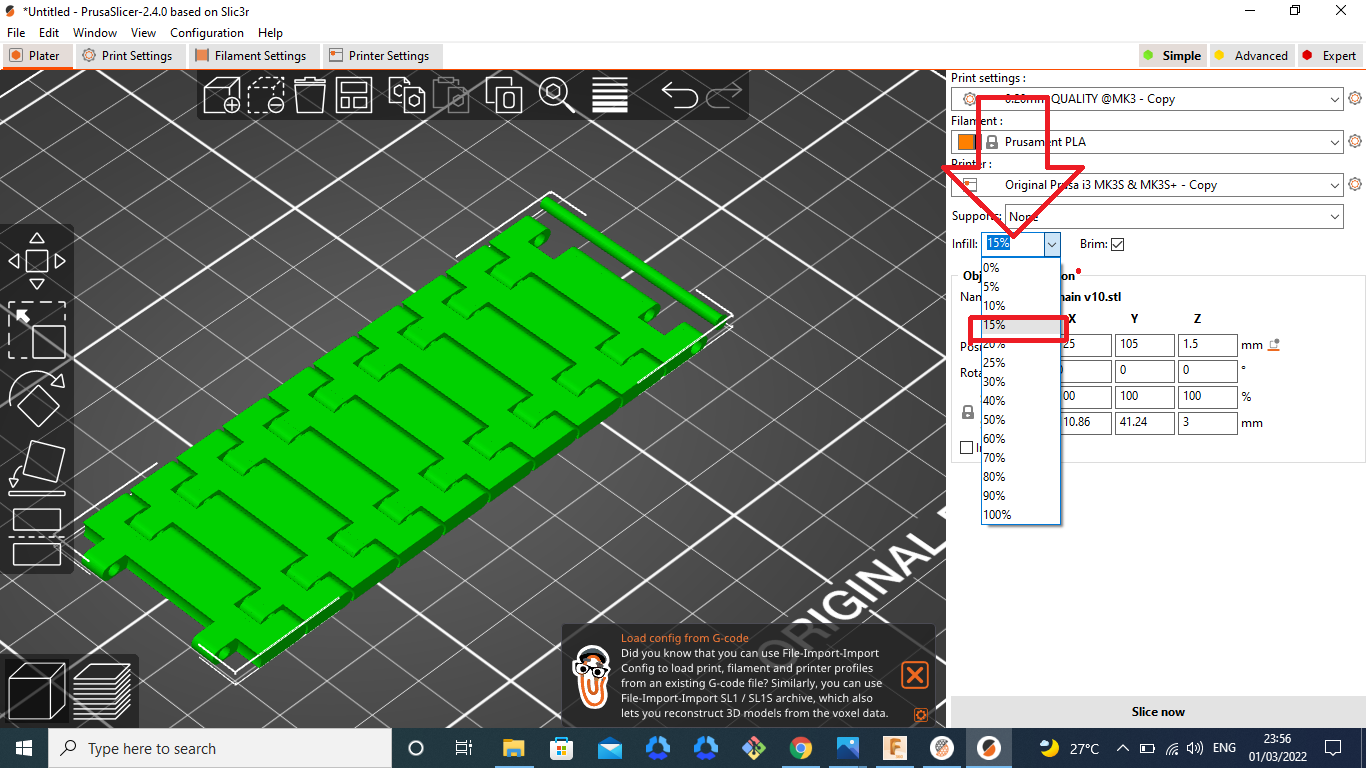 Then infill selection i slected 15%
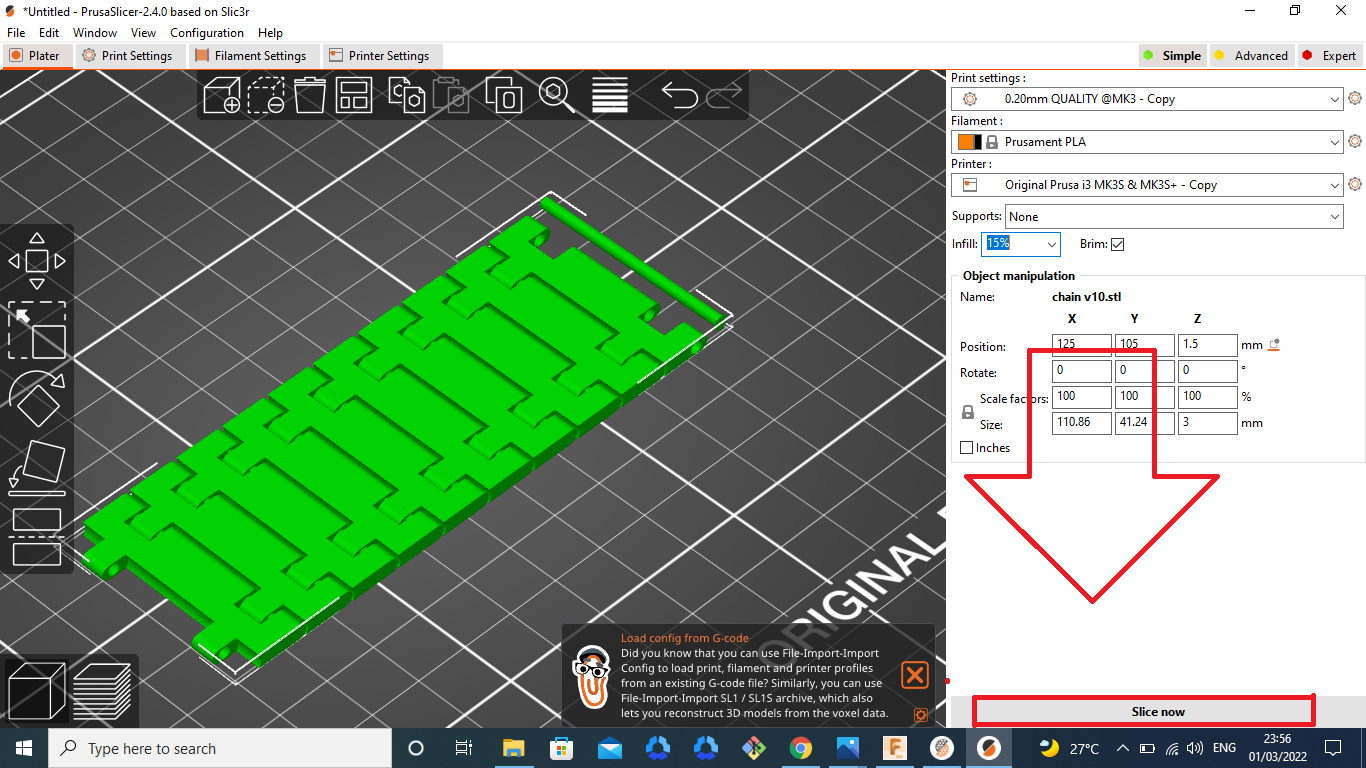 Then settings slection is completed After that i click the slice now button
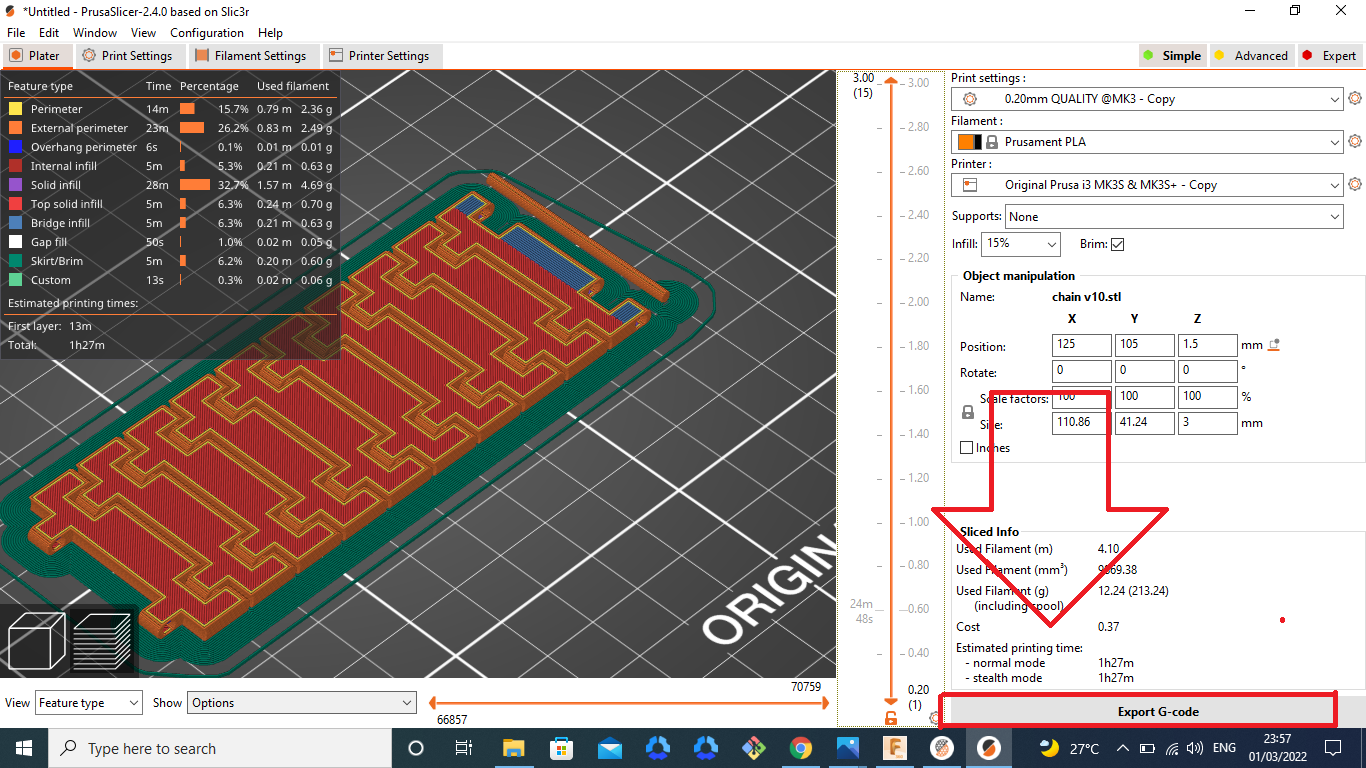 After that slice screen in open and seened that picter ,Then click the G-code button
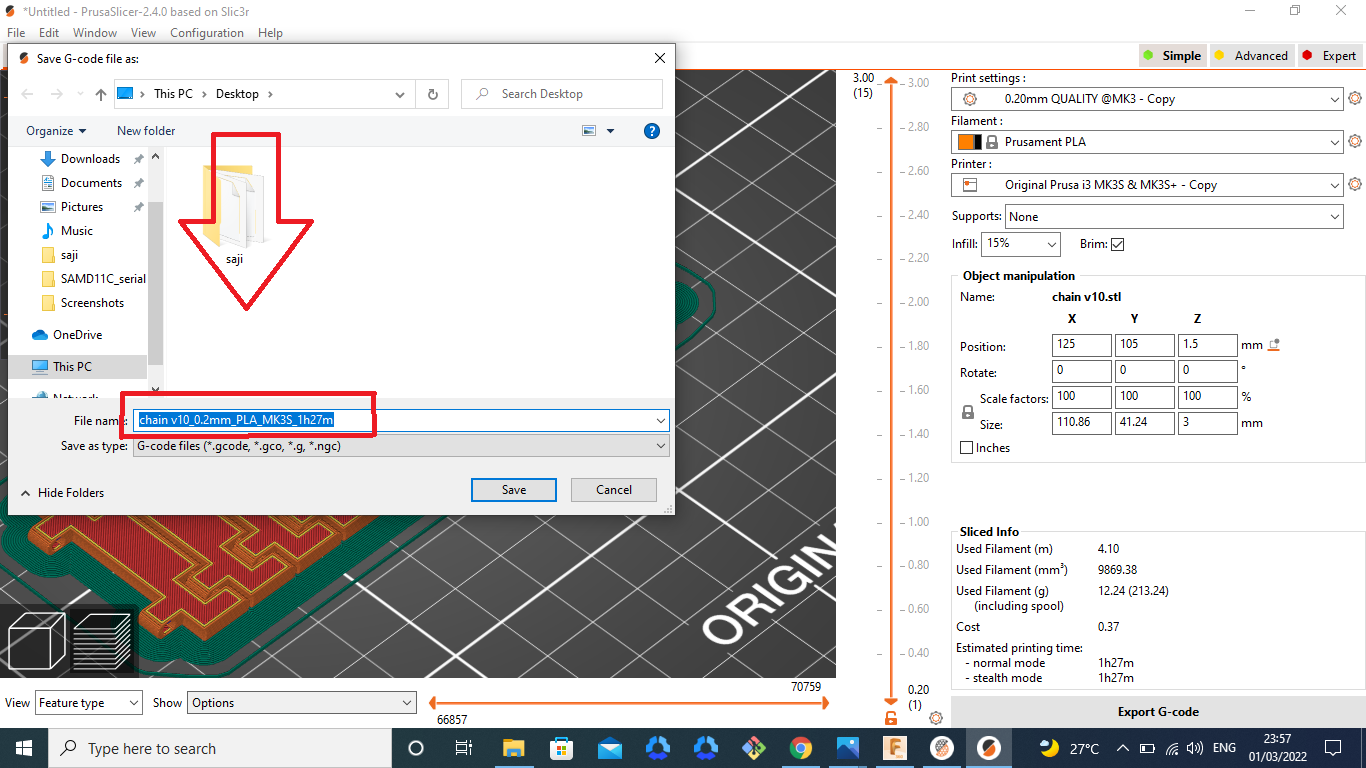
The G-code file is saved and copy that file in sd card.
Let’s Start Printing
I used printer is PRUSA I3 MKS3
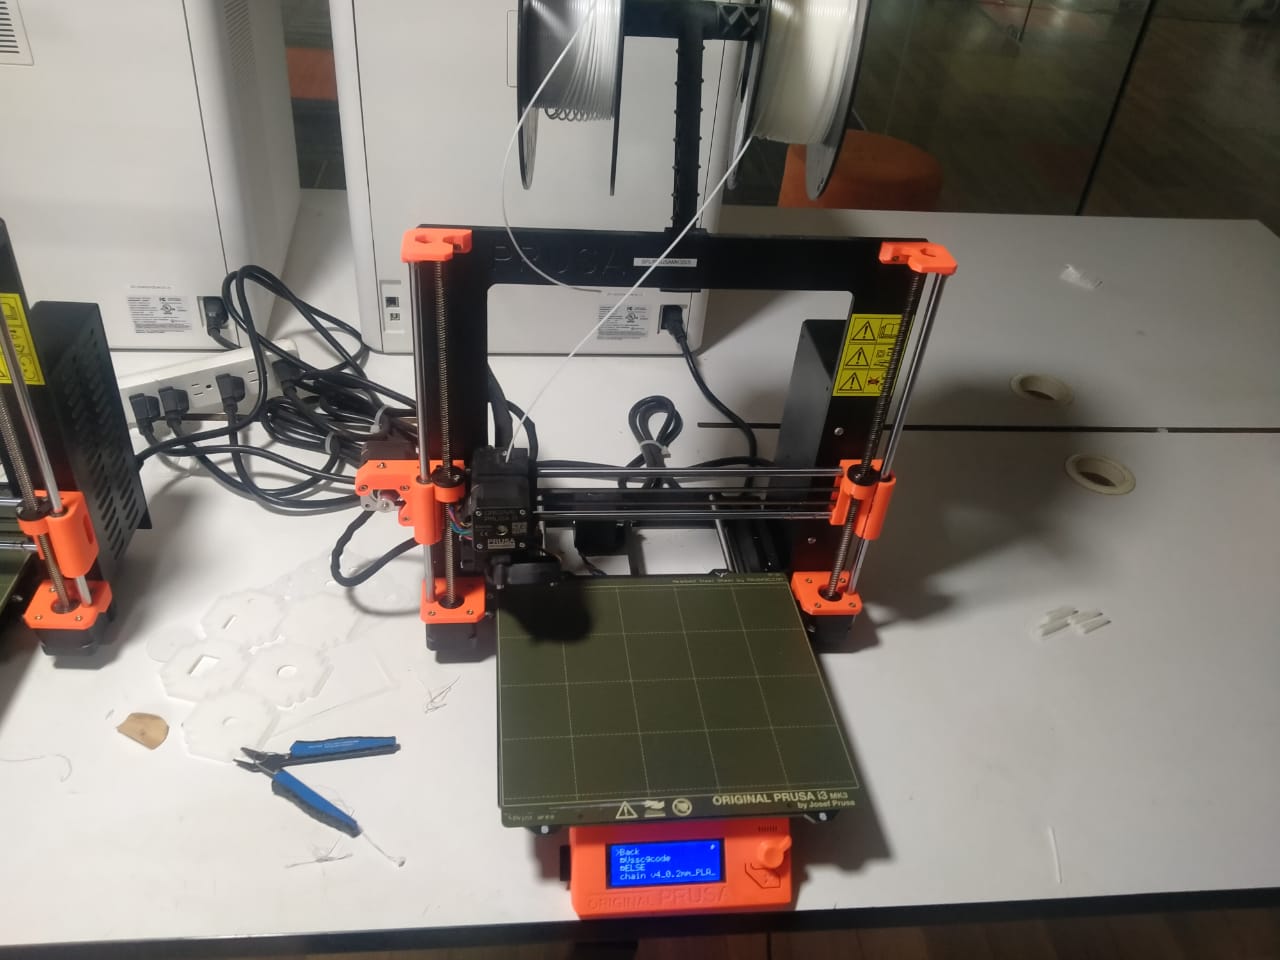
First i insert the SD card on the printer ,then the SD card files are are opend
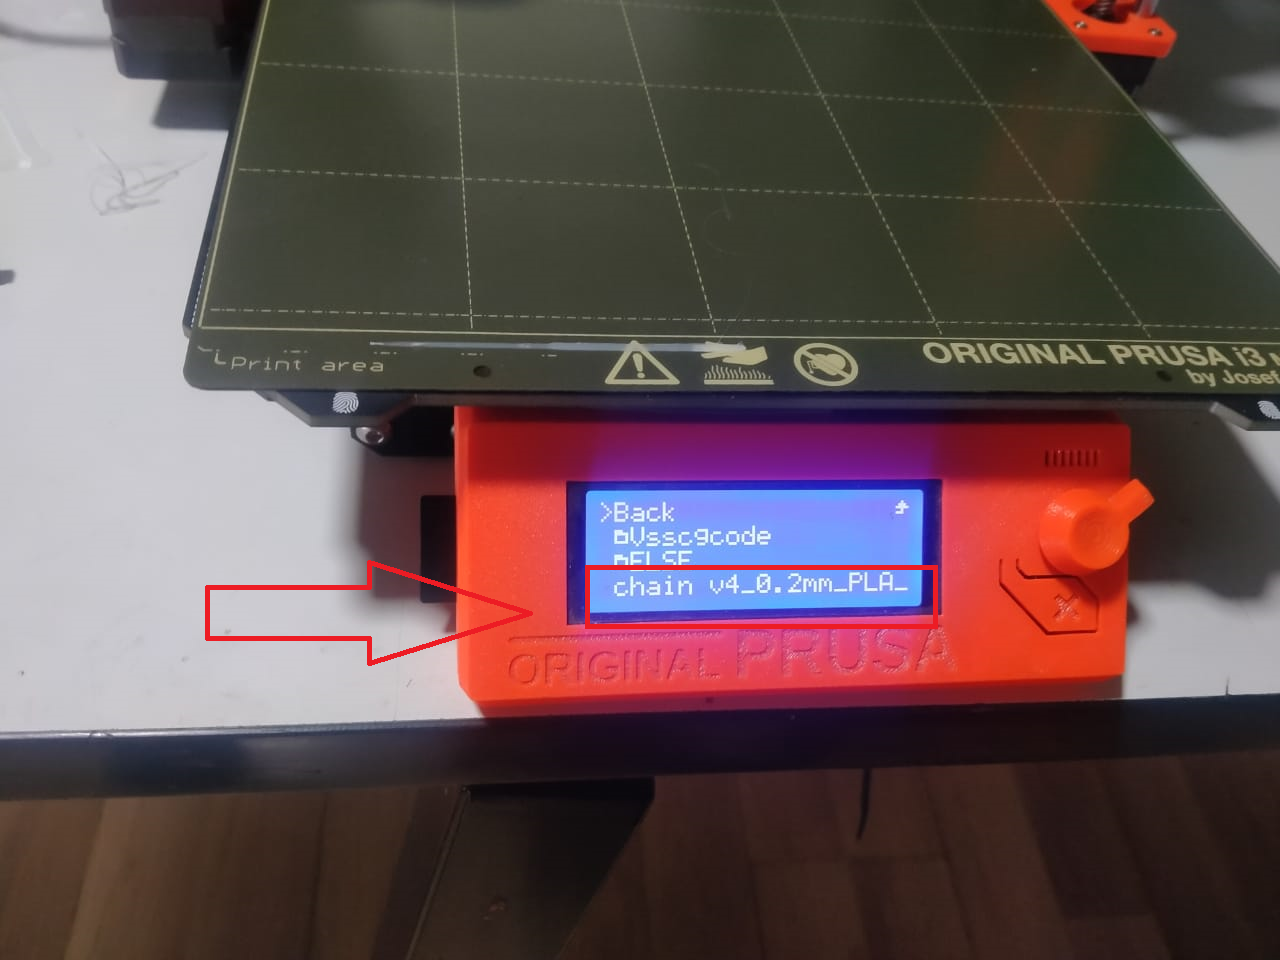 This is my design file, I selected it
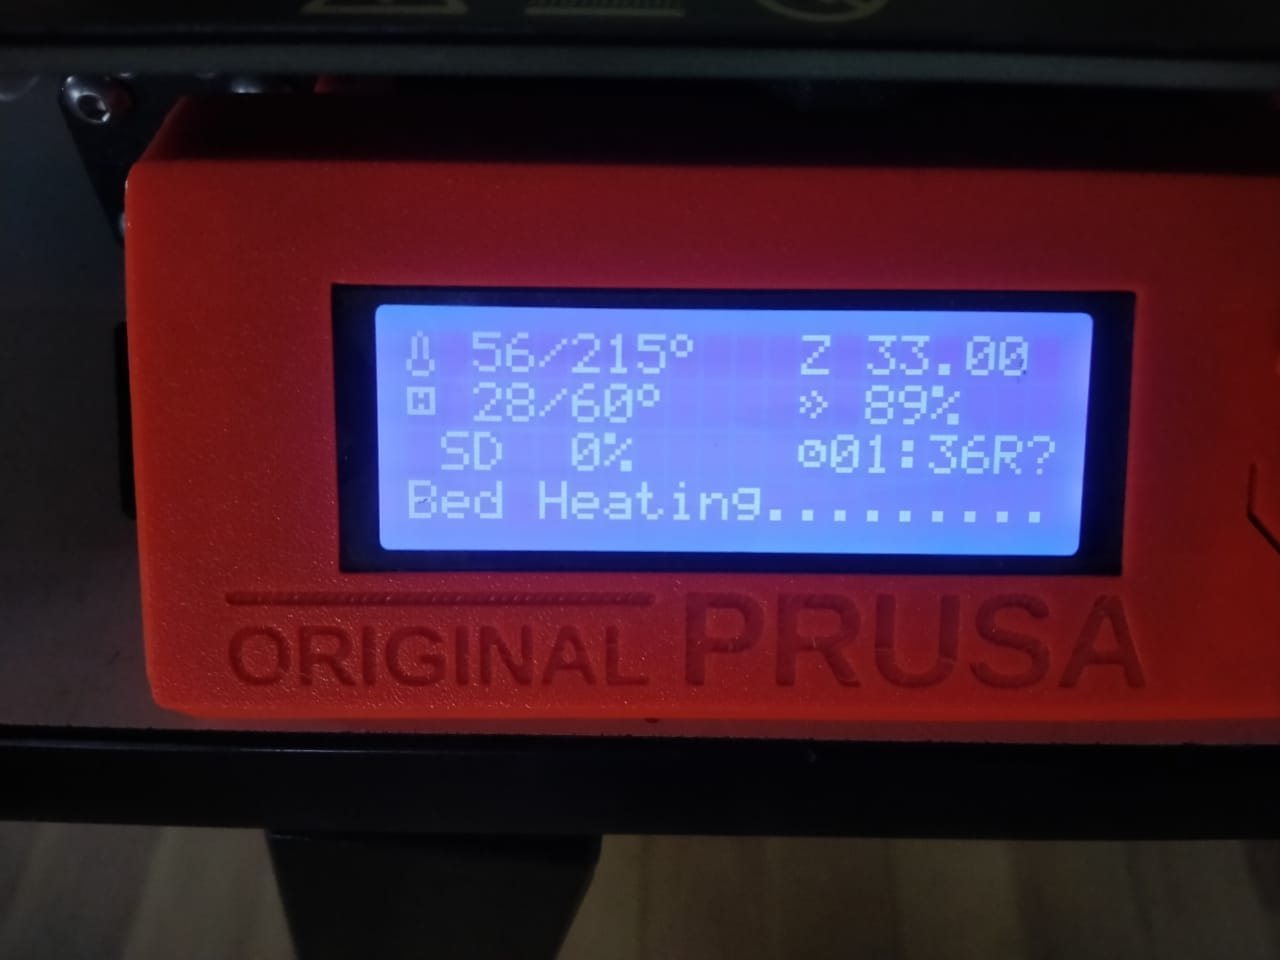 In bed heating is started

After few minutes the printing is started , brim is first started to printing
In this project printing time is 1:45 hours
 In 1 hours left the printing in on going
At last final result
I cleand it very well and its working is very well
 Again I print the same file becoaus the length of chain in very small so I print again
 The two part are jointed using the connection stick

2. 3D scanning an object
After 3D printingf i started to the 3D scanning, In our lab’s scanner is Artec Leo scanner

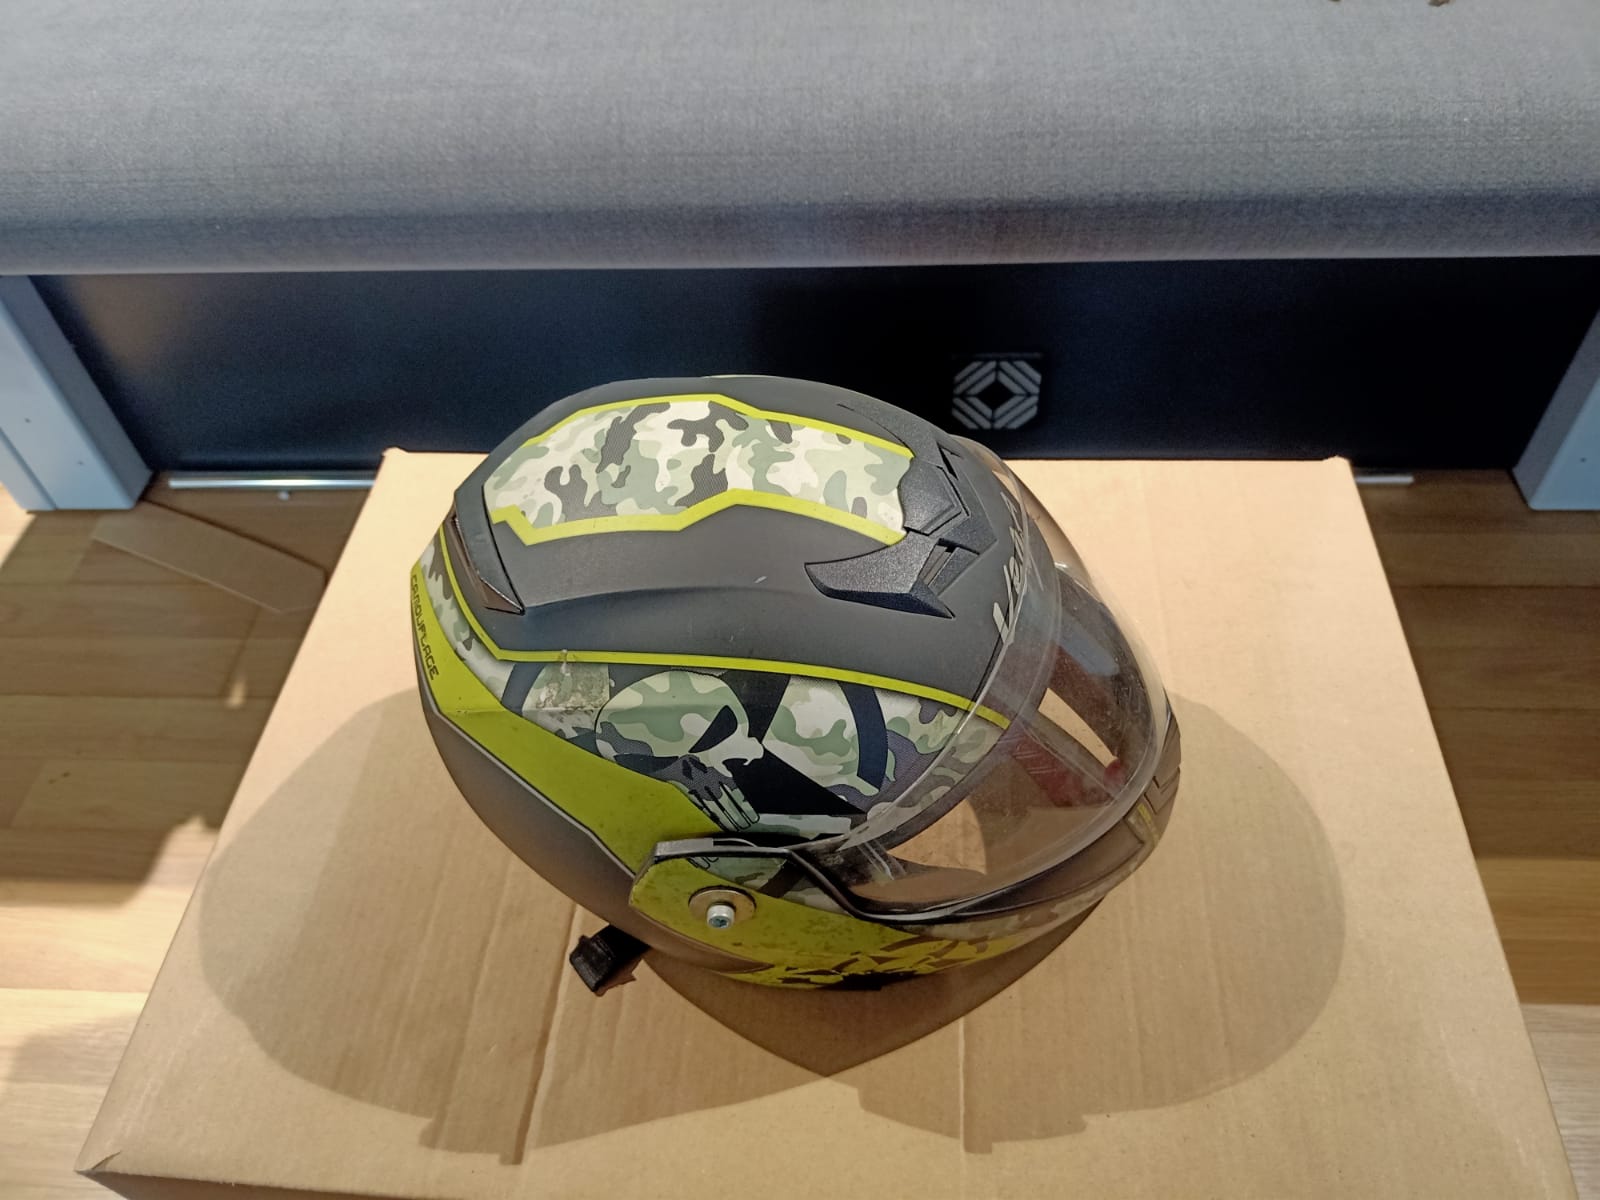 This is my scanning object, I do scanning in very well in scanning in allparts with carefuly
 This is the scanned pictuer
 This is the final result for the 3D scanner
I printed 3D scanned result


All Files Download here Download