4. Computer controlled cutting
- group assignment: characterize the design rules for your in-house PCB production process extra credit: send a PCB out to a board house
- individual assignment: make an in-circuit programmer that includes a microcontroller: extra credit: customize the design mill and stuff the PCB test it to verify that it works ** extra credit: try other PCB processes
Research
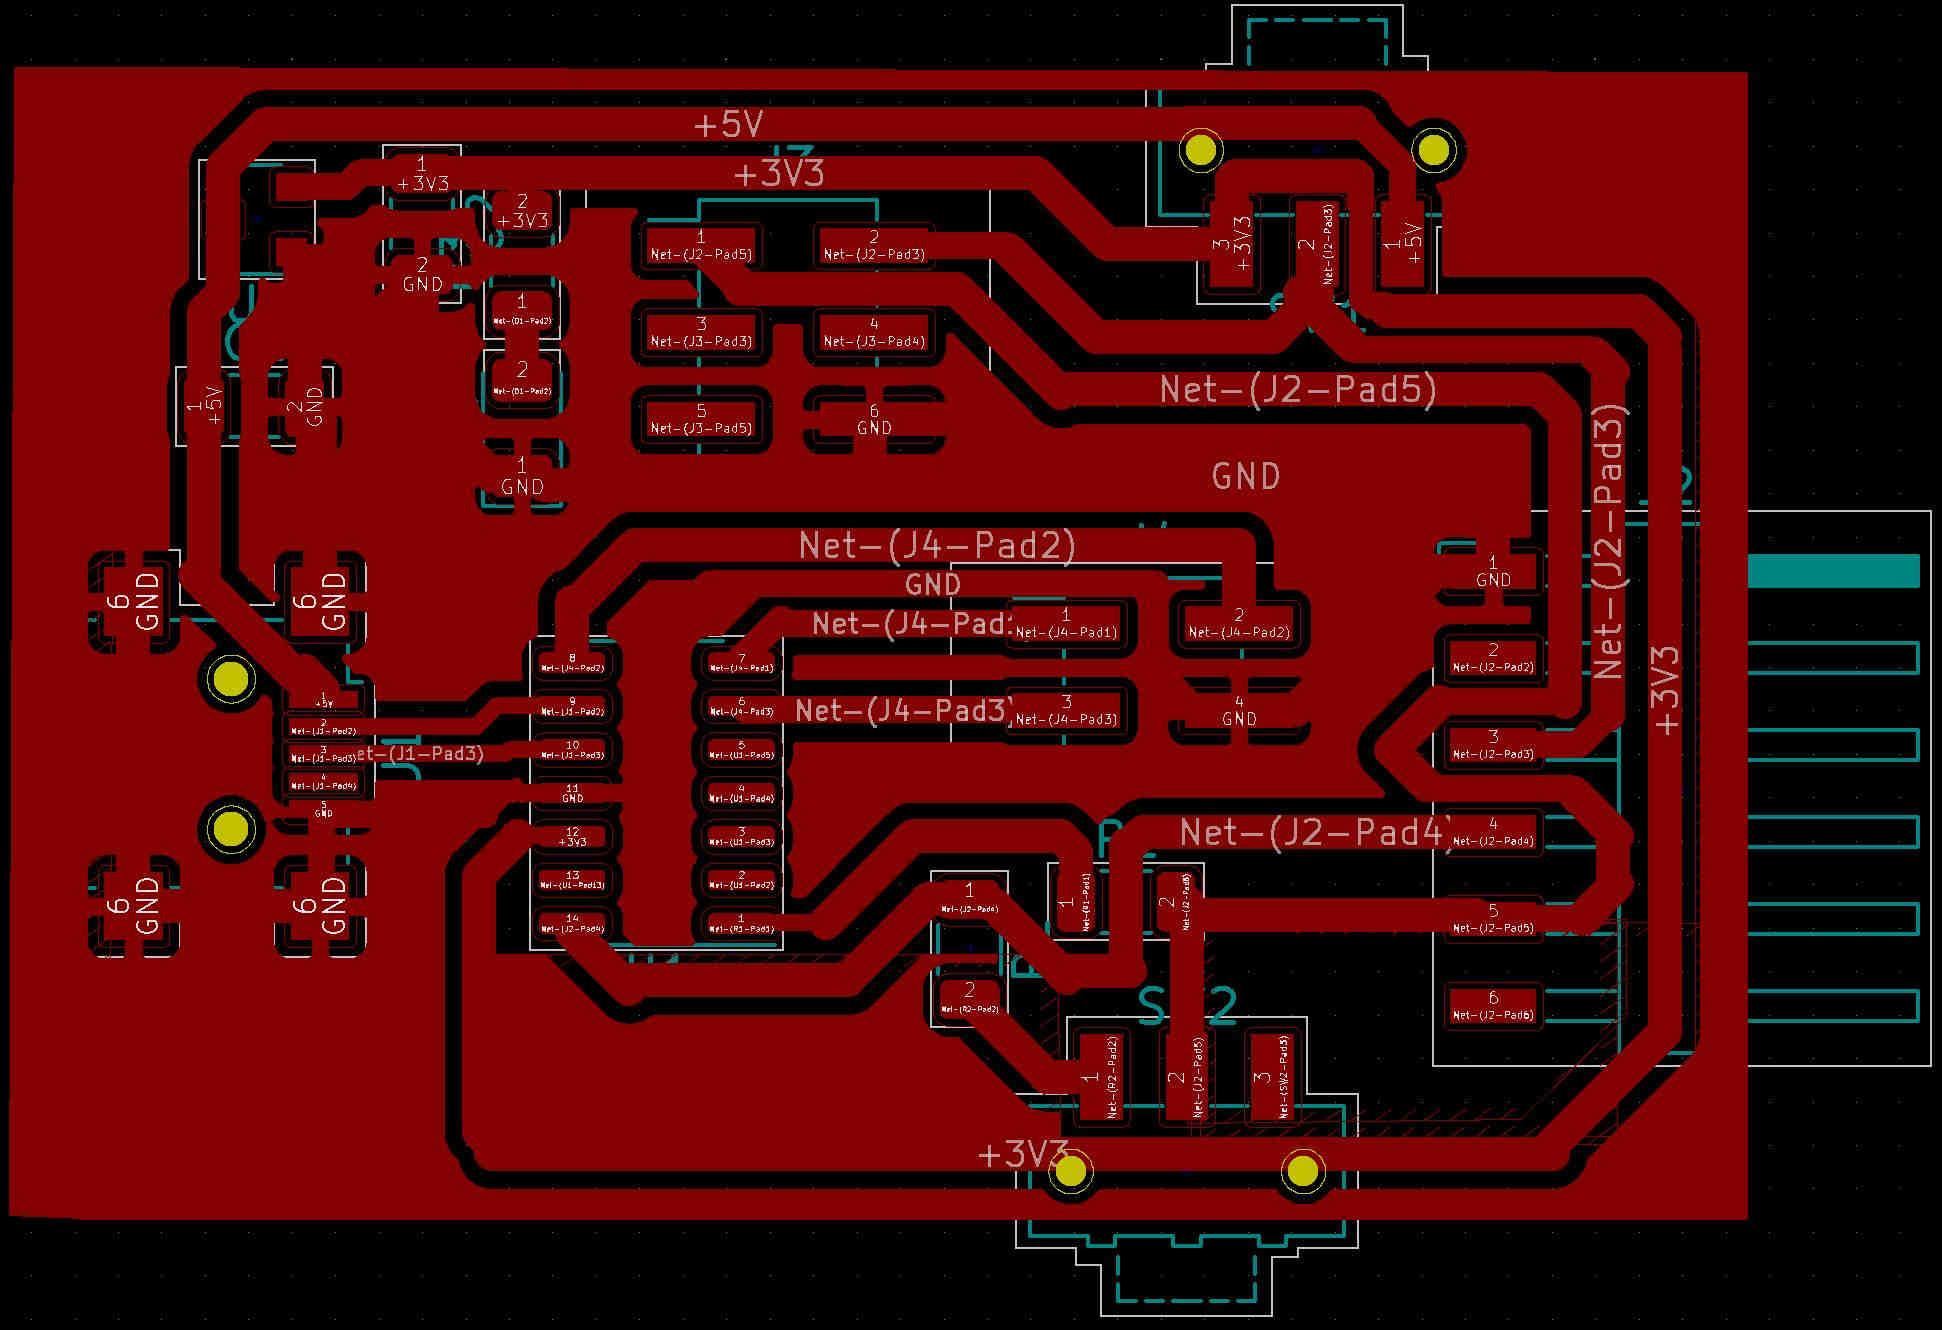
Using KiCAD, produced a schematic using the ATSAMD11C14A-SS microcontroller. This was based off Quentin Bolsee’s UPDI Programmer: https://fabacademy.org/2020/labs/ulb/students/quentin-bolsee/projects/samd11c_uart-updi/
I don’t like to use jumpers, so I used surface mount switches for switching the voltage to the Device to +5v or +3.3v
Also I used a switch to go between serial programming and UDPI programming.

The Schematic parts were edited for the PCB foot print and the netlist was sent to the Board routing program of KiCAD.
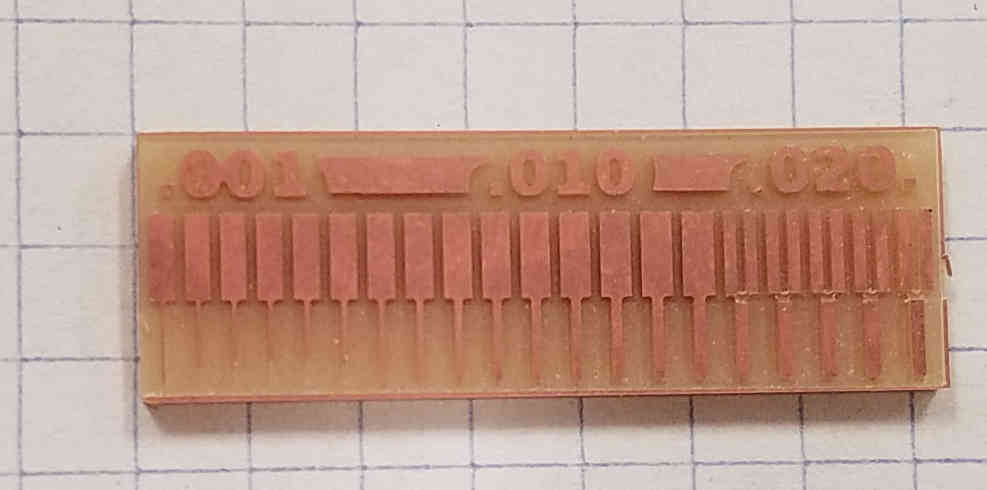
A test was done for the Mill, using the 1/64th bit. It was impressive the resolution.
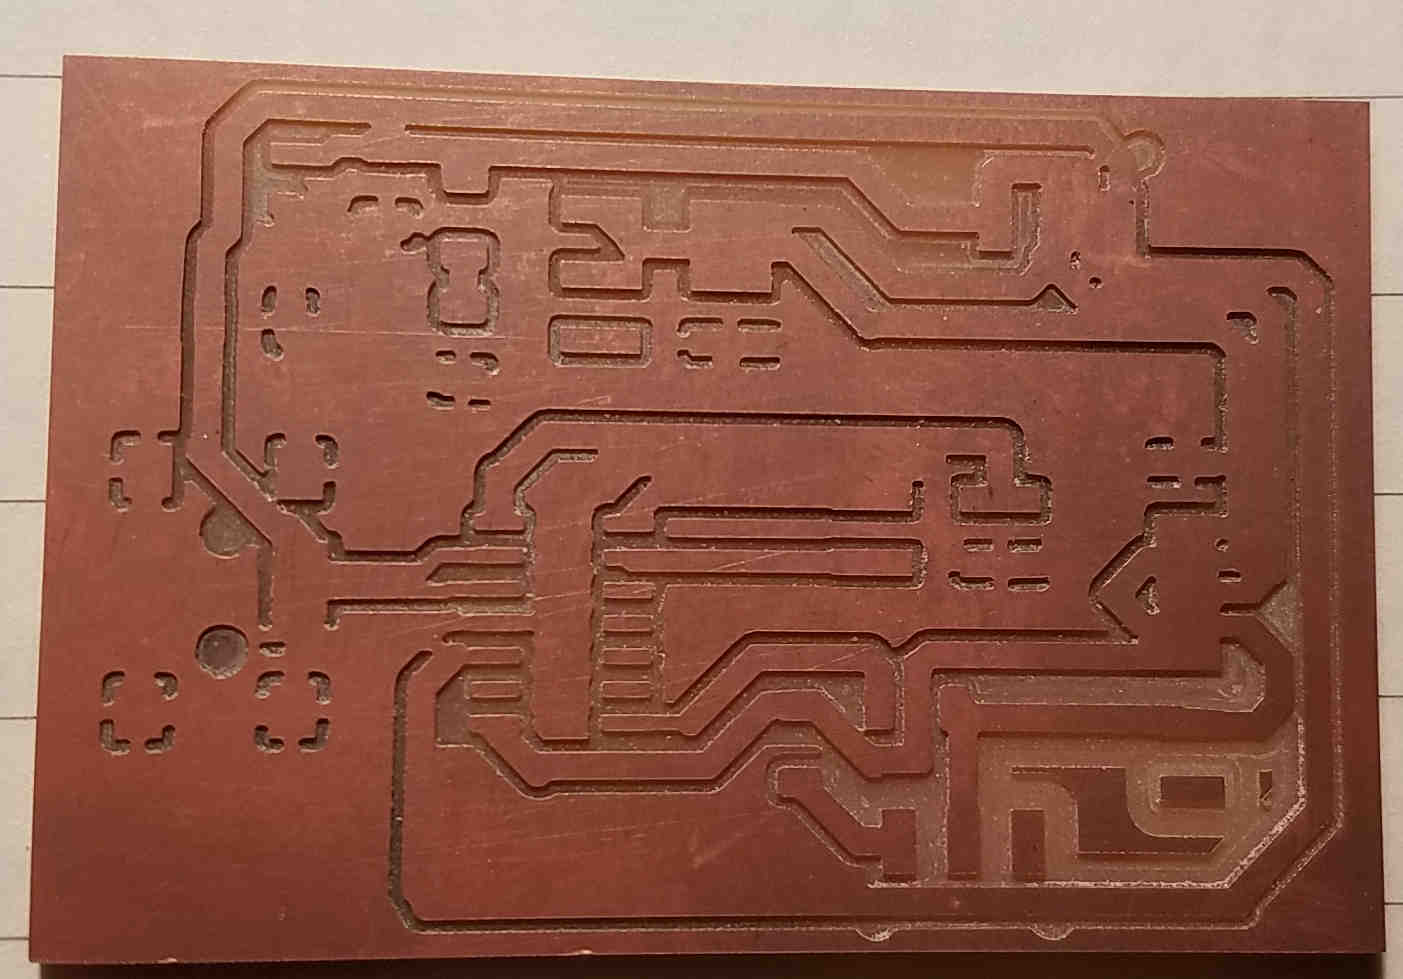
The board was then milled.

Unfortunately the 1/64th bit was not fine enough for the resolution needed for the board, especially the MiniUSB footprint.
A different process was then implimented, using etching. This is the Presensitized Board that I used from Kingston.

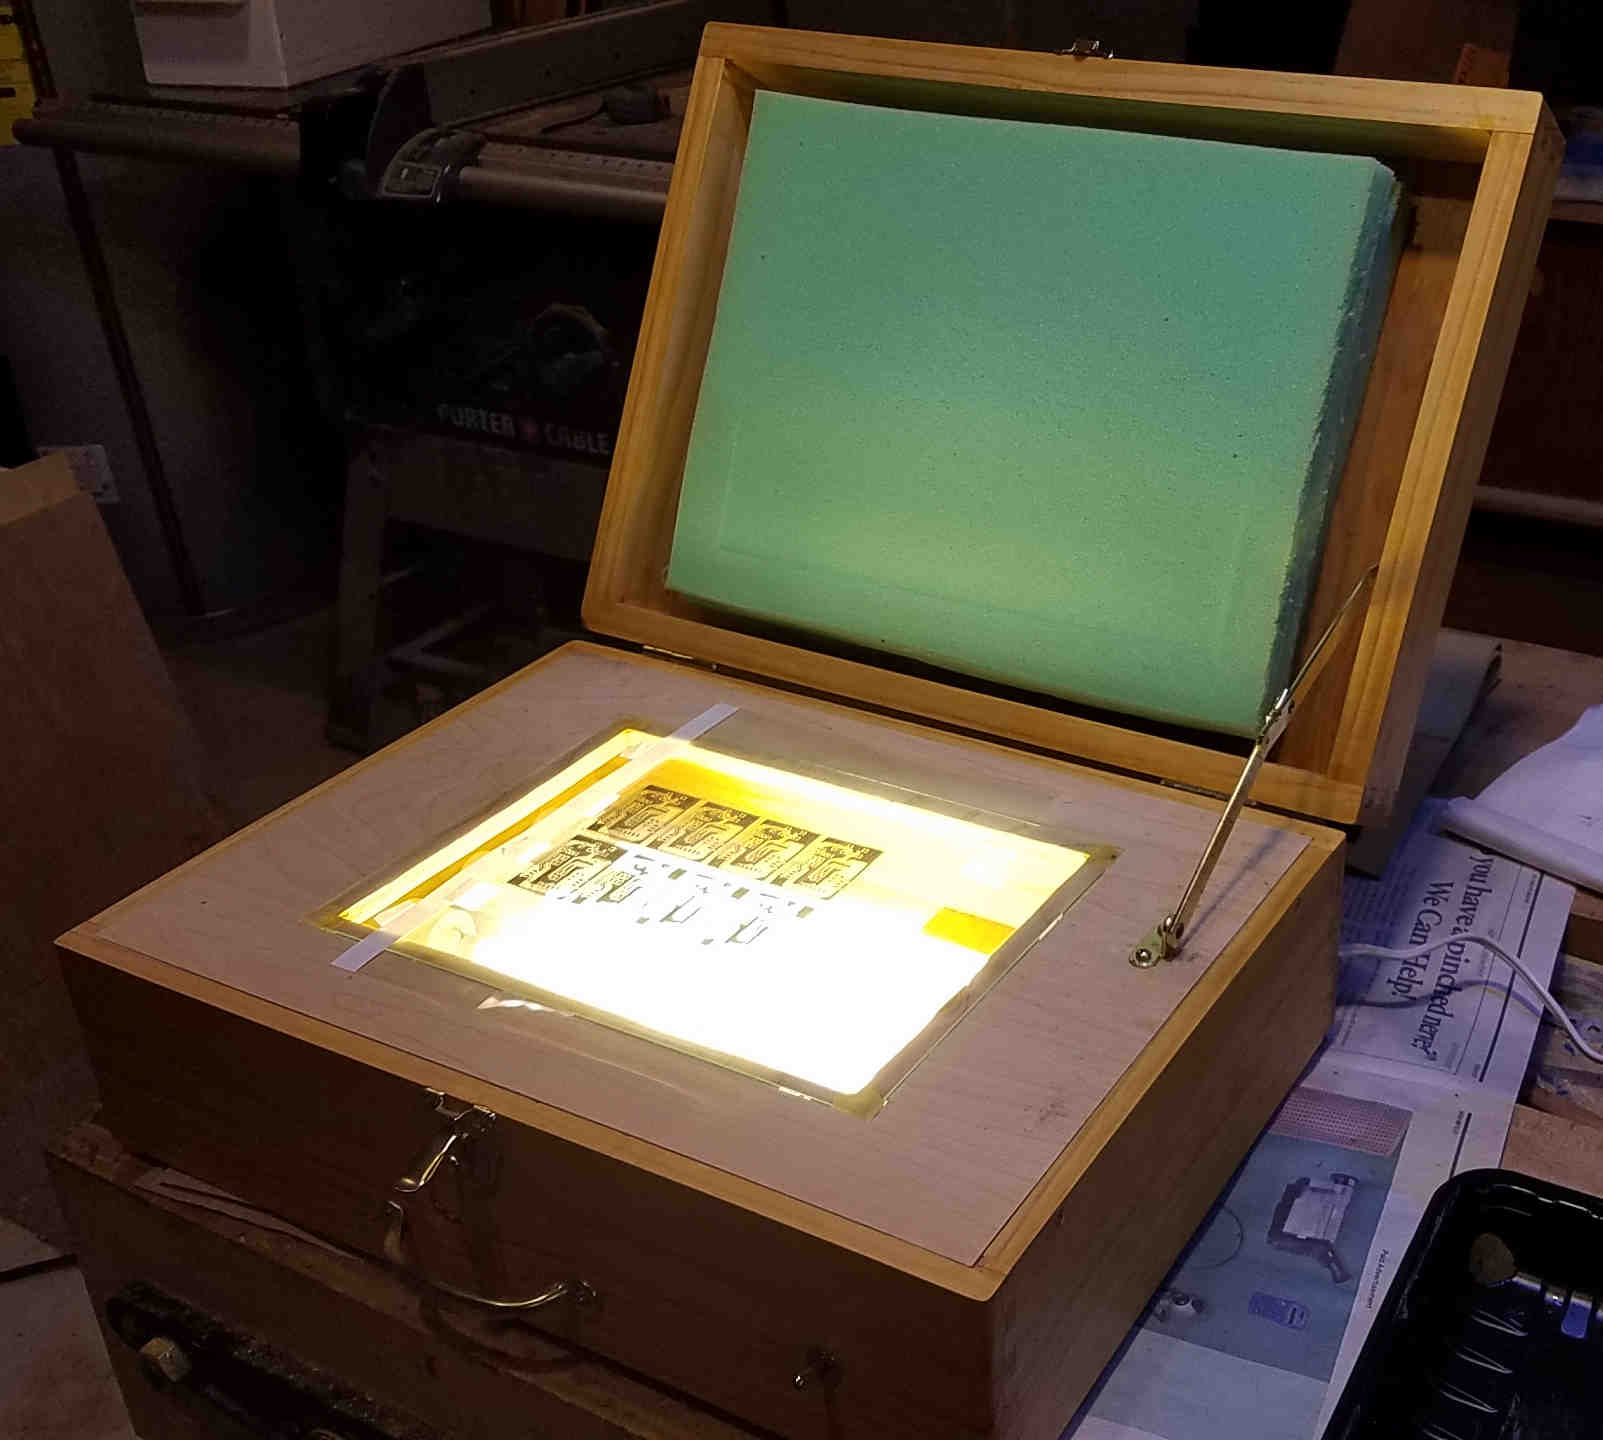
The Exposure Frame (personal design) was set up with the artwork.
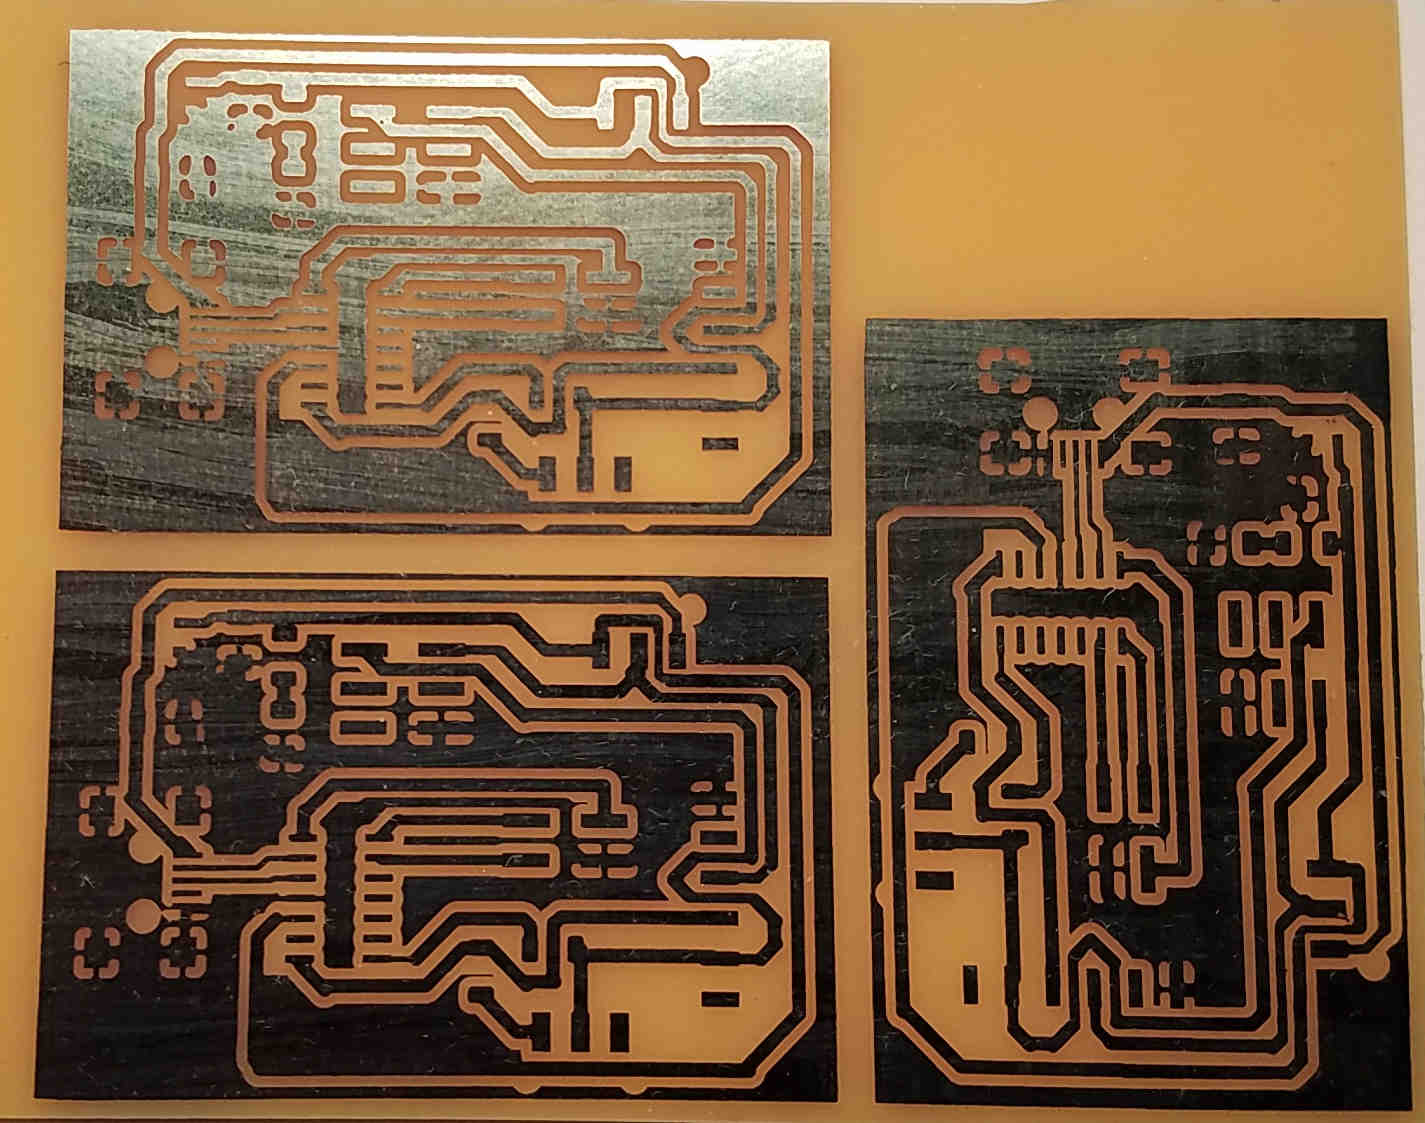
Here is the board ready for etching.
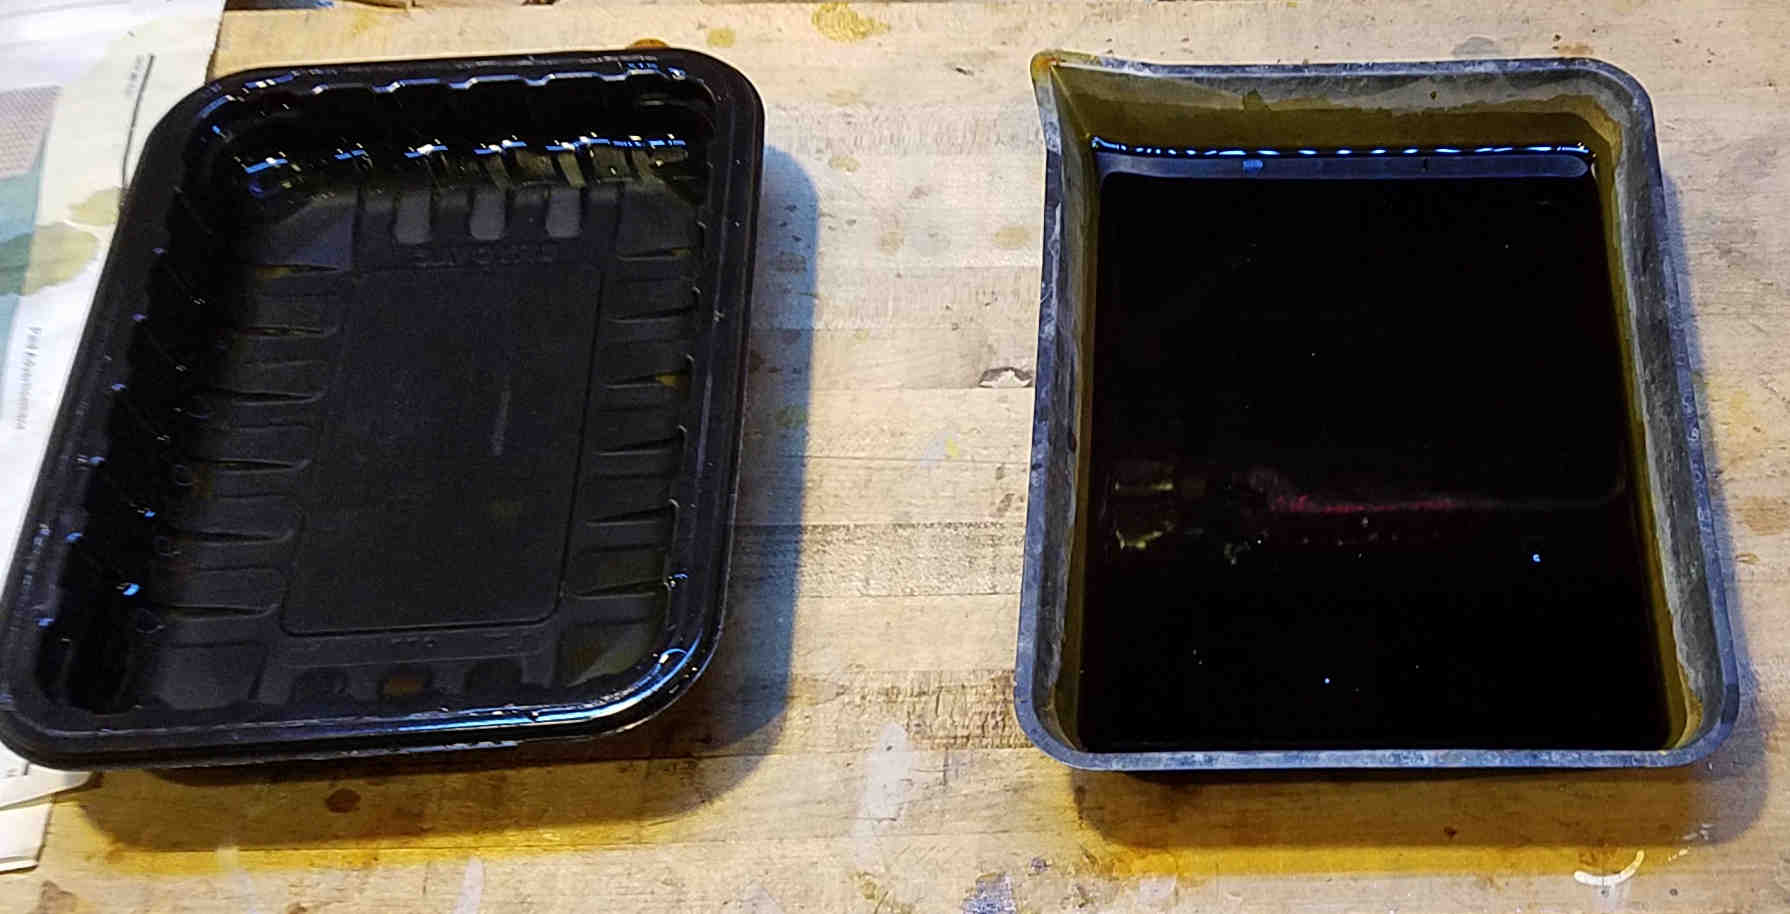
The board was then placed in the Ferric Chloride solution. It took about 45 minutes, because my etchant has been used alot.
A new solution it would only take about 20 minutes.
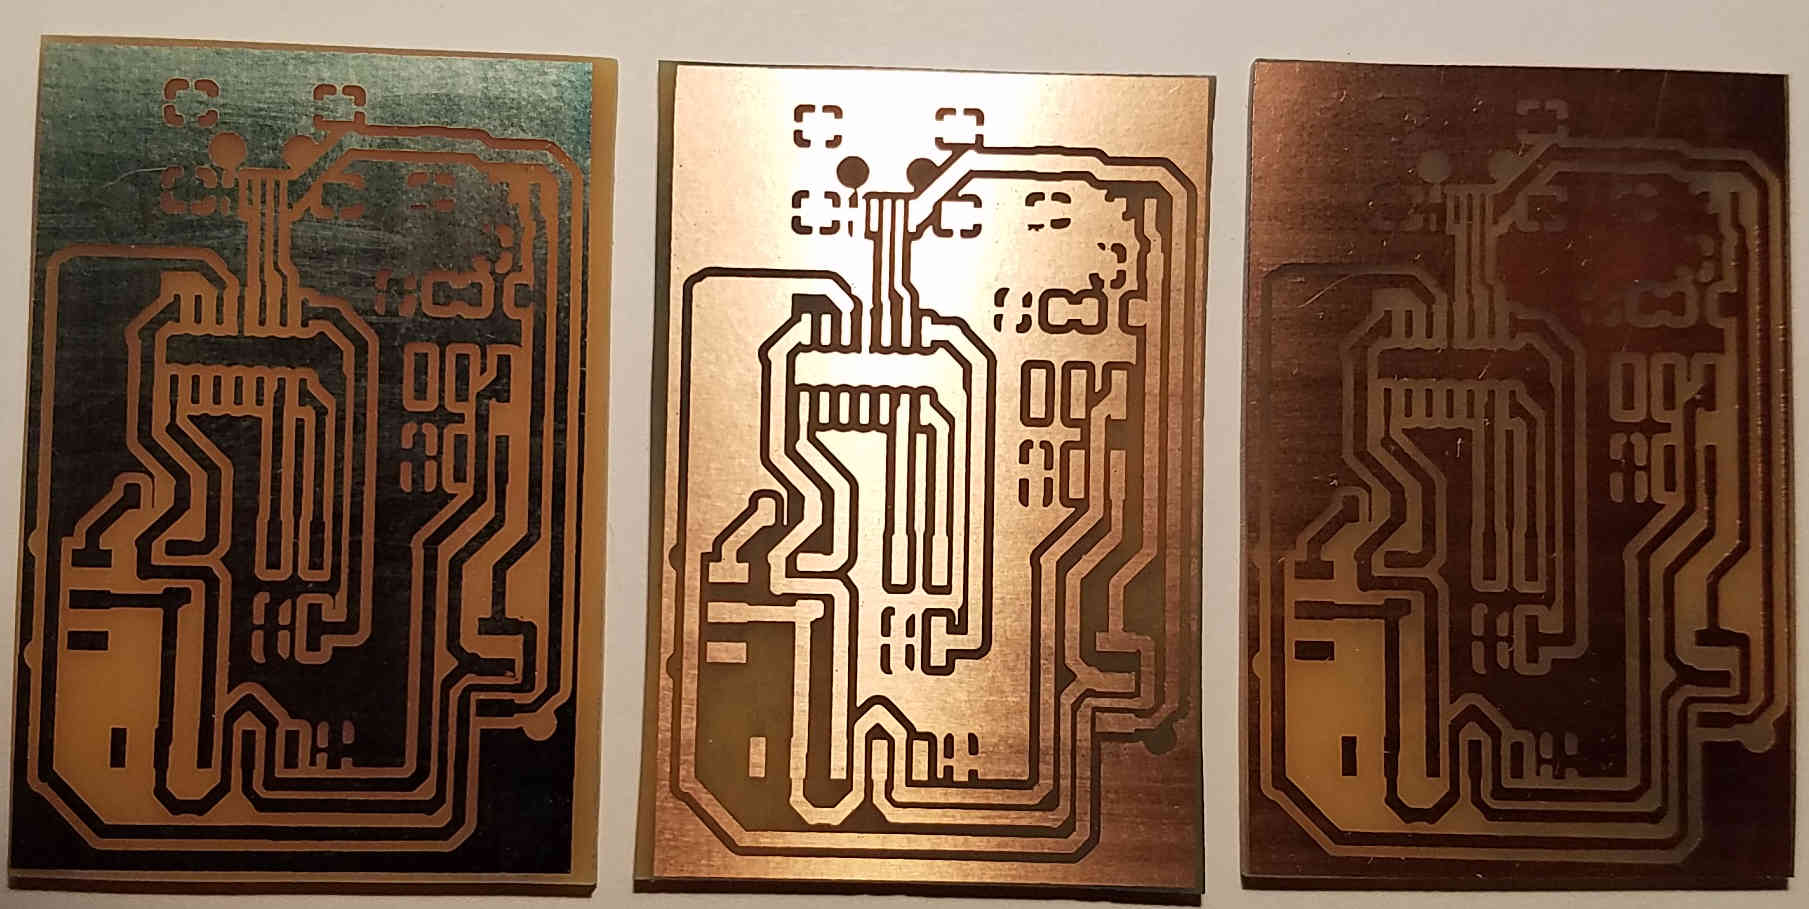
Perfect circuit board!
Soldered components to the surface mount board. The MiniUSB connector was the hardest to solder, but it went smooth with my Metcal Soldering Station.
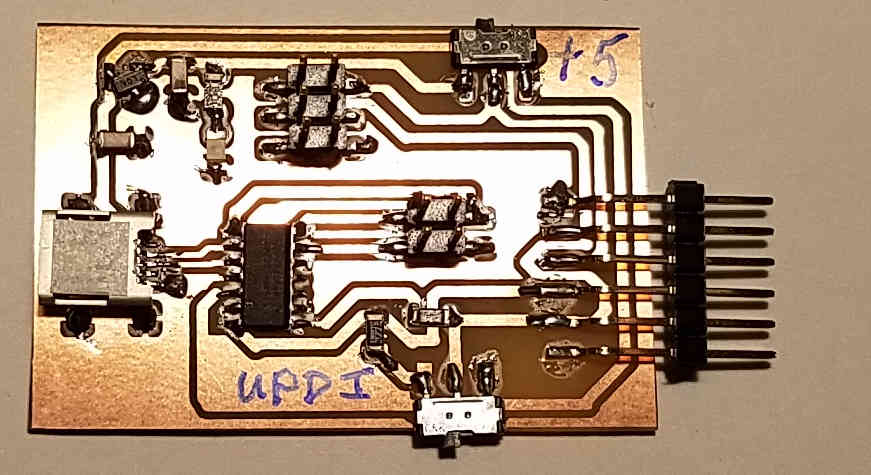
I think I did a pretty good job soldering the USB Mini socket.

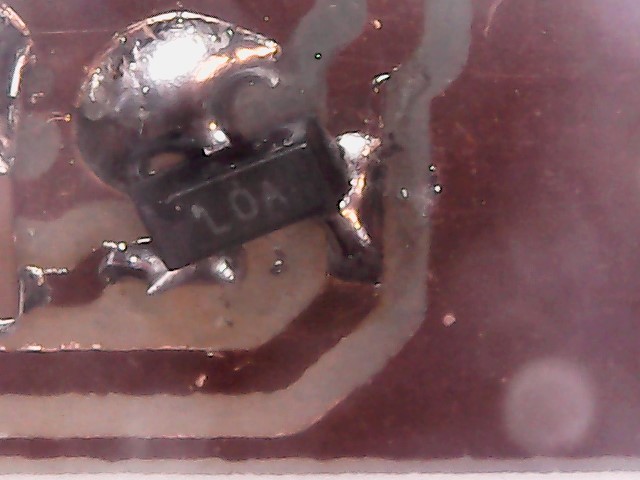
The only problem I had with the Programmer Board was the Voltage Regulator. I ended up with the wrong Surface Mount Footprint.
I had selected the part from the KiCAD Fabacademy downloaded ZIP file: MCP1700-3302E_SOT23. But it had a different pinout than
the part that was in the Fabacademy Parts List. I was able to turn the part 60 degrees counter clockwise and resolder it.