4. Computer controlled cutting
This week I worked on defining my final project idea and started to getting used to the documentation process.
Vinyl Cutting Machine

At the Aalto Fab Lab we are using Roland’s GX-24 vinyl cutter & CutStudio Software, along with Adobe Illustrator.
Our first step was to get a feel for the workstation and its main components, being the vinyl cutter, iMac, heat press and a huge variation of both tools and vinyl options.
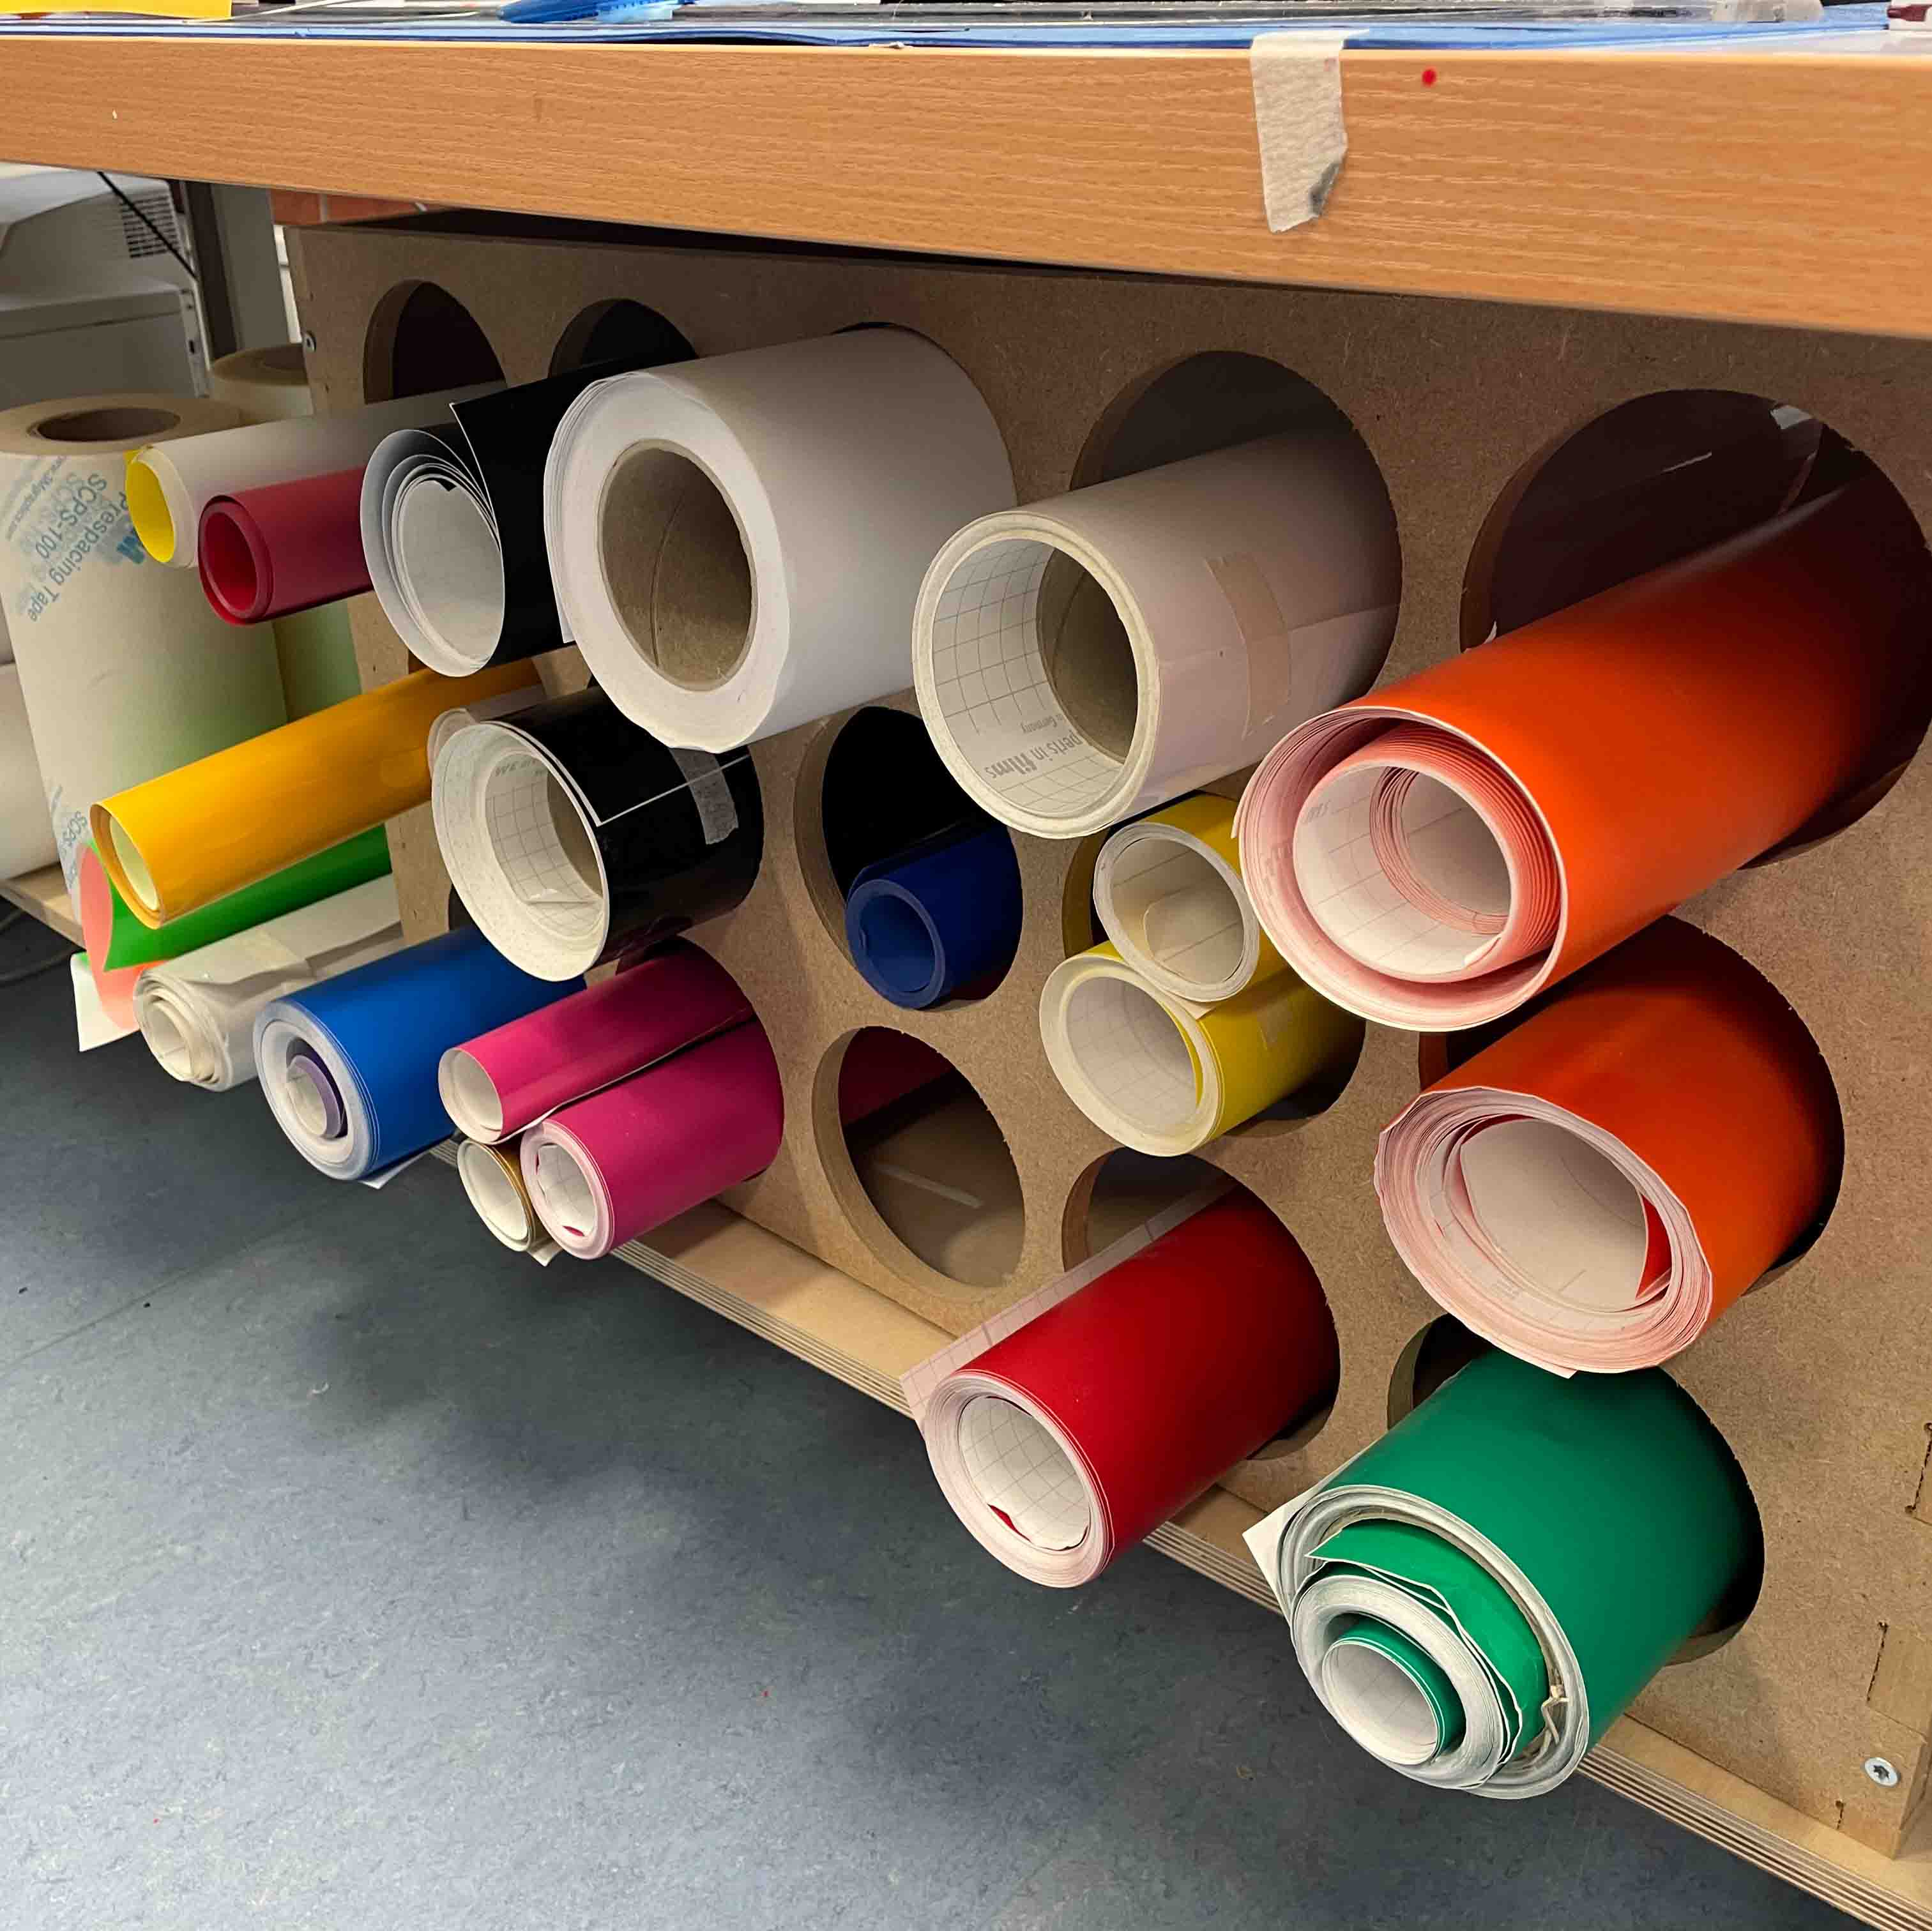
Discussing this large range of vinyl options was my first real intro into the vinyl cutter’s capabilities, with vinyl’s ranging from adhesive, heat transfer options and even the ability to make PCB’s! It was when viewing an example of a PCB that I first saw the level of detail and accuracy this vinyl cutter was capable of.
Machine Set Up & Preparation
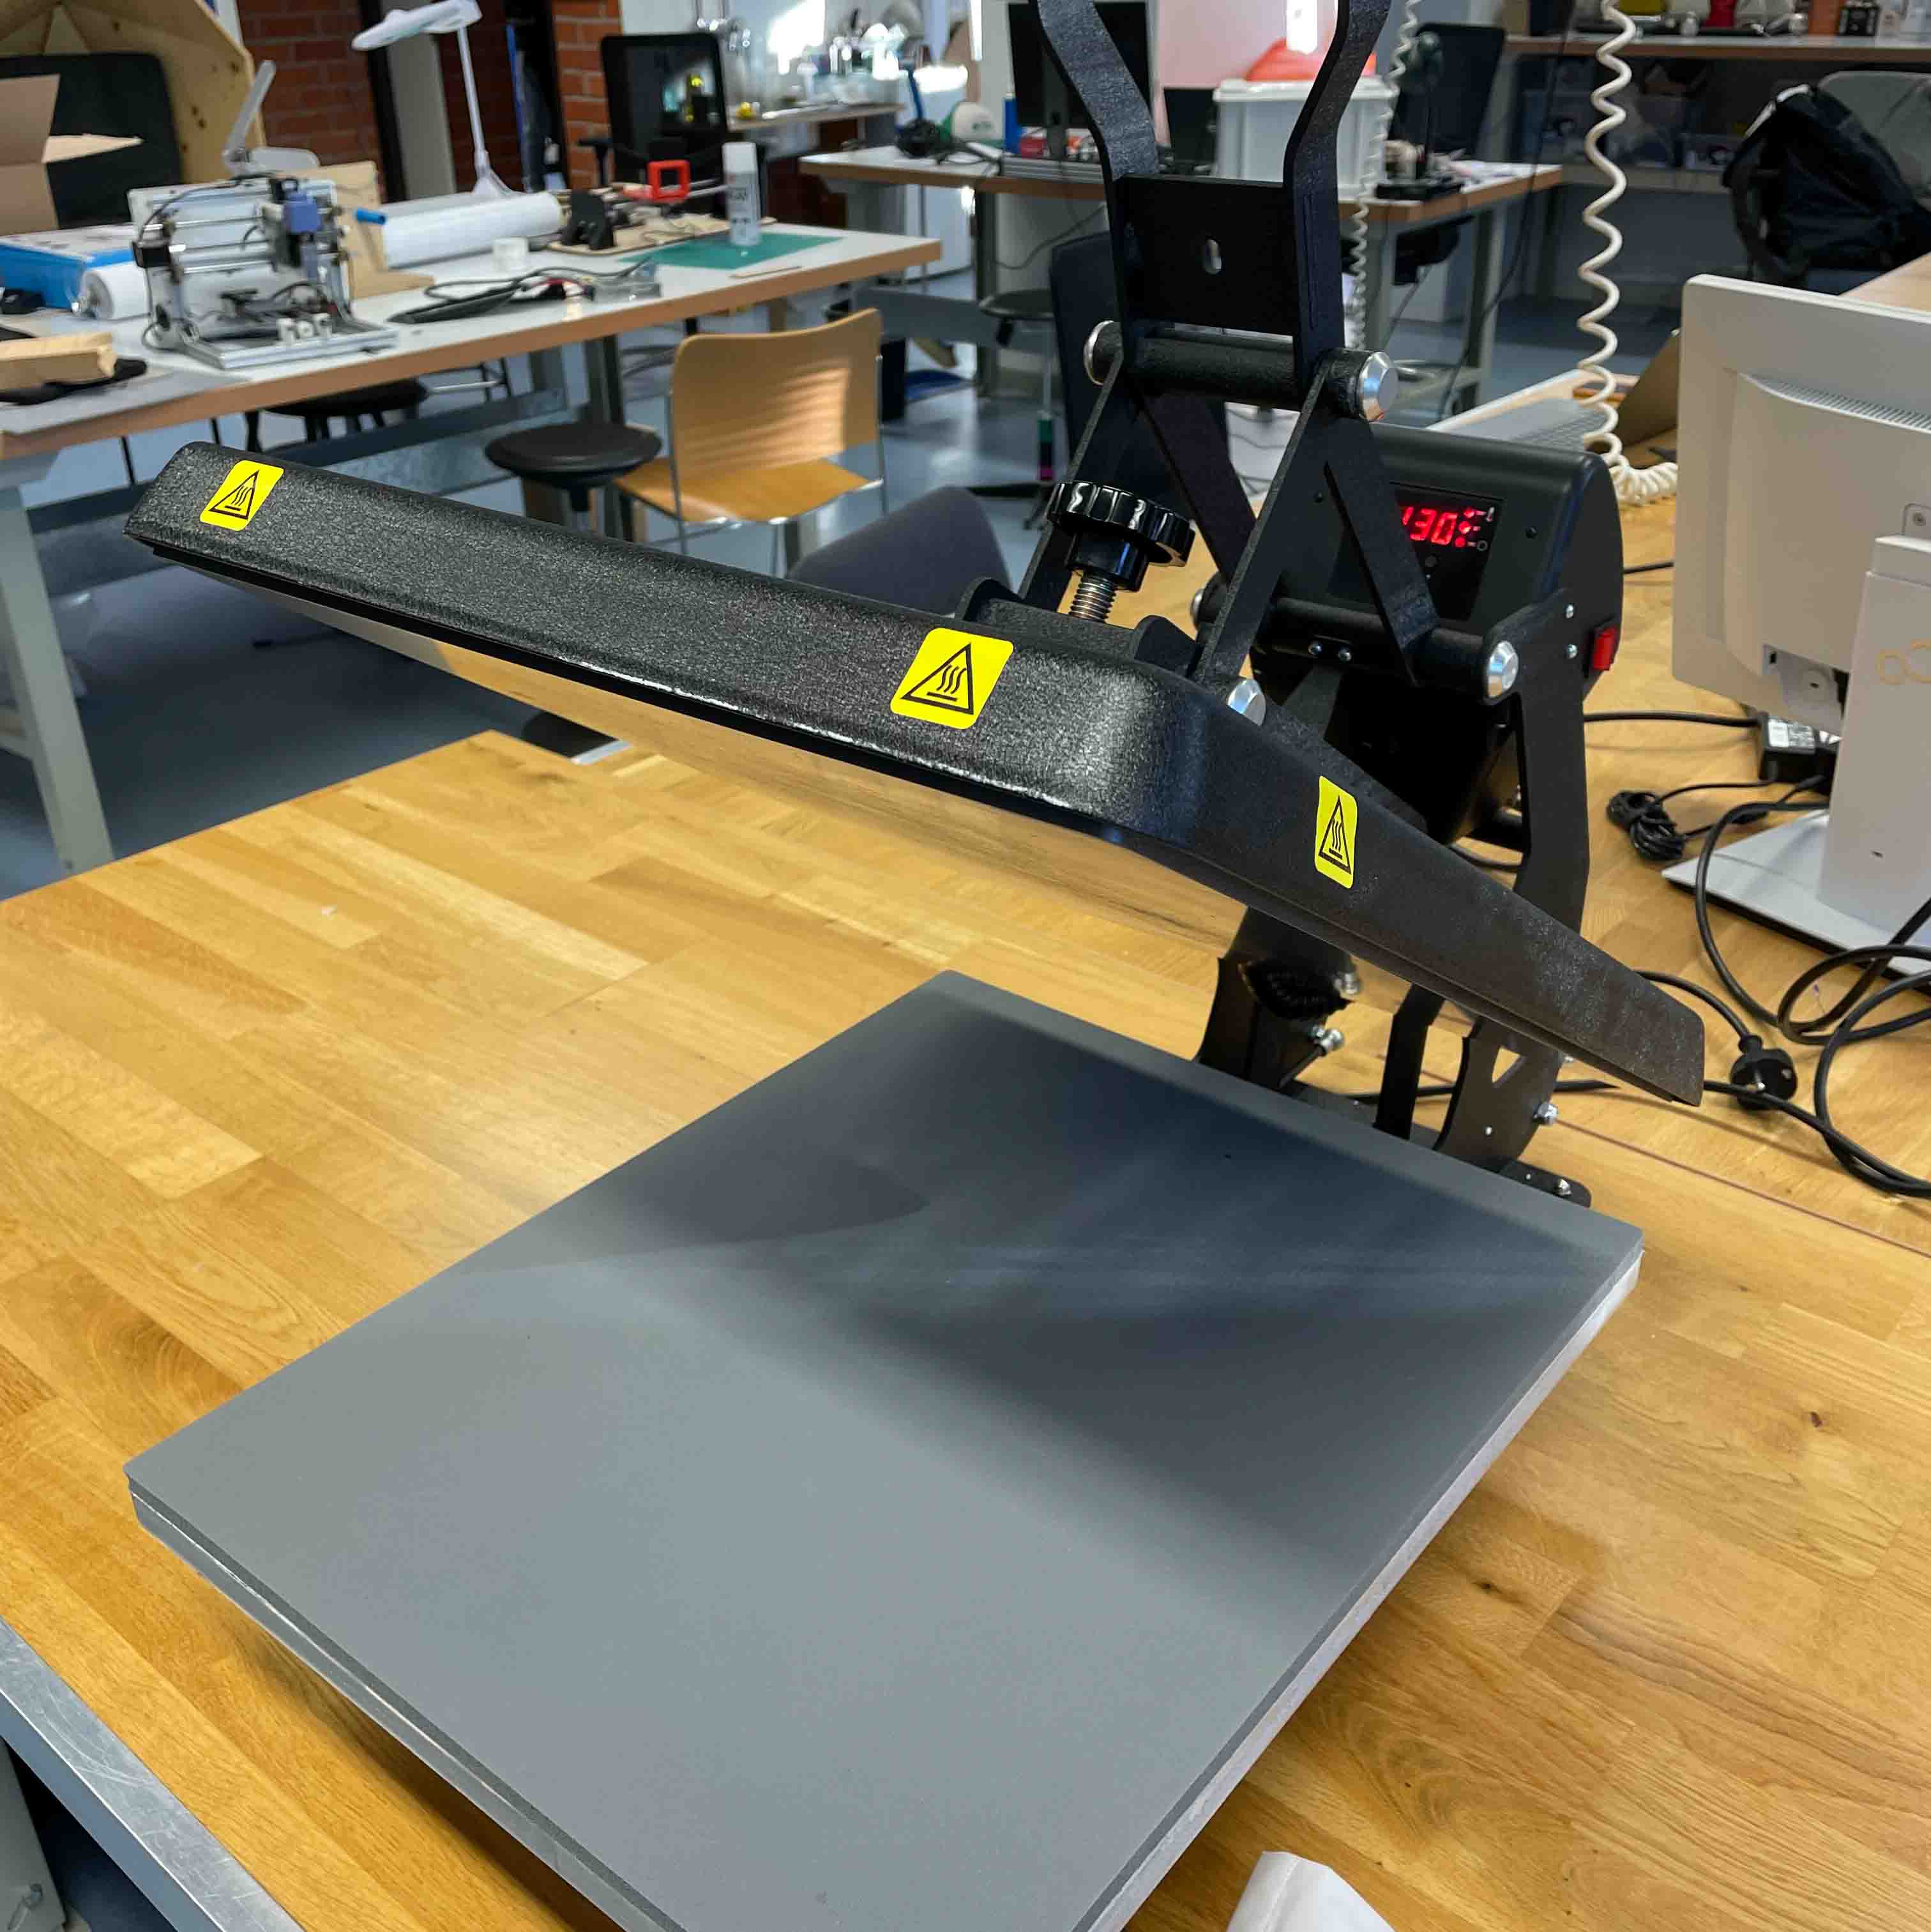
One of our practice runs would include a heat transfer onto some clothing, so we turned on the heat press, using the laser temperature gun to check heat until it reached 130C (which is the lowest temperature its own heat gauge will show). A safety tip here is the heat press doesn’t not have auto switch off, so one must be careful to always turn off after use.
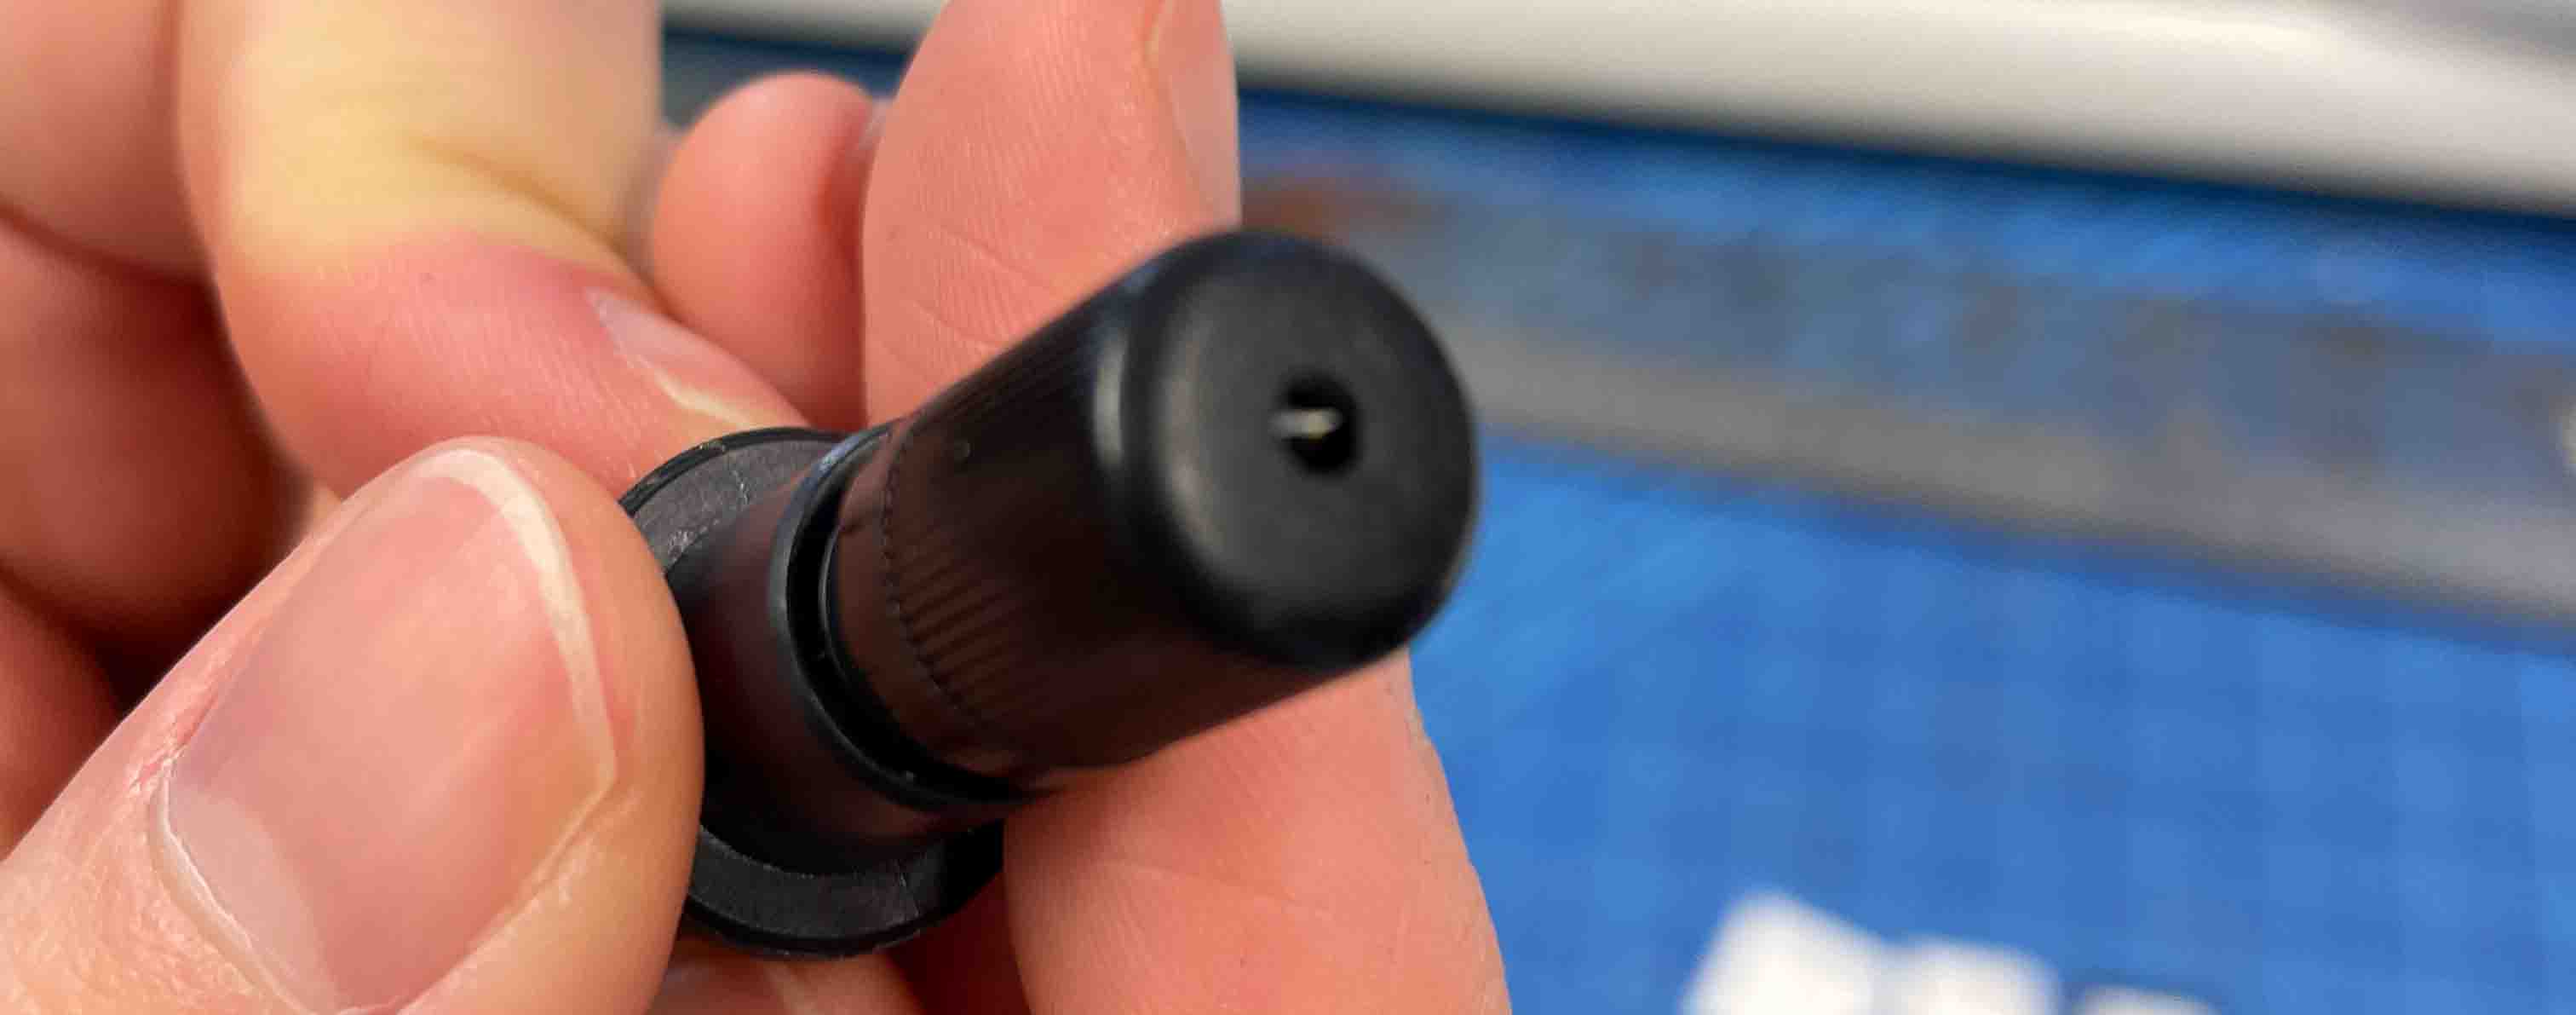
At the shape end of the vinyl cutter is it’s cutting blade and pen carriage. Its cutting depth can be changed by twisting it, but in general most vinyl’s / materials that we are using will be of similar depth, so this cutting blade will not need to be adjusted. But a nice component to view up close given the machine’s ability to also adjust the blades cutting angle (Conditions > Rotate) when cutting materials of different densities.
Loading Material For Cutting
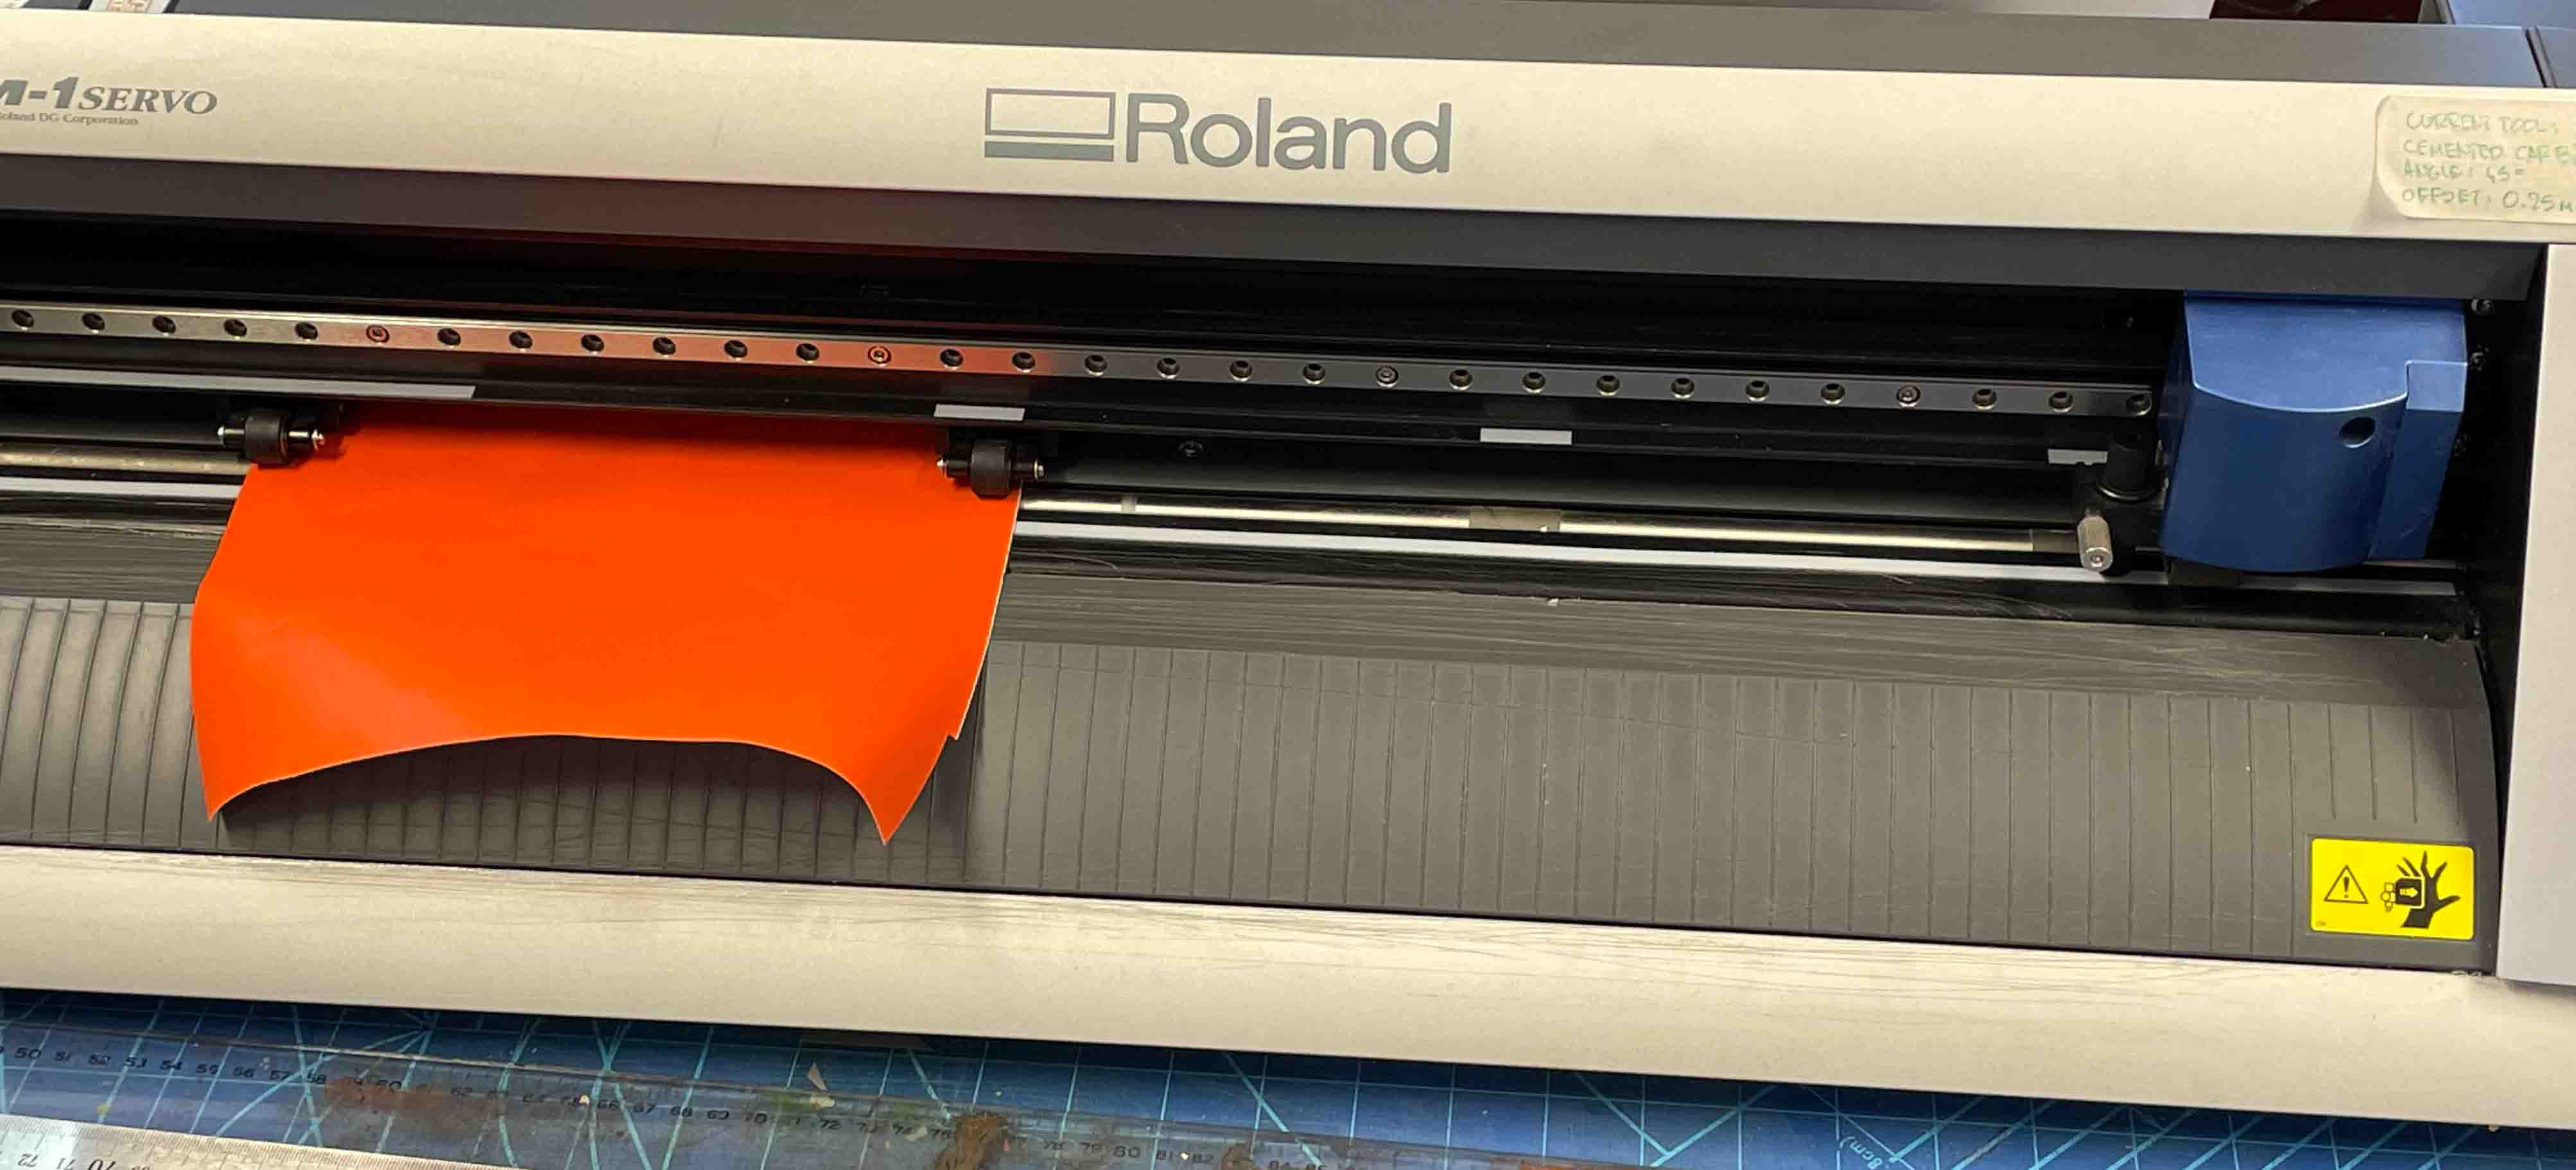
1) The leaver for the pinch rollers can be accessed by reaching over to the back side of the machine. Lift to load vinyl.
2) When loading standard adhesive vinyl, the colour side is facing up, for heat transfer vinyl the matte side faces up. This vinyl must also cover the small sensor window in the font (and back) for operation.
3) When placing your vinyl into the machine, the rollers securing your material must each be aligned and sitting within the white makers directly above. The lefthand roller must be sitting within the first, longer white maker, the second roller on the right can then be aligned with any of the four white markers. Rollers must then be lowered for operation.
It is important to remember that the machine with only measure and cut material on the inside edges of these rollers.
Choose Material Settings
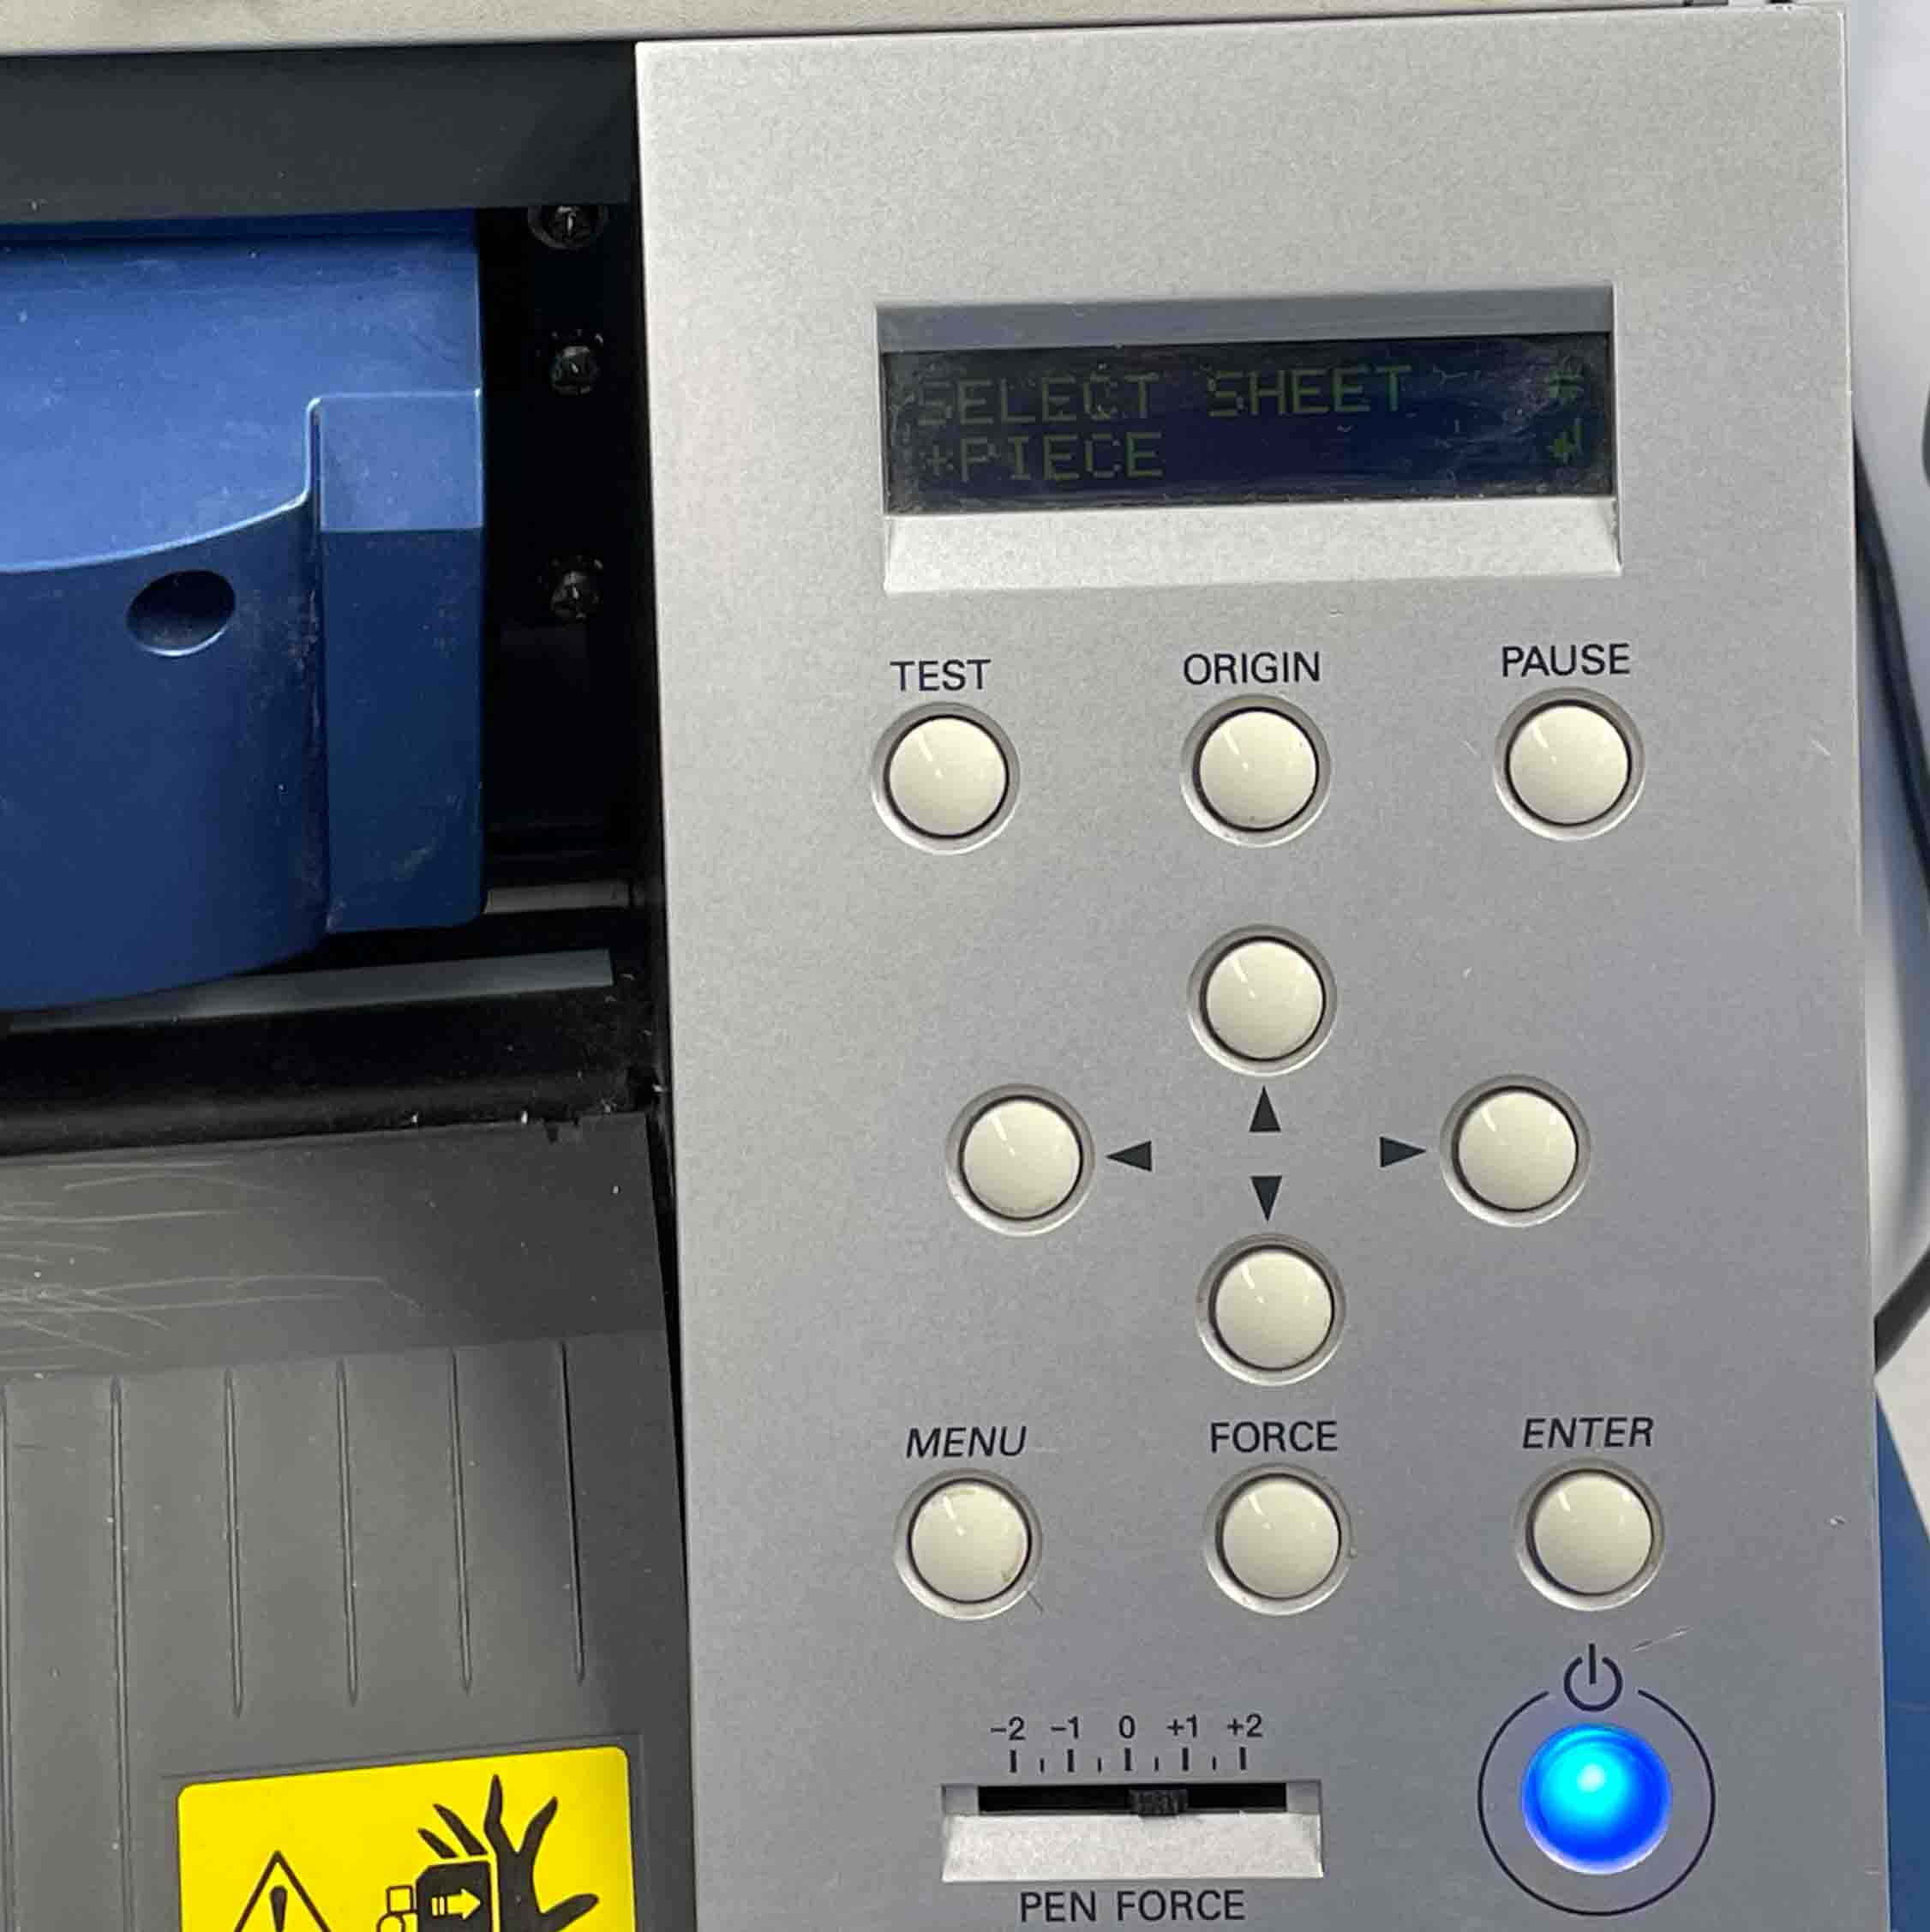
After both loading your vinyl for cutting and powering up the cutter, depending on the size of your material, using the up / down buttons you select “Roll”, “Piece” or “Edge” and then press enter. These selections control how / which dimensions of your material are measured pre cut by the vinyl cutter, which will take place after pressing the aforementioned enter button.
Also under the “Conditions” section (summary of selection shown above) on the menu you can adjust other important features for your cut:
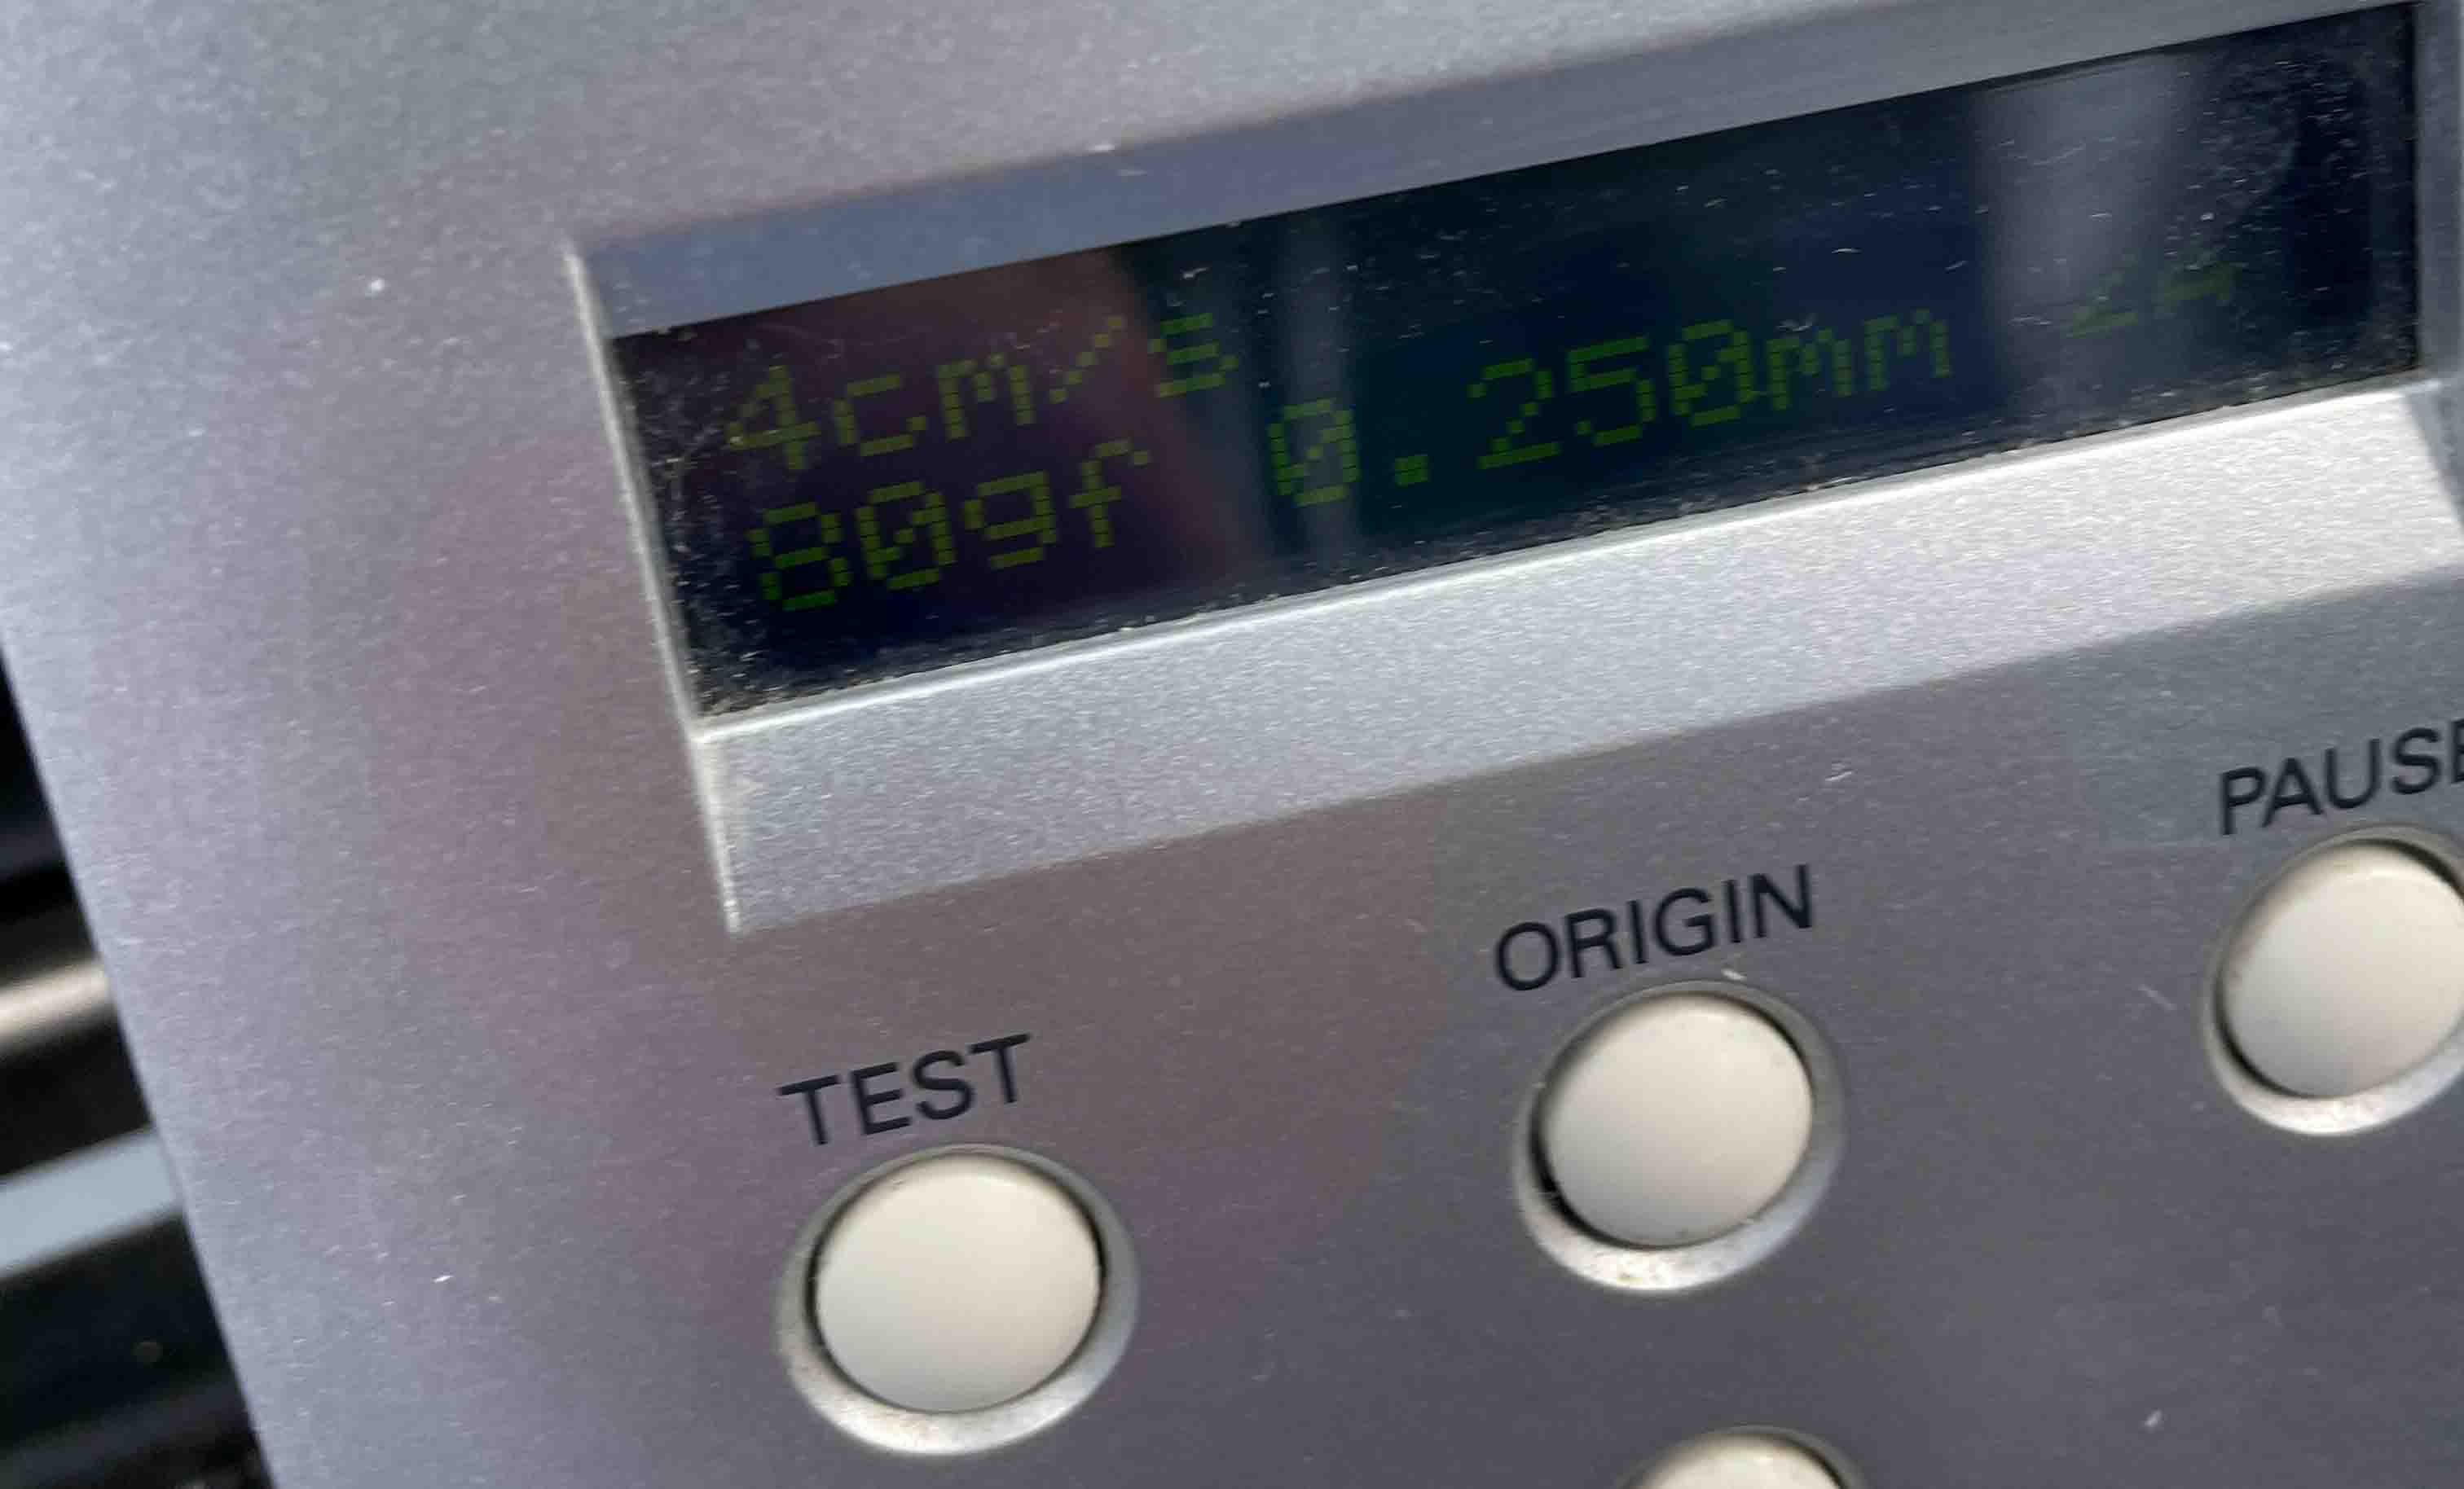
- Force (the force applied on each cut, was set at 80gf)
- Speed (speed at which the cutting blade moves, was set at 4 cm/s, can go up to 50 cm/s)
- Offset (was set at 0.250mm)
- Rotate (adjustable angle of cutting blade)
Once you have loaded your vinyl and selected the correct cutting program, please Enter, the vinyl cutter will measure the dimensions of your loaded vinyl. One may be confused as I was that measurements returned are clearly smaller than the loaded material, this is because the machine only measures within the bounders of the rollers, not to the edge of the material.
Run A Test Cut
- After the measurement phase, Press ENTER, then the TEST button
- The vinyl cutter will conduct a test cut
- When finished move the pen carriage back with the Left/Right arrows to check the cut (material is still in machine)
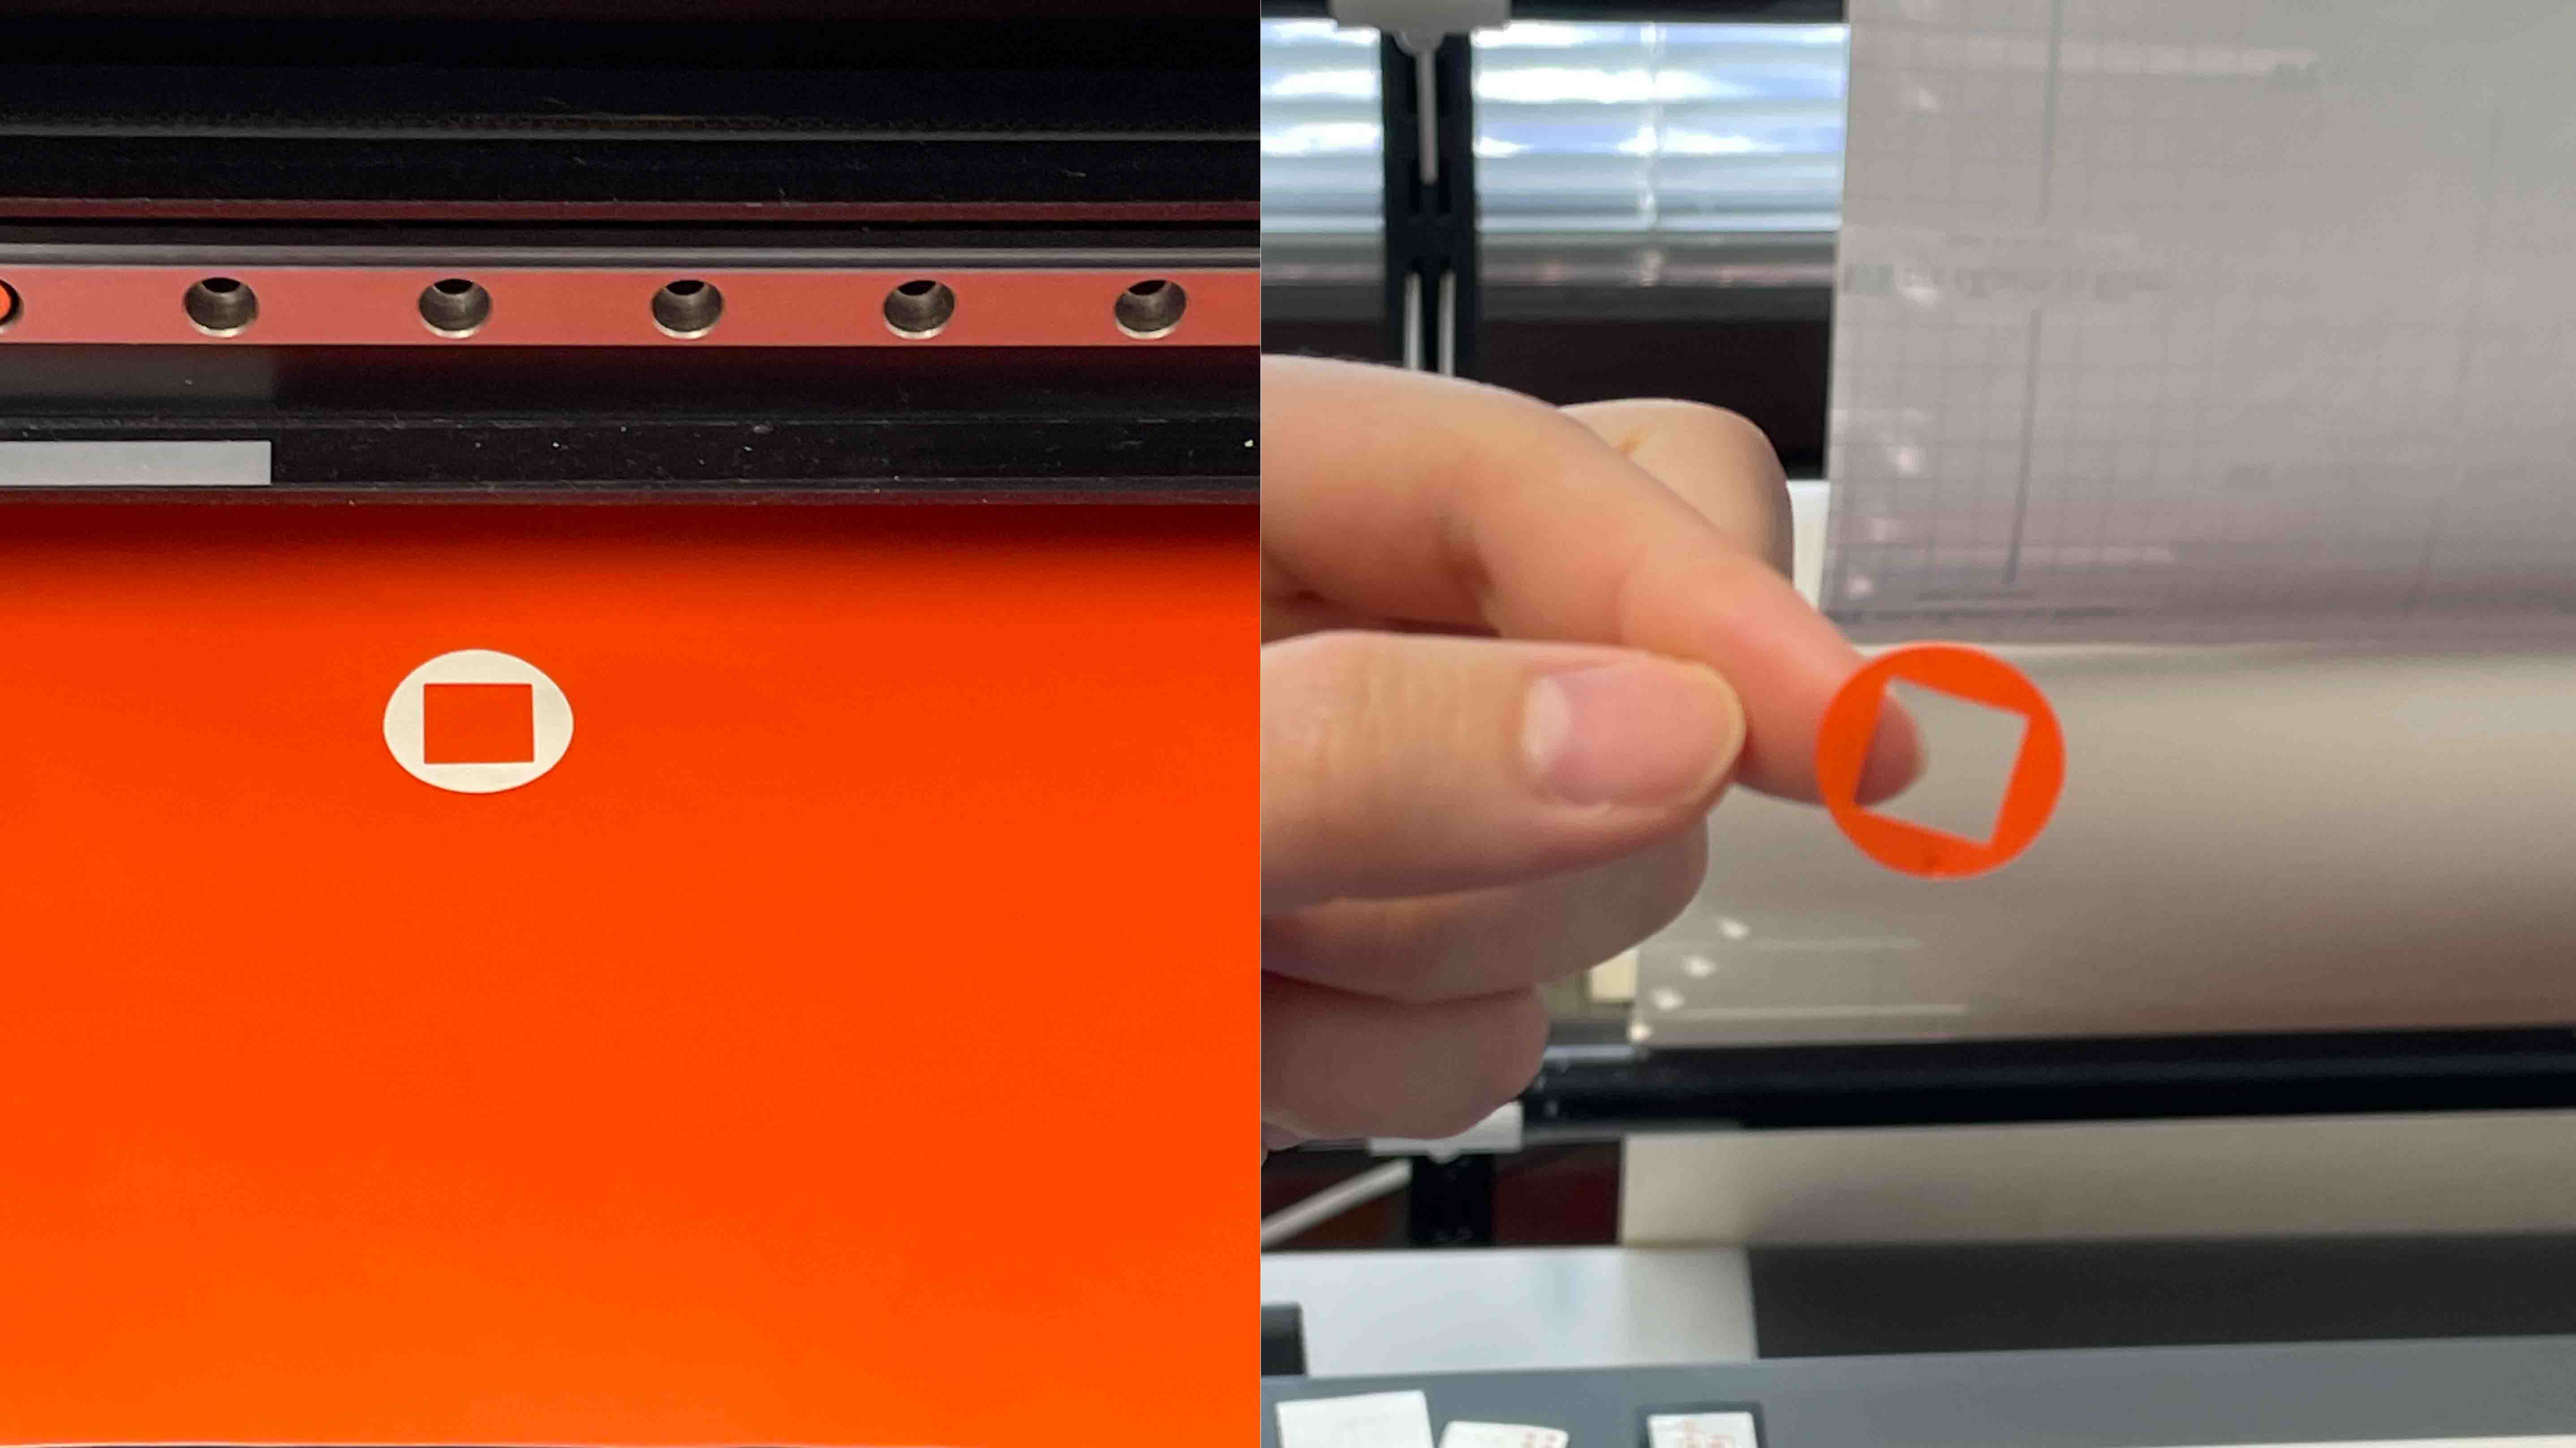
- Slowly and carefully remove the test cut (as shown above), if the test cut is not done correctly, review “Conditions” settings, loaded material or perhaps the blade for sharpness.
- Now we manually reset the origin by moving the cartridge with the arrow keys
- Press ORIGIN for a sec or two and it should be set