9. Embedded programming
This week I programmed the Attiny44 I milled in the Electronics Design week.
Individual Assignment: Read the datasheet for the microcontroller you are programming
Program the board you have made to do something, with as many different programming languages and programming environments as possible.
Setting up Arduino IDE
To program the Attiny44 hello echo board, we have to first set up the Arduino IDE, an open-source Arduino Software (IDE) which makes it easy to write code and upload it to the board.
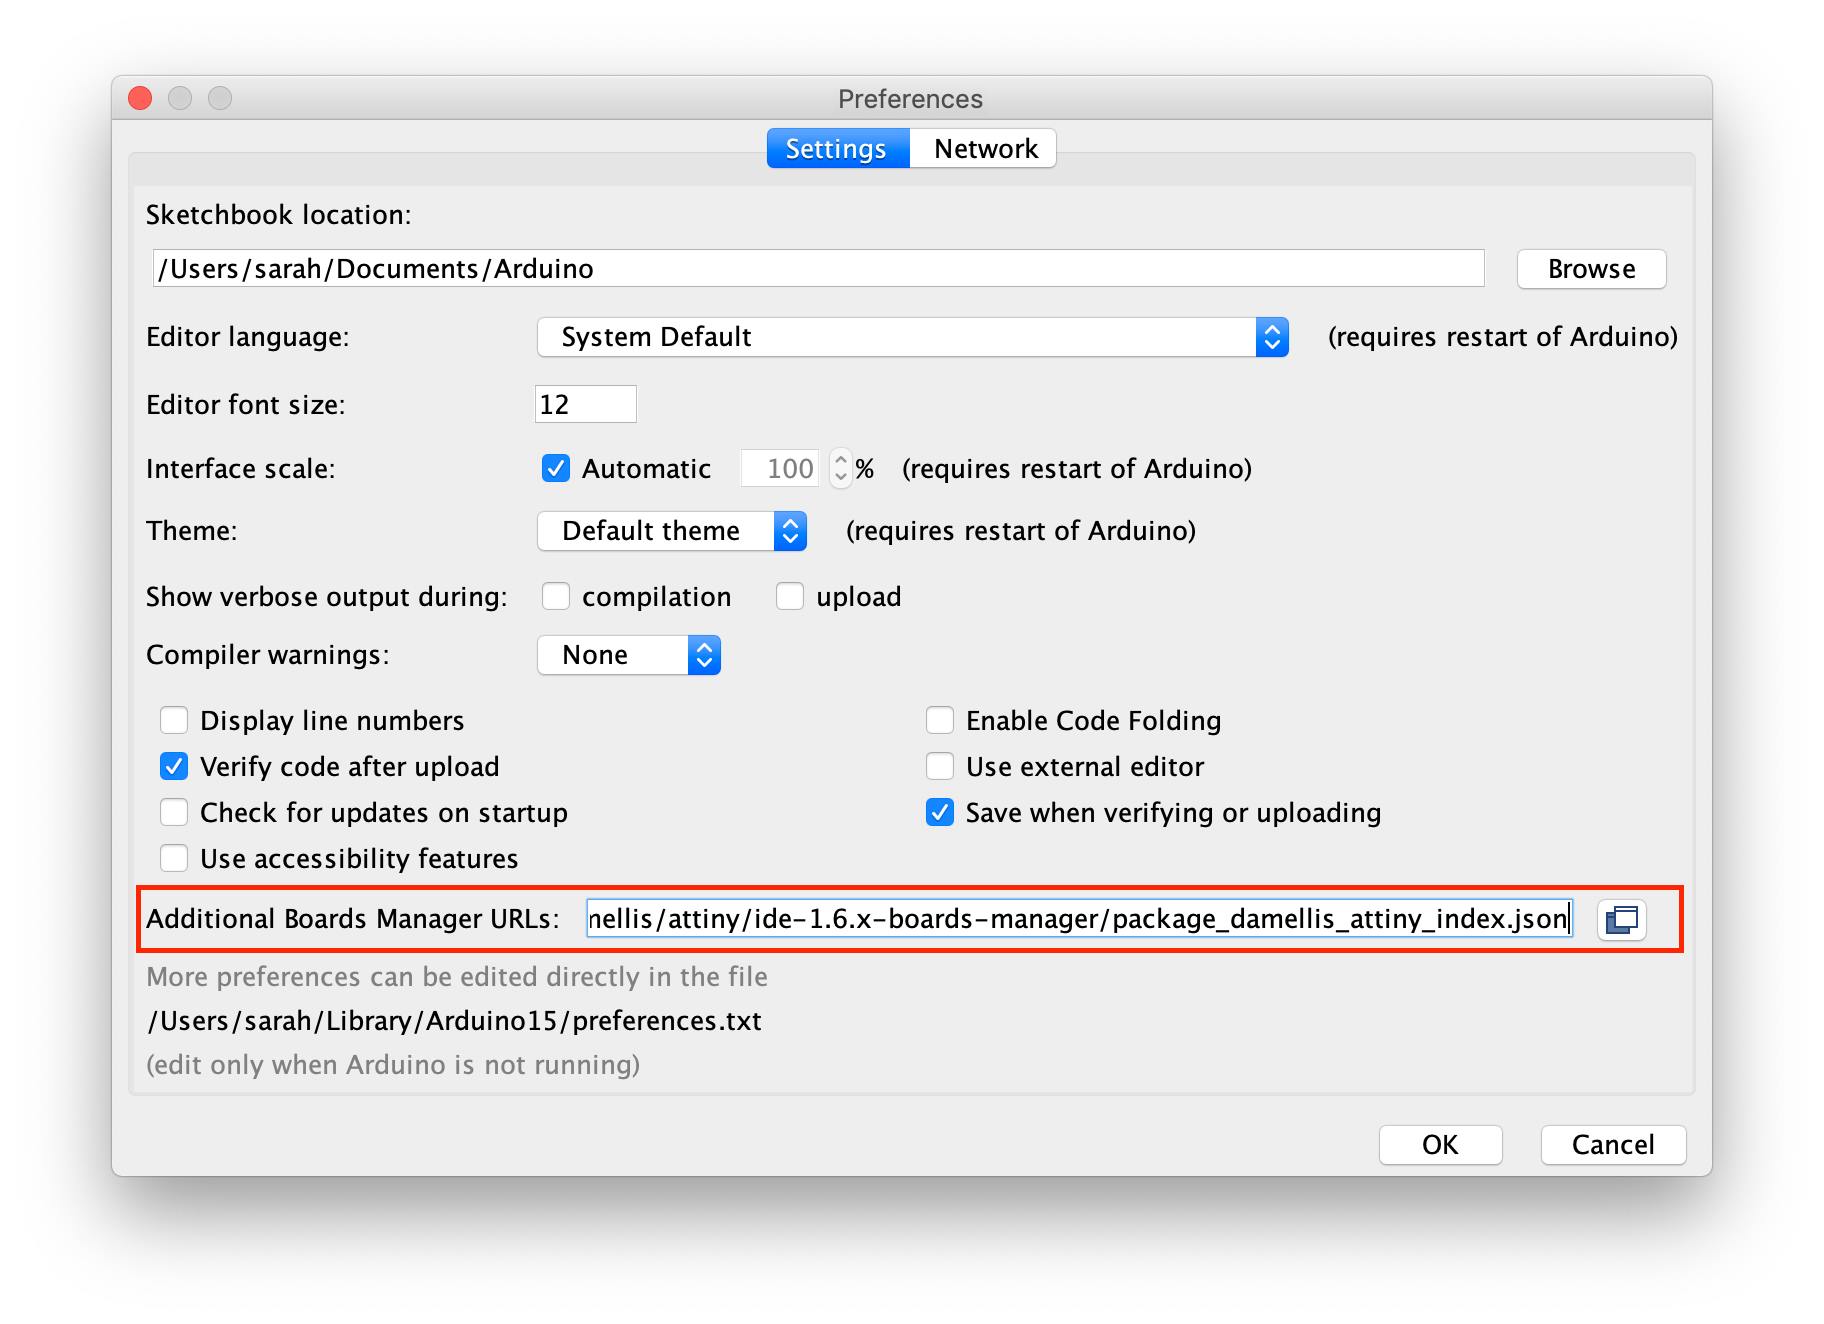
To do so, I first installed it off the internet. Then, I launched the software and navigated to the Preferences > Additional Boards Manager URLs > and pasted the following into the tab:
https://raw.githubusercontent.com/damellis/attiny/ide-1.6.x-boards-manager/package_damellis_attiny_index.json
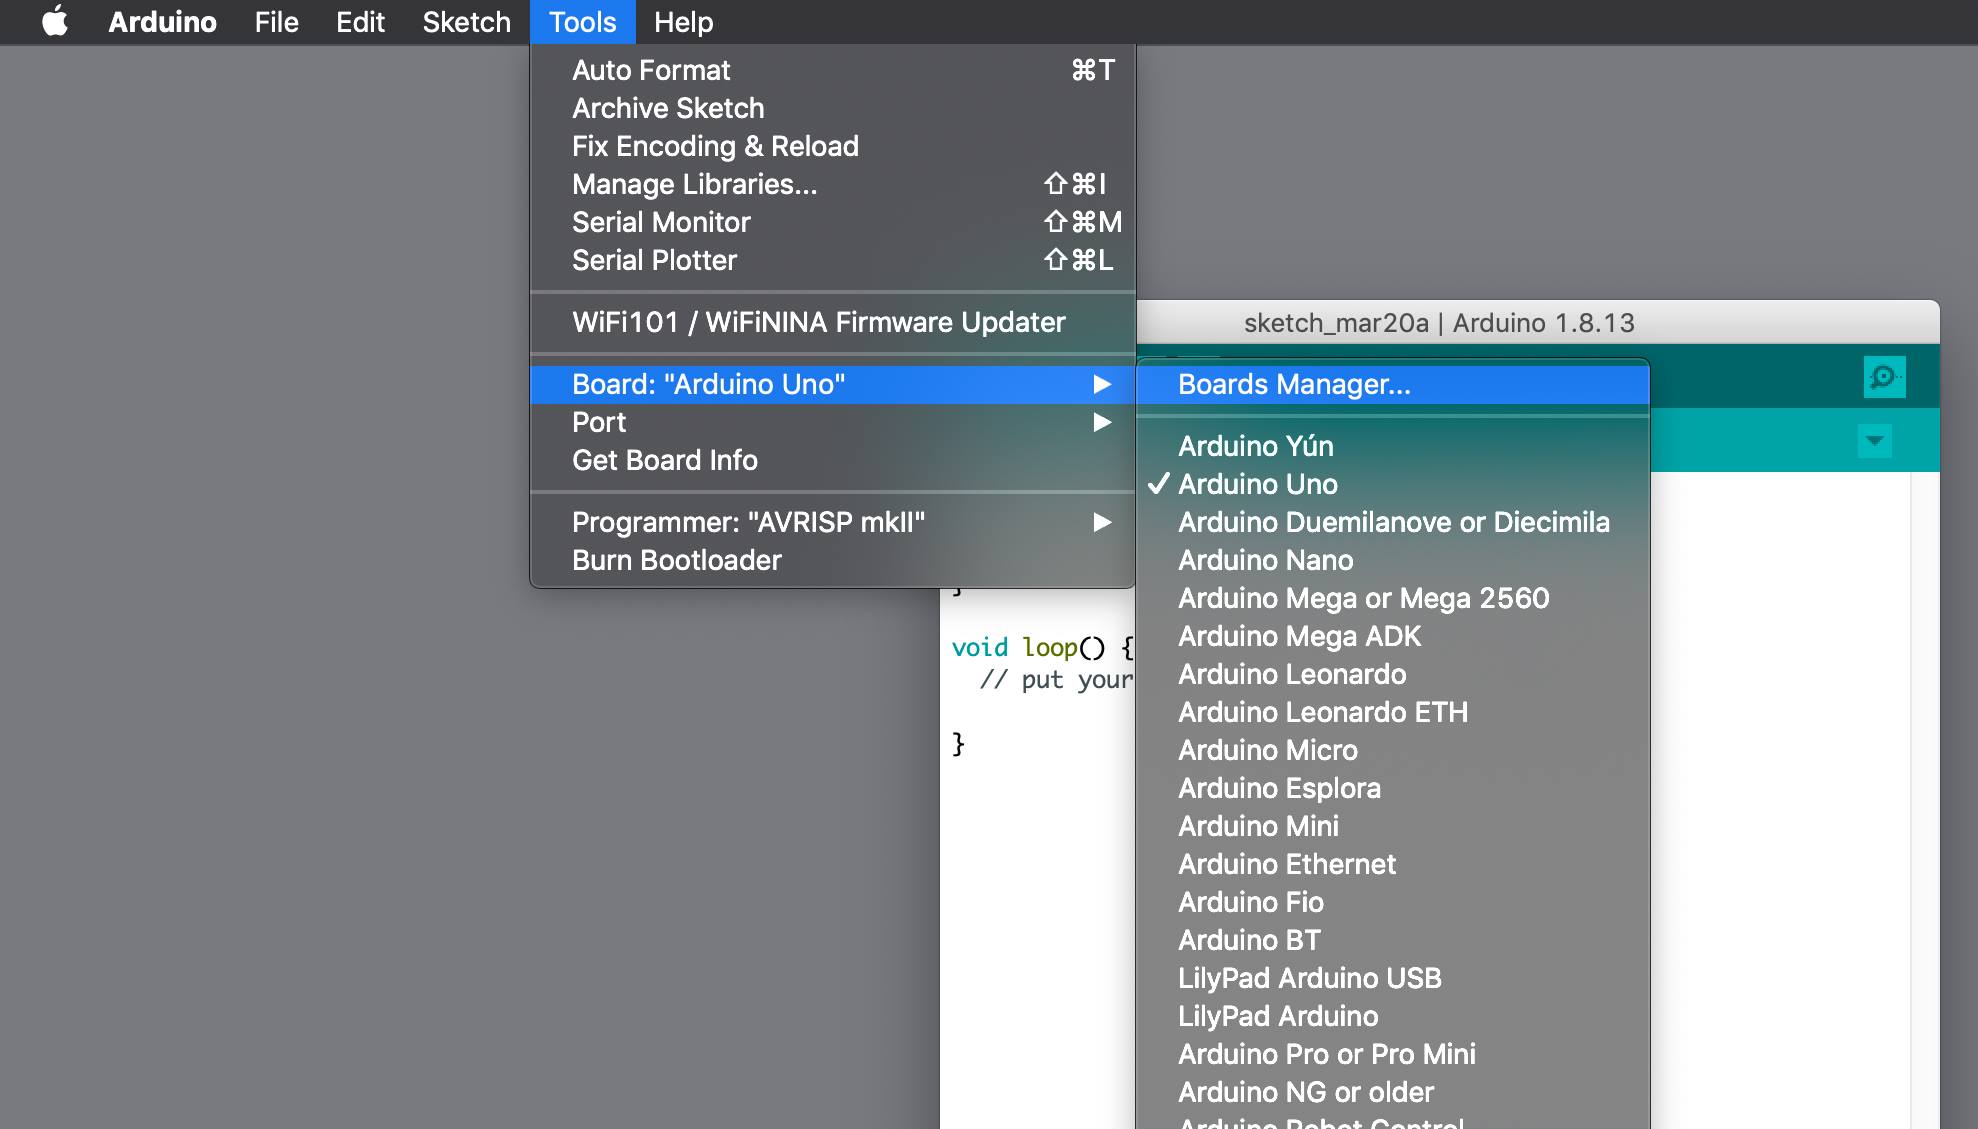
This is so we can install the ATtiny support using the built-in boards manager. Next, we open the boards manager by navigating to Tools > Board > Boards Manager > scroll or search the list for “ATtiny”> Install.
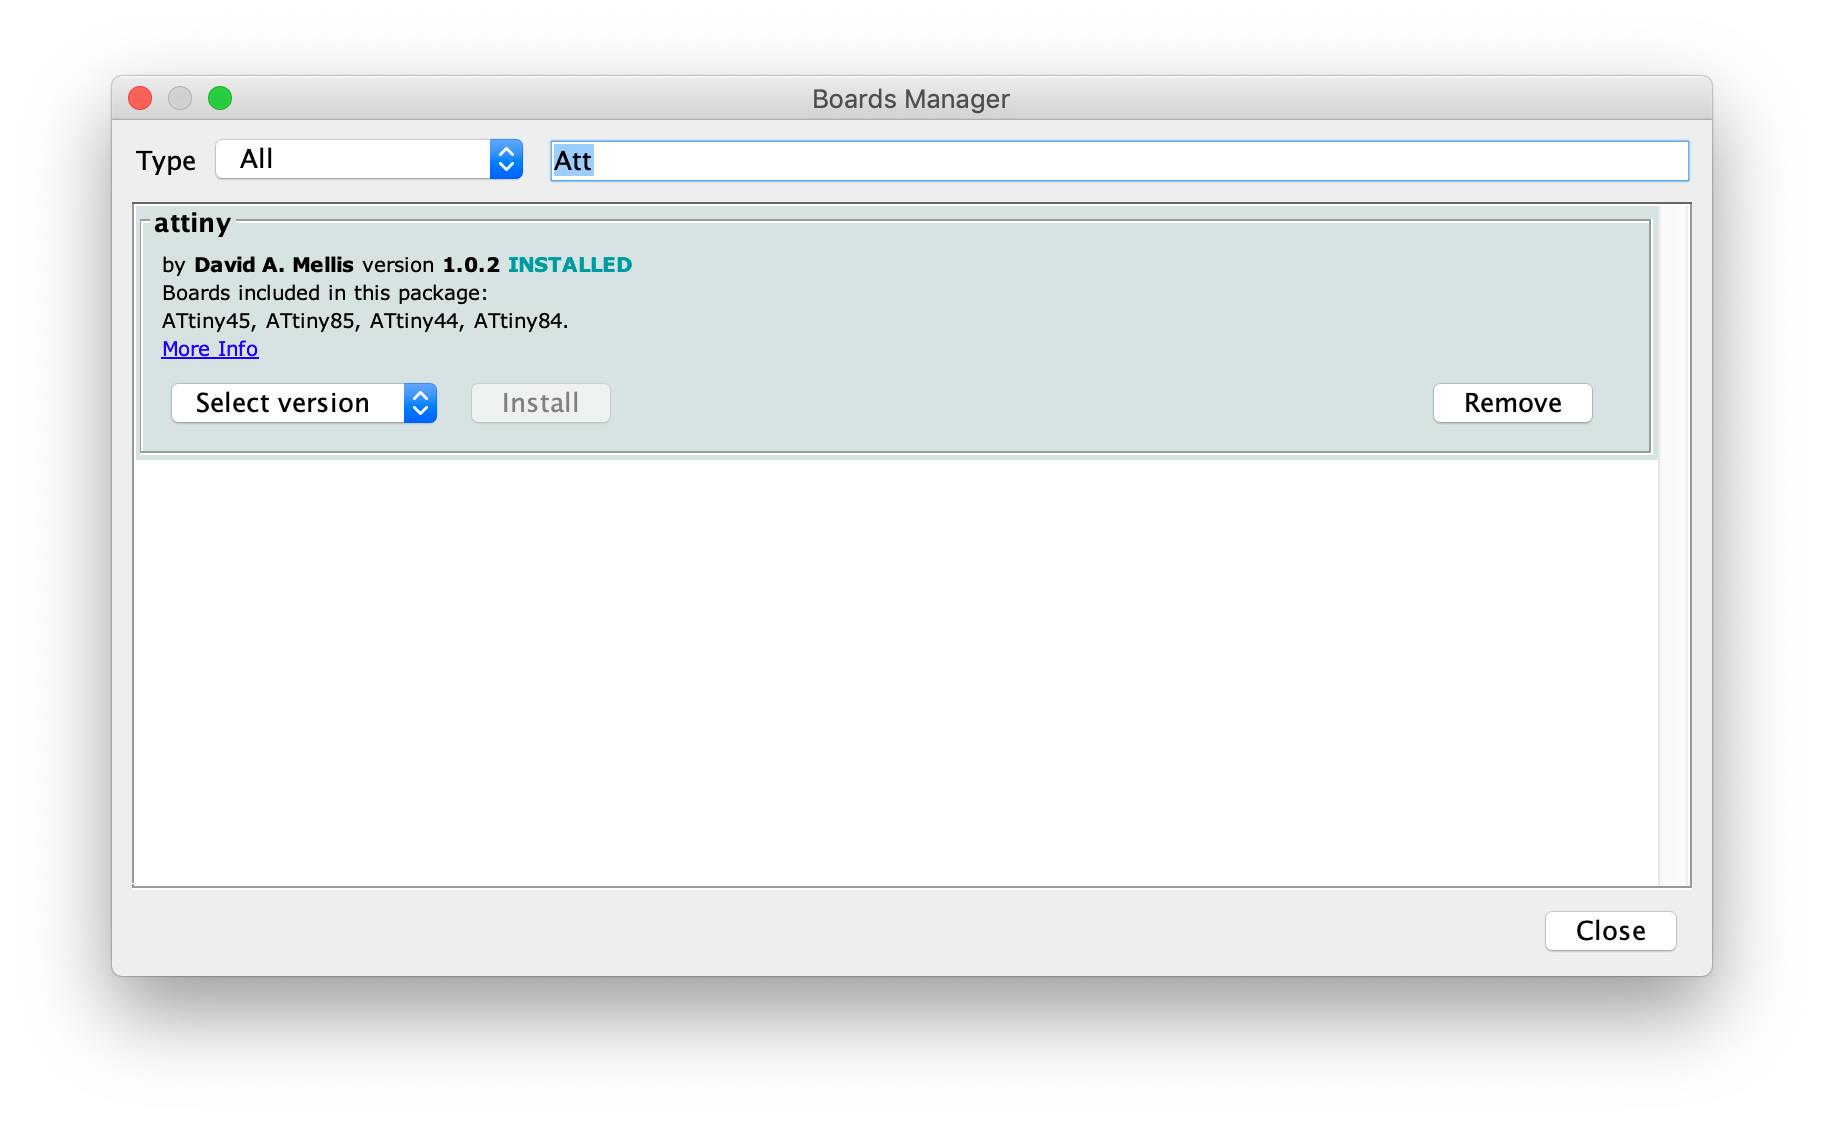
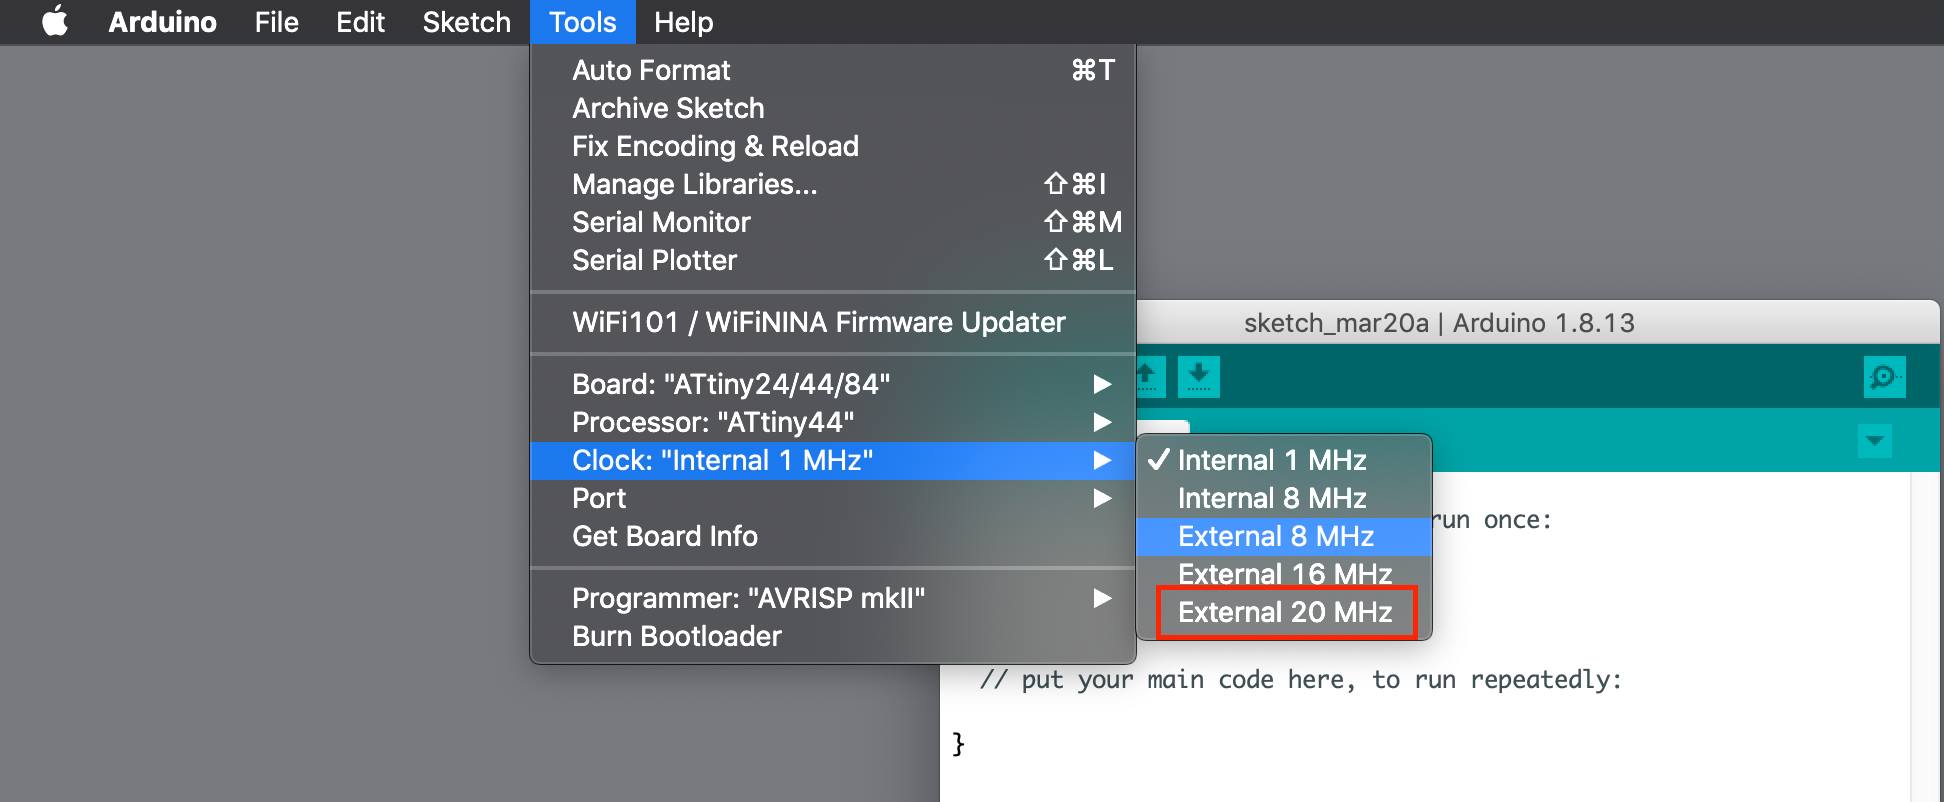
After that, you will able to see an entry for ATtiny44. Change the Board setting to ATtiny24/44/84; the Processor to ATtiny44; Clock to External 20 MHz; and Programmer to USBtinyISP since I’ll be using the one I made in the Electronics Production week.
Connections
Then, I connected the ATtiny44 and FabISP to my computer using a ribbon cable, and made sure the laptop recognizes the USBtinyISP. Yet, it did not. After multiple tries, and much inspection, I realized that I have missed one connection in my schematic and the board was incorrect, you can find the details to what I did on the Electronics Design page. I fixed the connection, milled the PCB, soldered the components, and then tried to program again.
I launched Arduino, made sure the tools section was correct and set on the ATtiny44 settings.
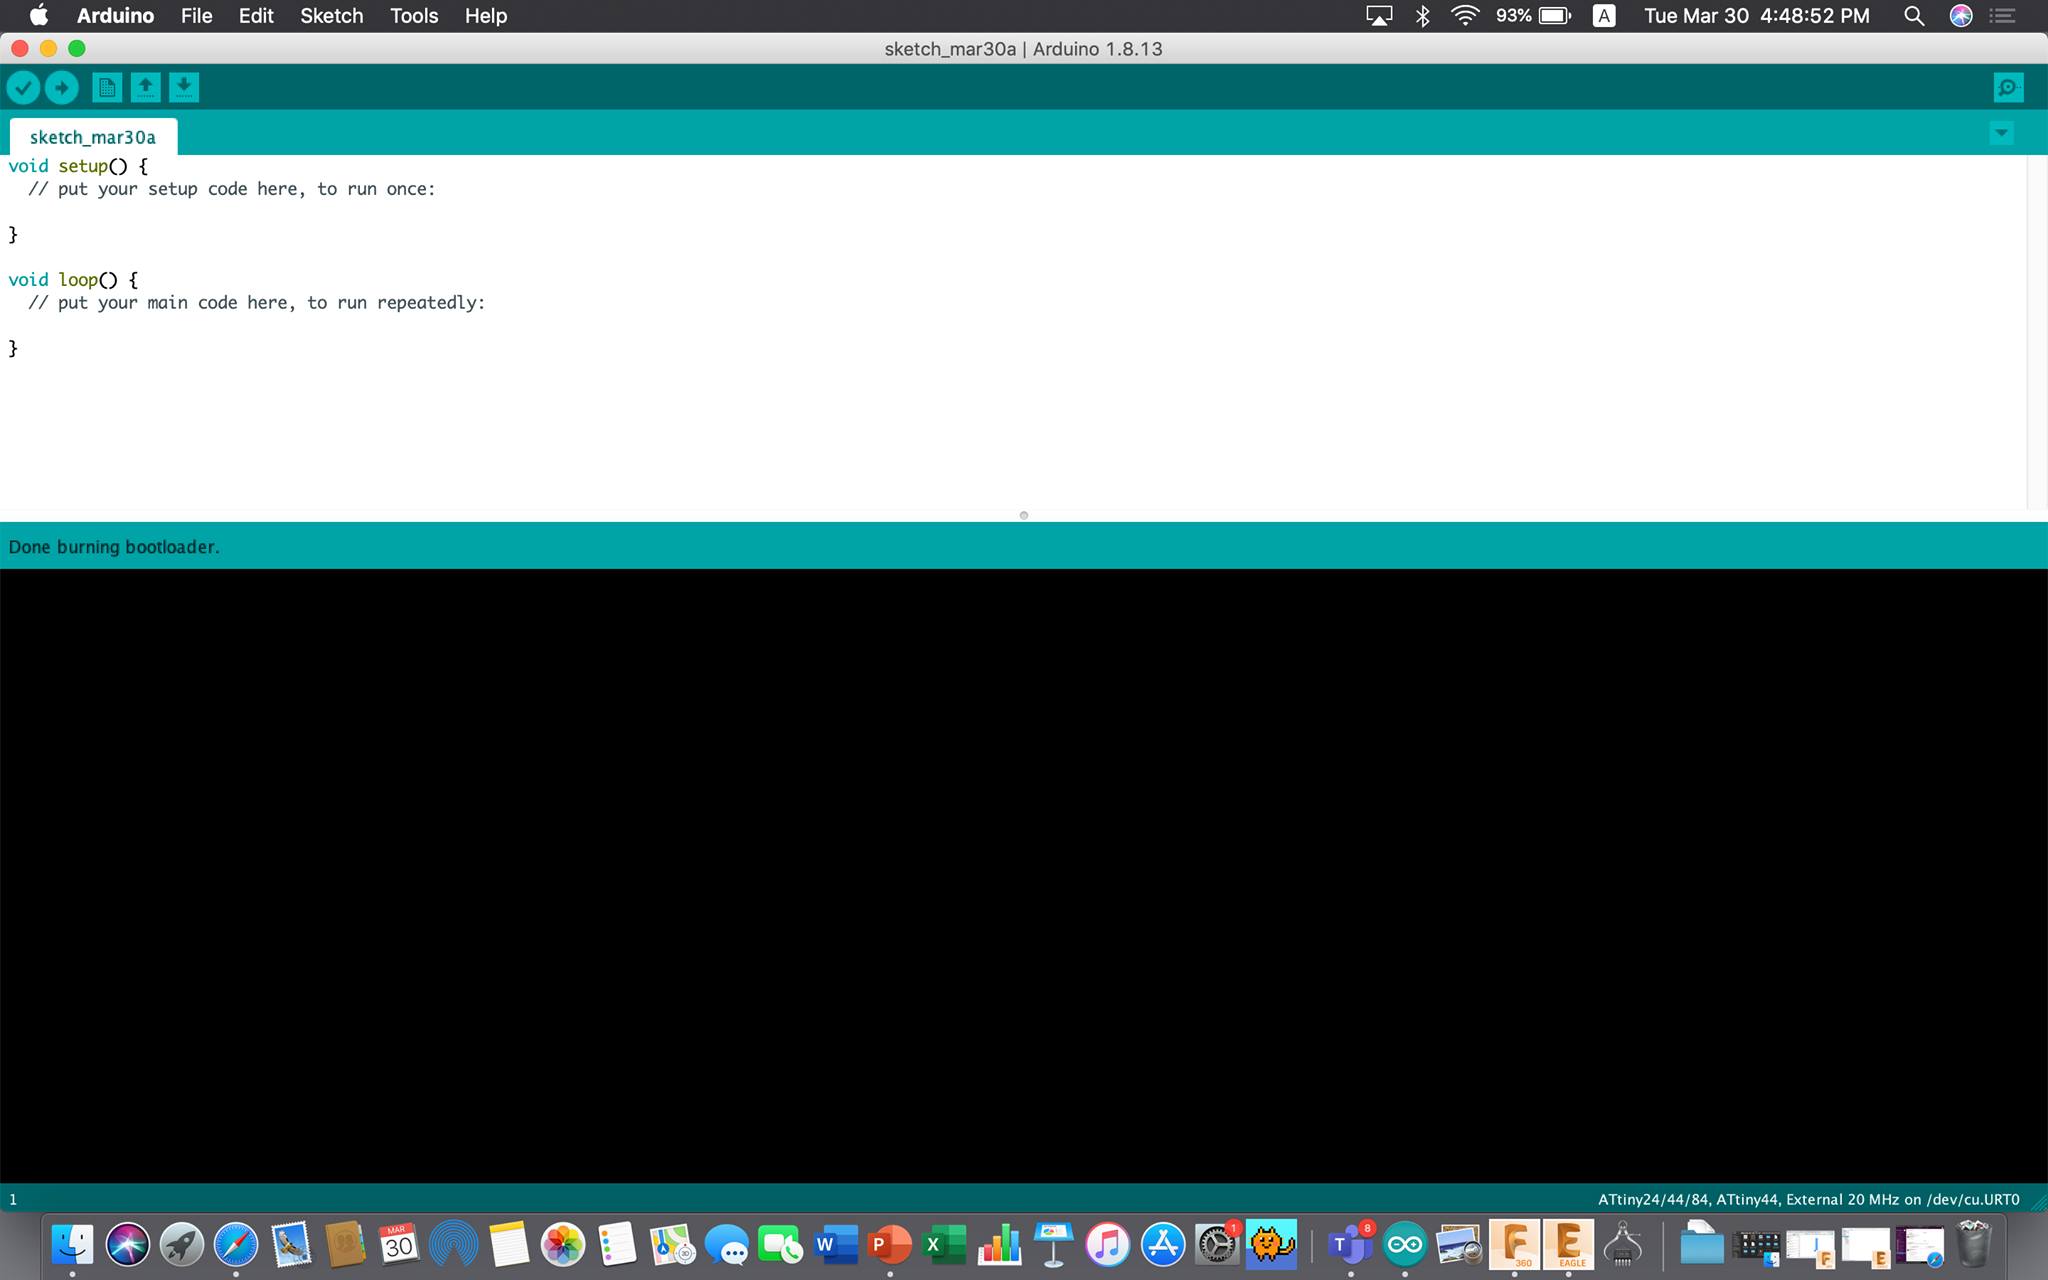
Then navigate to Tools > burn bootloader.
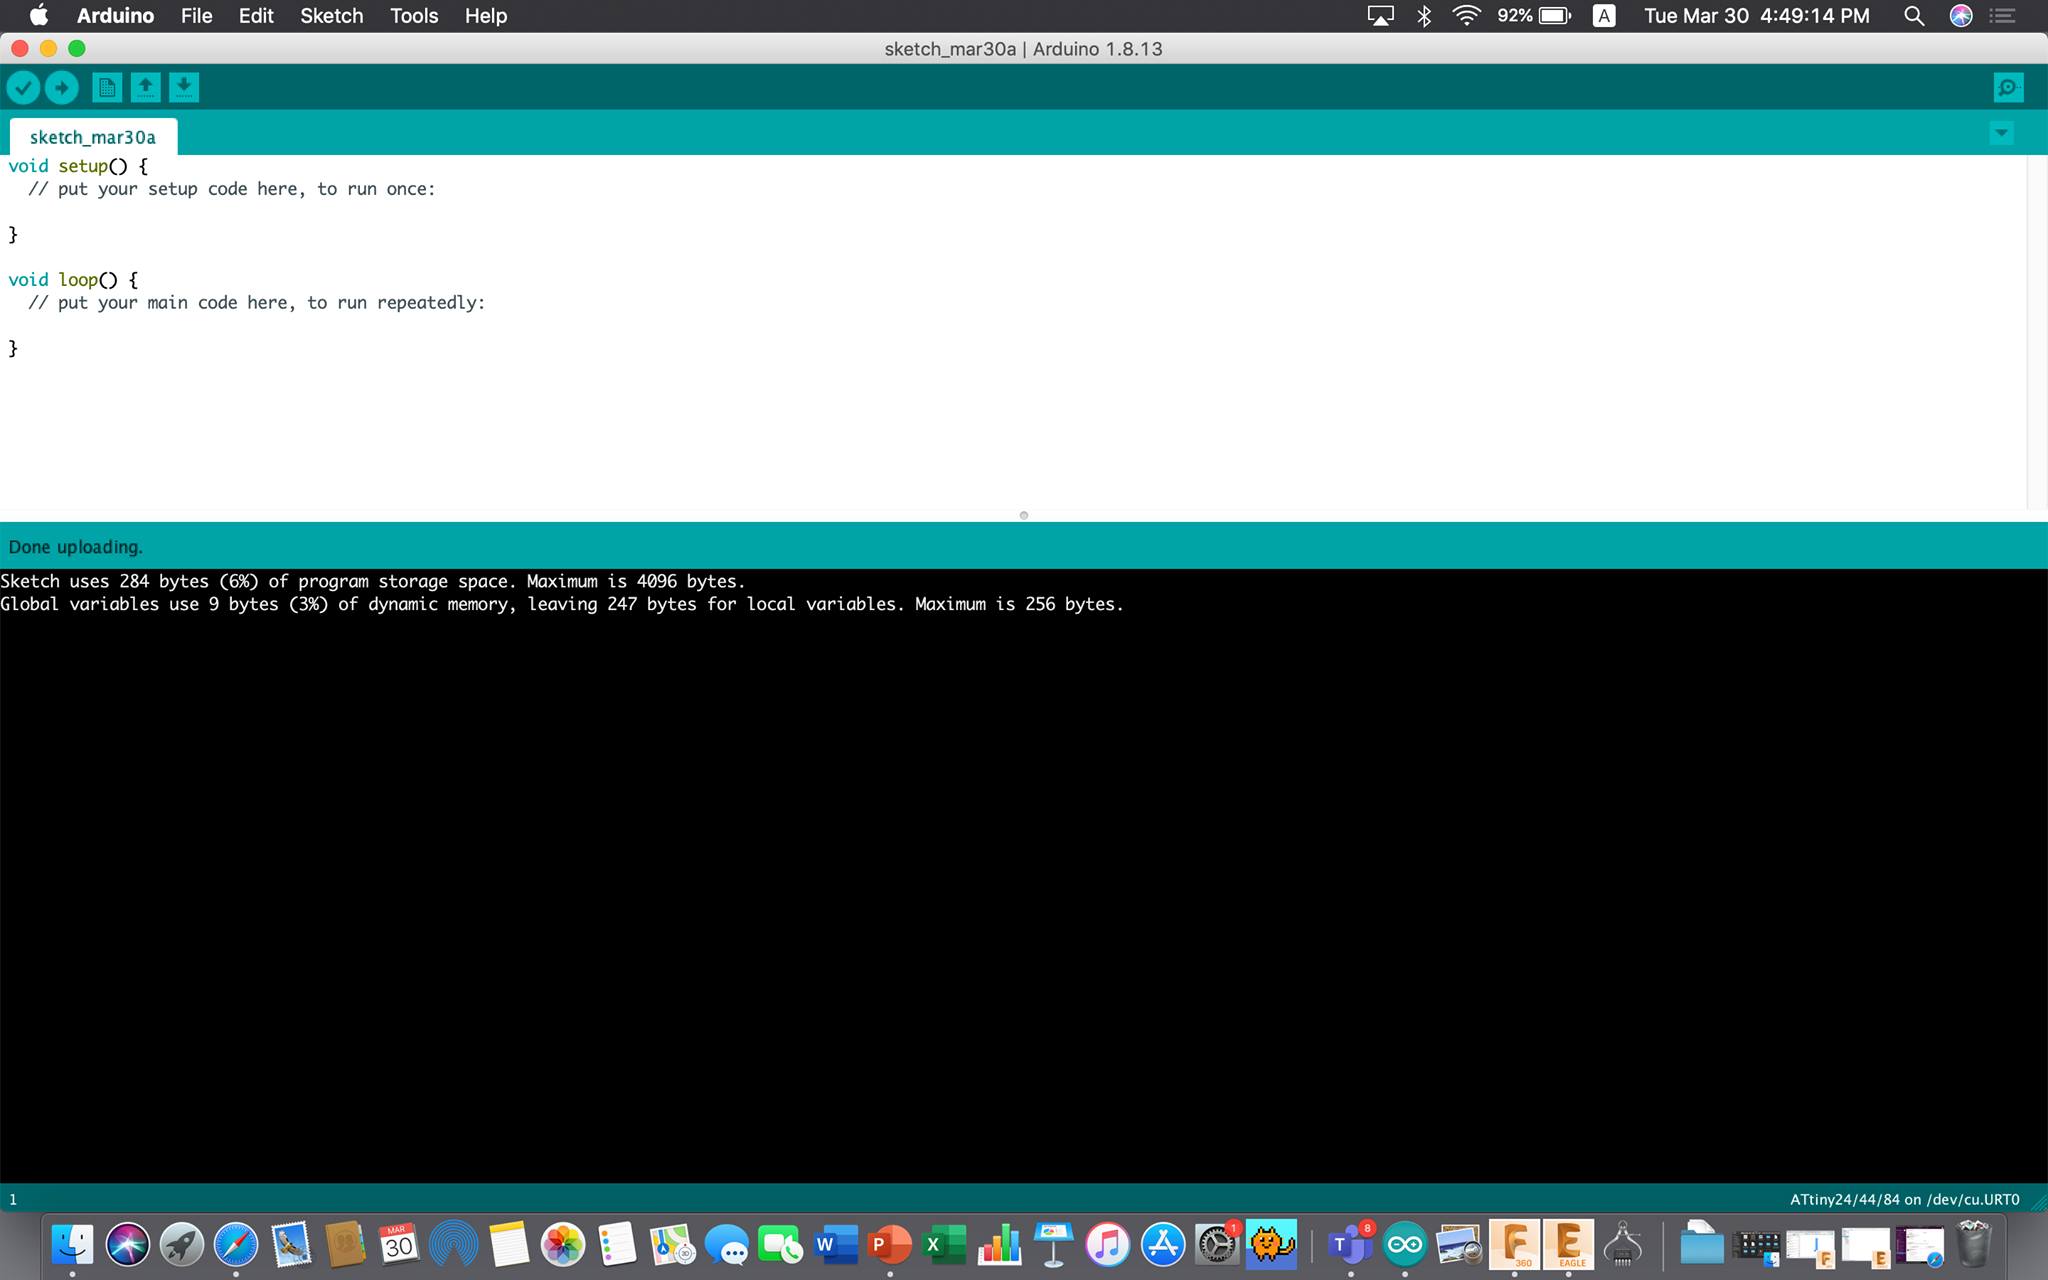
After that was done, I went to Sketch > Upload using programmer since I was using a programmer to launch the program onto the board.
At this point I could program my board to do anything - respective to the components of course - so using the examples set on Arduino IDE, I decided to go with a basic blink. So, I launched the code onto my sketch, but before uploading, I had to make sure to change the pin numbers to go according to my schematic sketch. I got the ATtiny44 datasheet below from Google with the pin numbers and compared what number was complying with my LED.
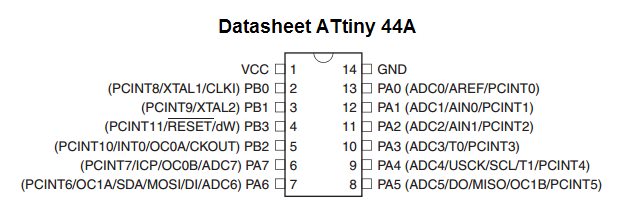
Since my LED was on Pin 8, I just switched it in the code and it looked like this:
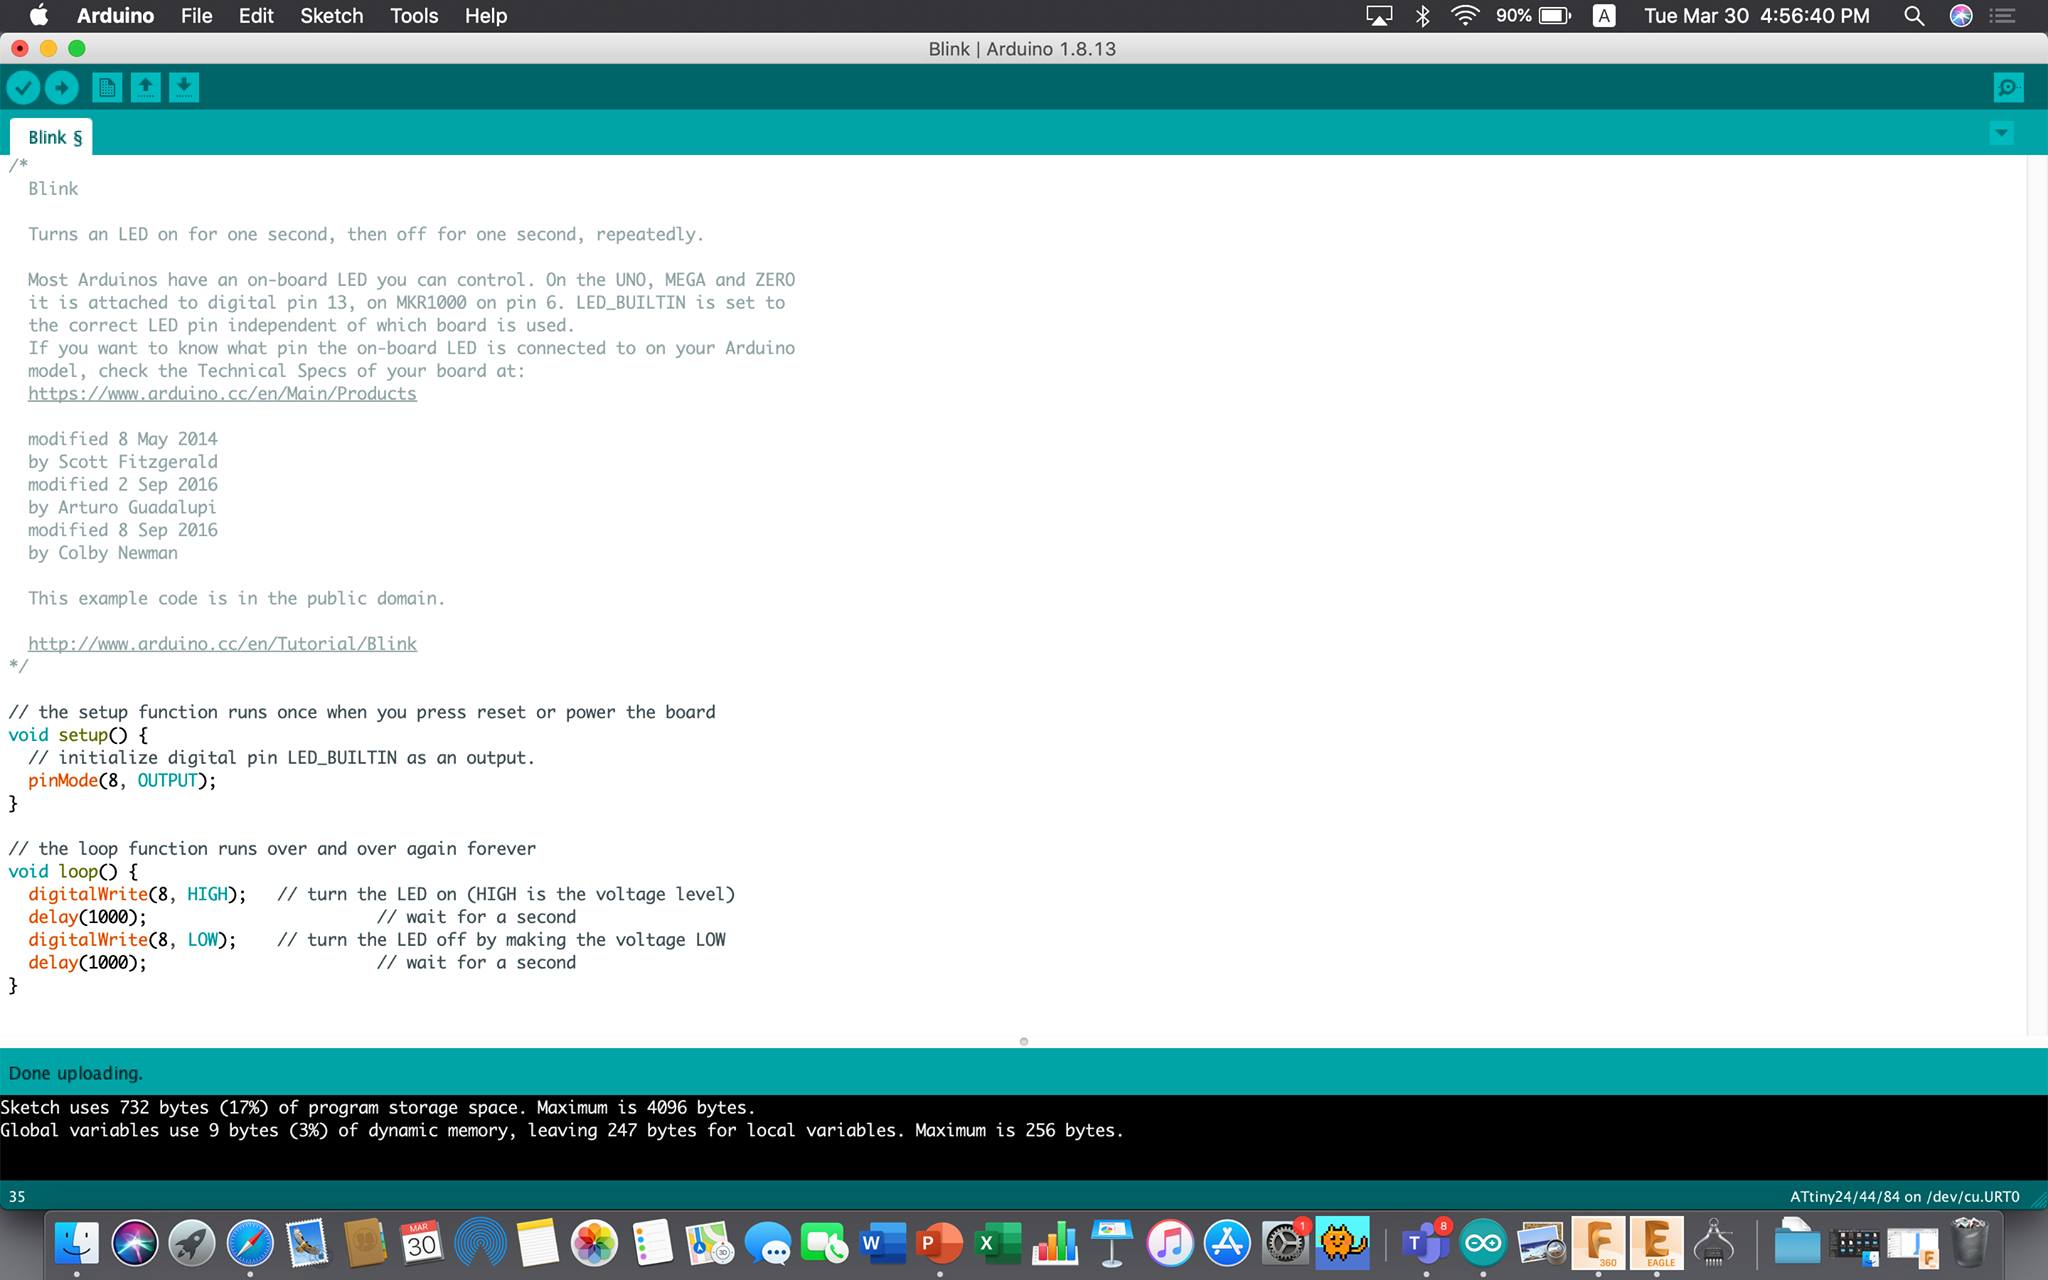
Finally, I just clicked on upload and the programming was done!
Useful links
-Installing Additional Arduino Libraries.
Code
// the setup function runs once when you press reset or power the board
void setup() {
  // initialize digital pin LED_BUILTIN as an output.
  pinMode(8, OUTPUT);
}

// the loop function runs over and over again forever
void loop() {
  digitalWrite(8, HIGH);   // turn the LED on (HIGH is the voltage level)
  delay(1000);                       // wait for a second
  digitalWrite(8, LOW);    // turn the LED off by making the voltage LOW
  delay(1000);                       // wait for a second
}