3. Computer-aided design
This assignment is about:
Individual assignment
- model (raster, vector, 2D, 3D, render, animate, simulate, …) a possible final project,
- compress your images and videos, and
- post it on your class page
This week I set out exploring 2 new softwares I haven’t used before: FreeCAD and Blender.
FreeCAD
-
Sketch a square and extrude. Apply fillets. So far so good.
-
Cut out a hole in the middle.

At this point, I encountered an issue, so I posted it to Mattermost.
I have a hard time doing something as simple as positioning a sketched circle to an exact xyz coordinate. Would any guru know how to do that? Aside from that, I’d like to be able to snap the center of the circle to the origin of the XY plane, but FreeCAD isn’t able to suggest that as I drag the center of the circle to near the origin.

Two hours later, my fellow students responded.
Mauro Herrero suggested the use of coincident constraint which I didn’t notice.

Lars Mattern even threw out an excellent FreeCAD tutorial that he already put up on his FabAcademy website. Coincidentally he has the same idea of drawing a hole in a square, which is exactly what I needed.

Blender
I followed a tutorial series by Blender Guru to create a donut.
Making a donut
Let’s create a basic donut shape
- Create a torus shape.

-
Switch from Object to Edit mode

-
Select Proportional editing

-
Grab vertices to create irregularities

-
Select Shape smooth to smooth out surfaces


-
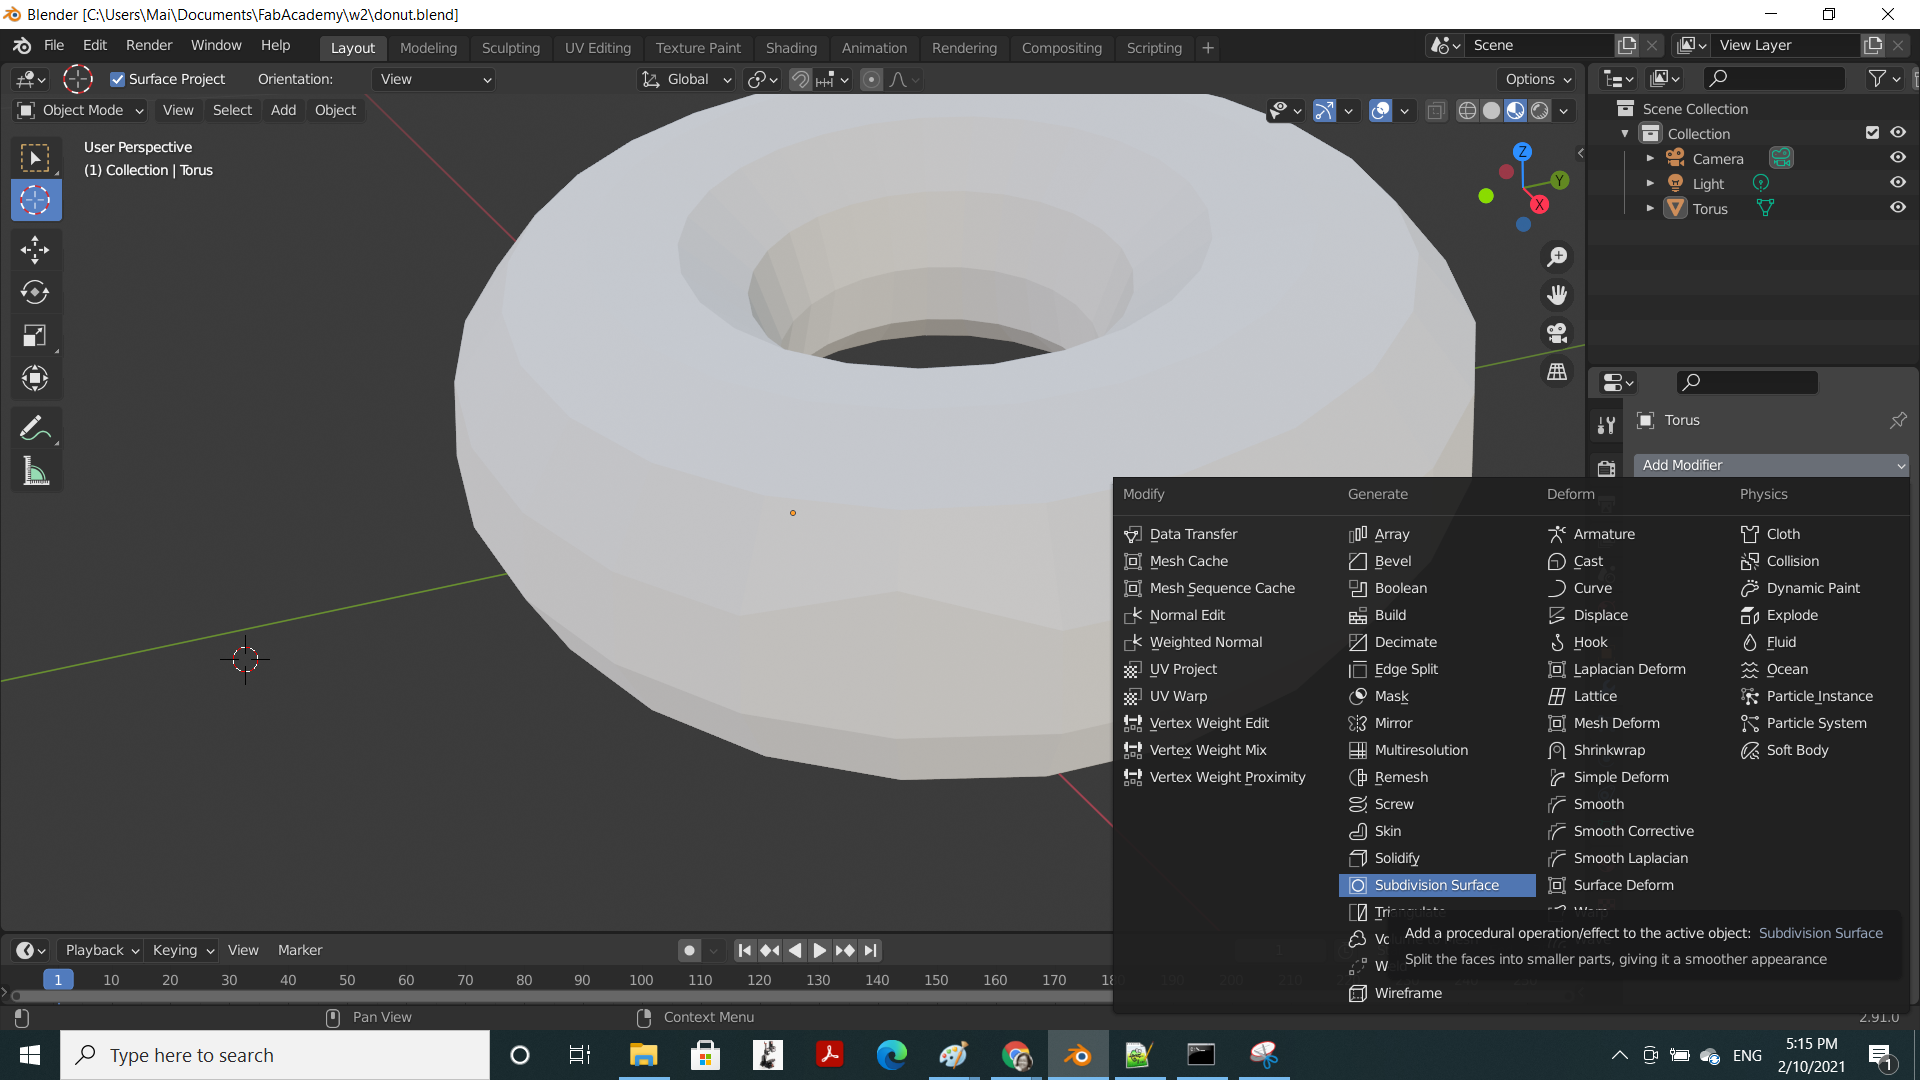
To specify the level of smoothness, click on the spanner icon to open the modifier settings and click Add modifier

-
Select Subdivision surface
-
In modifier settings, specify Render quality to 2 and Quality 3.
Tick Use creases as well.

Compare to step 6, our donut is much smoother now.
Now add some delicious icing
- Position the donut sideway, and drag to select the upper third
Then you can drag it away

-
Press Escape to snap it back to its original position
-
Press hotkey P, then click Selection to create a new part named icing


-
In Scene Collection, select Icing part and click Add modifier
-
Select Solidify

-
Change Thickness value to 0.002m and Offset to 1 (i.e. facing outward) Here you will notice that the icing does look quite sharp.

-
Click the arrow next to Solidify menu and select Move to first
What this will do is changing the order of modifiers so as to create a smooth edge for the icing. The icing will be thickened first, and then its edge smoothened.

The result is much more appetizing.

How about giving the icing a dribbling effect?
To do this, we will need to increase the resolution of the mesh, by subdividing the existing squares into smaller ones.
16. Select icing part, and right click, then select Subdivide.

-
Change the smoothness factor to 1

-
Switch from Object to Edit mode, and select the mesh of the icing
-
Use Alt + Left click to select the outer edge of the icing

-
Go to Select, and click Invert. This will select the mesh above the outer edge

-
Press hotkey H to hide the selected mesh

Now it should look like this

- Go the Snap menu at the top and select Face

Useful links
- FreeCAD tutorial by Lars Mattern
- FreeCAD mouse navigation
- Useful FreeCAD tutorials
- Useful Blender tutorial