15. Wildcard Week
This week I use the Ultimaker machine to 3 D print some shape on the cloth with PLA materials. As the cloth is pretty soft, so the thickness of 3 D shapes could be around 1 mm. Compared with the normal 3 D printer, the plate of Ultimaker 3 is heating during printing, which means the PLA material melt to liquid, drop to the cloth on the hot plate and then go inside the space between the cloth fiber and stick to the cloth without any glue.
The setting for the Ultimaker 3 machine
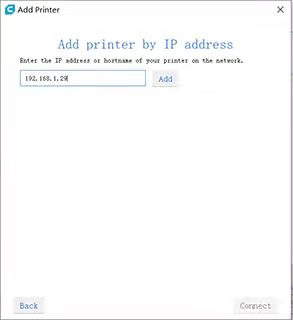
I try to add the network Ultimaker by the way to add the usual printer, and my instructor tells me that the Ultimaker is different and the machine is similar with Arduino. When you want to connect it, the thing you need to do is to connect PC with same WIFI and add the machine IP.
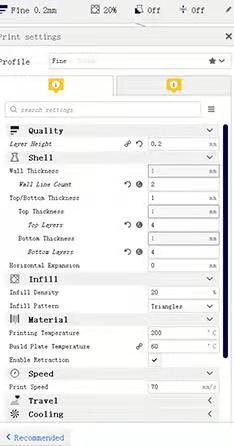
For the special printing, the setting for models is different. The lay thickness is 0.2 mm, wall line count is 2, top/bottom layers are 4.
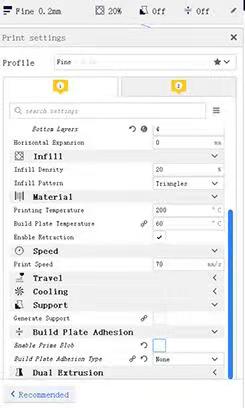
For build plate adhesion, choose none. As the PLA will go inside the cloth.
To make sure the cloth could be flat and won’t move during printing, we use special tape (Dexerials Corporation G9000-SY, which is also used for the SRM- 20) to paste the cloth to the plate and paper clip to fix the cloth and plate together. Please not use the double side tape , in case the tape will remain on the glass plate forever.
Print my name on the gauze
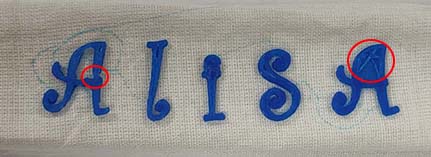
Gauze fiber has enough space for PLA materials to go inside with appropriate thickness. If the material is too thick, the material maybe touch the machine and be burn by it. When I first print my name on the gauze, the two A characters looks not so well. The first few lays in the left A don’t connect, and this may be caused by the slice or the shape draft. The second error is definitely caused by the wrong draft in Rhino software. The third error is that the thickness of the name is around 3~4 mm, which is much bigger than 1 mm, and the characters is a little heavy for the gauze. The characters can be taken off easily.
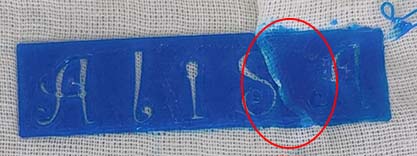
So I change the draft and print again. As the shape is pretty close to the edge of plate and the surface of the materials is not fixed well, the gauze move around when the Ultimaker print on it. So there’s few gauze overlapped.
Print on Mask
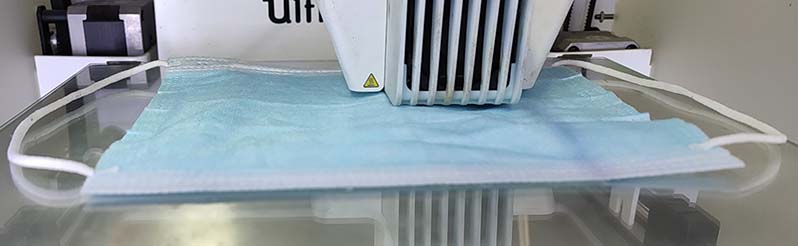
I like to decorate the mask so I try to print on the mask. But the first time the mask is burnt, and the last layer remains. I though the three layers use different materials, and find one non-woven fabric which looks like the third layer material to print on.
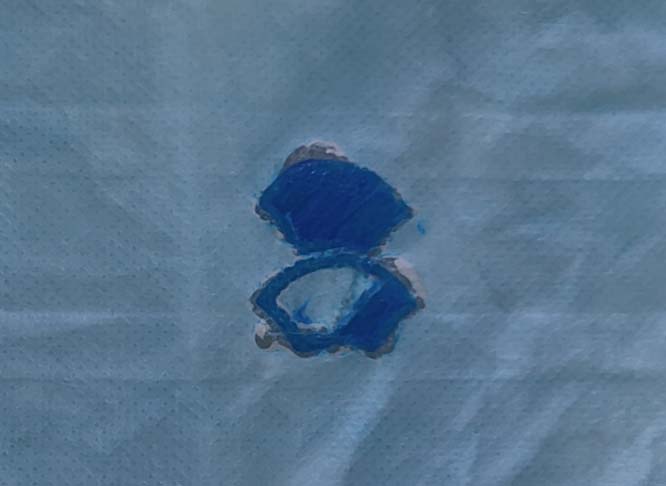
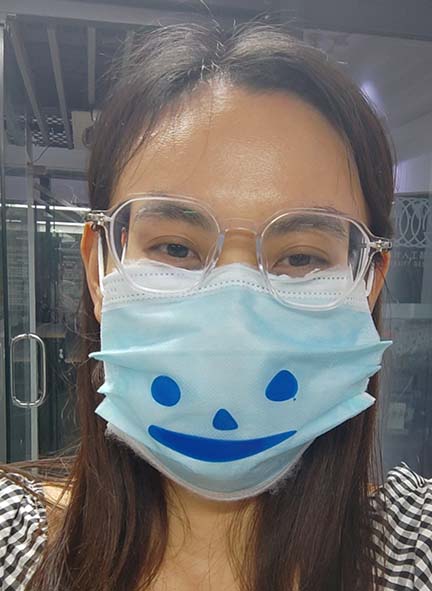
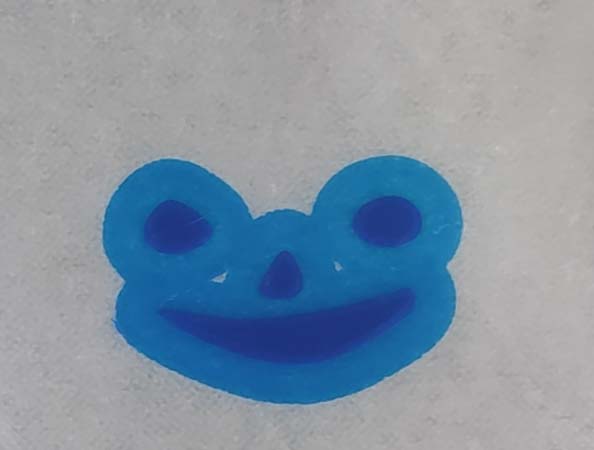
It turns out that 1 layer non-woven fabric is the right materials. However, I forget to choose “None ” for “Build Plate Adhesion”, and use “Brim”. So I get a shape that looks like a frog.
I talk with my instructor about this. He tells me the reason could be : the materials of the three layers of the mask are made by different weaving methods or fibers; 3 layers is too high and the machine is very hot and could let the first two layers to burn. So I decide to split the mask and only print the 1st layer and then regroup layers with double side tape.
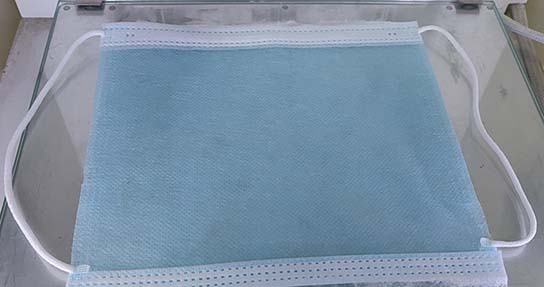
The result shows that 1st layer mask could hold the temperature and be printed on. The thickness is a very important factor.

My Cute Mask