5. 3 D Scanning and Printing
This week I learn how to create a 3 D model and print it properly.
3 D printing is very useful technology, and it can be used in many areas, including designing, industry, studying and so on. It can be used to customize. If you really want something, but it’s hardly to find it in the shop or very expensive, then 3 D printing technology can help you. The only thing that limits the developing of the technology is that the printer costs time, for example, printing a 5 * 5 * 5 cm toy may cost about 6 hours. And higher resolution the 3 D model is, longer time the printer needs.
Group Work
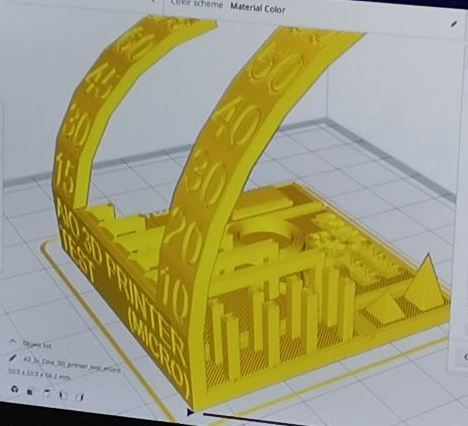
We found a 3 D model in the Thingiverse to test the 3 D Printer, set its parameters with the Cura, printed it with Custom FFF printer( a FDM printer in our Fablab), spent about 1 hour 11 minutes.
Rules for Design
- The shape should be closed.
- Always check the shell thickness.
- The angle of model should be less than 45 degree, otherwise the product surface doesn’t infill well and its surface is also not so good.
- For the same model, more layers means more accurate and more time.
- The layer high can be range from 0.1 mm to 0.3 mm, but 0.3 mm is faster but rougher and the connection between layers isn’t strong, which makes the product fragile. 0.2 mm layer thickness is suggested normally.
The parameters for the FDM printer
- Temperature: 205 degree.
- Bottom Thickness: 0.8 mm.
- Infill: 20. 20% infilling product is strong enough and it doesn’t cost too much time.
- Print speed: 75, initial layer speed is 37.5.
- Nozzle size is Diameter 0.4 mm.
- The materials I use is PLA (Polyactic Acid) , the size is Diameter 1.75 mm
- Please notes the temperature varies in 5 degree.

### The product we get
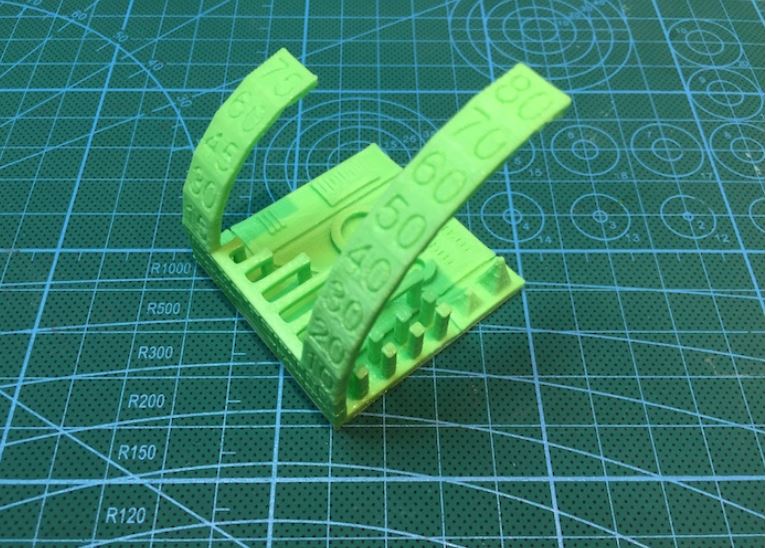
The product we get is same with the product in the above picture. As all of us forget to take a photo and I couldn’t find it now, so I copy the picture from Siyu Chen.
3 D Model Design and Printing
3 D model design idea
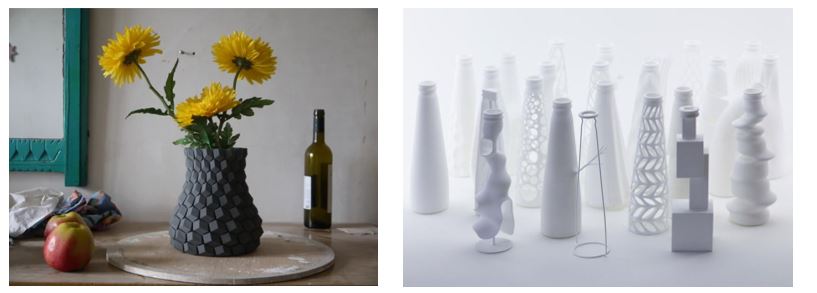
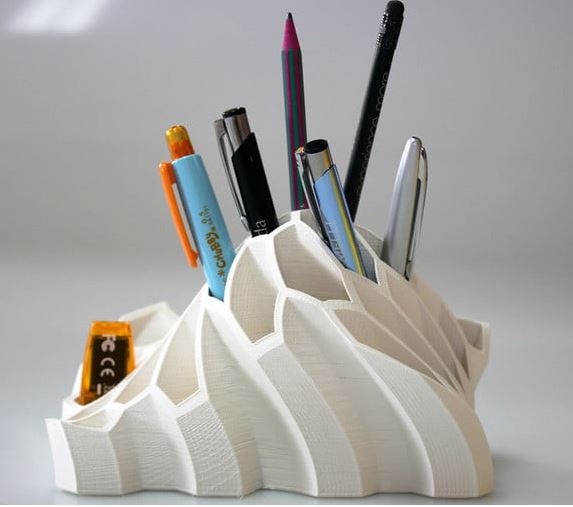
I am inspired by these nice pictures and they are made up of simple shapes but beautiful. I’d like to build and print one model with this idea. I’d like to build one record player for my final project. It’s very complicated for me as the speaker in the record player looks like a morning glory. At first, I try to use one part of sphere to build up the flower. I am not familiar with the functions of Rhino, and hardly to build one morning glory. Then I attempt the Sweep 1 funtion and build one part of flower successfully.
Design a morning flower
Dot, line and surface is important and core idea to build 3 D models in Rhino. The complicated flower can be decompose to several simple shapes.
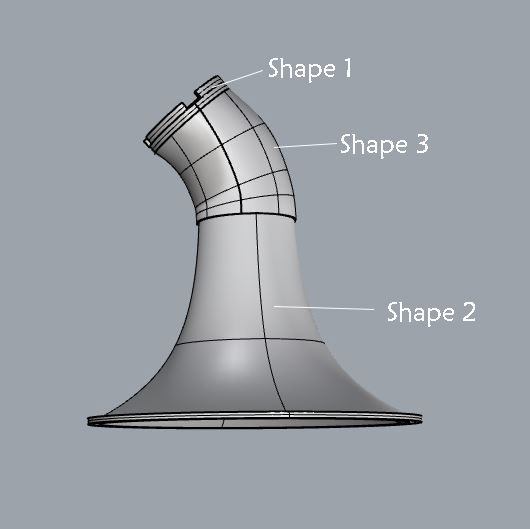
- Shape 1 is used to connect other parts of AYES and the size is exactly certain number to fit other parts. The basic shape of the Shape 1 is solid cylinder and use Offset and Boolean Difference functions to build Shape 1.
- For Shape 2, imagine you use one thinner paper to cut it and you will cut one simple shape shown in below. Considering the limits of 3 D printing technology, I add the part in red circle to make sure the edge of the flower could stick to the plate and the connection edge layers is strong enough. I input Sweep 1 command, use this shape to sweep and the circle as the rail to follow, then I get the Shape 2.

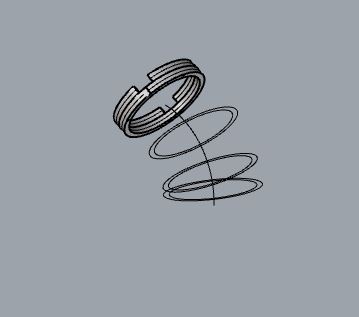
- Shape 3 is to connect the two shapes and also bend 40 degree (has to less than 45 degree). I copy the circle in the Shape 1 and arrange them along the curve, use the Loft function, choose the circles including the circles in the Shape 1 and Shape 2, then I get the Shape 3. At the moment, the Shape 3 is just surface, I use the Cap function for the outside cylinder and inside cylinder, use Boolean Difference function and a solid Shape 3 tape liking a curve tape.
- The last step is to combine all the parts to one whole model by Boolean Unite.
- Export this flower as .stl after clicking Mesh- From NURBS Object.
How to slice the 3 D model?
- Use Ultimaker Cura 4.8.0 software ( or software for ) to import the .stl files.
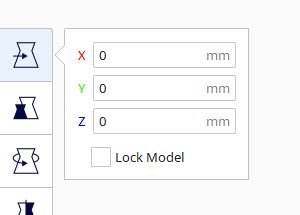
- Check the Z zxile of the model is zero. Otherwise the model couldn’t be printed.
- Set the parameters for the printer.
- Click Slice and Preview, check the layer connects well with each other.

- Then save it as .gcode file, copy to the SD card, insert the card to the printer.
- Chose the right file in printer and press Print.
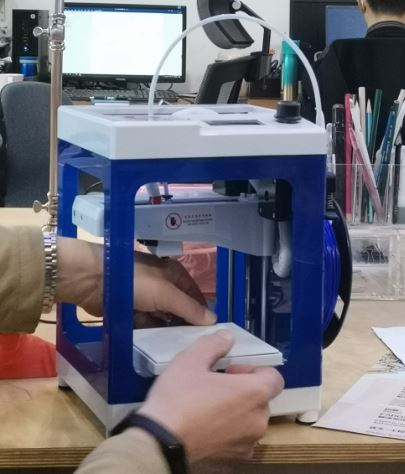
How to use a 3 D printer?
-
Firstly, set Z axle is zero.
-
If you want to get a nice model, please keep the base flat and clean. You can wash and tidy the base.
-
Lightly smear the glue to the base to make sure the bottle of model can paste to the base and hardly move during printing.
-
Check the materials arranging in a origin/right way and cut the head of the materials as the head may melt and loss some during the last printing. All these behavior is to make sure there are enough materials for printing and the production won’t break or have any holes that you don’t want.
The Amazing product I print
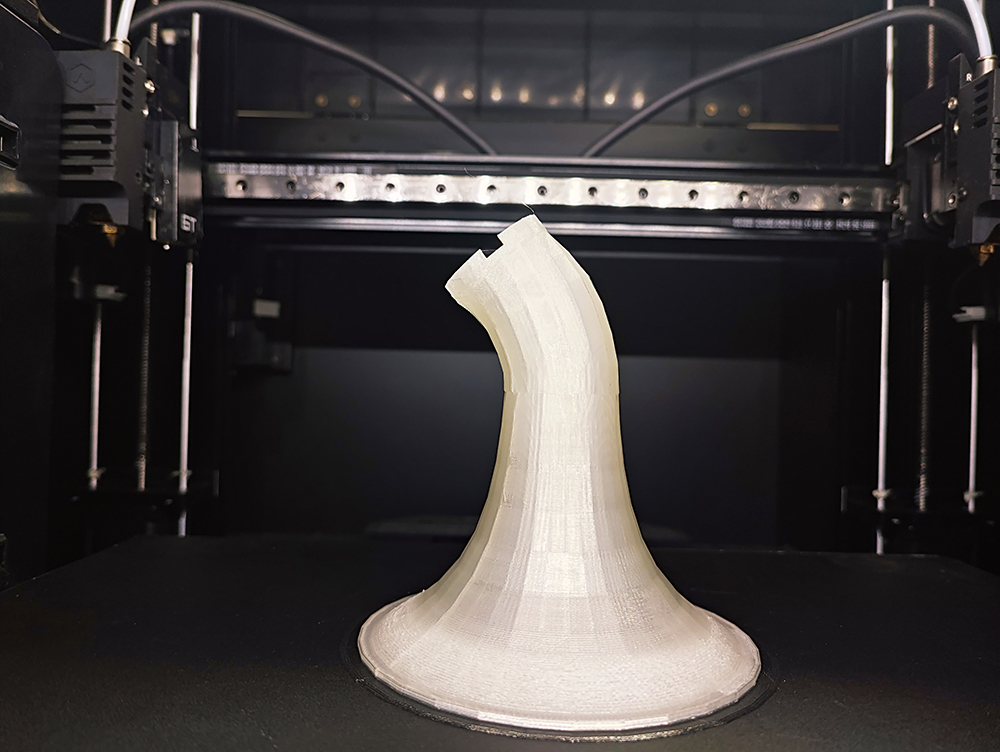
Problems and Errors
- Troubleshooting Guide
- Auto-desk Fusion is a little big and my computer couldn’t run it. So I start to learn and use Rhino. This two software is totally different based on how to build one 3 D model by the unique functions in softwares. It costs me several weeks to be used to Rhino. If your computer doesn’t has high configuration, Fusion can be not the first software that you want to learn and use.
- Sometimes the real product is 0.4 mm smaller than the design files,which could be a problem when I have two printed parts to connect.
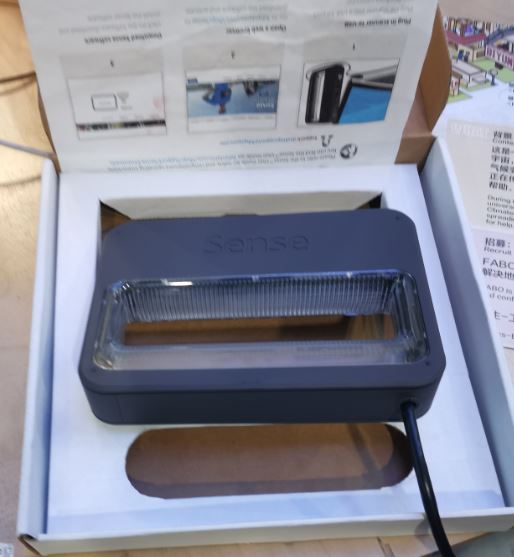
3 D Scan Technology
The 3 D scanner we use is Sense 3 D scanner.
How to scan my head beautifully ?
- Find a friend to help to scan from the back of your head, what I need to do is not to move but breath. But I still moved a little , so my face looks like a soldier.
- Under a proper mild light resource including LED, not the sun( too strong).
- Don’t wear your glasses as the distance between the paint maybe bigger than the frame of glasses and it hardly trace the glasses.
- Scan slow , especially for the hair as the black hair is easily to lose the trace.
How to create a funny 3 D model?
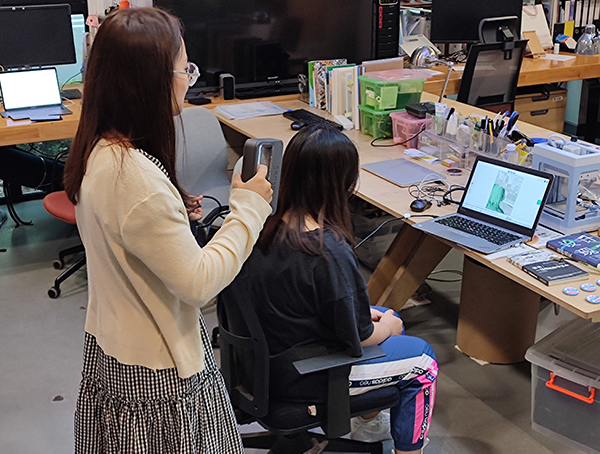
-
Find a place with a proper light source, keep my friend stable and scan it in the same horizon level slowly and carefully.
-
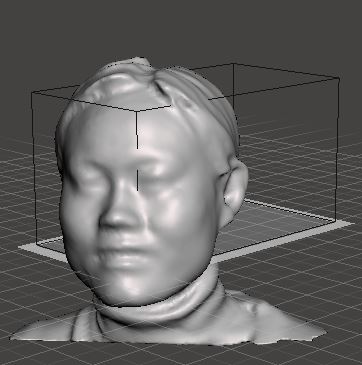
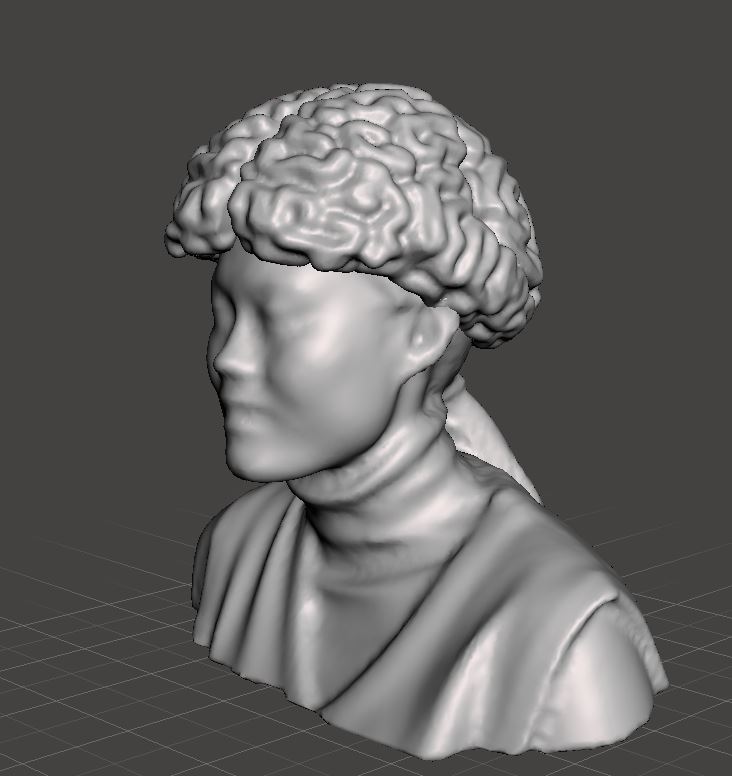
After we scanned my friend and create the funny picture by Autodesk Meshmixer. I felt scared when I saw the parts of her head displaying in the computer. But the funny picture encouraged me to scan myself and create a interesting 3 D model too.

I modified the origin model with Autodesk Meshmixer tutorial.
Steps
- Open Autodesk Meshmixer, import the .obj file.
- Click ‘’Analysis’‘—‘’Inspector’‘—‘’Auto Repair All’‘, repair the holes to make sure the model is closed.
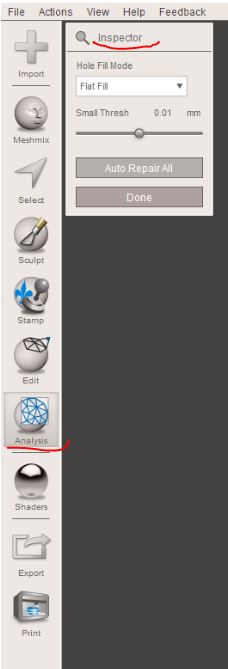
- Click’‘Edit’‘—“Make Solid” before export as .stl file.

-
Modify the dimensions by the “Edit”—“transform”.
-
Set the size of model in ‘’Analysis’‘—“Units/Dimensions”, X 27.3 mm, Y 28.05 mm, Z 25.93 mm.
-
I download one brain model online and combine with my head and get “Funny me” file.
Files
The origin model.obj Funny me.stl Morning flower.stl Morning flower.gcode