13. Networking and communications
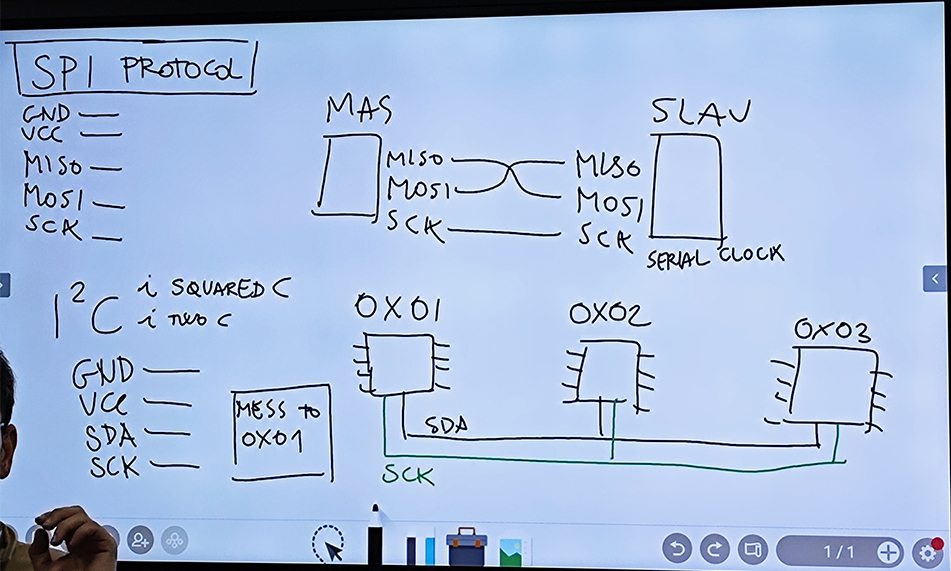
This week I start to know how the networking and communications work. There are two different connections, wired and wireless. For wired networking, it has asynchronous, SPI and I2C. For wireless networking, it has radios, antennas, single-chip, software radio.

Group Assignment
I2C button control LED
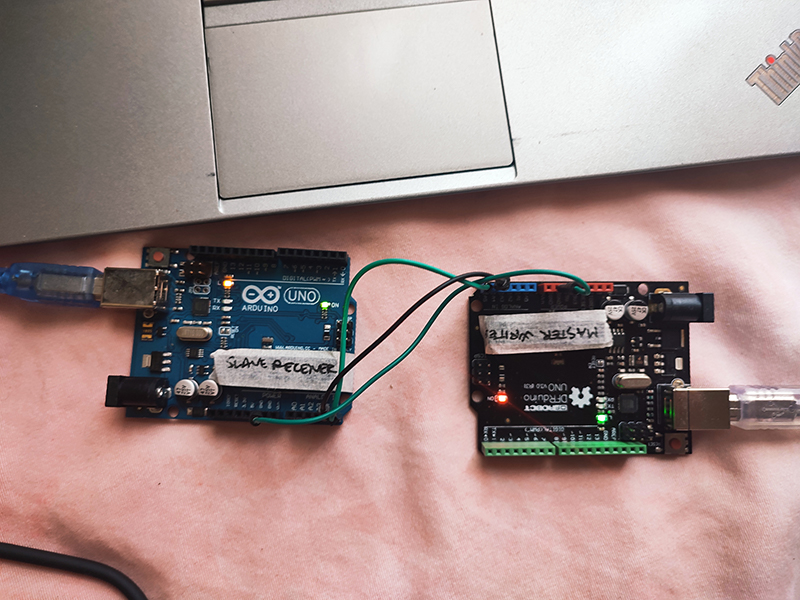
Open Arduino, choose File-Example-Wire-Master Write & Slave Receive/Master Reader & Slave Sender.
The two Arduino boards connect with each other by RX, TX, GND and VCC pins.
- One board is Master Writer Code.
#include <Wire.h> // add library

void setup() {
  Wire.begin(); // join i2c bus (address optional for master)
  Serial.begin(115200);
}

byte x = 0;// 1 byte = 8 bite

void loop() {
  Wire.beginTransmission(8); // transmit to device #8 (address)
  Wire.write("x is ");        // sends five bytes
  Wire.write(x);              // sends one byte
  Wire.endTransmission();    // stop transmitting
  x++;
  delay(500);
}
- Another board is Slave Receiver Code.
#include <Wire.h>

void setup() {
  Wire.begin(8);                // join i2c bus with address #8
  Wire.onReceive(receiveEvent); // register event
  Serial.begin(115200);           // start serial for output
}

void loop() {
  delay(100);
}

void receiveEvent(int howMany) {
  while (1 < Wire.available()) { // loop through all but the last
    char c = Wire.read(); // receive byte as a character
    Serial.print(c);         // print the character
  }
  int x = Wire.read();    // receive byte as an integer
  Serial.println(x);         // print the integer
}

Individual Assignment
- I use two Arduino boards to communicate, connecting them by RX, TX, GND and VCC pins.
Use a button as the digital input device, master write code.
#include <Wire.h> // add library
int x = 0;
const int buttonPin = 5;
int buttonState = 0;

void setup() {
  pinMode(buttonPin, INPUT);
  Wire.begin(); // join i2c bus (address optional for master)
  Serial.begin(9600);
}

void loop() {
  buttonState = digitalRead(buttonPin);
  if (buttonState == HIGH){
    x = 1;
   }else{
    x = 0;}
  Wire.beginTransmission(2); // transmit to device #2 (address)
  Wire.write("x is ");        // sends five bytes
  Wire.write(x);              // sends one byte
  Wire.endTransmission();     // stop transmitting
    delay(100);
}
Use a LED as the output device, slave receive code.
#include <Wire.h>
int LedPin = 4;
int x = 0;

void setup() {
  pinMode(LedPin, OUTPUT);
  Wire.begin(2);                // join i2c bus with address #8
  Wire.onReceive(receiveEvent); // register event
  Serial.begin(9600);           // start serial for output
}
void receiveEvent(){
x = Wire.read();
Wire.endTransmission();
}

void loop() {
  if(x == 1){
   digitalWrite(LedPin,HIGH);
   delay(100);
   }
  if(x == 0){
    digitalWrite(LedPin, LOW);
    delay(100);
    }
}

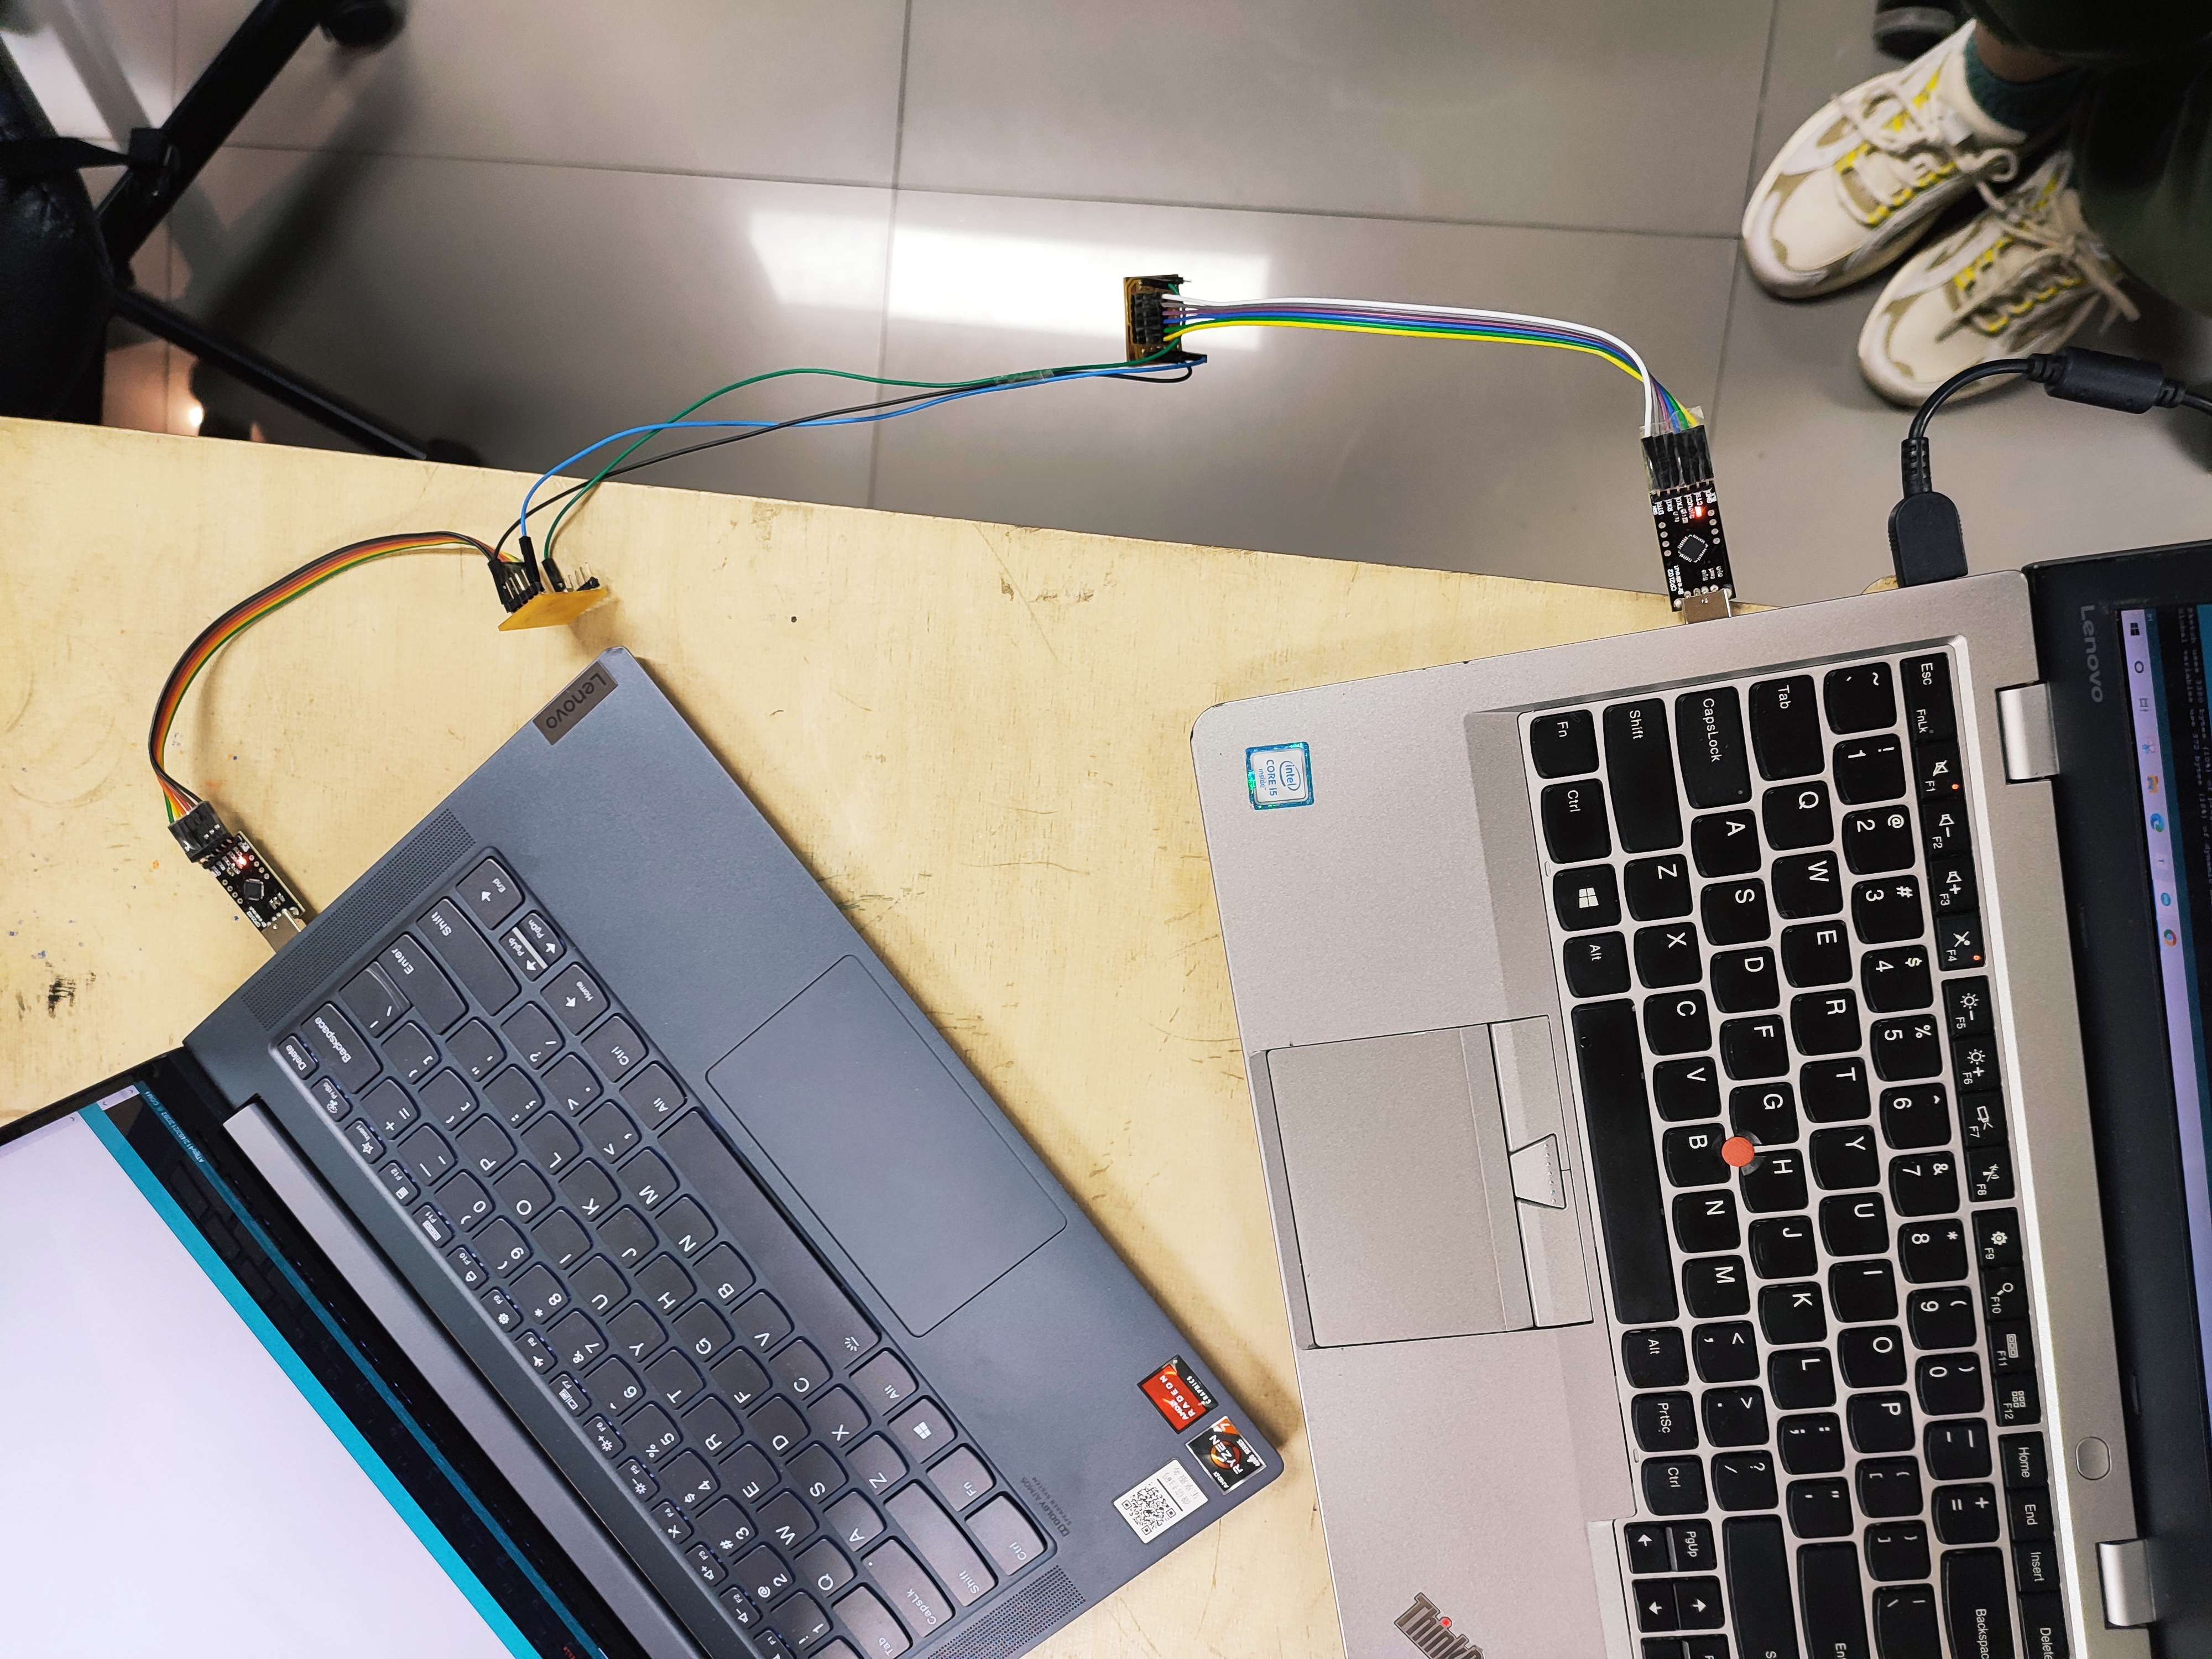
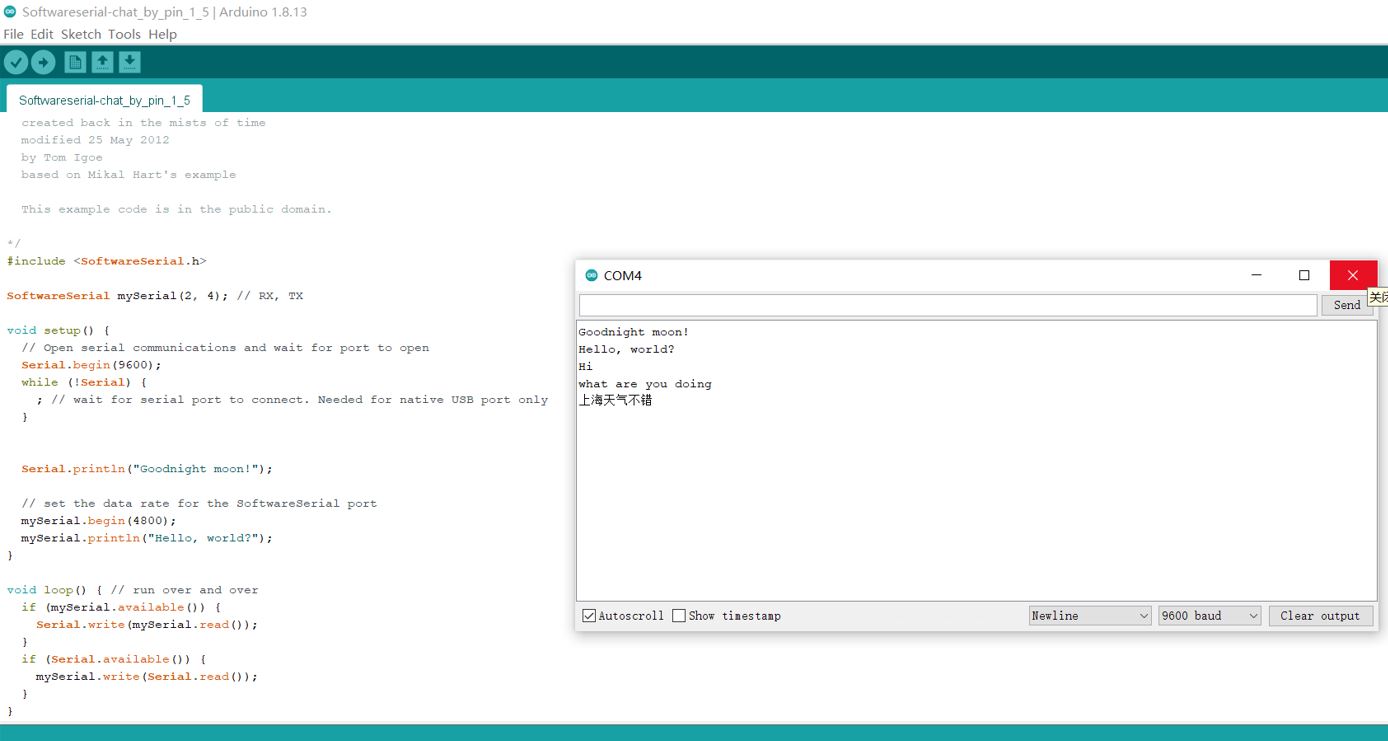
- Servo Bridge. I use one Arduino board connecting to my computer, to communicate with another Arduino board connecting to Jin’s computer. We communicate with each other by input words in the serial monitor.
#include <SoftwareSerial.h>

SoftwareSerial mySerial(10, 11); // RX, TX

void setup() {
  // Open serial communications and wait for port to open:
  Serial.begin(57600);
  while (!Serial) {
    ; // wait for serial port to connect. Needed for native USB port only
  }


  Serial.println("Goodnight moon!");

  // set the data rate for the SoftwareSerial port
  mySerial.begin(4800);
  mySerial.println("Hello, world?");
}

void loop() { // run over and over
  if (mySerial.available()) {
    Serial.write(mySerial.read());
  }
  if (Serial.available()) {
    mySerial.write(Serial.read());
  }
}
Later I use two ATtiny412 board to communicate and it works well by the serial monitor.
#include <SoftwareSerial.h>

SoftwareSerial mySerial(3, 2); // RX, TX

void setup() {
  // Open serial communications and wait for port to open:
  Serial.swap(1);
  Serial.begin(57600);
  while (!Serial) {
    ; // wait for serial port to connect. Needed for native USB port only
  }


  Serial.println("Goodnight moon!");

  // set the data rate for the SoftwareSerial port
  mySerial.begin(4800);
  mySerial.println("Hello, world?");
}

void loop() { // run over and over
  if (mySerial.available()) {
    Serial.write(mySerial.read());
  }
  if (Serial.available()) {
    mySerial.write(Serial.read());
  }
}

Problems and Errors
- Click
Verigy, it shows “XXX ” does not name a type, which means that there is something wrong with “}”.
Reference Arduino Wire.h
http://fabacademy.org/2020/labs/leon/students/adrian-torres/week14.html
Files
SoftwareSerial.ino master_writer.ino slave_receiver.ino
