11. Molding and Casting
This week we learned about molding and casting. We learned to design mold with Rhino and mill the mold out with a block of Wax. And then I learned to pour the molding materials into the mold to have a master piece and then casting actual copy later.
Keywords
mold model/master cast/copy
General information
Fabricate a mold Ceramic factories Plastic Factories Glass Industry
3+1 basic types of molds
open face/one part:
- wooden mold for mooncakes(cast). The mold is caved in to wood. (cast)
- rigid plastic mold for ice cubes. (shape)
- Silicone mold for complex ice shapes. (Flexible mold)
Models with No Undercuts and With Undercuts
two part/close box:
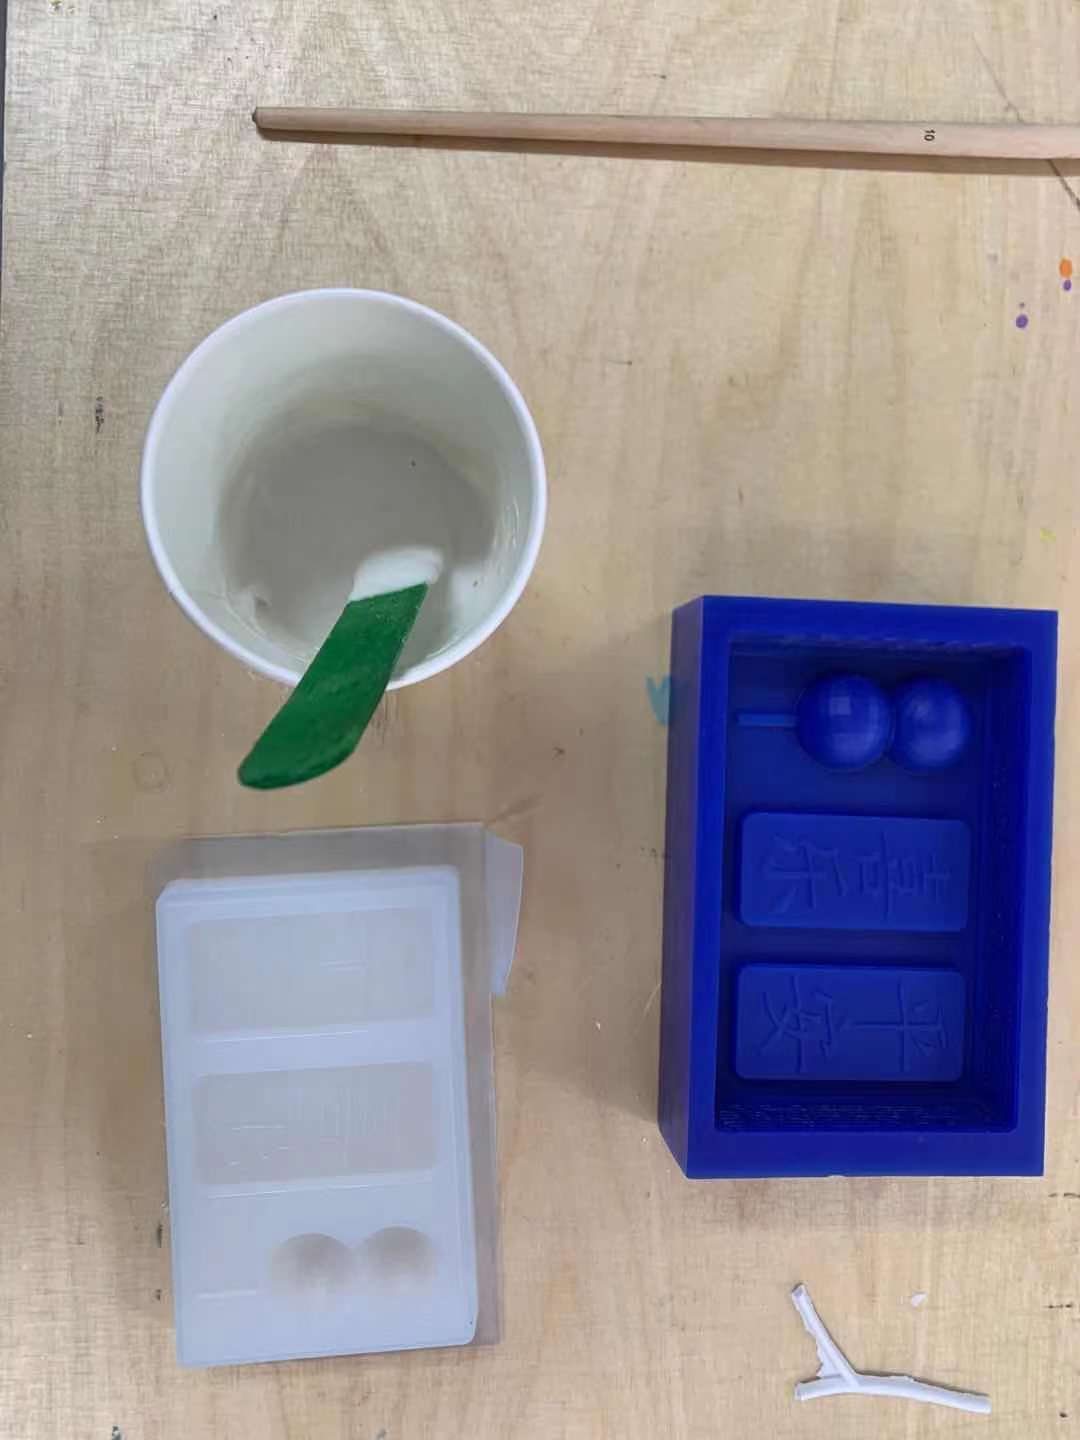
silicone rubber mold. An original is needed to fabricate this mold. It can be used for multiple copies. Registration keys for alignment for two part mold, one opening for materials, one opening for air to go out.
Multi-part Mold
Complex shapes
One time mold
slicer for Fusion 360
Material:
Alginate: 10 powder/22ml water
Vacuum-Forming:
HDPE, no undercut.
Pro Tip #1 :
Release Agent: Oil Canola Oil Vaseline.
Two path
roughing toolpath 6mm finishing path 3 mm endmill
Assignment
Our task is to build mold and cast copies.
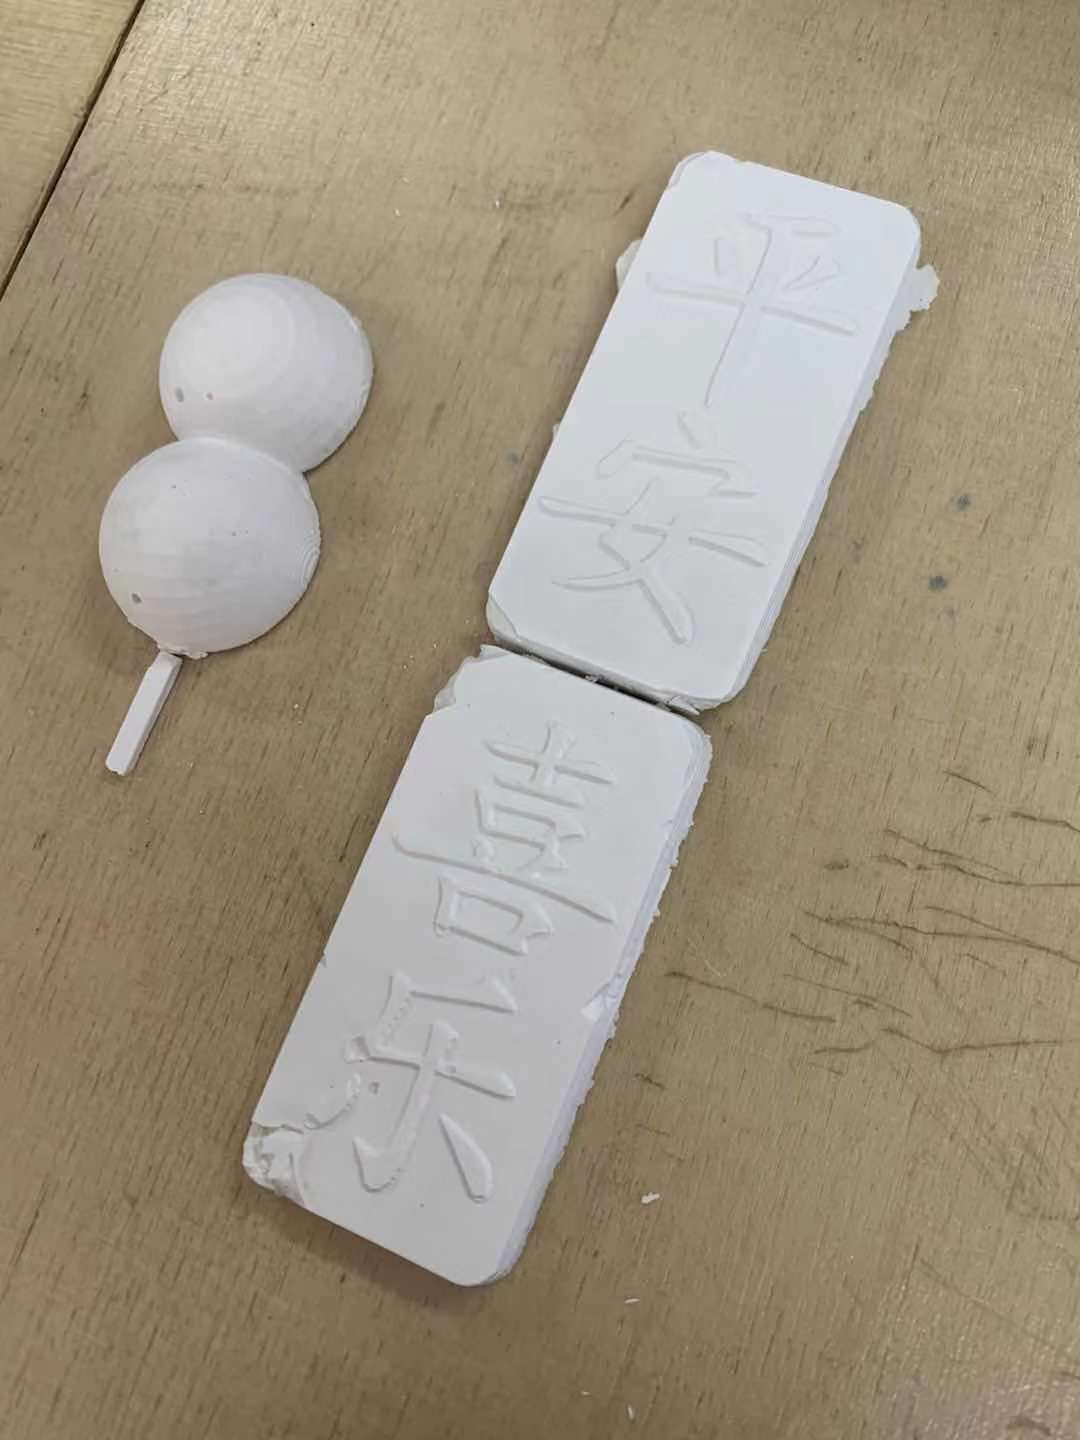
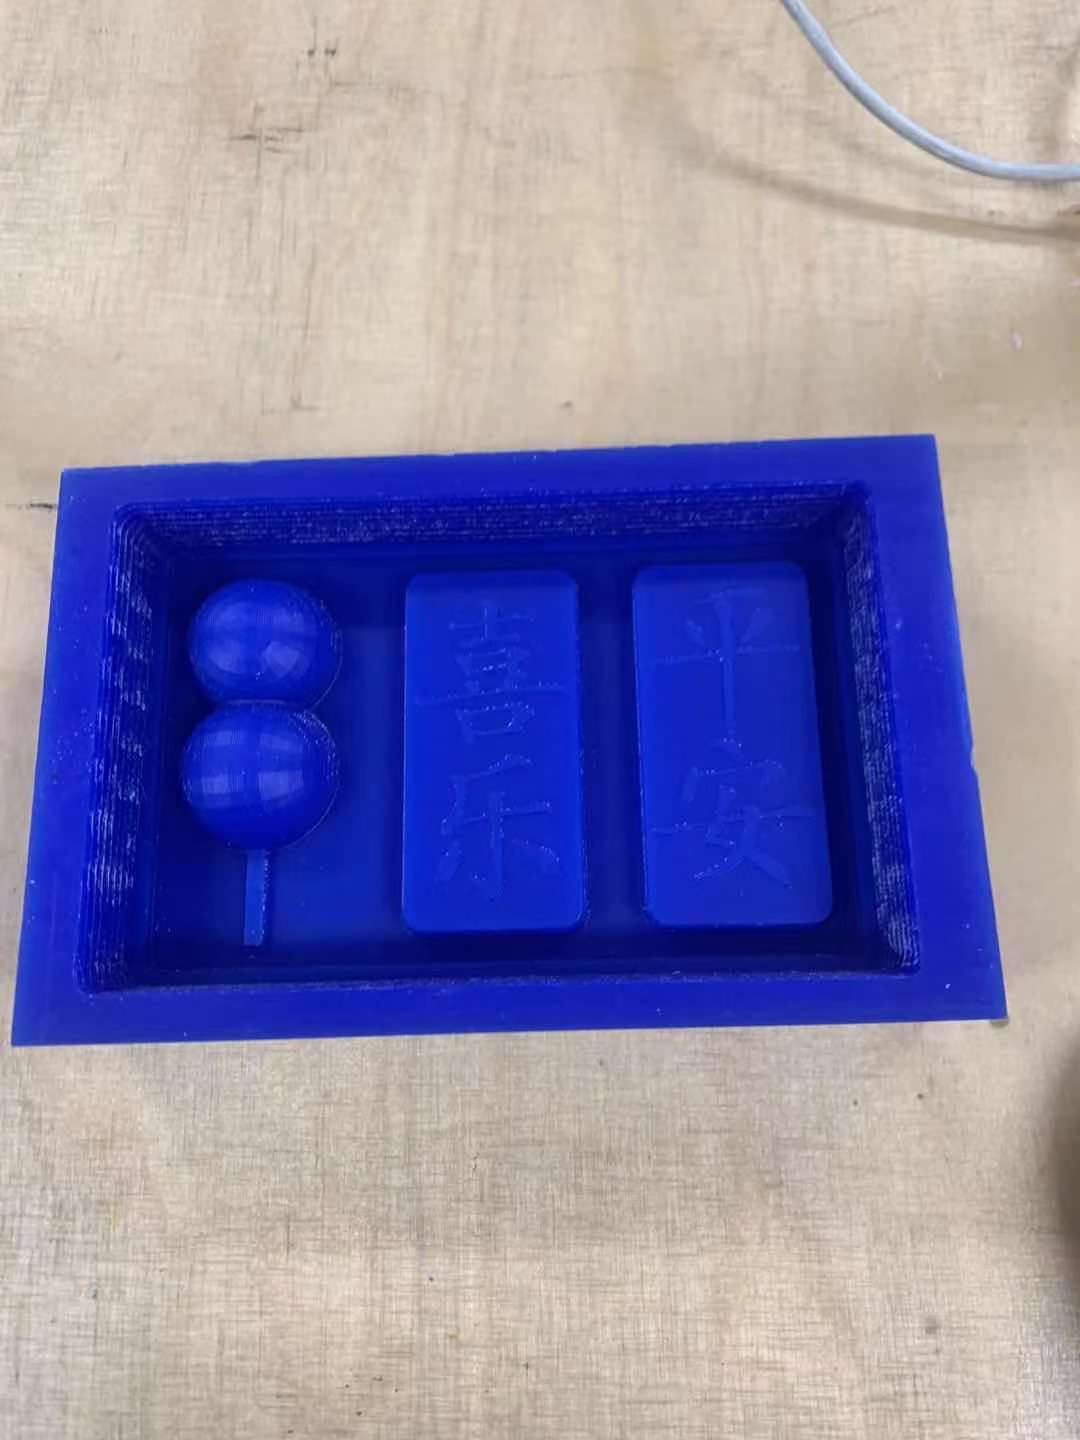
- Positive Mold: made a 3D open face mold with wax+CNC machine 3D model
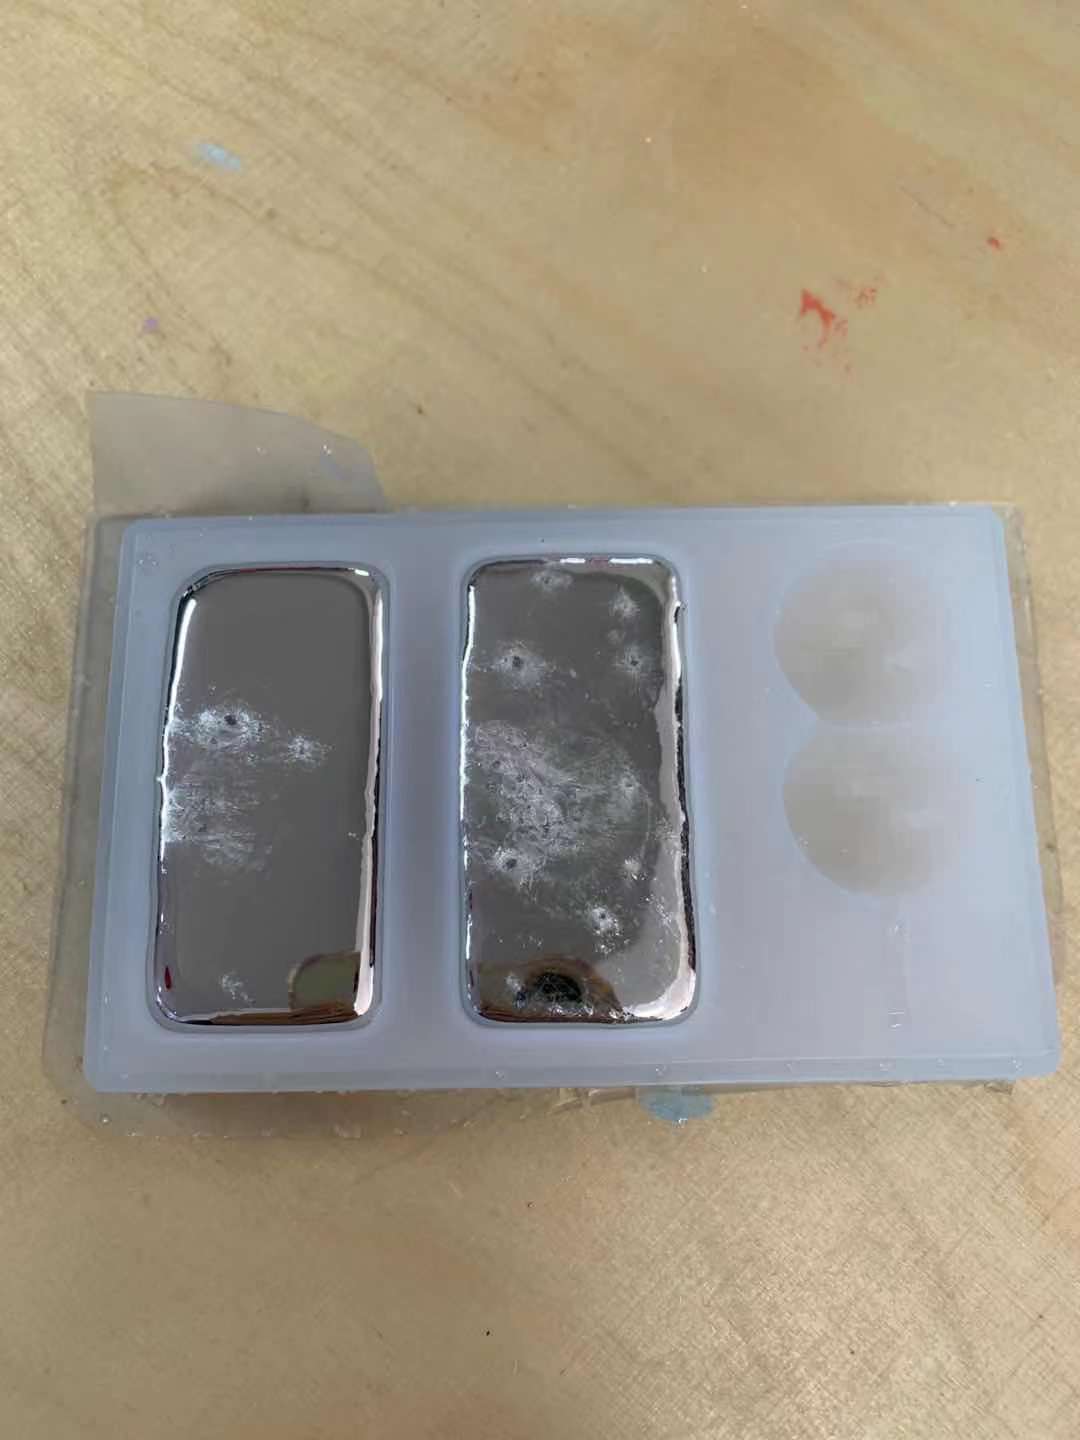
- Negative Mold: use silicon Rubber
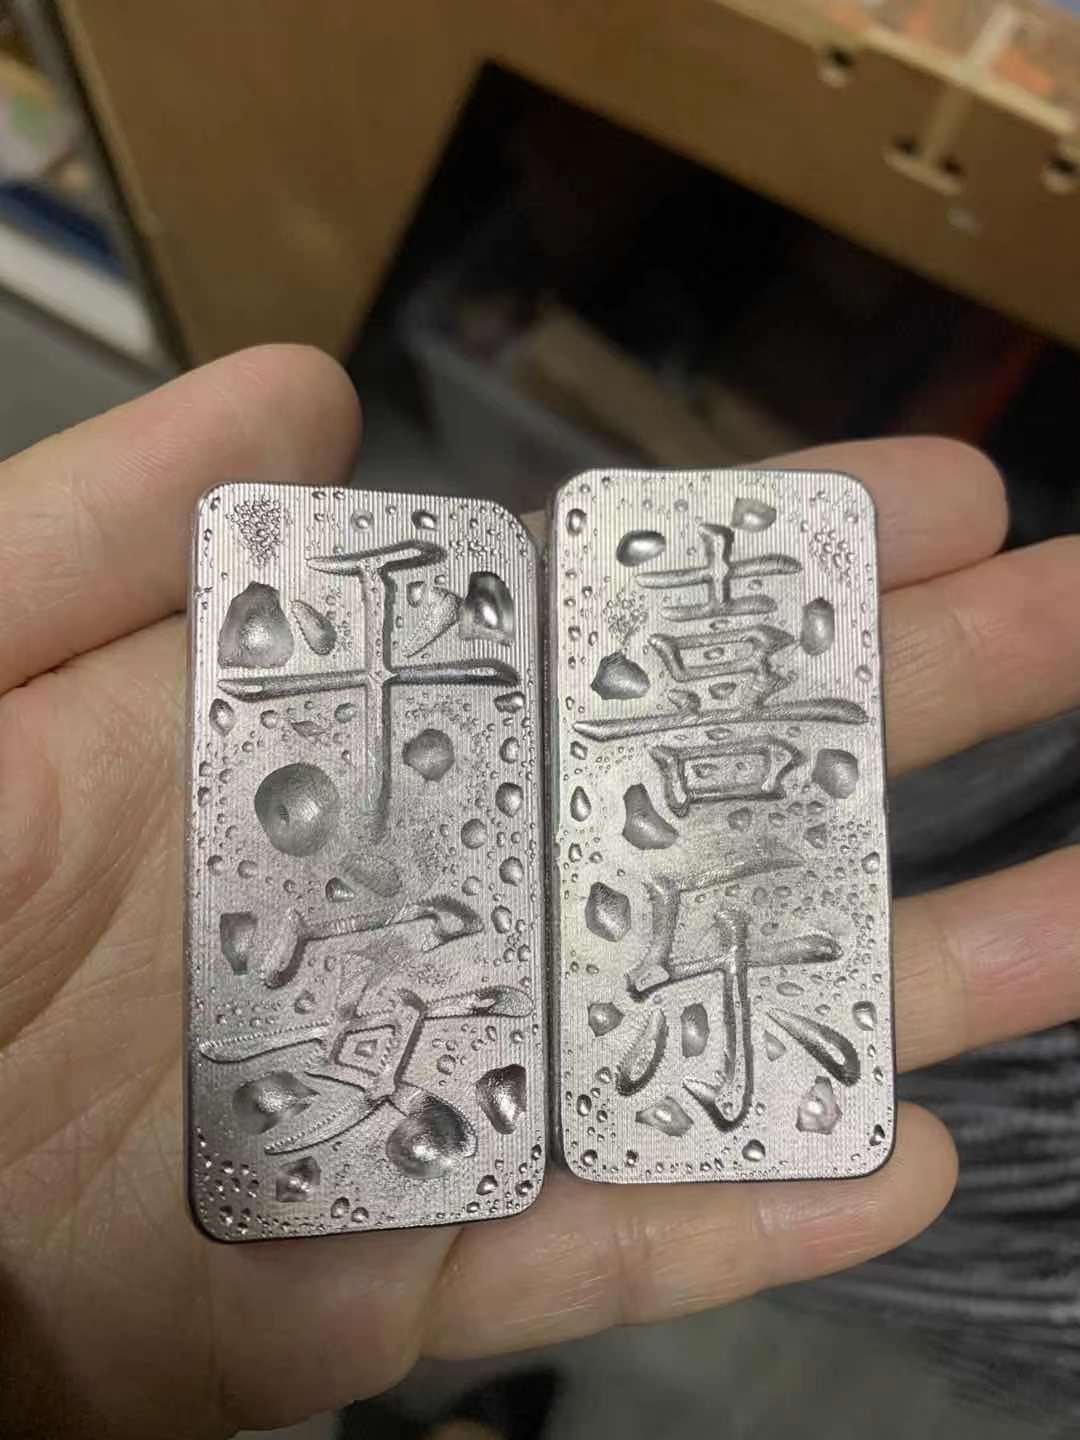
- Positive Cast: use Drystone(plaster)
Process
- box 0 enter 14 0 , 90, 32
- scale reference 30 mm
- move
- persitive
- extrudecrve enter
- solid extrude select 23 enter
- move starting point put on top
- shaded view
- solid extrud
- boolean difference big with surface
- solid fillet edge selecting the edges. radius 3 mm set all
- make shorter: box make a big box 3mm
- boolean difference
- move 0
- box. top point 55 60 22
- move x -10 y 10
- move sink inside
- boolean difference
- move distance from the surface
-
make bigger box and avoid vertical wall
-
rectangle the box move new place.
- solid extrude taperted (slop -25 5-10
- )big box boolean diffrerence.
- move majiang to the center use the top point
- 5.8 mm at the buttum
- make smaller
- scales 3d base point middle point to another point 23
- boolean union close box
- endmill is longer than 20 mm.
- combine boolean union
- export as stl
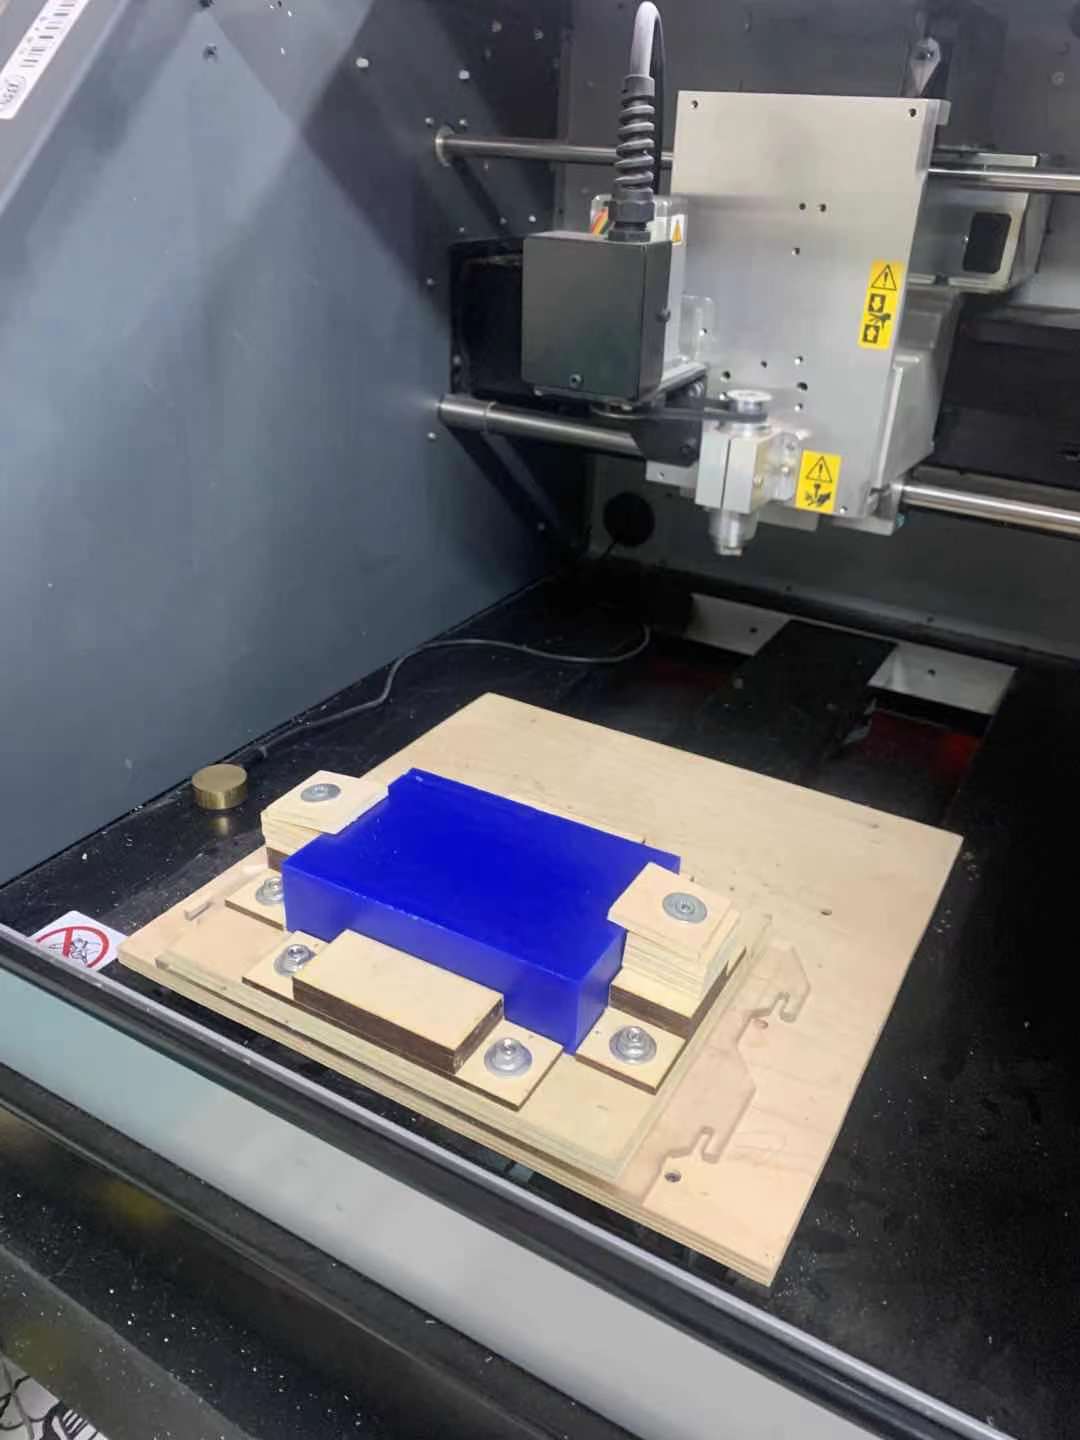
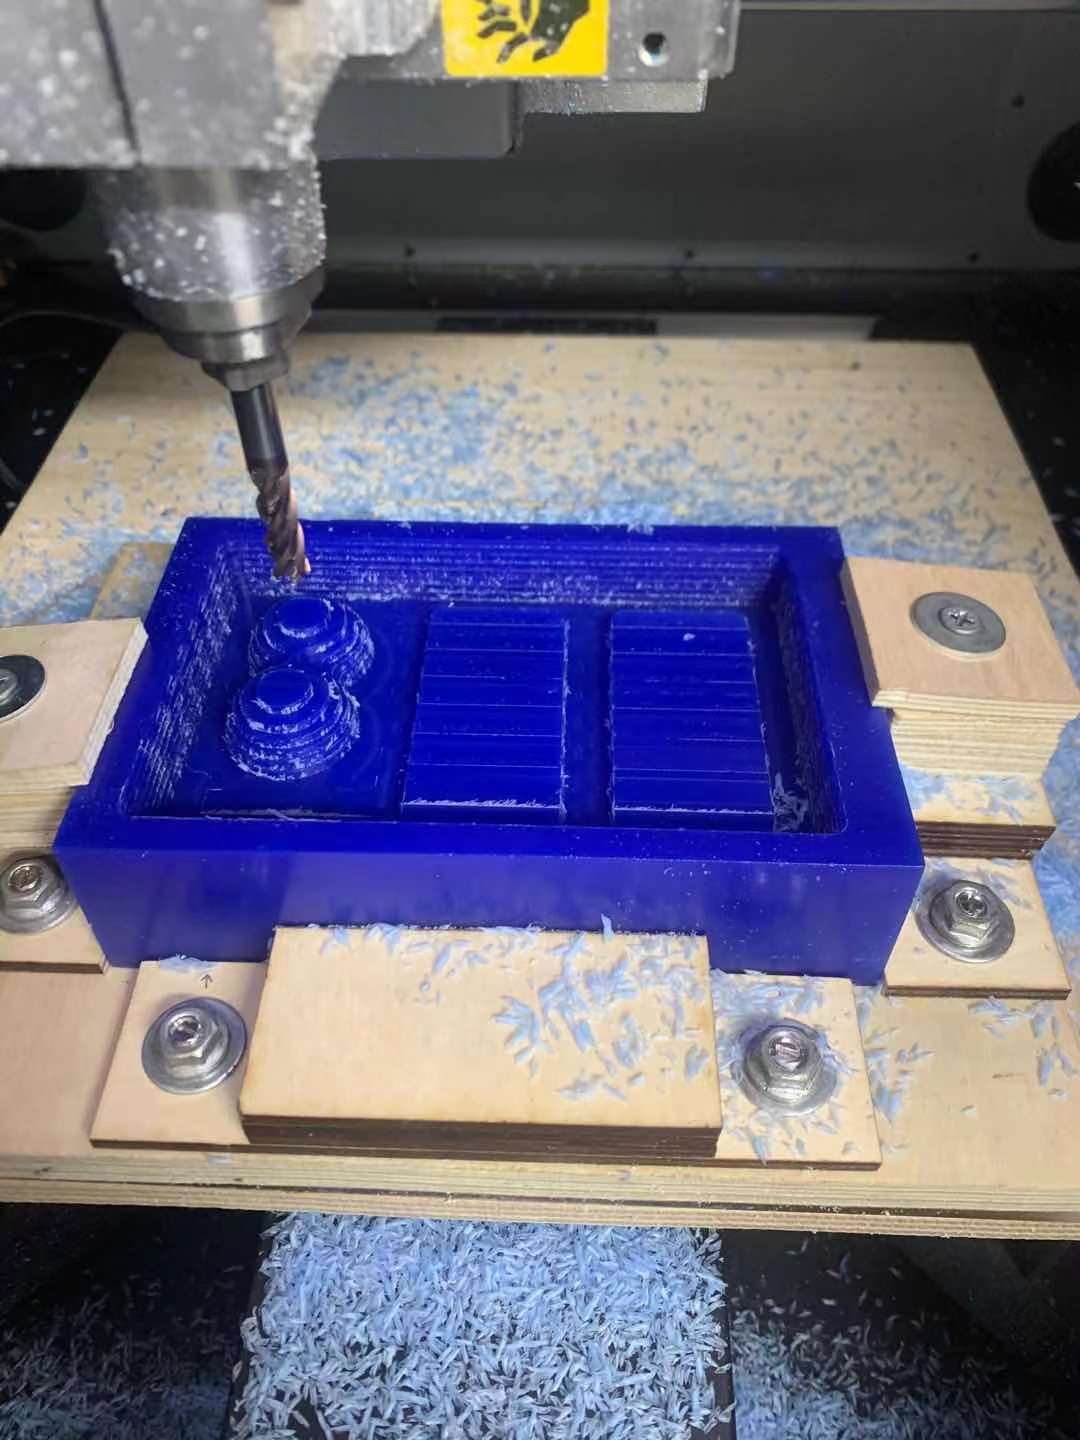
Make with CNC machine
1. fix the wax block in a holder. need to push down when tighting.
2. put it into the bed of the machine make sure the was did not move.
3. use wax material.
4. use software: roland modela
5. confirm the size
6. type of milling: better surface finish
7. many flat planes
8. cut top only
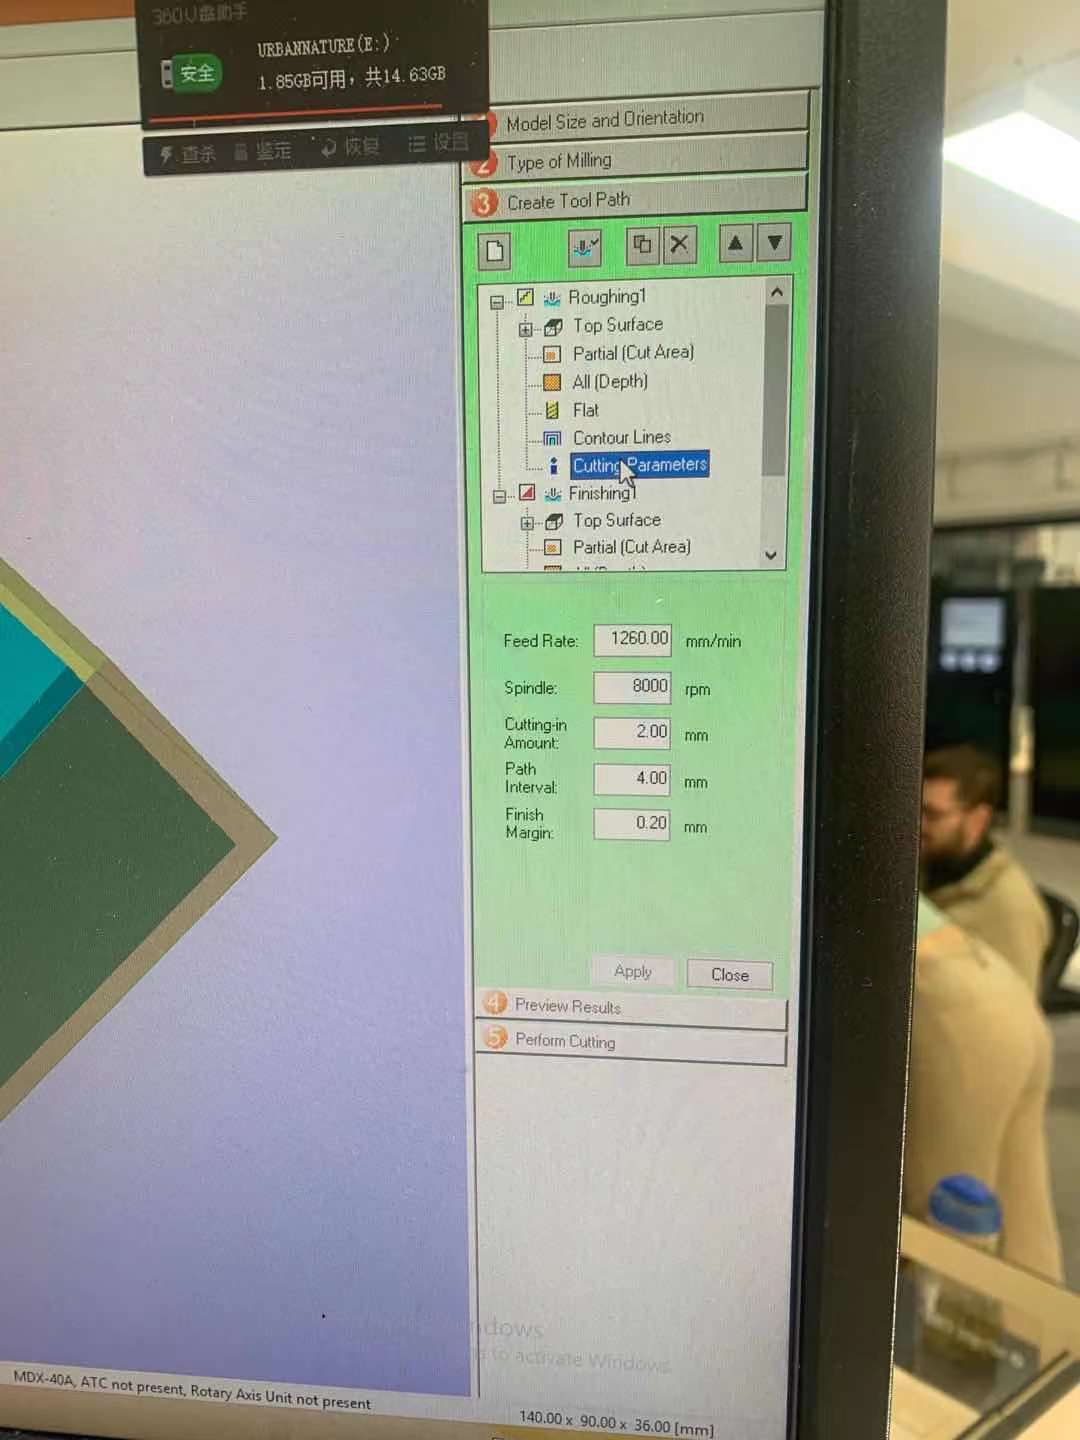
- step 3 create toolpath
- molding wax 148, 100, 32
-
edit first choose roughing path top, cut area smaller: partial, move to the plate size click apply diameter:6 mm square length 25 mm apply feed rate: the machine knows
cutting in amount: 3mm if needed interval: 5mm finish margin: need to be more than 0. for roughing path.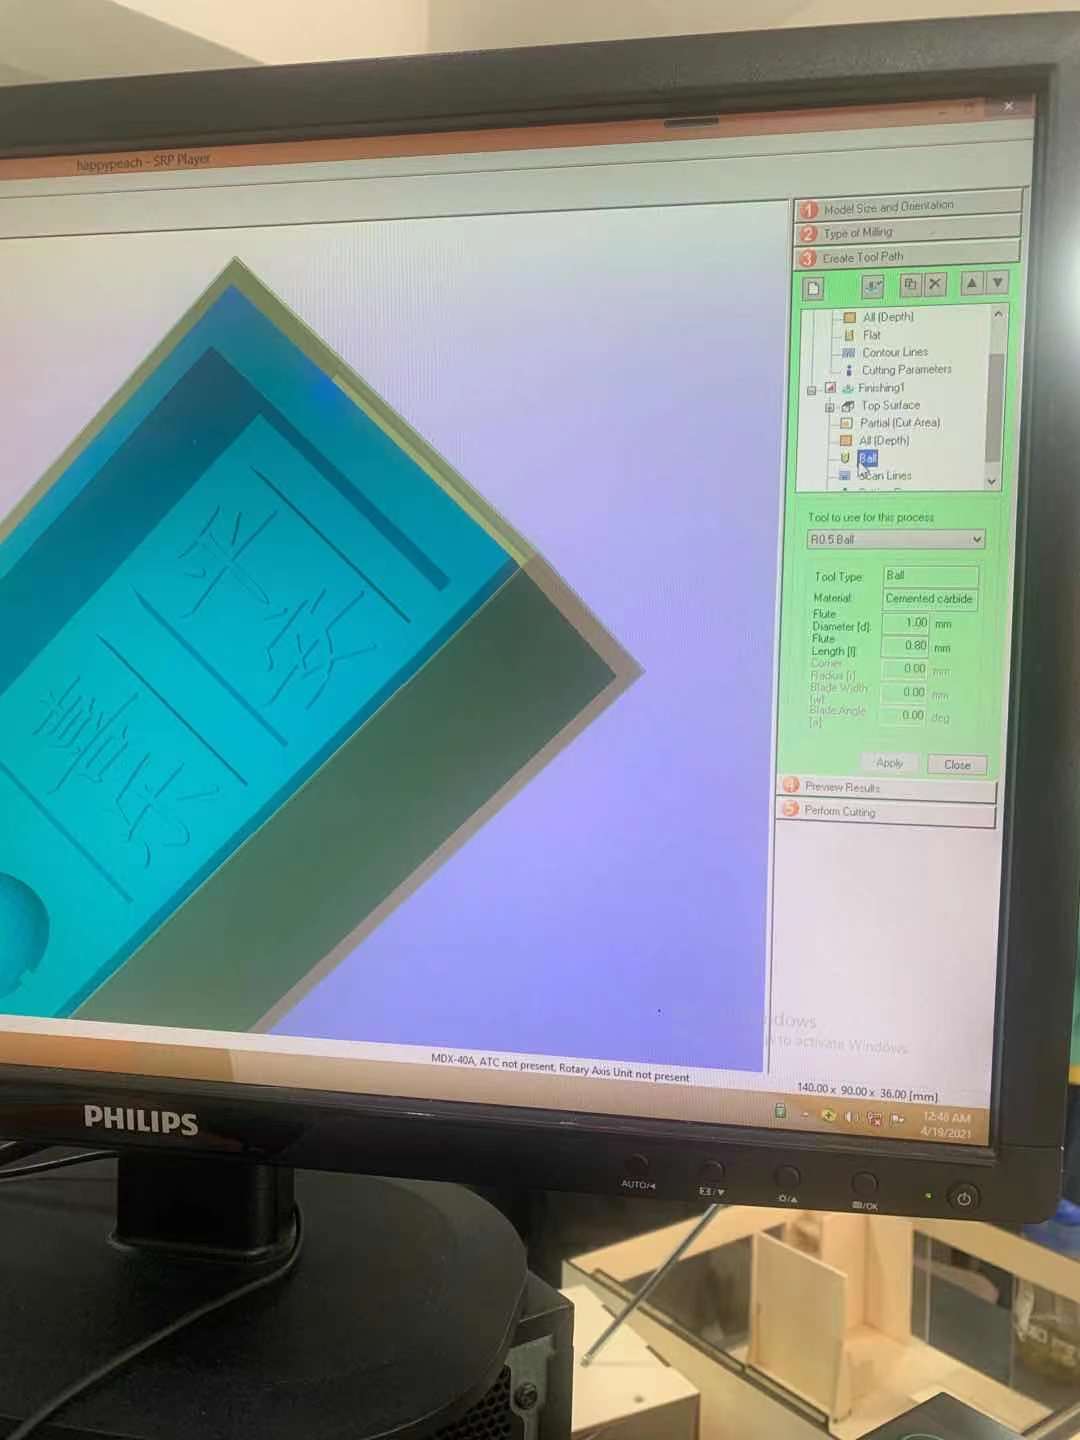
-
edit finishing
area: plate part: apply flat: round surface ball end ; flat: flat endmill 2mm square(change to 0.5 mm) . yes. coutour: scan line choose or scan line and countour line. up cut. apply cutting para: cutting in amount: 0.5 mm (change to 0.25) path intervel: 0.5 mm finishing margin: 0.00 mm apply create toolpath. - step 4 preview.
- step 3. roughing finishing flat: R0.5 ball apply creating toolpath
-
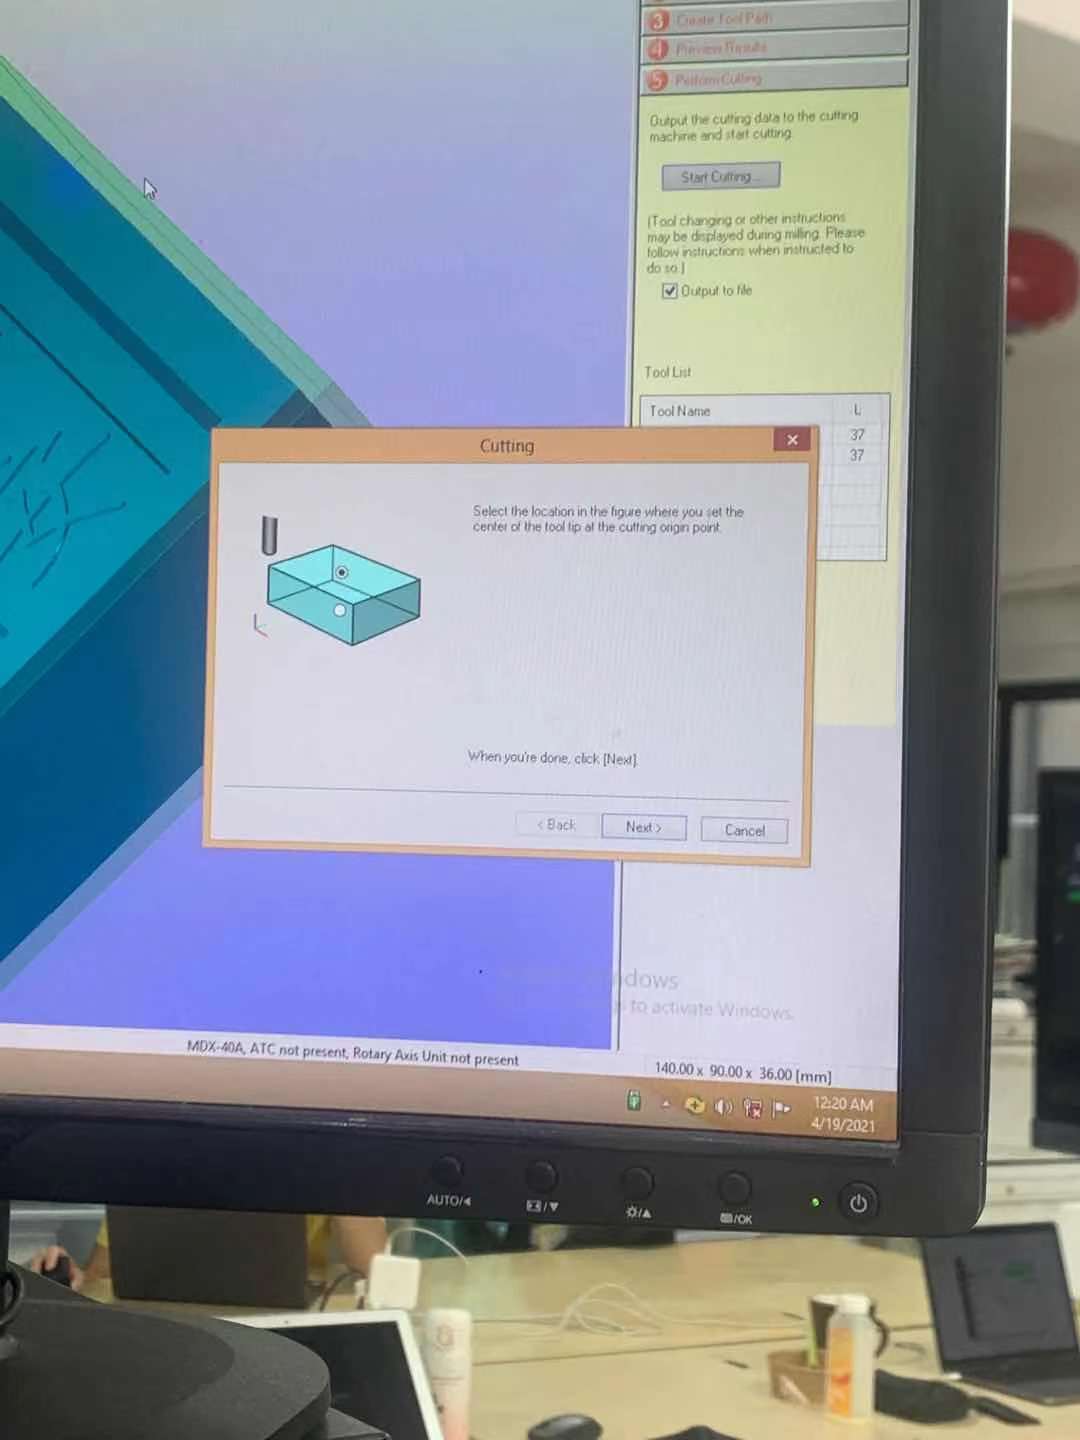
step 5. perform output to file start cutting.
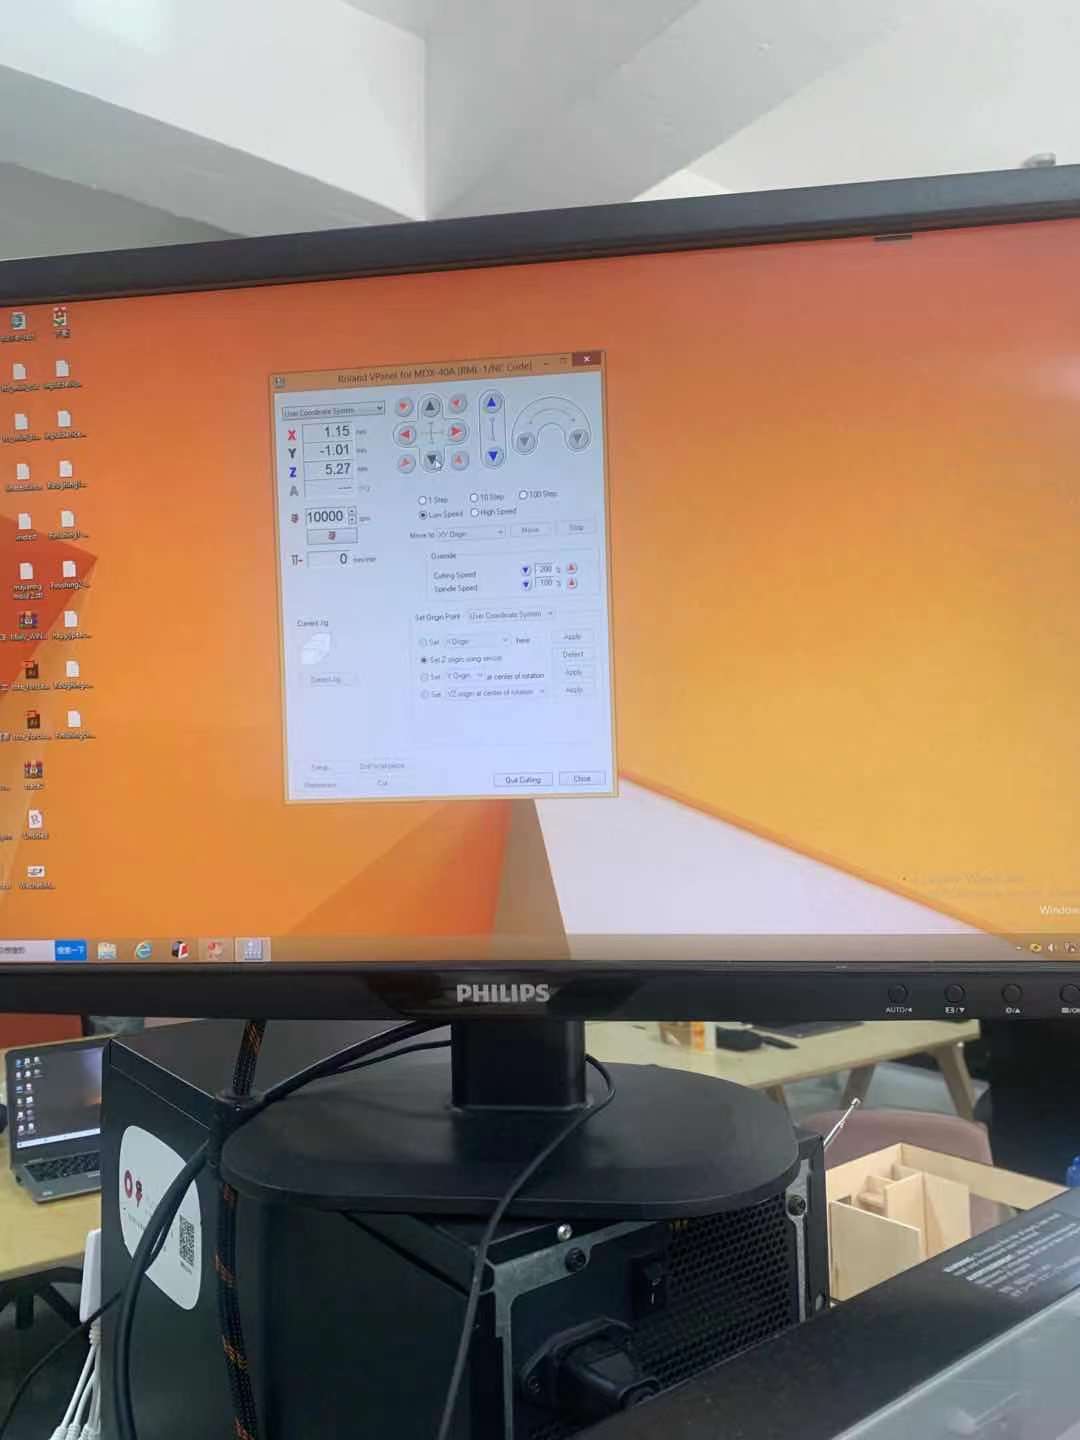
Move to the Roland Machine
- turn on the power.
- install endmill: for this design I choose 6mm endmill and R0.5 Ball.
- set zero XY and Z.
-
hold the endmill and tight and adjust the height enough for the holding part.
-
Open VPanel MDX , start at high speed
- set xy original apply
- set z axis connect the z 0 sensor scratch the plate use base surface
- set z origin using sensor detect
- cut - find file
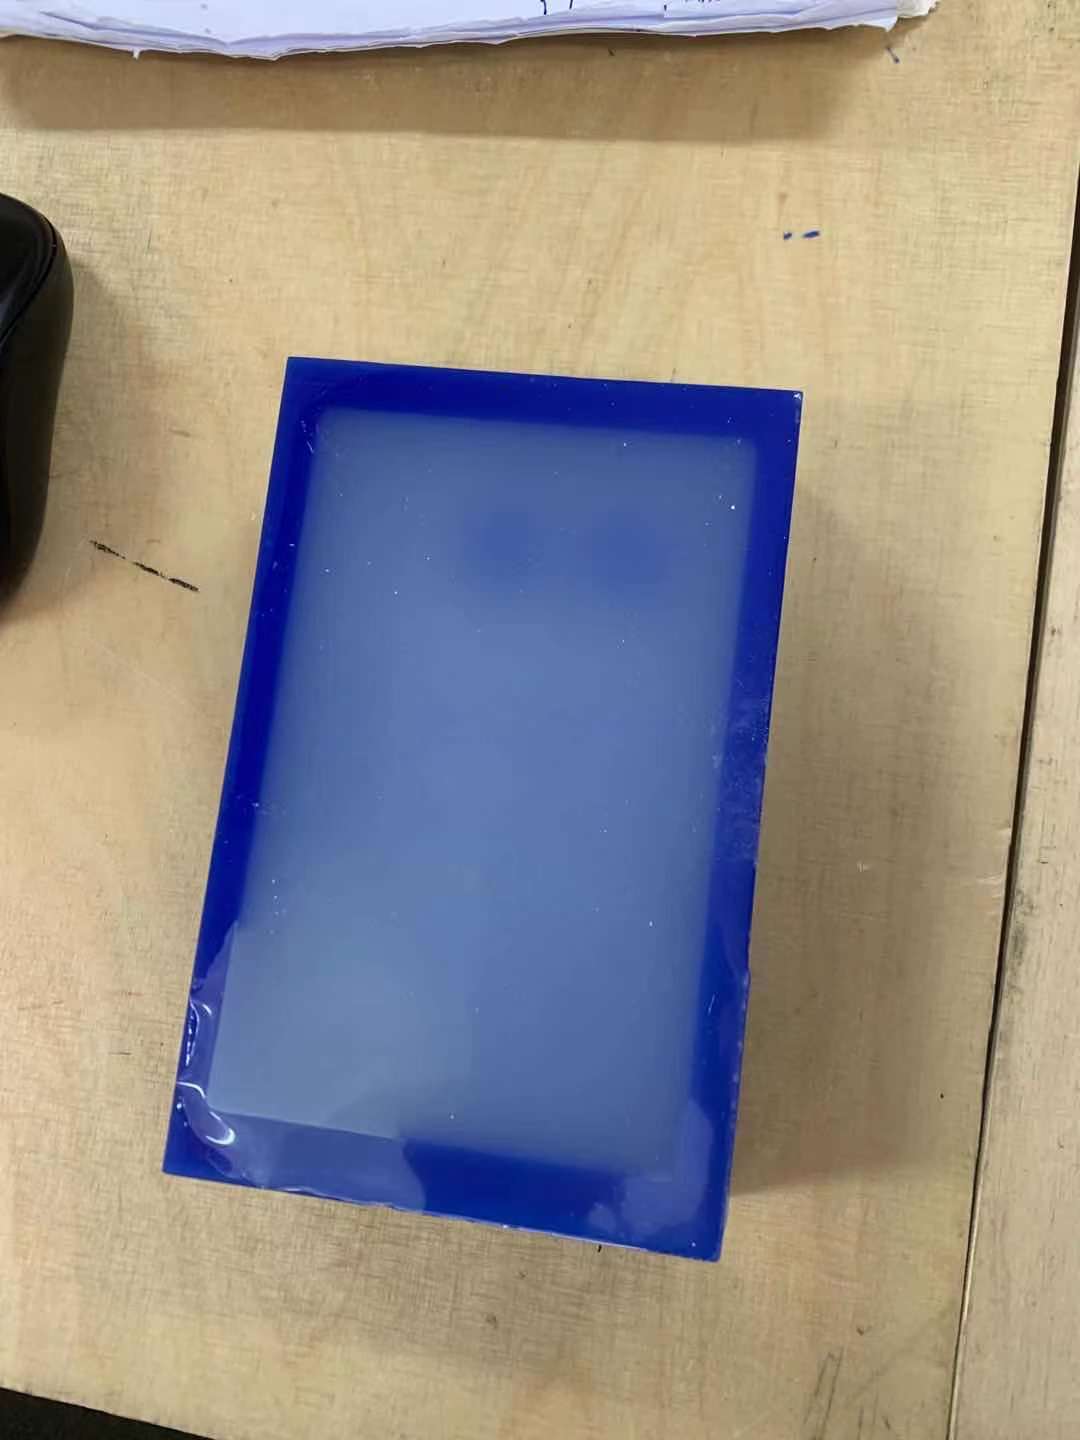
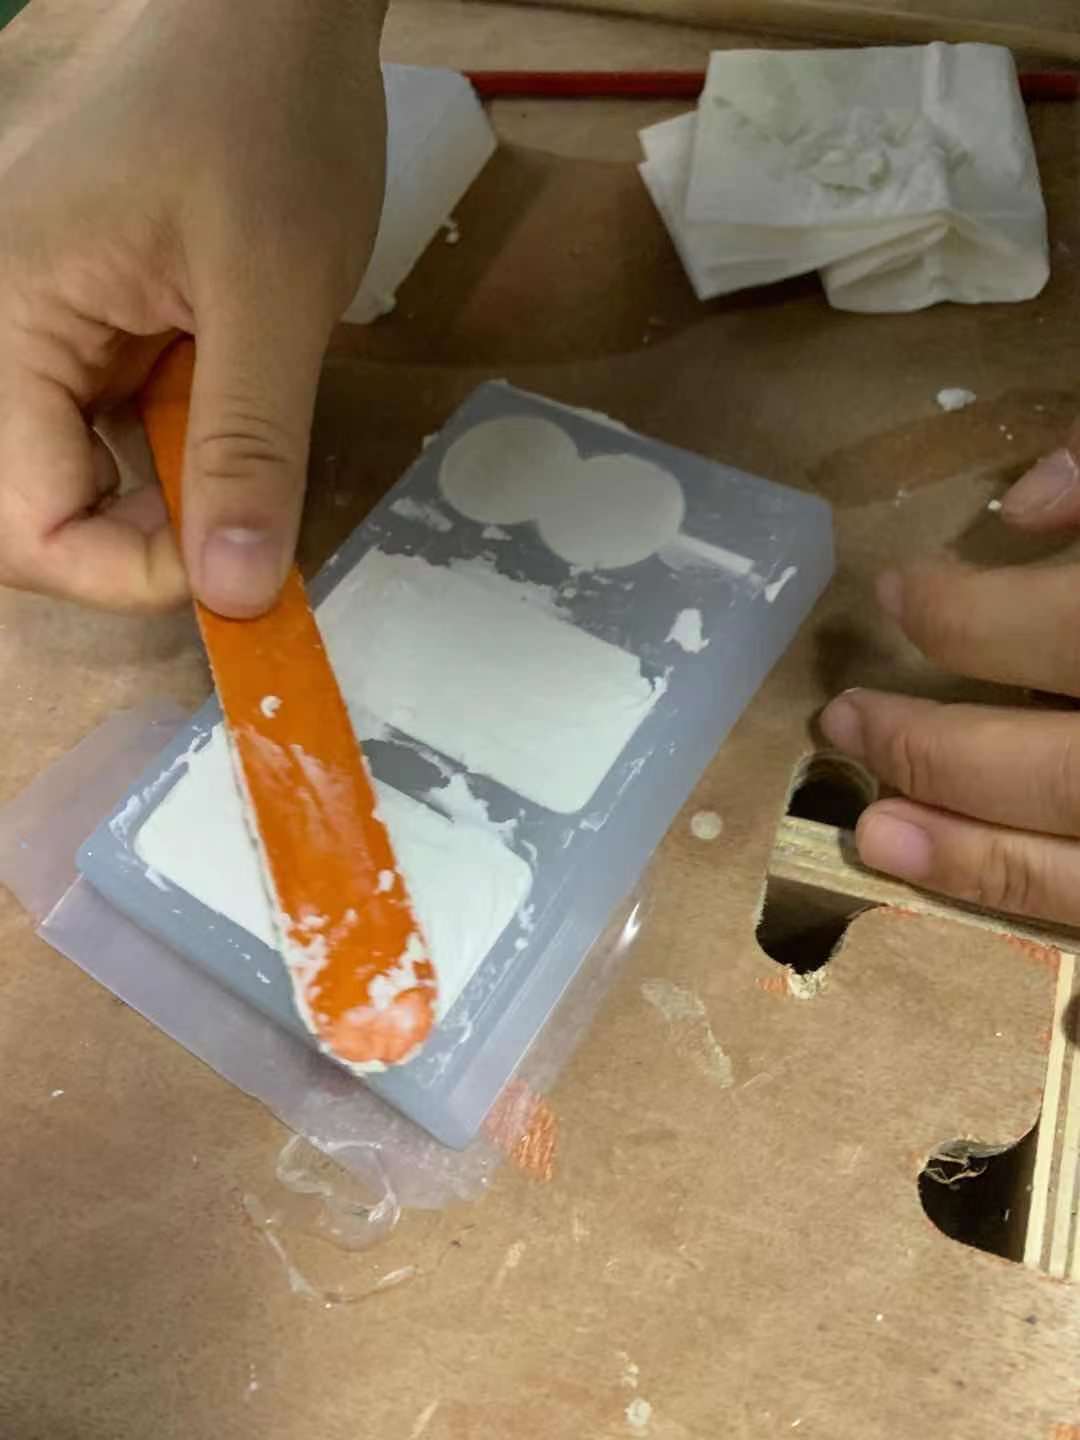
Master
- silicon model
-
cups
-
part A 60 g +part B 60 g and mixing for a while 1 min scratch the side of the cup and the bottom.
- flat surface air bubble on the surface
- use the brush take a little silicon painted on the surface of the mold.
- stay at high point and stay there for the silicon to flow. make sure no air bubble is created.
Casting
- dry stone