4. Electronics production
Assignment Checklist
- [x] Linked to the group assignment page
- [x] Documented how you made (mill, stuff, solder) the board
- [x] Documented that your board is functional
- [x] Explained any problems and how you fixed them
- [x] Included a ‘hero shot’ of your board

Weekly Assignment
This week I have learned to use machine to cut FabISP board.
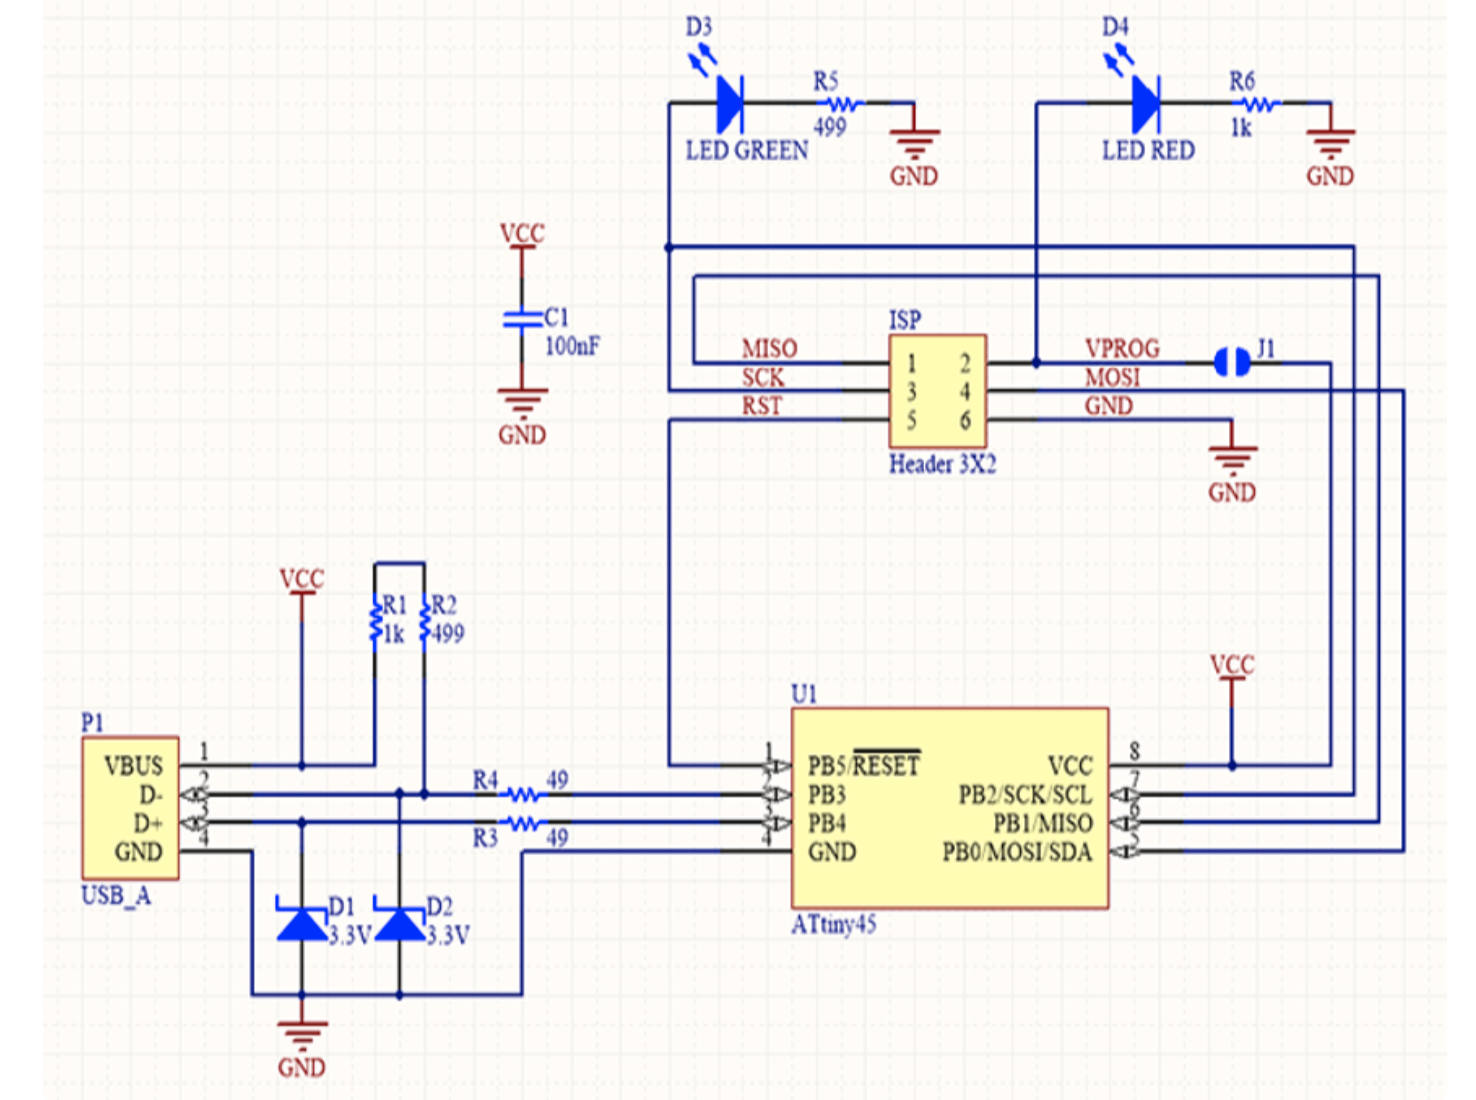
File preparation:
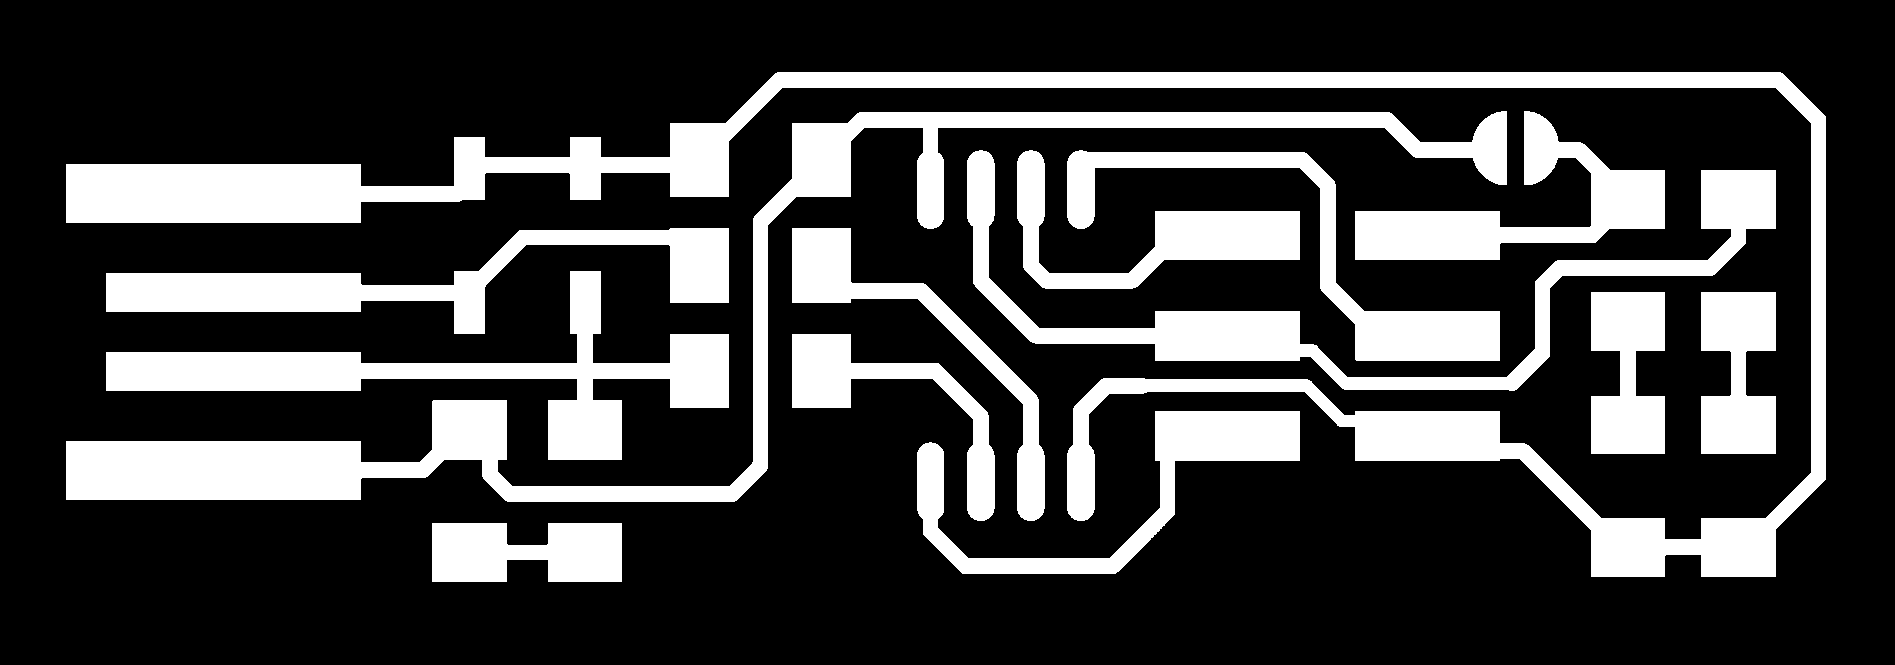
FabISP trace file.
-
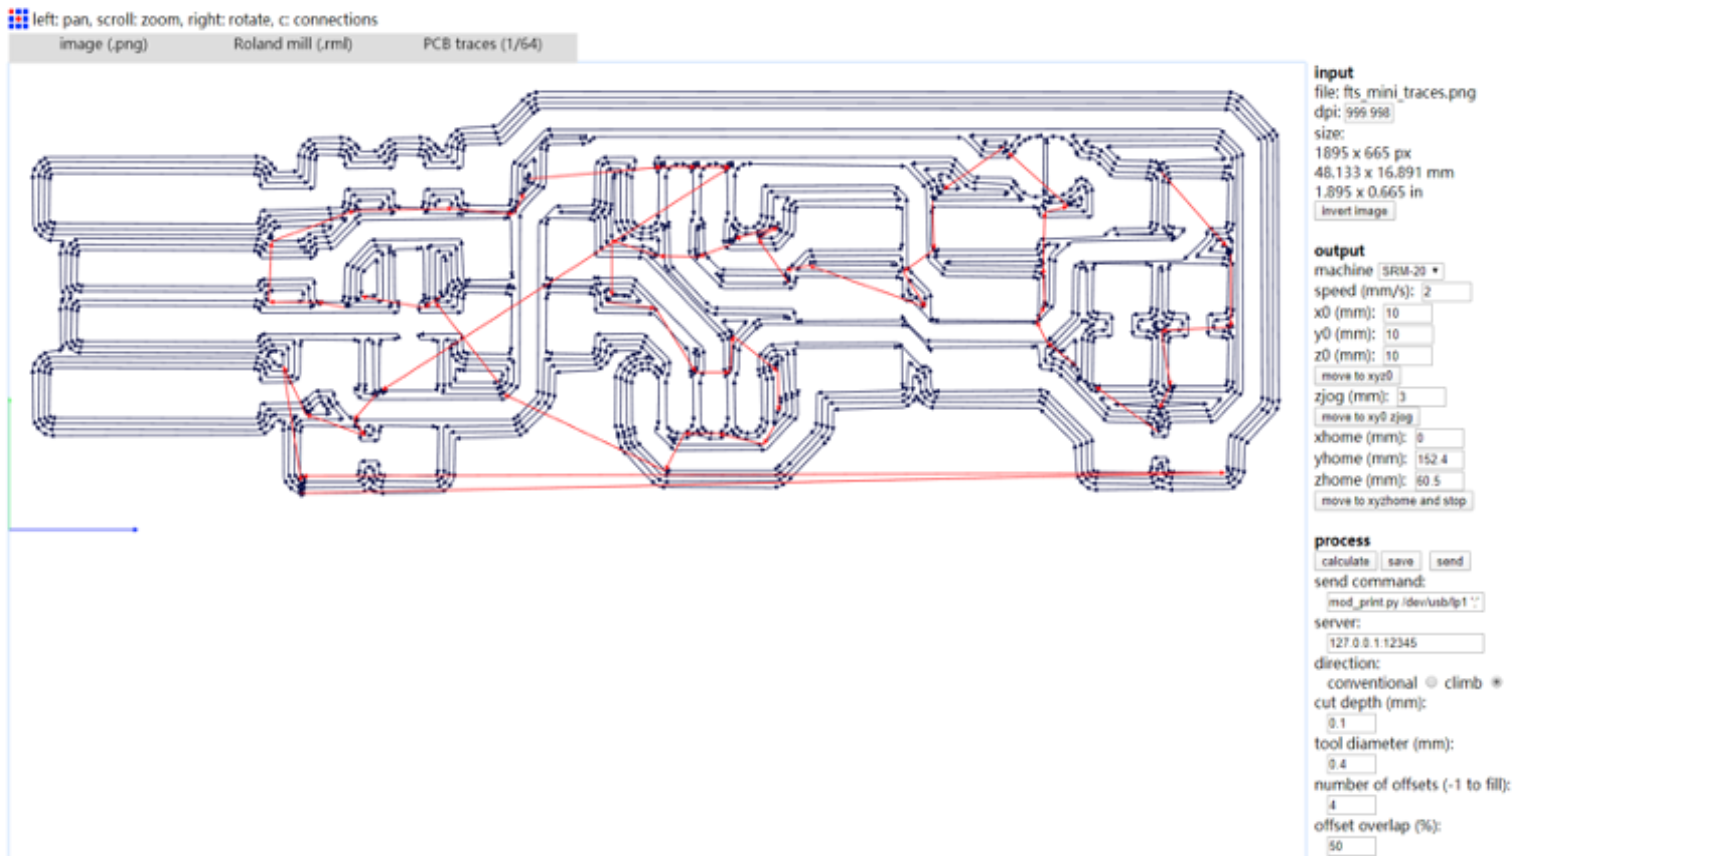
upload trace and outline png file to the website.(http://fabmodules.org/)
-
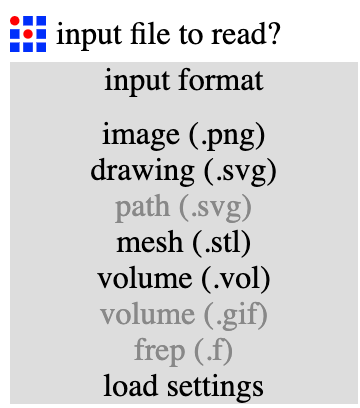
Click input format and choose img(.png)
-
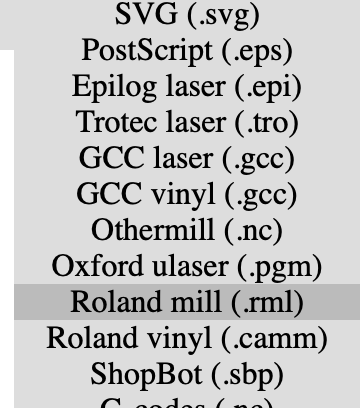
choose the right file to convert. In this case is Roland mill(.rml)
-
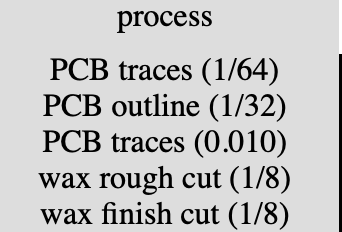
Choose the process parameter. For traces file choose PCB traces(1/64). Or choose PCB outline(1/32) for outline file.
-
At sidebar choose output machine: SMR-20.
-
Set values of x0, y0 and z0 to 0.
-
Click Calculation and double check the cut path.
-
Save both files for later action.
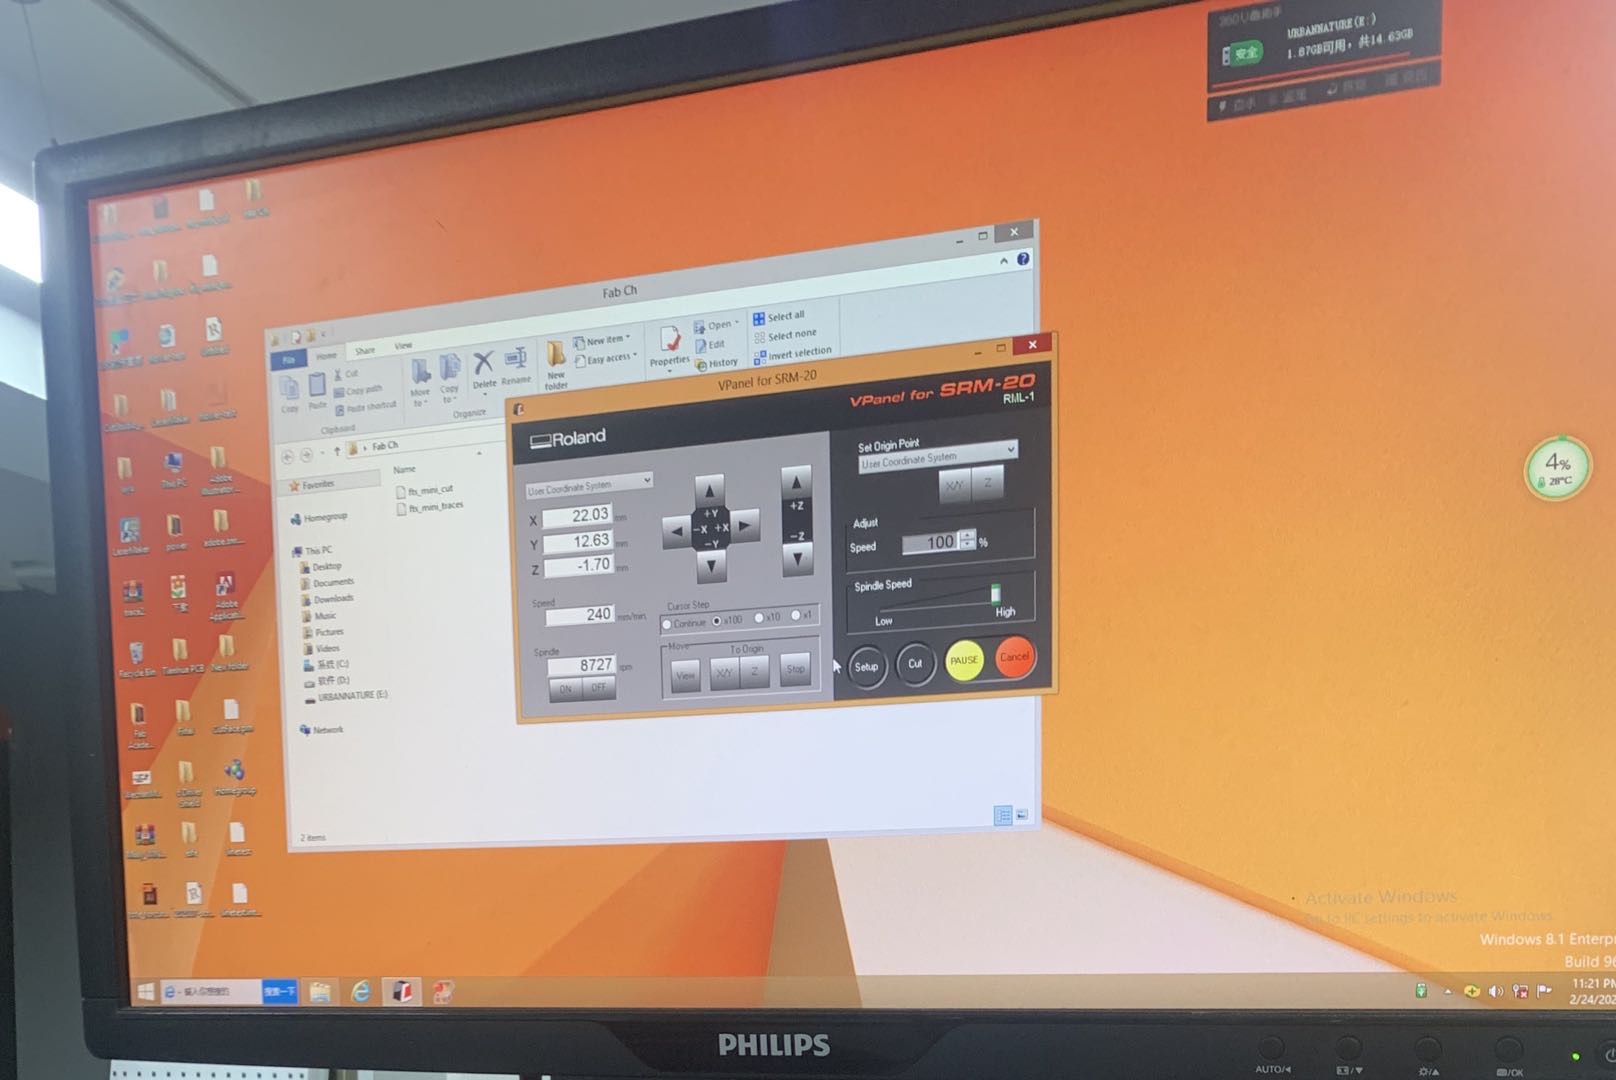
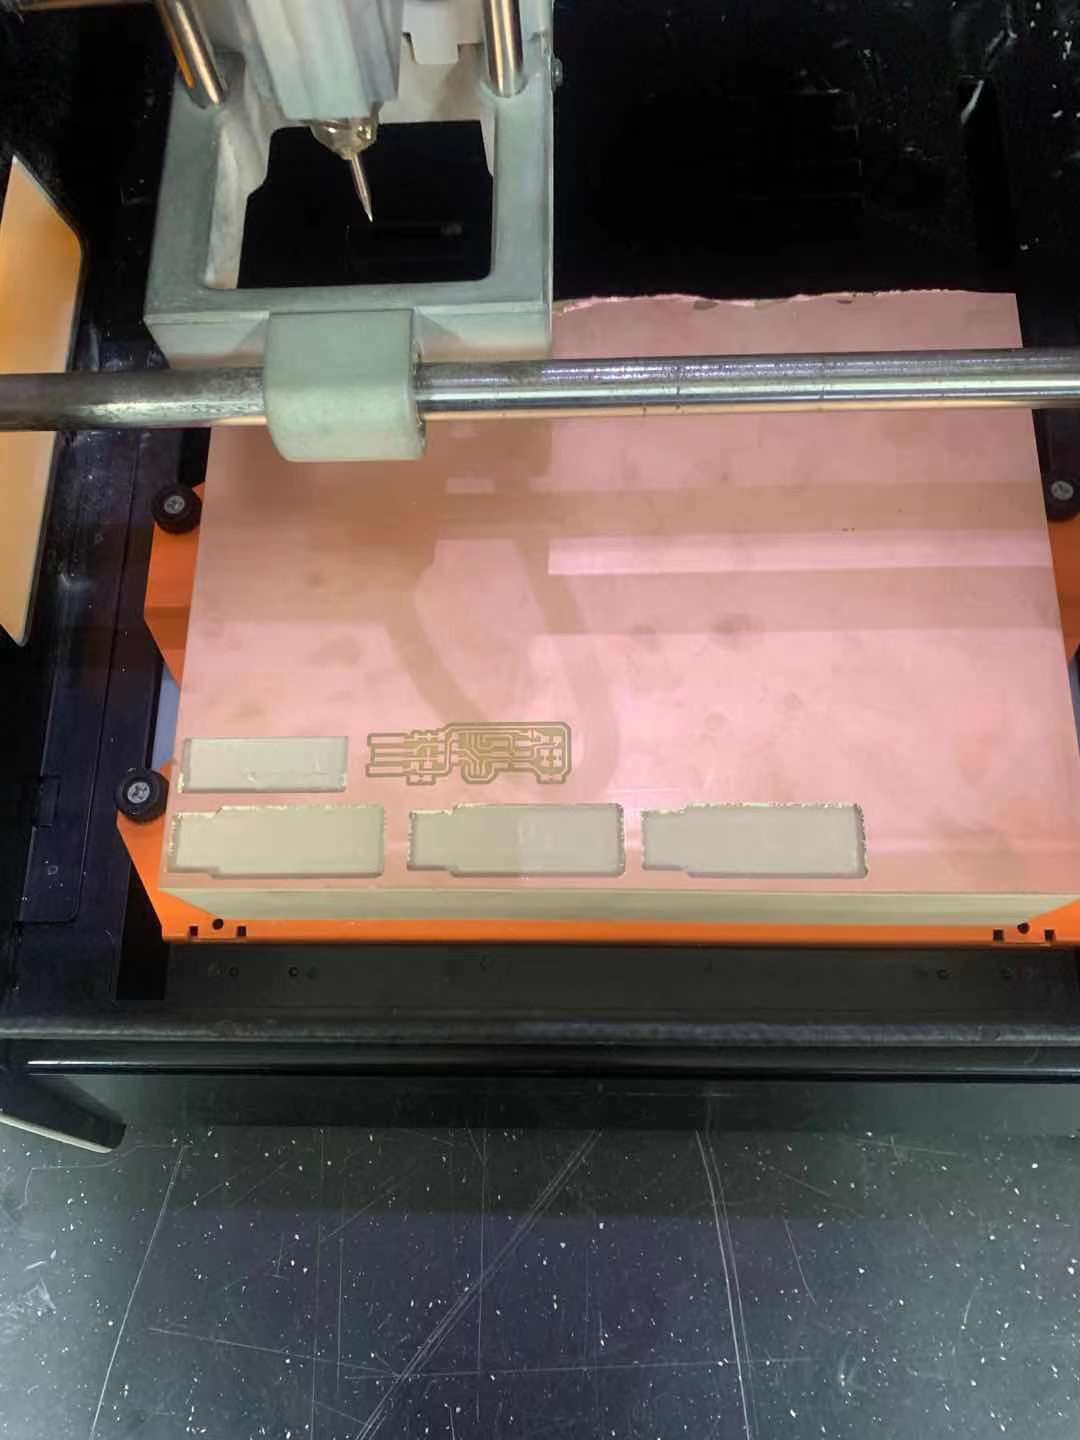
Cutting with Roland
-
Turn on the machine and PC. Start the Roland software VPanel for SRM-20. We used a 0.4mm endmill to engrave the traces on the material surface and a 0.8mm endmill to cut through the material. So we should keep 0.4mm tolerance of circuit while Design.
-
Clean up the plate with valcuum.
-
Set up the original X/Y positions by moving endmill to start position. And click X/Y button in the set origin piont panel.
-
Lift up the endmill up and change the endmill to the proper size by using the screw tool. Make sure the endmill is one finger out of the clamp.
-
Move slowly down in Z direction and closely to the surface of the plate. Then use the tool to loose the endmill. Let the endmill drop on the plate. Hold the endmill and use tool to lock it. Then you can click set origin point of Z. Then make sure to lift it up. And now you can click move to origin point X/Y.
-
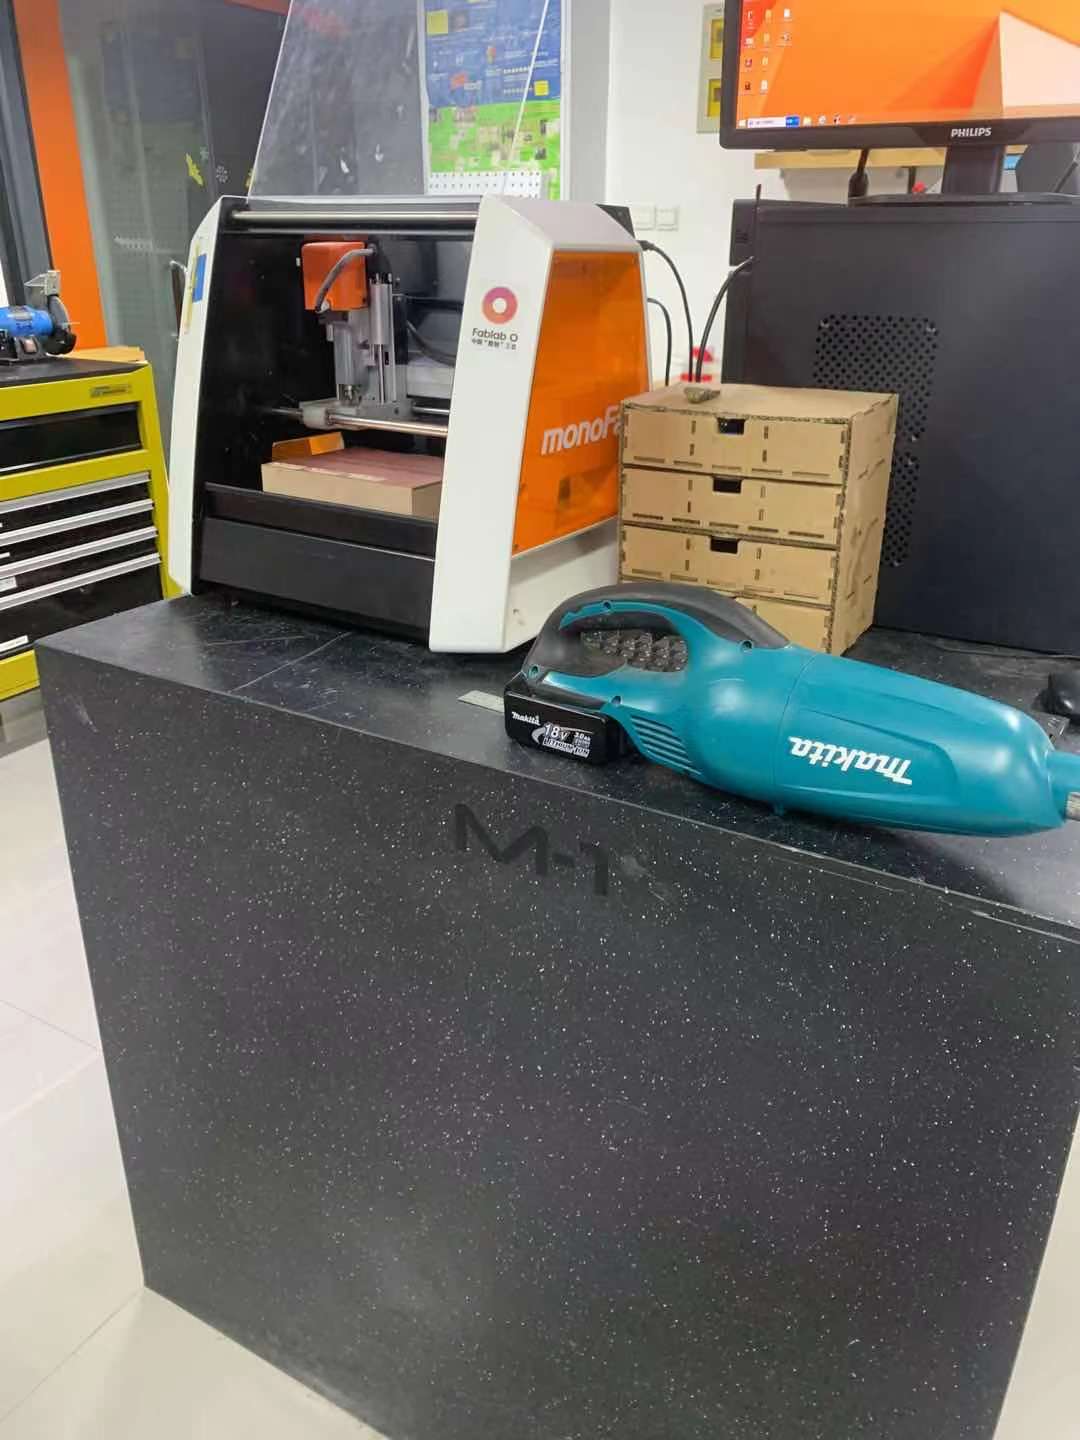
Click Cut button. Choose the path file and start to cut.

-
Pay attention to the sound of the machine and observe the ashes generated during cutting.
-
After cutting the trace, clean up the plate and repeat steps from 4 to 6.
-
Remove the ISP board with proper tool like steal ruler. Clean up the board and scratch spear parts.
Soldering
- Prepare a list of parts to be soldered later.
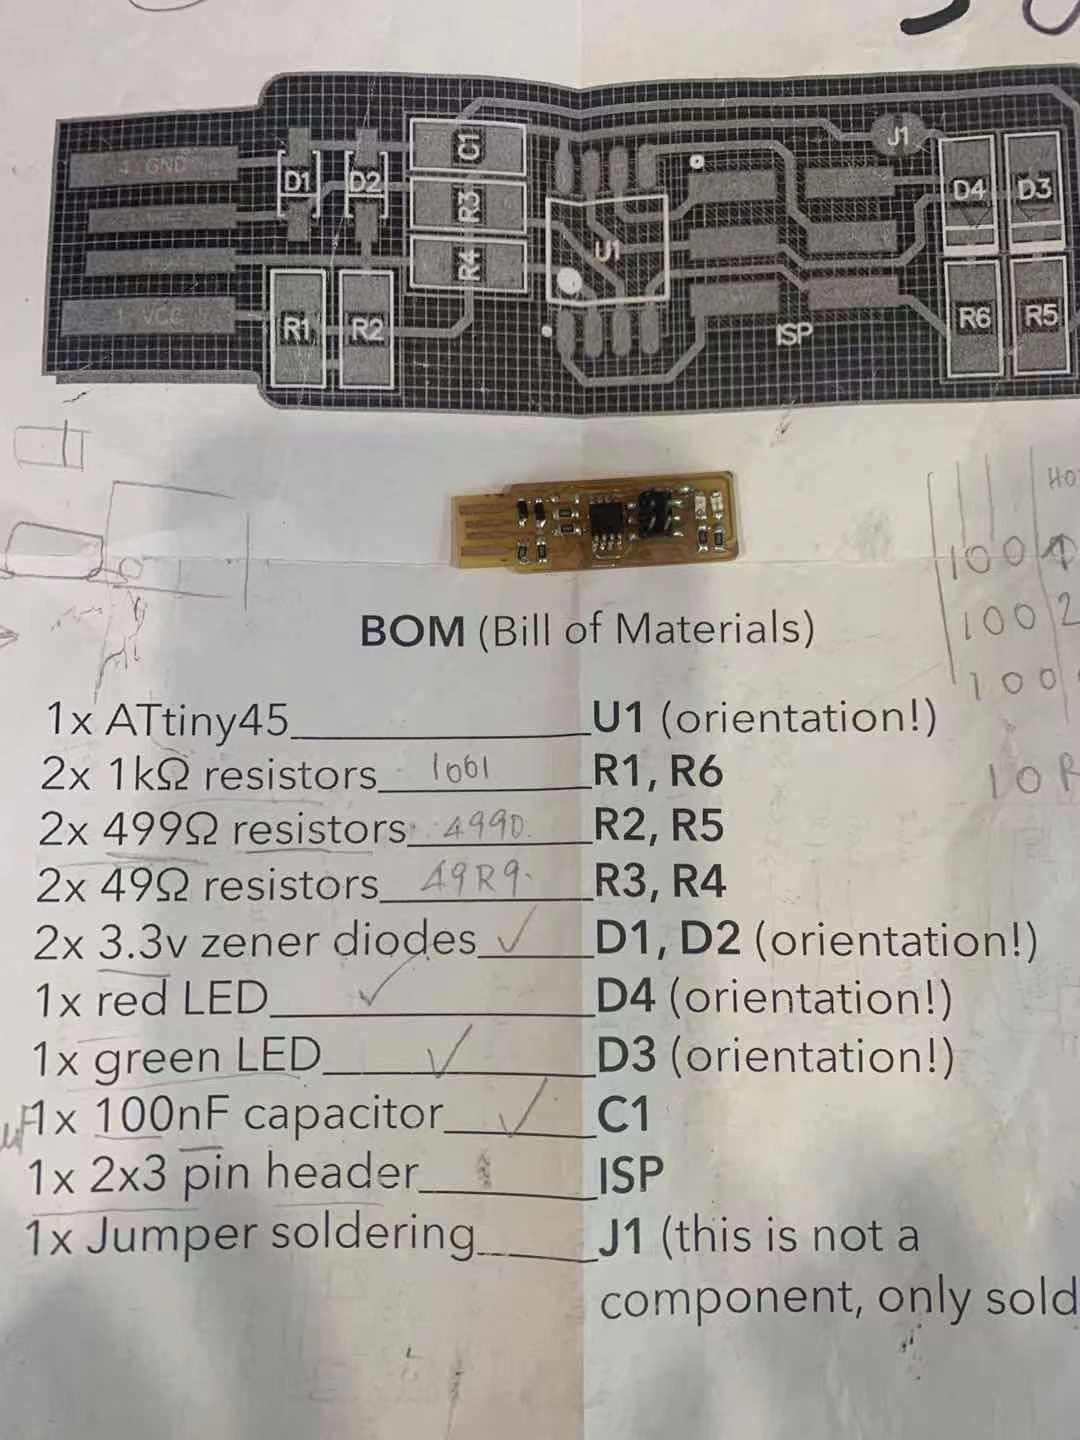
1x ATtiny45 2x 1kΩ resistors 2x 499Ω resistors 2x 49Ω resistors 2x 3.3v zener diodes 1x red LED 1x green LED 1x 100nF capacitor 1x 2x3 pin header
-
soldering the center component and small components first.
-
Hold a twister to fix the component, while using the tip of the soldering iron to melt the soldered dot.
-
To warm up the surface, lightly press the tip of the soldering iron on the component.
-
With one hand holding the soldering wire and another hand holding the soldering iron, solder the other end of the component.
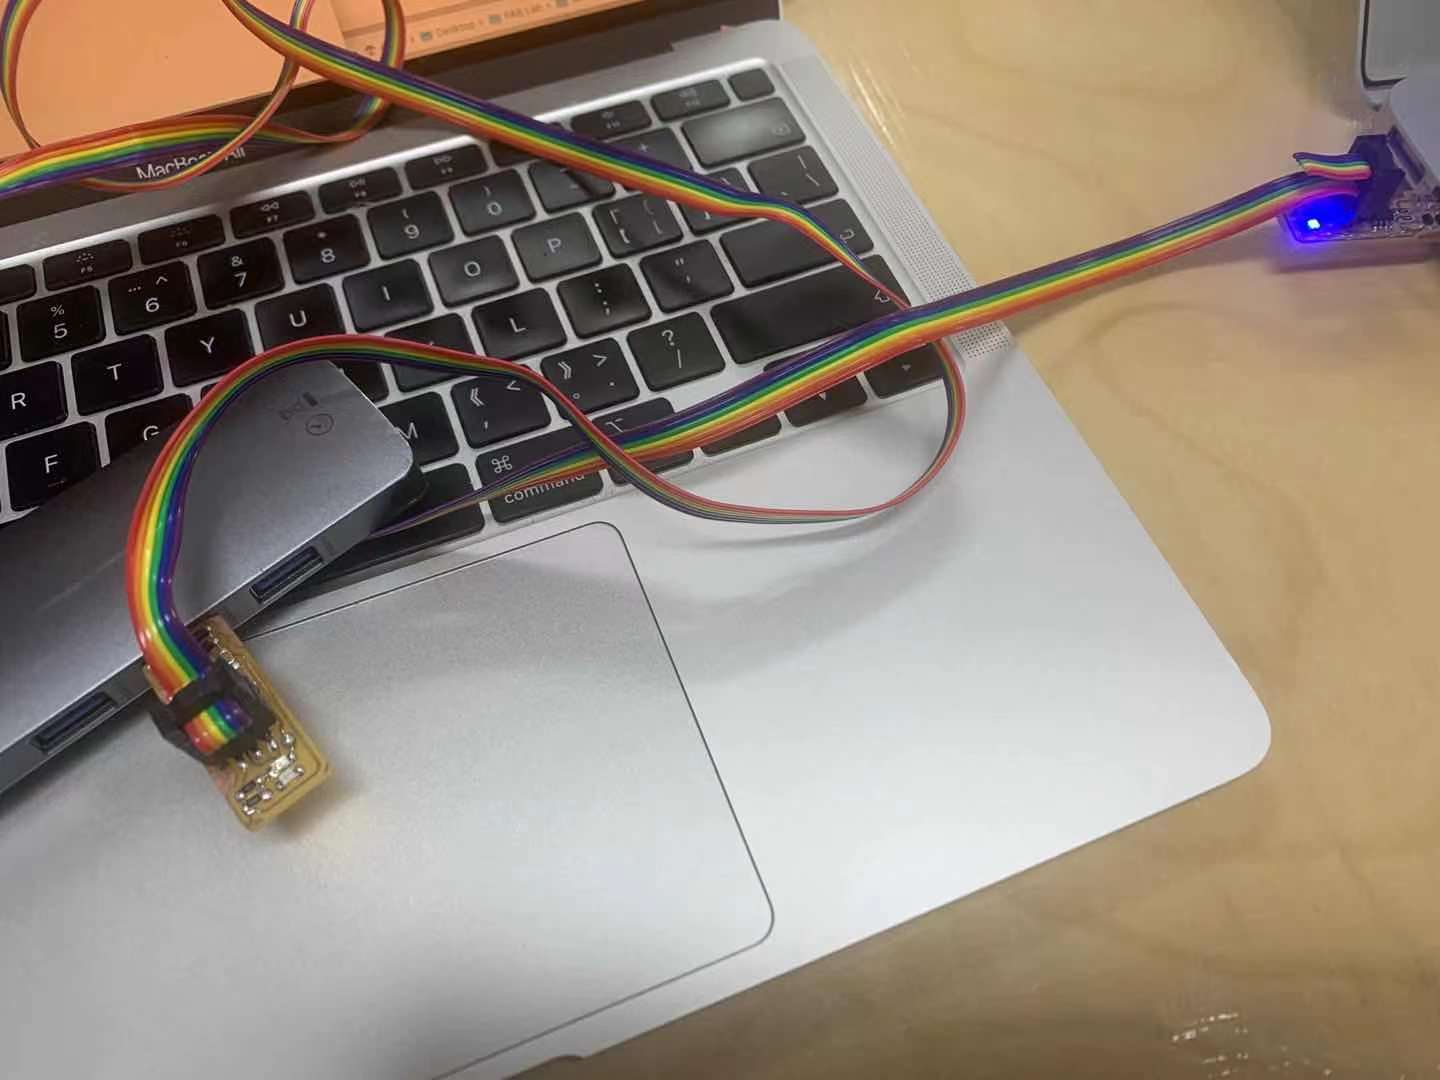
PCB programming
(check Brain’s site for more information)
- download and install CrossPack.
- download firmware source code and unfold the makefile source code.
- connect the FabISP with cable in 2x3 pin header.
- connect new board’s usb for power supply.
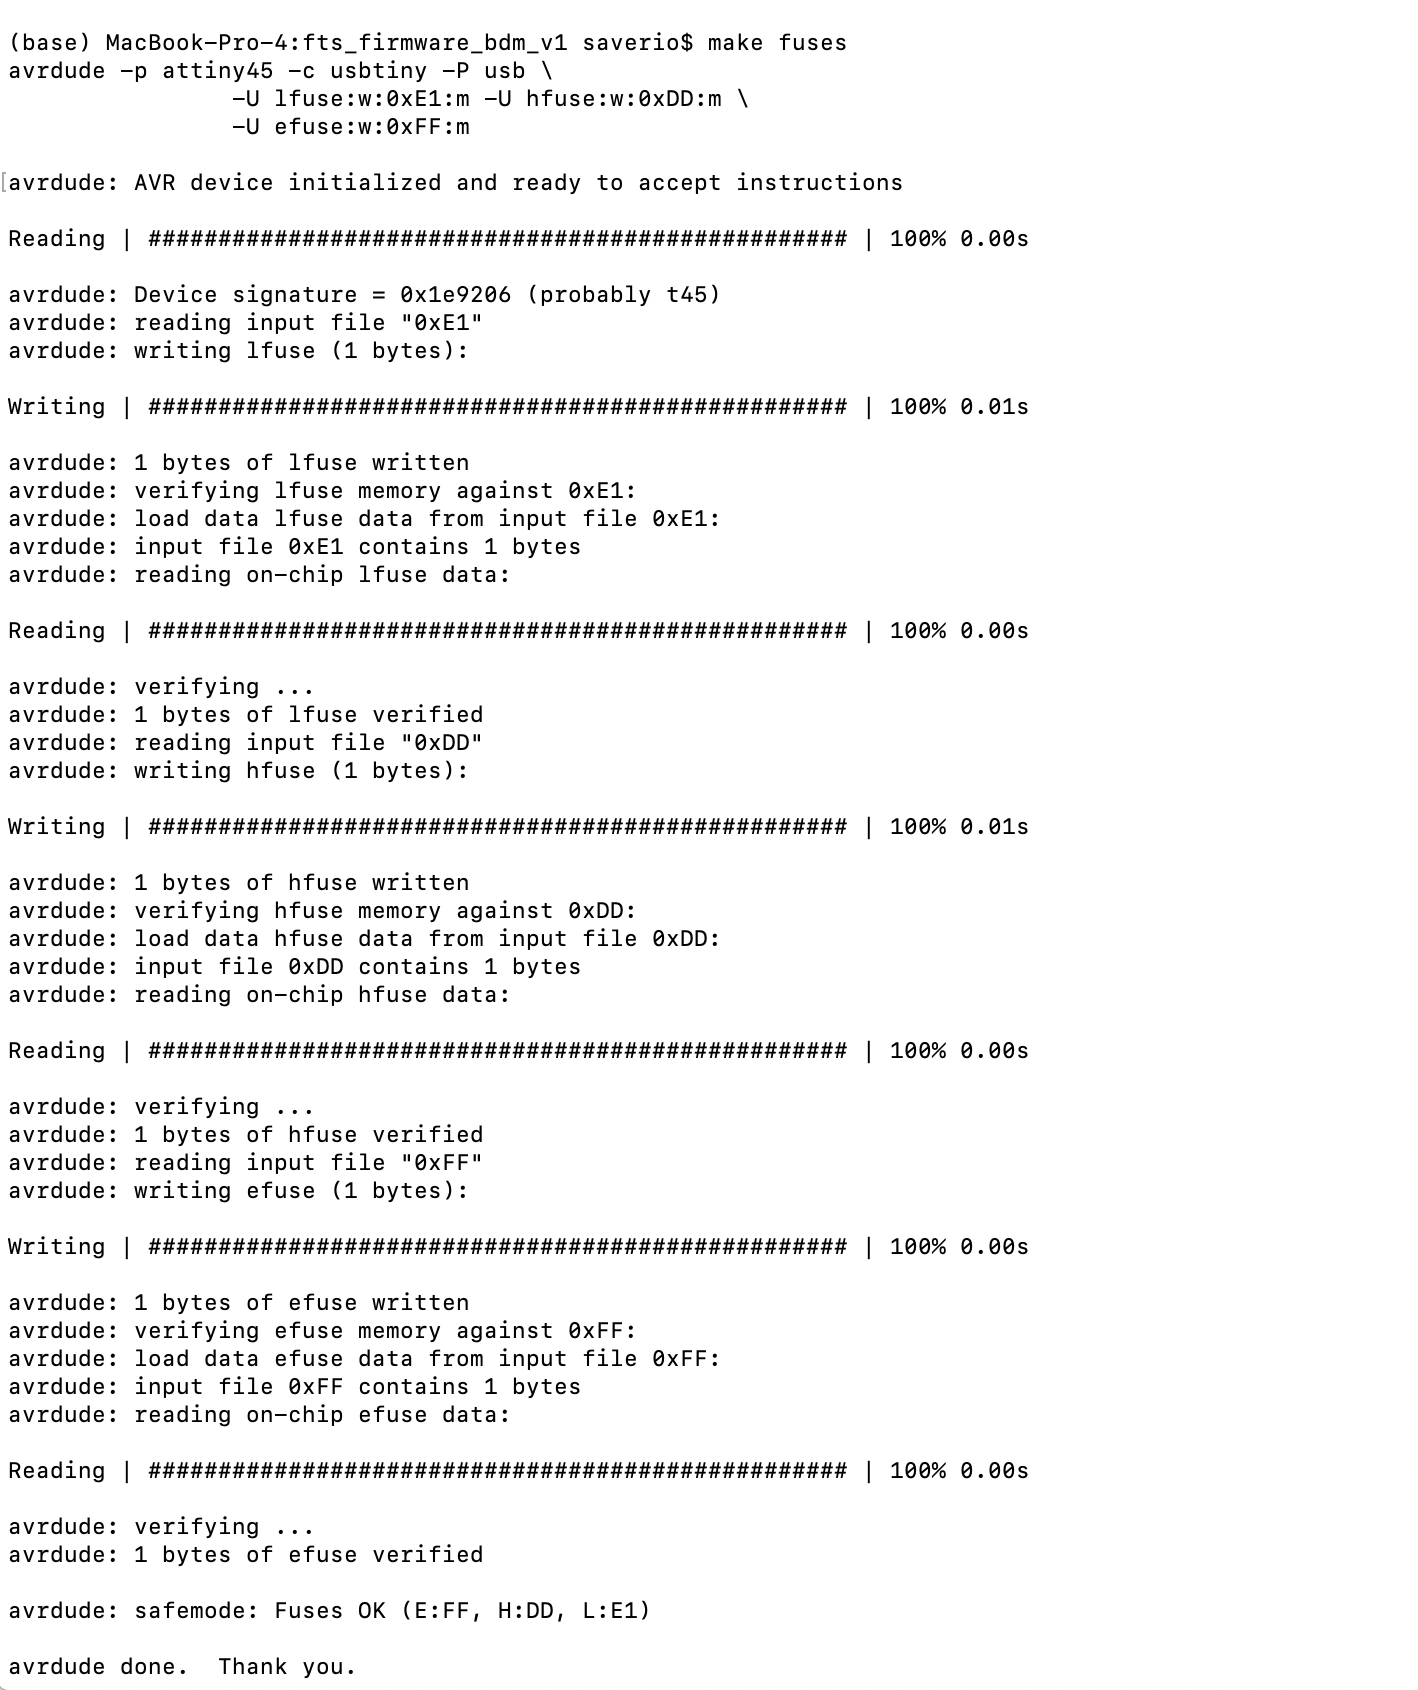
- in terminal
cd to_the dir_where_fts_firmware_bdm_v1_located
make
Run the commands in order: 1) make (a file named fts_firmware.hex is created in the folder) 2) make flash 3) make fuses
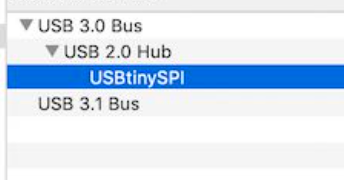
Check the port:
On Mac, the USB port connection can be checked under Finder/About This Mac/System Report.
Hero Shot
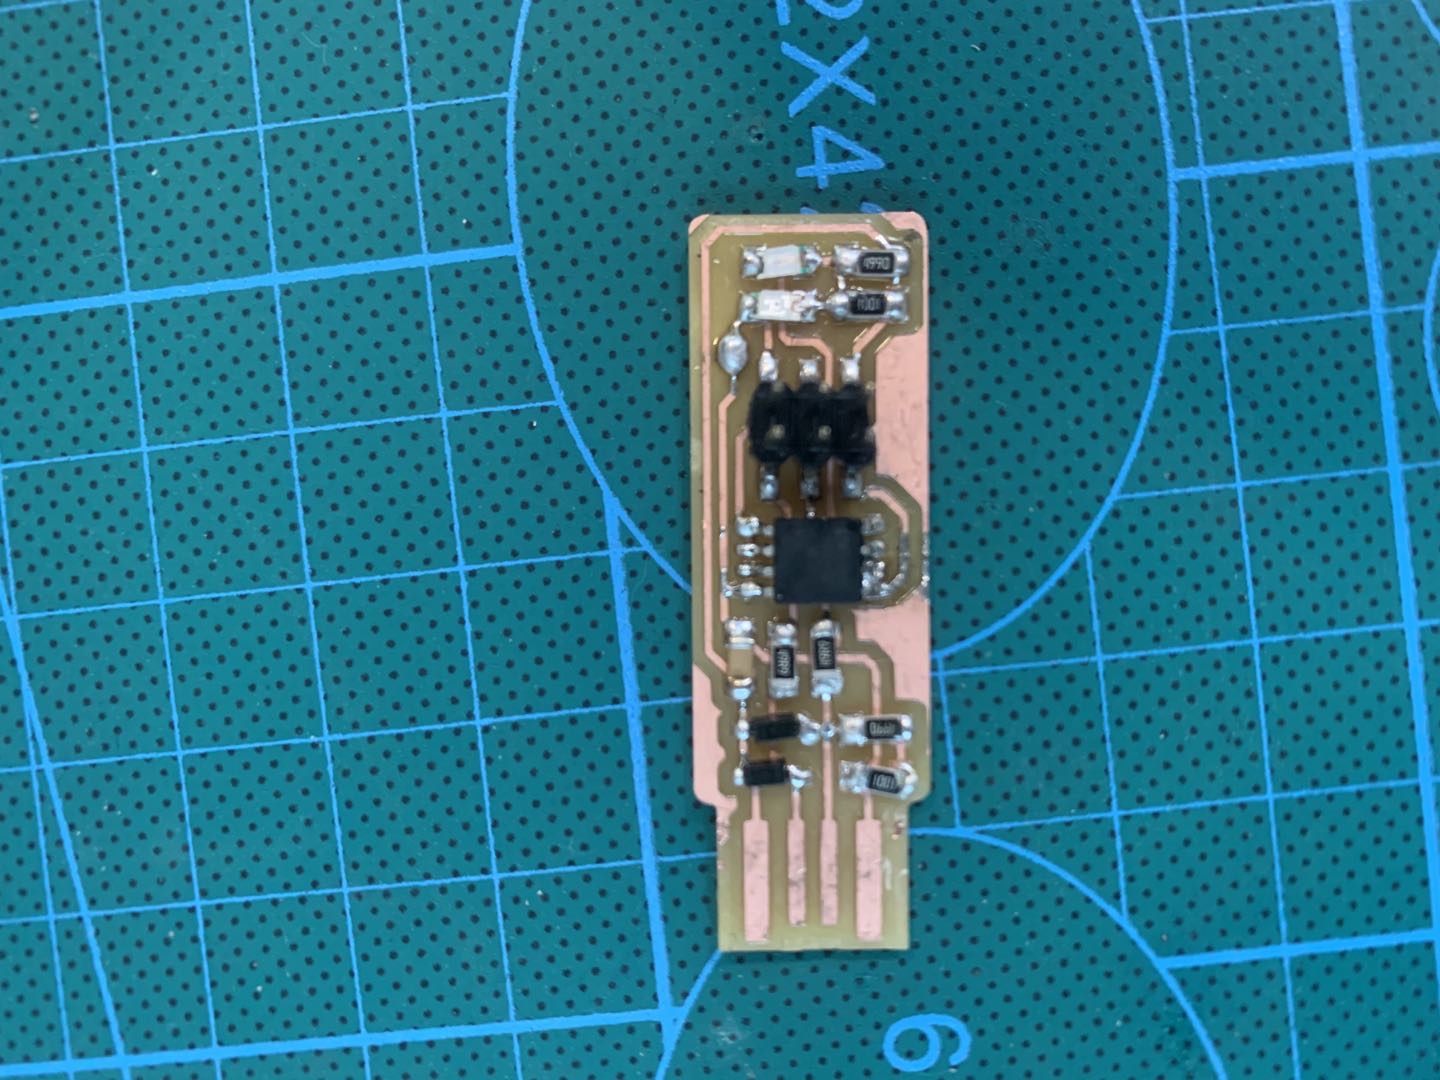
Problem
One problem that I met was that the ATtiny is too small that I solder it in a wrong direction. So I have to remove it from the board with hot air and re-solder it in a proper direction.
Group Assignment
This week’s group assignment is to run a milling precision test. We milled a test board to check the precision of the milling machine.
-
download the trace and outline png file following the link

-
following previous steps to mill the board.
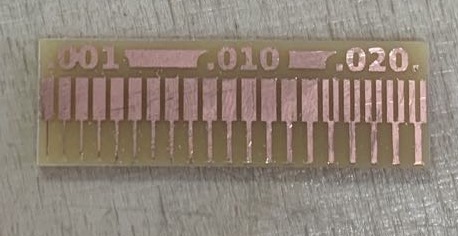
- The result shows the precision of the machine. It could cut thin line which is close to 0.001”.
- Since the diameter of the milling bit is 0.4mm, the traces of above strip is added to the cut which is bigger than the size of diameter.
file
file linetest rml file fts_mini_cut file fts_mini_traces