2. Computer Aided design
- [ ] Modelled experimental objects/part of a possible project in 2D and 3D software
- [ ] Shown how you did it with words/images/screenshots
- [ ] Included your original design files
3D Design
I use Blender to make my 3D design by following the web tutorial step by step.
The process involve steps: 1. familiar with the tools and panels
-
Move it by pressing g, to only move things in the x direction, press g+x, or to move an object in the xy-plane, press g+SHFT+z (move in every direction except the z).
-
Scale it by pressing s, the same extra options as for move above work for scaling.
-
Modelling
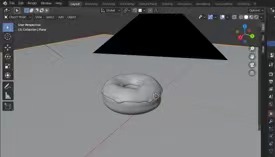
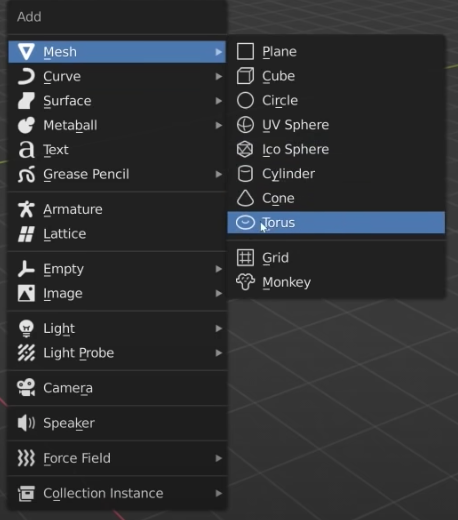
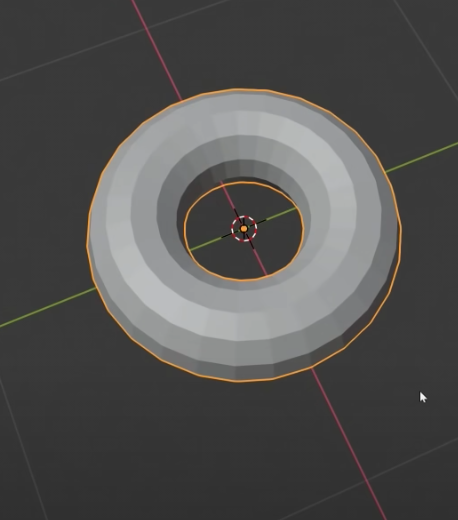
To create a donut, I create an torus object and change the size for inner and out rings.
I adjust the major and minor segments to have a shape with proper details.
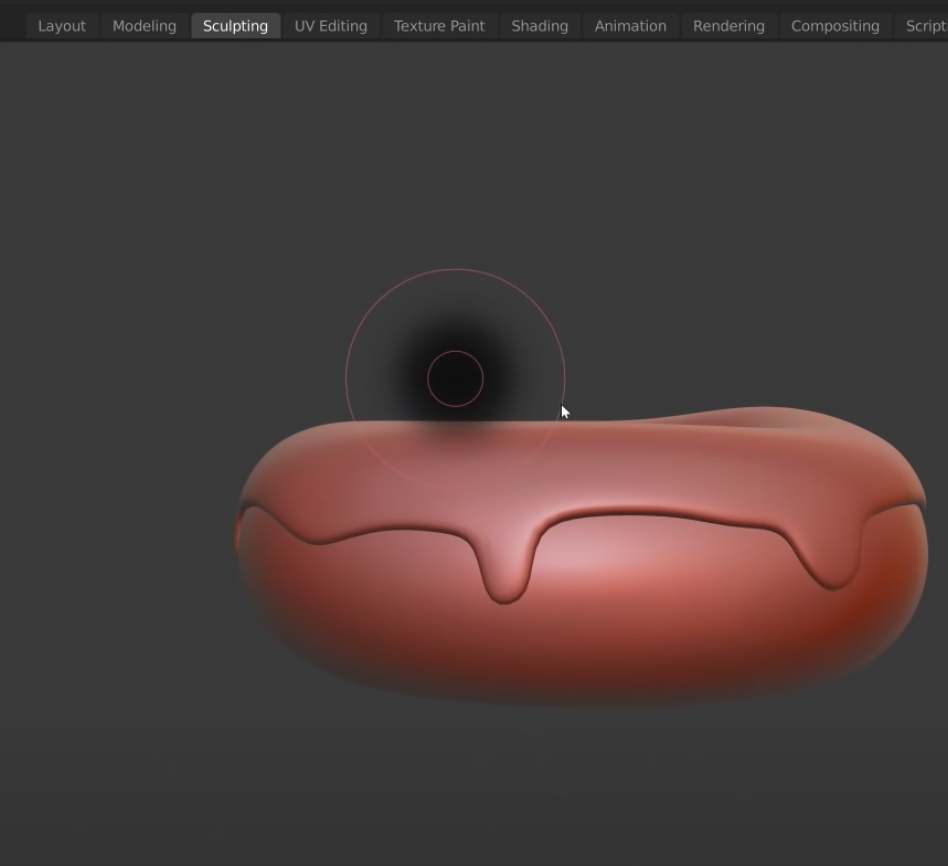
- Sculpting Click the tab from layout view to sculpting view. Use the sculptdraw function and set the radius to 90px and strength to 0.5. Then click the object to form a nature shape.
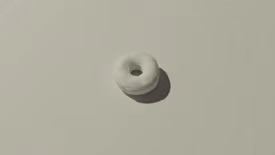
- Rendering
One of the main objects in Blender is the camera. When you create an actual render, it’s the viewport of the camera that gets rendered.
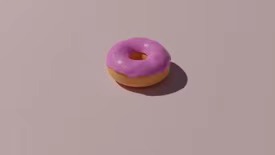
I update stl file to modelo to demonstrate the 3d model.
2D Design
I have designed a logo by using sketch.
There are plenty of resources to learn sketch from their official website
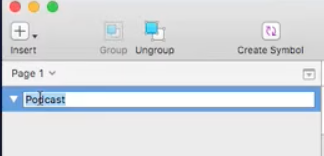
first create a base layer by click insert postcast and then add a rectangle filling the color with pink.
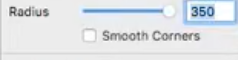
 Then adjust the radius to 350.
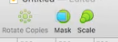
 add triangle over the layer and fill with blue. then click the mask. Then add circle and letter C to canvas.
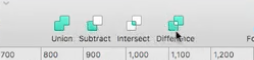
 select the backgroud rectangle and letter C then click Difference to create following effect.
![]()
Source file: logo