Individual:
1. Plan and sketch a potential final project
2. Work through a git tutorial
3. Build a personal site in the class archive describing you and your final project
Plan for the week
Final Project
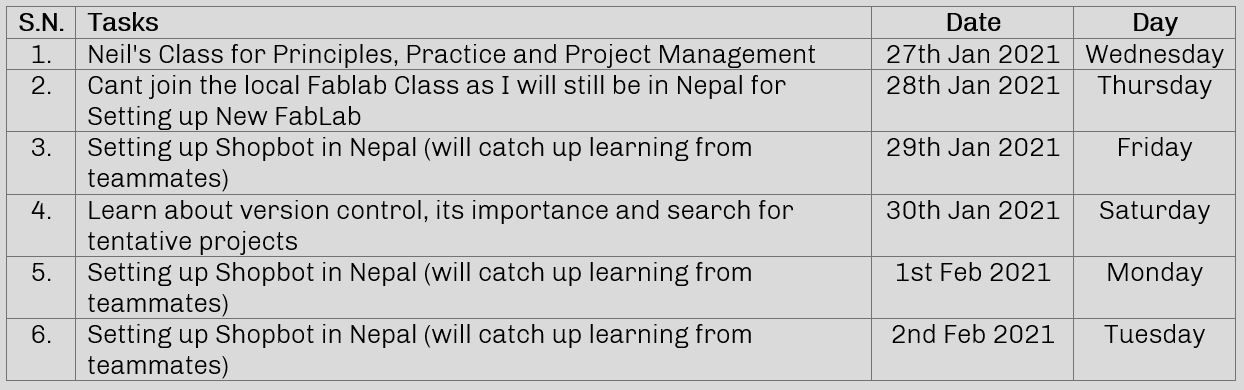
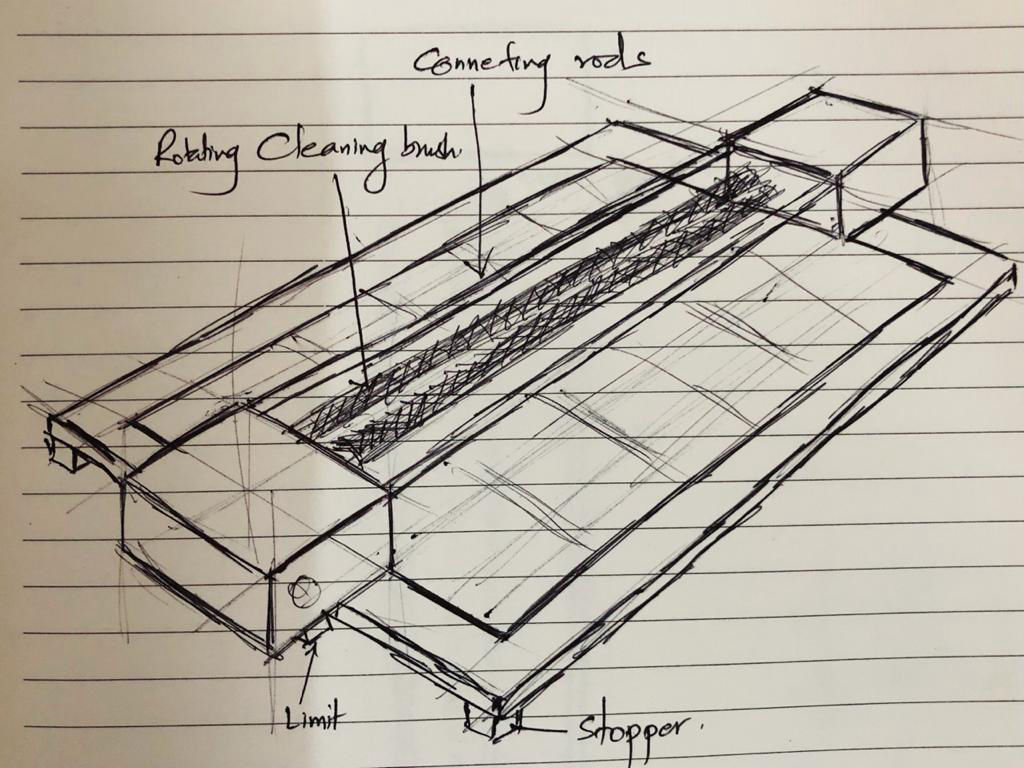
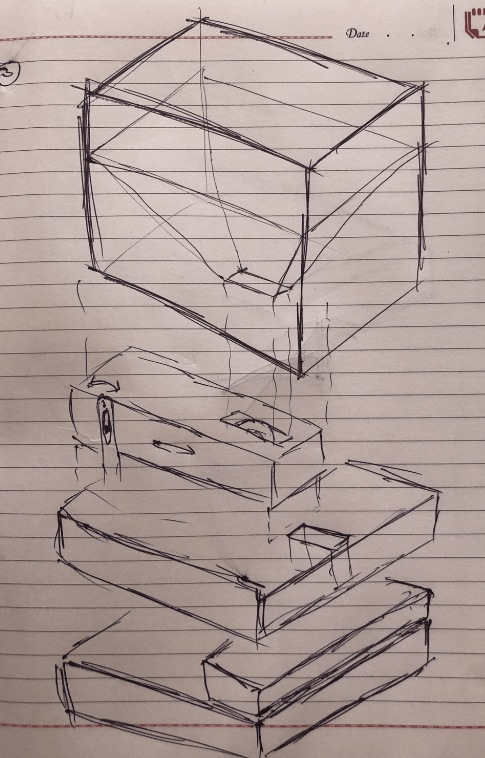
For final project I have shortlisted following products:
Git according to my understanding is a version control platform which allows you to have control over different project documentation requirements like saving, maintaining, collaborating all different version of the project as you progress with ability to restore from the previous version if changed project is not preferred. There is other versions which you can for the version control, but git has the pros like open source, fast response time due to its simple platform.
STARTING WITH GIT
Git was my first experience with version control. I previously had used normal folders and names for controlling the version manually in my local laptop which took a lot of space and was sometimes confusing. Now that I know about git, I can fully rely on this for this purpose.
1. Installing Git
It was an easy process as the link was provided in the fab academy site. After downloading, hitting next, next was the thing we had to do for the normal installation.
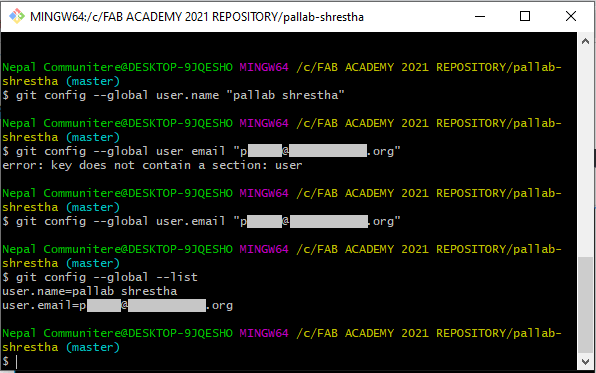
2. Configuring Git
After installing Git, it has to be configured, and following code was used:
i. configuring username
git config --global user.name "pallab shrestha"
ii. configuring email address
git config --global user.email "p****b@**********.org"
iii. confirming the username and email address
git config --global --list
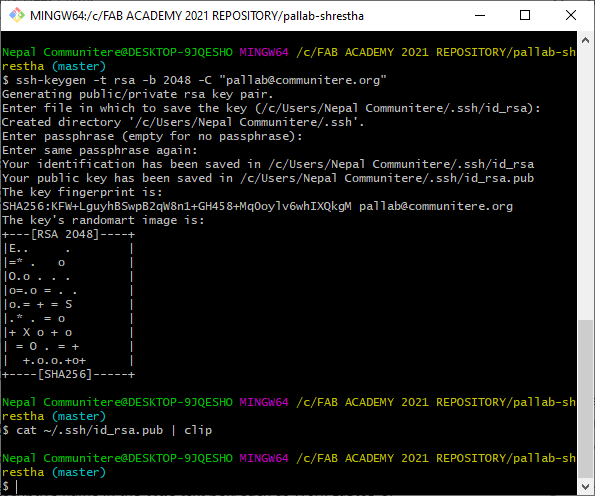
3. Connecting to the server
Now after Git was configured, it has to be connected to the server for updating and pushing each version as we document the progress. For this, a SSH (Secure Shell) protocol is used. SSH protocol provides security and allows you to authenticate to the GitLab remote server without supplying your username or password each time. In order to connect your local PC to the server, RSA key is used with following code.
ssh-keygen -t rsa -b 2048 -C "p****b@**********.org"
[After you enter the RSA key please add the passphrase though it might not be seen on the screen for security purposes]
Then the pub file is generated using following code which would be saved in the user folder.
cat ~/.ssh/id_rsa.pub
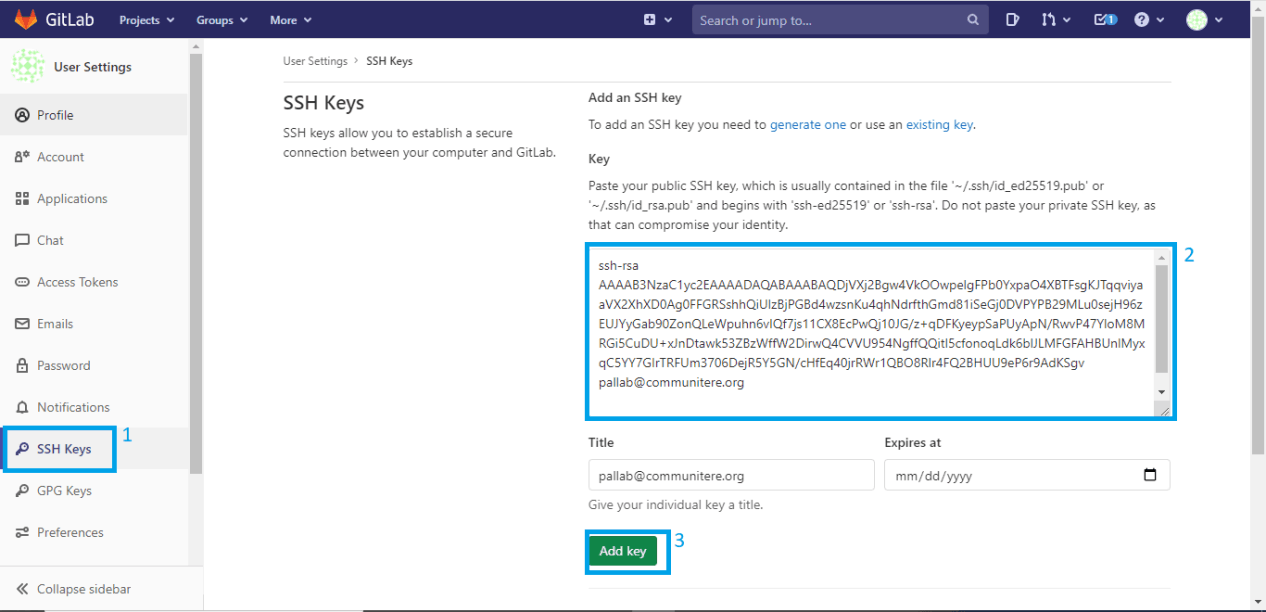
Now the pub file is opened in notepad and copied in the SSH key section of the Gitlab after logging in to connect to the server.
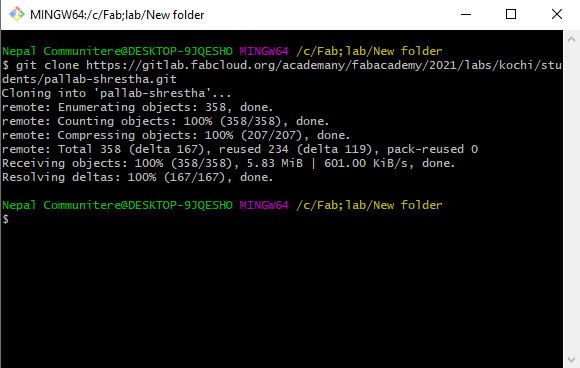
4. Archiving the file to the local PC
Now the current content that is in the server is archived in the local drive by cloning using following command.
git clone git@gitlab.fabcloud.org:academany/fabacademy/2021/labs/kochi/students/pallab-shrestha.git
5. Pushing the file to server
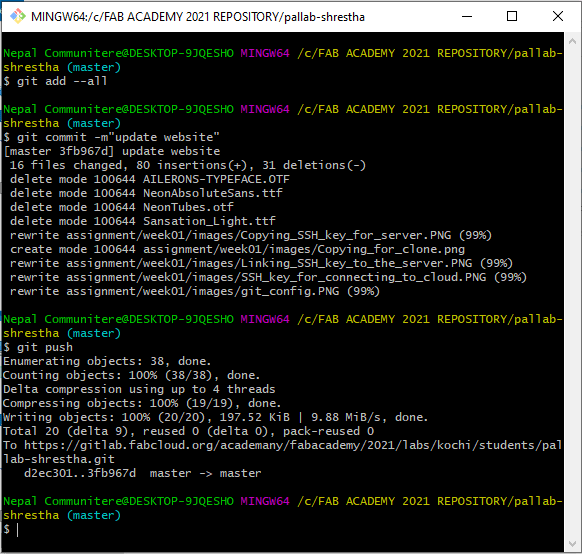
After updating you website, follow following steps to add all, commit the change and finally push respectively. While committing, the remark has to be added why the new version is pushed.
i. git add --all
ii.commit -m"update website"
iii.git push
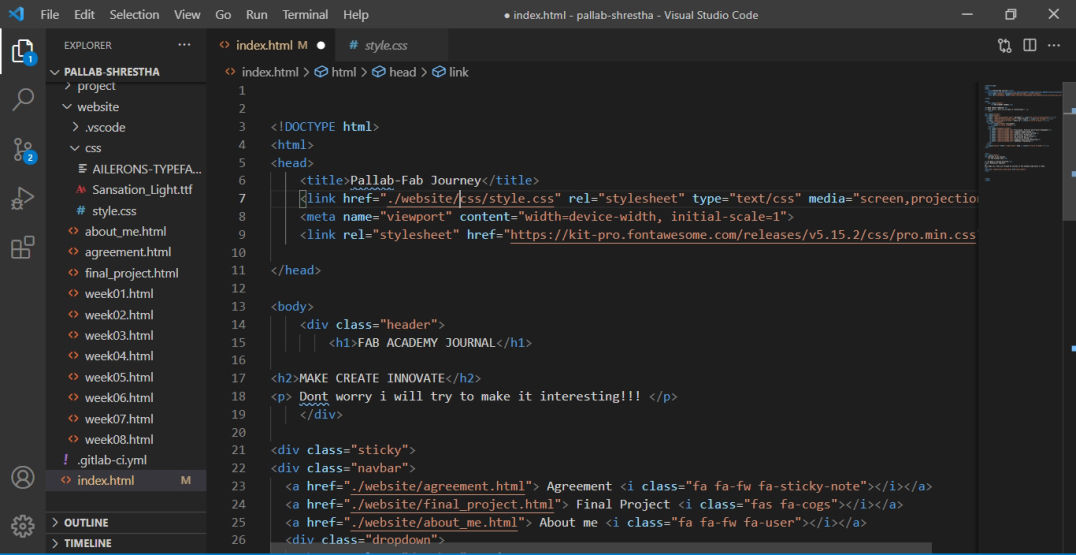
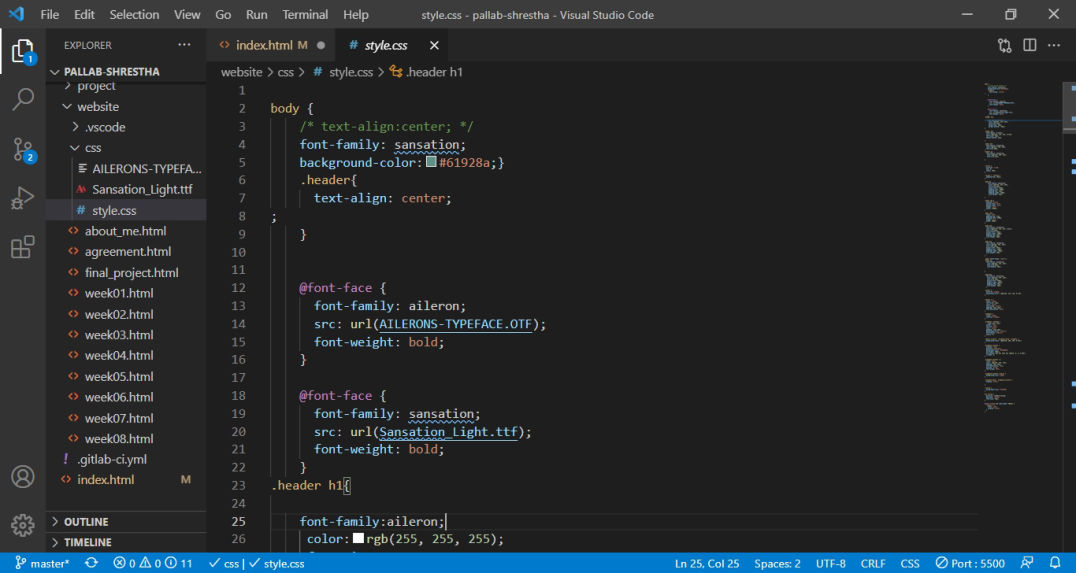
This is the first time that I am making a website for my profile and documentation. Previously i learned about C and C++ but had never used in real scenario. This was my first challenge to learn and make my personal website. Since I was new on this field, and since all of my team members were using HTML, I decided to use the same so that i can learn more from my team. I used Visual Studio code for the coding platform. You can download Visual Studio code from here
Website is an interesting task for me as it is new for me and i am already feeling good having my personal site to document. This website will be used to web document all the process I will be going through for Fab Academy 2021.
Talking about web documentation, document creation on the internet is dominated by HTML and its basic concept via tag and DOM, i.e. document object model. HTML tags are inserted before and afterwards or phrases to locate their format and location on the page. A web document consists of three sections: title, head, and body. Head includes the information to identify the document, including title and any other important keyword. A title can be seen on the browser’s bar, and the body section is the main portion of the website visible to the viewer. All three segments are designed and created by the uses of HTML tags. Every section has its own specific set of tags, which are dedicatedly rendered, keeping the head, title and body concepts in a loop. (Source: www.educba.com)
As I had joined late, I was very new to website development so was scared how to start. Then I watched recorded video of Neil's class and was asking friends who had joined earlier for their recommendations for making a website. There were two recommendations, to use HTML or use Markdown based approach. Then I thought that I should learn what from basic and started HTML. First day, I installed Visual Studio code and parallely made a folder where I made folders according to how I am going to manage the files and data as I move on in the Fab Academy class.
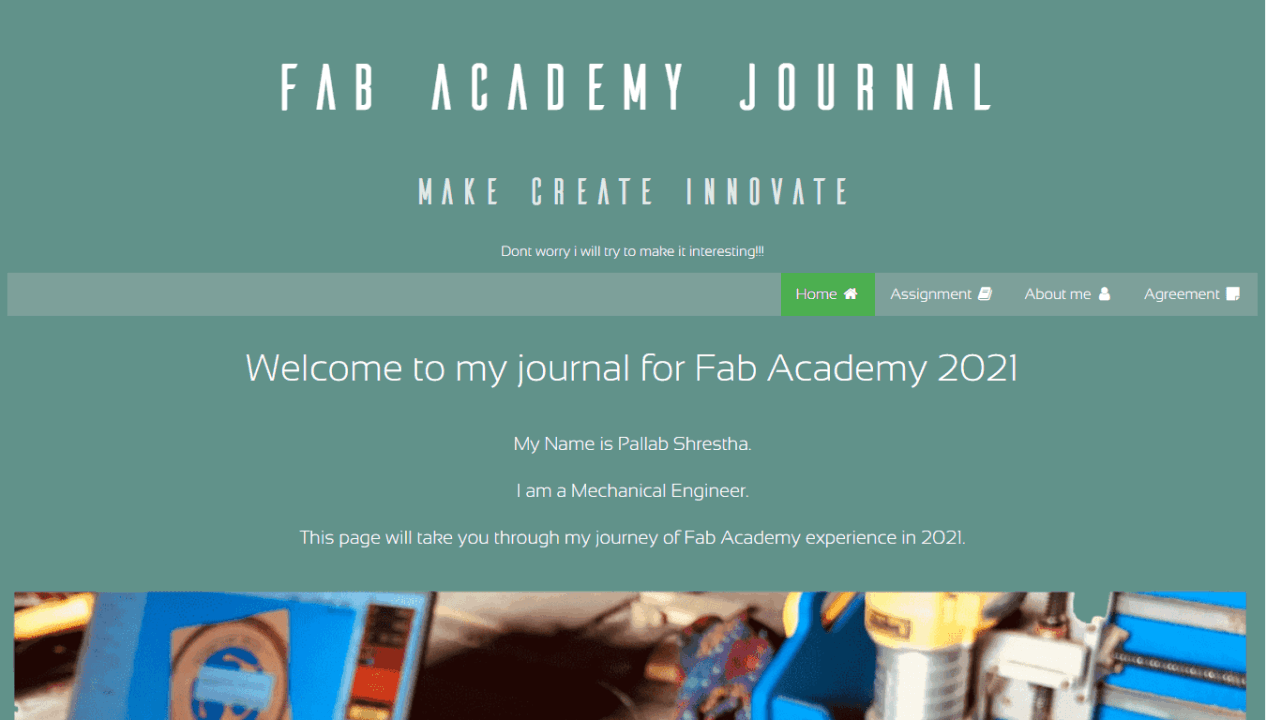
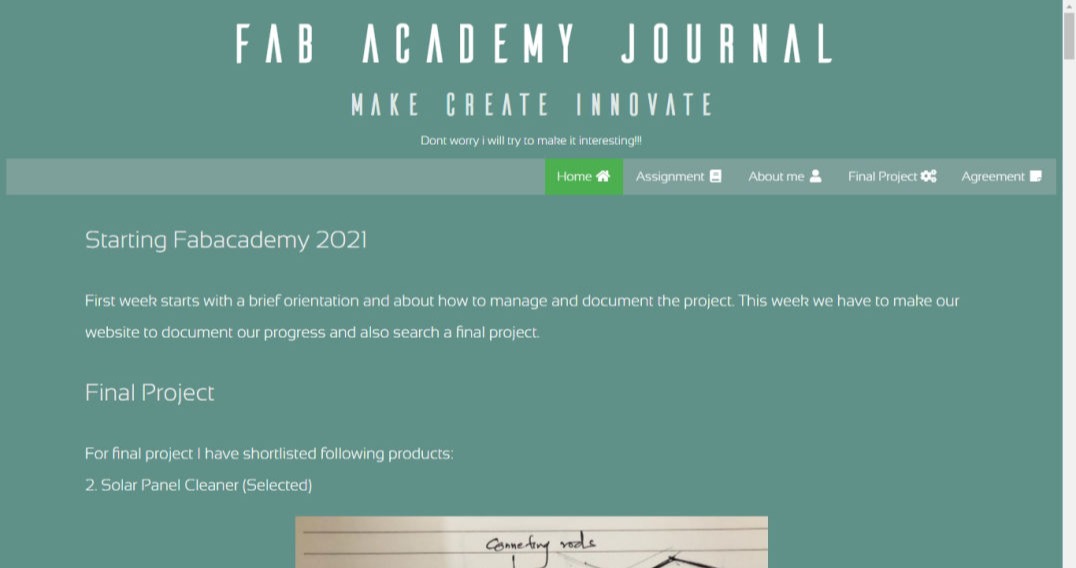
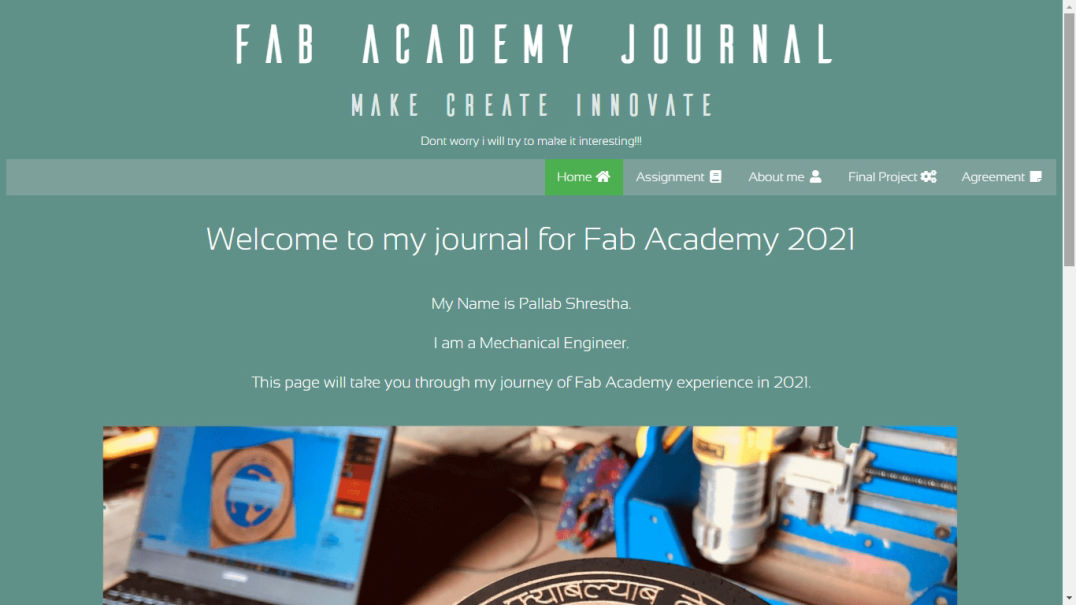
Then, after selecting the color and fonts, I came up with the the main page. that I added all the styling code inside the same HTML file and did not knew about css file (for styling). You can know about HTML from this link. Then Saheen taught me what is css file, how and why it is used. Basically, css file is used to provide the styling of the content. It helps to separate the main code from the styling and keeps the code clean. On the other hand it also makes user easy to call the style rather than mentioned every-time new content is added making it efficient, clean and easy. Also another advantage is that same style sheet can be used for different pages which is very helpful. After finding out more about HTML and CSS from the instructors as well, I added Menu, agreement, about me and decided to use same header for the assignment pages. And in no time I started documenting the process.
In order to preview the site Port on the lower right side of the visual studio code window and then press Go Live. which will show the window according to your code.
Then I added photos compressing it to understandable size and also added other pages and linked it.

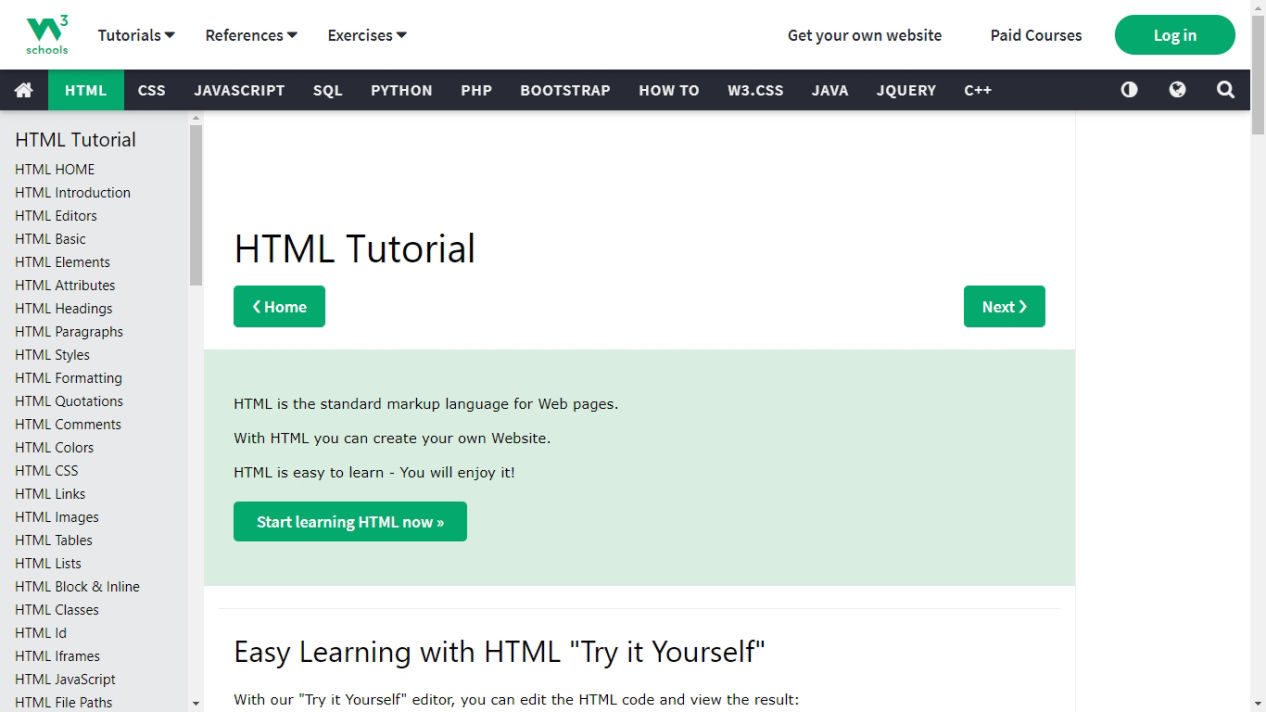
While making the website, it would be very hard for me to do it from scratch. So there are plenty of examples from which I recommend to take a reference from. One important website which i took reference from while making the website is www.w3schools.com. You can get lots of examples for each blocks and functions to use it in your website.
However after understanding this, my another friend Abel had recommended me to use application based on markdown based approach from mobirise. You can download the application from this link. As I had used HTML programming for making website as well, It was so much easier to use this. Even the person who do not have prior experience of coding or who want to have a quick web documentation where he/she doesn't want to spend much time in coding can use Mobirise.
You can follow the link to know how to use mobirise from this link. However I am going to share you some basic steps.
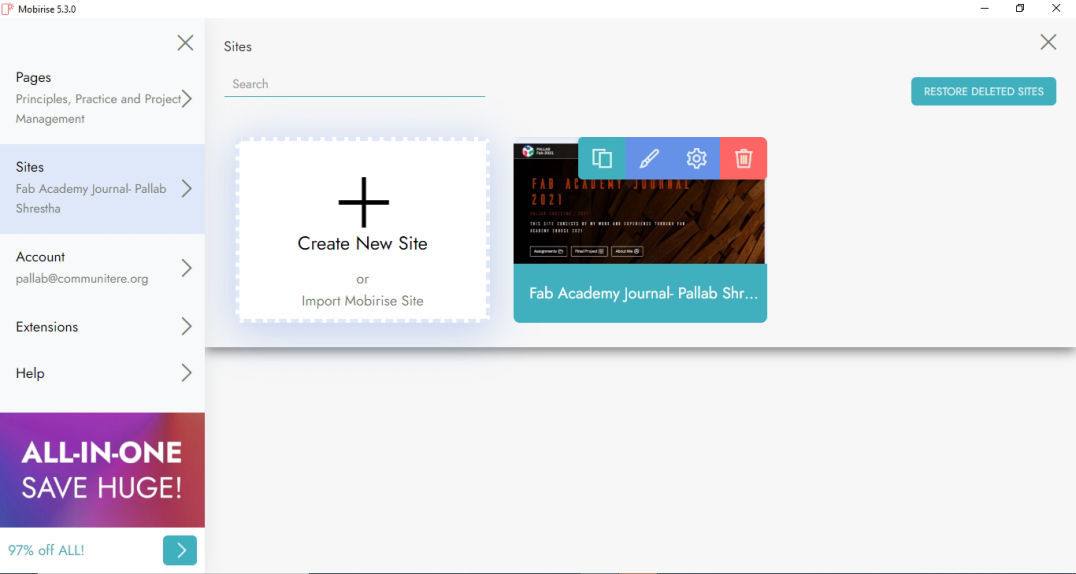
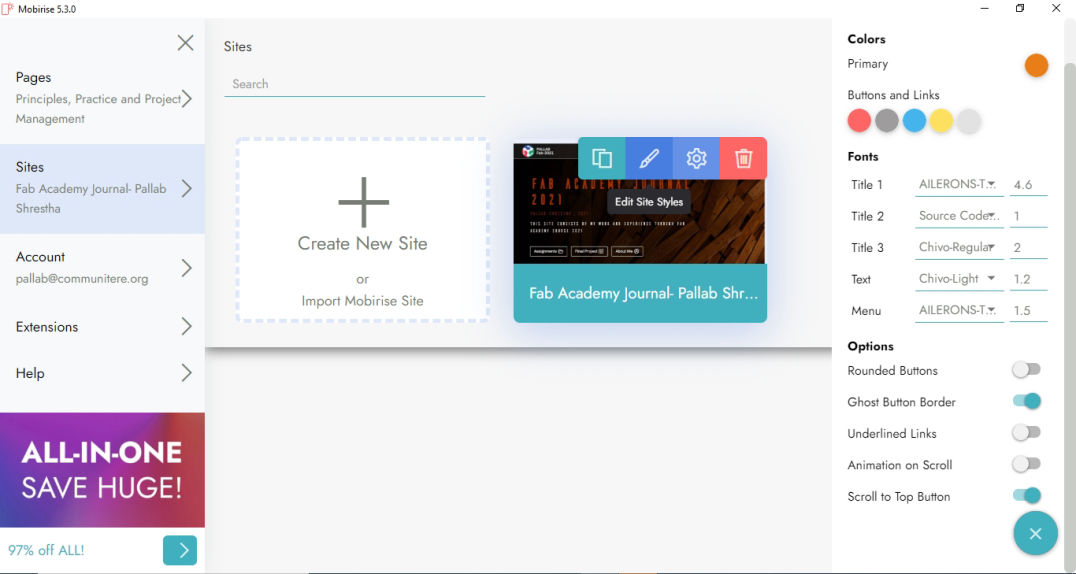
After you download the application and have it installed, First thing you need to do is make a new site and select the theme and styles for fonts and colours which can been seen on the image below.
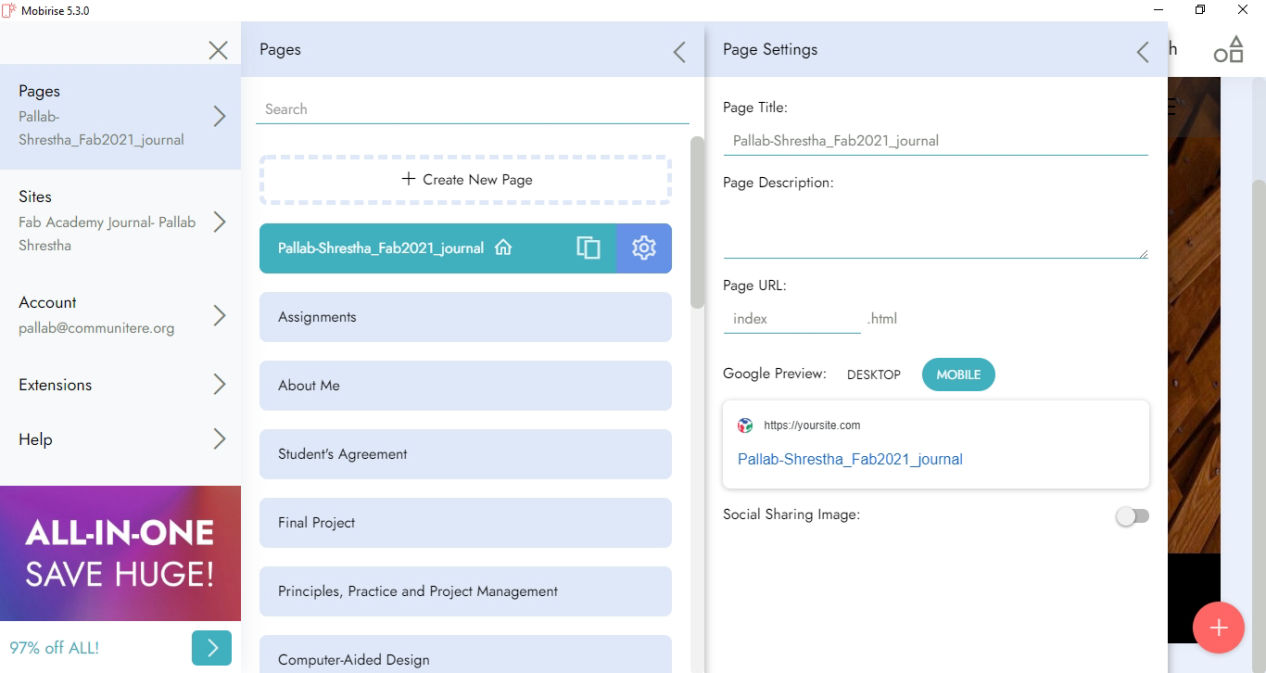
After adding this, then go to pages on the menu and add new page. then at the same time edit the setting of the page adding the page name and details.
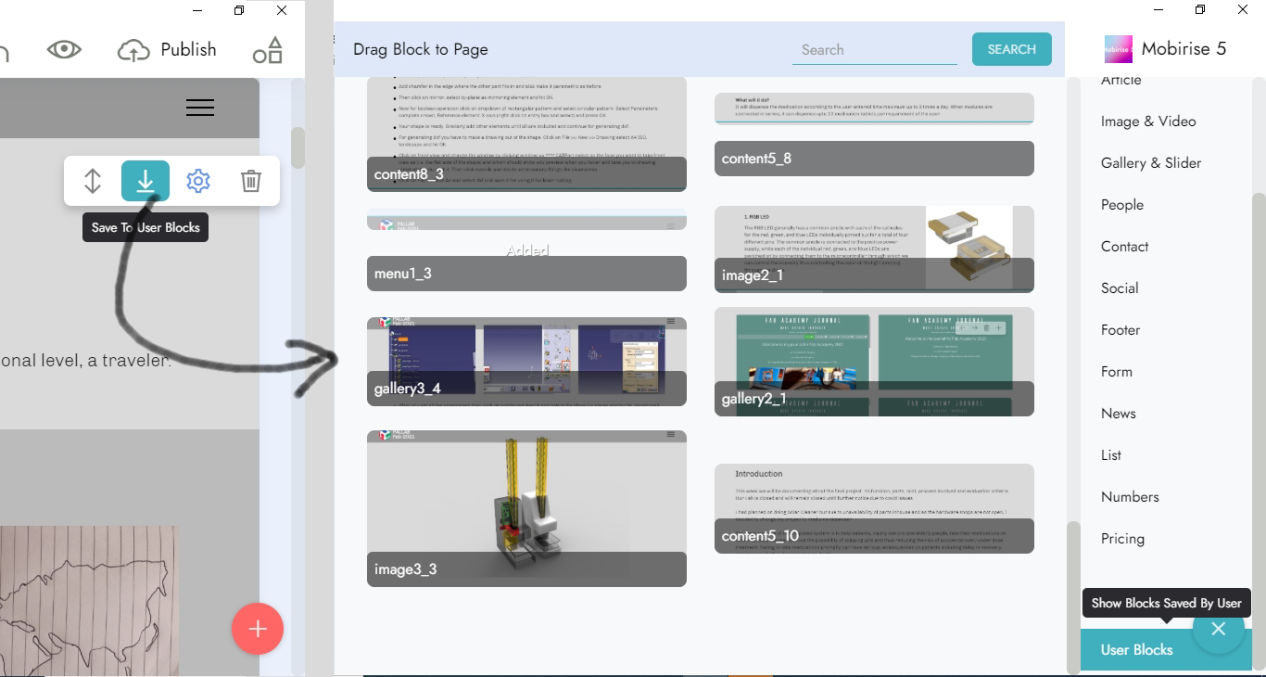
Then after you add the page, select the page which will take you to the blank page. the you can add different widgets by clicking on the "+" button at the lower right corner of the screen from where you can add text boxes, menu, images, etc, according to your preferred layout. Drag the widget in the main screen and edit it according to your content.

You can also save your edited blocks according to your setting which you can easily access and use as per you requirement following the image below.
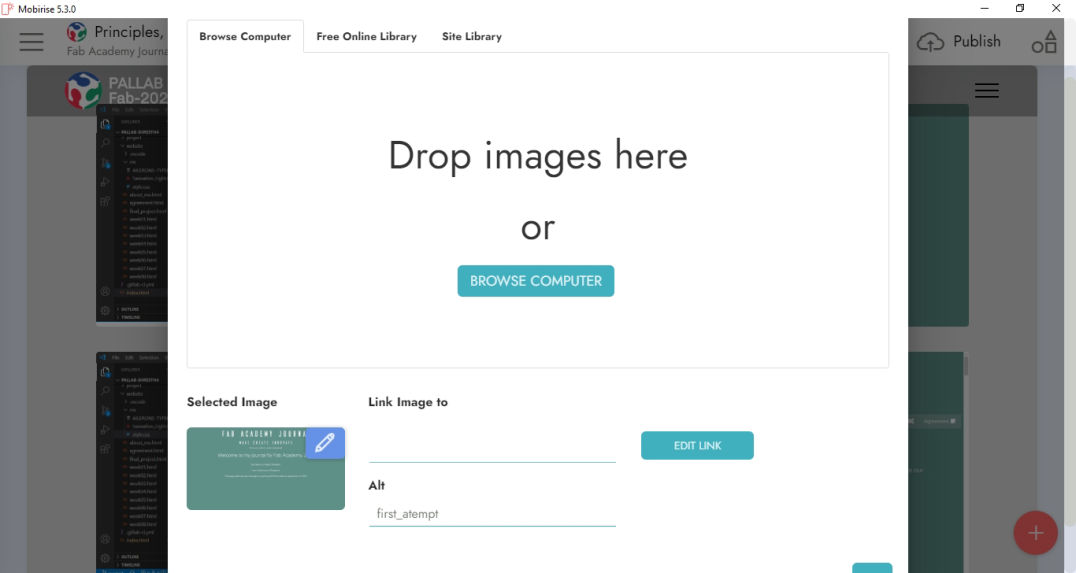
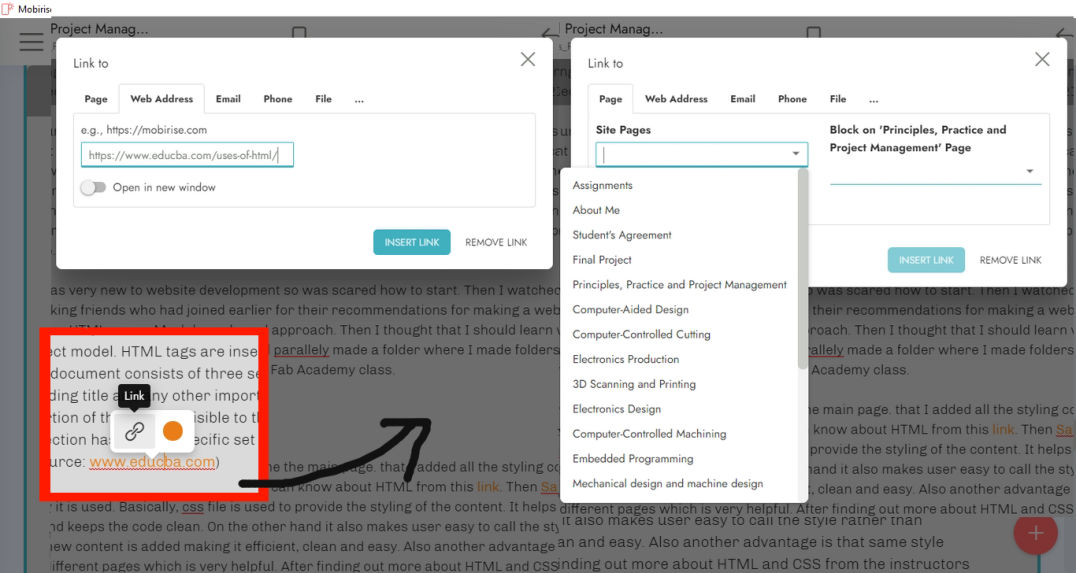
Similarly, you can add photos by either clicking on the image widget that you have pulled in and the link you can insert by highlighting the text which you give you the link icon which when clicked you can insert link to website, other pages in the site or files for download.
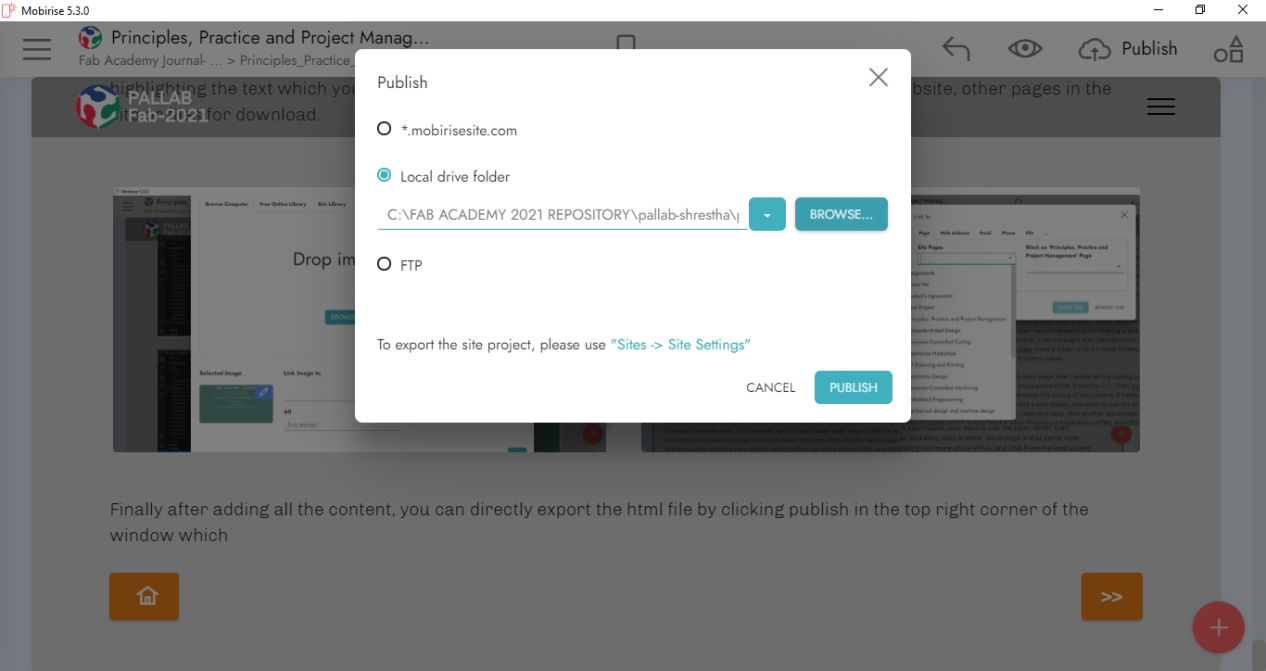
Finally after adding all the content, you can directly export the html file by clicking publish in the top right corner of the window which will take you to the screen asking folder to save, select the folder and click publish. And your file is ready to be published.
There are both advantages and disadvantages of using Mobirise over HTML coding. While coding yourself, you have lots of flexibility and also lots of edits that you can make but in Mobirise, we have a limited widgets which you can use for free. In order to get cool and eye catching layout, you have to pay price to download it. Having said that, It is way faster than you do HTML coding and helps a lot when you have less time. However, if you have knowledge of coding, you can edit the codes after publishing as well, which might be a good option if you want good things of both process.
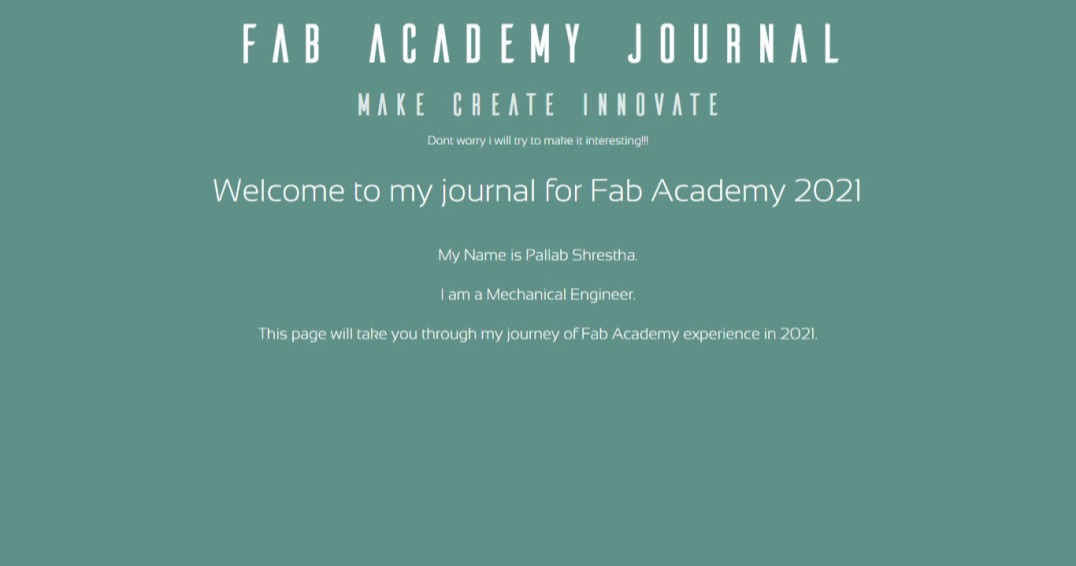
Website was built with Mobirise