4. Computer controlled cutting
lasercutting
In the lab we have three different machines. Each machine with his own benefits and disadventages. This week I have made a couple of things with the different machines. I also tested different settings for different materials for each machine. I tried settings for cutting , engraving and etsing. Before you can use the machine you have to make a drawing on the computer. The machine in the lab allows you to work with .pdf , .svg and .dxf files. There are a lot of differtent CAD programs you can work with. I mainly focused on inkscape and fusion 360. A lasercutter can do 3 operations. The first operation is cutting , Here the laser has enough power to cut through the material. The second is engraving , this looks a lot like cutting but the laser has not that much power, becouse of this it dous not cut through the materials but draws on top of it. The last action the machine can do is etch, here the machine can burn off a complete surface, this is a nice operation to burn photos on plate material.
cutting
engraving
add picture
etching
add picture
machines
full spectrum laser
Pro’s : The machine can cut through different materials. The max height is 4 mm for wood an 6 mm for cardboard. It engraves nicely. con,s It cuts slow in comparison with the metaquip because of this there are burnmarks on the backside. I solved this problem by putting a paper under the wood.
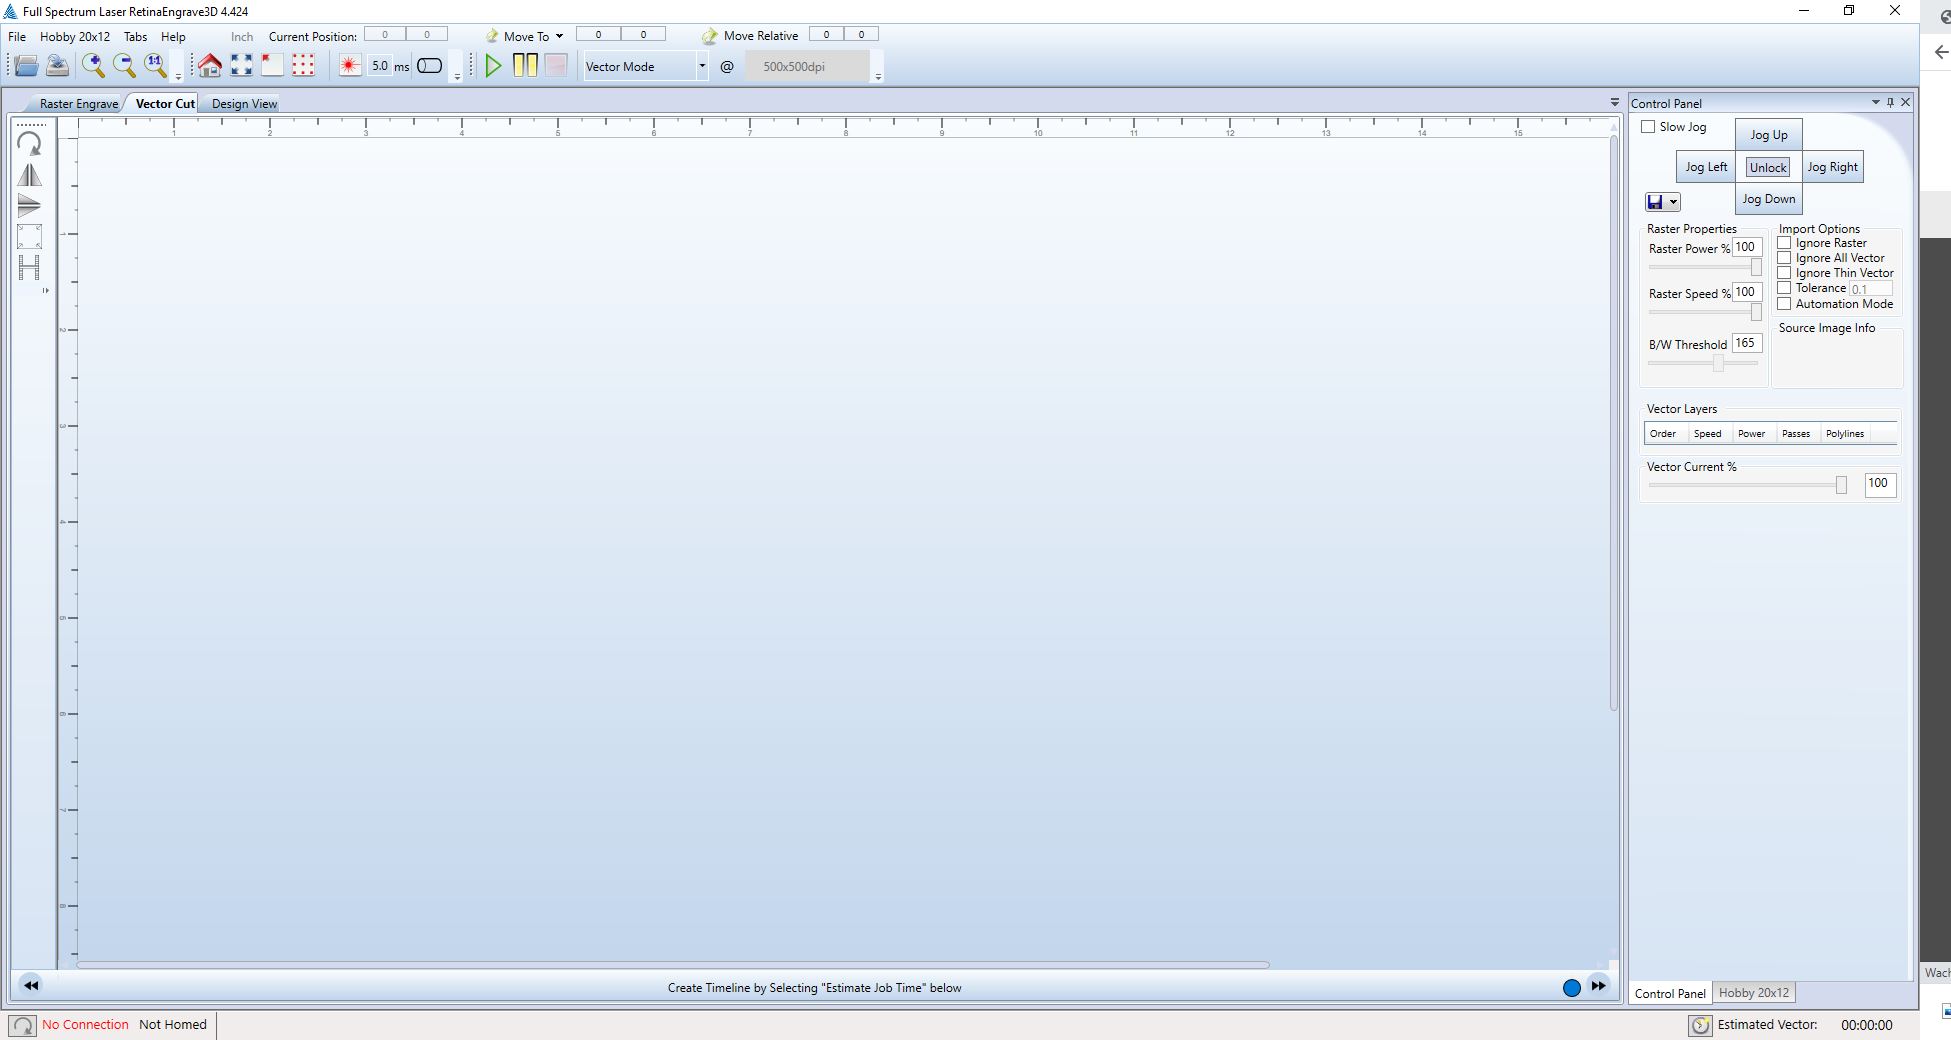
This machine works with RETINAENGRAVE
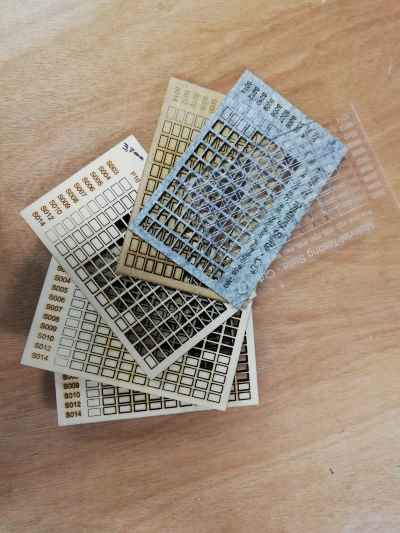
I also tested a lot of materials as you can see below

Metaquip
.jpg)
Pro’s
This lasercutter has a large work surface 600mm x 1000 mm. it can cut through thicker materials, the tickest i tried is 8 mm plywood poplar. It also cut’s very fast.
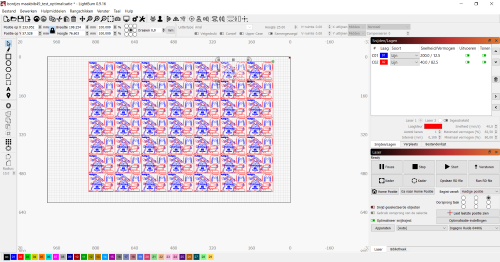
This machines works with lightburn
We tried even more materials with this machine.
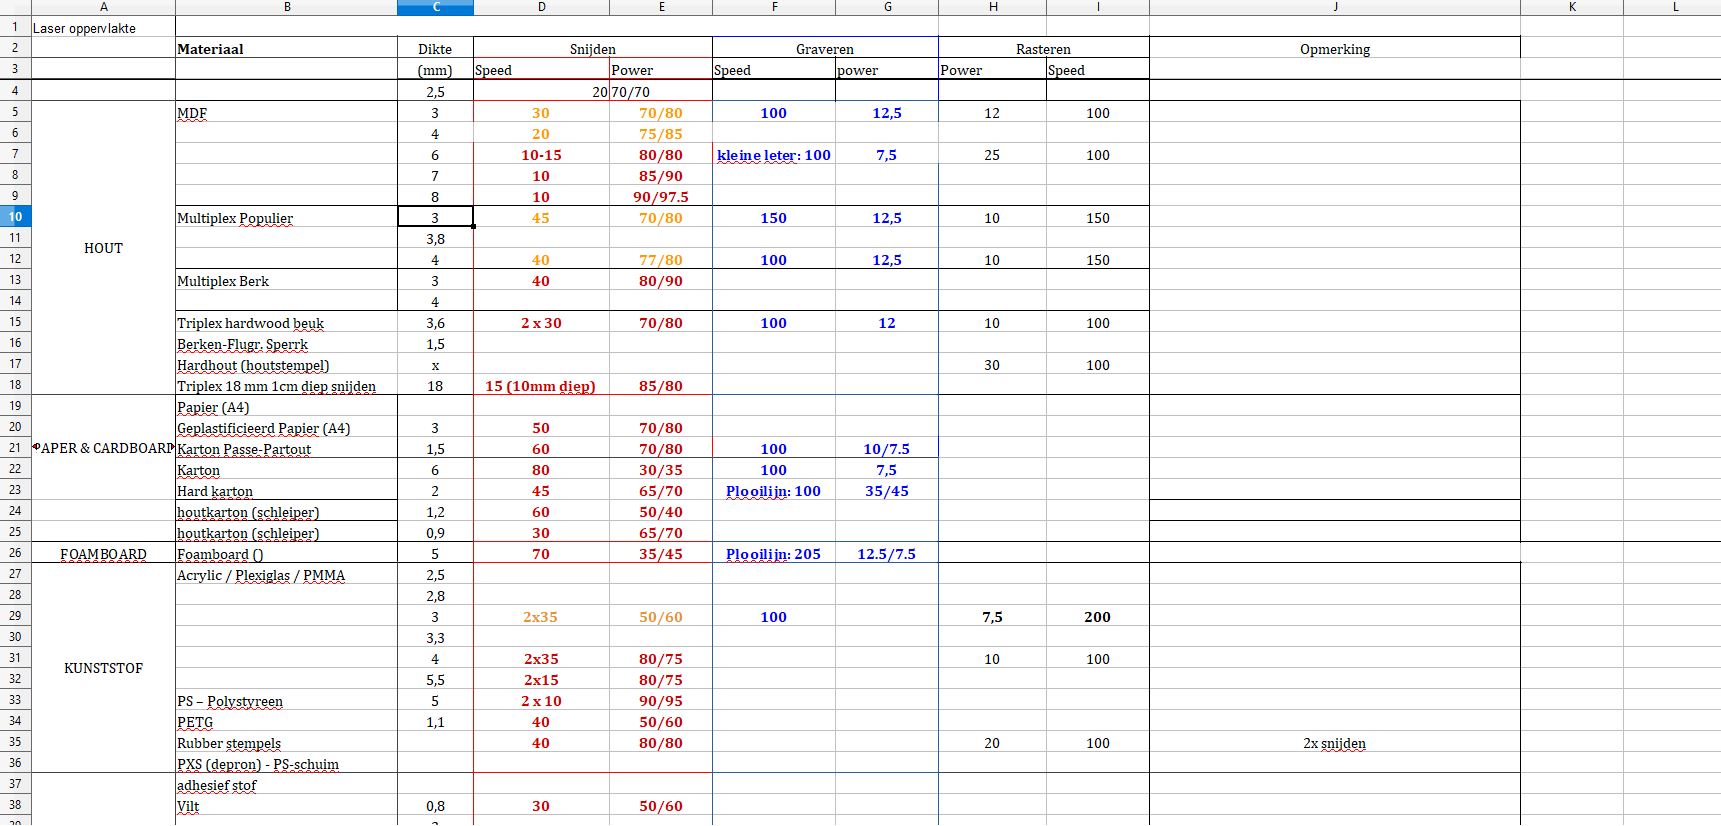
The exel for the 2 machines can be downloaded below.
Flux beamo
Pro’s This machine is very small and easy to take an location. Scince we give a lot of workshops on location it is a useful feature of the machine. It engraves very good.
The machine works with beam studio
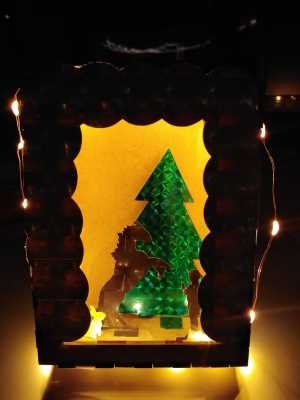
owl : press fit
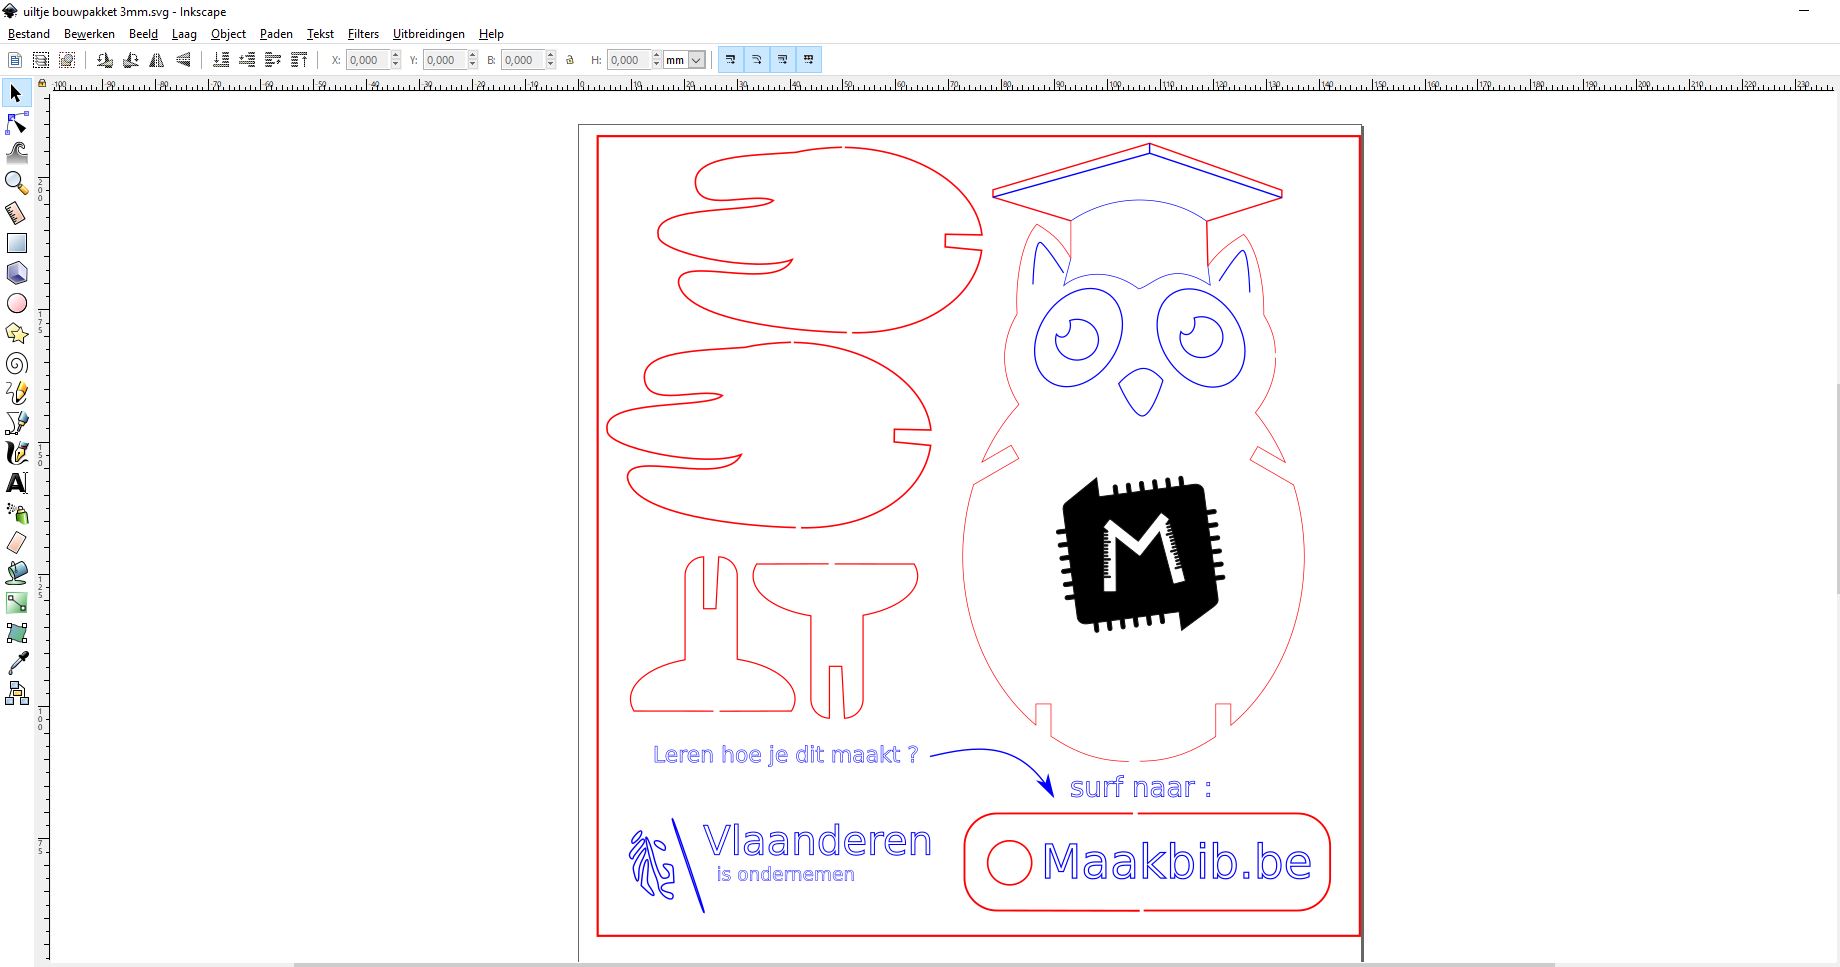
The first thing I have made is a small owl. I have made this in Inkscape. This is made fox materials with a tickness of 3mm. You can see that i have three colours : red lines , blue lines and black a black surface.The red lines are for cutting, the blue lines will be engraved the black surface will be engraved completelly. There is in incision in each part , this way the parts do not fall out and it can be transported savely.

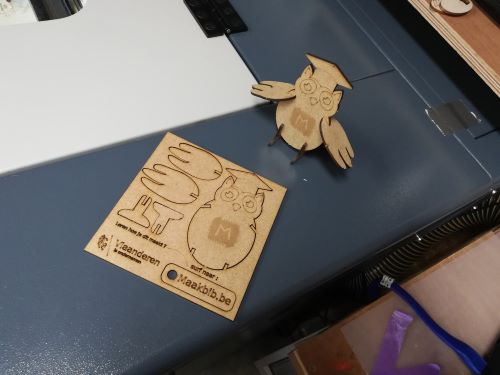
This is the result after cutting it with the Metaquip.
DC holder
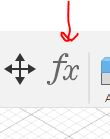
This design I made last week. It is a casing for a DC motor. As you can see in the documentation from last week it is made parametric. Because of this i can make it in different materials with a different thickness. To change the parameter click on this icon:

This is the result for 2 different motors and 2 different materials.

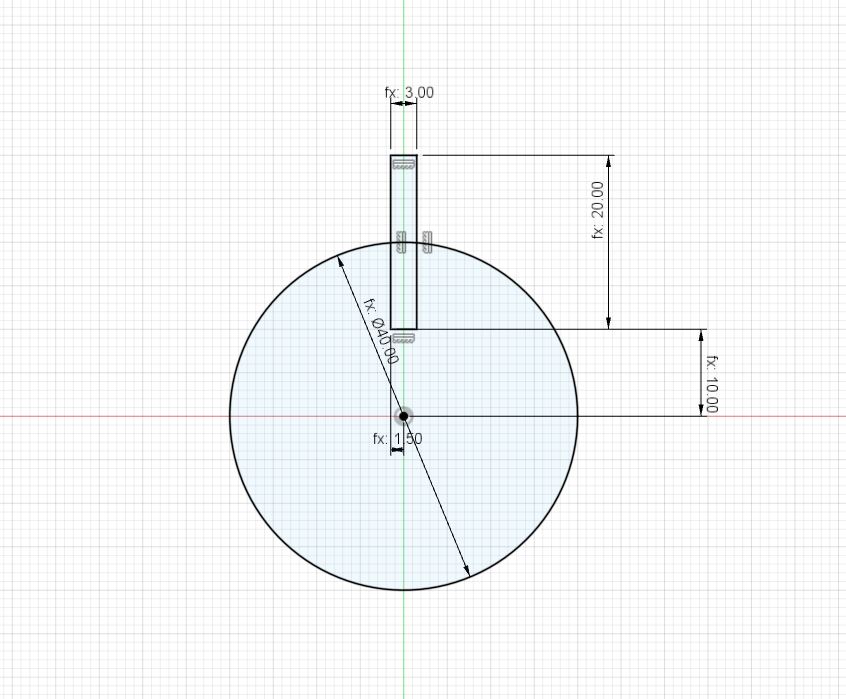
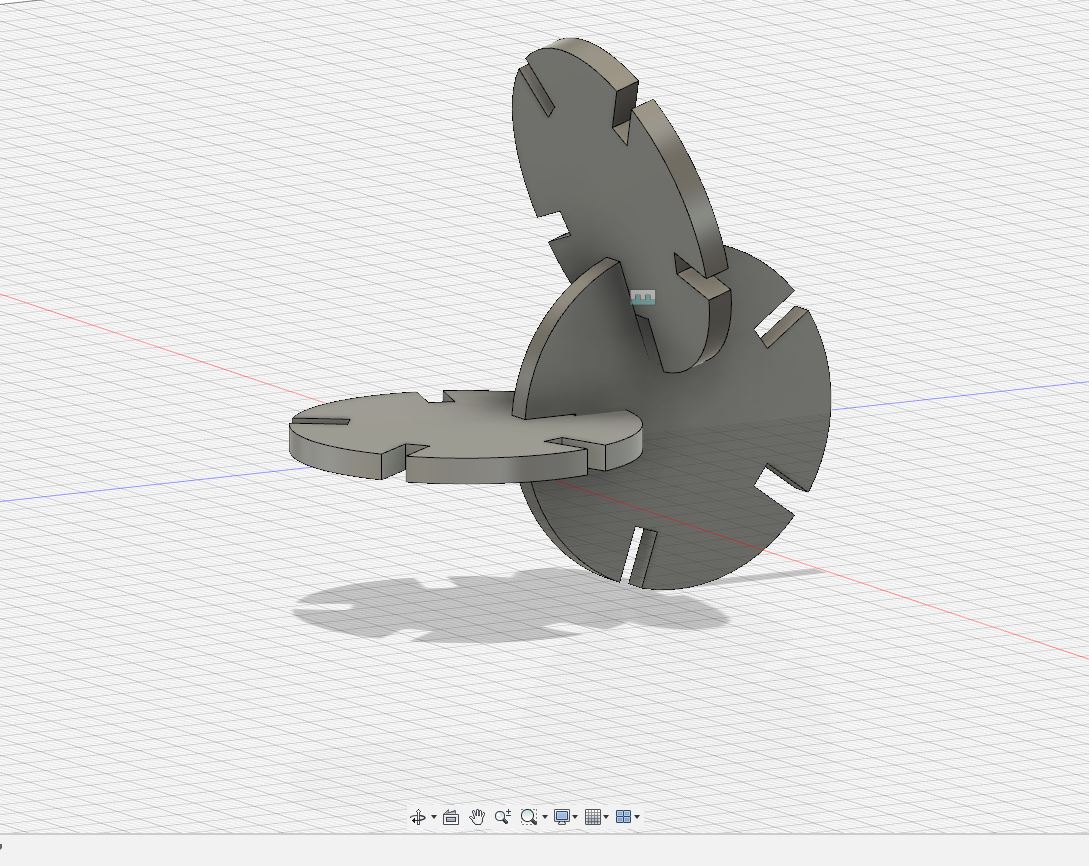
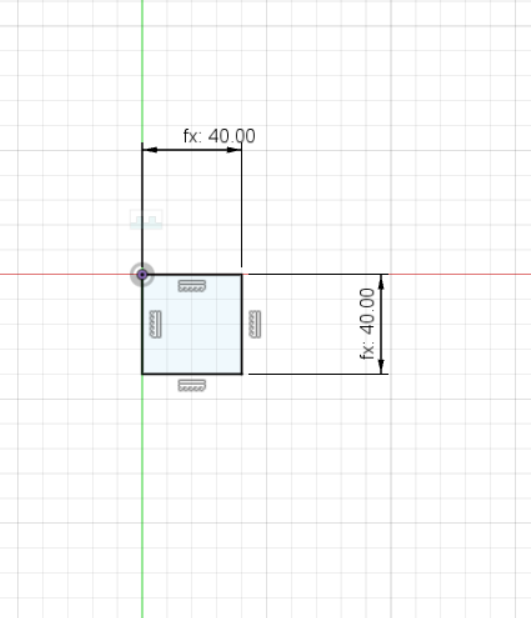
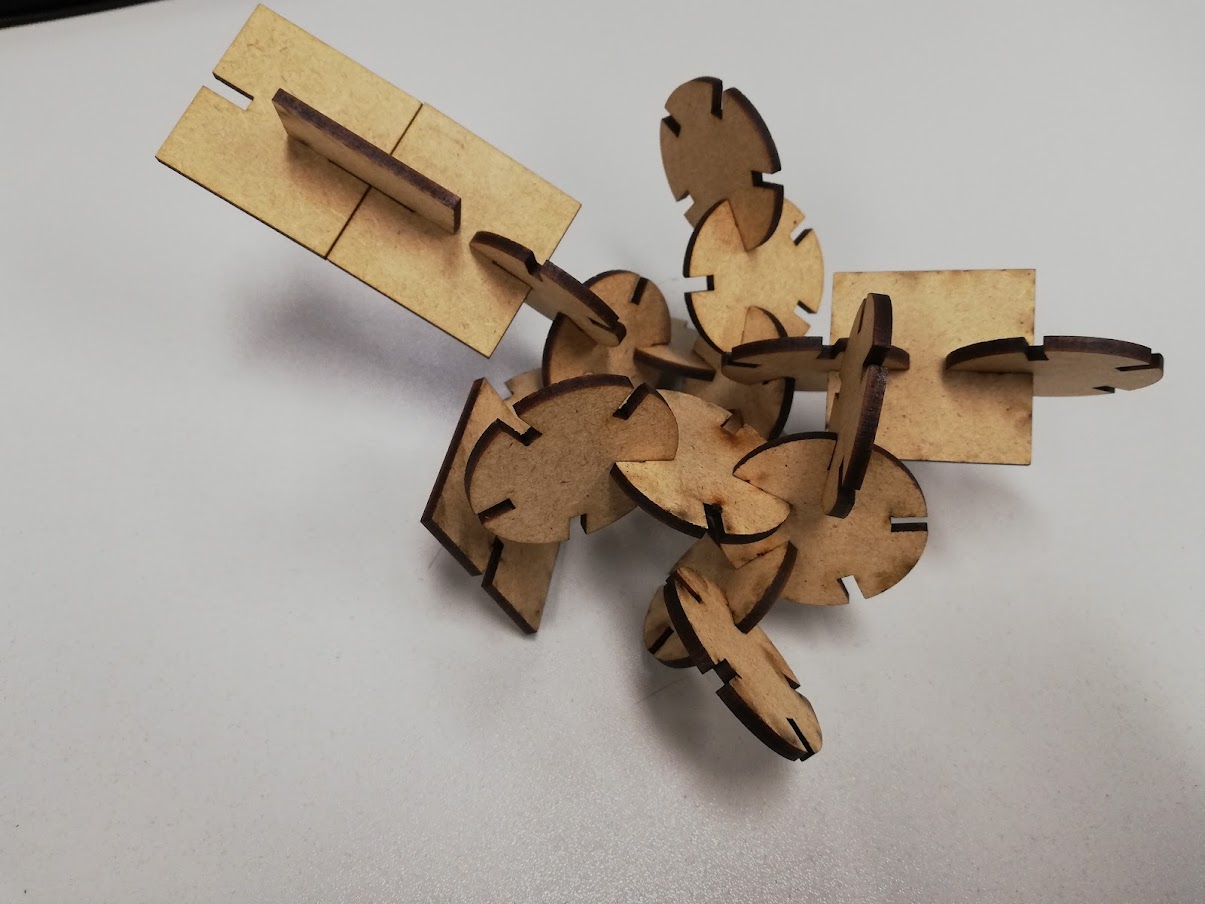
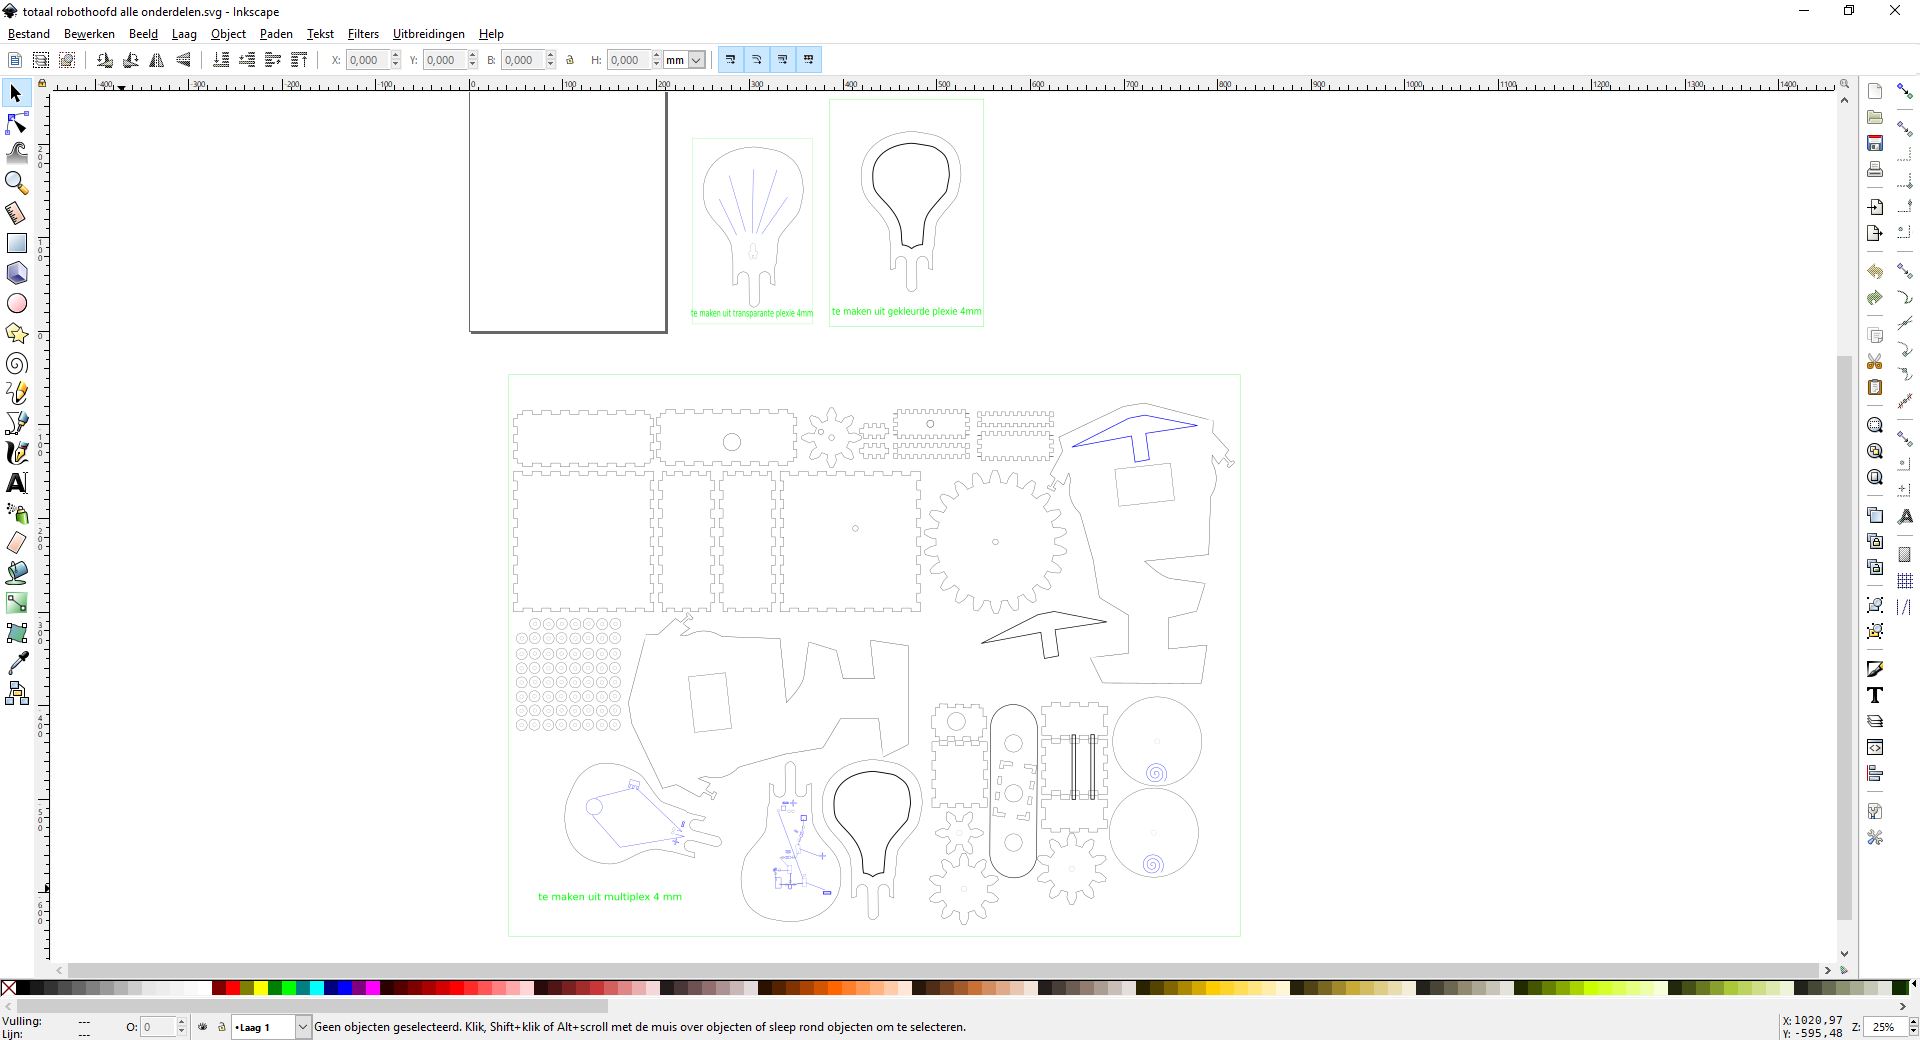
parametric kit
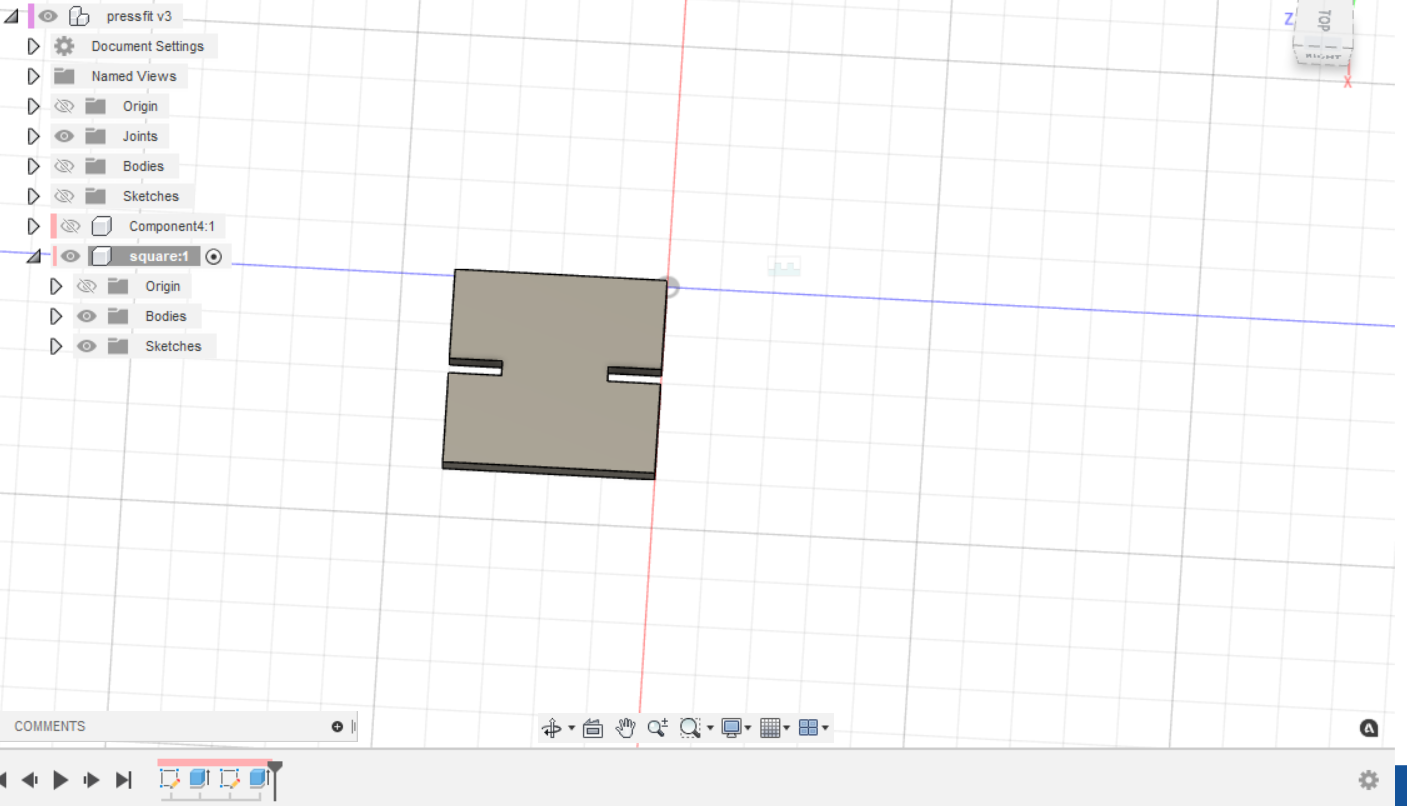
I designed a lasercutted kit in fusion360. It exist out of a pieces that can be pressed into eachother. I first started defining the diferent parrameters:
- thickness
- diameter
- notch size
- number of notches
Now it is designed for material with a thickness of 3 mm. But becouse of the parametric build it is very easy to change that parameter to another tickness.
After defining the parameters i started drawing the piece.
Add different notches
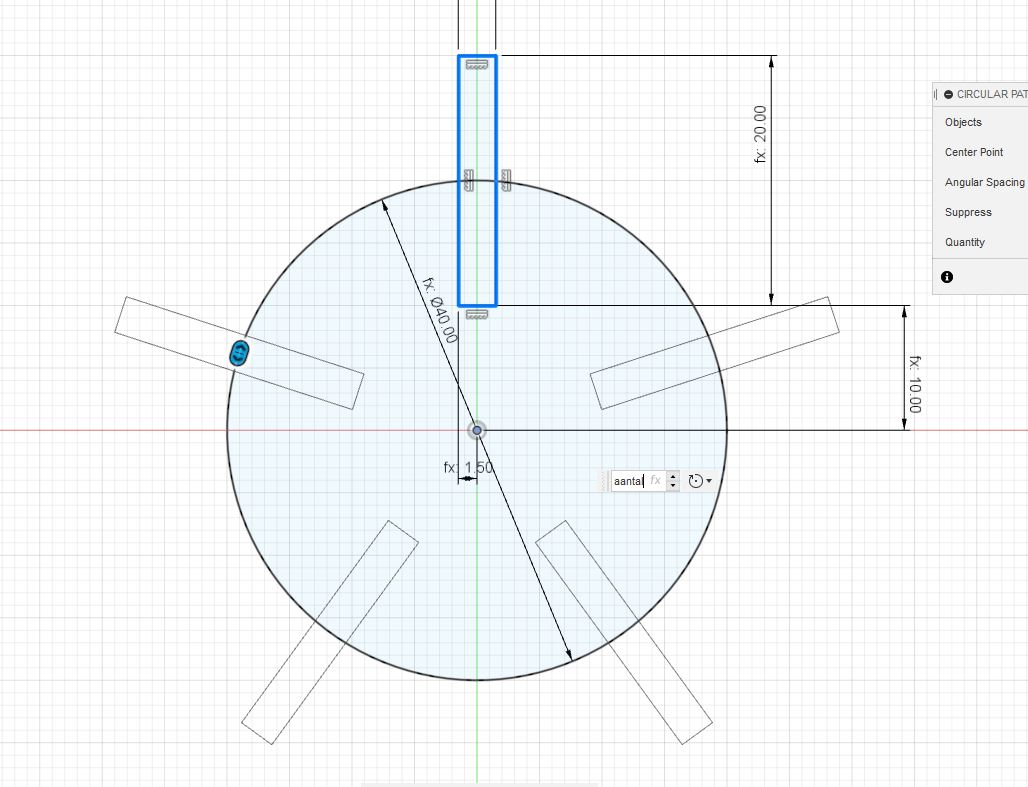
Give it a thickness
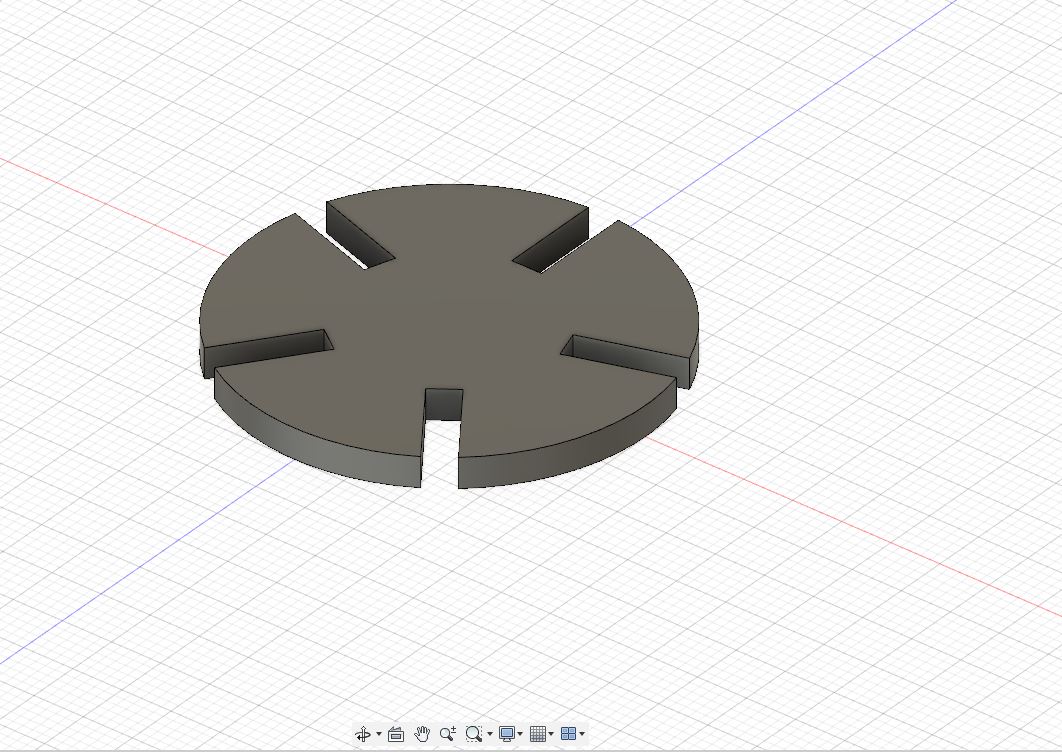
Assemble something
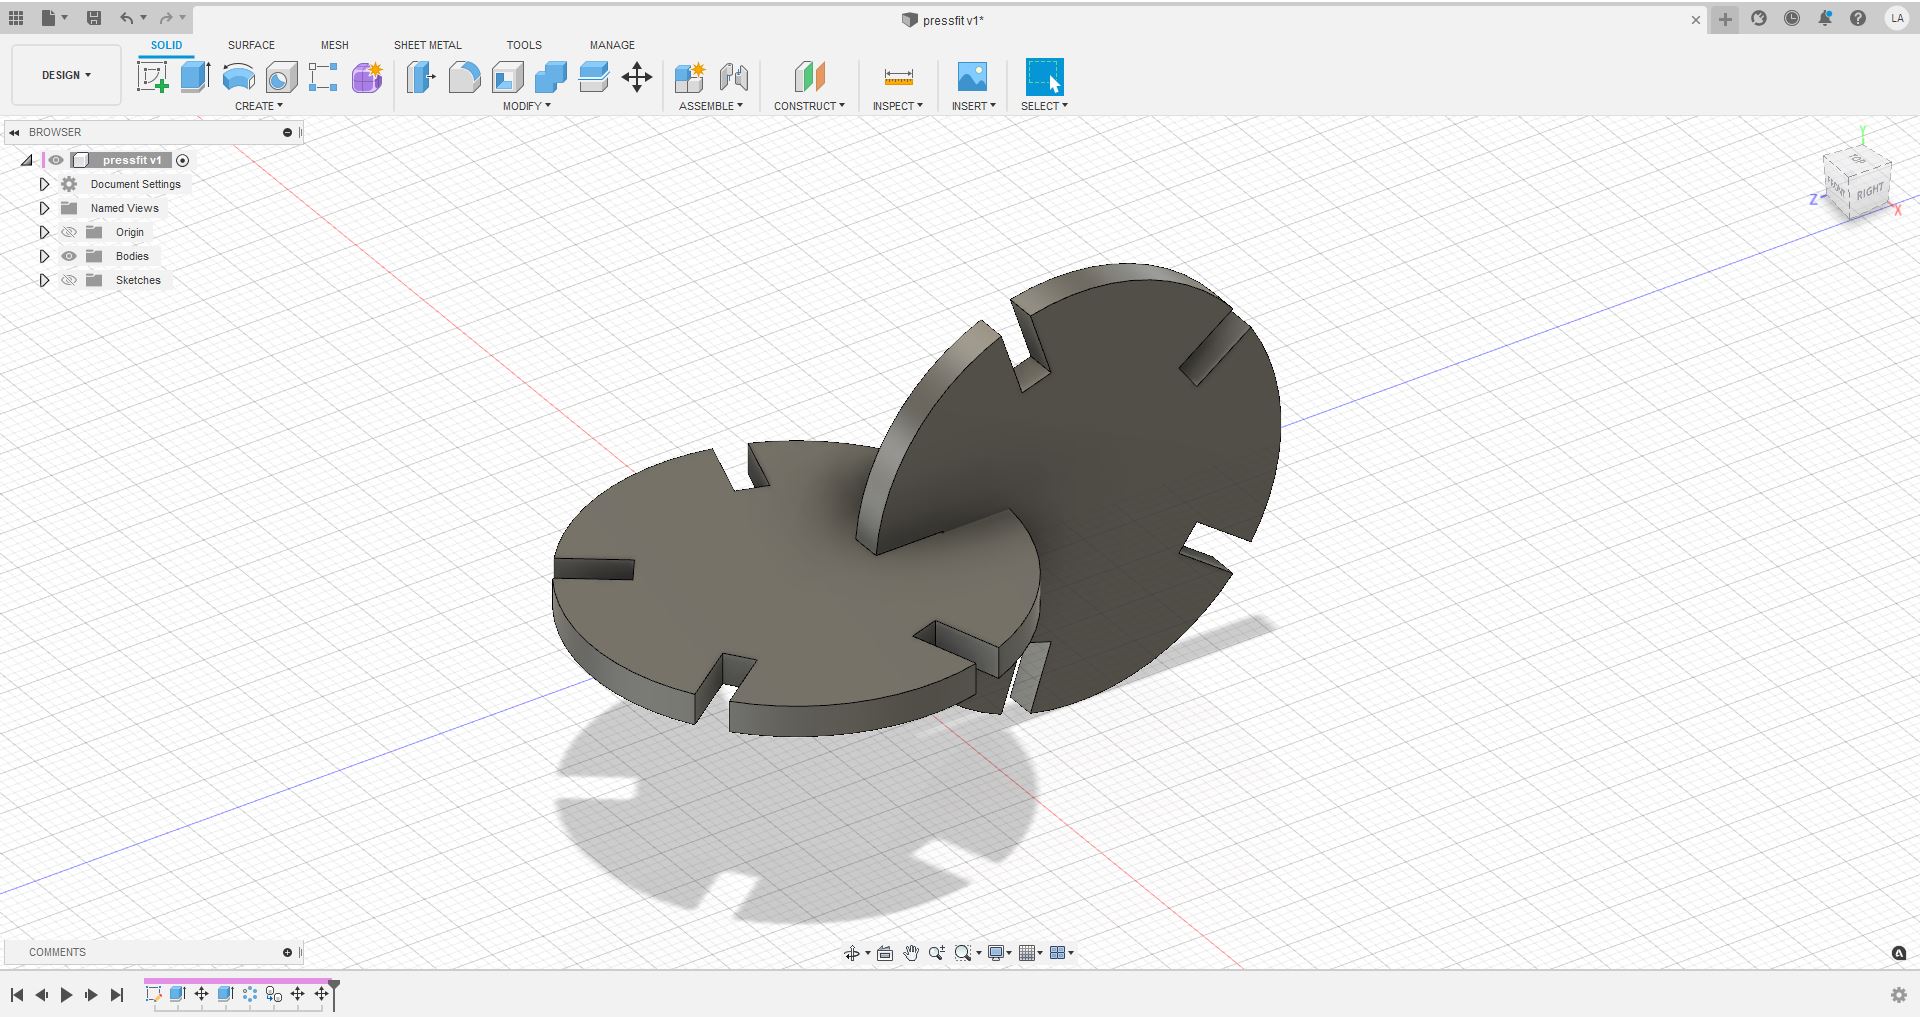
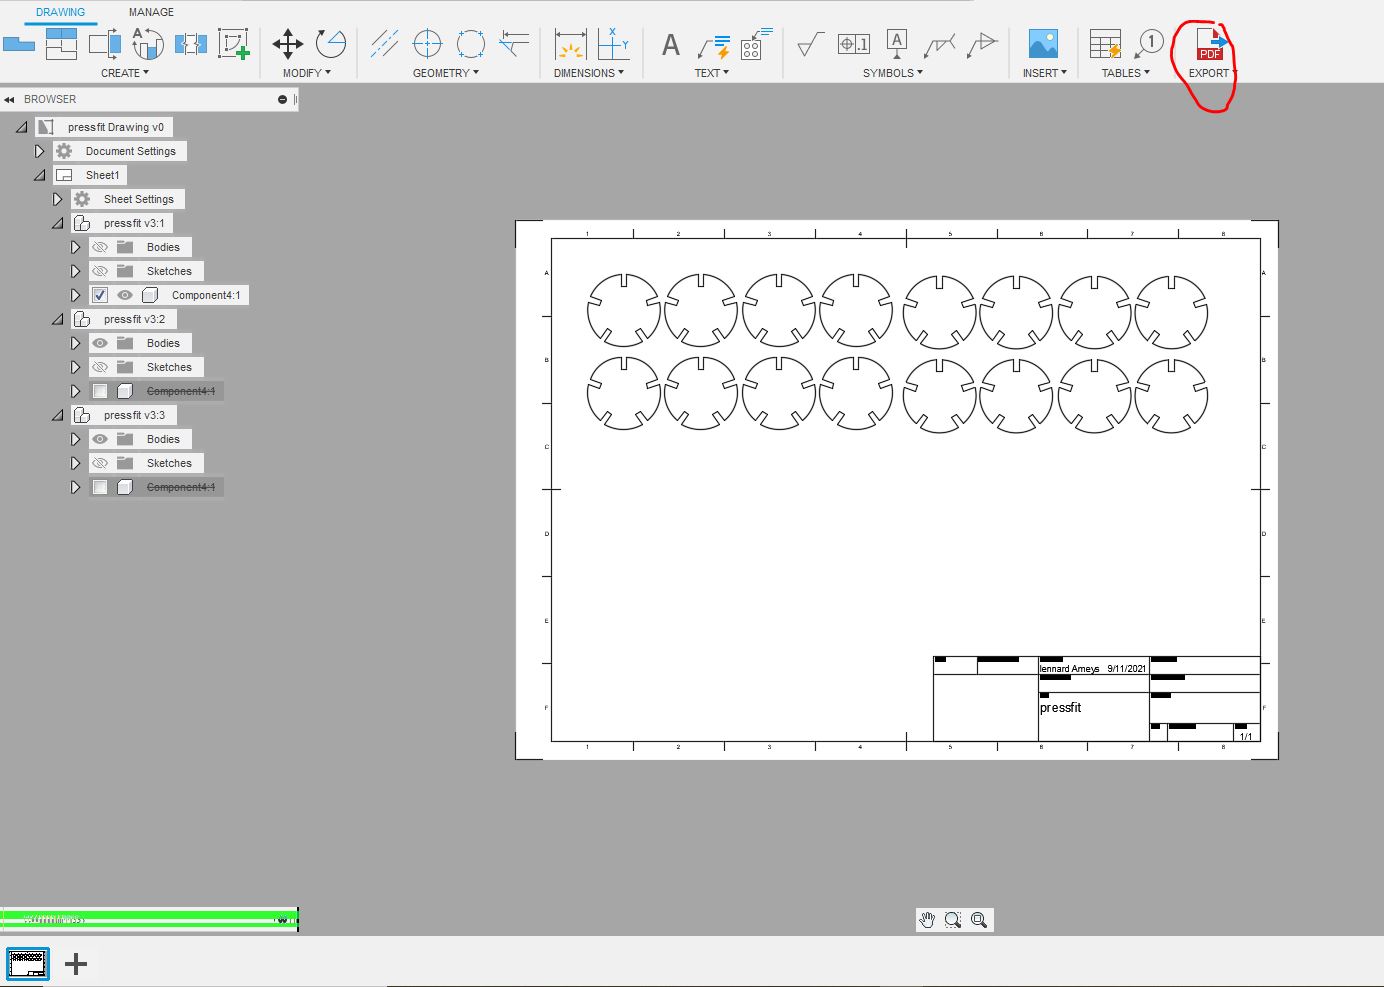
I exported the 2D drawing so I can lasercut it.
I also added a square piece.
the result
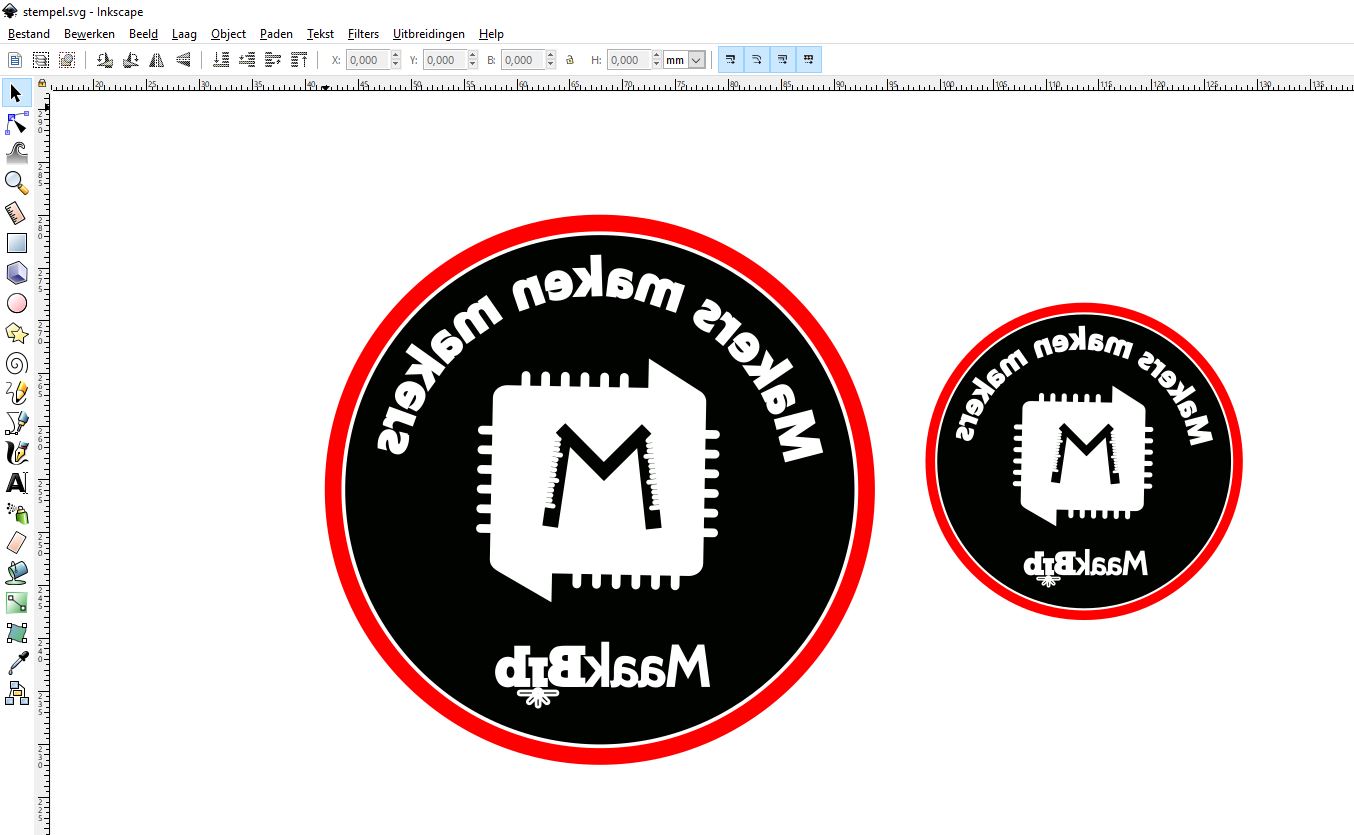
Stamp
I made a stamp with the lasercutter, the wooden part I designed is fusion 360 the rubber part i made in inkscape. It is made for 3 mm plywood.

It is important that the design for the stamp is mirrored.
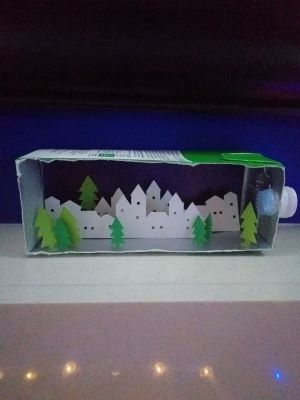
my machine workshop
This is a drawing I made last week in inkscape. I designed it for a workshop for my machine
I lasercuted it with the metaquip in 4 mm plywood.
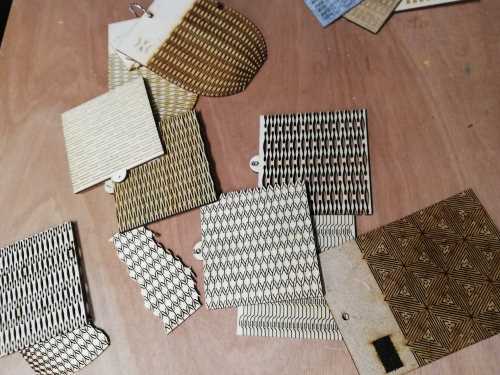
flex paterns
I Downloaded some flex patterns and tried to make them.
instructable
The last thing I would like to add is an instructable for the use of the full spectrum laser. It is made in dutch.
vinyl cutting
machines
In our lab we have 4 different vinyl cutter. 3 of them are hobby models and one is a bigger model for large projects. Some have a couple of different features but the basics are the same. My favorit is the cricut maker.
brother scan and cut .
This machine has a function were you can scan a handmade drawing and instantly cut it out of differnt materials. This is very handy when I use this machine with younger children. It is also possible to draw in inkscape and import the design via usb- stick to the machine.
cricut
This machine is very user freindly. I gave a camp for children in the holliday around this machine. After 3 day the kids were able to use the machine complitely on there own. Below you can see some results of the children who followed the training with me. We used differnt materials, papers vinyl, flex. To use this machine it is possible to design in inkscape and import the drawing in cricut design space. It is also possible to make simple designs in the design space of cricut.
I made a video for a project I am working on were I explane the use of this machine. it is in dutch because it is for a flamish project.
Results of the camp i did with clidren around vinyl cutting.
The most important thing to remember is that the drawing is made in a vector. It is easy to to in inkscape.
Pros
- sturdy machine
- different materials possible
- smooth operation (possible with computer, tablet and smartphone)
- smooth start-up.
- multilayer designs are easy to create. Each color can be edited
- easy to change blades.
- database of materials.
- the driver works with a cloud where you can log in with different devices at the same time to put your design on the cloud.
- without internet connection it is possible to use the machine.
- the machine cuts very precisely
- inserting different files is possible (both vector and pixel)
- trace function to trace pixelated images and convert them to vectors.
- very user-friendly.
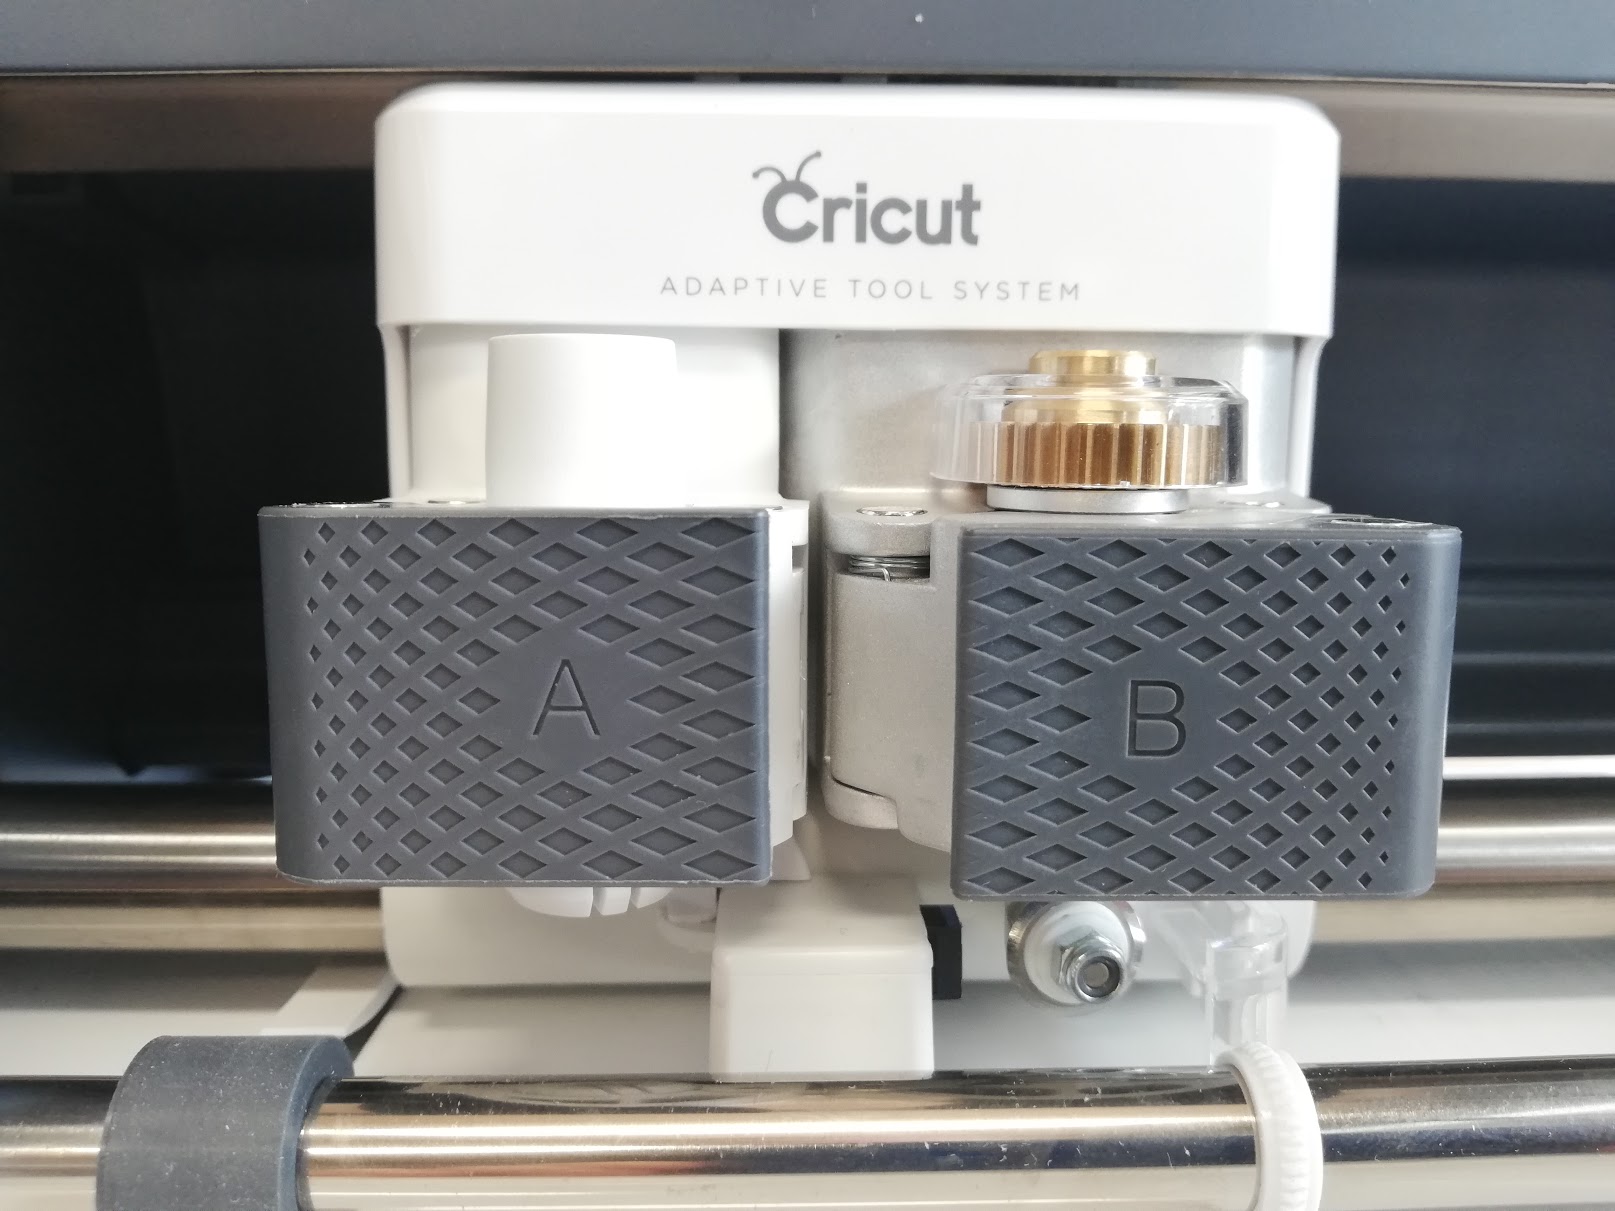
workflow with the cricut maker
For working with the cricut maker you need cricut design space.
Stap one drawing the design
I have made this design in in inkscape each colour is a different shape.
open a new design
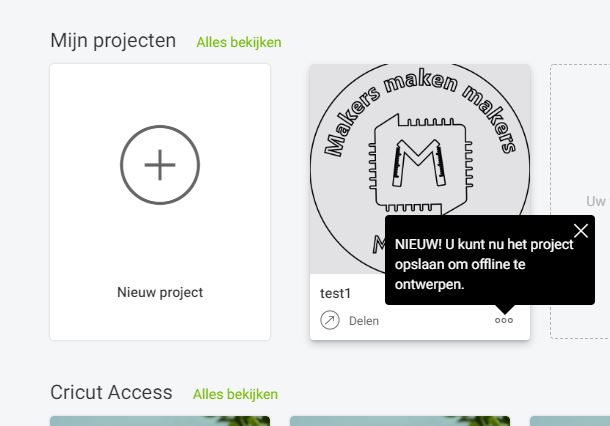
upload the desing

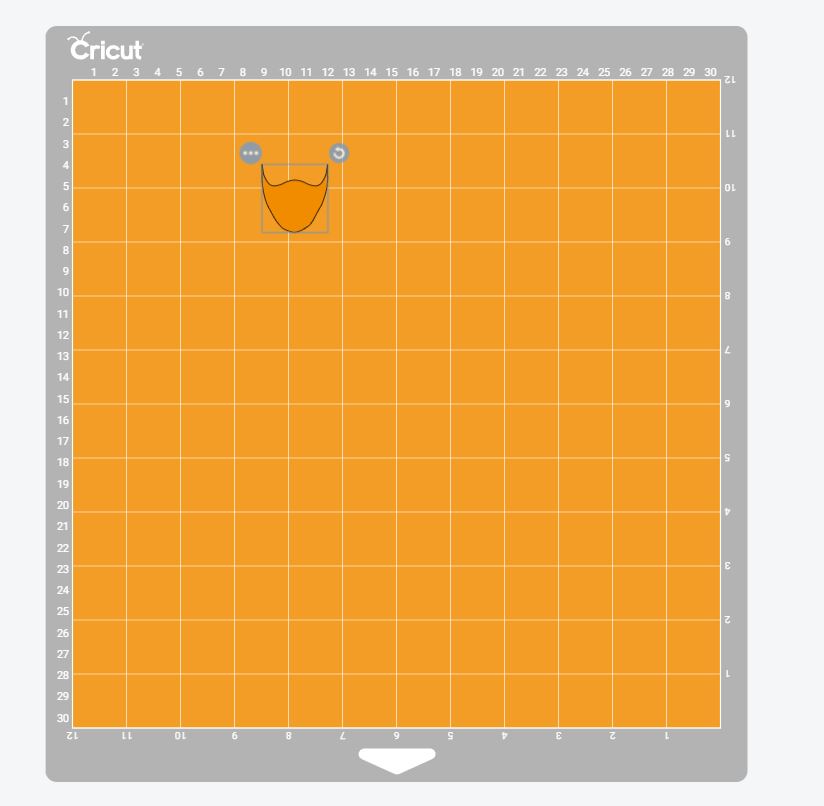
**Import the desing in the work area.
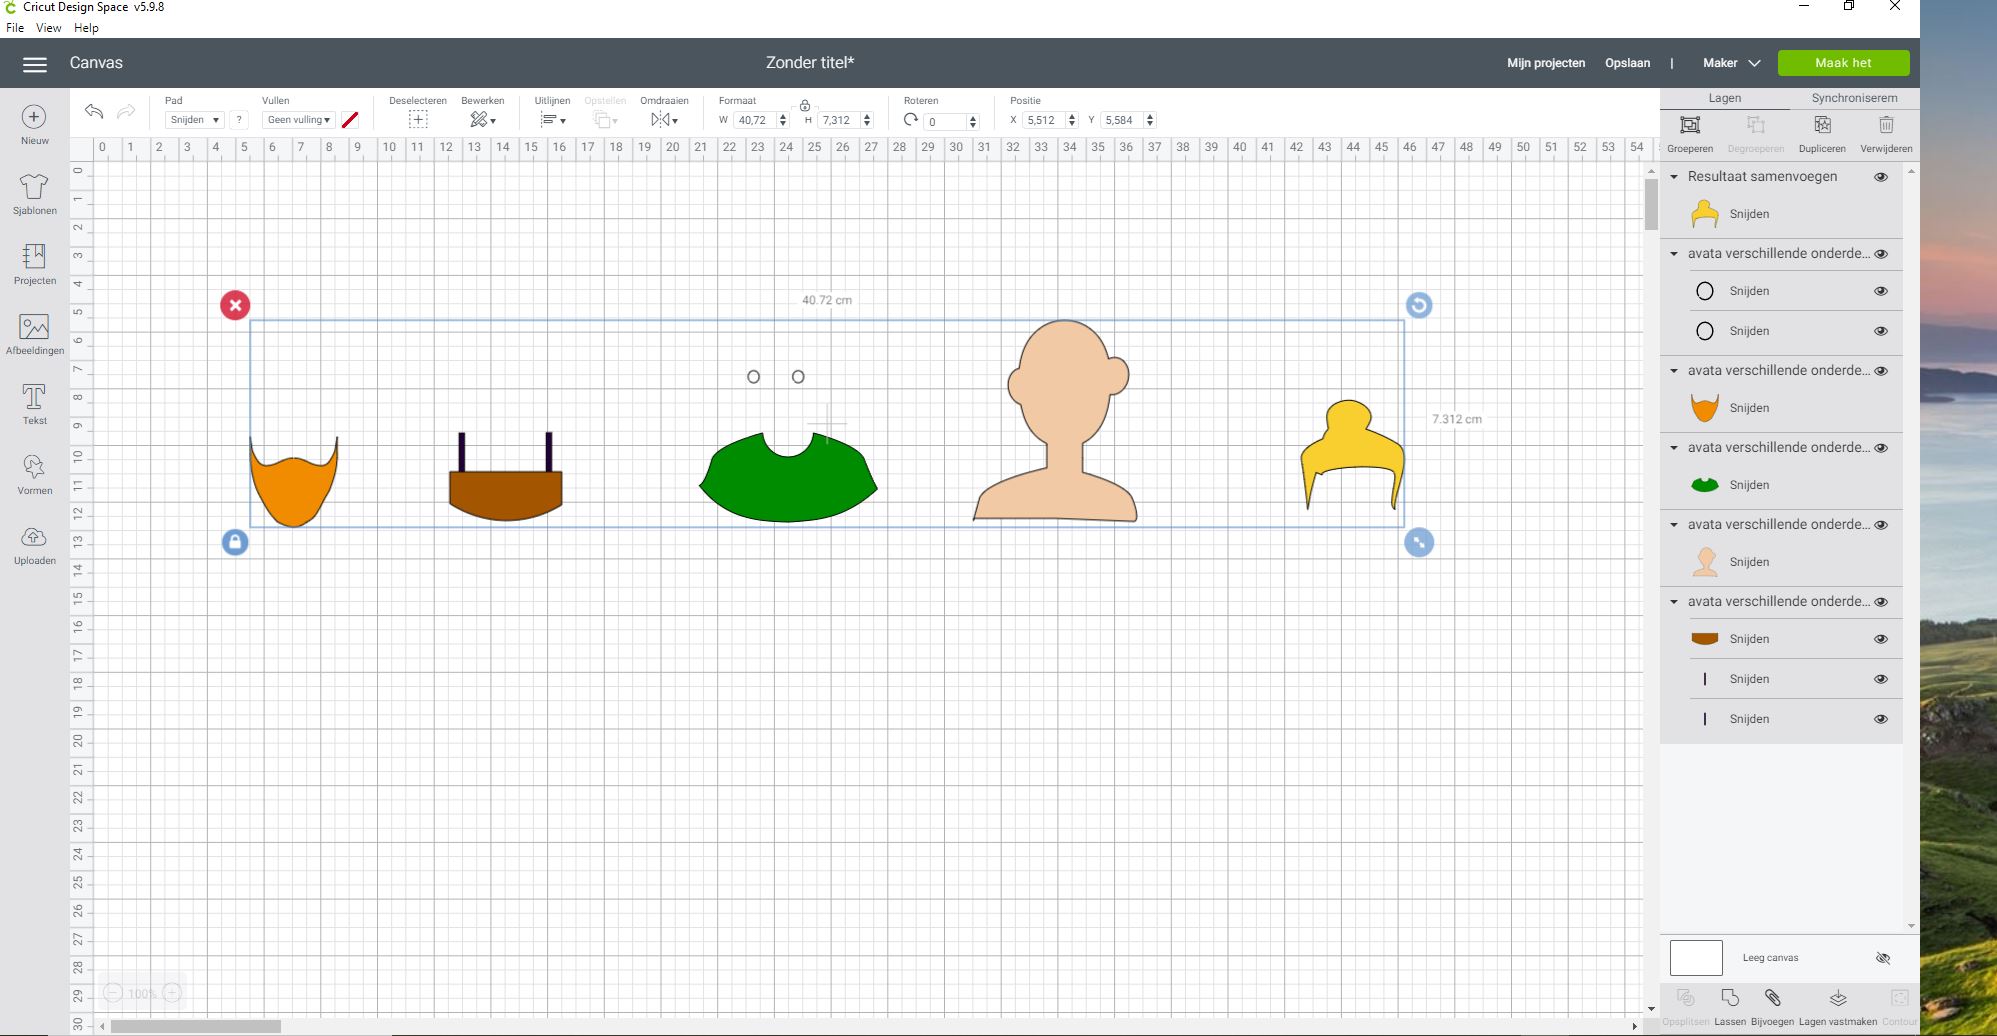
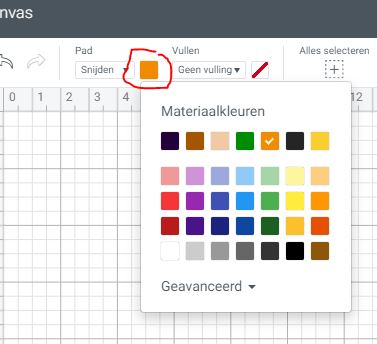
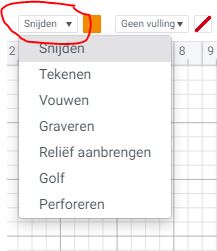
choose the colour and the operation
This machine has a lot of different tools that can fit in the machine ; a cutter for vinyl and flex , one for ticker material, one to make folding lines,… it is important to choose the right operation with the right tool.
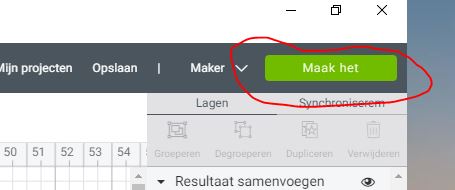
click on make it
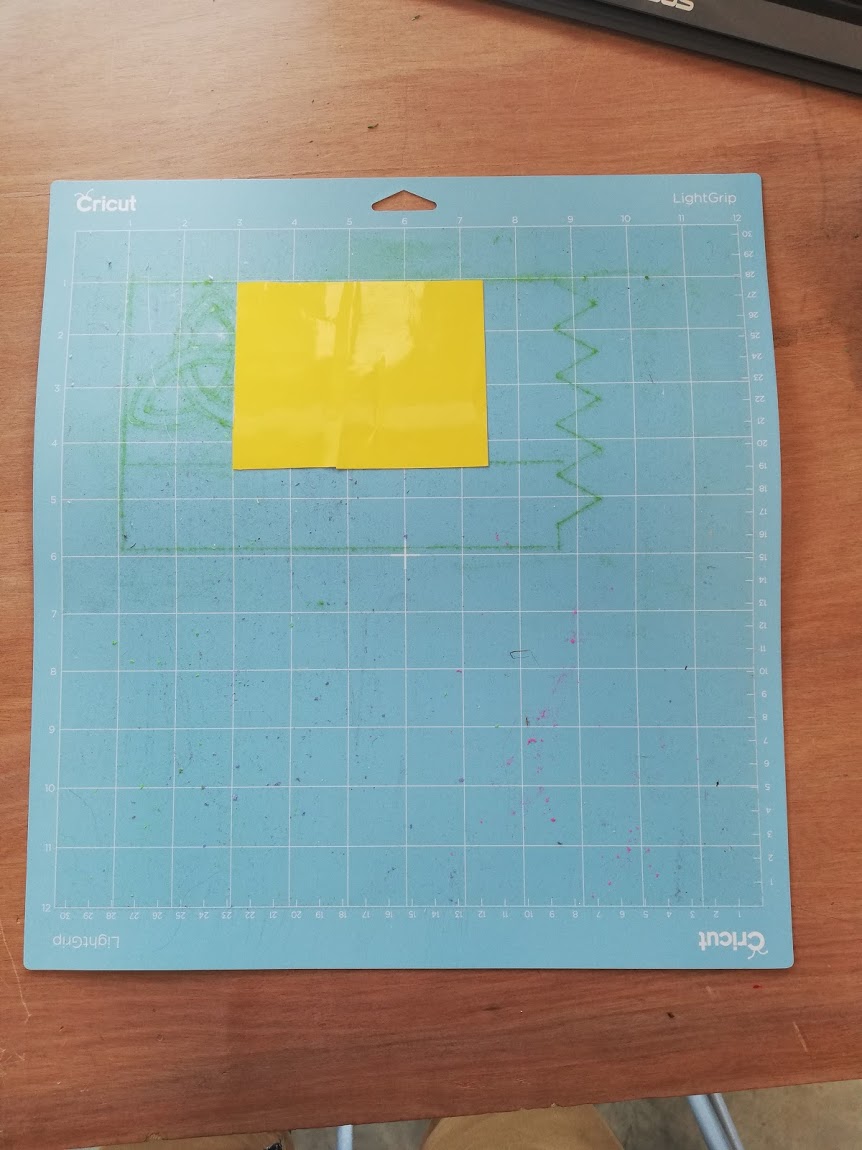
you will see that each colour has his own mat
place the object on the right lication on the mat
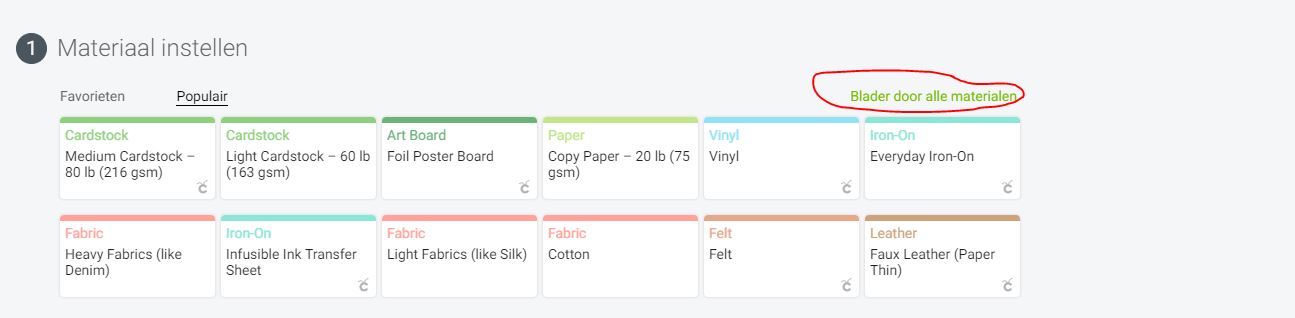
select the material
in the program is a big library with differnt materials.
The app will tell you which tool you should put in the machine.
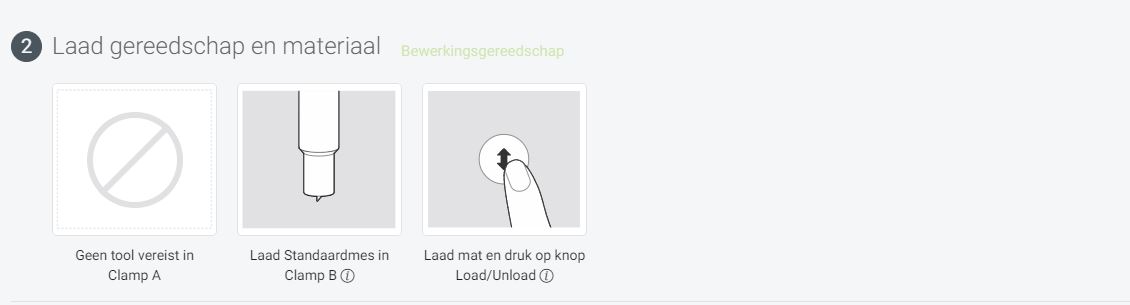
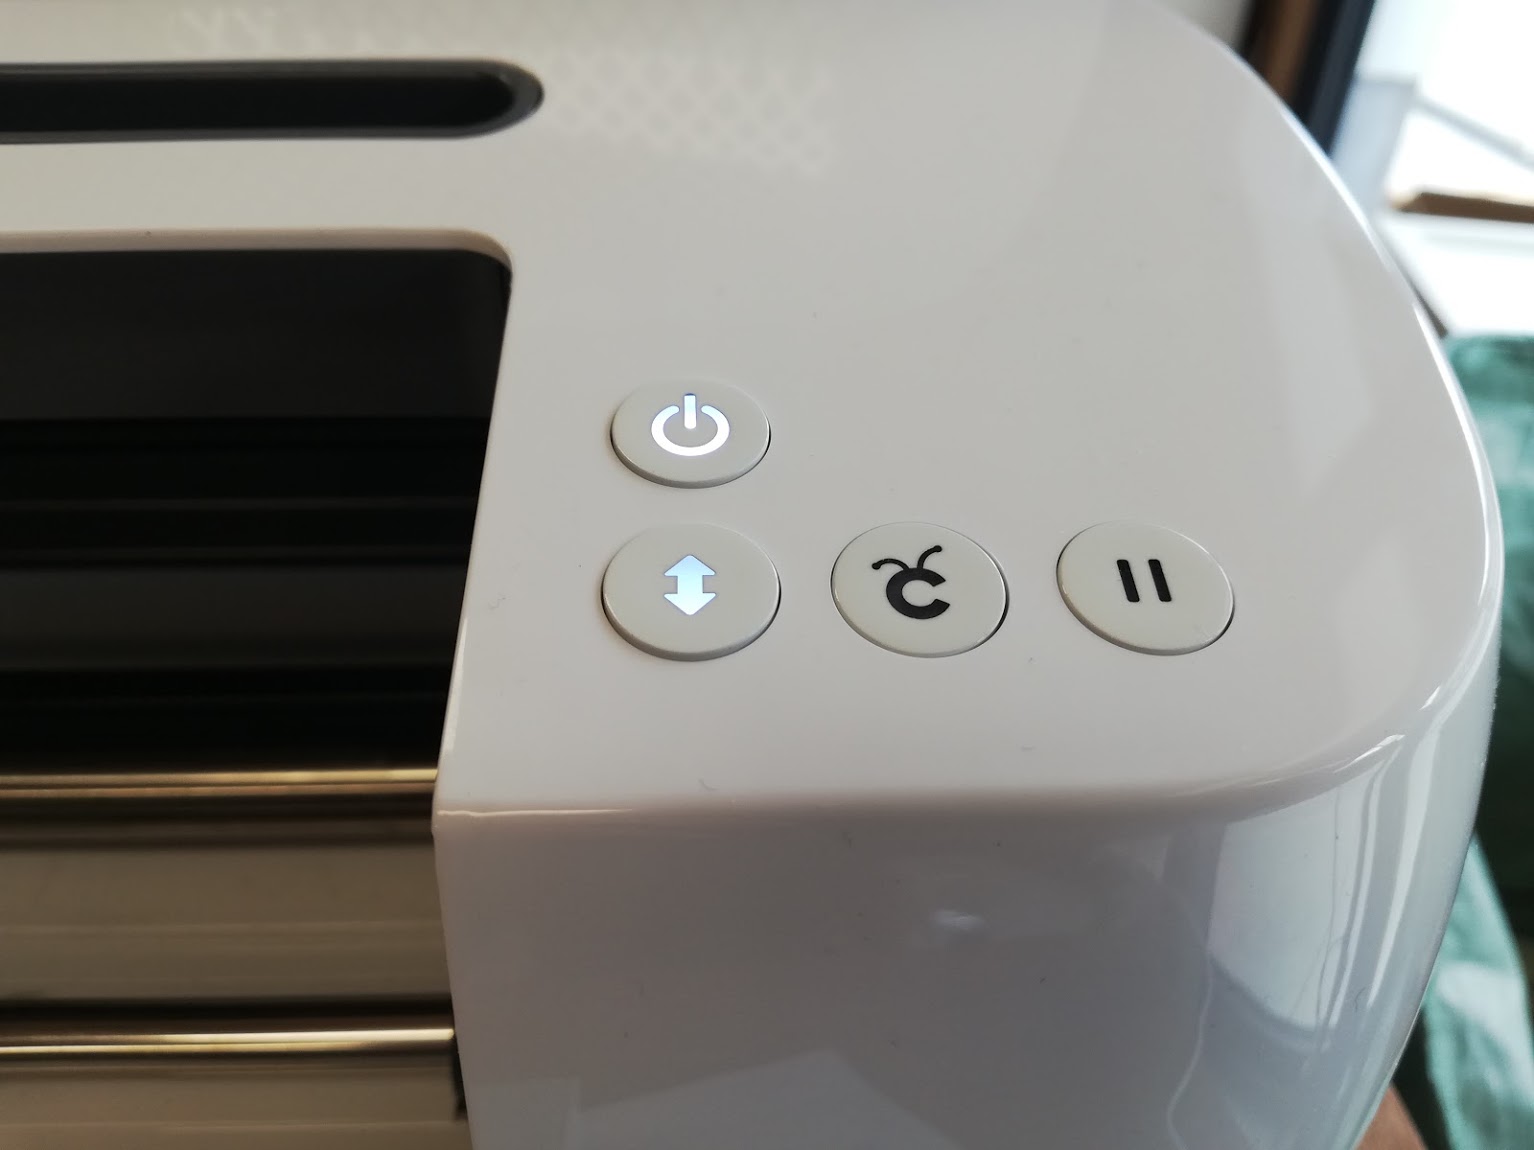
Put the mat in the machine and press start
the result