3. Computer-Aided design
updated (4/2/2021): added files with working links to this page.
This week I focused on evaluating different design tools and tried to use them to design several components for my final project. I have prior experience with Inkscape, Illustrator, Fusion 360, SketchUp, and OpenSCAD. This page will track my progress through the week exploring the different design tools.
2D Design - Adobe Illustrator
Adobe Illustrator or Inkscape? That is really the question here, and I often waffle between recommending Illustrator over Inkscape. These days, now that I manage a Fab Lab and the licenses for our software. Unfortunately, that means I have had to interact with Adobe’s customer service more than I care to. It is a huge bummer that Illustrator is a fantastic product and does particular things really well. Adobe knows this and doesn’t care if you are frustrated with their business model. Anyways, I have a love-hate relationship with Adobe. The same is true for Inkscape, but for opposite reasons. Inkscape has no business model, they are an amazing open-source project, and should I want to love the product, and for the most part, I do love the product. It’s not pretty, but it get’s the job done. There are certain aspects of Inkscape that bug the shit out of me, and I will highlight those through this documentation on the extermely off-chance that someone involved with Inkscape’s development reads this or cares and wants to do something about it. Okay, here we go.
Design Project: Haystack Studio Architecture
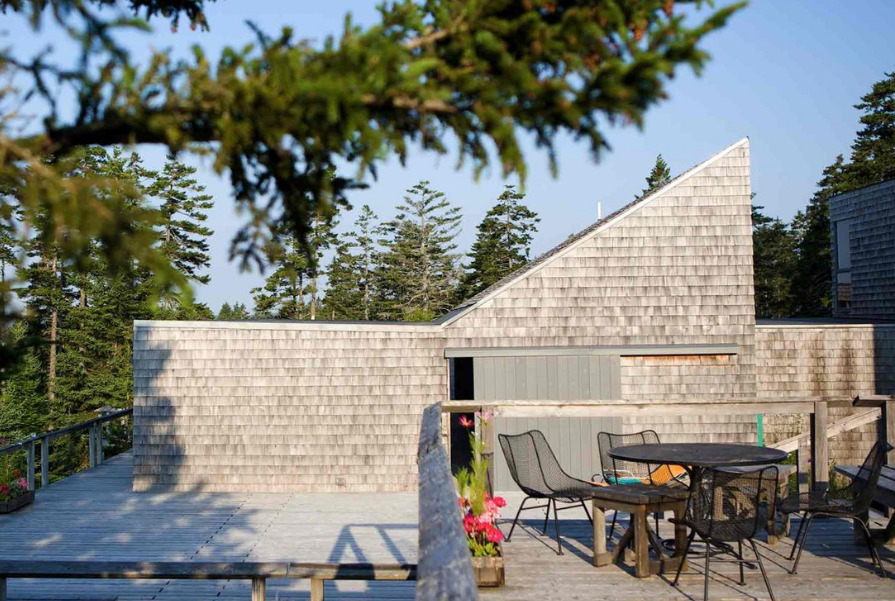
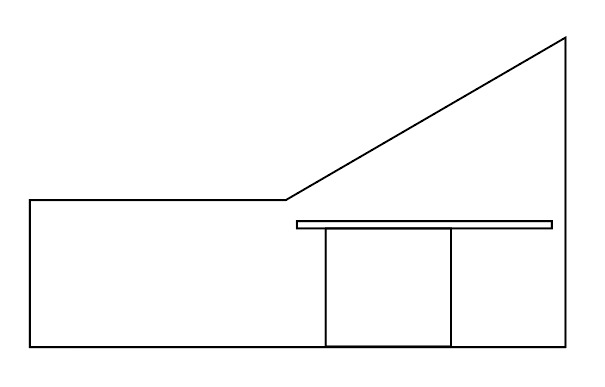
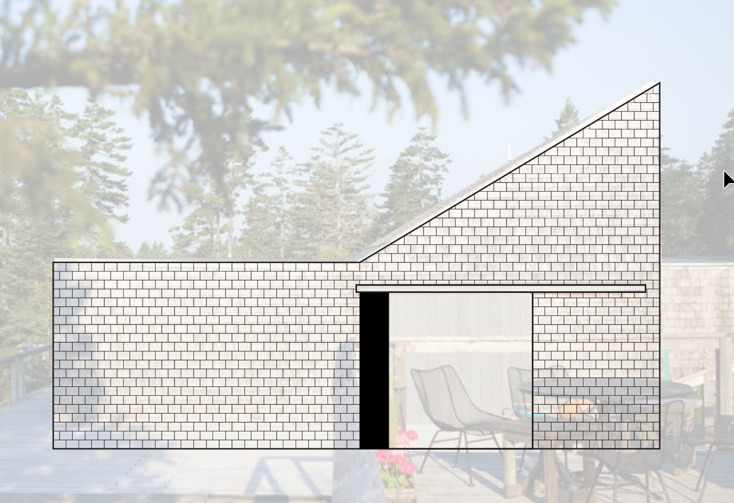
Below is the design for the front of the studio, with the barn door included. I was able to quickly mock this up in Illustrator using the Geometry tools (Rectangle, Polygon), Direct Selection Tool (node editing), Pathfinder (Boolean operations), and the alignment tool.
Workflow
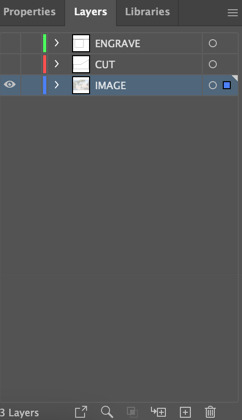
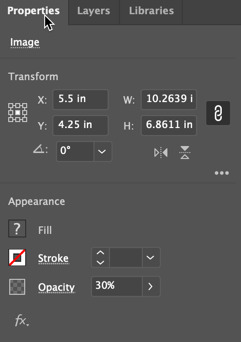
To begin, I created a Layer to place the image that I wanted to sketch. This can be done by clicking on the Layers Panel tab (right) and on the + button to add a new layer. I labeled this “IMAGE” and changed the properties to 50% opacity.
|  |
| 
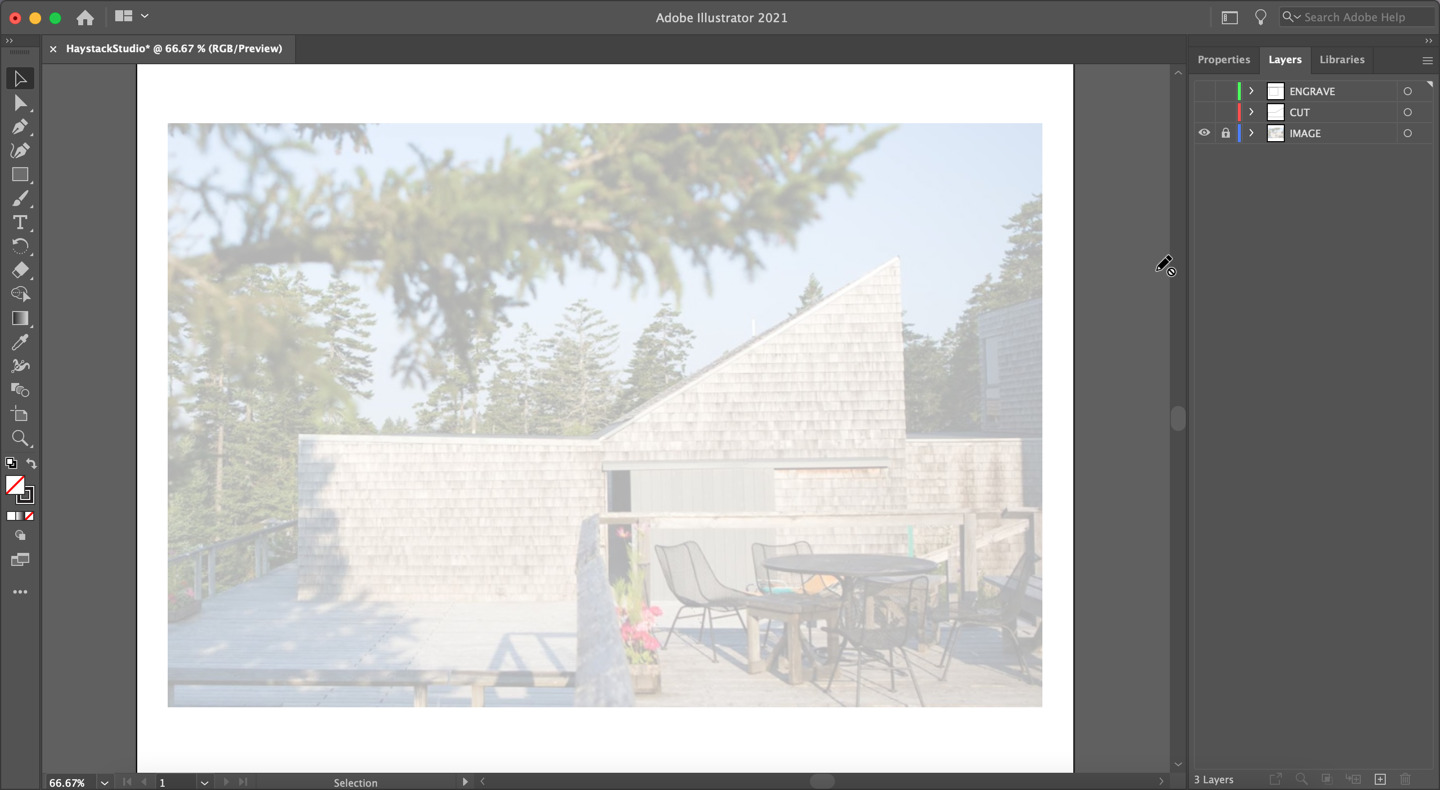
The screenshot belows shows the setup for tracing that I made. There are three layers: 1) ENGRAVE, 2) CUT, and 3) IMAGE. This will provide a way for me to organize the design and make quick and easy selections to change properties across a layer, which will save time once we move to the laser cutter and need to do color mapping. More on that later.
Rectangle Tool (M)
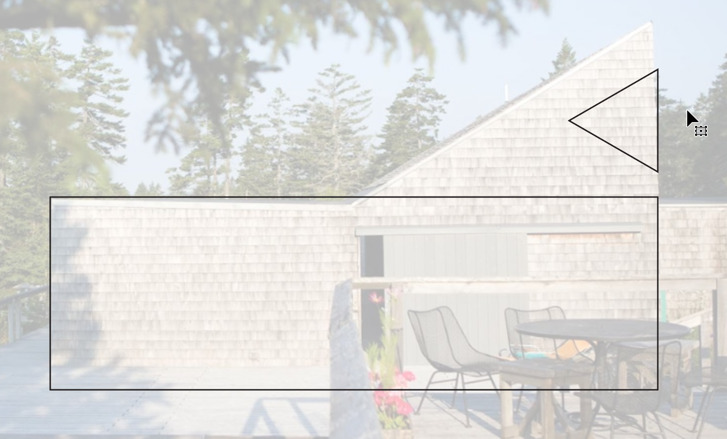
The rectangle tool can be activied by clicking on the rectangle icon or pressing the M key on the keyboard. To begin drawing the outline of the studio, I used the rectangle tool to draw the bottom component of the studio. Then I added the sliding barn door detail.
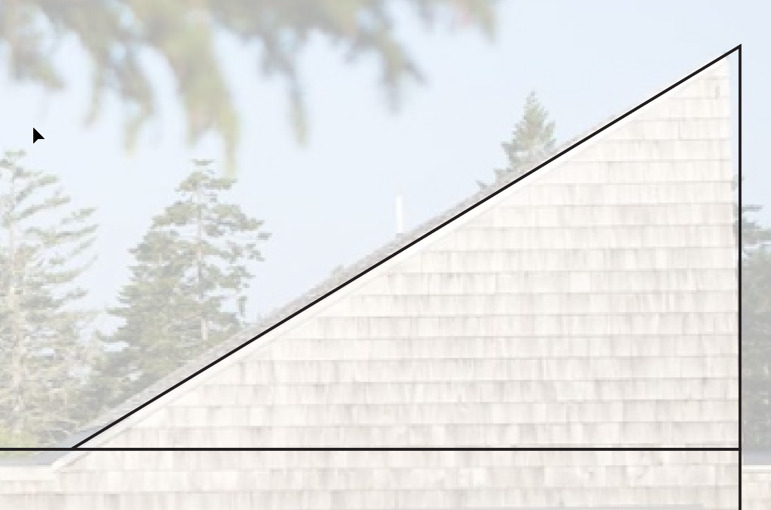
Polygon Tool
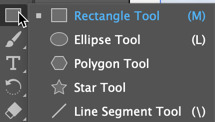
I used the polygon tool tool create a triangle. You have to click and hold on the rectangle tool icon to bring up a new fly-out menu.
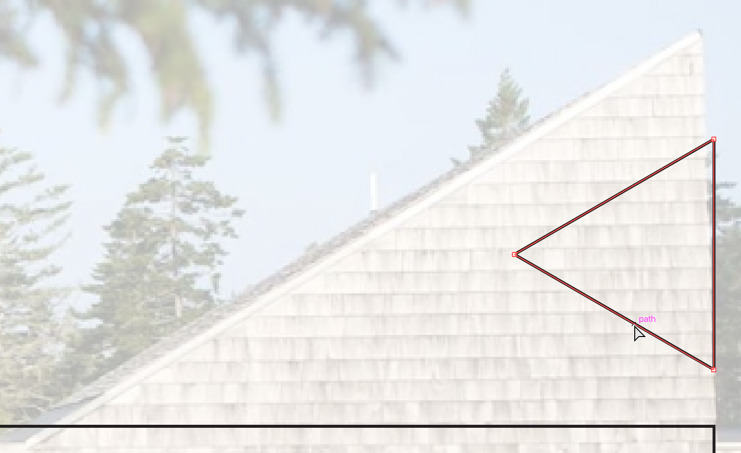
Direct Selection Tool
The direct selection tool is specific to vector based graphic programs. Instead of the typical selection editing options (scale, rotation, translation) that are available when selecting an object. Direct selection allows you to edit the position of specific nodes (anchors or points) within the vector shape. In this case, I moved the point on the triangle to match the shape of the studio’s pitched roof.
Pathfinder Tool (Boolean Operations)
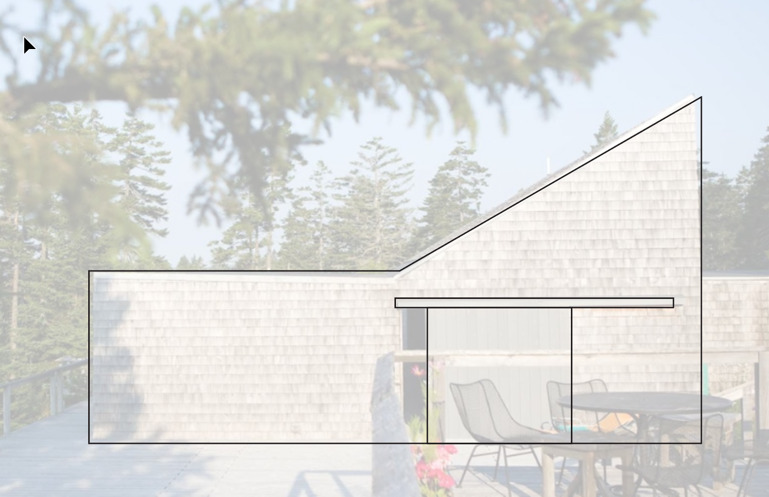
I also imported the photo from above and put it on its own layer, made it 25% transparent and then locked the layer for tracing. This allowed me to have a visual reference of the design, which is really handy when designing things like this.
Key Command Shortcuts
V | Selection Tool
A | Direct Selection Tool
Studio Detail
I added the detail for the sliding barn door using the rectangle tool. All of these were put onto the “ENGRAVE” layer and I will eventually change the color so the laser cutter scores these lines into the material
Repeated Patterns: Shingles
To recreate the shingle siding detail. I used the copy + move command, by selecting the objects to copy and holding down the option key. In addition to doing this, holding the shift key while doing this will allow you to move the selection snapped to a straight line. This is particular helpful in my case, but also is useful for a number of scenarios.
Cleaning Up Overlaps: Scissor Tool (C)

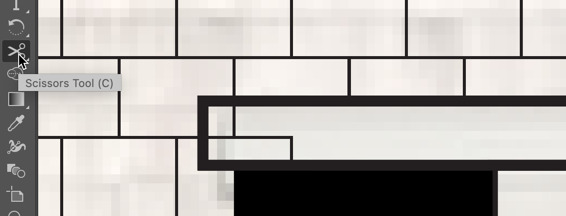
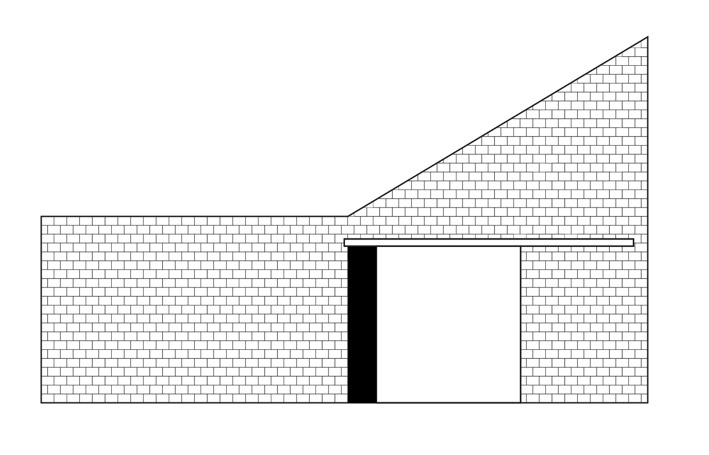
Here is the final design that I came up with.
3D Design - Fusion 360
Okay, so today I am jumping back into Fusion 360 after having taken some time away from the program. It has become my 3D design tool of choice because it has a lot of built in features.
Haystack Studio - Playstack Structure
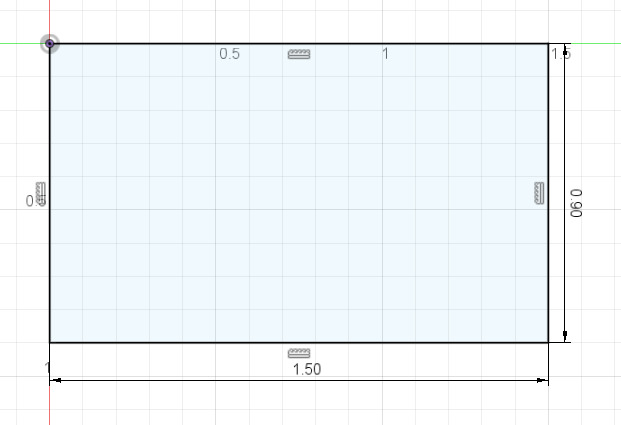
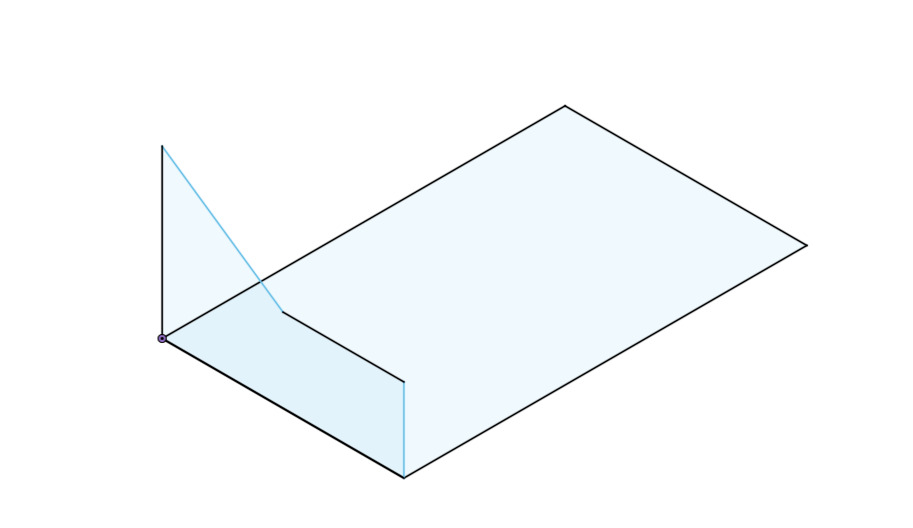
I would like to make a scale version of the Haystack Studio as the primary structure for the project. This needs to be big enough to fit a couple of interactive physical simulations of the craft tools, and also big enough for a toddler (2-4 years old). The woodworking studio is approximately 15.2m x 9.5m. Scaling the structure by 1/10th will yield a overall structure that is 1.5m x 0.9m, I am not sure if this is big enough to be honest, but I will model it using these dimensions and get some feedback. I am just looking to sketch out the rough shape of the Playstack structure, so I will add more detail later.
I used the line tool to draw the side view of the studio building so that I could extrude it along the floor plan, shown above.
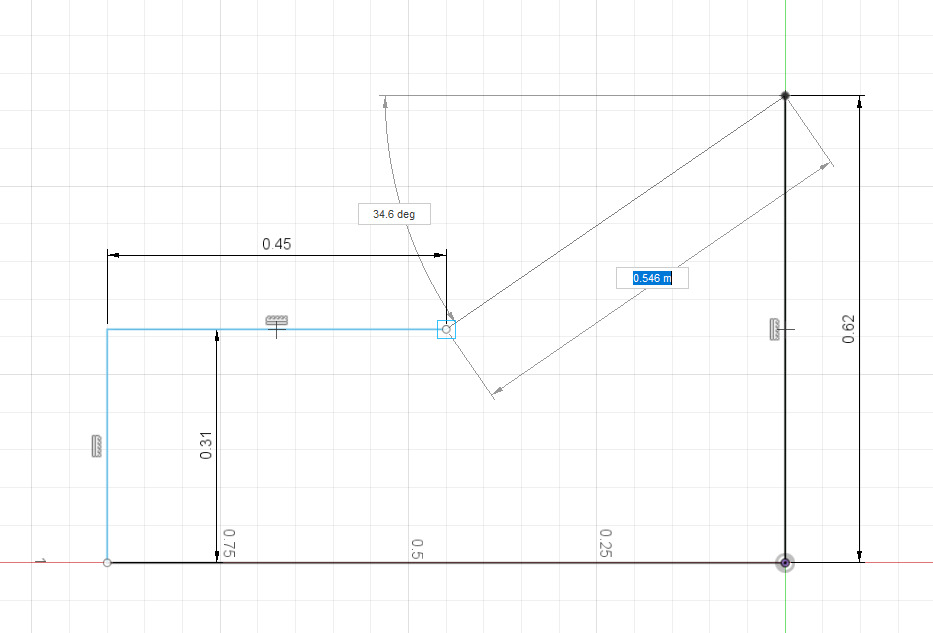

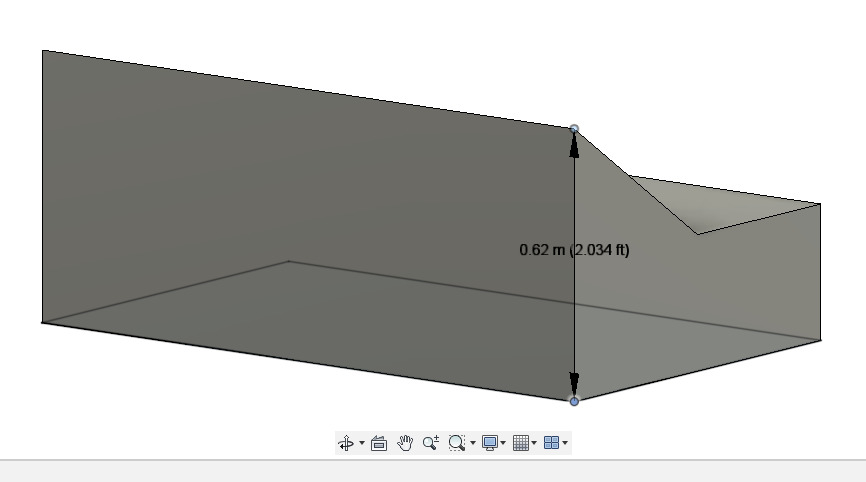
Using the measure tool, I was able to get a sense of how tall the structure would be. You can set up secondary dimensions on the measure tool to display both meters and feet, which as an American stuck with the imperial units, I find really helpful. Given that the tallest point of this structure is 2ft, I am going to make everything taller, and I may even change the overall dimensions a bit to be more suitable as a child-play station.
Redesign
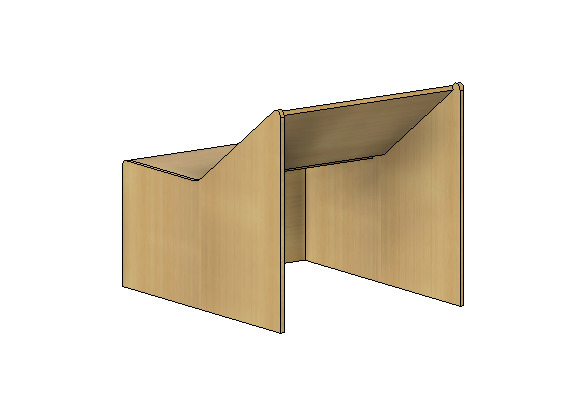
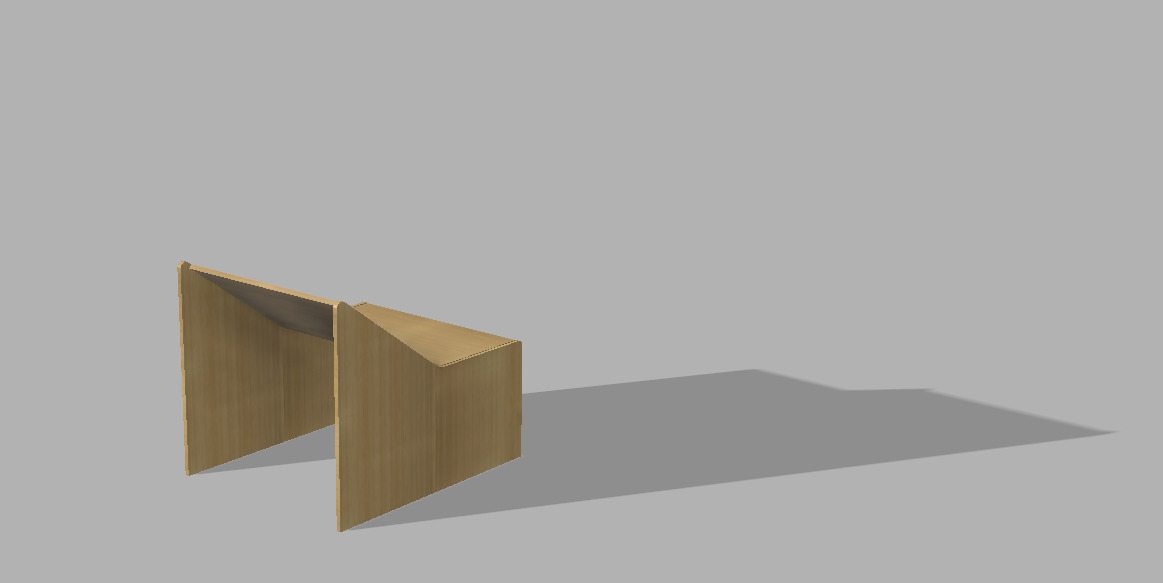
I decided that the above approach would not be useful towards approaching a design that could be cut on the CNC router, so I redesigned the studio structure as an assembly of parts that could potentially be cut out on a machine. I am not going to worry about joints right now, in the interest of getting the right shape and form down.
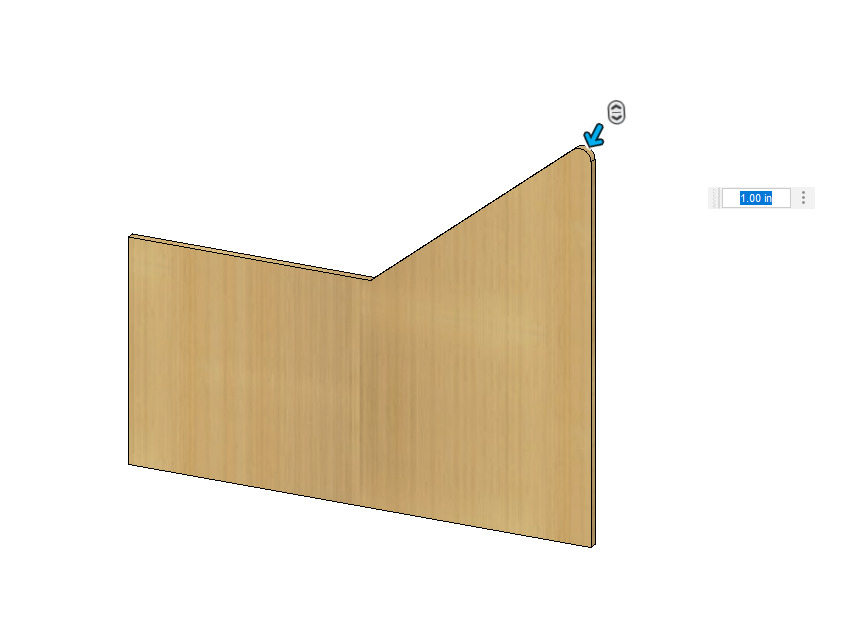
Here is one side of the structure. I am applying the Fillet Tool to the sharp corners to keep my daughter safe when she plays with it.
3D Design - Rhino
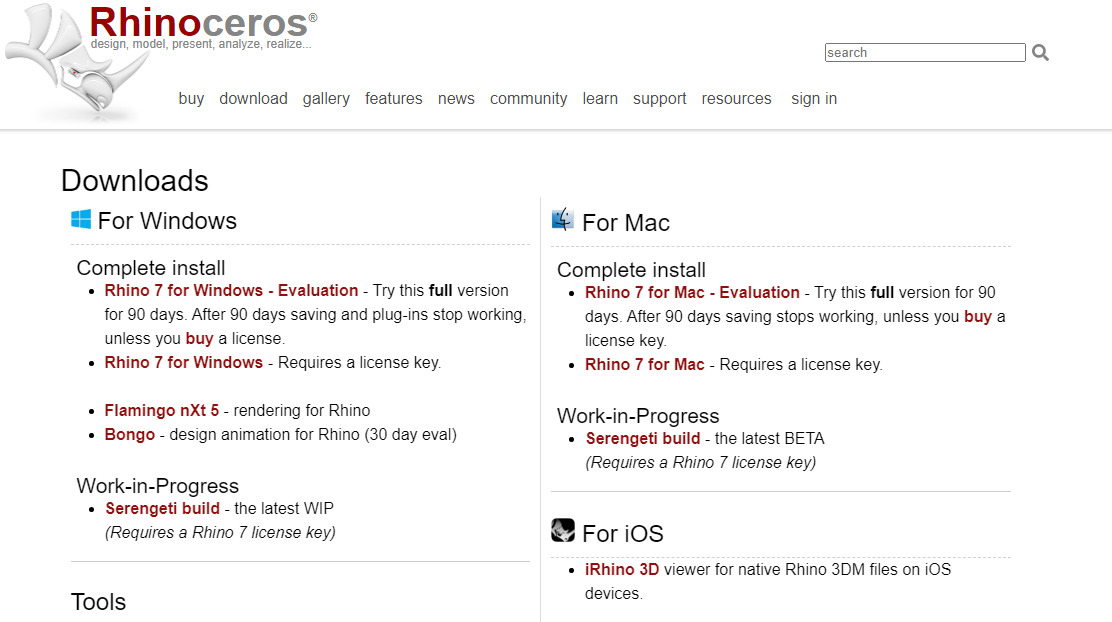
I’ve have always wanted to give Rhinoceros a chance since it seems to be the tool of choice for architects and other amazing designers I have seen come through the Fab Lab. According to their website, they offer a 90 day trial, so I will give it a shot and try to learn it for the purposes of this course and try to expand my design toolset.
When I am trying to learn a new digital tool, I check out **LinkedIn Learning’s library** since Haystack has an account and subscription to their content. I find it helpful to get started quickly. I usually skip around to get a feel for the program and skip the extraneous parts.
Learning Rhino
I installed Rhino 7 on my macOS computer, I had issues getting it to run on my more powerful Windows PC workstation. Anyways, I started watching a tutorial on how to use Rhino and started experimenting with the tools. As you can see below, I haven’t designed anything impressive just yet, still exploring the 2D drawing tools. So far, I am feeling a bit overwhelmed with this program. There are a lot of menus, buttons. There are at least 5 ways to access any command in Rhino. It also is a little difficult to figure out how to adjust settings on the Mac version, such as snapping options.
I watched more of the video tutorial and played around a bit with Rhino. I am not sold on the program, I definitely don’t have time this week to produce anything spectacular using the program. I am going to switch to Fusion 360 and draft up a potential structure for the Playstack.
References
Rhino 6 Essential Training Online Class | LinkedIn Learning, formerly Lynda.com
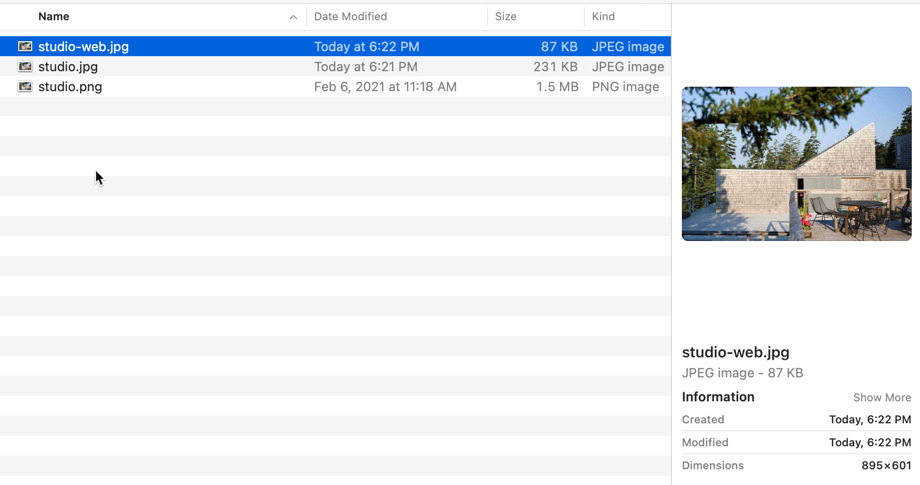
Optimizing Images
This article explains how to quickly convert a PNG image format to a JPG file format using ImageMagick, a command line tool for editing photos.
Image Format Conversion
The following code will convert a PNG into a JPG, which is a compressed image format and more optimized for use on a website.
mogrify -format jpg studio.png
Image Compression
The following code will compress the input image by 50% in quality.
convert studio.jpg -quality 50% studio-web.jpg
Results
The results below, shown on my computer show the original image file (PNG) was 1.5MB in size, while the final optimized image file (JPG, 50%) is 67KB.