-
00. FA20 Hyunho
-
01. Principles and Practices, Project management
-
02. Computer-Aided design
-
03. Computer controlled cutting
-
04. Electronics production
-
05. 3D Scanning and printing
-
06. Electronics design
-
07. Computer controlled machining
-
08. Embedded programming
-
09. Input devices
-
10. Applications and implications
-
11. Output devices
-
12. Interface and application programming
-
13. Invention, intellectual property, and income
-
14. Networking and communications
-
15. Molding and casting
-
16. Wildcard week
-
17. Mechanical design, Machine design
-
18. Project development
-
19. Final Project
Week4
Electronics Production
Group Assignment Link
Assignment
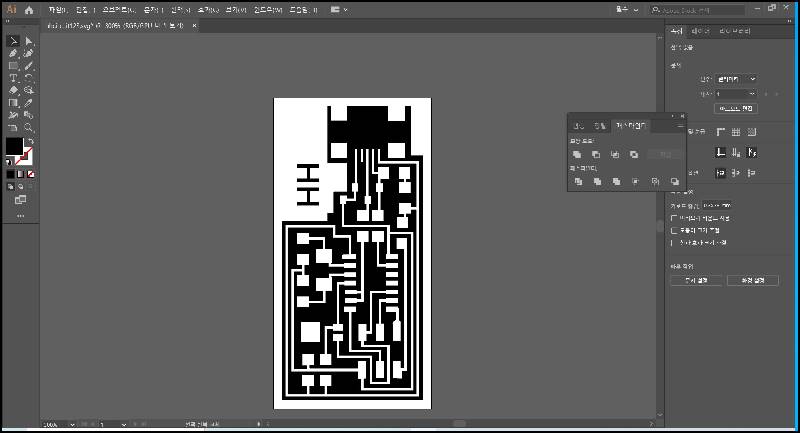
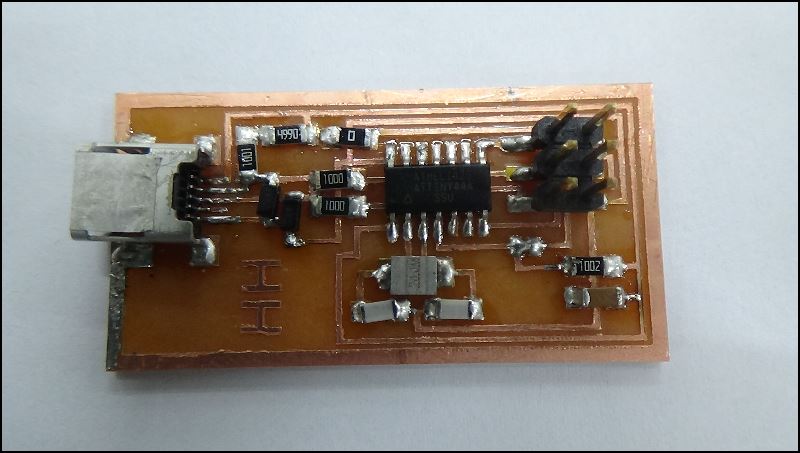
I chose Professor Neal's FabISP in the tutorial
Tutorial Link(click here)
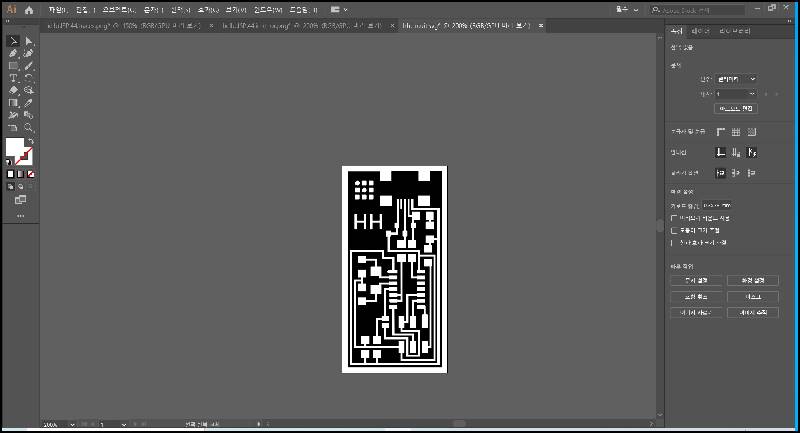
After illustration image trace the png file and export to svg
I erased it except for the black part
And I added the initials of my name
I couldn't cut some lines in the bantam, so I had to correct the spacing of the lines back to illustration
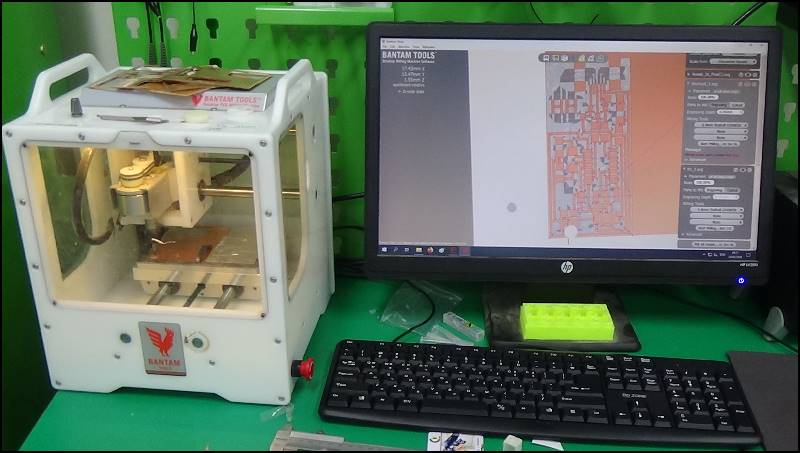
Because the original file used 1/64 bits, but we used 0.4mm bits
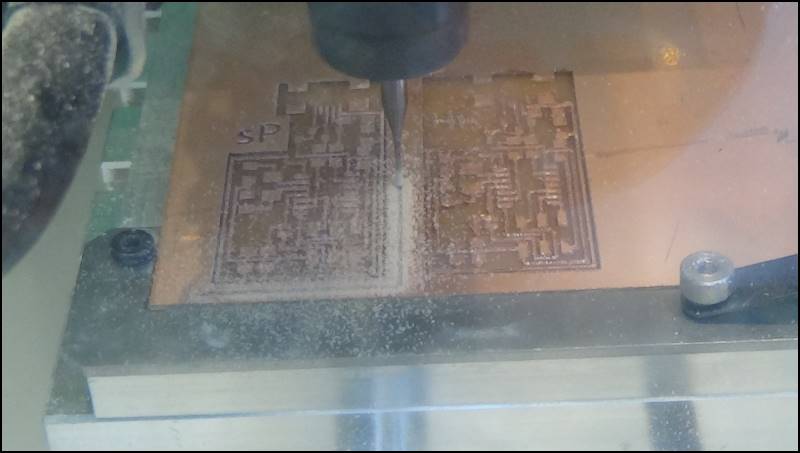
engraving i use 0.4mm bit
Cutting 0.8mm bit
Wash the board clean with water and dry
I fixed it flat with double-sided tape
Engraving takes 1h 20m and cutting takes 6m
From the groupwork i leared the correct feed flunge value, but it took a long time because it used a lower value.
The second board took about 20 to 30 minutes
After work i cleaned the bantam with a vacuum
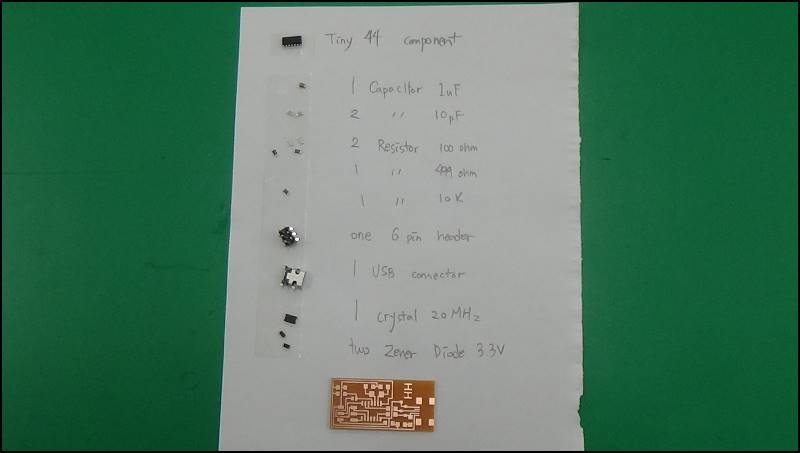
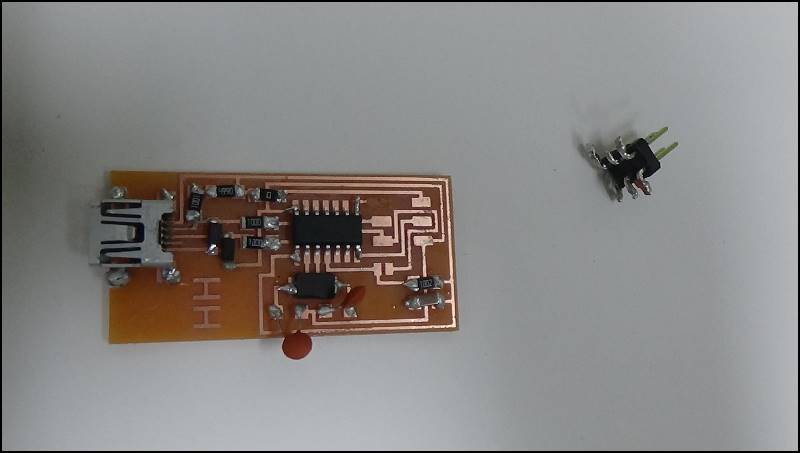
I've cleaned up the components that go into the FabISP
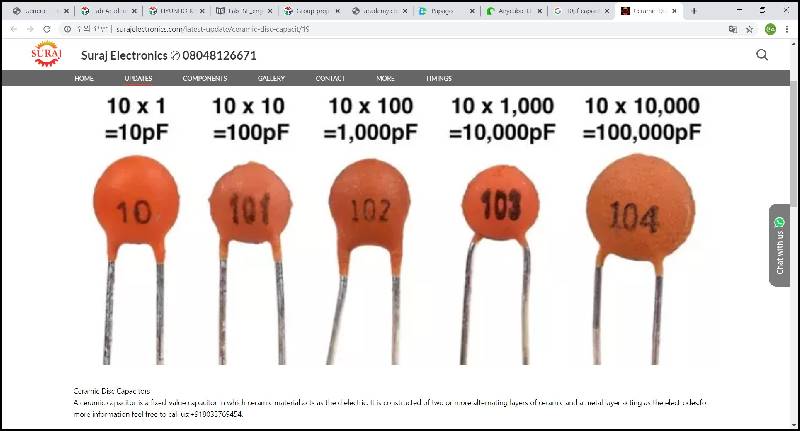
I'm going to use all the original 10pF capacitor
It took 30 minutes to find the 10pF capacitor
It took more than two hours to solder
The connection was broken
I don't want to see lead
My head began to ache a little
I miss my family
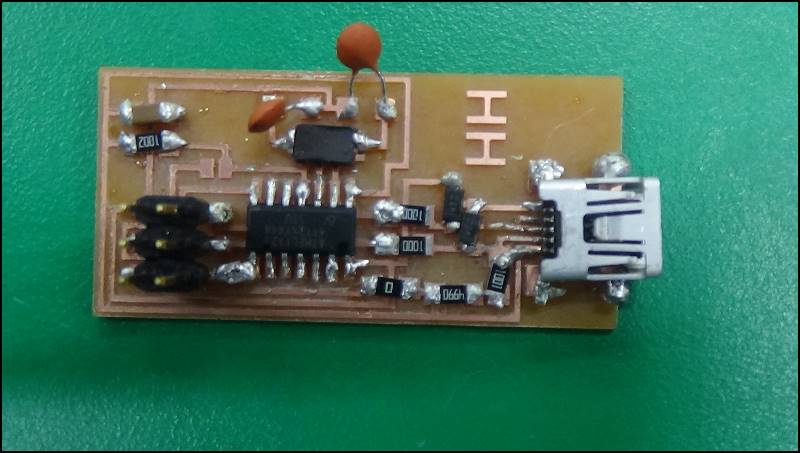
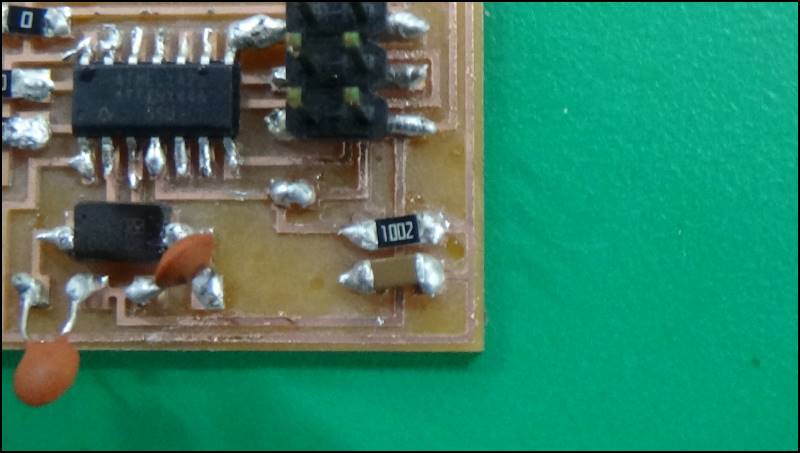
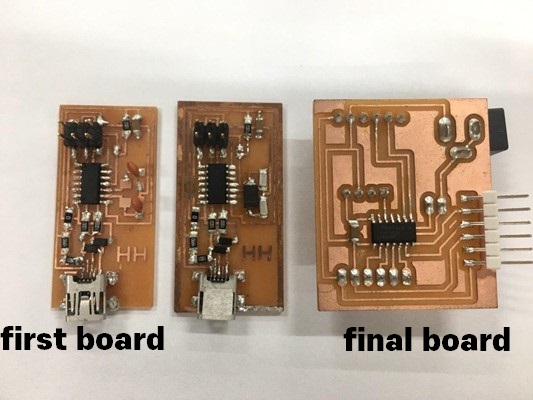
Finally, my first circuit board is finished
It took me less than 30 minutes to get better soldering
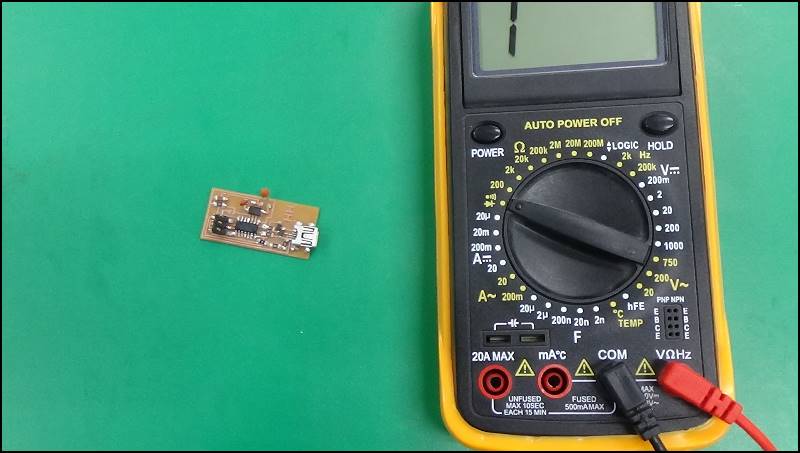
I looked at the circuit diagram and tested the multimeter for good current flow
I'm so glad to hear the beep coming from the multimeter
Next, I downloaded software for the operating system according to the tutorial
This is where the problem arises
I use the Windows operating system and Winavr has been discarded
I went to Google for libusb, but I was not used to it, so I borrowed my friend's MacBook
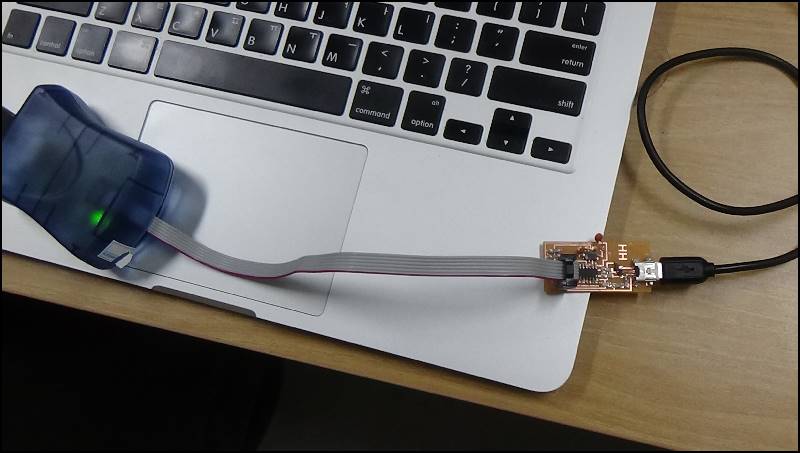
Fortunately, it's green
Green Light: means that the header is soldered correctly, the board is getting power
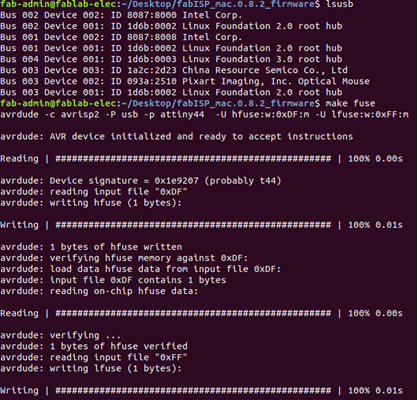
Now, make clean make hex is a success
I forgot to add the jumper to SJ1
fuse error occurs during make fuse phase
Soldering continued to be fixed here, but the same problem continued
Fabacademy The search function used to detect fuses, but most of the problems were soldering on the board
In reginoal review instructor Saverio and Rico gave some advice of soldering(Thanks you!)
I'm going to practice soldering more and then remove the parts again to soldering
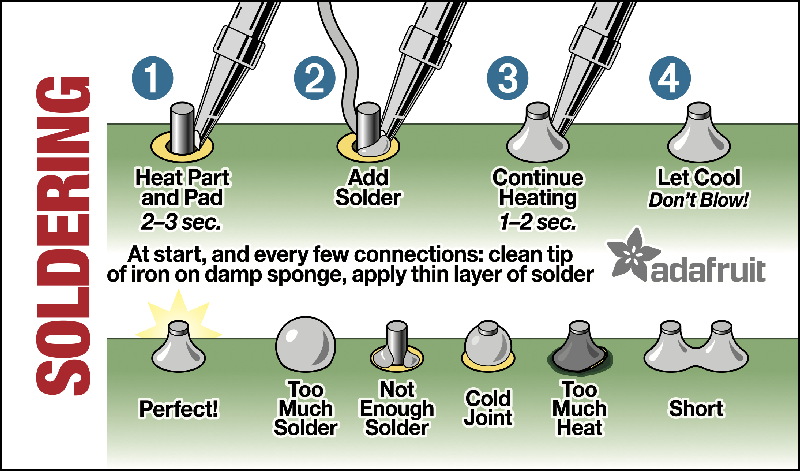
This is a picture that Saverio gave me as a reference to soldering practice
I practiced soldering while looking at this picture
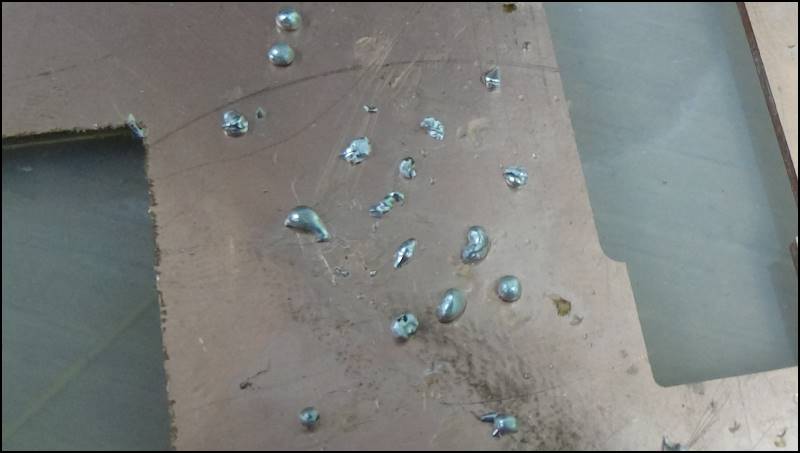
Traces of practice

I tried to make a new board, but I think the end mill is slowly coming to an end
The cutting surface was rough because many students machined up to 0.15mm
and the edge of the end mill up to 0.15mm was slightly worn out
Depths of more than 0.2mm will give you a cleaner cutting surface
I worked on the rez axis
In the meantime, I modified my fabisp file which used to take 1 hour and 20 minutes
It takes about 35 minutes now
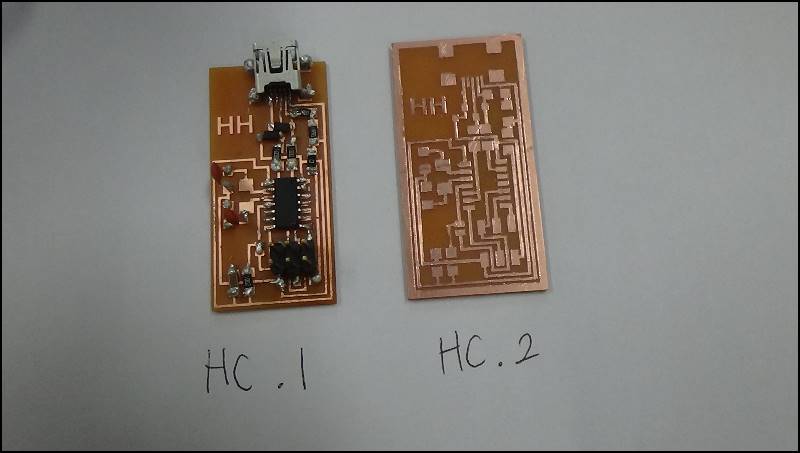
In the meantime, HC.2(Hyunho Circuitboard) was completed
And i forget set incut by mistake, so it's a little bigger
I don't know if the end mill is worn, but the lines aren't clean
I cleaned it up with my nail tools
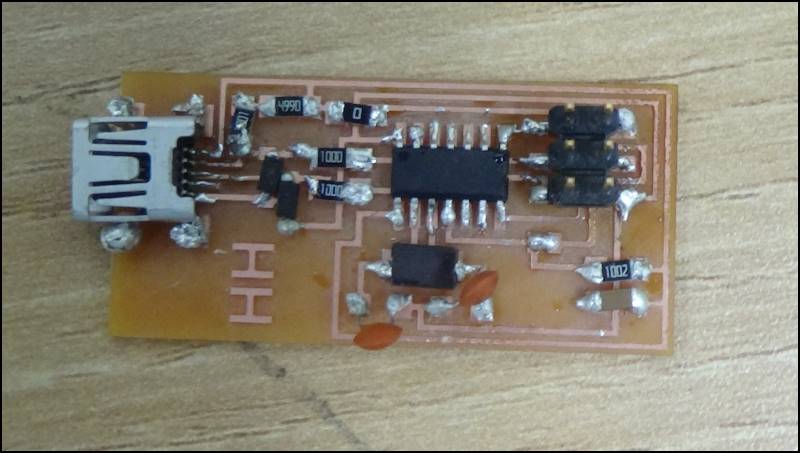
I'm done with the new isp board
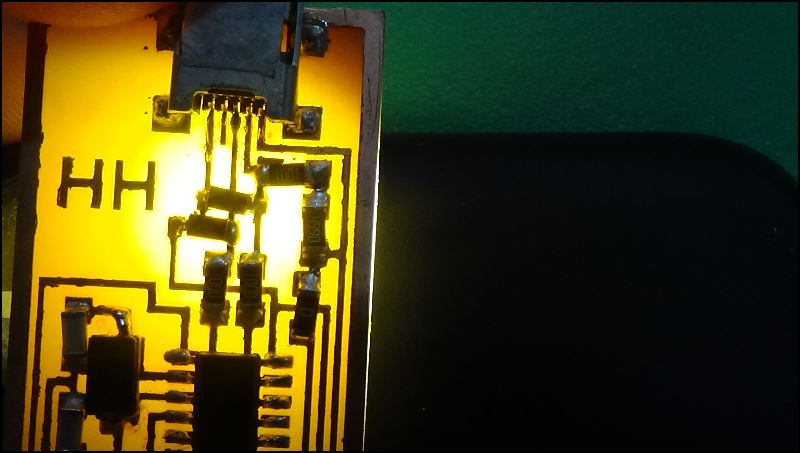
But I found a short circuit on the board
Cell phone flash makes it easier to find a short circuit on the board (Craig's tip)
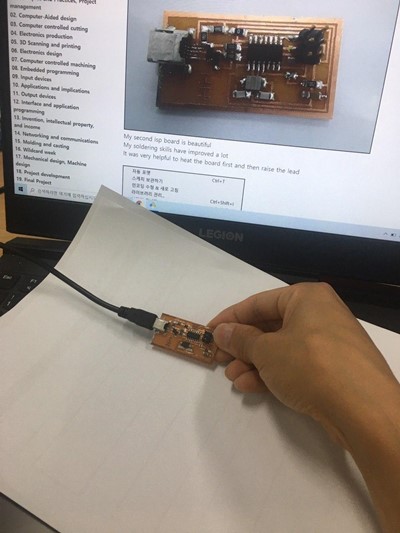
My second isp board is beautiful
My soldering skills have improved a lot
It was very helpful to heat the board first and then raise the lead
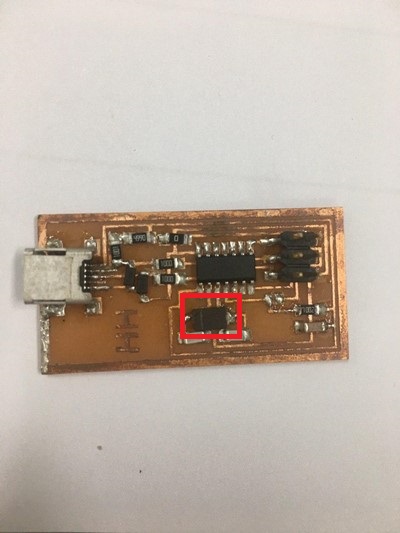
But there was a problem
So i change crystal > resonator
An error occurred in my friend's MacBook during the make-fuse stage

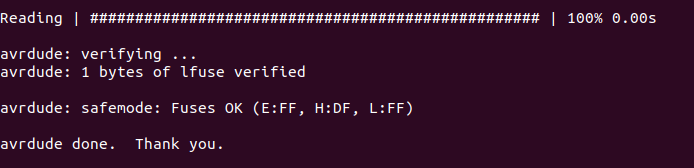
I ended up using a computer with the Ubuntu operating system in our lab.
I succeeded in making Isp a programmer
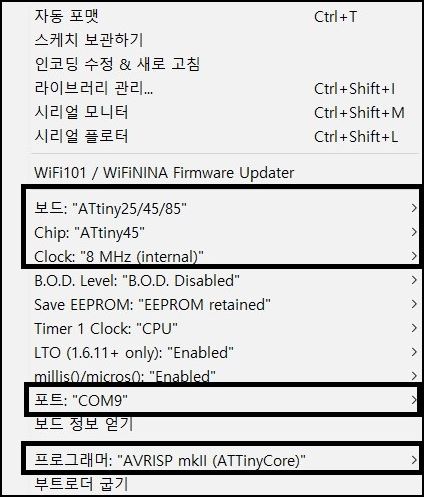
I started coding with Aduino
I set up the port, the board, and the chip
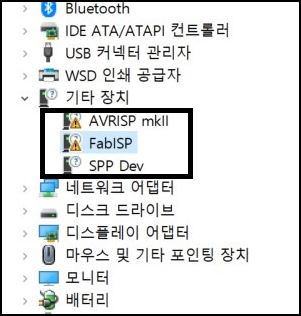
My Windows 10 laptop didn't recognize the isp board
Because I don't have a driver
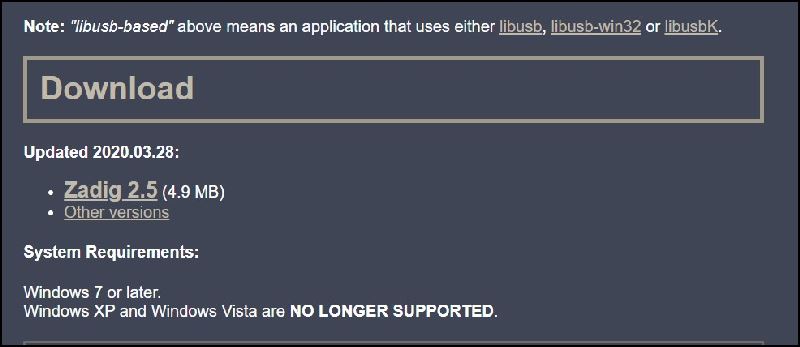
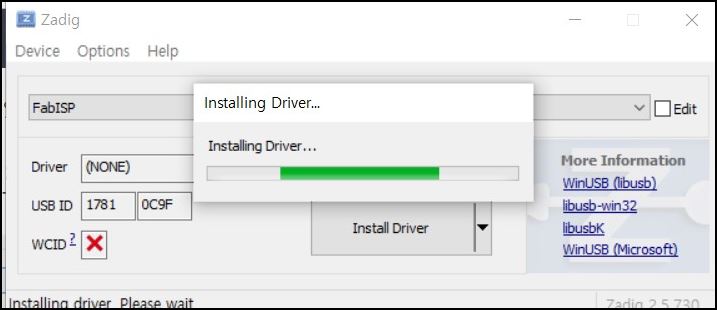
I downloaded the driver from zidig

Success at the end of a long journey
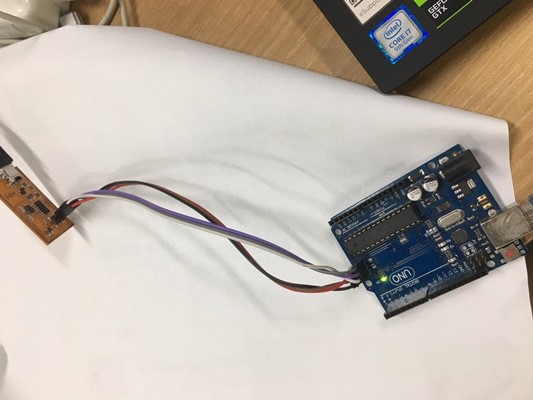
Finally, I used my FABisp to program the Arduino Uno board
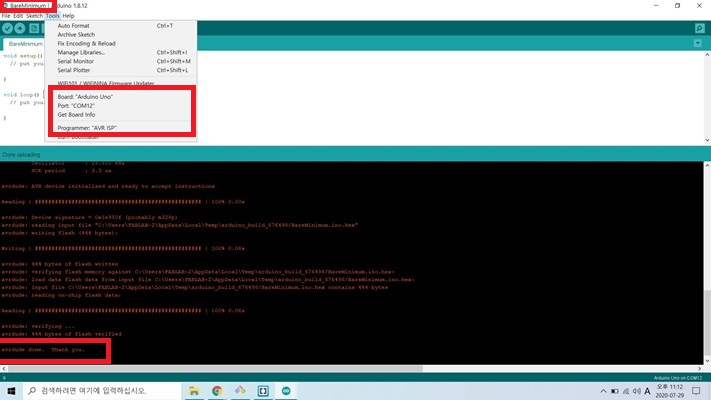
Aduino IDE example code was programmed using the Bareminium code
Port - COM15
Board - Uno Board
Programmer - AVR ISP
Success!
One of the most difficult parts of the academy was naphuan.
The problem was to get the lead to a high temperature to finish quickly.
I made a lead at a temperature between 280 and 300 degrees.
First, preheat the board with an indu-tip, then push the lead between the indu-tip and the board,
and slowly drop the indu-tip when the lead spreads on the board.
It took me a long time to realize this.
Thanks for Helping to improve the skill of soldering Yunje, Craig, Rico, Severio
File Circuit Board file