6. 3D Scanning and printing
Time for some 3D printing!
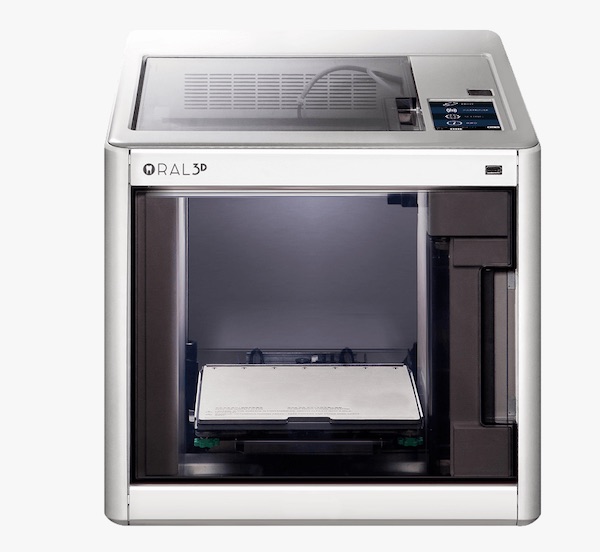
I found a company offering FDM 3D printing solutions for dentists: Oral3D, so I was already quite familiar with this technology. We use a Sindoh 3D printer, but we changed the firmward to connect with our online software through the cloud. That’s the printer I used for the first part of the assignment. However, I did not have much experience with other 3D printers, so I took the chance to do some multi-colour 3D printing and also to learn SLA 3D printing.
FDM printing
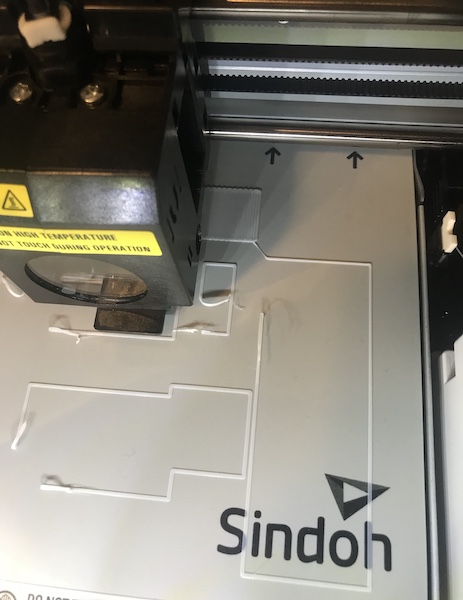
For the FMD assignment, I used the Oral3D Sindoh printer. The model I used is DP201, but the version with a firmware adapted by Oral3D.
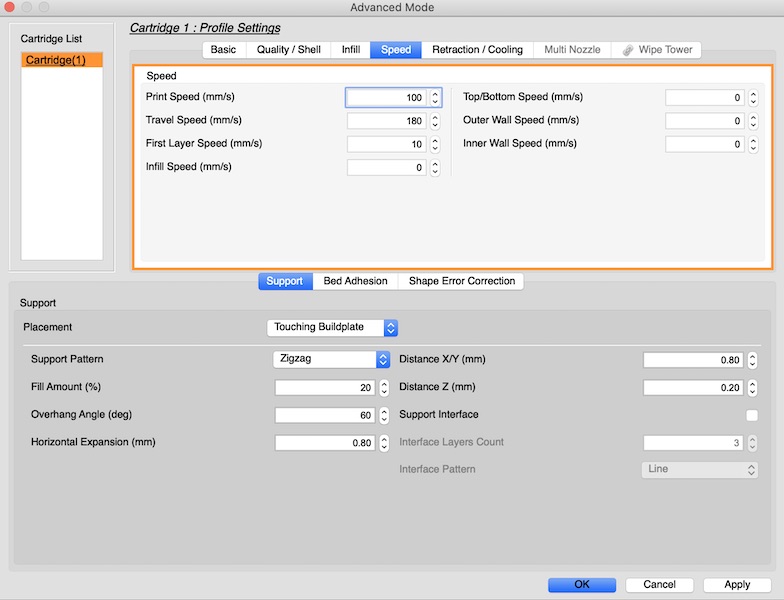
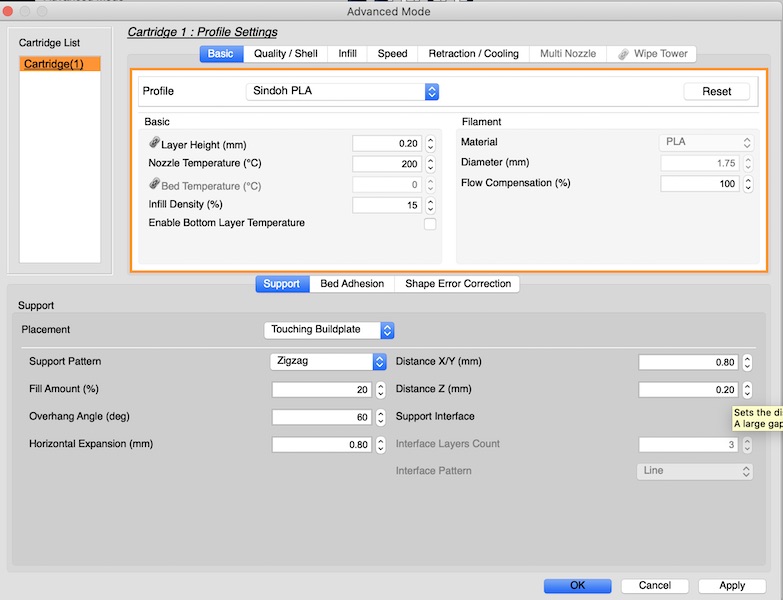
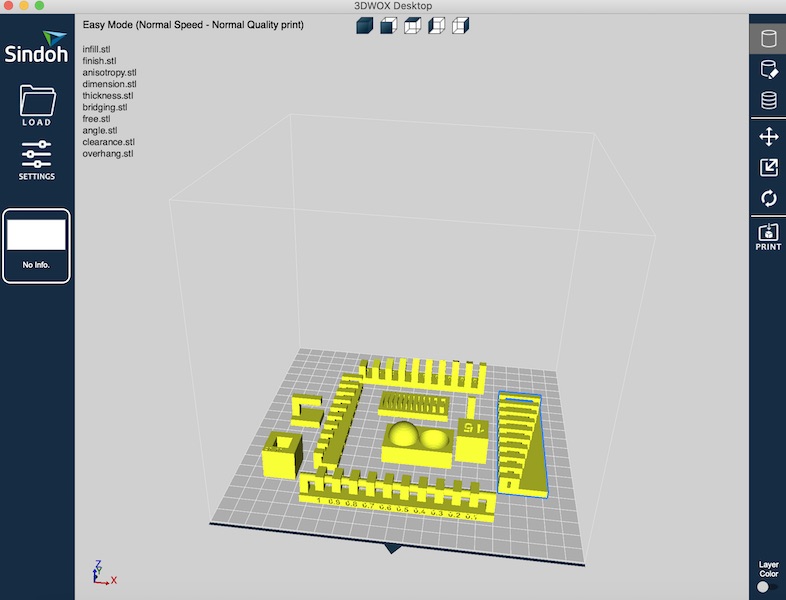
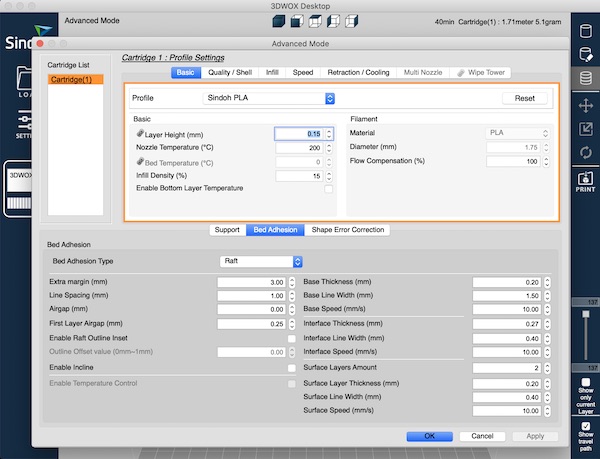
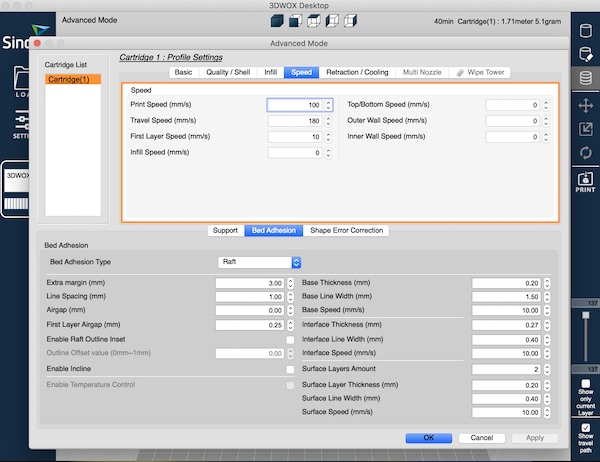
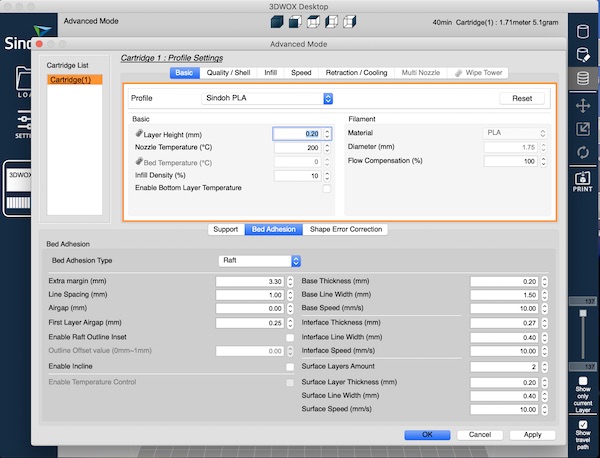
I have adjusted the 3D wox setting a bit in order to have a faster print (the printing speed was set at 40mm/s but I moved up to 100mm/s), added support (I used the setting ‘touching buildplate’ and then ‘zigzag’), set a layer at 0.2mm, infill at 15% and started by trying to print all objects together.
|
|
|
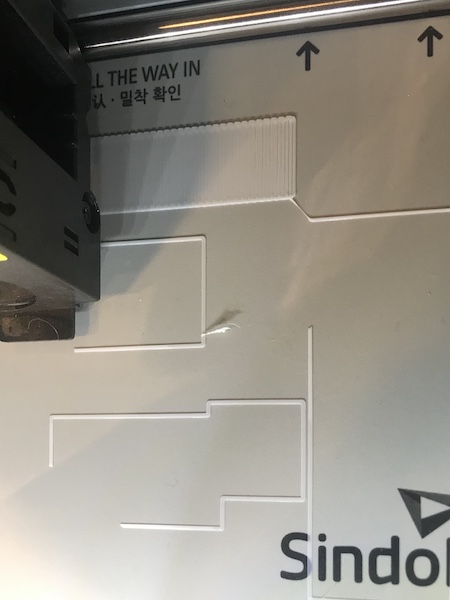
When it started, the print was not super clean so I tried to remove some pieces with scissors and it seems all fine…
|
|
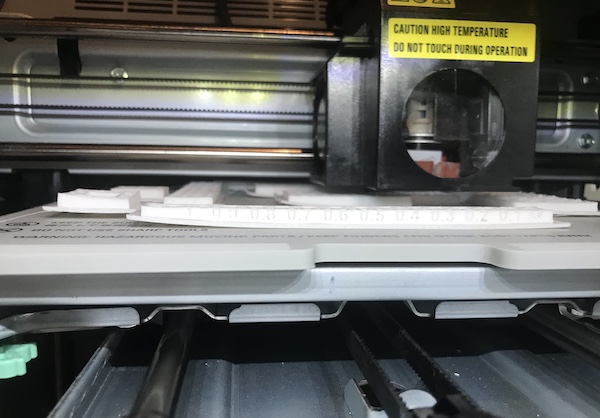
But actually all objects was not a good idea. While it seems at the beginning that it could work, it ended up failing because the parts started to lift from the bed (warping).
|
|

|
|
So I decided to quite the printing and print objects one by one. I decided to experiment with setting. I made a first print wiith these settings (speed 100mm/s, speed first layer 10mm/s, layer resolution 15mm, infill 15%):
|
|
and then another print with different settings (speed 120mm/s, speed first layer 25mm/s) layers resolution 20mm, infill 10%), which made the printing faster (from 39min to 33min):
|

|
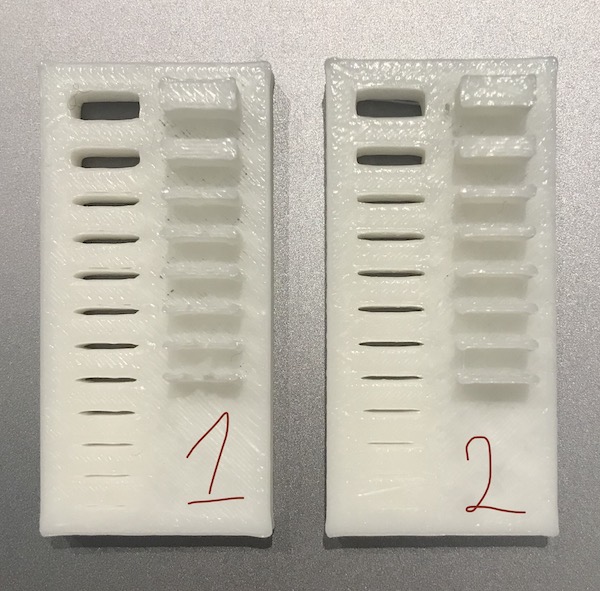
I had a problem with the model quitting printing…
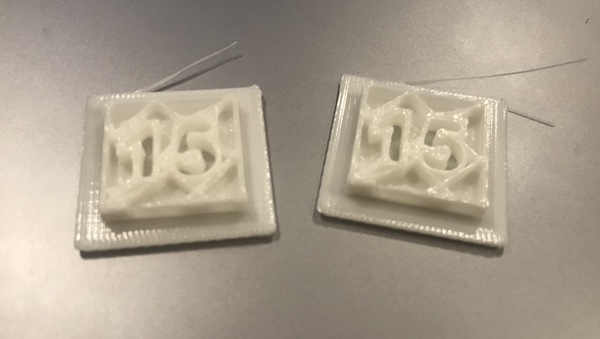
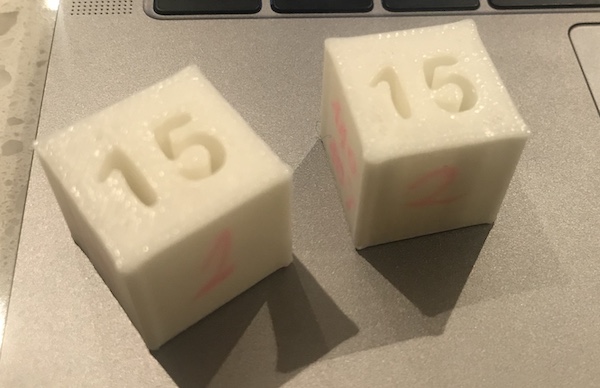
Not sure what was the issue. I tried to descrease a bit the speed and the print worked this time. These are the 2 results compared.
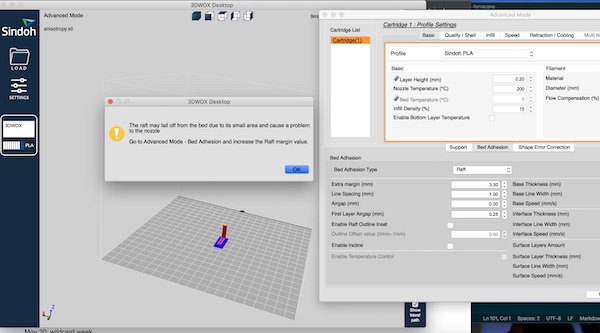
I then kept using the same settings for each of the other models. For the ‘anisotropy’ model, I got a warning from the machine to use a larger raft. I tried anyway to send the print through and it printed OK.
|
|
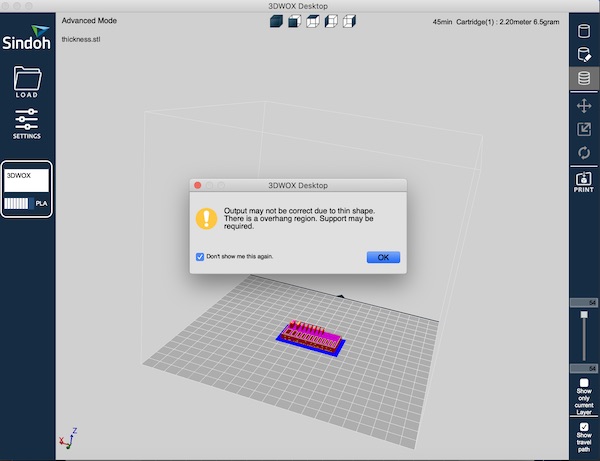
For the model ‘thickness’, I adjusted the settings in order to be able to print better the model. I put a layer resolution of 10mm and decreased a bit the speed to 110mm/s. Also in this case, I also got a warning for an overhang region for thin shape, but I let it print and it went fine. In the picture below there is also the model which came out in the first print with all objects together, and the quality is considerably lower.
|
|
For the model ‘bridging, I experienced another issue. The model was not sticking well to the plate to the point that it just moved and the printing failed. So I tried to change the support structure putting ‘brim’ instead of ‘raft’. I got an error message that the print could move from the place, but actually it worked out pretty well. In addition, the time of printing decreased quite a lot from 1h 42min to 1h 3min!
|
|
Timing:
* model ‘infill’: 33 min
model ‘finish’: 44 min
model ‘anisotropy’: 9 min
model ‘ brigding’: 1h3min
model ‘free’: 37 min
2-colours FDM printing
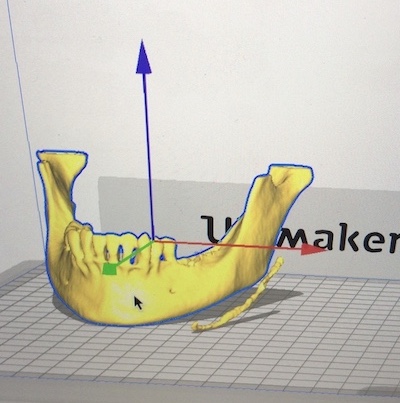
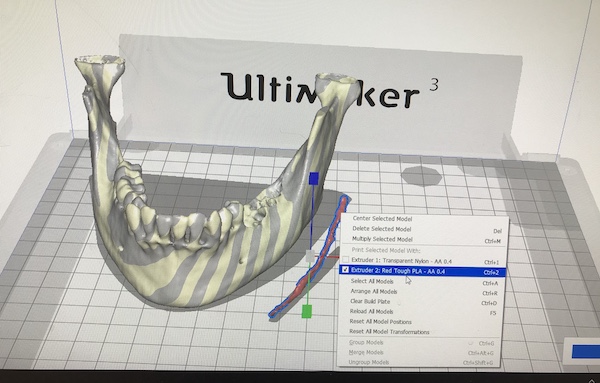
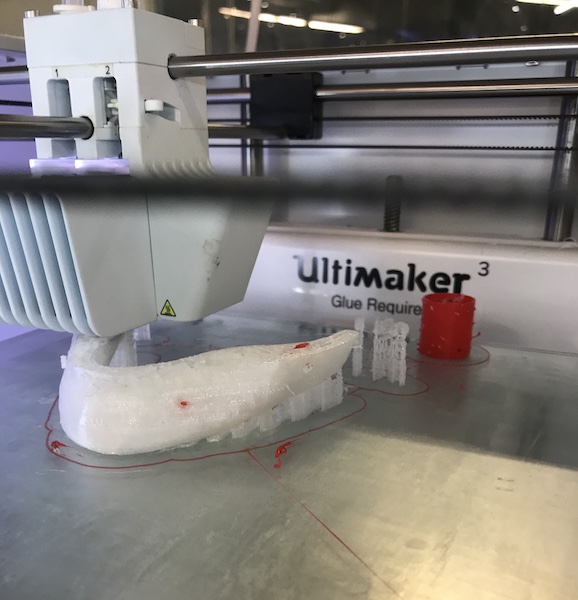
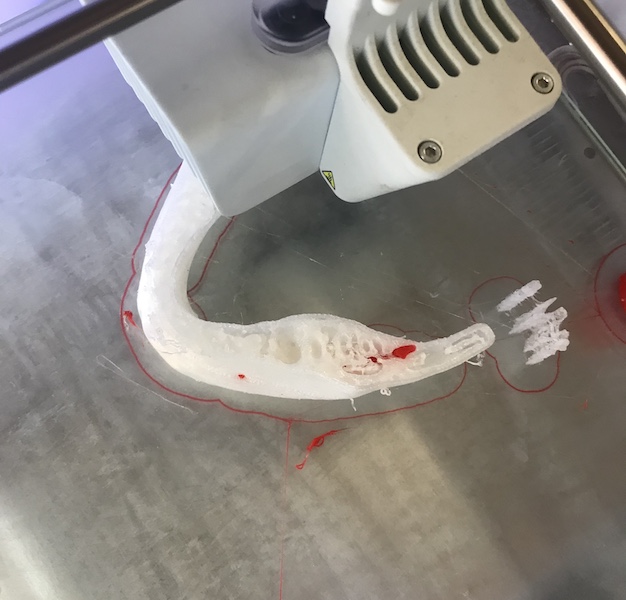
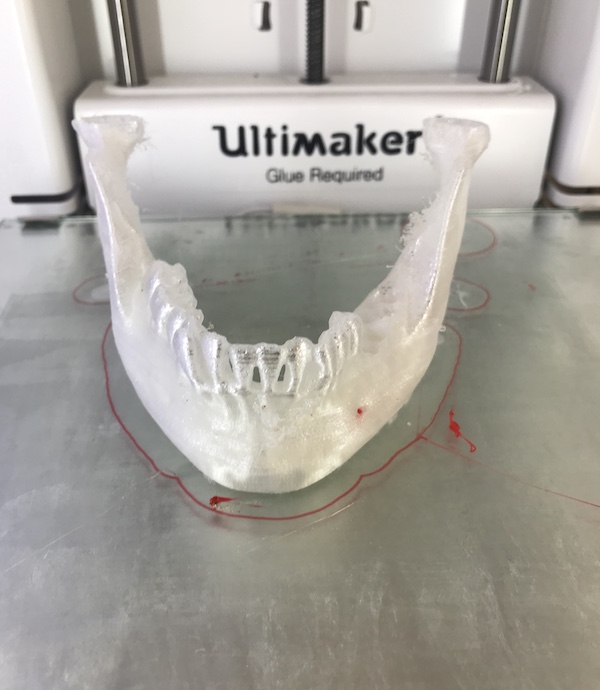
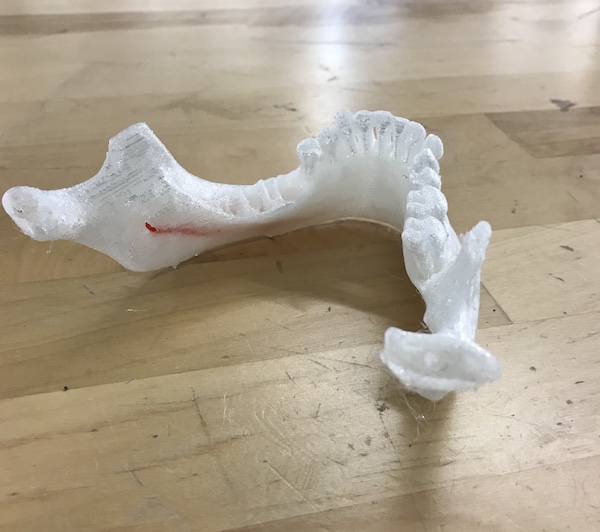
To create something which cannot be done with subtractive manufacturing, I decided to experiment with 2-colours printing. In this way, I also took the chance to do some R&D work for my startup! The objective was to show clearly in a model the alveolal canal, which is a canal in the mandibola from which it passes a very important nerve from the dentist. By being able to identify easily the nerve, the dentist can train in advance on the model and be more confortable before undertaking an important surgery. Since the canal is inside the bone, clearly this model cannot be made with substractive manufacturing. The model is created starting from a CT scan (which comes always in .dicom format) and using 3D slicer and other medical software which allows to identify the parts of the oral cavity based on the density of the area. Through these sofware, it is possible to export in .stl certain parts and I exported one part showing the bone and one showing the alveolal canal. I used 2 .stl files for the two colours and uploaded them in Cura to use the Ultimaker. I had never done 2-colours printing and never used Cura, so it took some time to figure out how to print the model as the 2 files did not show up in the correct position.
After some trials, I realised I had to use the ‘merge’ setting, but only after giving the right colour to the two parts of the model.
This video shows how the nerve will be printed inside the bone model:
Here the model in the making:
|
|
|
|

|
Here the .stl files I used.
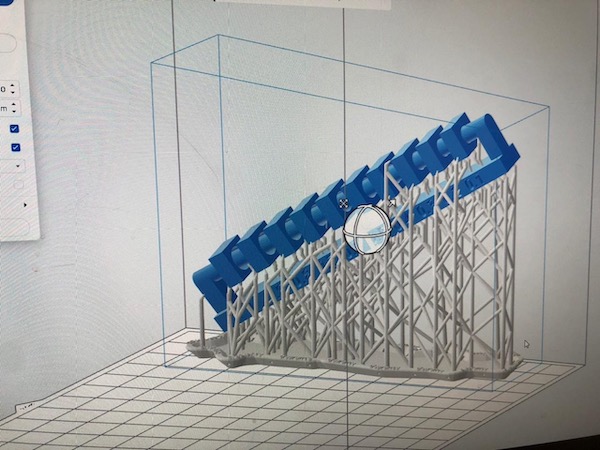
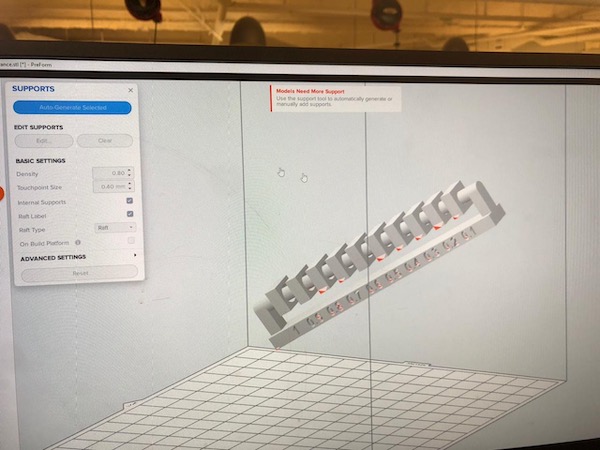
SLA printing
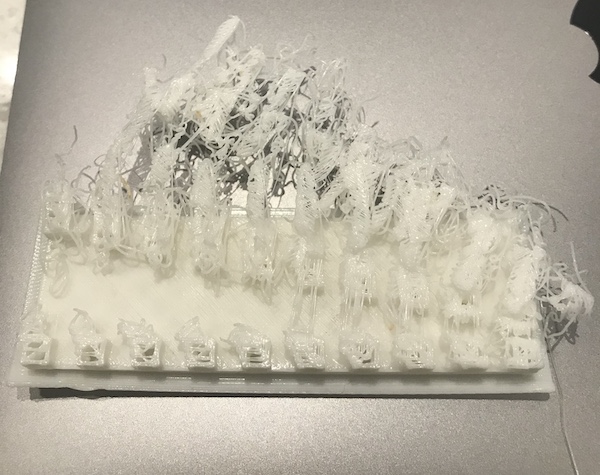
I took a couple of nice workshops this week on how to use SLA printing and I think I understood how to use the machine. I did not yet have much time to test some models, although I’d like to 3D print with dental resin to test how it works. For this week, I tested only one model and worked a bit on understanding the support.
|
|
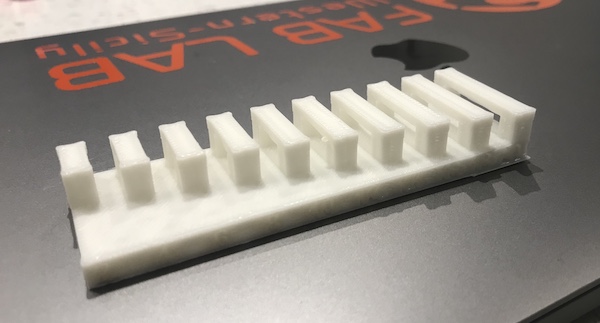
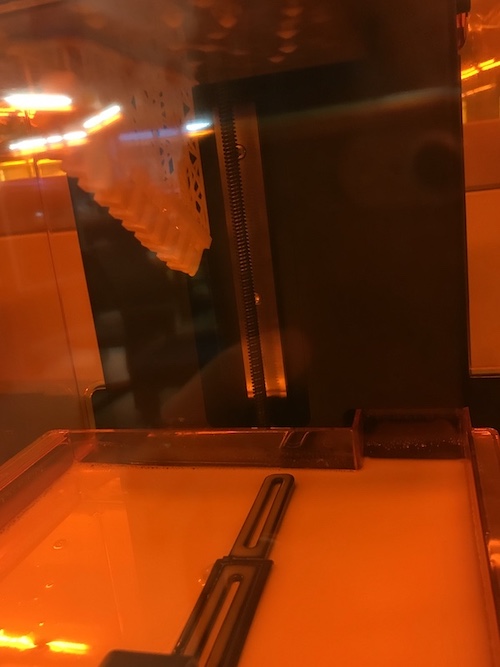
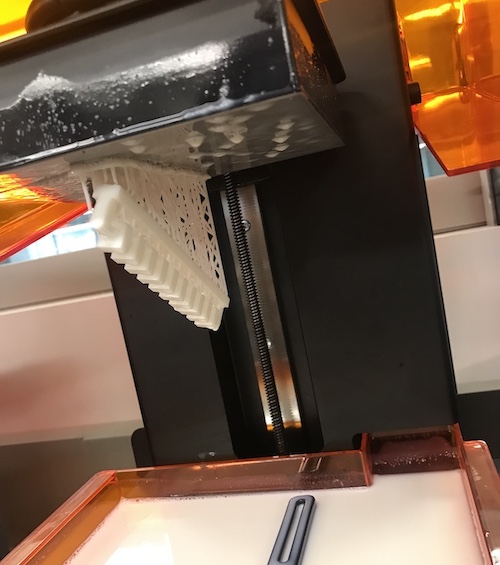
And here the model after is ready:
|
|
3D scanning
We tried the ‘sense’ scanner and we failed miserably in trying to scan our faces.
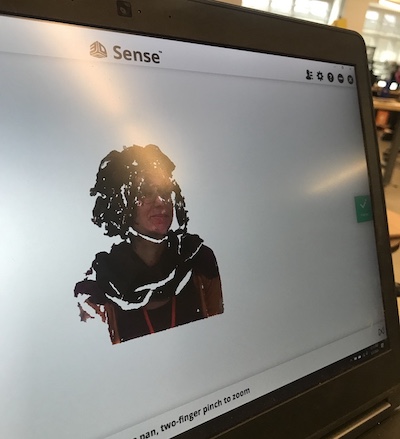
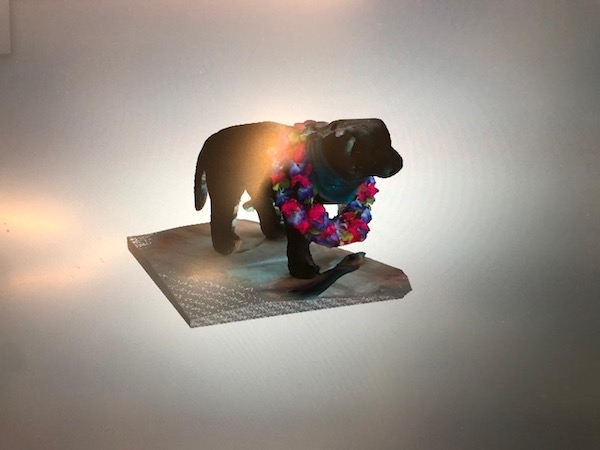
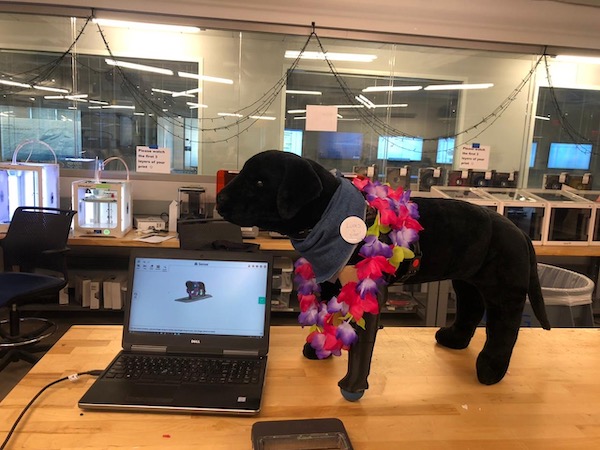
We finally scanned a dog we found at the FabLab!
|
|
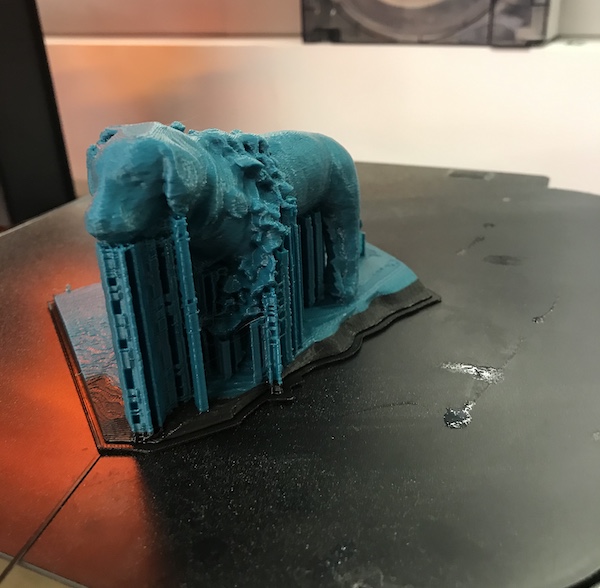
We also sent it to 3D print.
I also watched this video by Massimo Menichelli on 3D scanning.
Group assignment
For the group assignment, we decided to test the Sindohs and the Ultimakers. You find the documentation on Zina’s page.
Fun of the week
|
|
|
|
|
|
|
- Providence
|
|