2. Project management
This week has been super intense with my moving to Boston and getting started with the Fab Academy. I had never used the terminal before and learning the basics of how to run the terminal and use GIT has been super cool! I can’t believe I am creating my own website and I can’t wait to use it to document my work and also to create a repository for all interesting links and resources for creative education!
Getting started
I have taken all sorts of courses on git, markdown and htlm. When I see a page of html code I can finally say that it makes some sense, incredible!
Installing GIT & Markdown
I have started by understanding GIT. I followed this tutorial and I found this tutorial also quite useful to understand how GIT works. I cloned the remote depository in the Fab Academy website into my computer and followed all the instructions to set up my SSH key, in order to be able to push all my changes to the remote depository.
I then downloaded Markdown and I have to admit I had some trouble with installation. The tutorial in the Fab Academy website did not work for me. I think it was due to the fact that I am using Windows and some of the code is a bit different. I found out about this in this other tutorial I followed. For example, I had to use:
python -m pip install mkdocs
python -m mkdocs
instead of using:
pip install mkdocs
mkdocs
But I finally managed!
Text editor
Before starting to learn about markdown and html, I needed a text editor. I tried Brackets which I already used to update my other website - which was built by a friend with html. But I found out that brackets did have a preview for documents in markdown.. so I switched to Visual Studio Code which allows me to preview both html and md documents. This is my first change to the repository :-)
Using this editor enables me to commit and push changes easily, directly from the editor.
Super useful thing to view the edits locally which I discovered thanks to my course mate is this:
python -m mkdocs serve
This allows to see locally all changes without waiting to push them online: http://localhost:8000/.
Learning Markdown & HTML
It was time to learn to write some code to create my website :-) I took some tutorials on markdown. I found this one super cool! And this one is also quite nice.
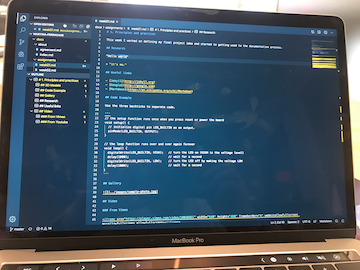
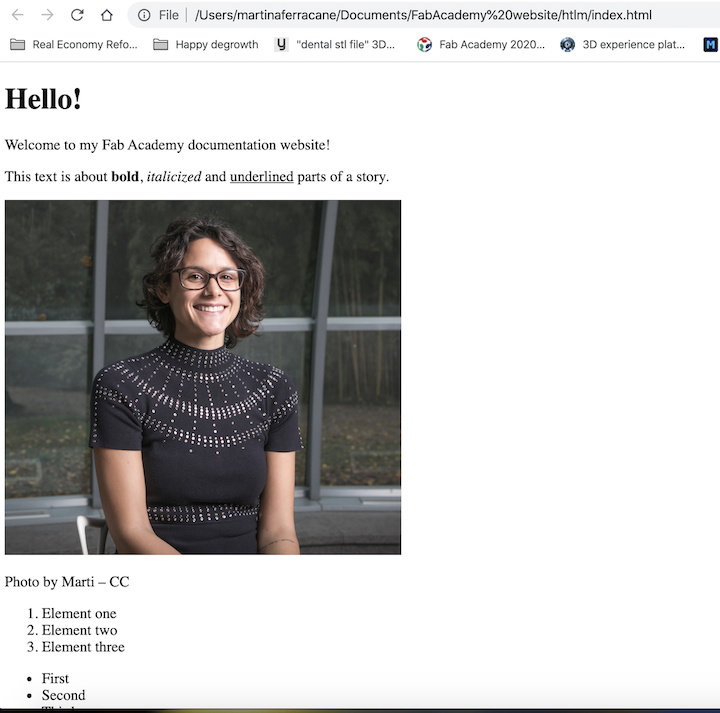
Using markdown files allows me to use also html sintax. I had no clue of html before either, but I found it useful to learn about it because there is a lot of good documentation online and after all this is what markdown documents are turned into in order to be shown online. I followed the tutorial provided in the Fab Academy tutorials’ page and created by first .html page. I find it super useful to be able to see the page on the browser immediately, without passing through the remote repository. This is my first html page:
I’d like to share some things I struggled with, which might be useful for others who have the same issues:
Creating a new menu tab
I wanted to create a new tab in the menu to talk about the Teens4Kids project and share some useful resources for people interested in creative digital pedagogy. I have tried different options, but then I found it was simpler than I thought. I simply created a new folder and put inside some .md files to create the tabs in the page.
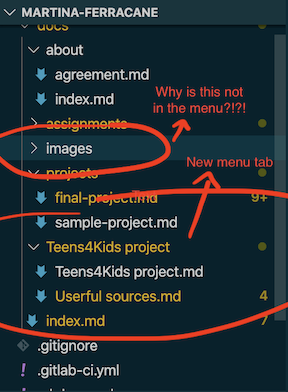
Open question: I still have no clue how come the ‘image’ folder is also there but not shown in the menu tabs…
Embed videos & pics with html
I found it much better to use html code to embed pictures, because I have more control on the size. So I use:
<img src="../images/Bio.jpg" width="70%">
instead of:

For videos, I am using this code:
<iframe width="560" height="315" src="https://www.youtube.com/embed/IdiN2Ai4-z8" frameborder="0" allow="autoplay; encrypted-media" allowfullscreen alt="TEDxLakeComo" align="center" ></iframe>
Open question: I still have no clue on how to center the images…
Found out. That’s how to do it:
<p align= "center">
<img src="../../images/week01/solar-system.jpg" width="40%">
</p>
and also I have issues with displaying images in week 1 so I had to use the markdown sintax instead of html.. sometime they give errors but I do not understand why.
Ok, I fixed one of this. Now I know that in order to show images in the weeks I need to add ../ to the image path because I am now in a file which is inside another folder. So it would be like this:
<img src="../../images/week01/cart.jpg" width="100%">
Referencing a page
I found it very useful to move from one page to another adding references. That’s how to do it:
<a href="Teens4Kids project/Teens4Kids project">Teens4Kids</a>
Social icons
This is something I have not been able to solve. I wanted to investigate which other icons were available in the social icons which are in the footer of the page. It seems some names are associated with some icons, but I couldn’t find a place where they were explained. I found only this blog on how to add a new icon.
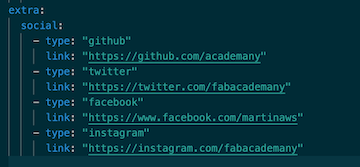
It seems the icons refer to this website: https://fontawesome.com/icons?d=gallery, but still I am not able to figure out how to show different icons in my footer..
Wanna do in the future:
- This HTML Tutorial: https://www.w3schools.com/html/default.asp;
- Learn more about CSS;
- Try an html template and switch to it.