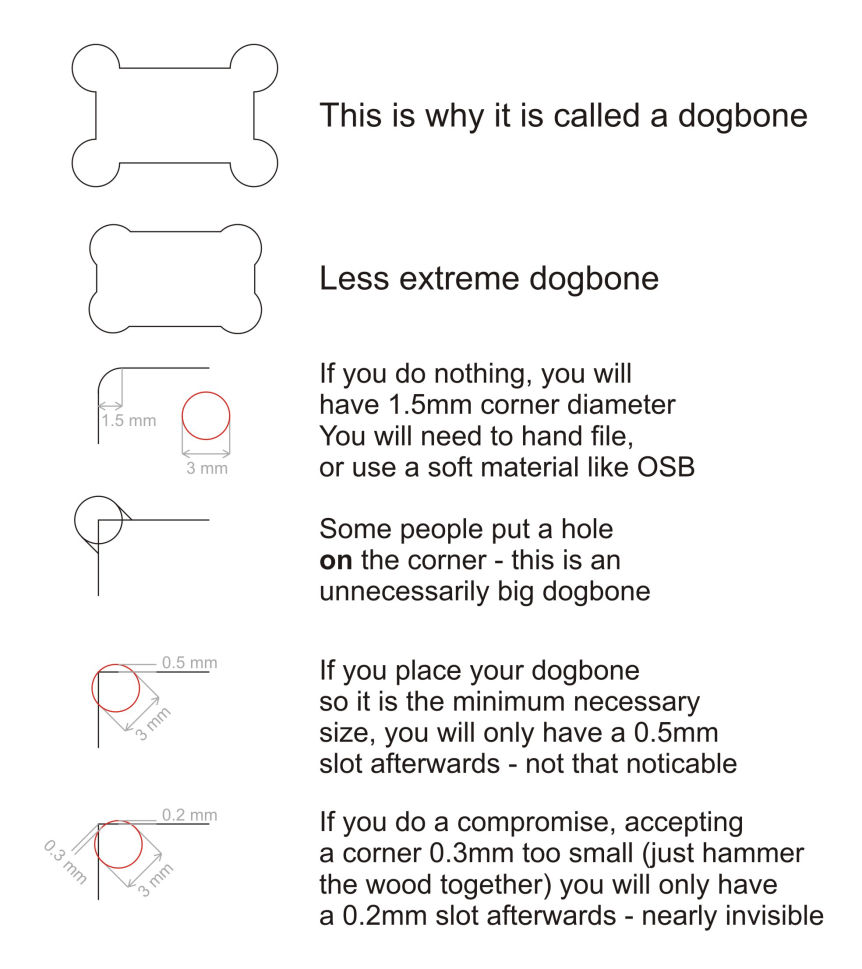
For this week asignment, we had to make something big on wood, using the CNC. For this it was required to have Dog Bone Joints, since the CNC drill cuts a little bit rounded, so it doesn´t makes straight cuts, so that makes this dificult to fit.
I found a very nice explanaition about how to make Dog Bone Joints that I will share below.
Basically what I did was to create a cilinder with the diameter of the tool, and snap one of the borders to the corner of the object I´m cutting and then extrude it.
As it says here, you sould also snap the center of the ciliner to the corner, but that will create a bigger unnecesary joint, compared to the smaller one I´m telling you which is much cleaner in the design.
After creating the cilinder, you can also mirror it to do exactly the same cut in the other side.
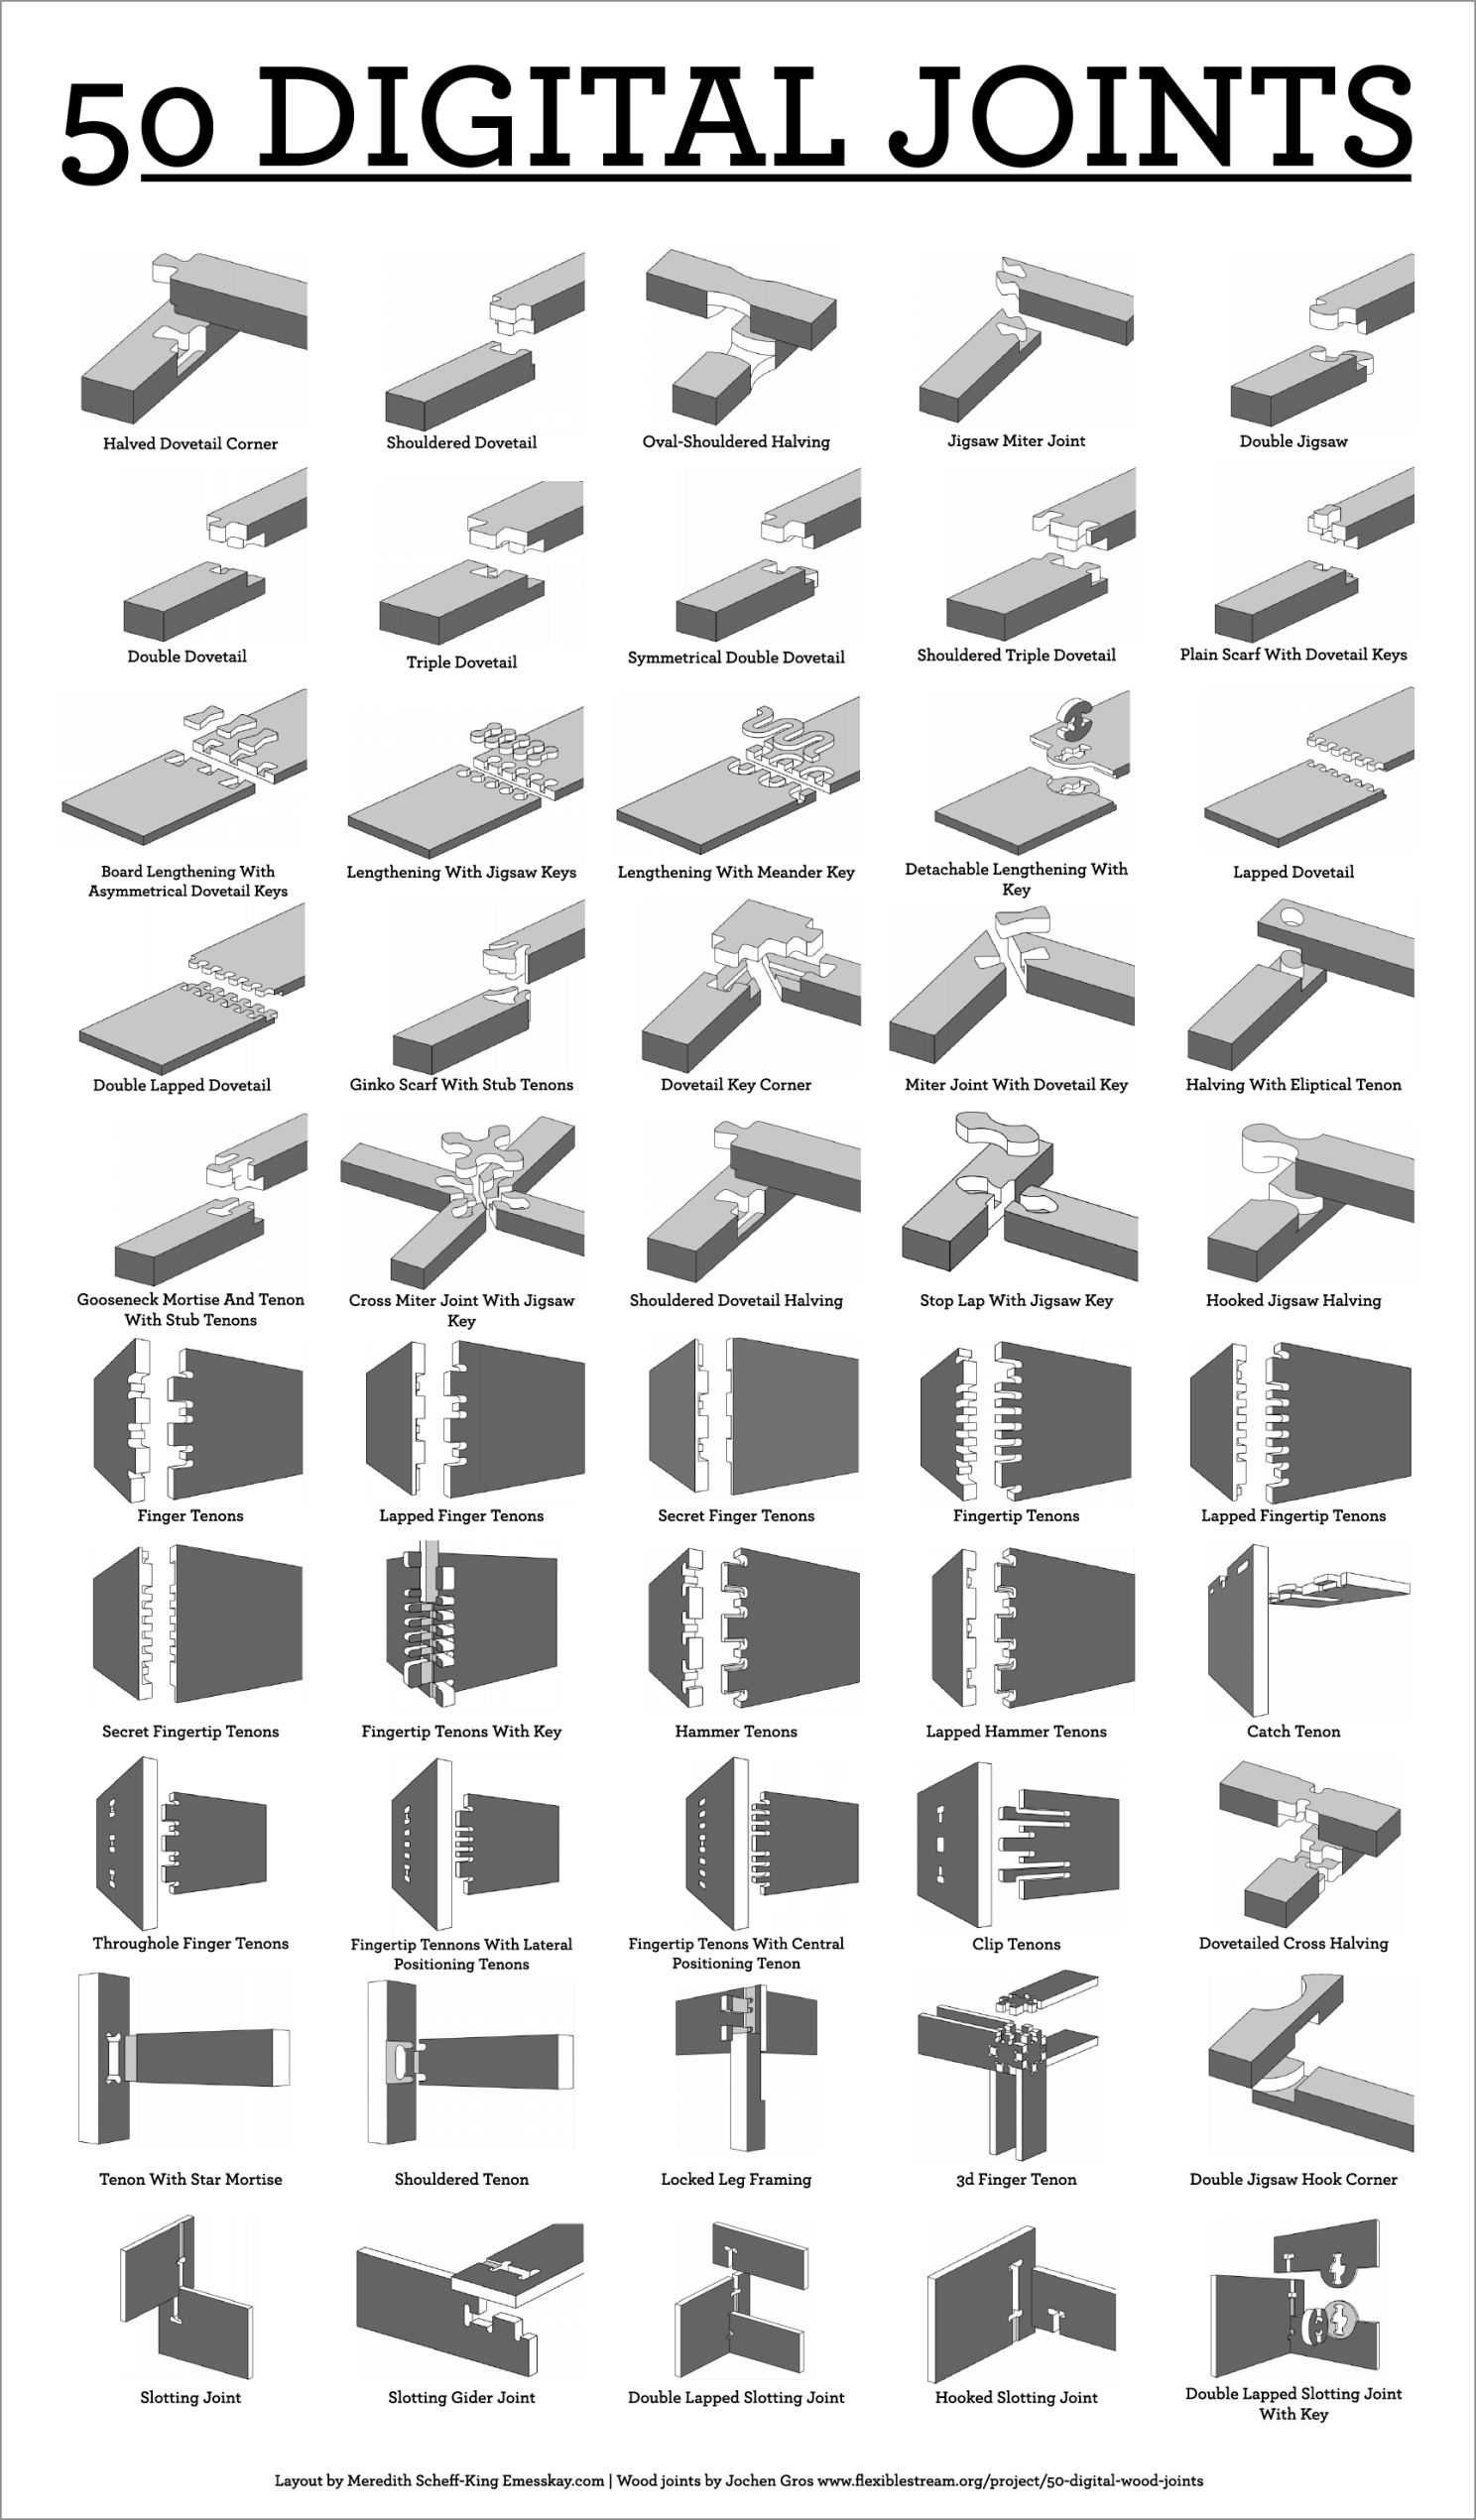
There are a lot more kind of pressfit joints, but this are the ones I used.
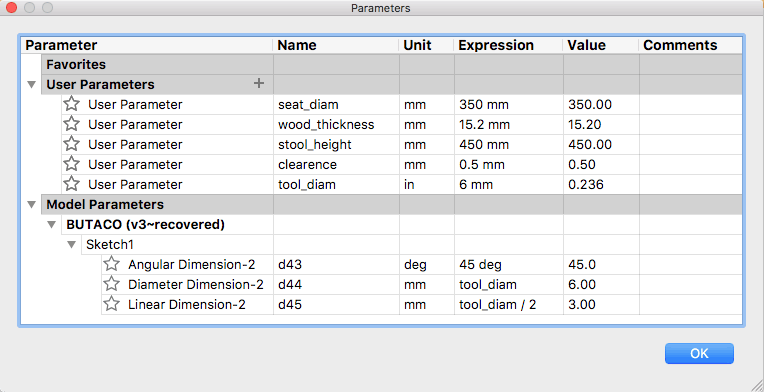
One of the most interesting things I learned in this tutorial is how to use parameters in my design to control different things like the thikness of the wood, the diameter of the tool (drill) I´m using in the CNC, the clearence I want to have in the cut, or even also some characteristics from the object like the height, diameter or some angles.
This helps a lot to make quick changes without having to redisign everything again, but instead just changing a parameter.
I still haven´t done this part, neither cut it so I will update it after.
Built with Mobirise css web templates