10. Molding and casting
Group work
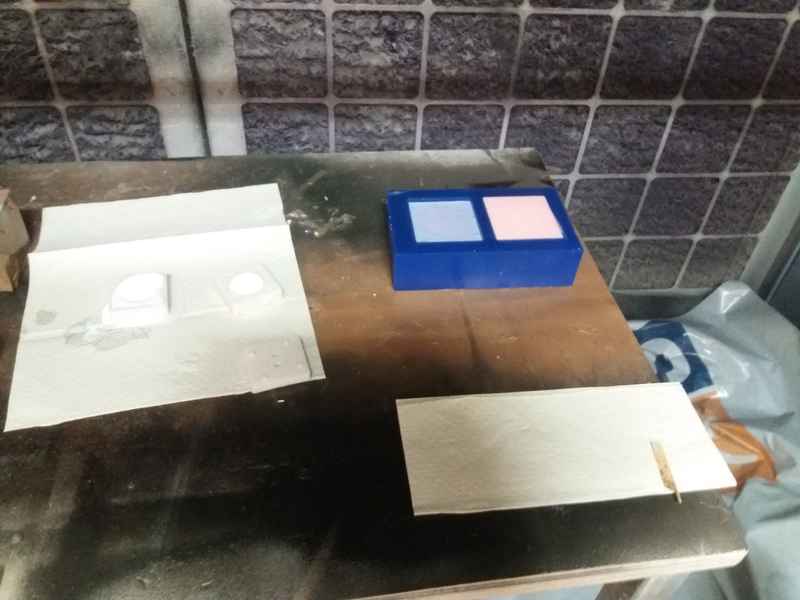
The group work was done with Michael and Arash. We used different materials with different pre-existing molds.
All of these products should be used in a properly ventilated area. Always wear safety glasses, long sleeves and rubber gloves to minimize contamination risk.
Materials Used
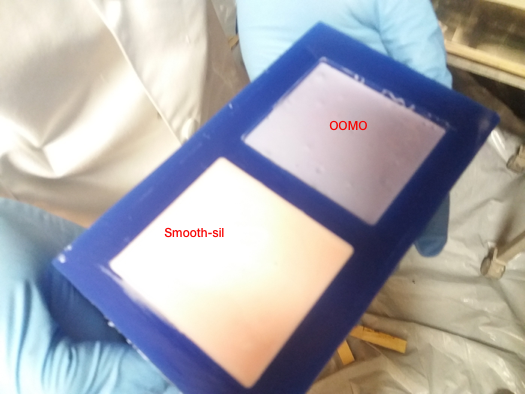
Below is a list of the material we used in the group work. Important points from the datasheets are also listed below.
-
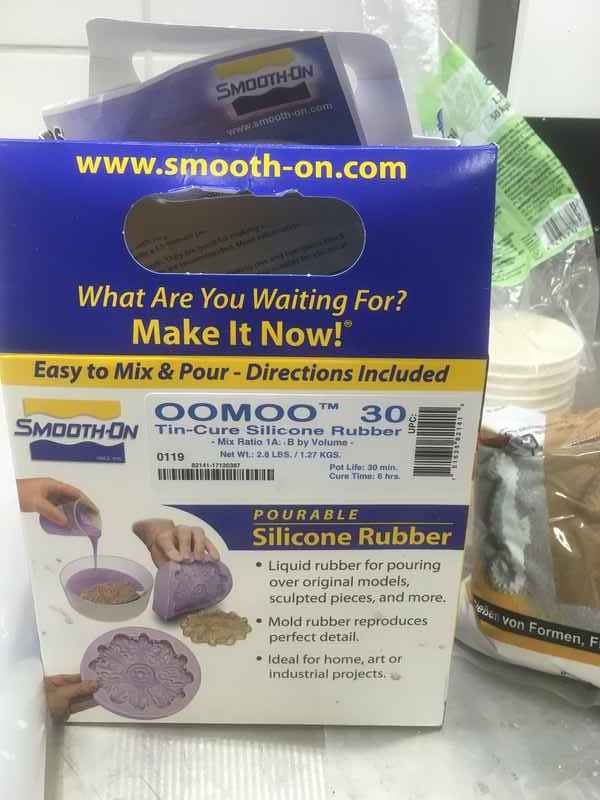
OOMOO data sheet / Safety data sheet
- OOMOO™ 30 has a 30-minute pot life, with a six-hour cure time.
- One-to-one by volume mix ratios
- Not good tear strength, good for making simple one or two piece block molds.
- No release agent is necessary when casting wax or gypsum.
- vacuum degassing is not necessary
- According to the datasheet, wear vinyl gloves only. Latex gloves will inhibit the cure of the rubber.
- According to the safety datasheet, contact with skin and eyes may cause irritation. Flush eyes with water for 15 minutes and seek immediate medical attention. Remove from skin with water-less hand cleaner followed by soap and water.
-
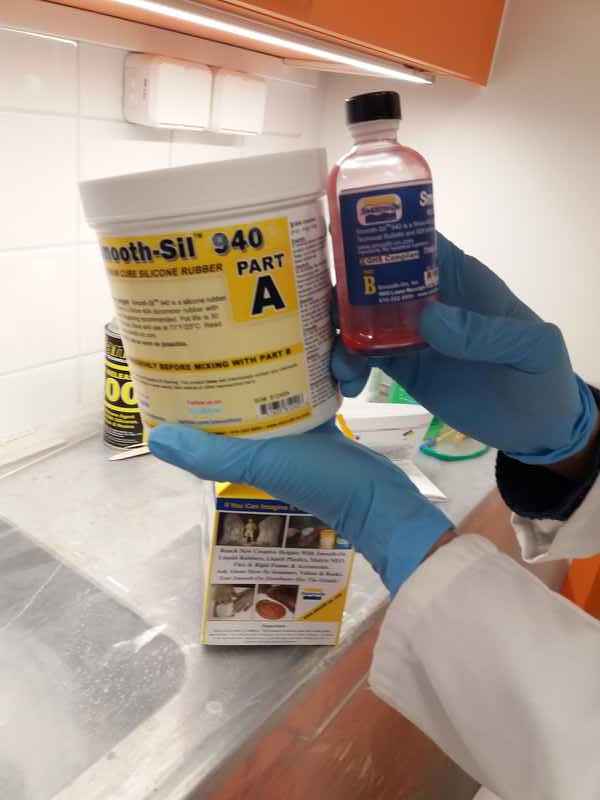
Smooth-Sil 940 data sheet / Safety data sheet
- Exhibit good chemical, abrasion and heat resistance
- Pot life 30 min, cure time 24 h
- Mix ratio 100A:10B by weight
- According to the datasheet, wear vinyl gloves only.
- According to the safety datasheet, contact with skin and eyes may cause irritation. Flush eyes with water for 15 minutes and seek immediate medical attention. Remove from skin with water-less hand cleaner followed by soap and water.
-
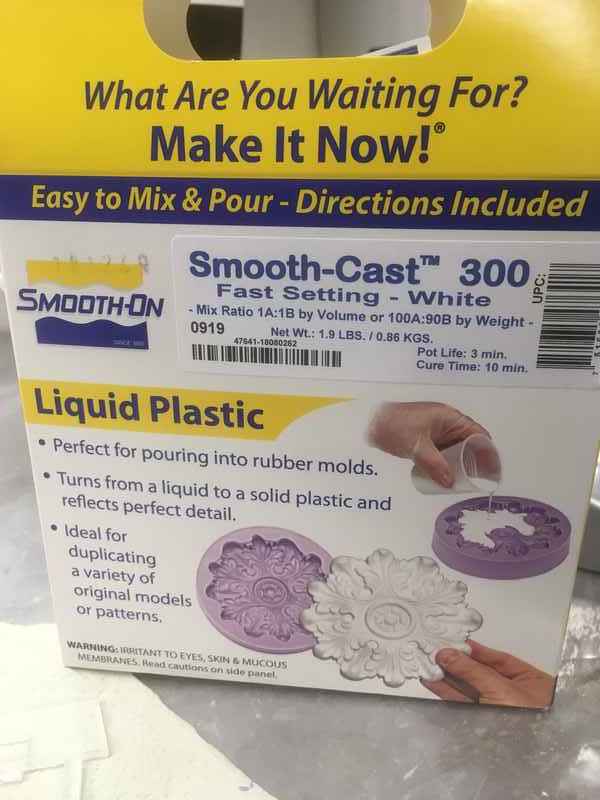
Smooth-Cast® 300 data sheet / Safety data sheet
- Ultra-low viscosity casting resins that yield castings that are bright white and virtually bubble free.
- Pot life 3 min, cure time 10 min.
- Use in a low humidity environment (below 50% RH)
- Vacuum degassing is not necessary
- 1A:1B by volume or 100A:90B by weight mix ratio.
- According to the datasheet, wear rubber gloves.
- According to the safety datasheet, contact with skin and eyes may cause irritation. Flush eyes with water for 15 minutes and seek immediate medical attention. Remove from skin with water-less hand cleaner followed by soap and water.
|
|
|
|
|
|
|
|
|
|
|
|
Individual Assignment
Designing
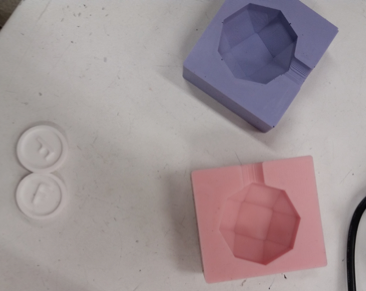
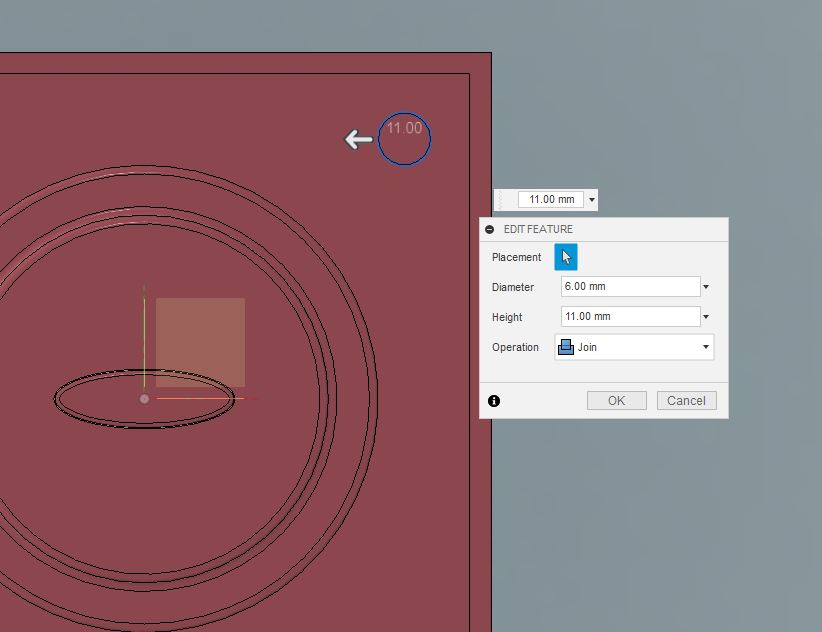
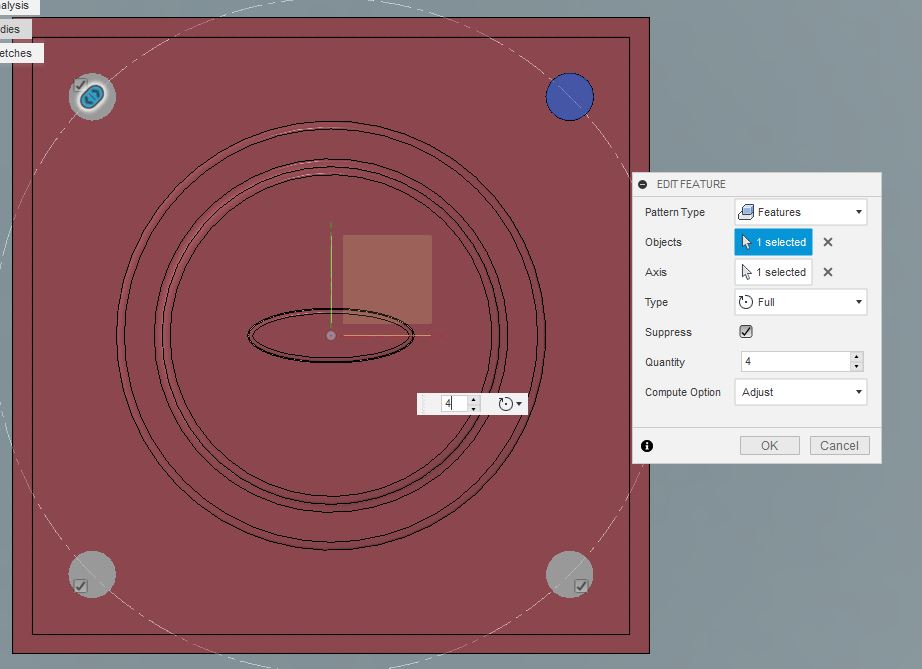
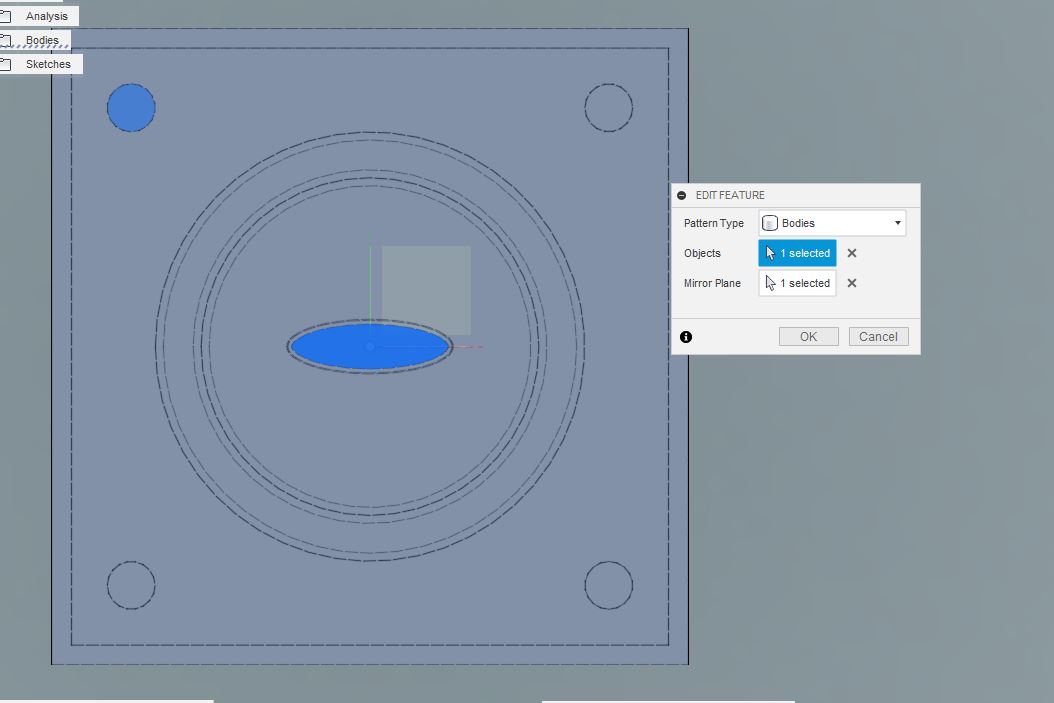
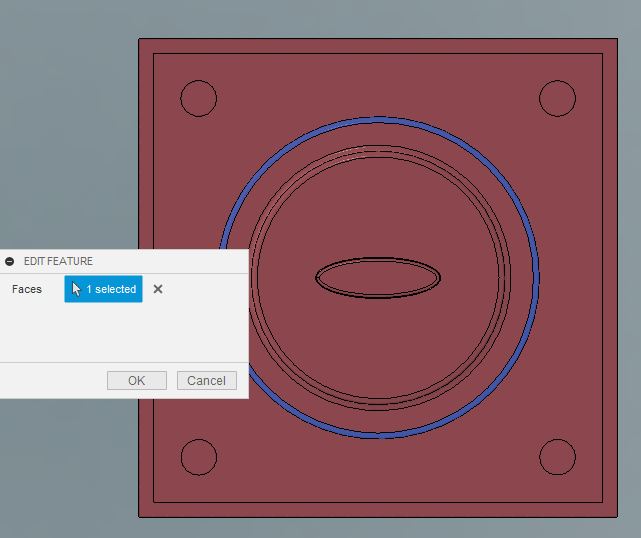
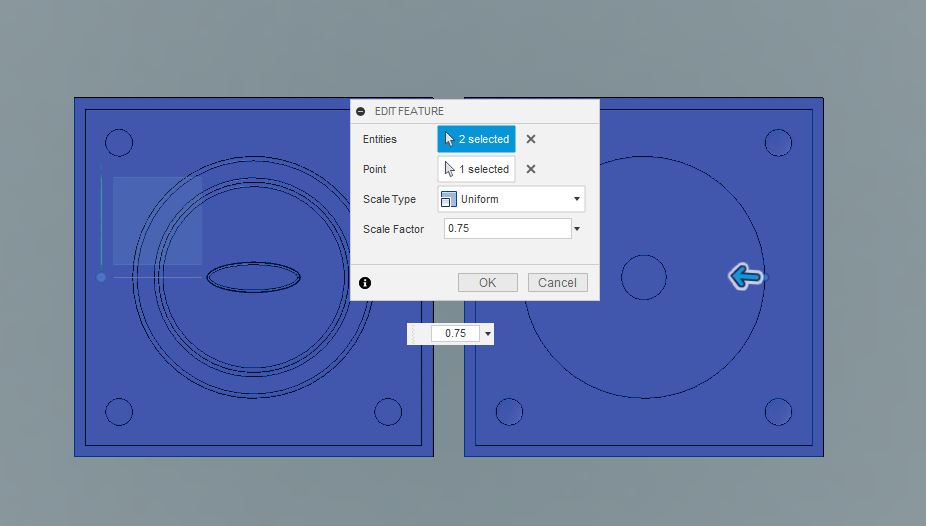
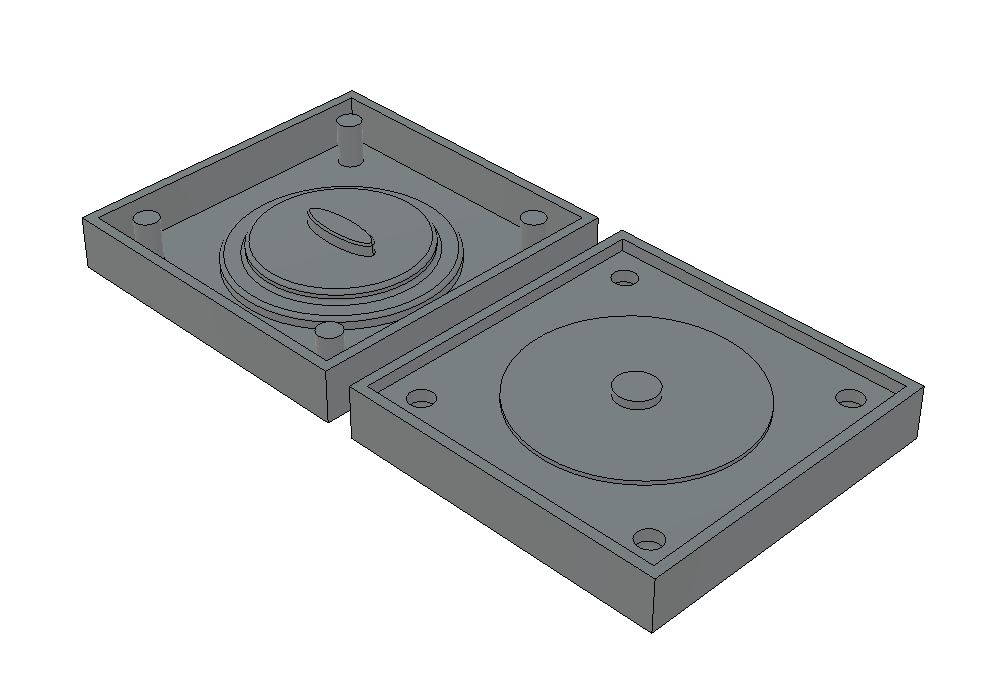
I made a simple button. It just consists of multiple cylinders and an ellipse. The registration marks are made using a cylinder. To make sure that the mold comes out, I made sure to draft the edges. As the complete button was in the first mold itself, in the second part of the mold, I just created a small cylinder to add some thickness to the finished button and added a small cylinder which will act as a pouring hole while casting. After finishing the design, I found that the wax block is bit smaller compared to my design, so I had to scale my design down so that the design will fit on the wax block.

|
|
|
|
|
|
|
|
Milling
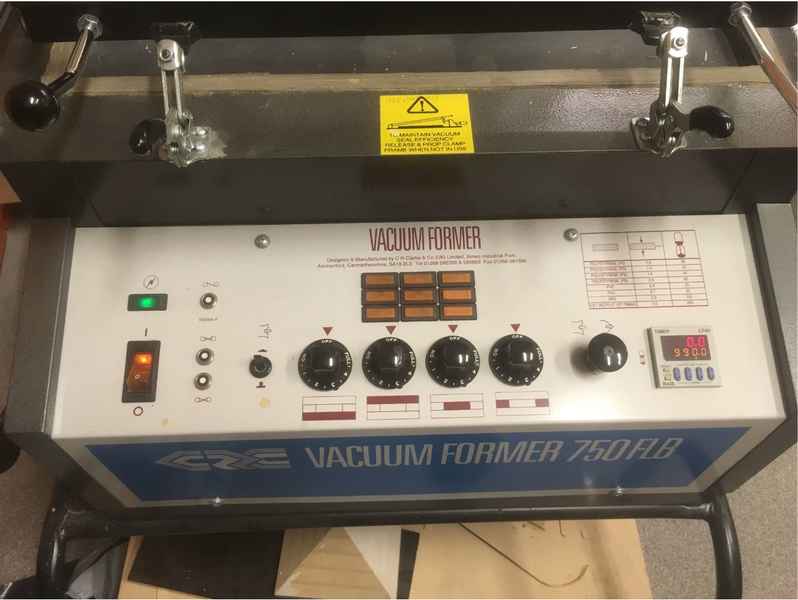
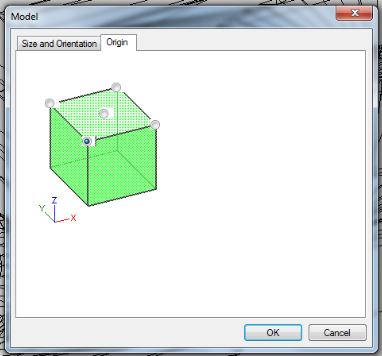
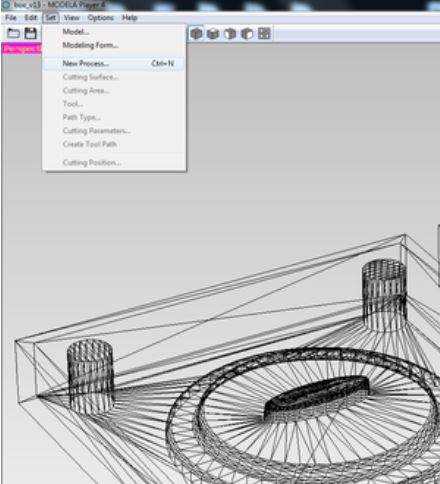
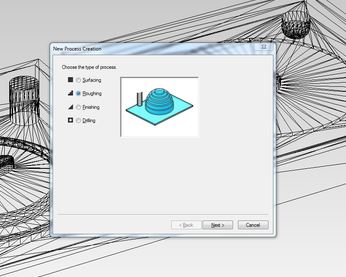
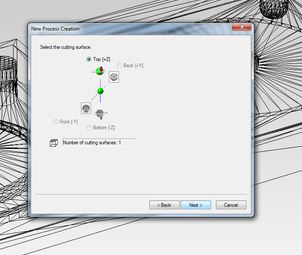
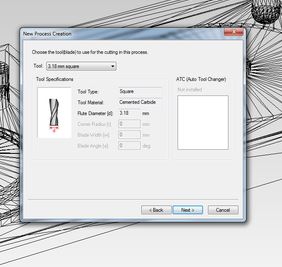
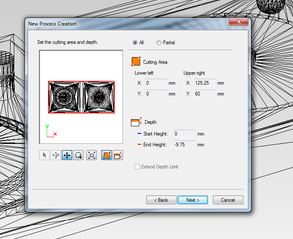
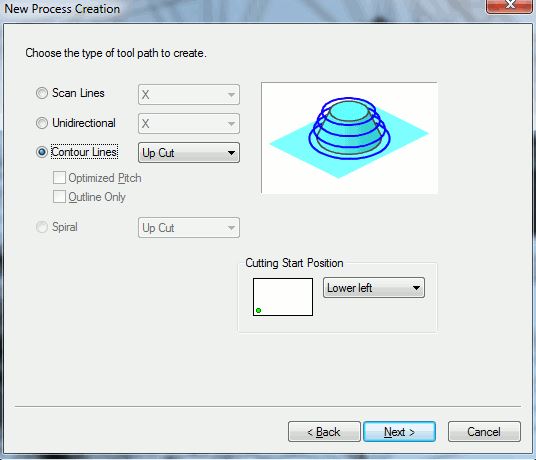
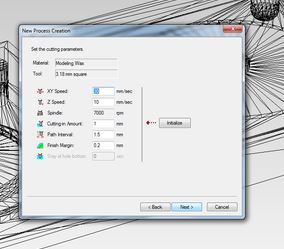
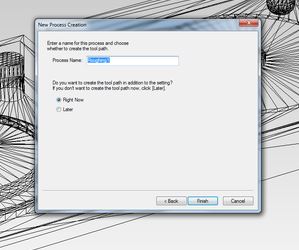
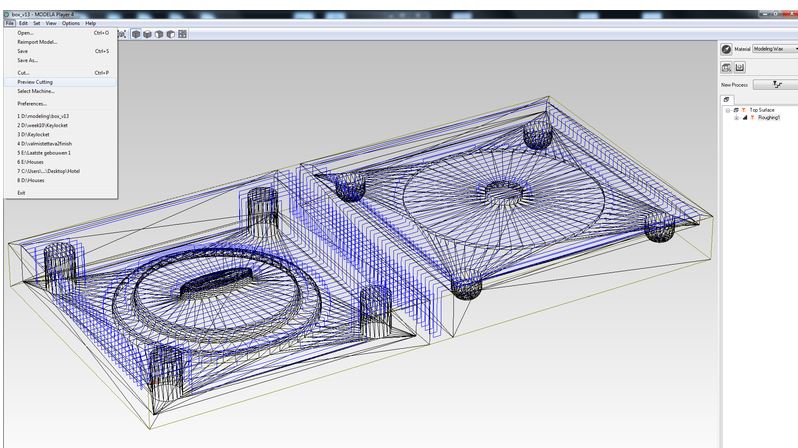
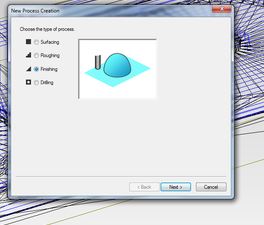
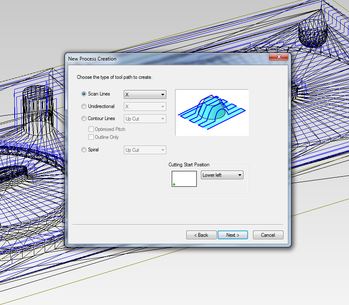
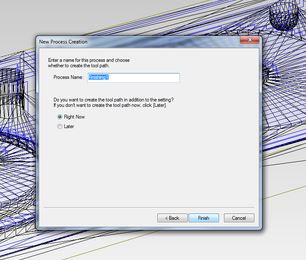
For the milling process, MODELA Player 4 was used to set the file configurations for milling and VPlayer to position the wax mold along the X,Y, and Z axes in Roland SRM-20 CNC-milling machine. The material selected in MODELA was Milling wax and it has recommended setting for that material selected automatically. After importing the STL file into MODELA, you check that the size and orientations are correct by setting the origin (Set > Model > Origin) to match the setting of the milling machine. Then you set the margins (Set> Modeling Form > Margin). Ensure that values for margin are zero and leave the other values as they are. Other settings don’t need to be changed, because the mold is designed with both margins and slope. From depth, you check the maximum depth (height) of the milling process, this is a useful value for selecting and positioning the tool. After the origin and margin are set, you create a new process where you select the tool and set the cutting parameters for the milling process. The first process is Roughing. Clicking next opens the selection of the cutting surface. Then you choose the tool for cutting in the roughing process. I selected the Flat 3.18 mm which was already defined in the system. The cutting area and depth for my design was correct. The next option was choosing the tool path to create. I chose unidirectional, however that didn’t work well so it was changed to Contour.
In cutting parameters, the XY Speed was set at 30 mm/s (horizontal speed of the milling tool), Z speed was set to 10 mm/s, Spindle speed was 7000 rpm, cutting amount was 1 mm, path interval was set to 1.5 mm, and finish margin was 0.2 mm. Finally, you create the tool path for the roughing process. After tool paths for roughing are calculated, you create a new process for Finishing which creates a smooth surface. I only choose scan lines along X axis. I used the same end mill as was used for roughing. In cutting parameters, the XY Speed was set at 30 mm/s, Z speed was set to 19.49 mm/s, spindle speed was equal to 7000 rpm, cutting amount was 0.2 mm, path interval was set to 0.2 mm, finish margin was 0 mm.
|
|
|
|
|
|

|
|
|
|
|
|
|
|
|
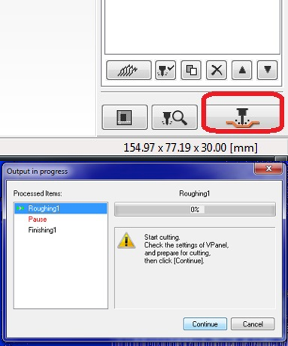
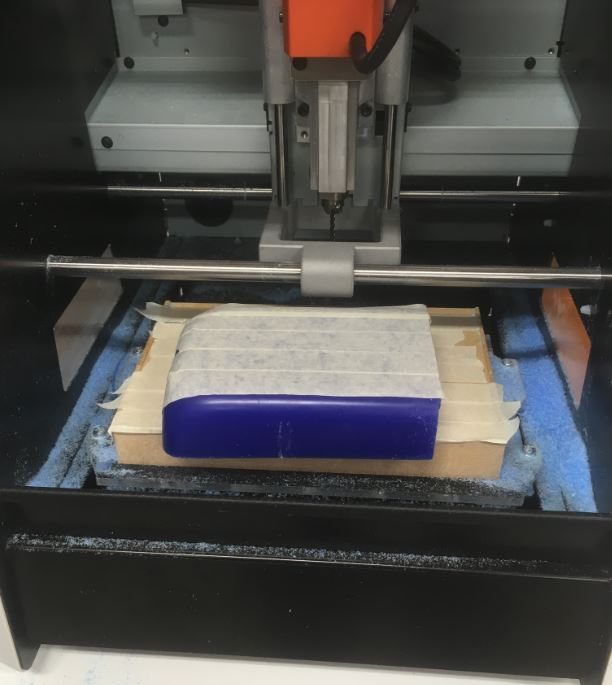
When the file was ready, the milling bit was changed to a flat 3.18 mm endmill with two flutes, the wax mold placed on the base of the milling machine and as explained in Electronics Production, use VPanel for SRM-20 to position the axes. Then in MODELA Player, press the cut button in the bottom right corner (or File > Cut) which opens the Output dialogue box where you press Continue.
|
|
Molding and Casting
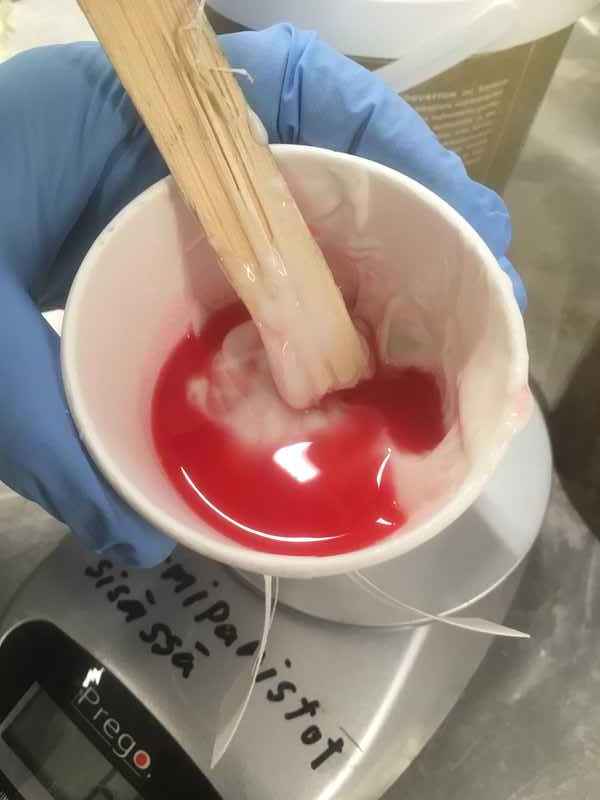
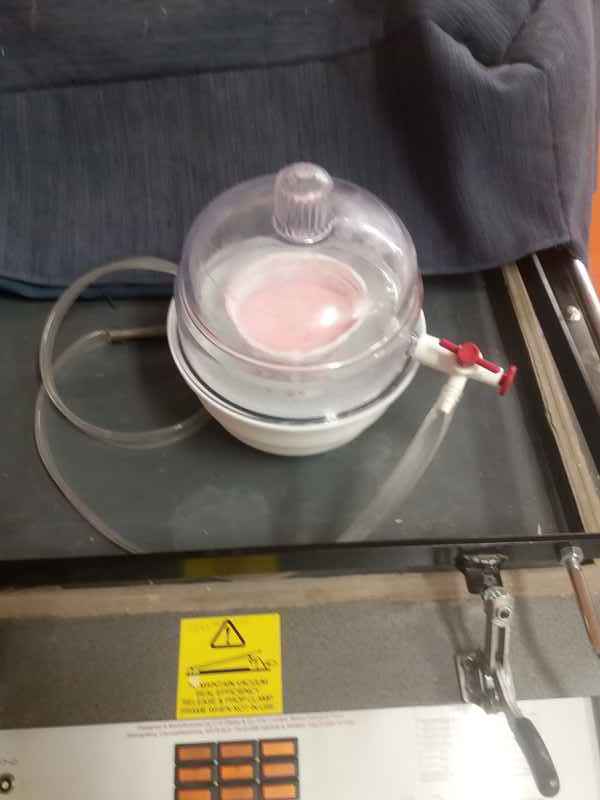
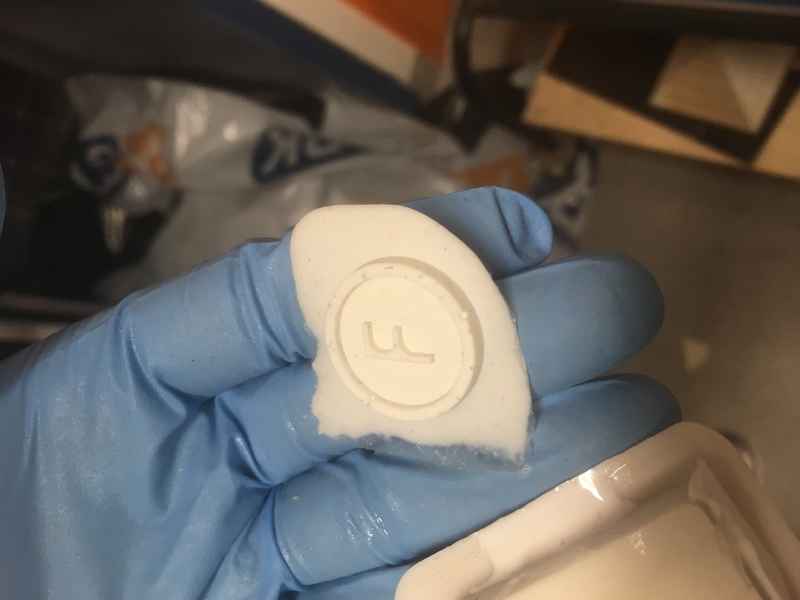
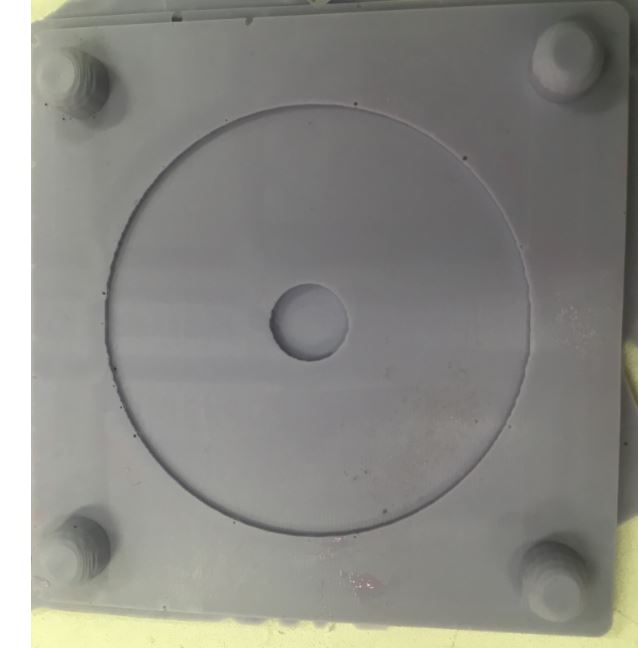
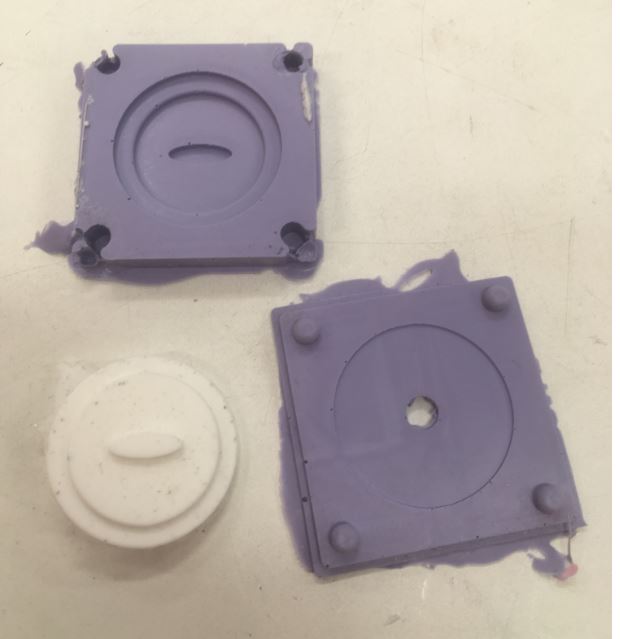
I used OOMOO to make the mold. Parts A and B were stirred thoroughly before using. A scale was used and parts were mixed in a 100A:130B ratio. The two parts were mixed thoroughly till there were no color traces left from either of the parts and was poured evenly on the wax mold. The cured silicone rubber mold was released from the wax mold the next day.
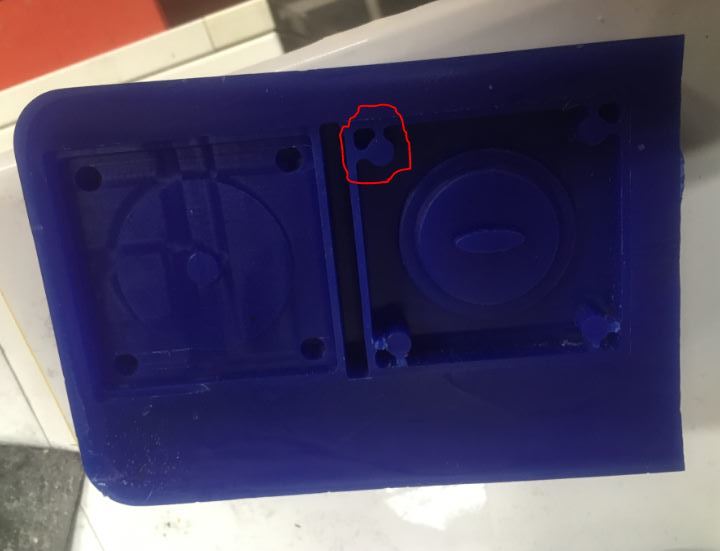
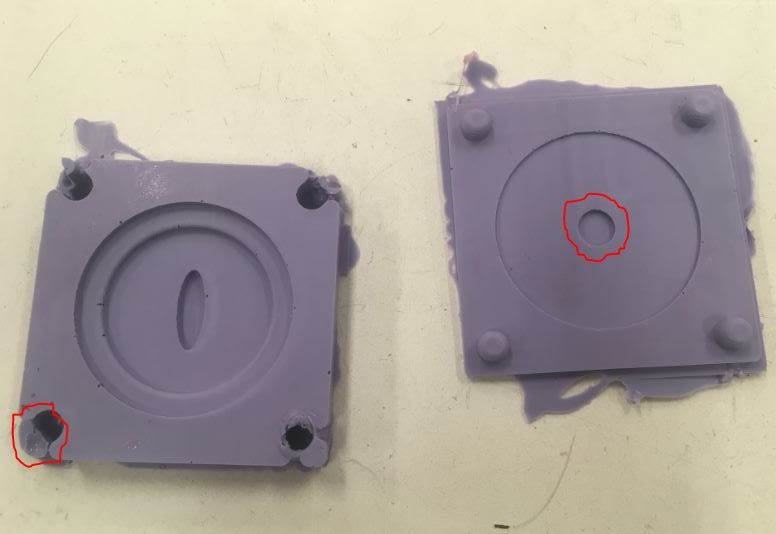
Below are shown the two parts of the mold. Since I did scale the model at the end without considering the final distance of registration marks from the edges, it happened that the end mill I chose was not able to fit and proper tool paths were not created. Thus the holes for registration marks were not created properly in the mold.
I made a big enough filling hole and since there are no places in my mold where air could trap, I didn’t make any air holes. Furthermore, it seems that in my design I made the filling hole at a lower level than the surface, which means that the fill hole was plugged. Both of these issues can be seen in red in the image below.
|
|
|
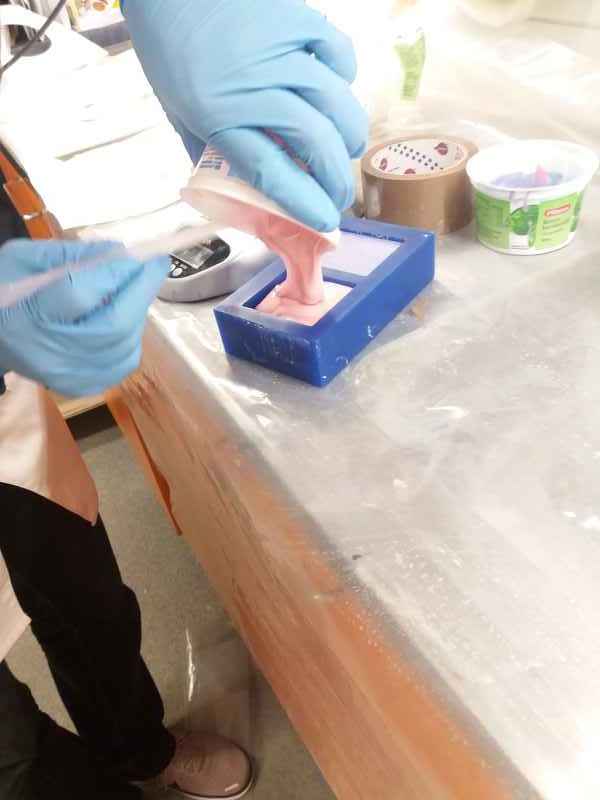
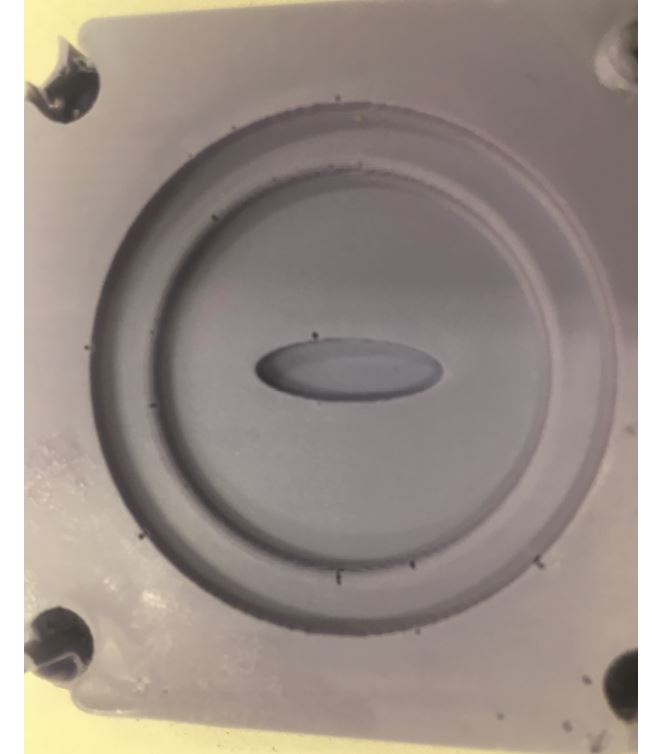
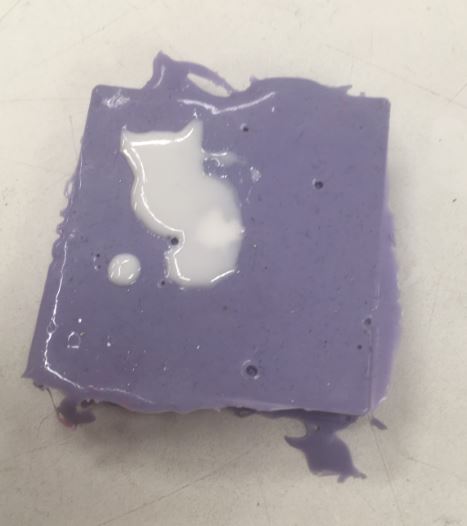
I used Smooth-cast 305 for casting. It has a pot life of 7 minutes and cures in approximately 30 minutes. Using tape, I attached the two-part mold, measured the parts on a scale, mixed them (100A:90:B) and filled the mold through the casting hole.
Besides some dust on the cast due to unclean surface in the OOMOO mold, rest everything turned out fine.
|
|
Problems
- As I scaled the model before milling, my registration marks were not far away from the edge and the drill bit was not able to fit in the red circled region.
- The hole for filling the mold was closed. So, I had to use scissors to make the pouring hole.