
Assignments
- Write an application that interfaces with an input and/or output device you made
- described your process using words/images/screenshots
- Explain the GUI and How you did it
- Outlined problems and how you fixed them
- include original code
Subject
For interface programming, I was able to reUse the Pyhon program delivered by Neil on the input Week. I wanted to modify this program to display more than one information but did not succeed… It did not display anything.
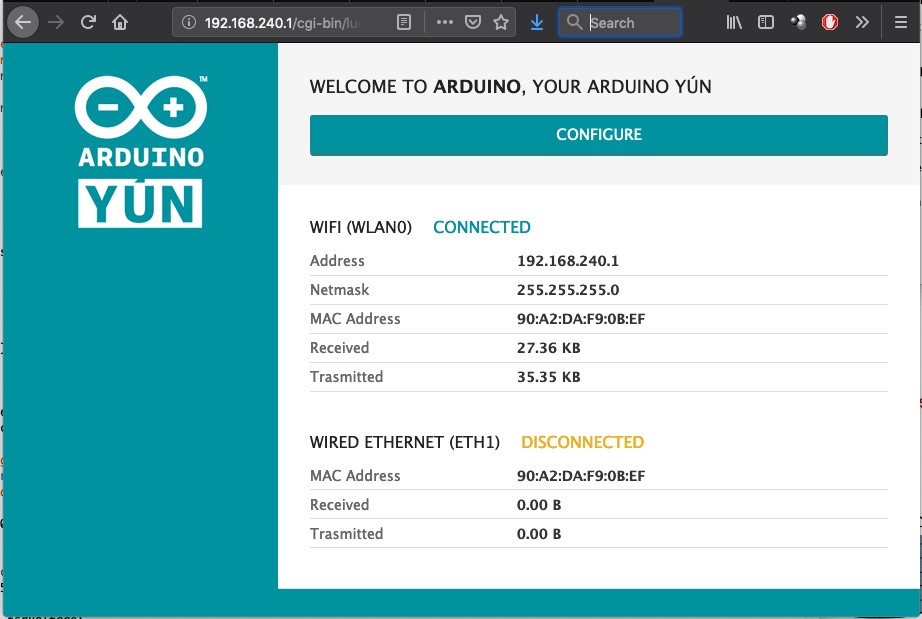
Then I decide to try other tool based on a web interface, and choosed Aruino YUN for it ability to work as a webserver and display values from the included micro-controller.
Web interface & data reading using the Arduino YUN
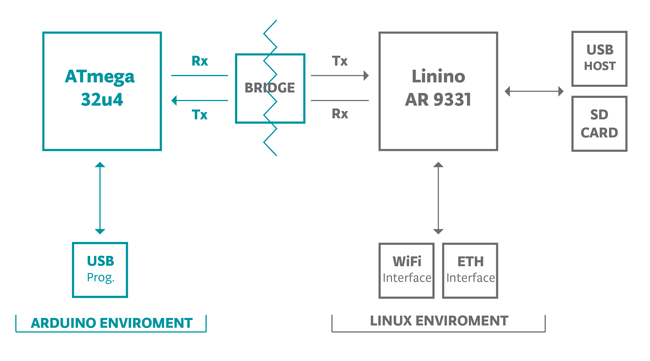
The arduino Yun was made to easily prototype Networked devices. It contains both a microprocessor with a limited Linux System & an Atmel microcontroller. The communication between the two parts is managed by a Serial Bridge, and is supposed to work without issues.
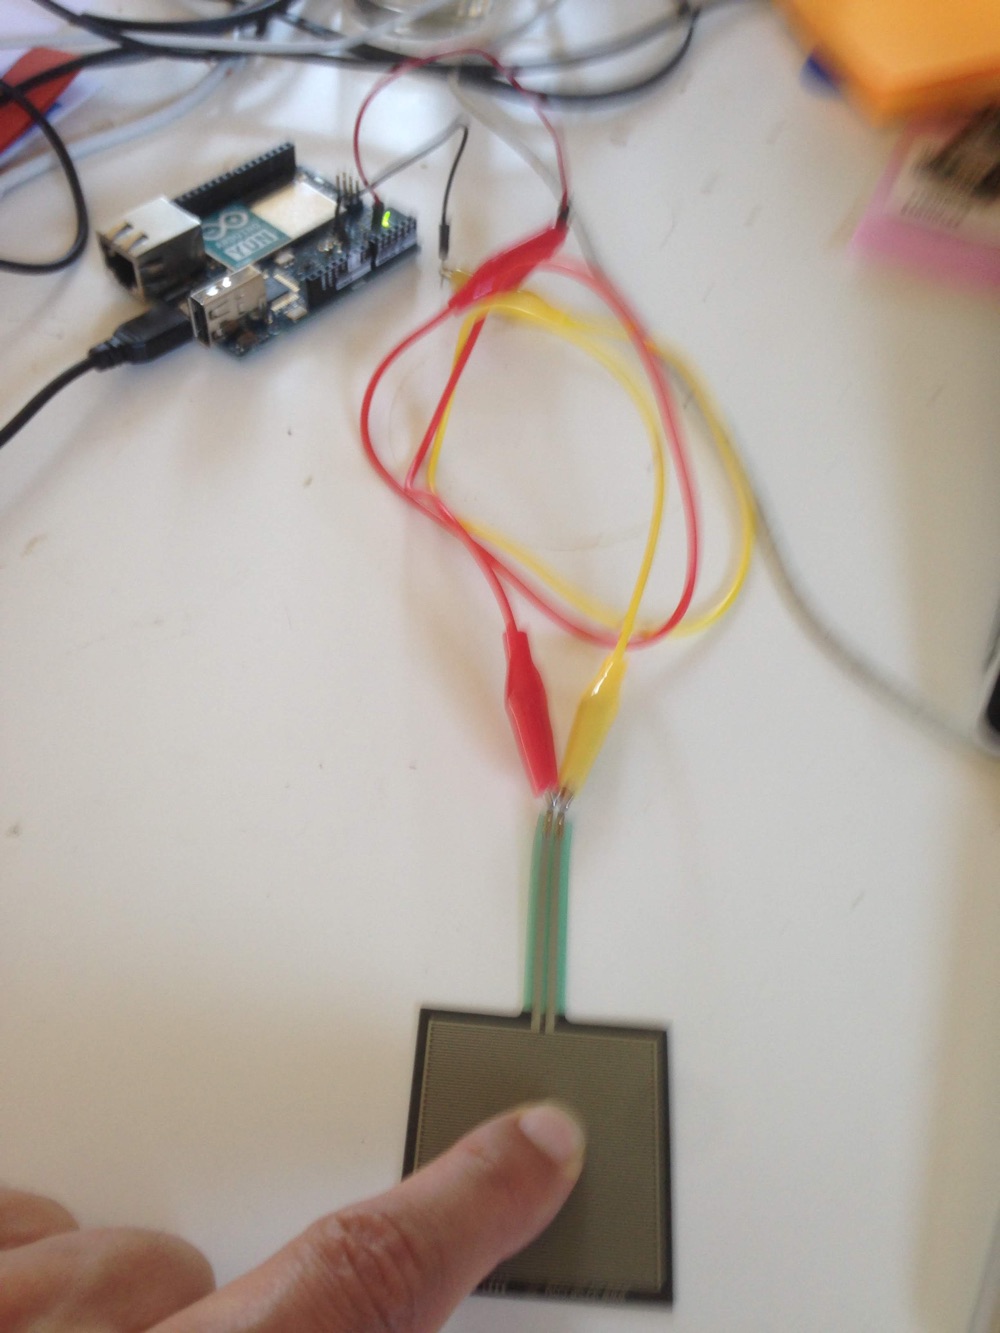
Why an FSR Sensor ?
This is a sensor I want to evaluate for my final project. For a future development track for my final project I would like to be able to measure the amount of composted waste. It would therefore be necessary to equip the vermicomposteur with force sensors (FSR), one under each foot and to weigh at each opening of the lid.
Acknowledgements
I want to acknowledge the well made tutorials from Arduino & forums about ZepTo.js I found on that subject & the advises of my Fab Academy Colleagues. I am very new to development so it was very hard for me to make it from scratch.
Process
The Arduino Program
The arduino program is based on the bridge example included in the Arduino IDE. I read Analog Data from one FSR Sensor from Adafruit, using the provided function to convert analog value to masse.
/*
Sensor to Web
Author : Benjamin Lemay
password: fabacademy
 */
#include <Bridge.h>
#include <BridgeServer.h>
#include <BridgeClient.h>
//#include <HttpClient.h>

// Pressure (FSR) sensor
byte sensor1 = A0;

// Listen on default port 5555, the webserver on the Yun
// will forward there all the HTTP requests for us.
BridgeServer server;

String startString;
String statusMessage = "ready";
String previousStatusMessage = "starting";

byte val = 0;

int measure(byte pin) {
  float Masse = 0;
  float fsrForce;
  float fsrReading;
  float fsrResistance;
  float fsrConductance;

  fsrReading = analogRead(pin);
  // analog voltage reading ranges from about 0 to 1023 which maps to 0V to 5V (= 5000mV)
  int fsrVoltage = map(fsrReading, 0, 1023, 0, 5000);

  if (fsrVoltage == 0) {
  } else {
    // The voltage = Vcc * R / (R + FSR) where R = 10K and Vcc = 5V
    // so FSR = ((Vcc - V) * R) / V        yay math!
    fsrResistance = 5000 - fsrVoltage;     // fsrVoltage is in millivolts so 5V = 5000mV
    fsrResistance *= 10000;                // 10K resistor
    fsrResistance /= fsrVoltage;

    fsrConductance = 1000000;           // we measure in micromhos so
    fsrConductance /= fsrResistance;

    // Use the two FSR guide graphs to approximate the force
    if (fsrConductance <= 1000) {
      fsrForce = fsrConductance / 80;
      Masse = fsrForce * 1014.2 ;
      //Serial.println(Masse);
    } else {
      fsrForce = fsrConductance - 1000;
      fsrForce /= 30;
      Masse = fsrForce * 1014.2 ;
      //Serial.println(Masse);
    }
  }
  //return Masse;
  return fsrReading;
}


void setup() {
  //Serial.begin(9600);

  Bridge.begin();

  Console.begin();
  //Serial.println("Starting Device...");

  //server.listenOnLocalhost();
  server.begin();
}

void loop() {
  // Get clients coming from server
  BridgeClient client = server.accept();
  if(client) {
    String command = client.readStringUntil('/');
    readCommand(command, client);
    //runCommand();
    client.stop();
  }
}

void readCommand(String command, BridgeClient client) {
   if (command == "status") {

    Console.print("reading analog values");

    val = measure(sensor1);

    client.println(String(val) + ";");

   }
   delay(50);
}
The web interface
This is the most interresting part.
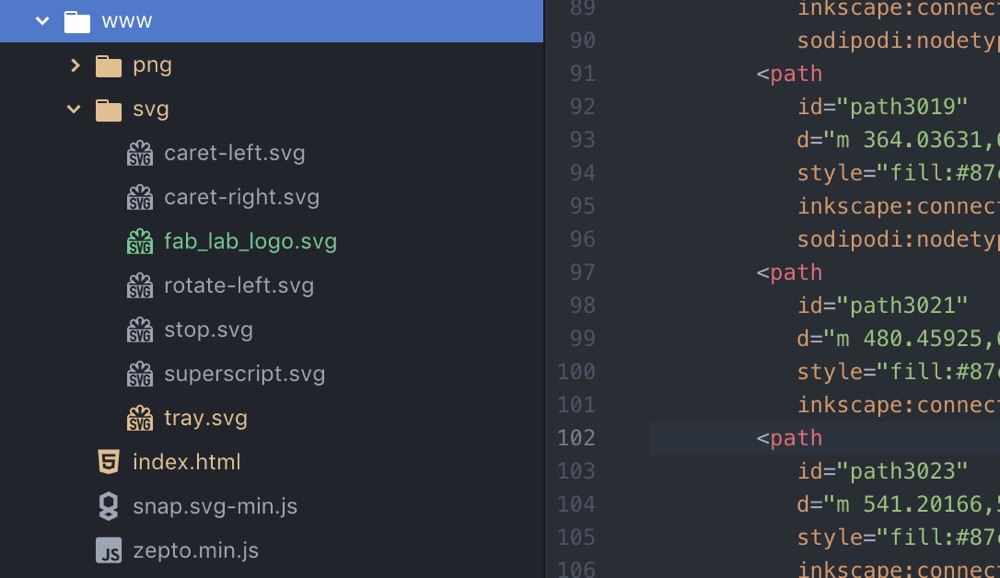
We just need to prepare a www folder inside the arduino project, containing the wontents for teh web interface.
Retrieving the data
Data is retrieved using a javascript function that calls for the input value :
<script type="text/javascript">

function refresh() {
        var message = "";
        var msg = "";
        $.get('/arduino/status/0', function(data){
          msg = data + '';
          message = msg.split(";");

          $('#sonde-txt').html(message[0]);
        });
    }

</script>
Displaying the result
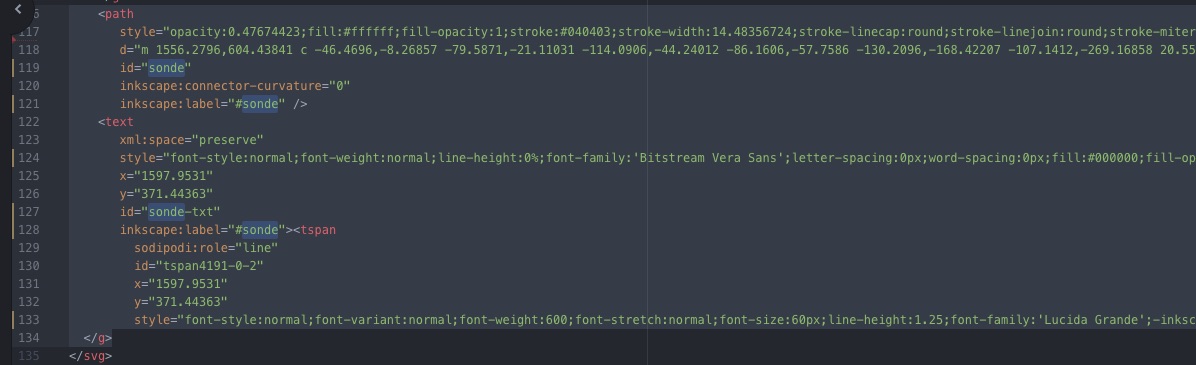
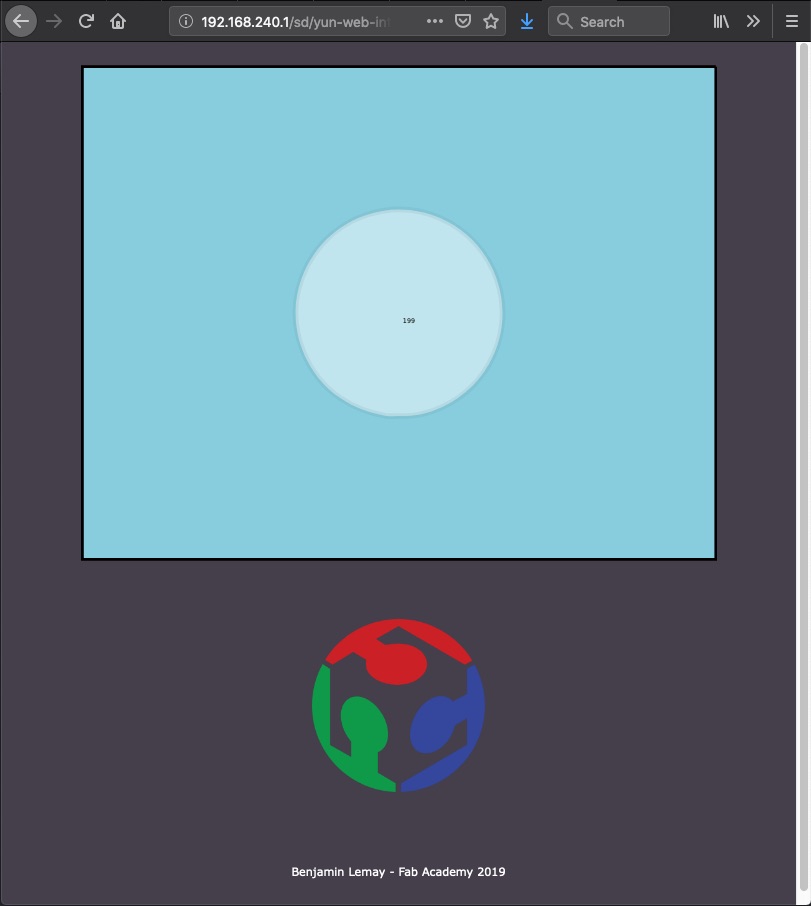
The Javascripts takes the value from our Arduino Program and replaces the HTML element #sonde-txt with the received value. The fun part is that I use an SVG file to display the value inside of an image :)
HOW I dit it : include the SVG file in the HTML makes it available to all the javascript actions. I had to edit a simple picture made with Inkscape, to add the proper id “sonde-txt” where content will be replaced :
Upload
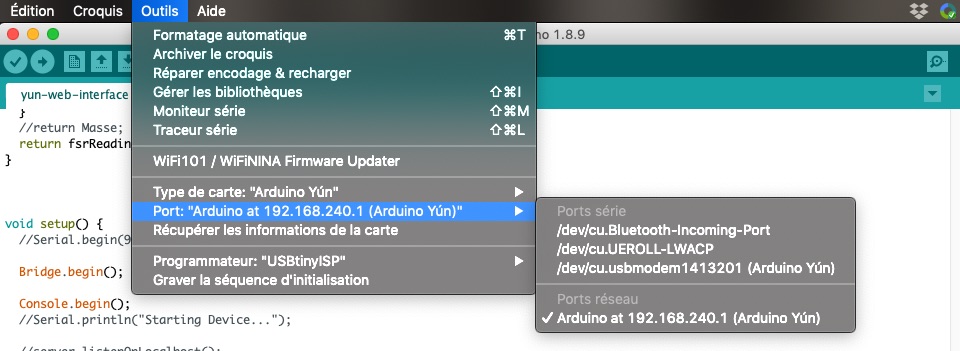
To Upload the web contents and sketch to the YUN, we need to put an SDCard formatted in FAT, and create the Arduino and www subfolders root.
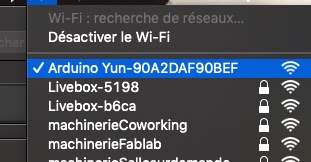
Then select the Yun board and Wifi Port to upload.
Test
To test, just type the IP of the Yun followed by the name of the sketch. For my case, it was http://192.168.240.1/sd/yun-web-interface/ Then you can see the value changing with the push strength of the finger on the sensor.
Result
| Pushing FSR | Online interface |
|---|---|
 |
 |
Downloads
YUN input reading & web interface