10. Molding and casting
Molding and Casting, a different approach to making 3D objects, is also one of the topics which I really want to learn in this Fab Academy Class. I learned a procedure to make molds from CNC milling machine and to make casted 3D object from those molds. Also, in the group assignment, I learned some notes to treat chemical materials. Class video is here.
Assignment
- group assignment:
- review the safety data sheets for each of your molding and casting materials, then make and compare test casts with each of them
- individual assignment:
- design a mold around the stock and tooling that you’ll be using, mill it (rough cut + (at least) three-axis finish cut), and use it to cast parts.
Group Assignment
In the group assignment, we tried some mold and cast materials in the lab (mainly silicon, liquid plastics)… I reviewed Smooth Cast 300 and Mold Star 16 Fast. Please see our week 10 group assignment page.
What I did in the assignmet.
I am get used to print out some 3D models of figures, but sometimes those looks rough and I wanted to try other way to make them.

So, in this assignment, I tried to make a mold of figure which I have ever printed out from my 3D printer. Then, I observed advantage/disadvantage of molding and casting approach comparing with subtractive approach.
Making 3D model of mold.
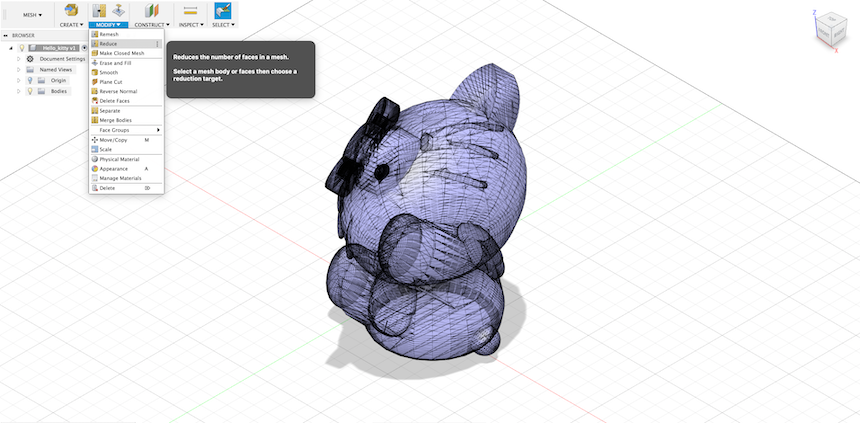
First, I made a 3D model of molds by Autodesk Fusion 360. In this time, as a sample of figure, I downloaded it from here and imported as stl file.

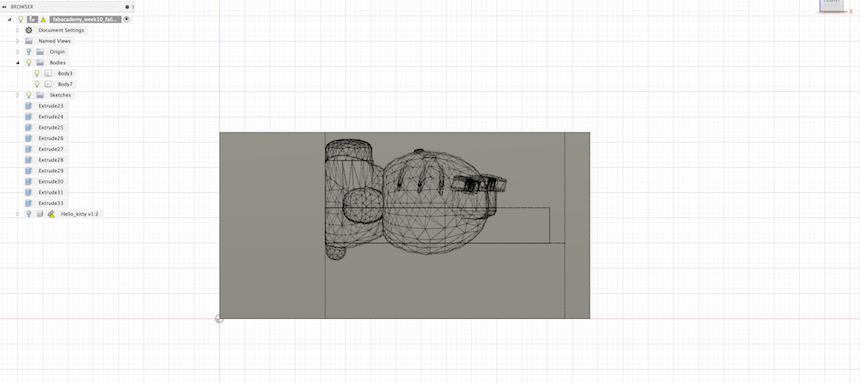
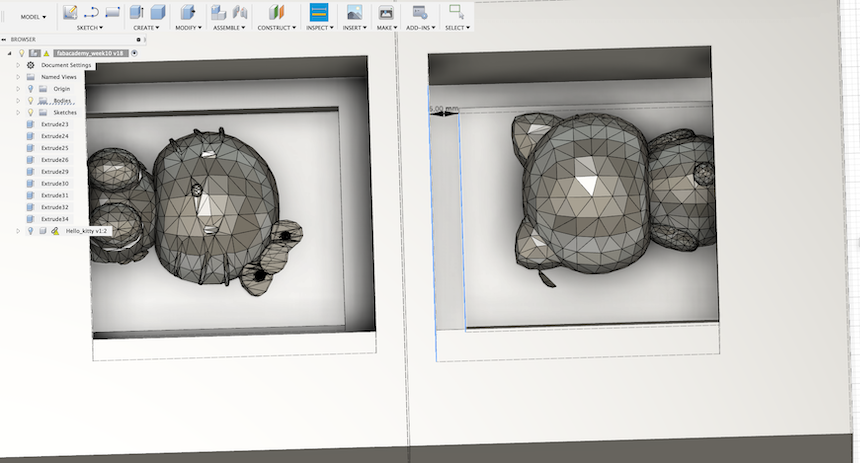
When importing stl file of figure, there are a lot of faces in the mesh and the Fusion would be slow and sometimes freezed. So, I changed Mesh mode and reduce the number of faces (choosing “modify” -> “reduce”).
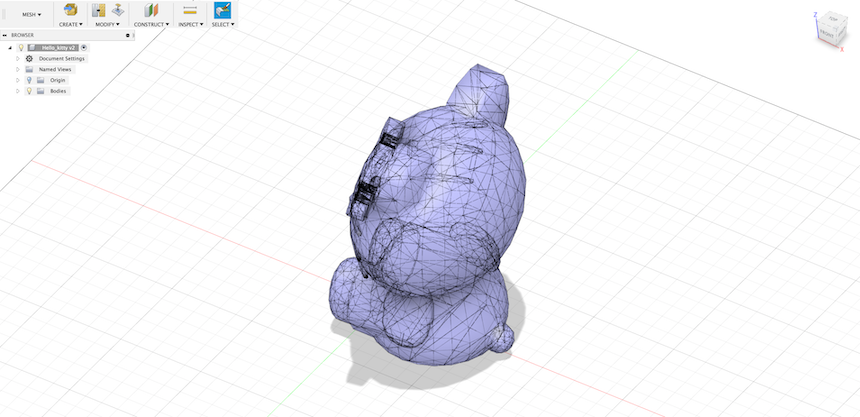
Now, I could see the faces of figure are reduced (and the body looks rough).
Next, I created a box that would be same with a wax which I will use for making mold. Size of wax is: 147mm x 88mm x 37mm.

Then, make a offset and extrude inside of the box, and put the figure models with scaling to fit the offset.
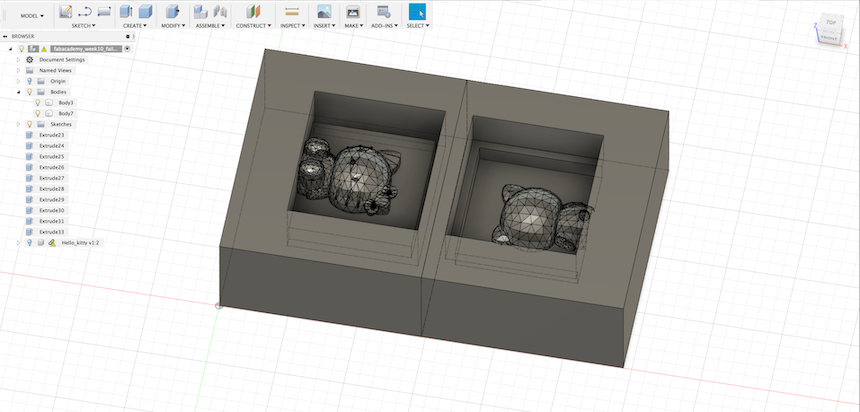
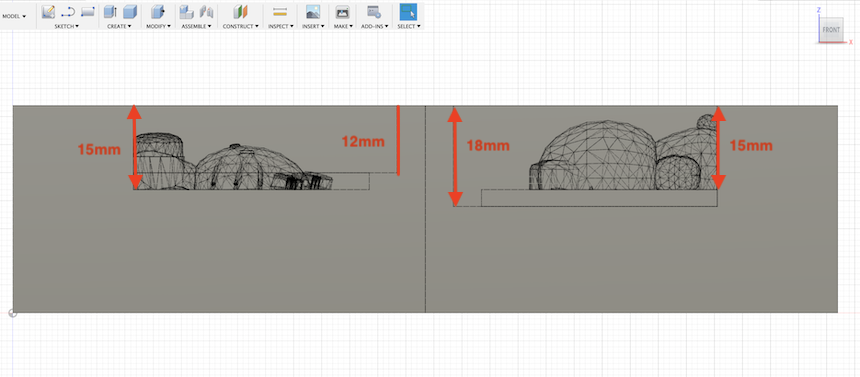
The important to make 3D model of figure mold, I thought, are:
- make each parts (in this case, I made two parts of front and back) overlap correctly.
- make registration parts, one side to concave and another side to convex.
After finished to make 3D model of mold, I exported it to stl file.
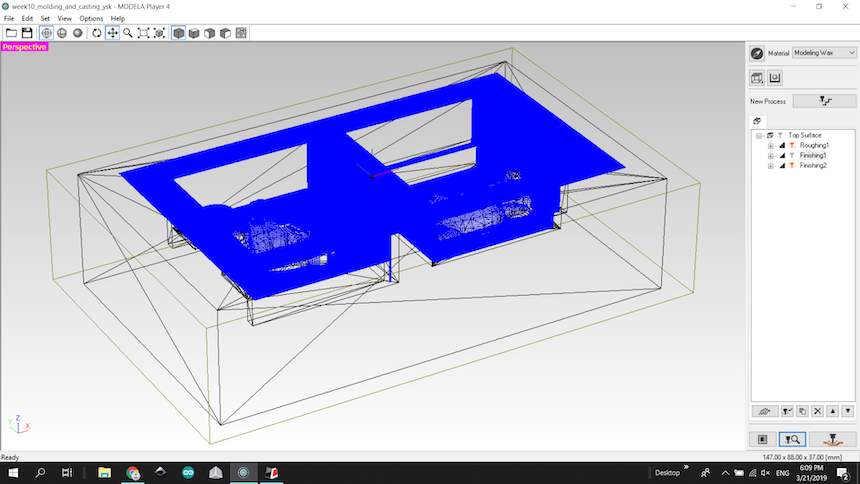
Making CAM file for Roland SRM-20
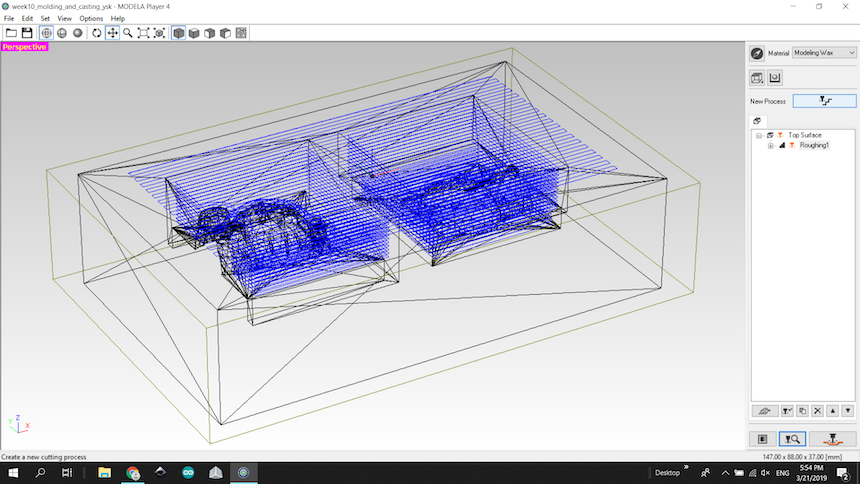
To make CAM file for Roland SRM-20, I used “MODELA player” (that is CAM software by Roland). First, I imported the stl file to MODELA Player.
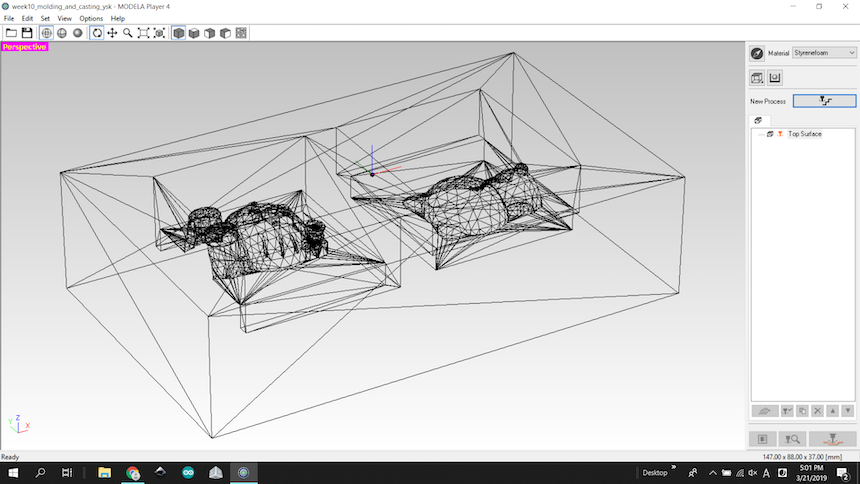
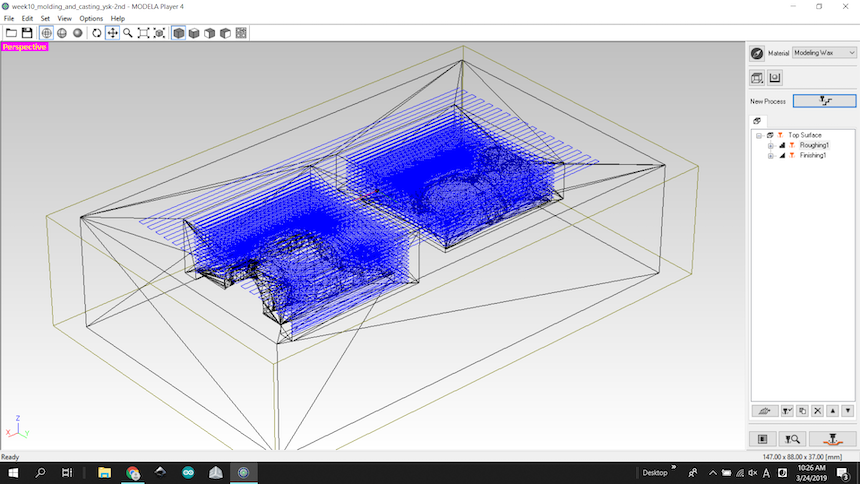
Roughing path
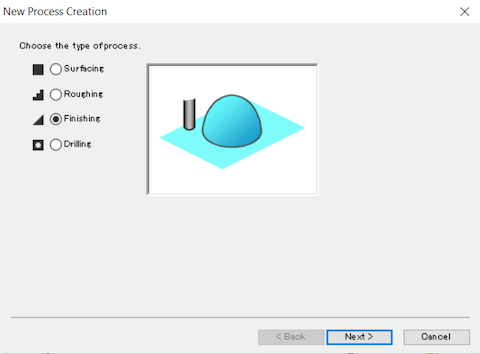
Start “New Process” to make rough cut path. I choose “roughing” in the first dialog of “New process”.

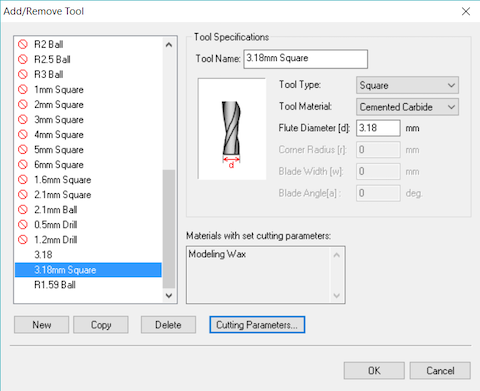
Then, choosing a mill type. In the rough cut, I will use 3.18 square mill.
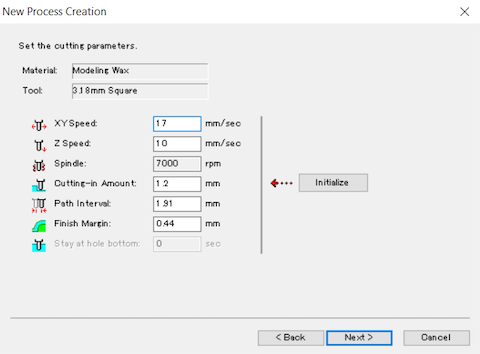
And, set the cutting area and depth. Cutting area should be set a little bit wider than milling area.


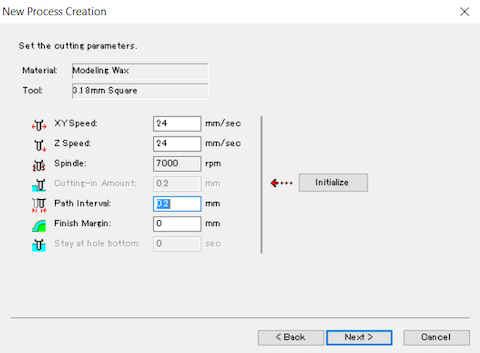
Finally, setting Cutting-in Amount as 1.2mm.
Then, the roughing path are created and I could see it in the preview.
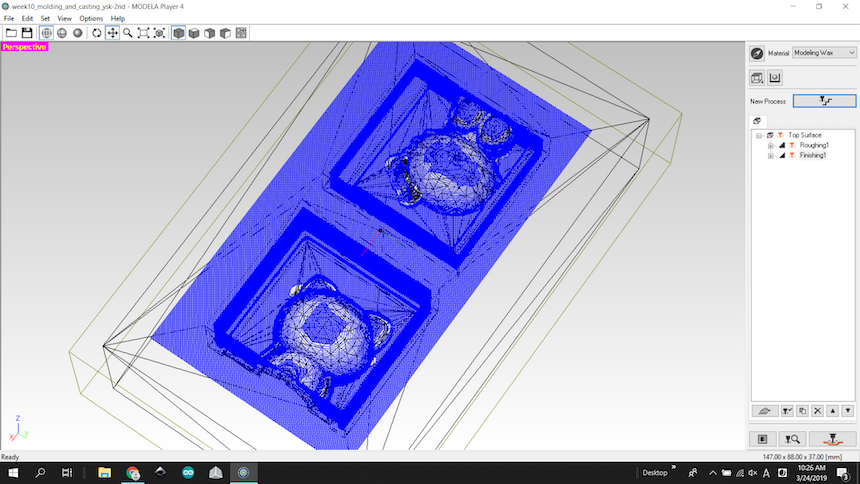
Finishing path
Start “New Process” to make finish cut path. I choose “finishing” in the first dialog of “New Process”.
Most of the process to set up the finishing path is the same with the setting in roughing. I just mention here the different points.
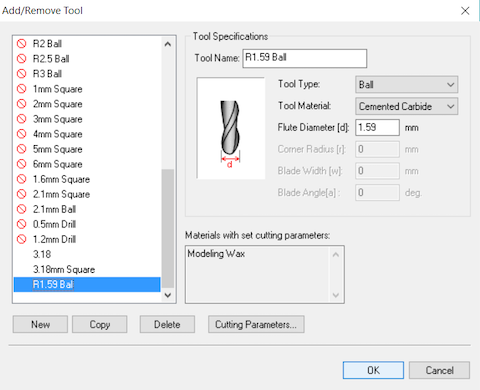
In the finishing, I want to use high-precision ball mill, R1.59 Ball.
Also, Cutting-in Amount should be 0.2mm
Then, the finishing path are created and I could see it in the preview. And, I’n get ready to milling.
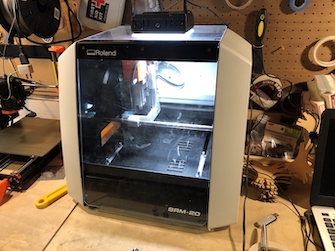
Milling Mold by Roland SRM-20
For milling a mold, I used…
- Roland SRM-20: it have already get used when making PCB
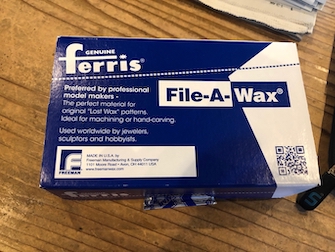
- Ferris File-A-Wax Blue 147mm x 88mm x 37mm
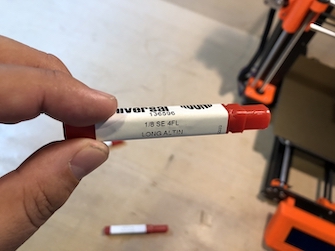
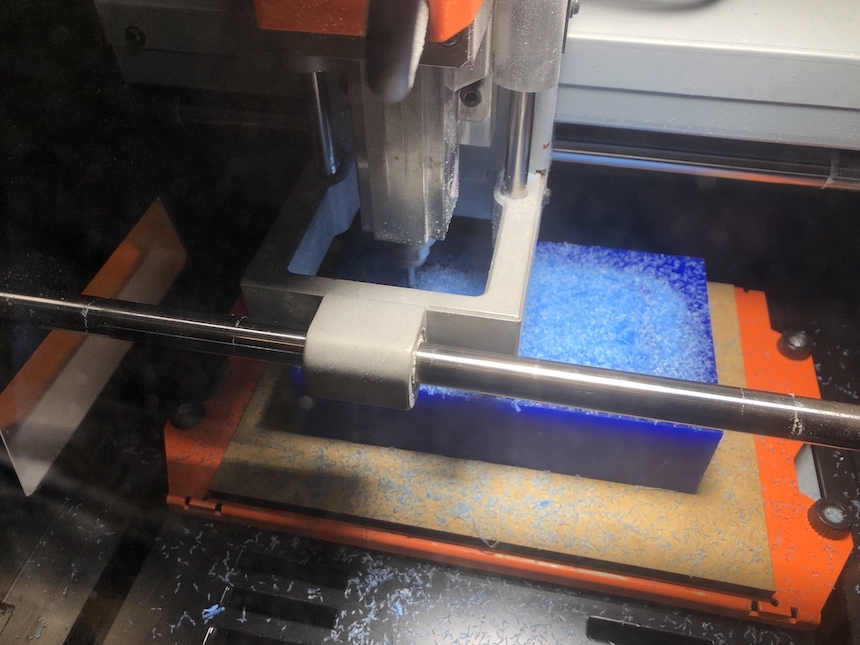
I set the wax on the base, and fix the mill. First, for roughing, I use 1/8 inch (3.18mm) flat, square-end mill.
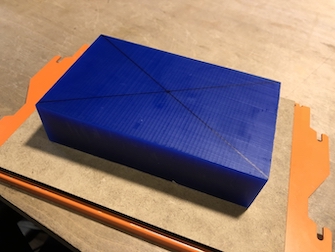
Then, setting up XYZ origins and start milling.
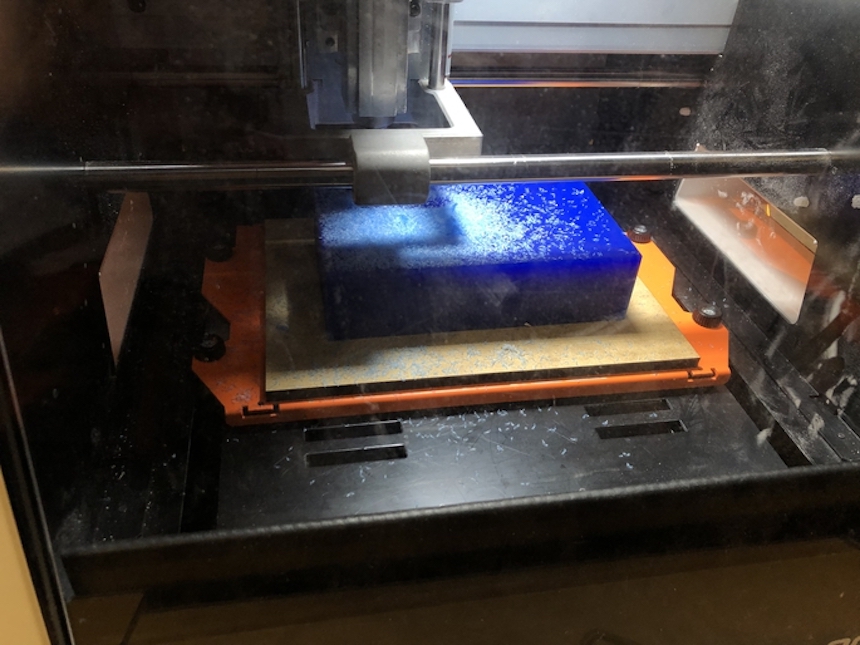
The milling process took about 1 hour.
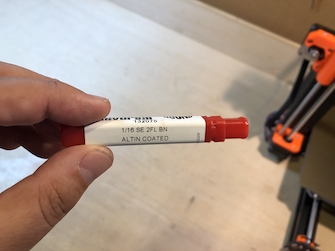
After finished roughing, I changed the mill to 1/16 inch (1.59mm) BN mill.

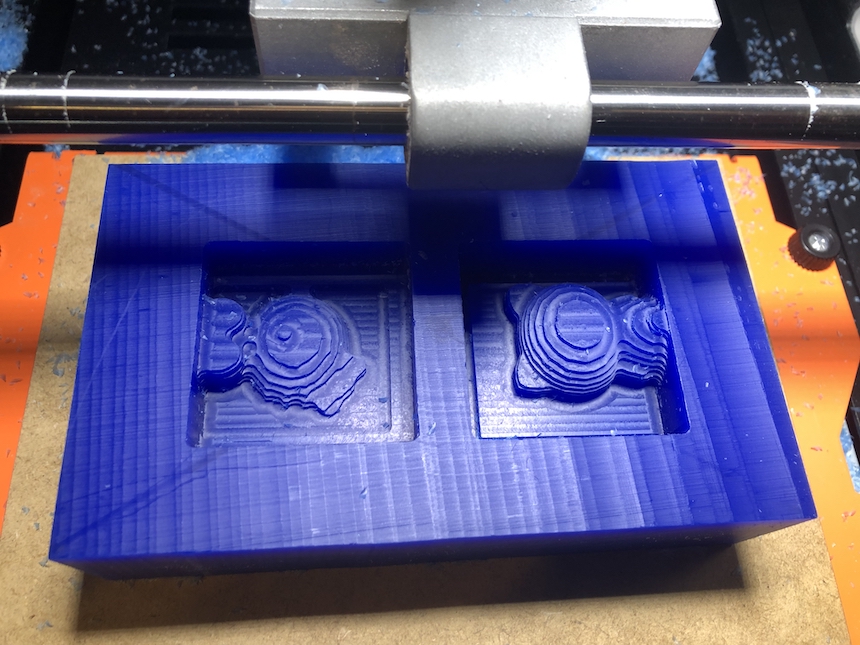
Then, I started finishing....
Trouble
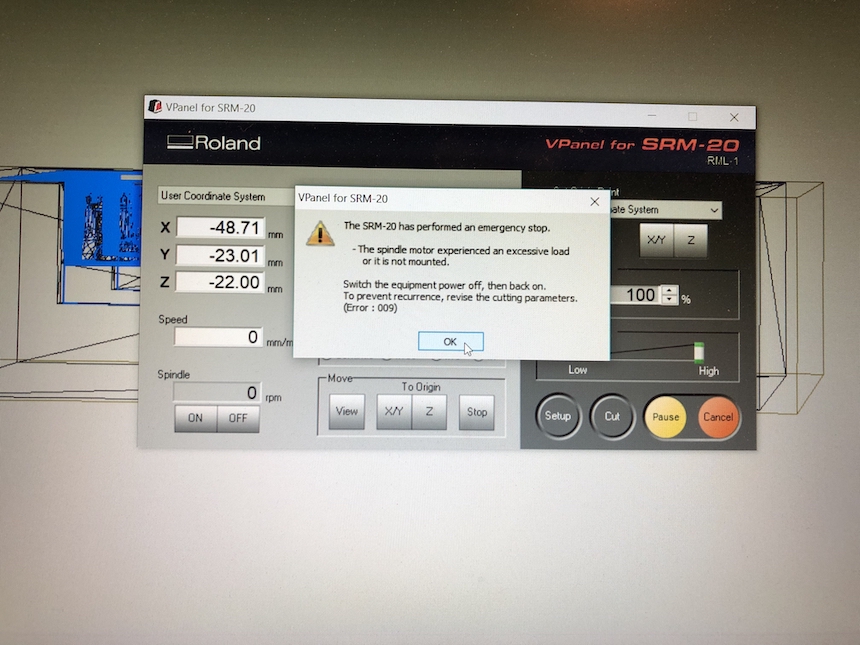
After starting milling, the SRM-20 suddenly stopped and I could see the error that “The SRM-20” has performed an emergency stop”. Then, the dialog said “The spindle motor experienced an excessive load or it is not mounted”.
Then, I checked where the mill has stopped. And, I could see the spindle of the mill is bumped at the left corner of the inside.
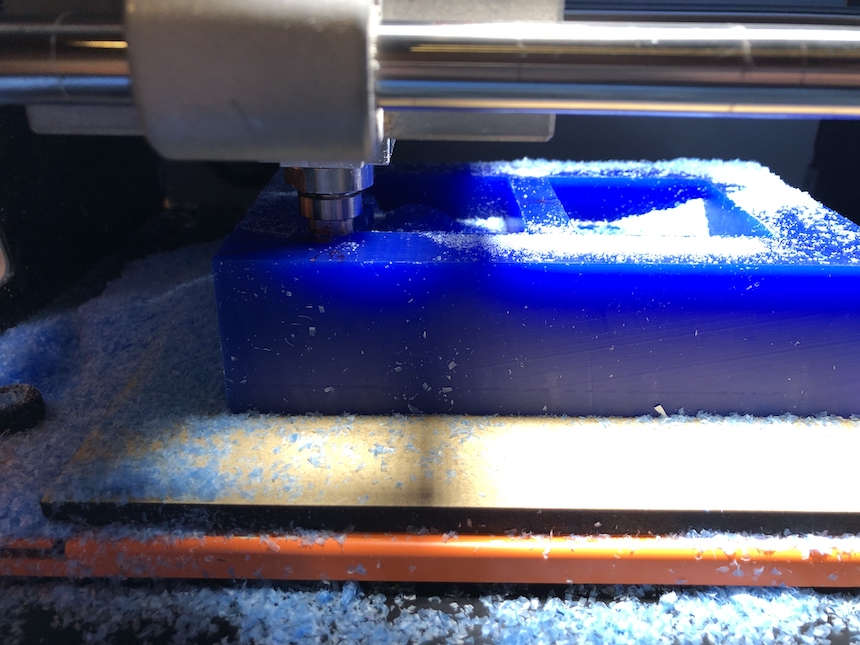
Checking the wax, I found a scar by the spindle on the left bottom corner. I found the problem is the lengh of the mill was shorter than the depth of the mold.
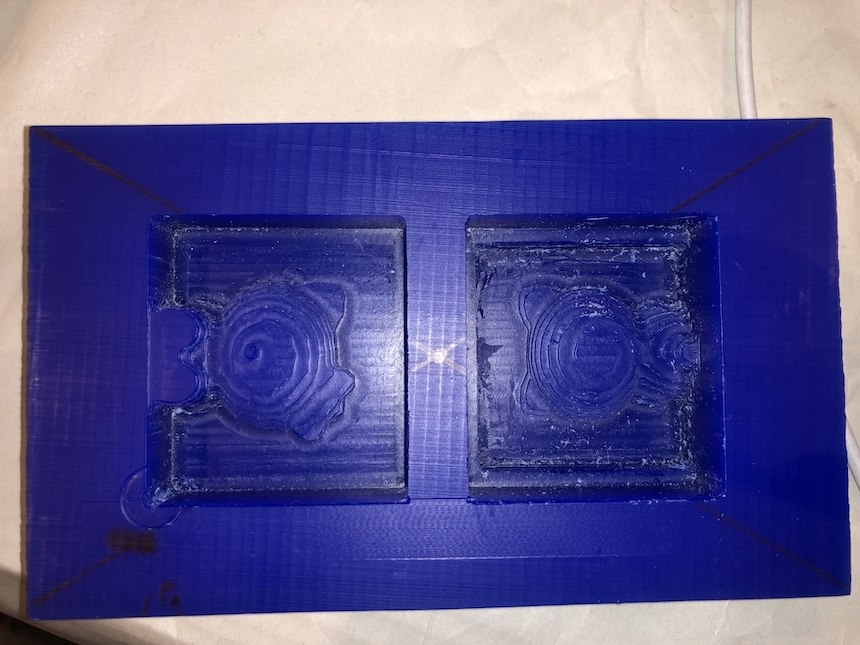
Also, checking the mold, I found there is no concave registration milled in the left side.
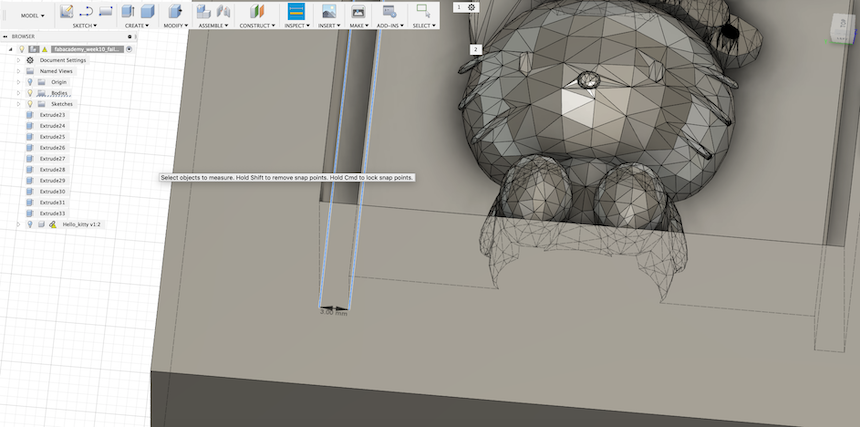
Checking the model again, I found the width of concave was 3 mm, and the width of mill which I used was 3.18mm. Also checking the CAM file, there is no path for milling the concave.
Revising 3D model and Making CAM file again
First, I revised the width of concave and convex to 5mm.
Then, I also revised the depth of inside mold as shallow as possible.
After revised 3D model, I exported as stl file and imported into MODELA Player.
Making creating roughing path again. The mill which I set is 3.18 square mill. And, I confirmed the path of convex and concave are created.
Also creating finishing path again. I decided to use the same mill with the roughing (3.18 square mill).
Milling: 2nd Try.
Then, milling again....
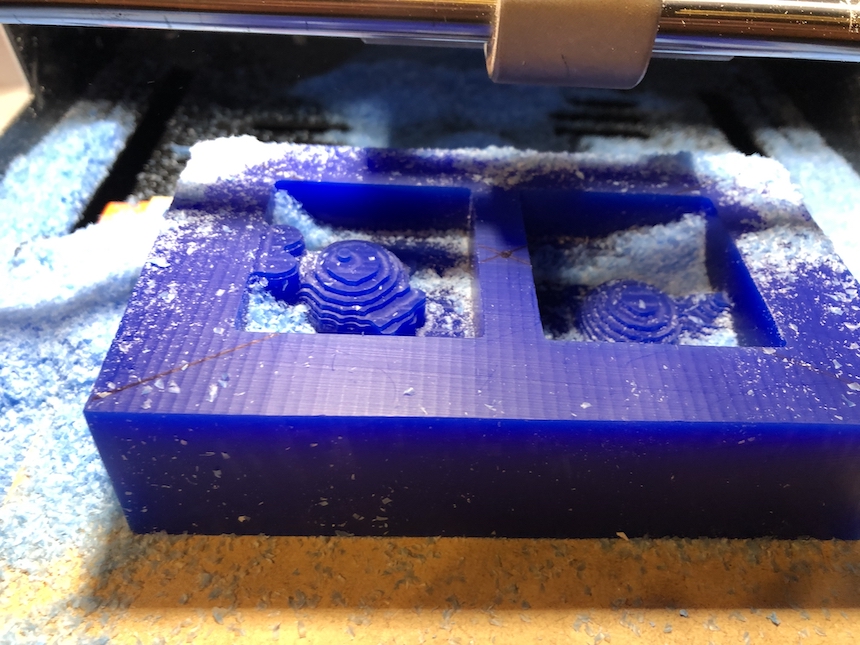
Finished roughing. I confirmed each convex and concave parts were milled in perfect.
Finishing process is also fine.
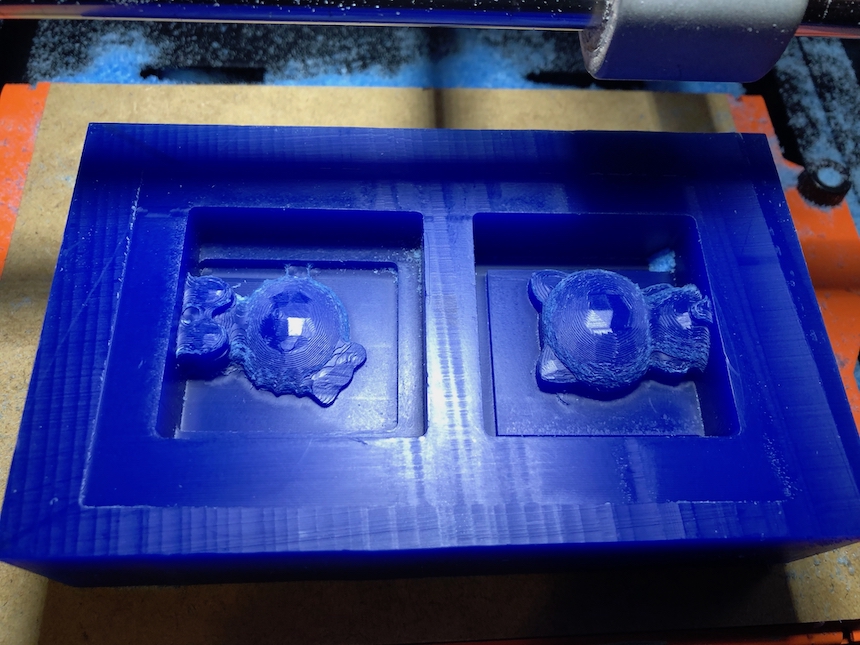
2nd try of milling passed fine.
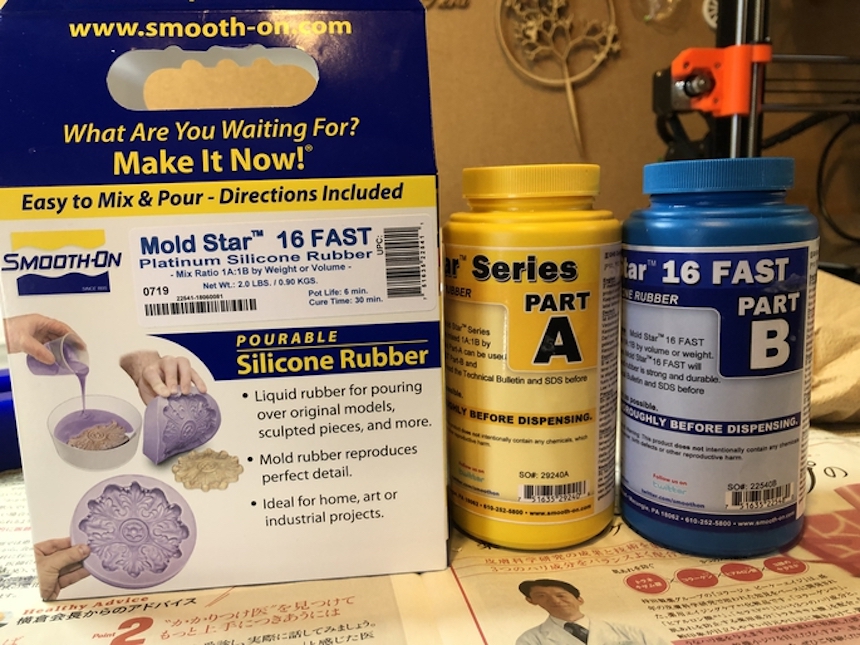
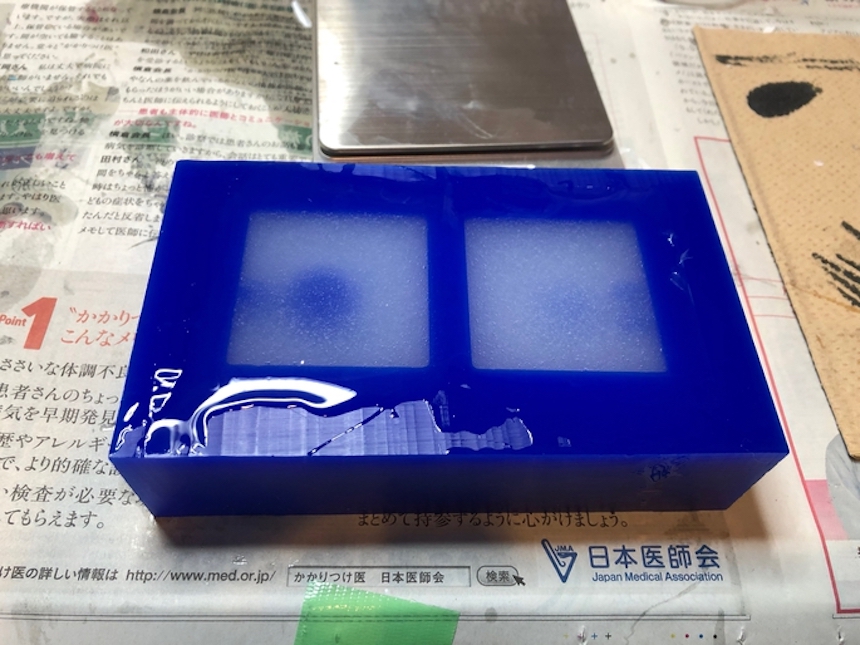
Makeing mold by Silicon
I use “Smooth-On MOLD STAR 16 FAST” to make a Silicon mold. This material is a fast material with a 6 minute pot life and 30 minute cure time.
First, I mixed PartA and PartB in 1:1 volume.
Then, I poured mixed material into the wax mold. I have to finished mixing and pouring within 6 minutes.

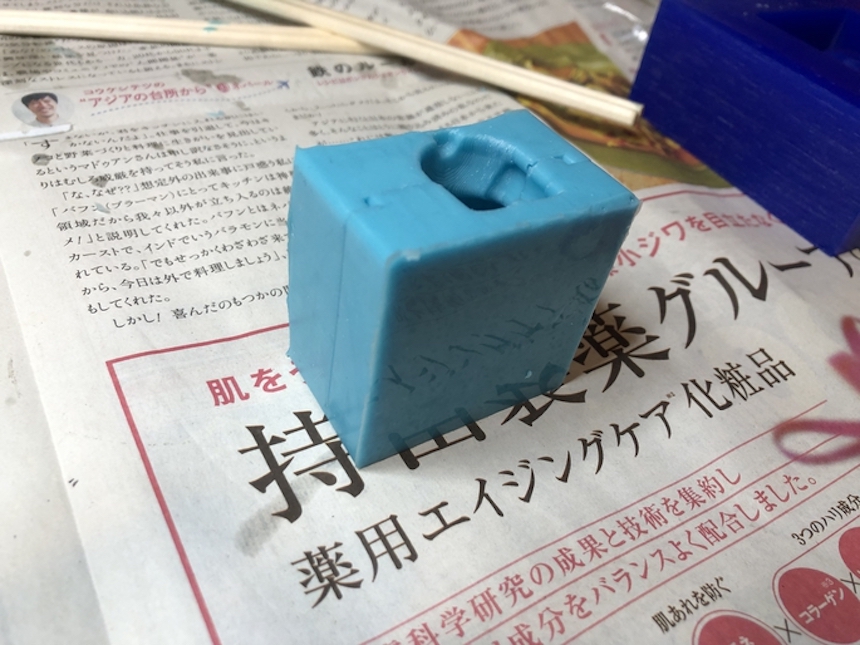
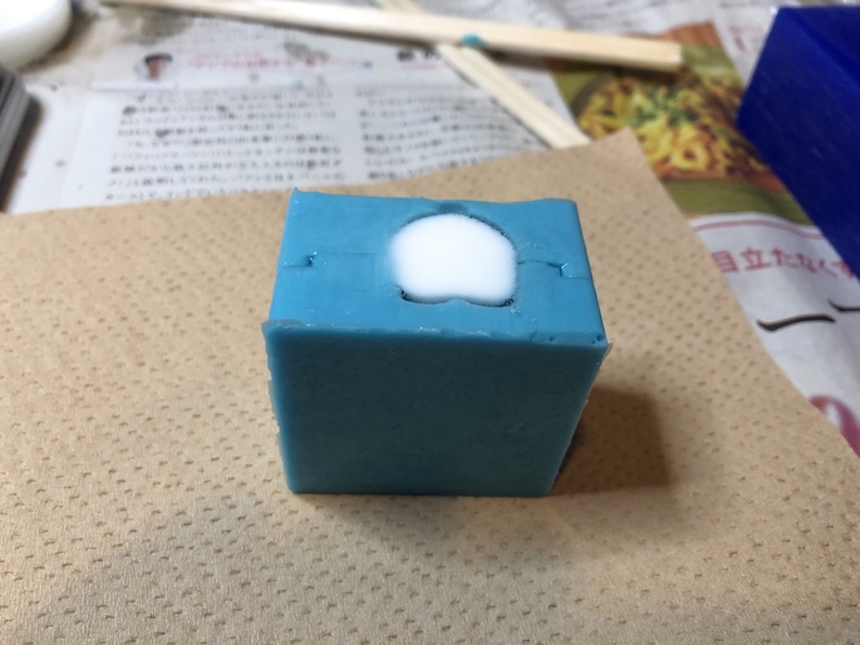
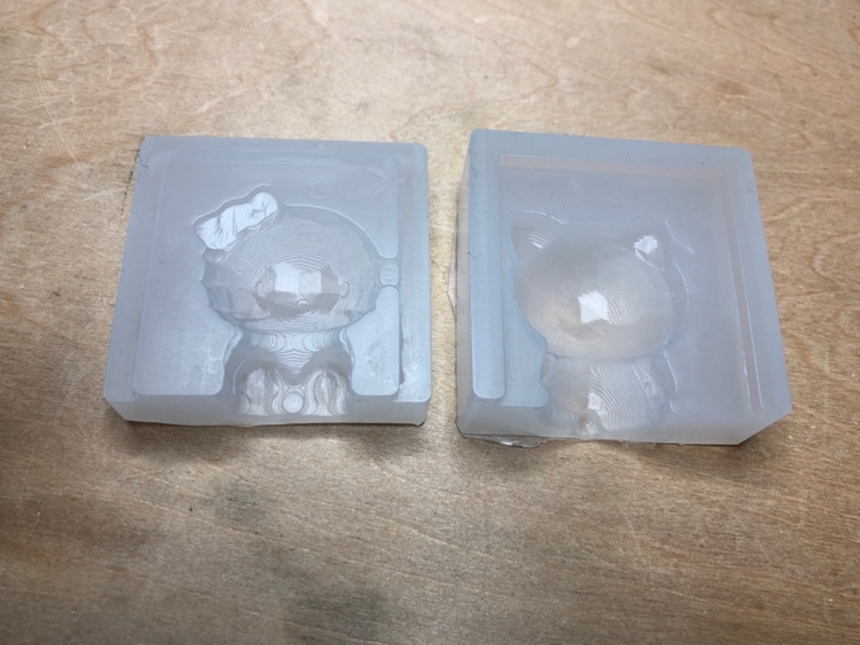
Waiting 30 minutes, silicon mold is completed.
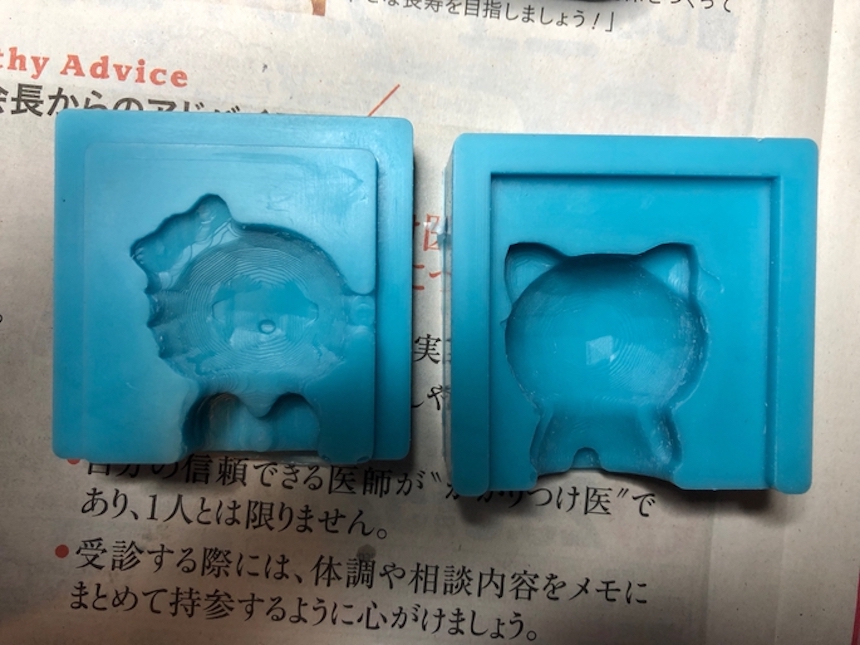
And, jointing each other. It could correctly assembled.
Casting 3D object from Silicon Mold.
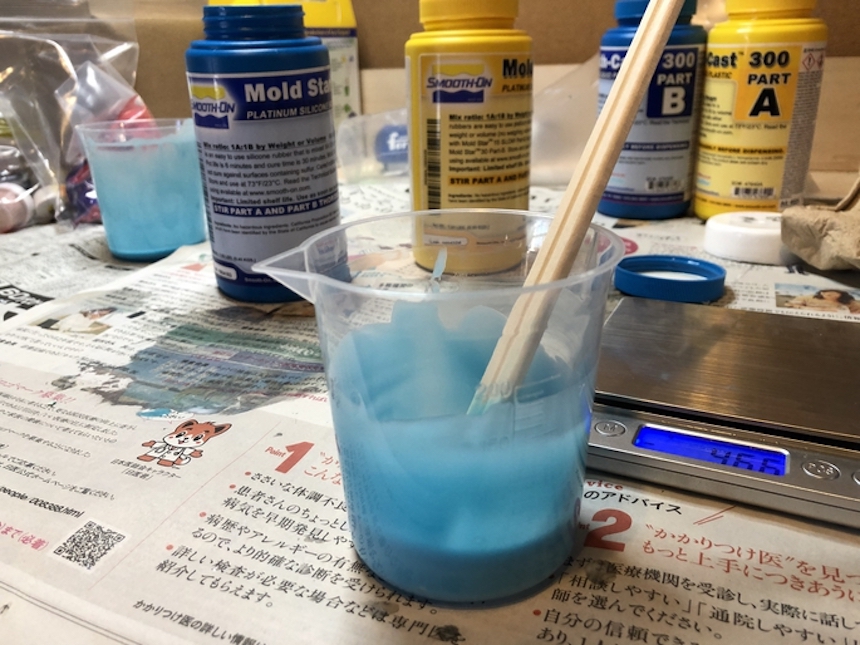
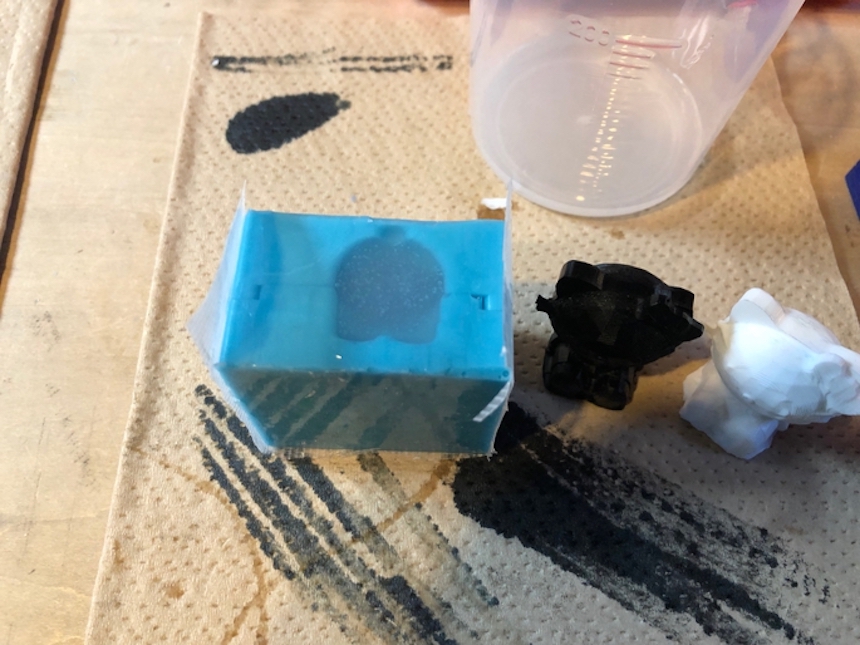
With using silicon mold, I do casting of the 3D object. I use “Smooth-Cast 300” for casting. This material is based on liquid plastics.
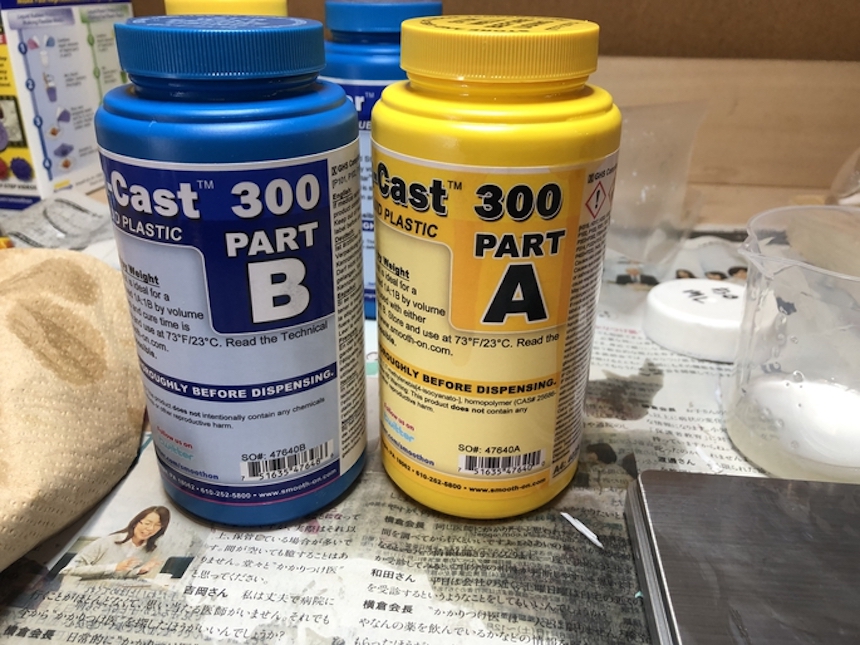
Mixing PartA and PartB in 1:1 Volume, then I poured into the silicon mold. The pot life is 3 minutes and cure time is 10 minutes. I have to hurry up to mixing and pouring.
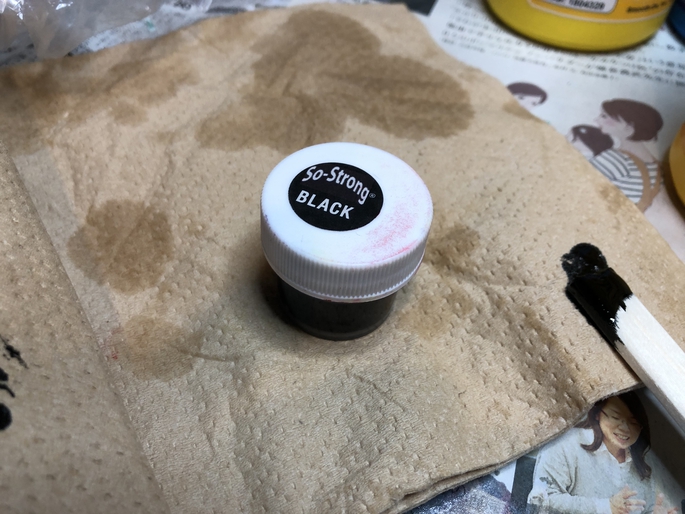
Casting with color
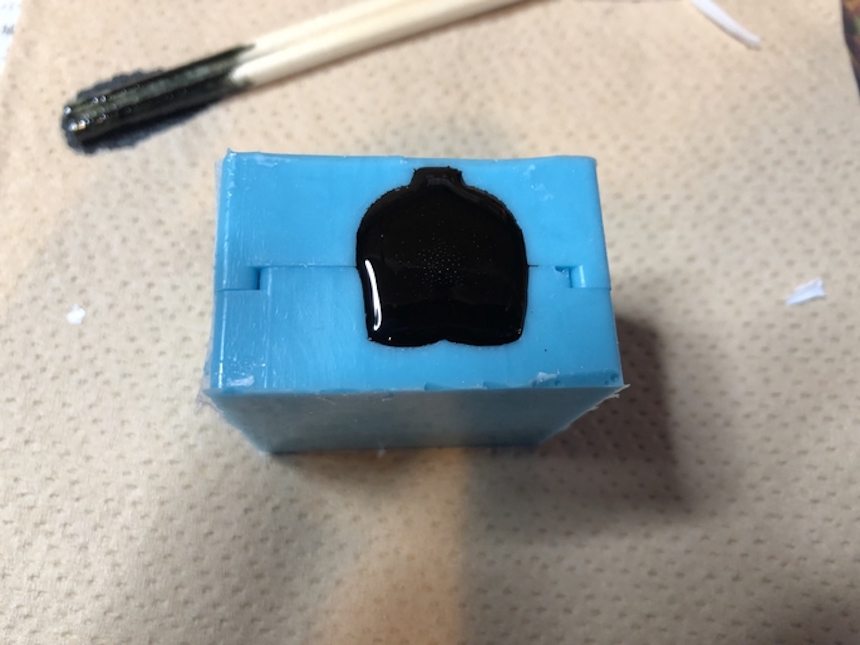
I also tried to make colored 3D casting object. I mixed a black color paint into (Part A and B) mixed material.

Then, pouring the material into the silicon mold.
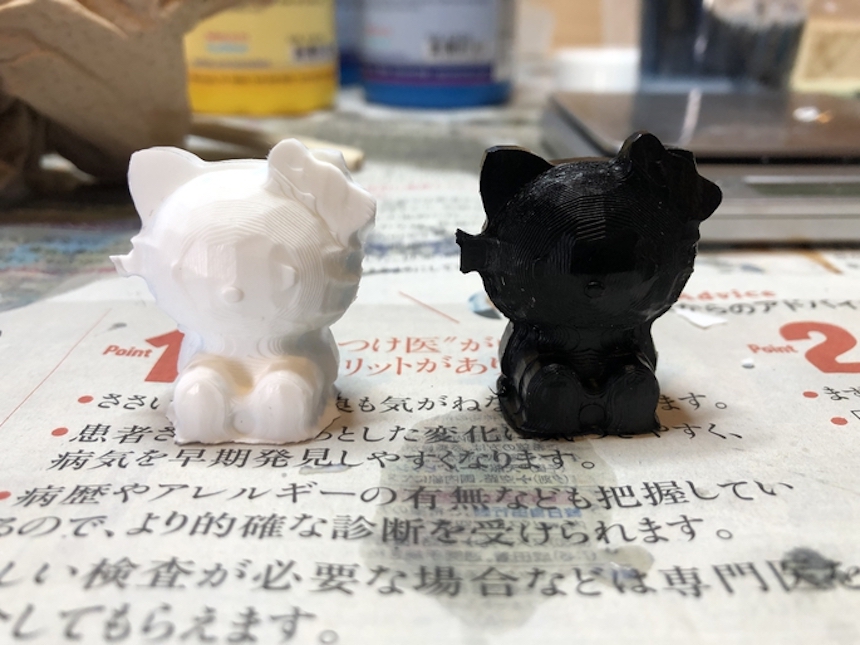
After 10 minutes passed, the casting is completed. It looks fine, enough strong and well colored.
Casting by other materials.
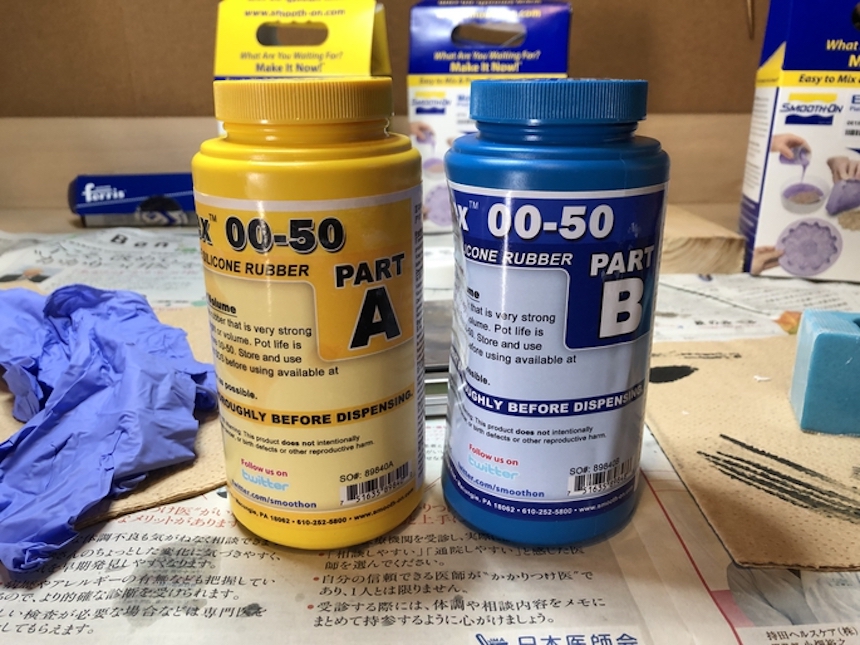
I also tried “Ecoflex 00-50” for molding and casting. This is a rubber based on platinum-catalyzed silicones. The pot life and cure time is very long. (Pot life is 18 minutes and cure time is 3 hours).
Mixing PartA and PartB in 1:1 Volume, then I poured into the silicon mold. Also, I poured it into the wax mold.
After 3 hours passed, a mold parts and casting 3D object are completed. It looks strong and flexible.
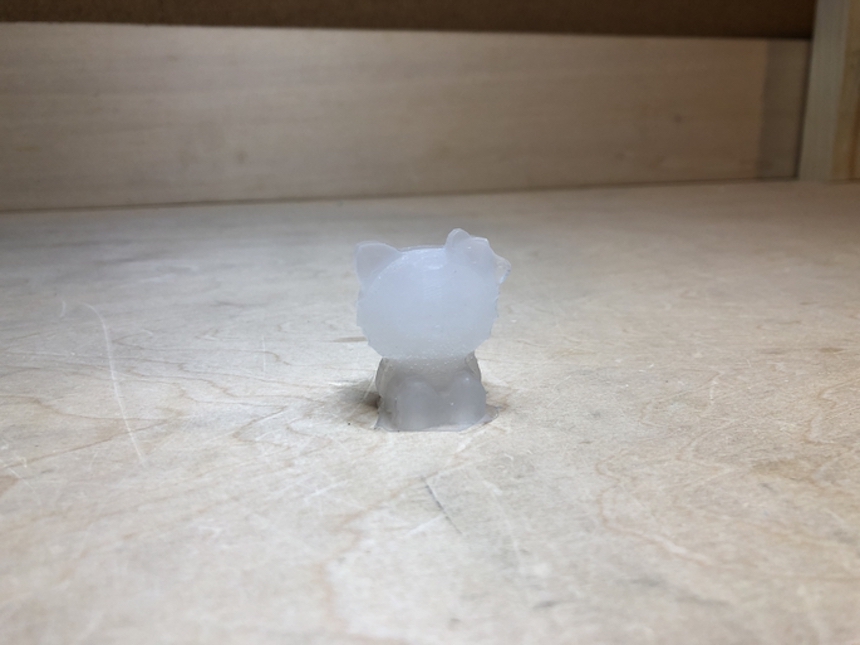
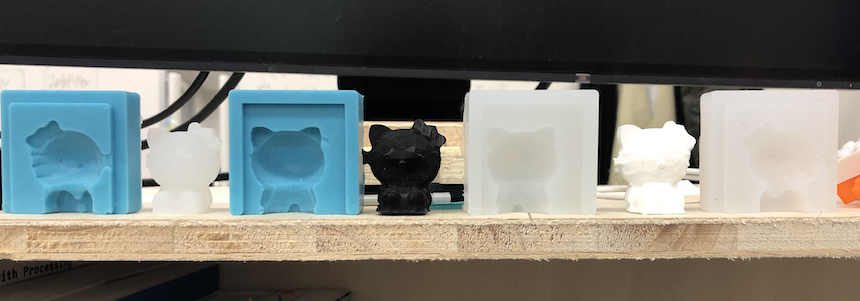
Finally,,,, I made three casted 3D objects.
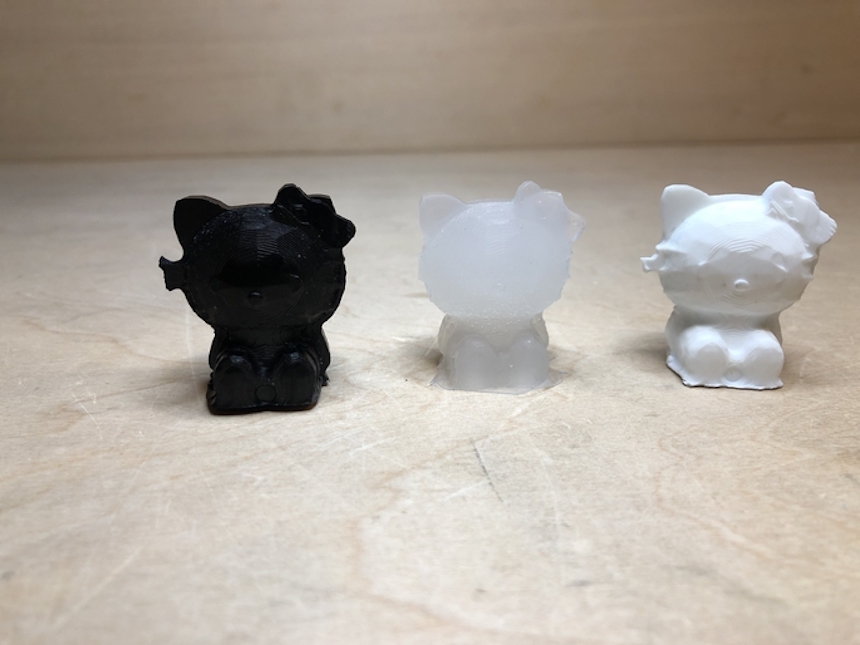
Observations: Comparing with Printed object.
One advantage of molding and casting approach to make 3D figure is its speed. In the assignment, I have finished to make two figures (white and black one by Smooth-cast 300) in about 3.5 hours (making 3D model: 1 hour, milling:2 hour, molding: 30 minutes and casting: 20 minutes). On the other hand, it tooks about 4 - 5 hours to make one figure by using 3D printer. Certainly, it would be depended on some quality of machines and materials which we will use. But, once we make one molds, we can use it again and again for casting, and it would lead M&C approach in advance to make many 3D object in a short time.
Another advantage is its variations of materials. In the assignment, I choosed silicon for molding and liquid plastics for casting. We can choose other materials like metal, chocolate and so on. On the other hand, when we make 3D figure with 3D printing approach, the materials which we can usually use would be a resin (ABS or PLA).
If I should pick up disadvantages of molding and casting approach, I will point out the quality of the figure. The quality of casting figure is depended on the quality of milling mold.
Week 10 files.
- 3D model for molding (succeeded version) Autodesk Fusion 360 STL
- CAM file by Roland MODELA Player (succeeded version) mpj