This week was chance for me to explore different composite materials. I worked on several small project involving concrete, steel meshes, resins and composite fibers. For fiber composites, I was initially looking for natural fibres but ended up using both fiberglass and jute fibers. The fiberglass was used to construct the outer body of my final project, while the burlap was used in conjunction with some fiberglass to construct a potato sack style plant pot. Both materials used the same type of local resin to harden the fiber, which I obtained from a car body repair shop. Unfortunately, there was no datasheet provided, and I was told it is mixed by using one bottle of hardener with every gallon of resin. I took extra safety measures to ensure the myself or the lab weren't at any risk.
Safety Measures
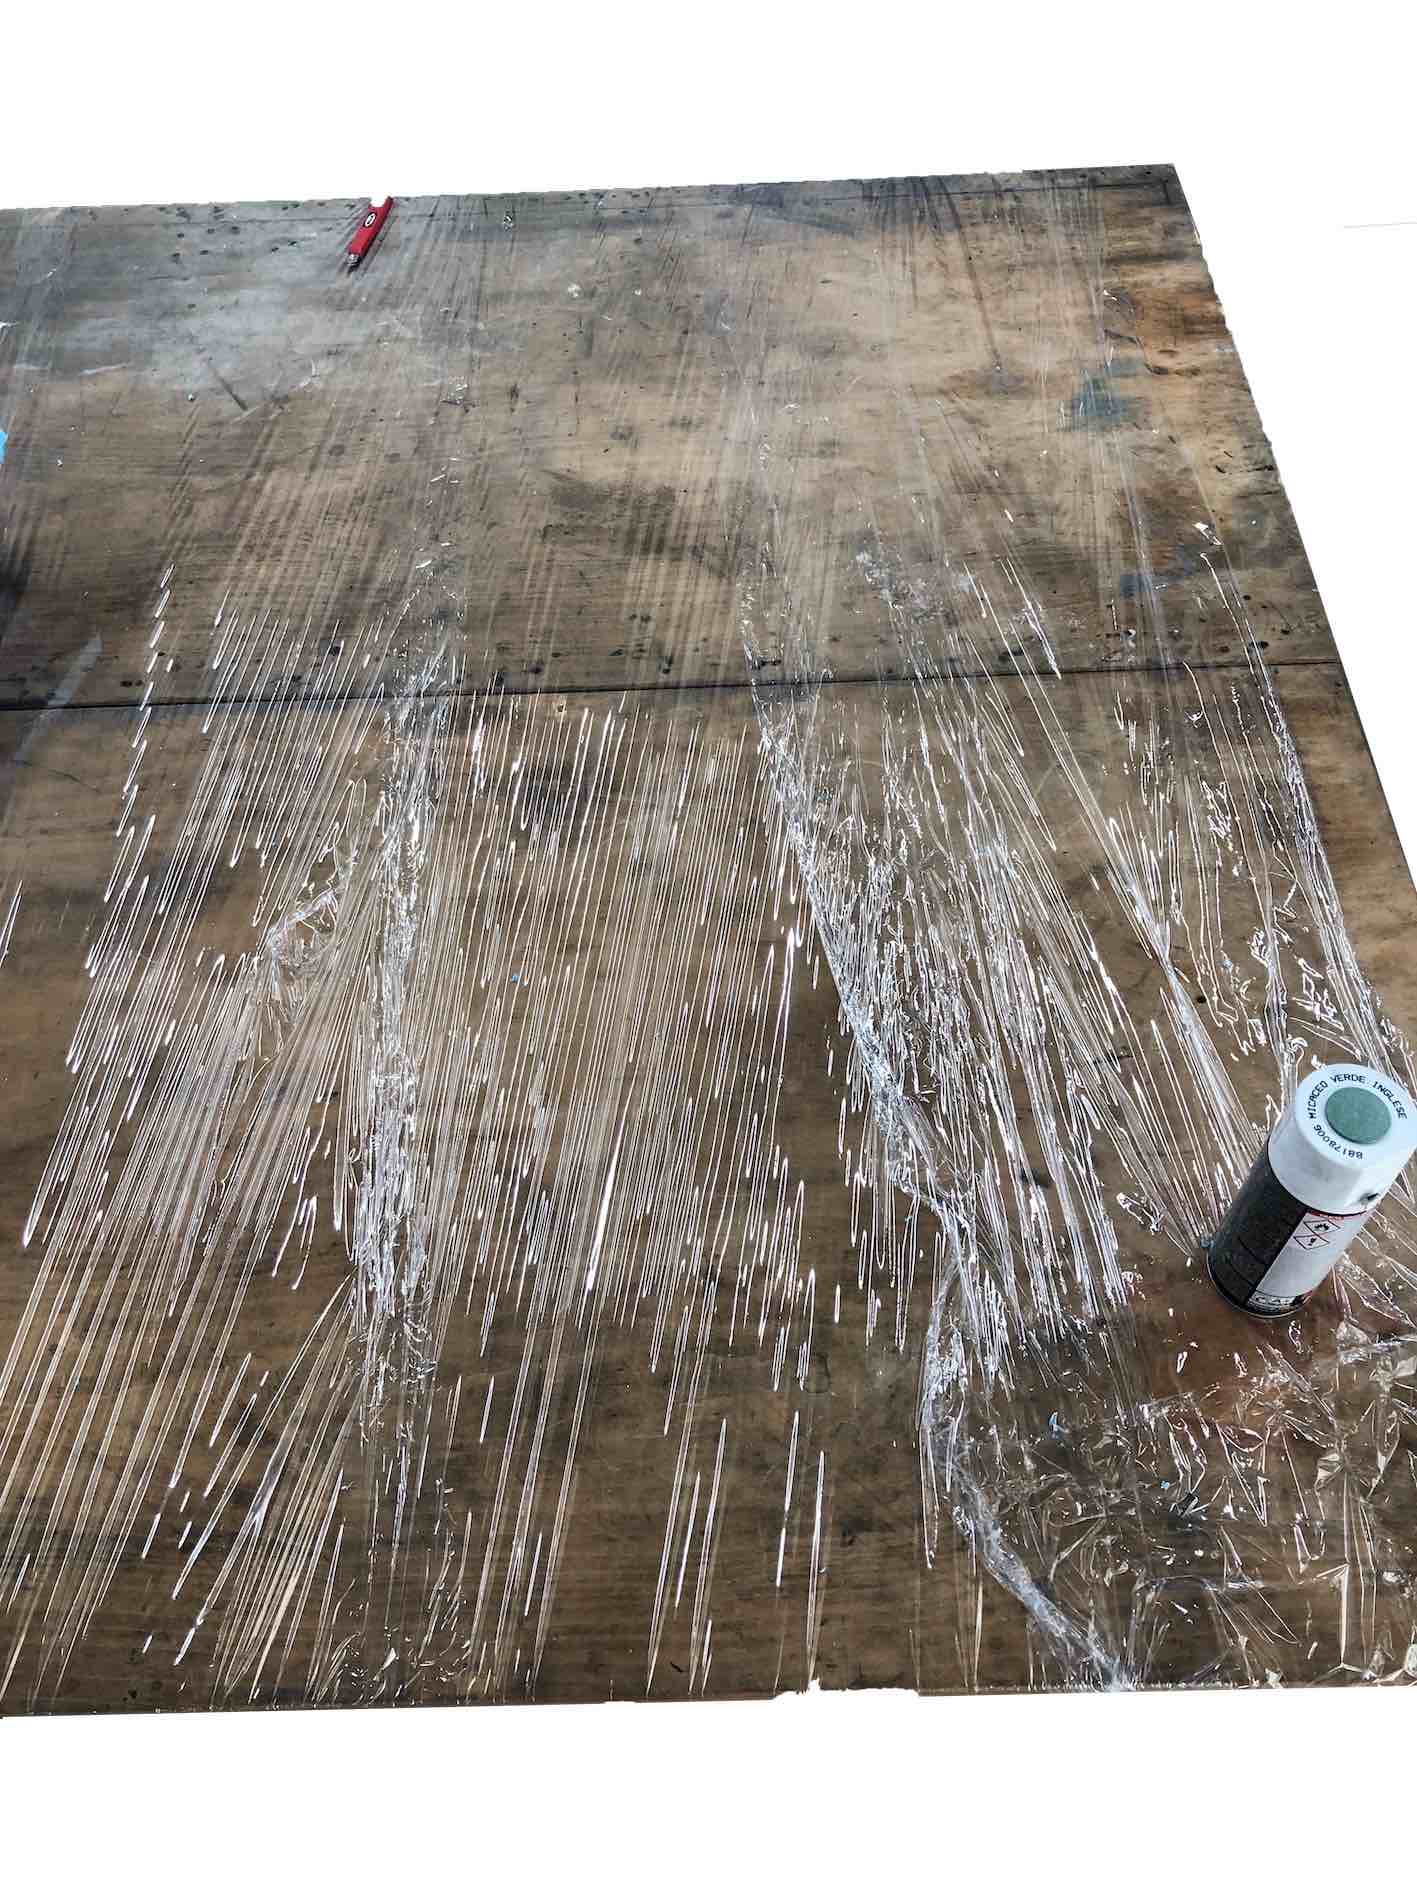
I used our metal shop for this process, as it had the best ventilation and a large enough work area. I wrapped the worktable with several layers of nylon wrap to protect the surface from any resin or paint. I had the window open and the fume hood on to ensure all the workspace was well ventilated.
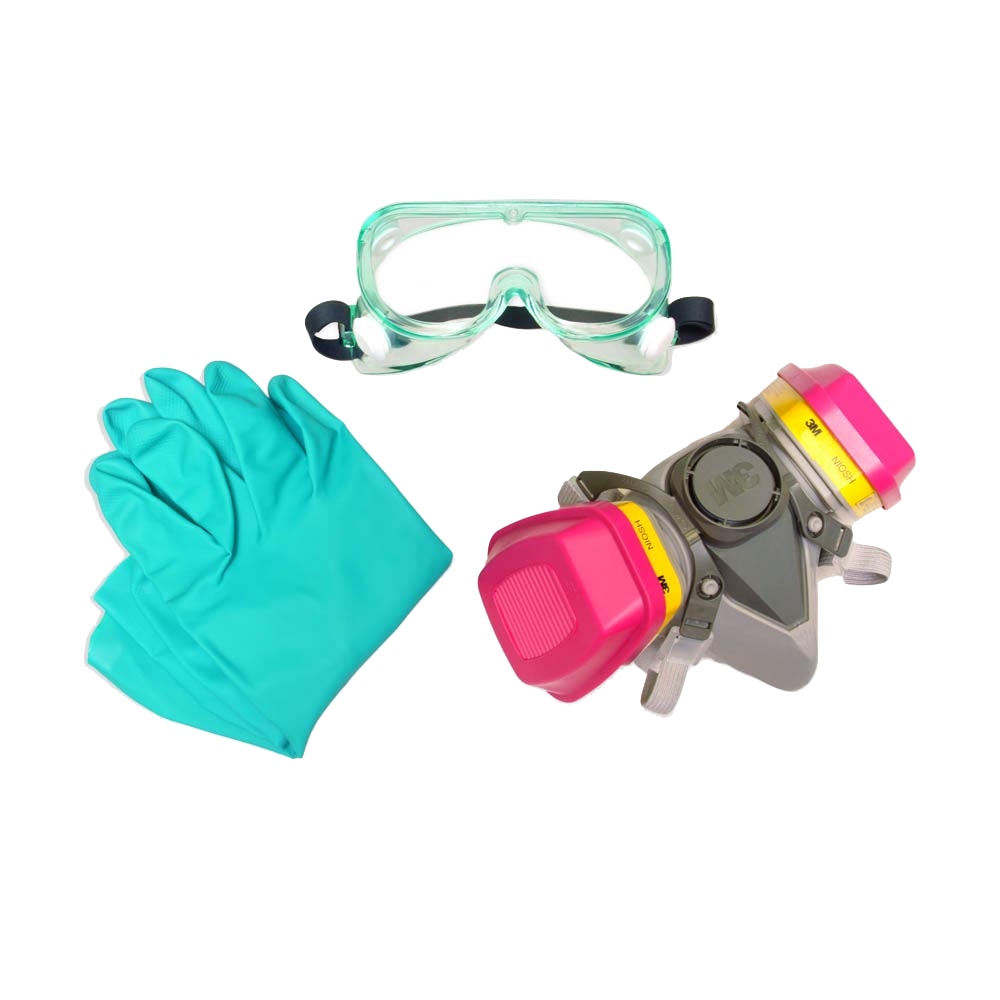
I also wore PPE such as a mask, gloves, saftey glasses and an apron to protect any uncovered skin, my eyes and lungs as well as my clothes.
Reinforced concrete
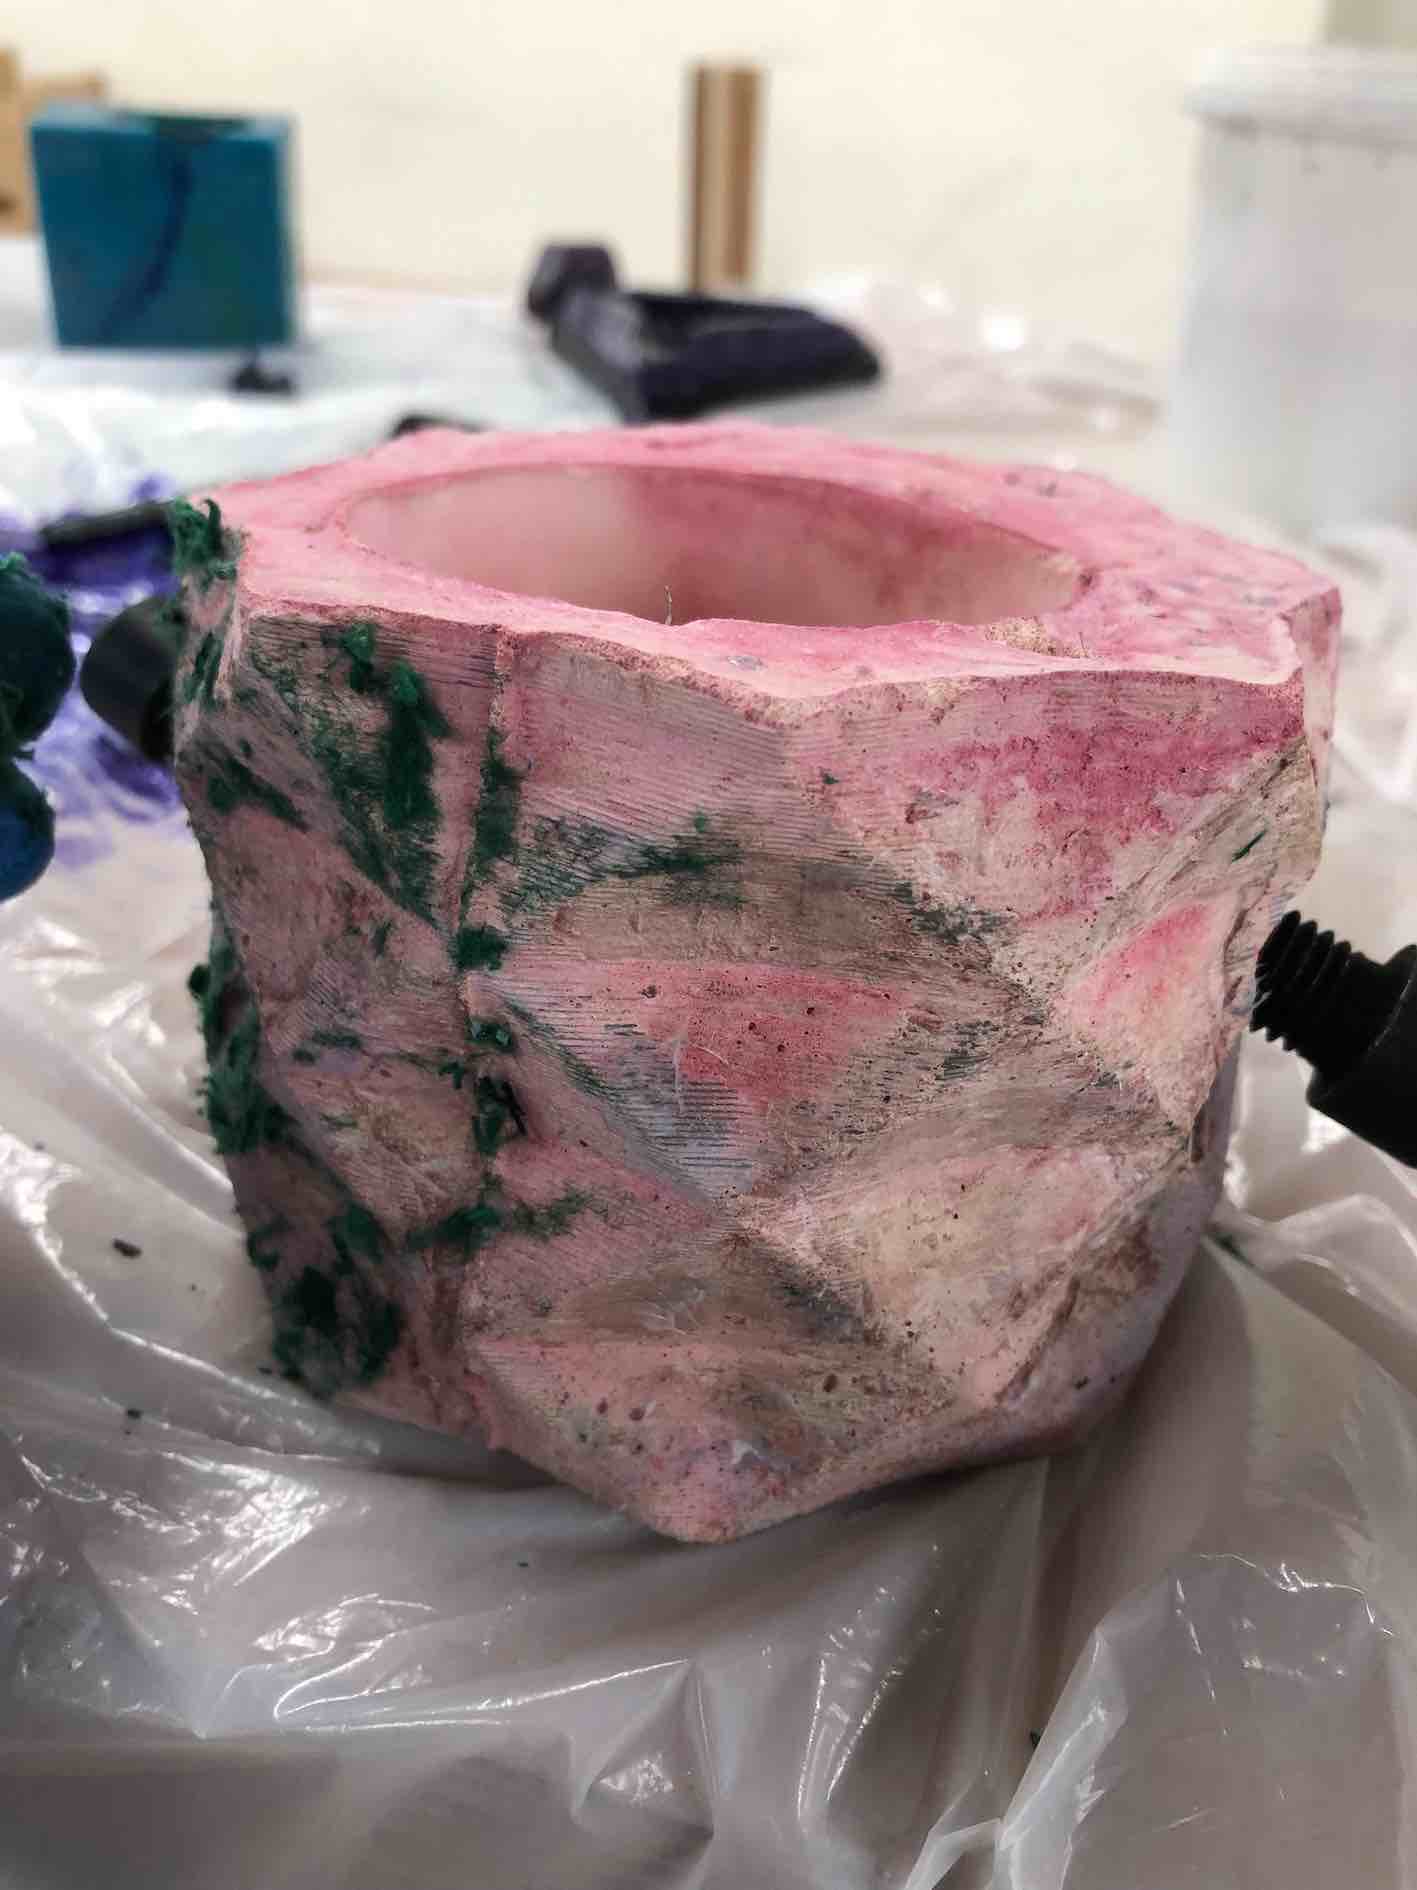
The easiest and most basic project I attempted this week, was making reinforced concrete for small objects. It is well known that concrete can withstand great compression but not much tension, so I decided to add steel wire mesh taken from a scouring sponge. I had two 3D printed molds that I wanted to try out. I also had a sphericon mold, which being a sold sphere-like object will not experience much tension. I decided to coat this with some polyester resin purely for a protective surface coat and a smoother texture. All the concrete was mixed using a 3:1 sand to cement ratio. Dye was added to experiment with concrete coloring.
The 3D printed mold, downloaded from was for a pot and consisted of two parts, I used clips to hold them together and double faced tape to stick them to an acrylic base, and two metal threads to the sides of the mold. I sealed the threads using a silicone glue gun to prevent the concrete from seaping into them. The ashtray was a single mold that was pretty much ready. I coated both molds with some vaseline to allow for easier release once the concrete sets. Once the molds were ready and took apart some steel mesh and placed it within the casting space. Here is a quick video of the process.
Once the concrete set, I strengthened it by constantly added watering it then drying it. I repeated this around 5 times, afterwhich I left it to completely dry out naturally in the sun.
Then, each one of the products was finished differently. The processes are highlighted one by one below.
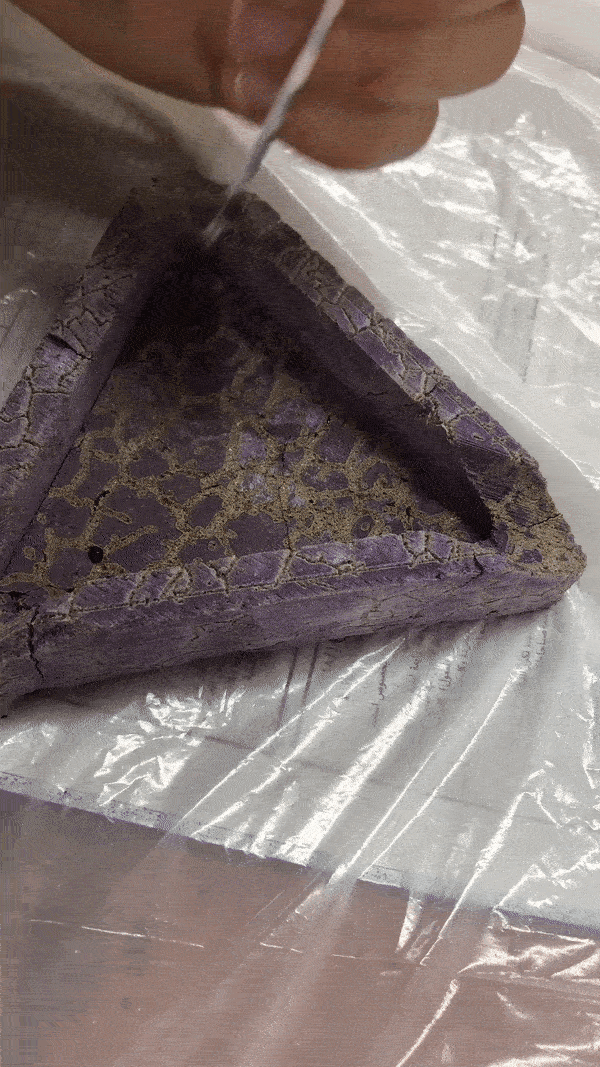
The ashtray was treated before fully drying, where I decided to engraved it using the lasercutter to add a cracking effect. I used the pattern on the right to engrave it.
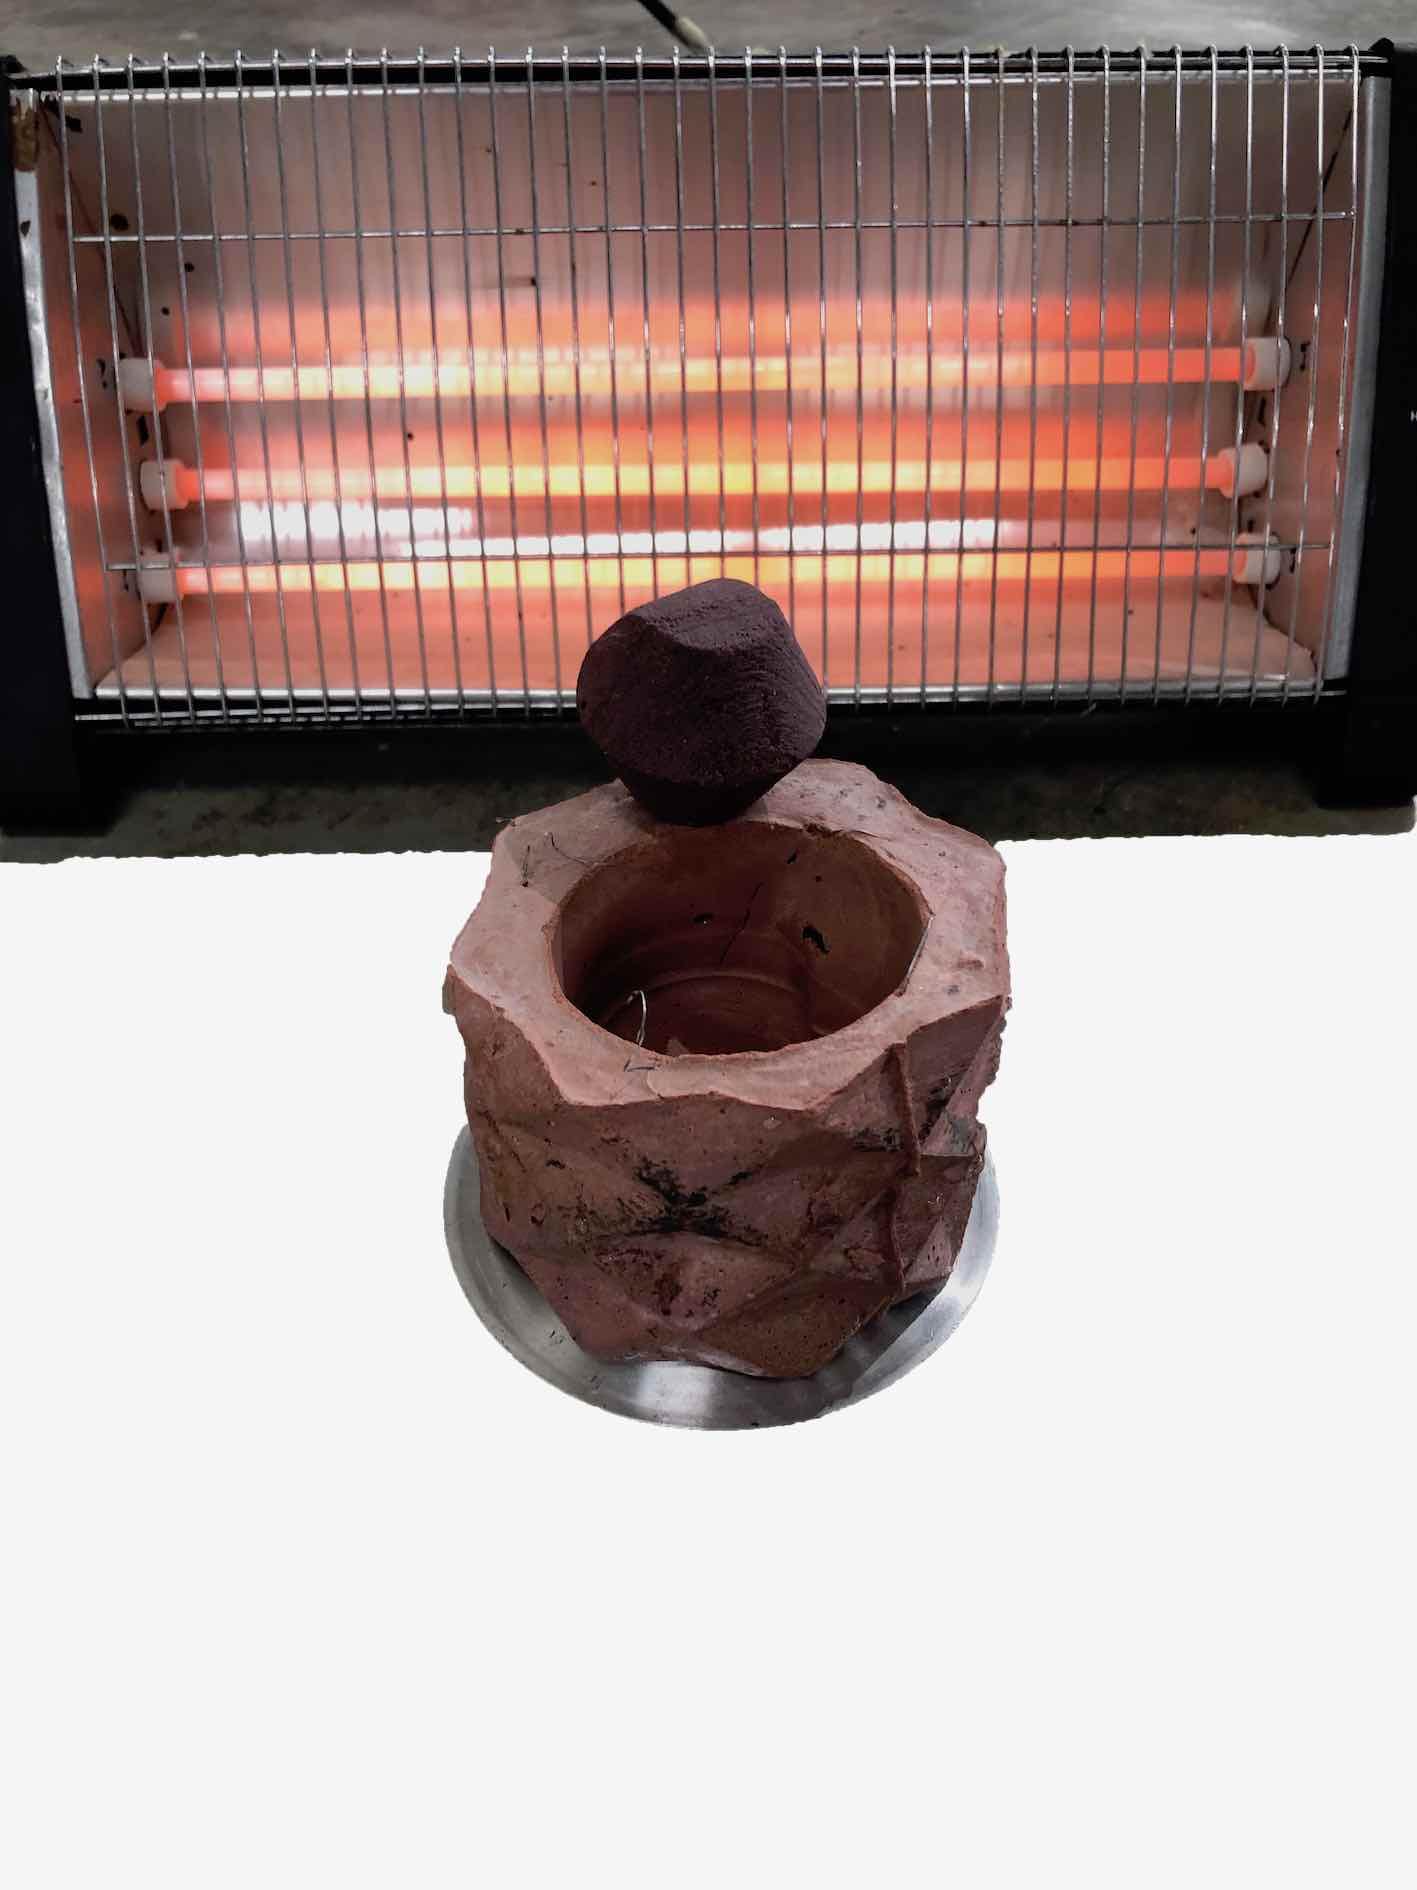
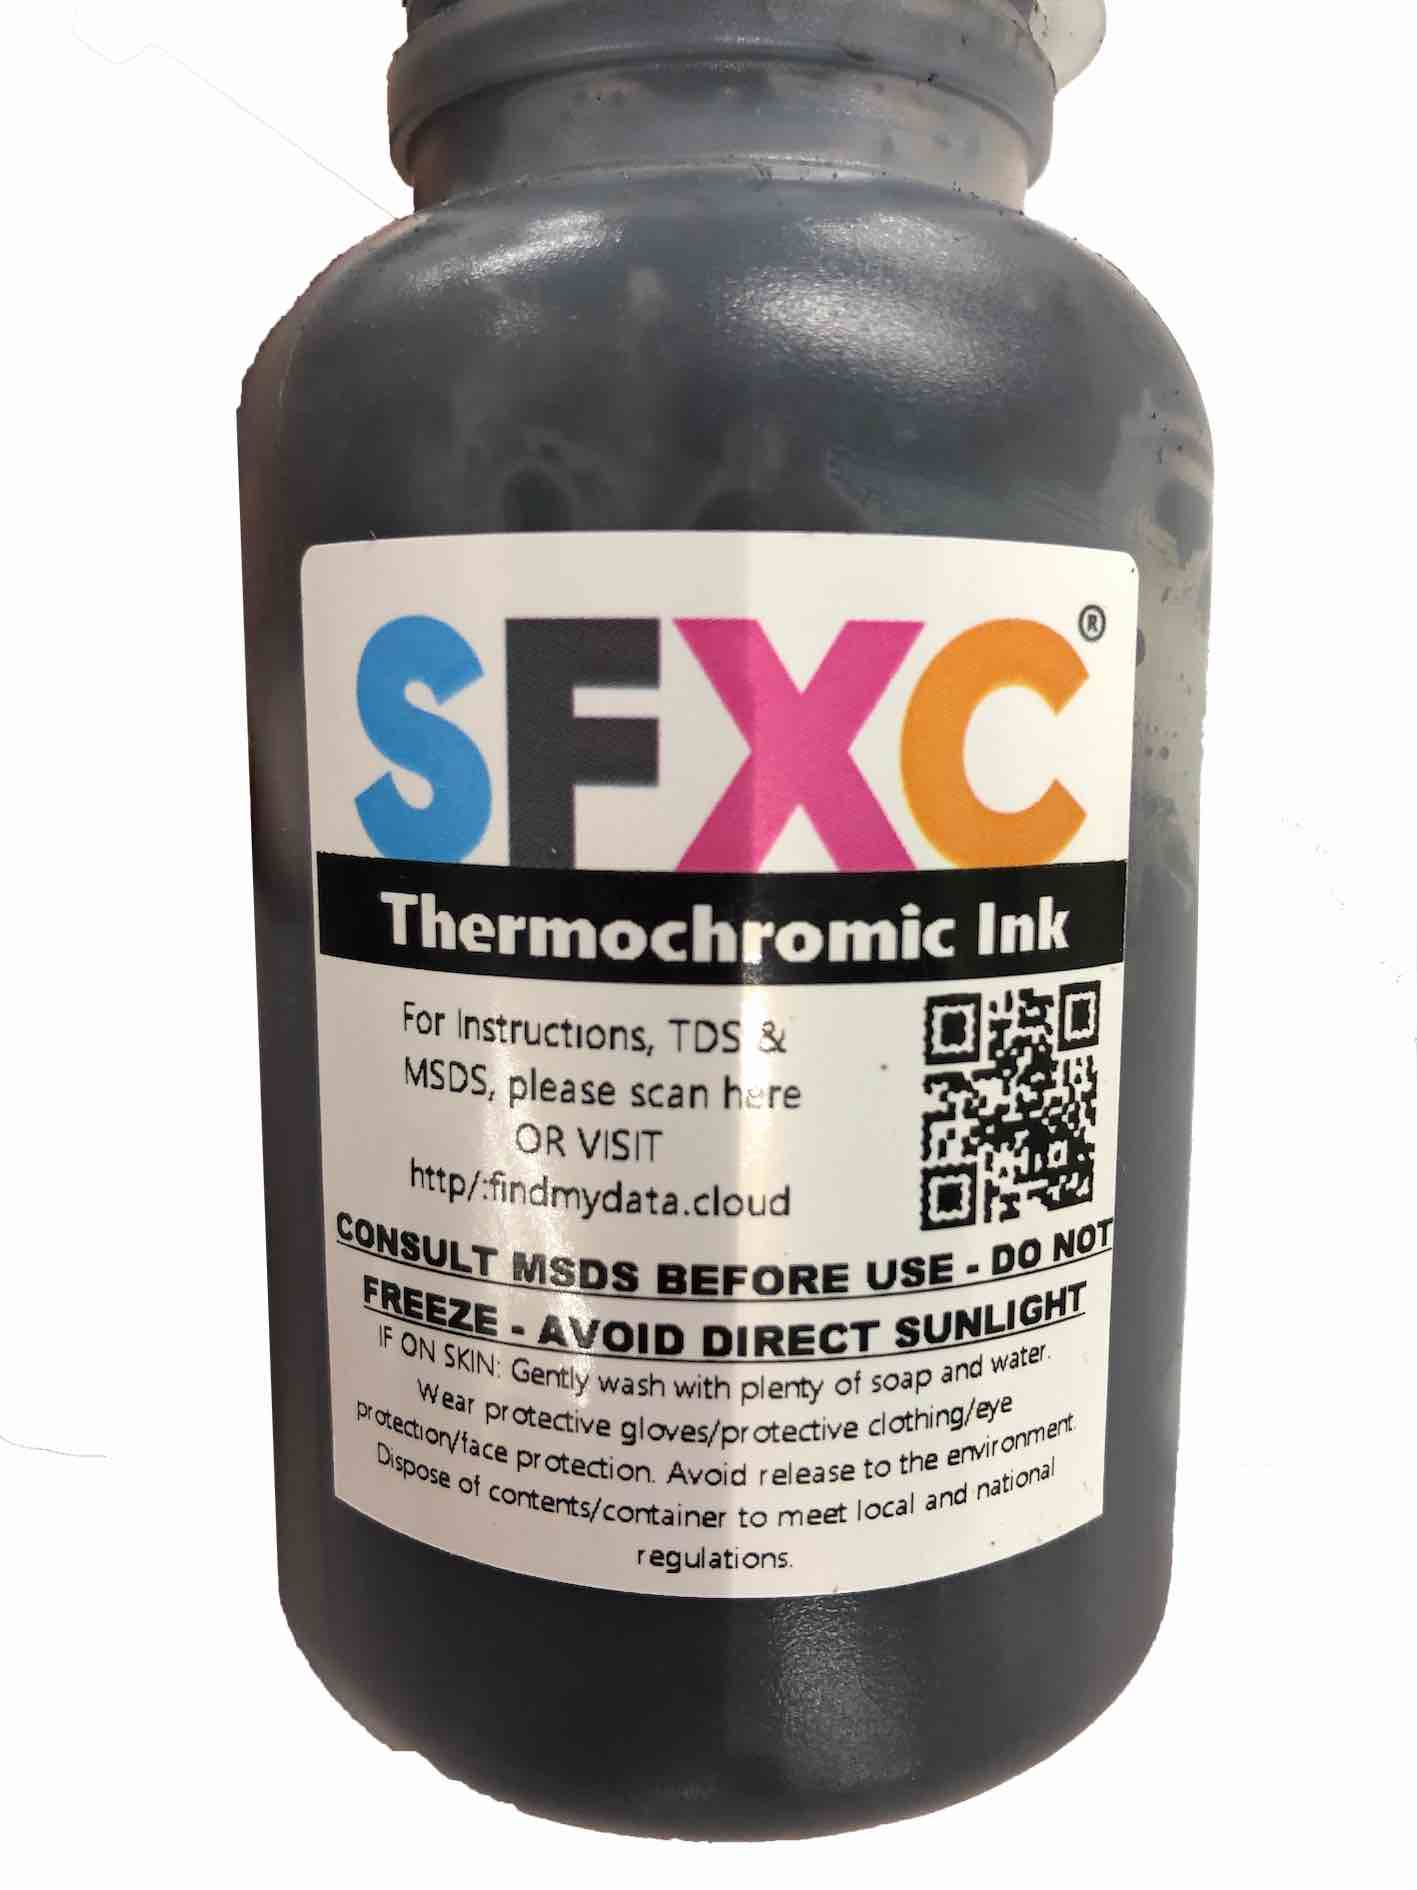
After engraving it, I painted the ashtray with thermochromic ink to have the cracks change colour when heat is applied.
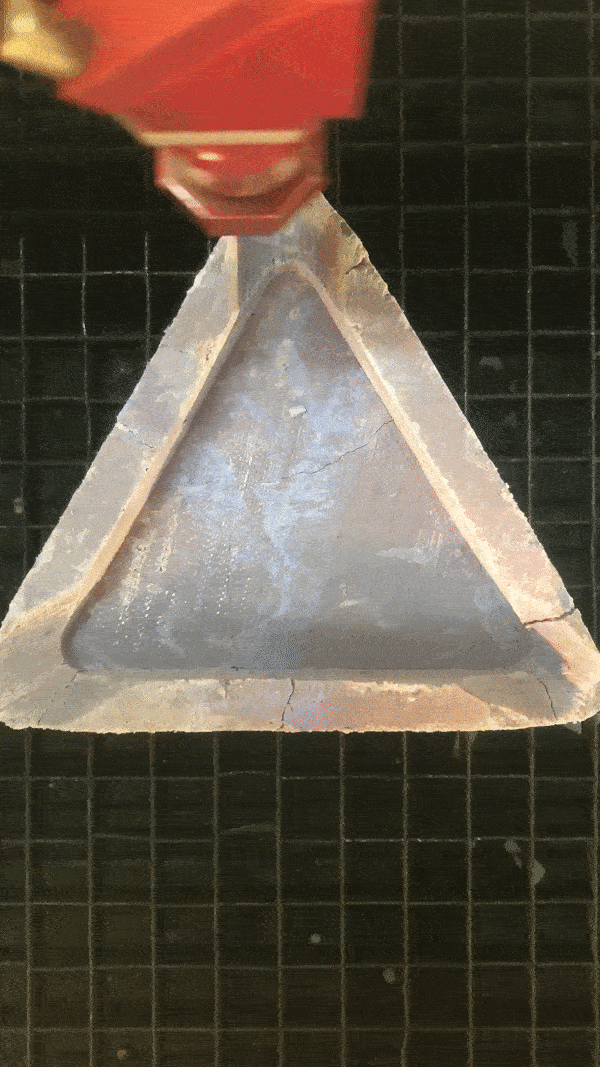
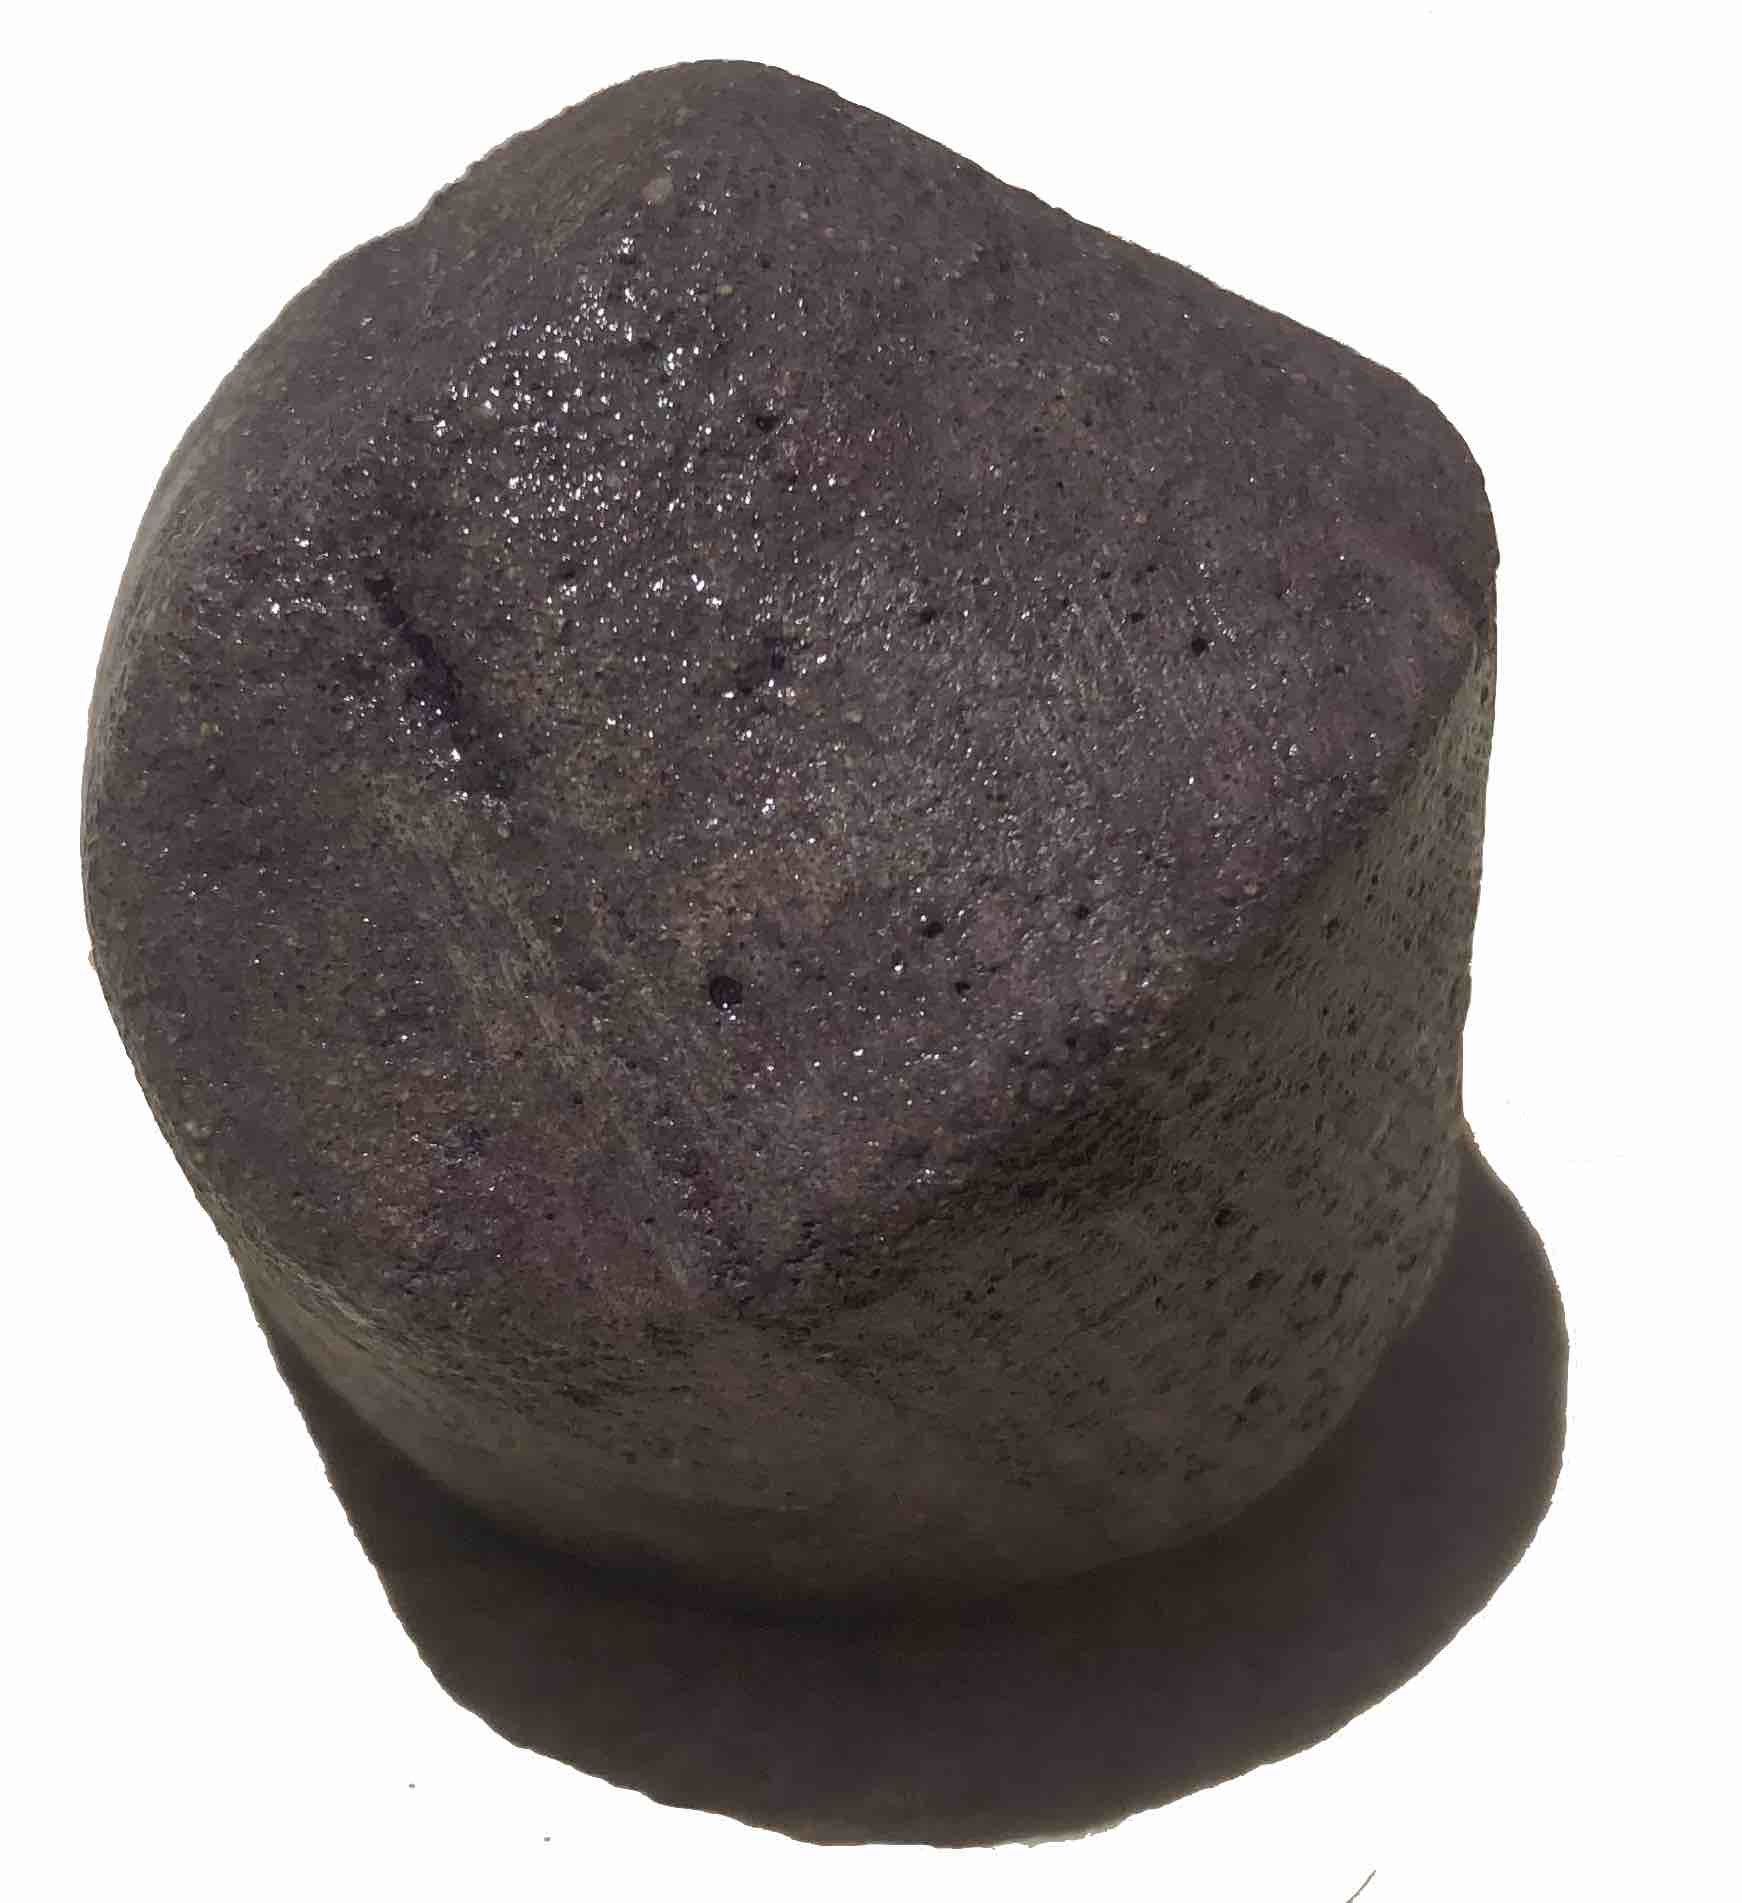
The sphericon was sanded with high grit sandpaper and then simply coated with some polyester resin. I repeated the process twice, yielding the result shown on the right.
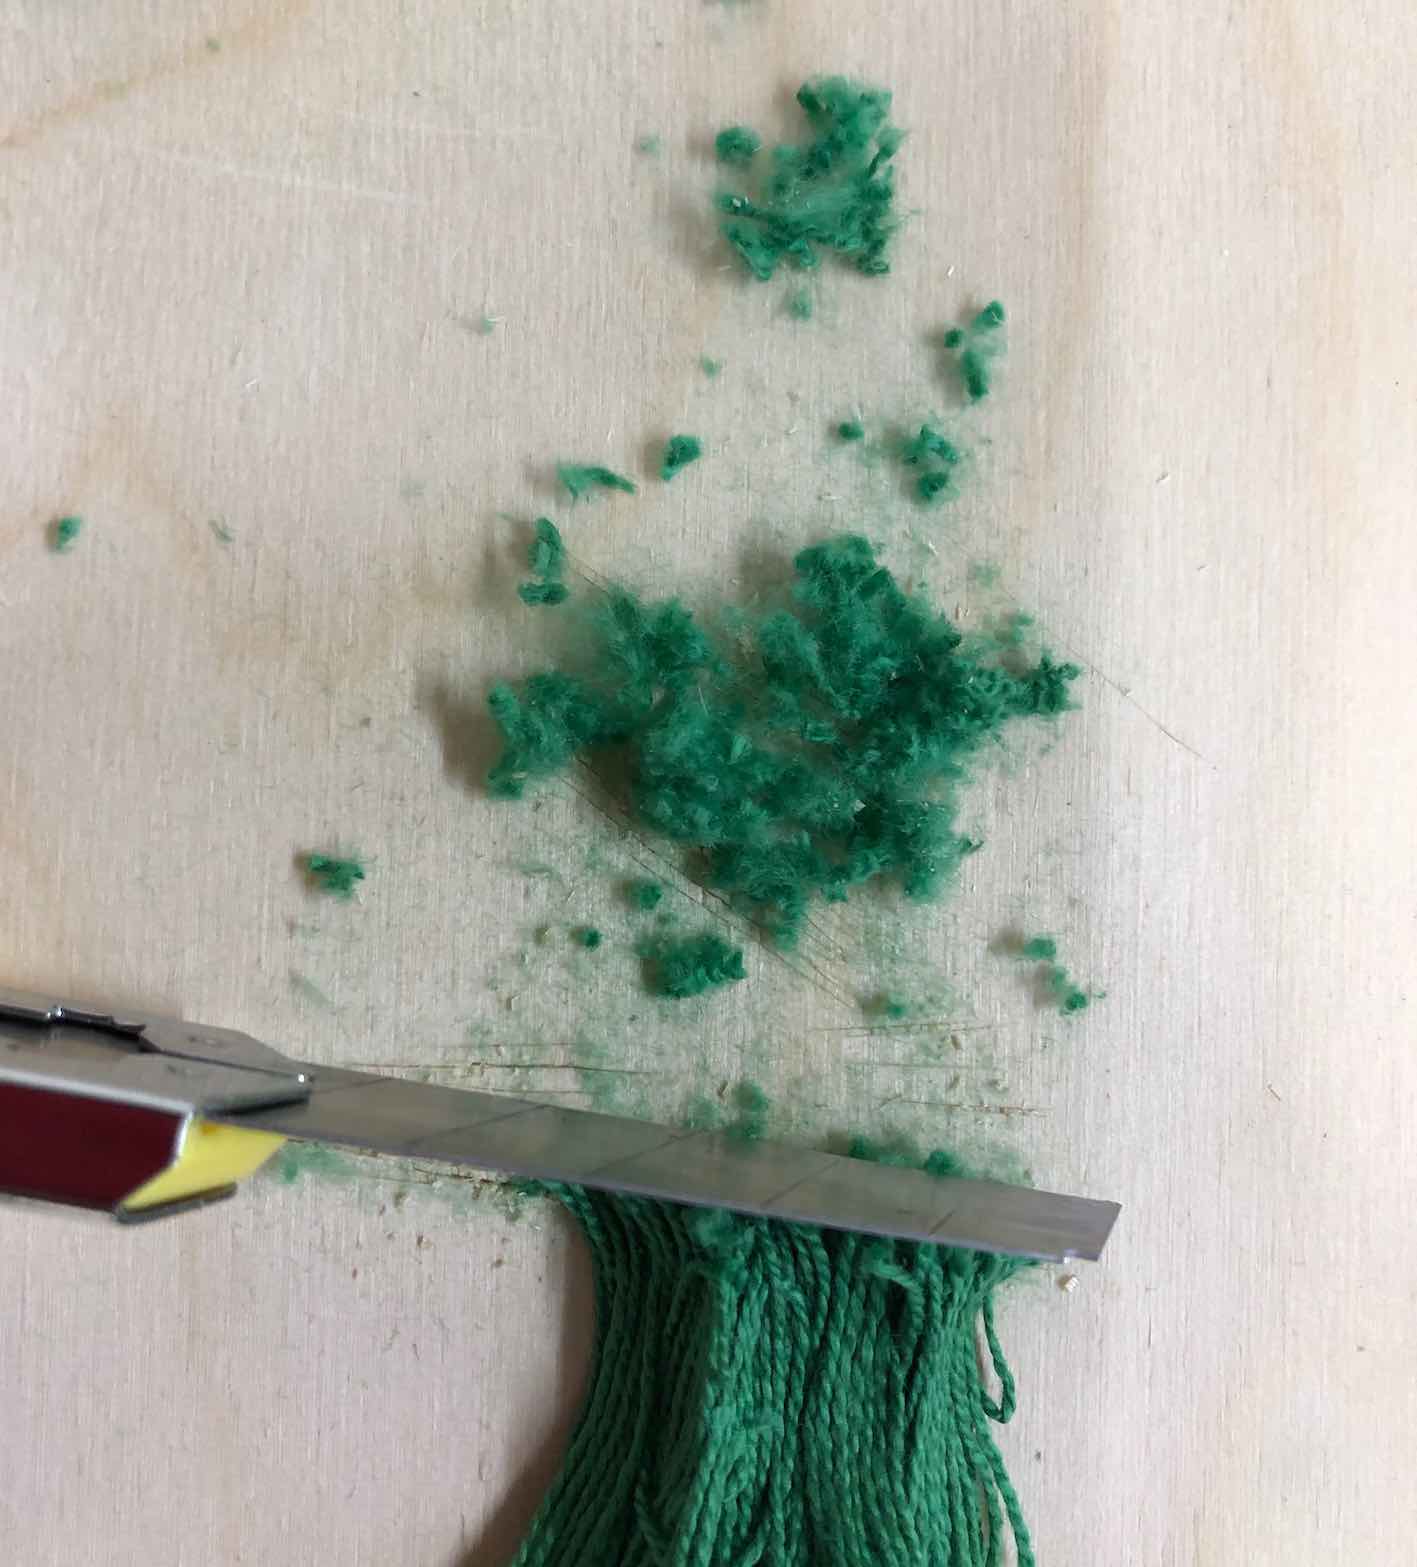
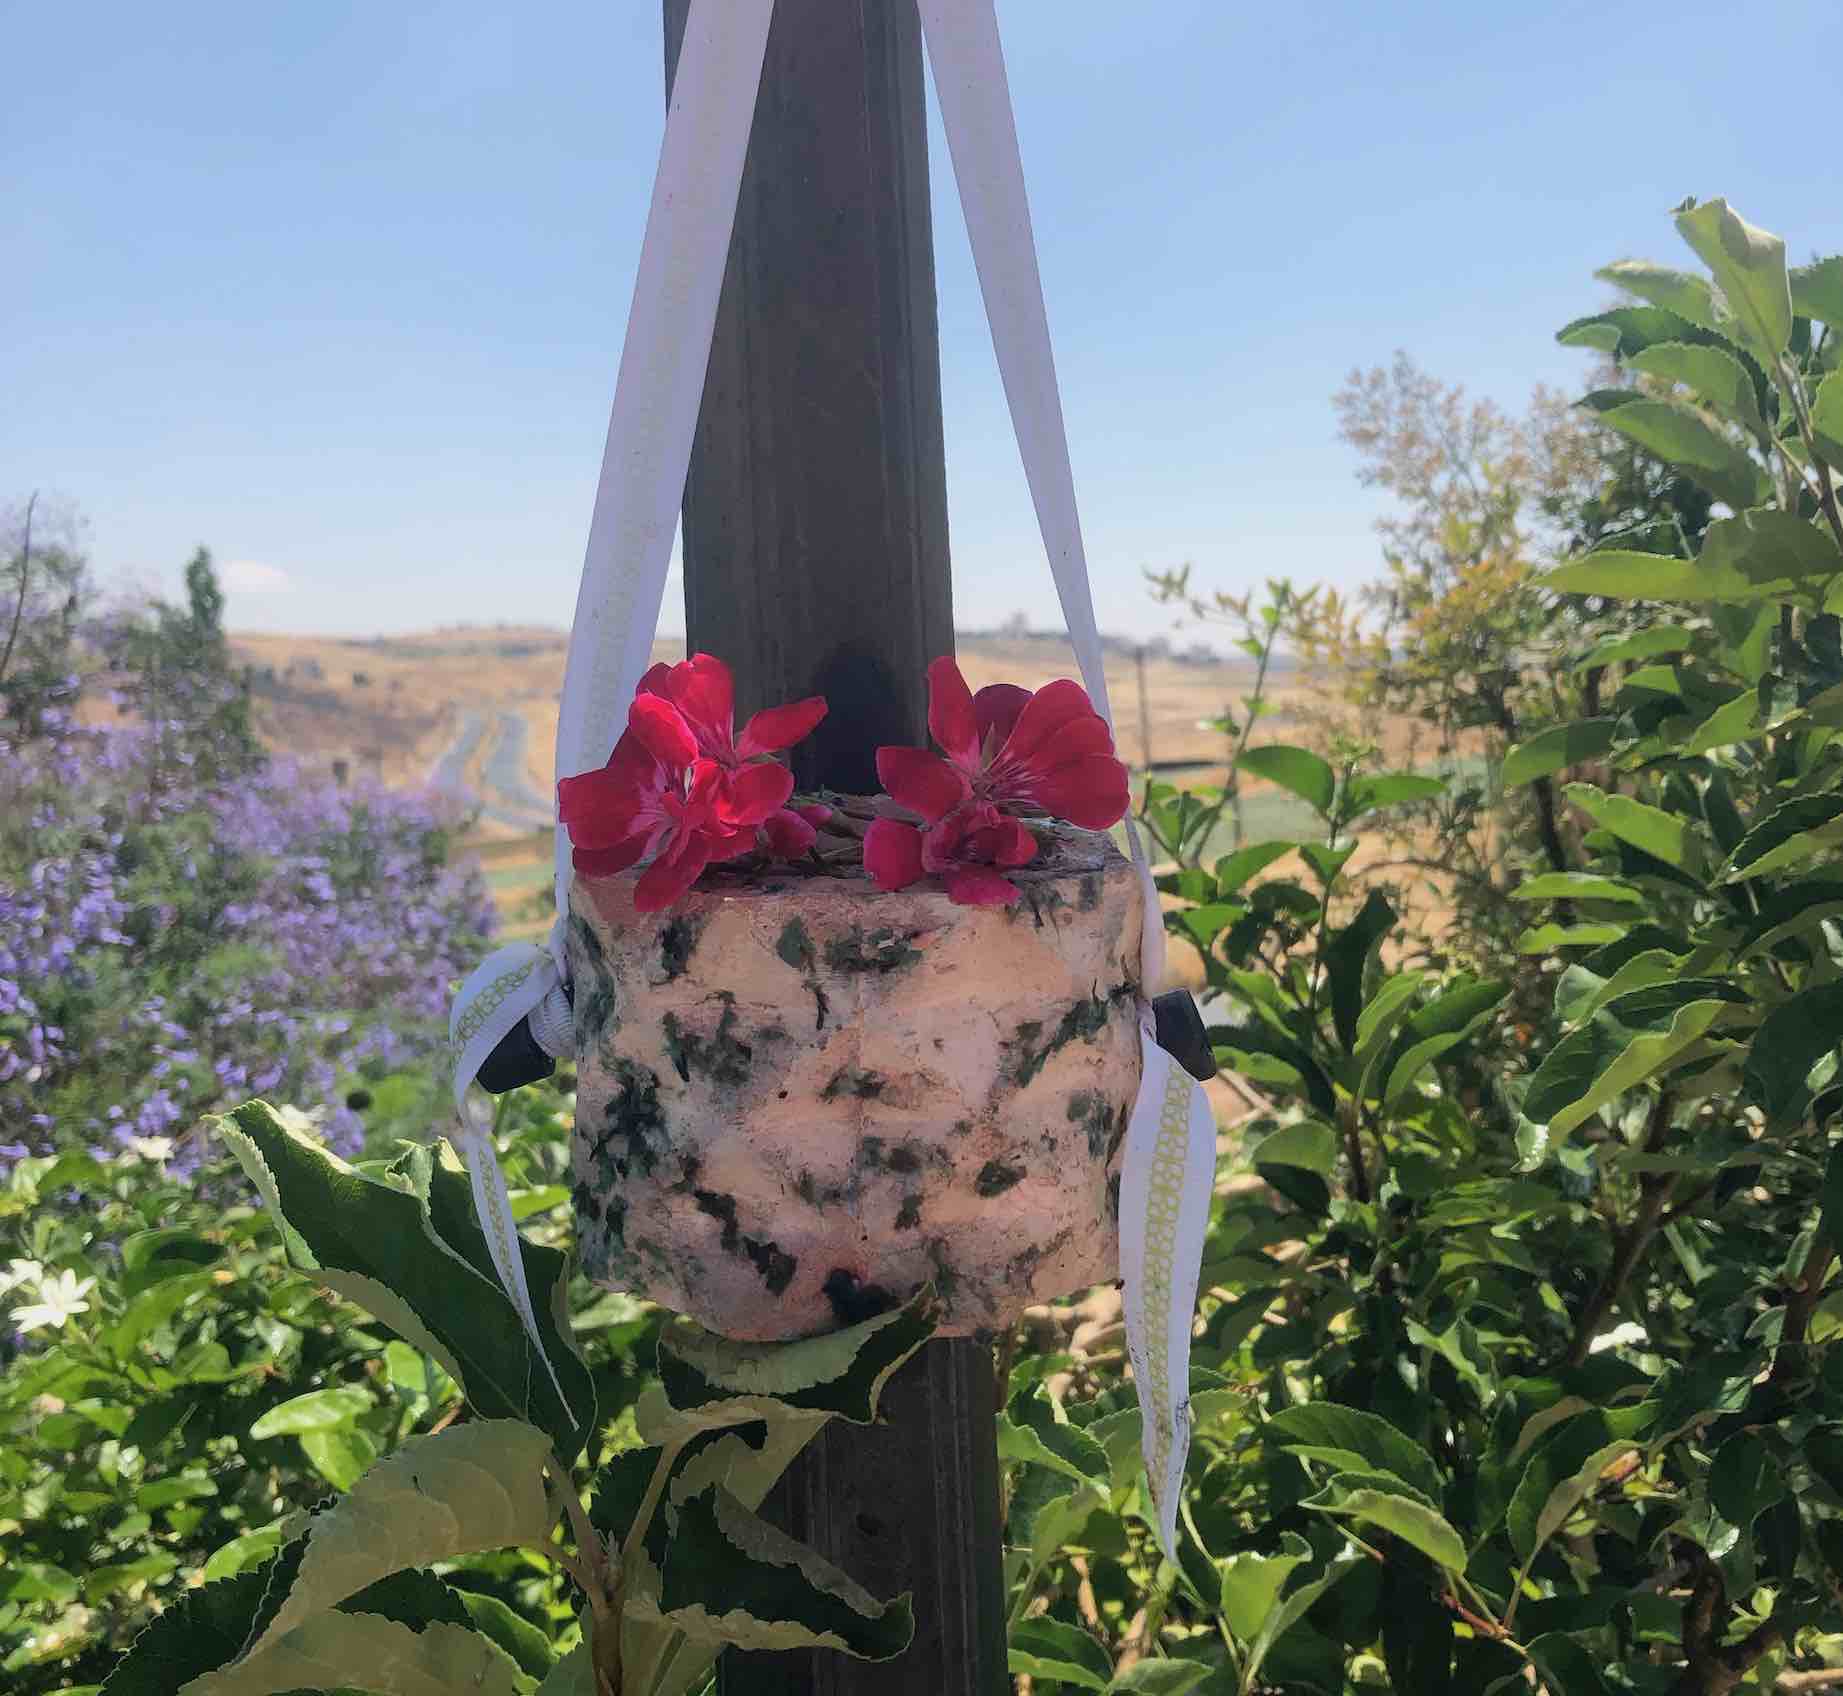
Finally, for the concrete planter, I used some green threads and cut them into very small pieces to make my own DIY flocking material to give a mossy effect on the planter. I screwed in two screws into the embedded threads and tied a ribbon to both screws for hanging.
Making the flocking material
Applying the flocking material
Finished product
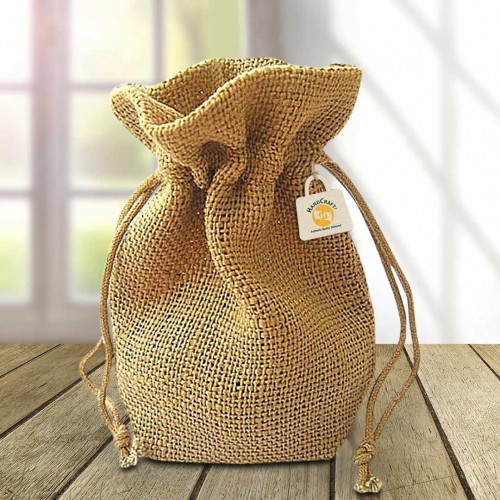
Jute potato sack planter
As mentioned in the overview, this particular product was mainly fabricated using natural fibers and locally sourced resin. I roughly based the design on the picture shown on the right.
I initially created a rough outline sketch for a few planes of this design and then lasercut them out of acrylic. This was meant to be the mold.
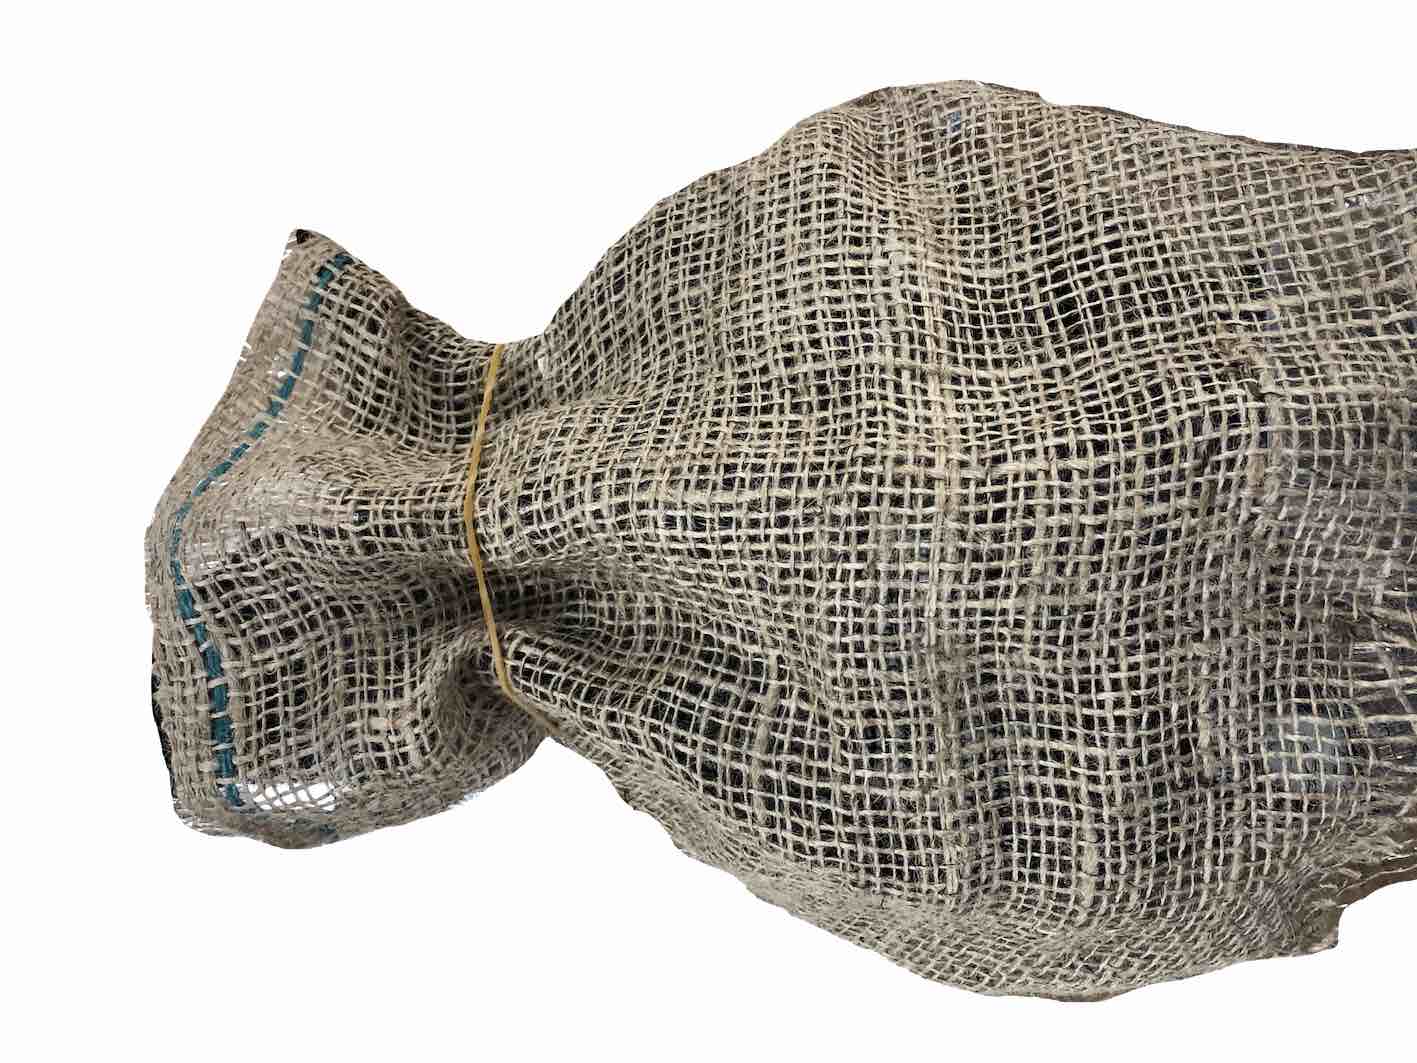
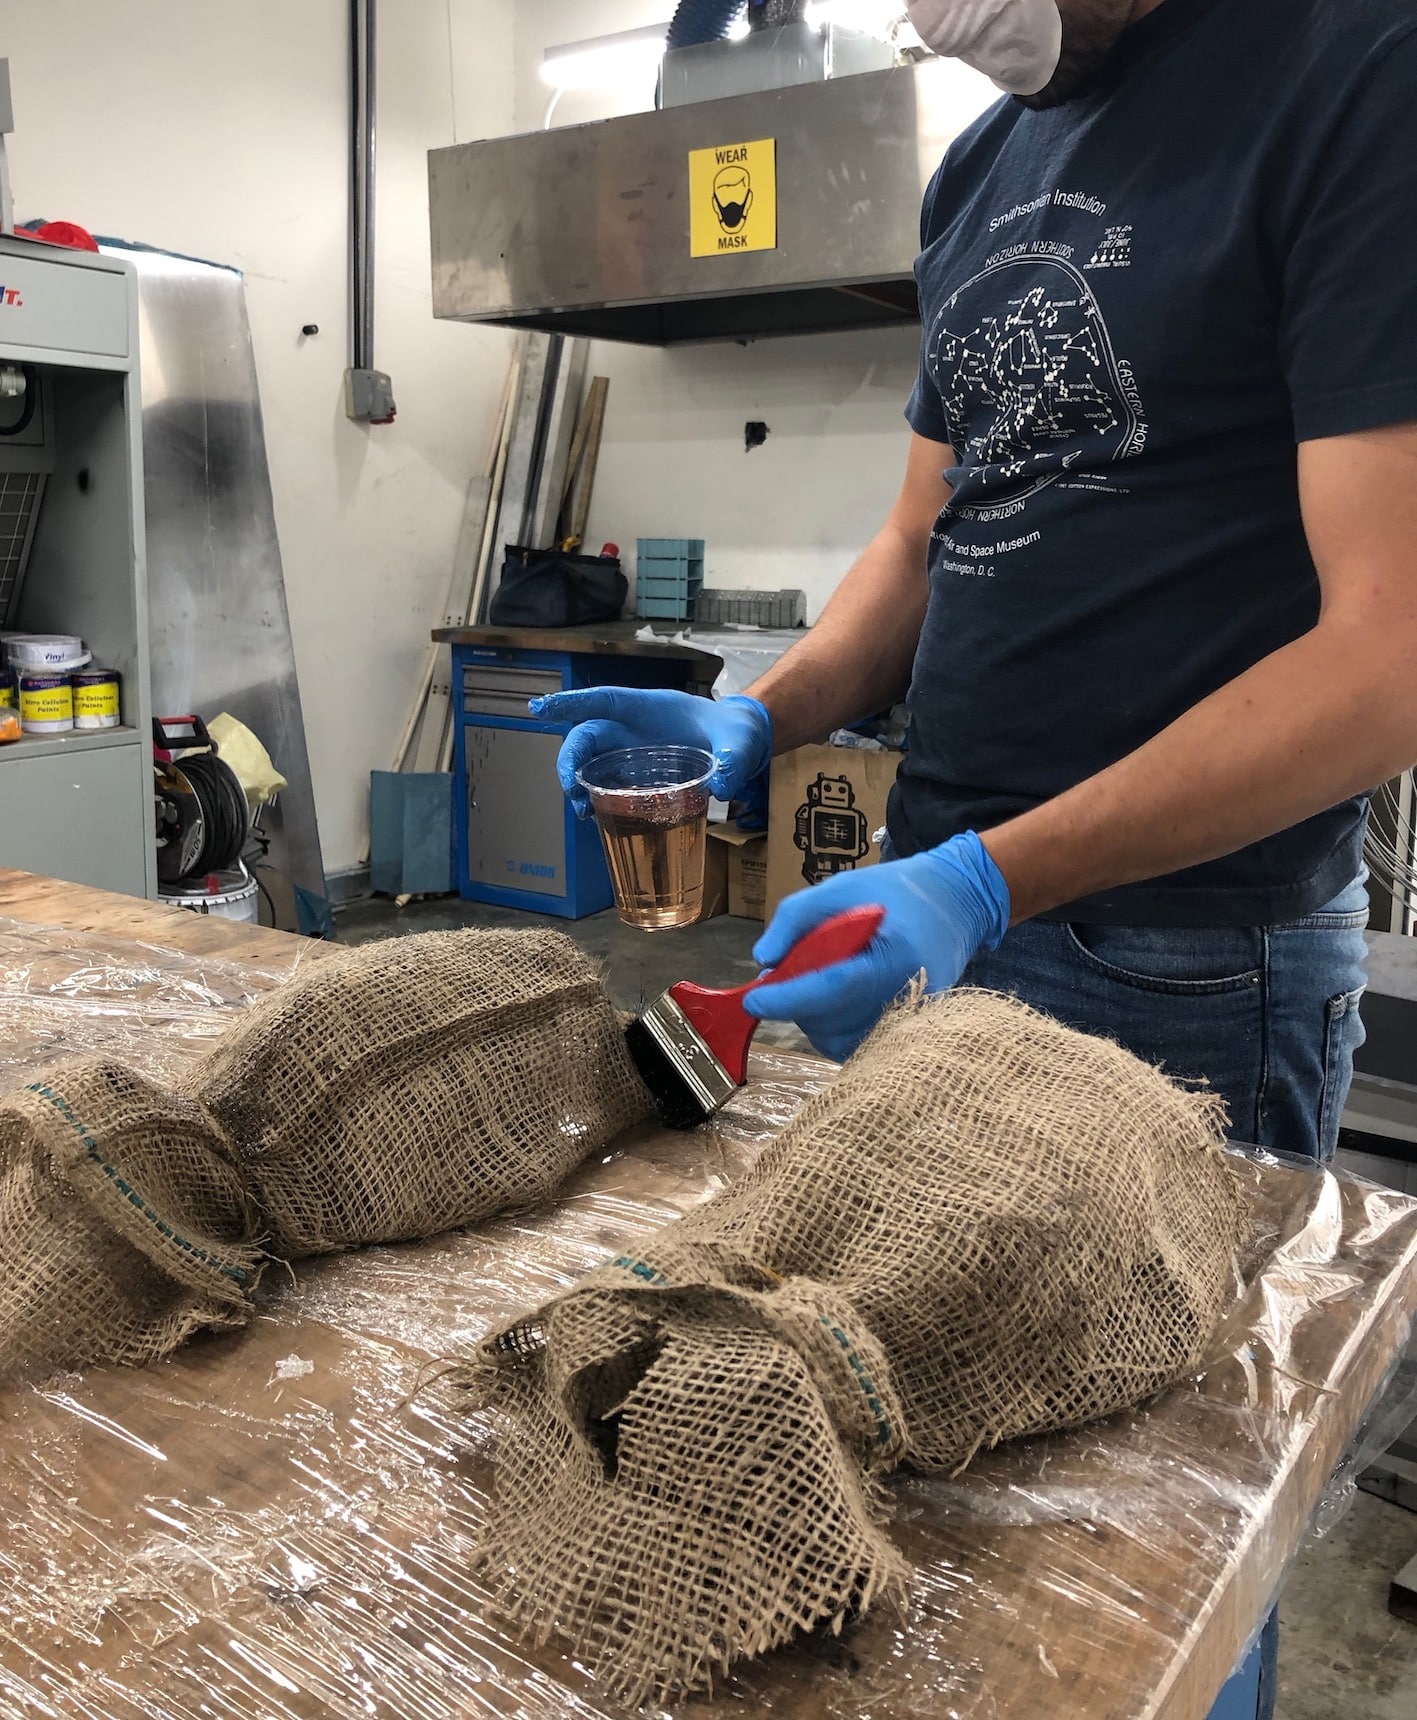
Once the mold was cut and assembled, I cut some pieces of the burlap jute fiber and lay them on top of the mold and secured them using a rubber band. I then mixed some resing using a self-calculated ratio of 350:1 resin to hardner and then dabbing it onto the fibers. I waited till the next day for the composite to dry and harden.
Fixing Jute fiber
Applying resin
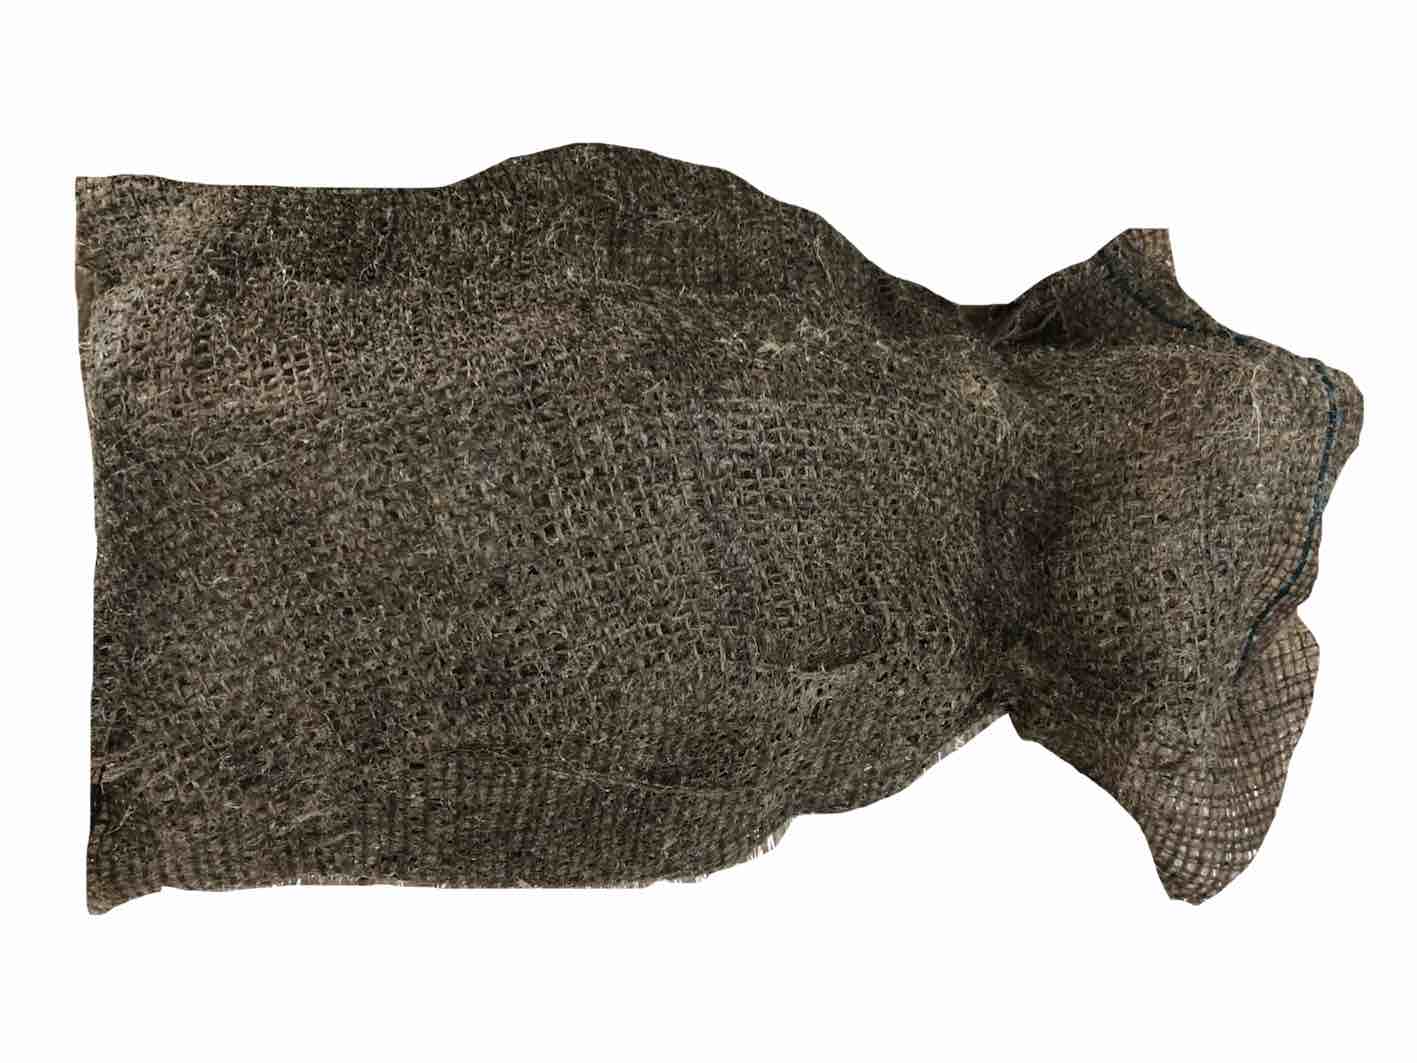
Set resin
The next step was attaching both sides together. This was done by laying patches of fibre on the bottom and sides of the pot and then adding some more resin for them to set.
Fiberglass body
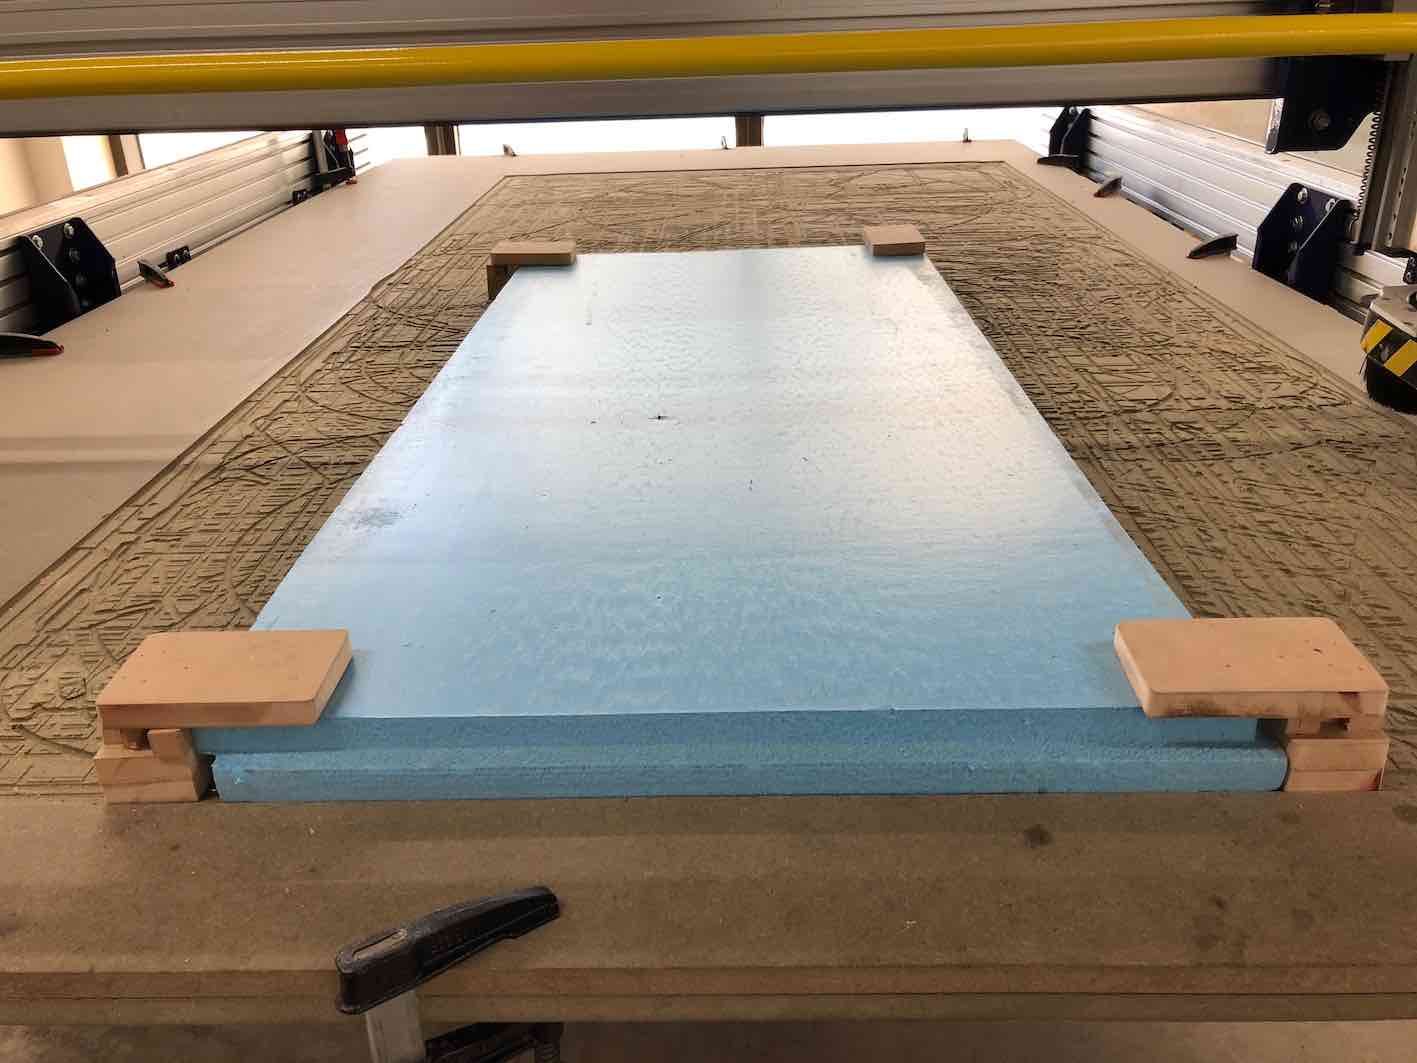
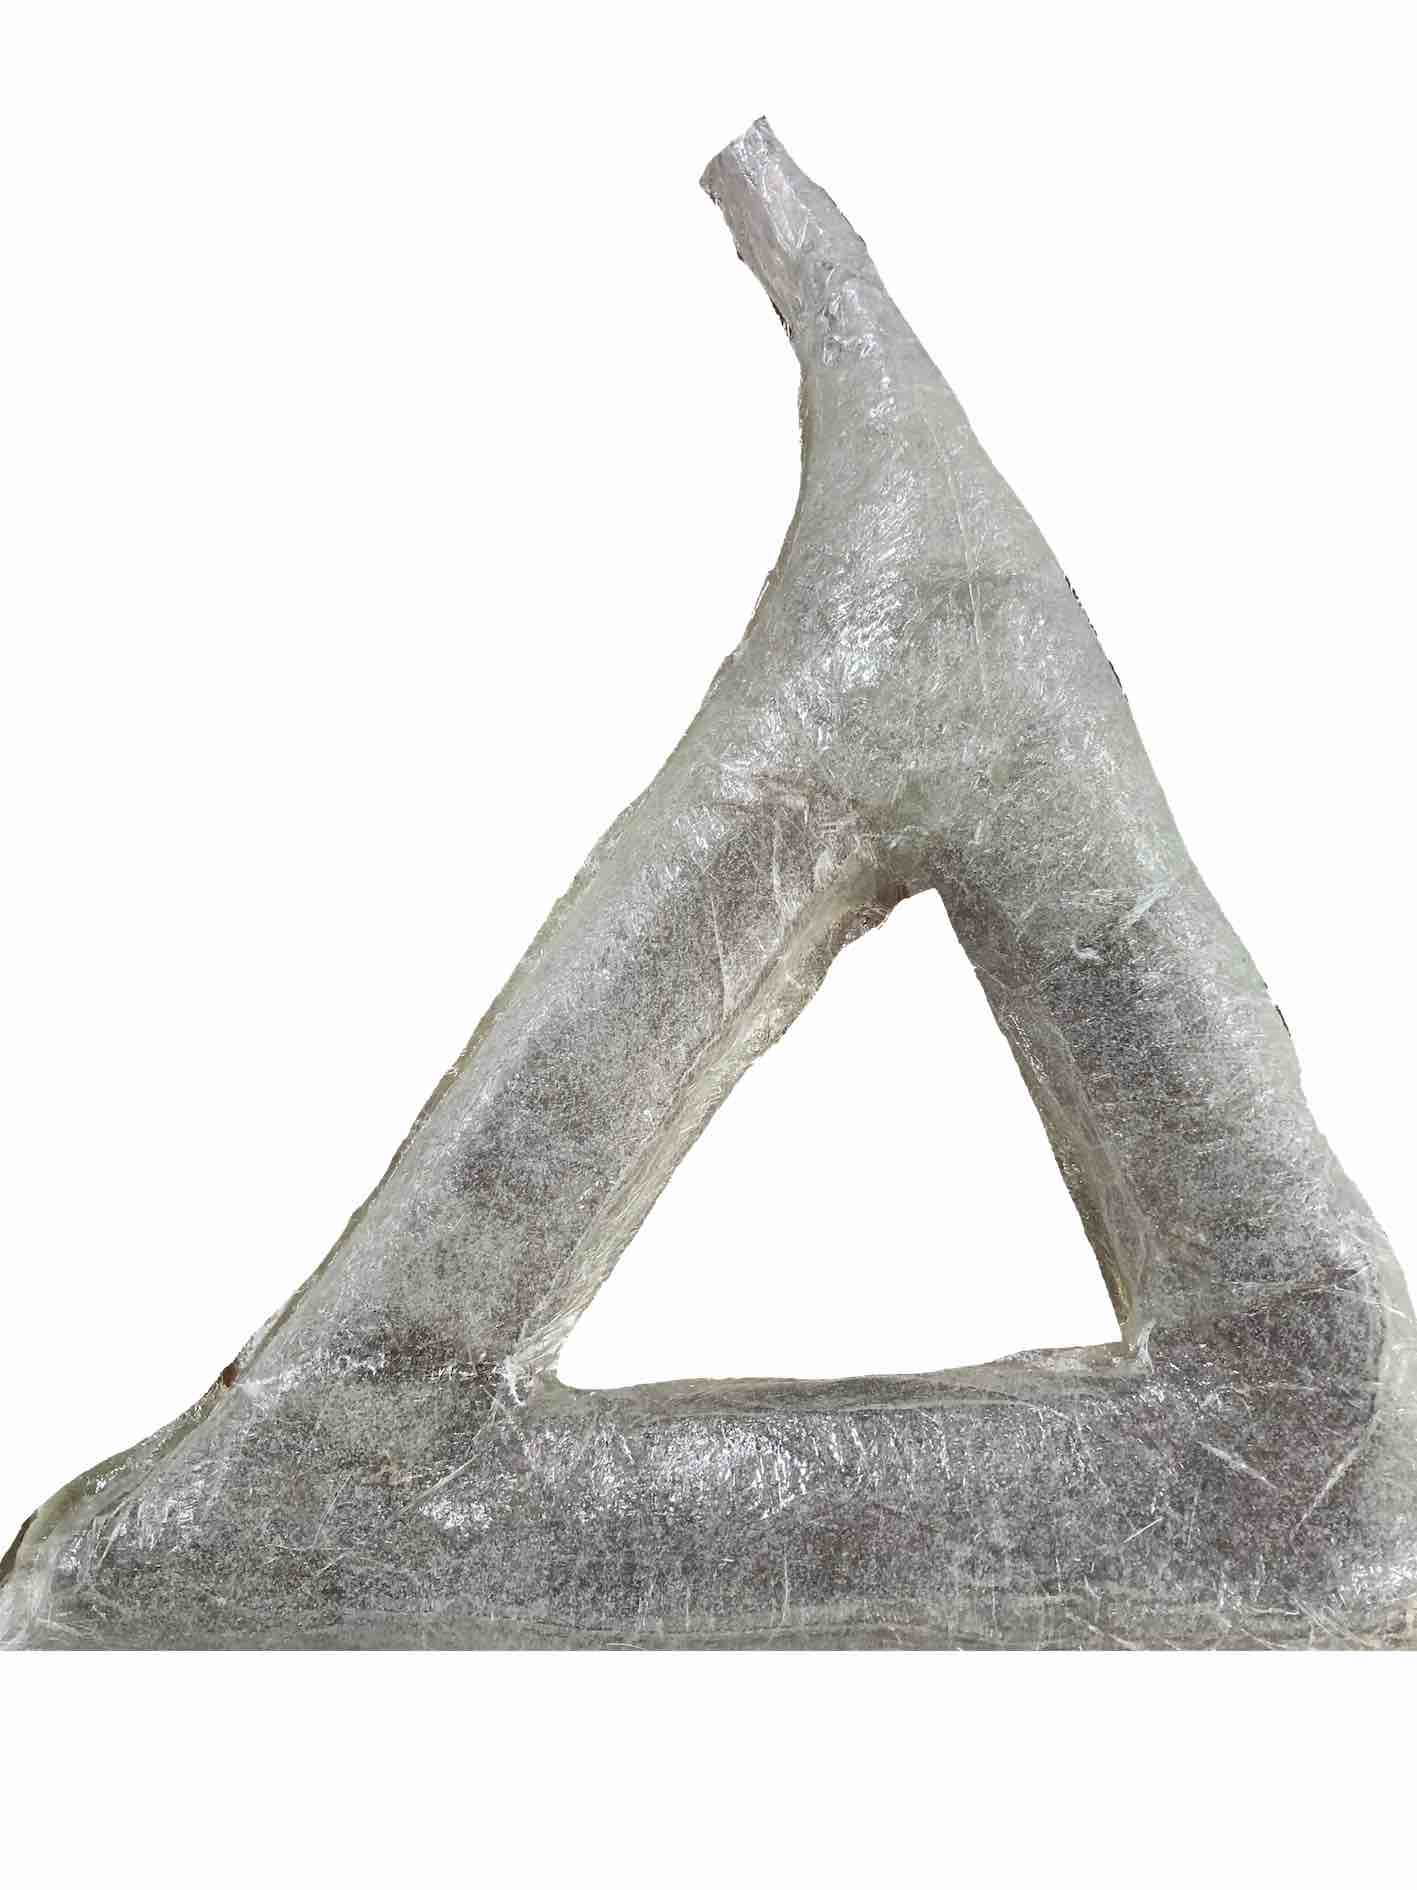
The fiberglass body was by far the most complex process in this week as it involved CNC milling a 3D mold out of foam, the handling of fiberglass and several post processing techniques. Each of these steps will be explained in detail.
The foam was extracted as an stl and input into shopbot's program Vcarve. I then followed the wizard and chose the correct settings. For foam I had to decrease the spindle speed to 10000 RPM and ensure the suction is working correctly to avoid melting of the foam. I made some quick fixing brackets using scrap wood since a nailgun wont work with foam.
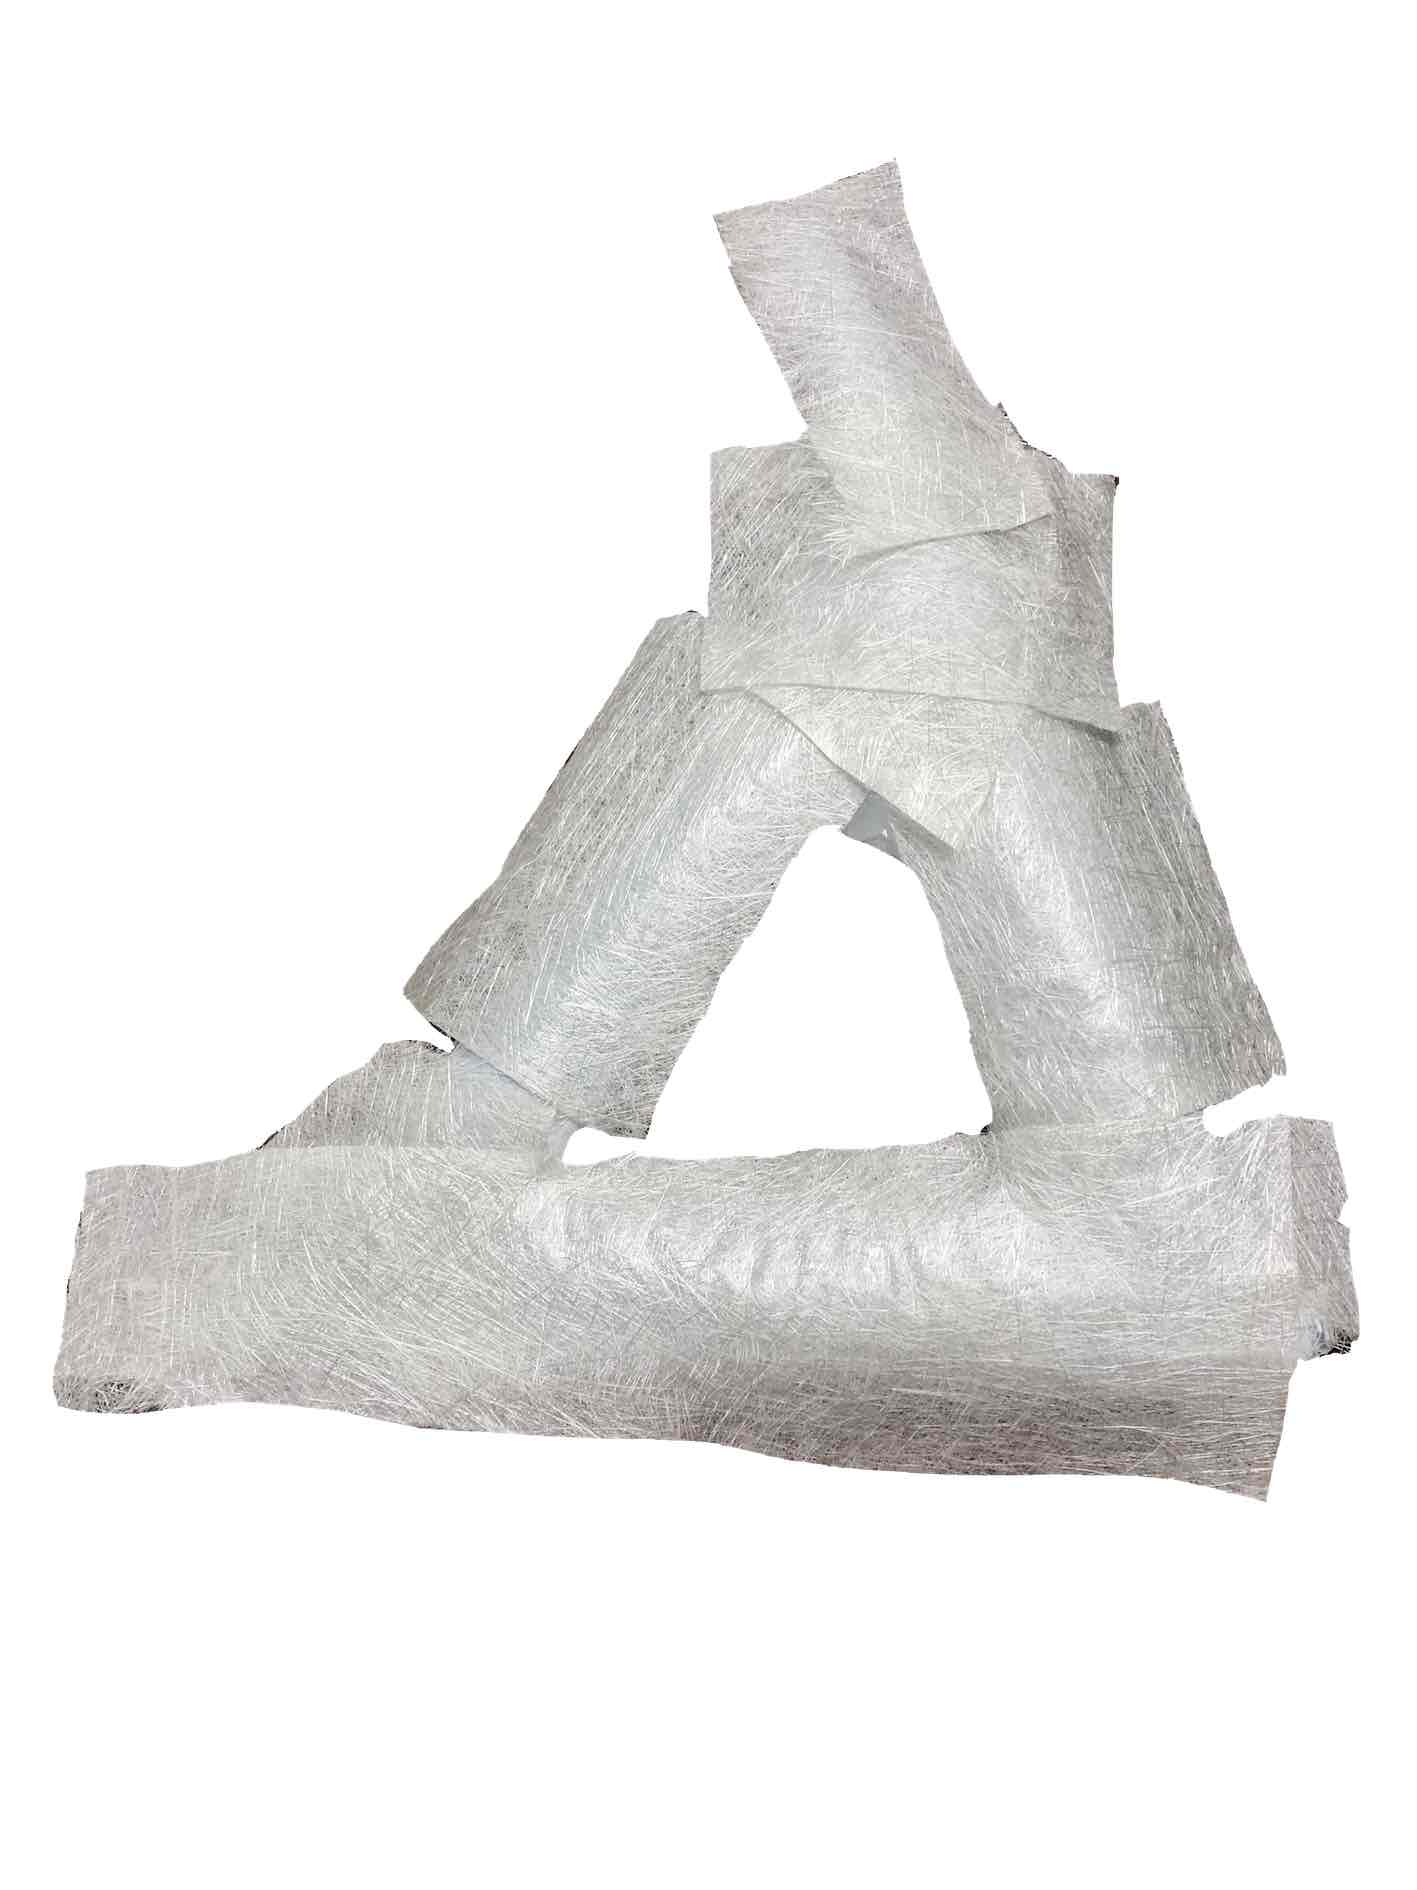
The foam was milled using a 1/4 flat endmill for roughing and a 1/8 ballnose for finishing.
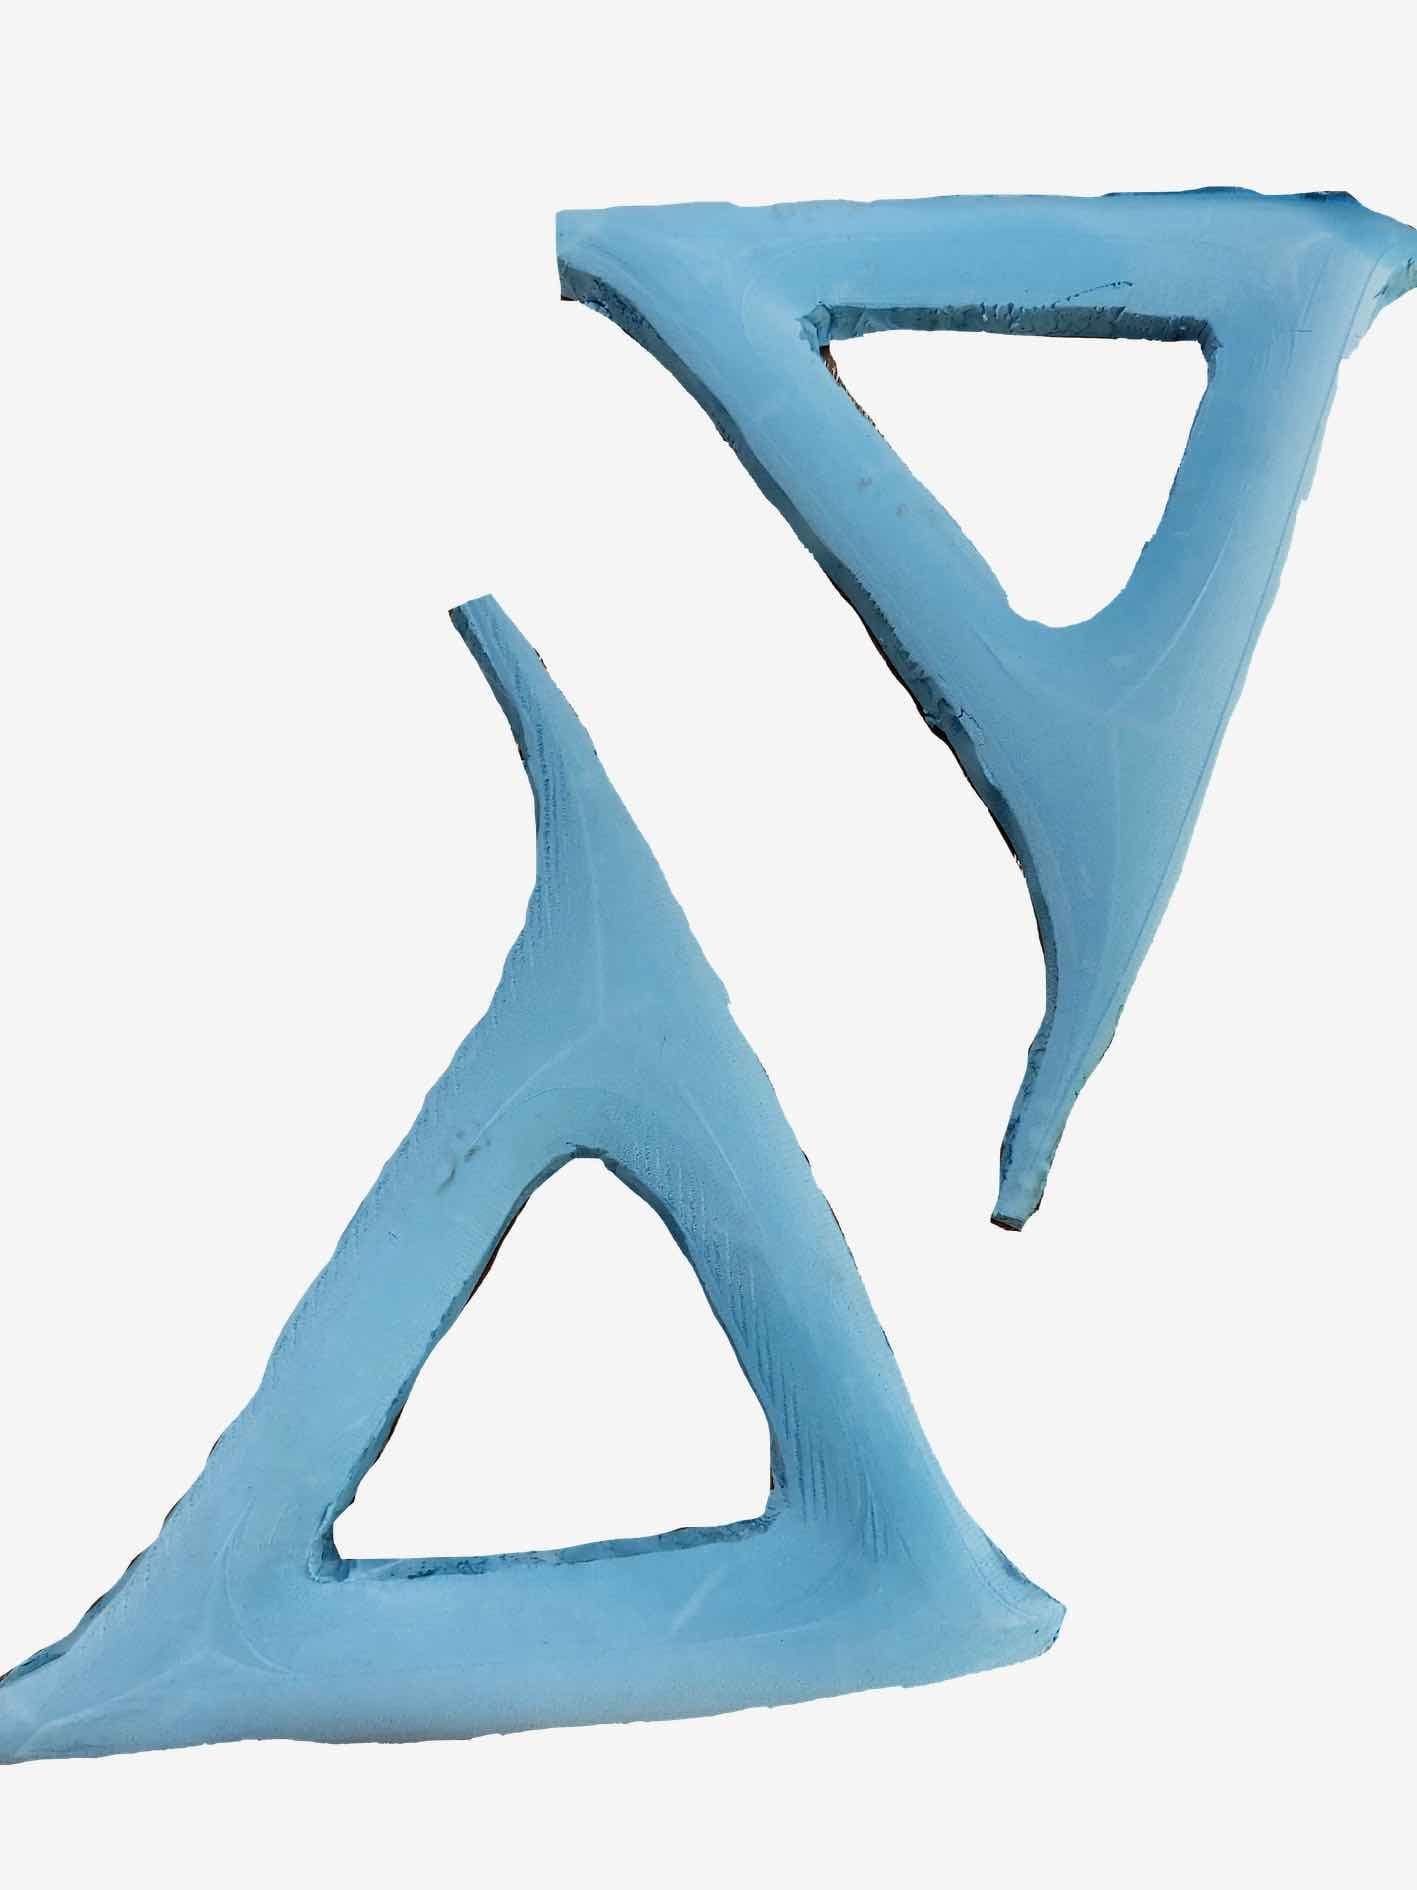
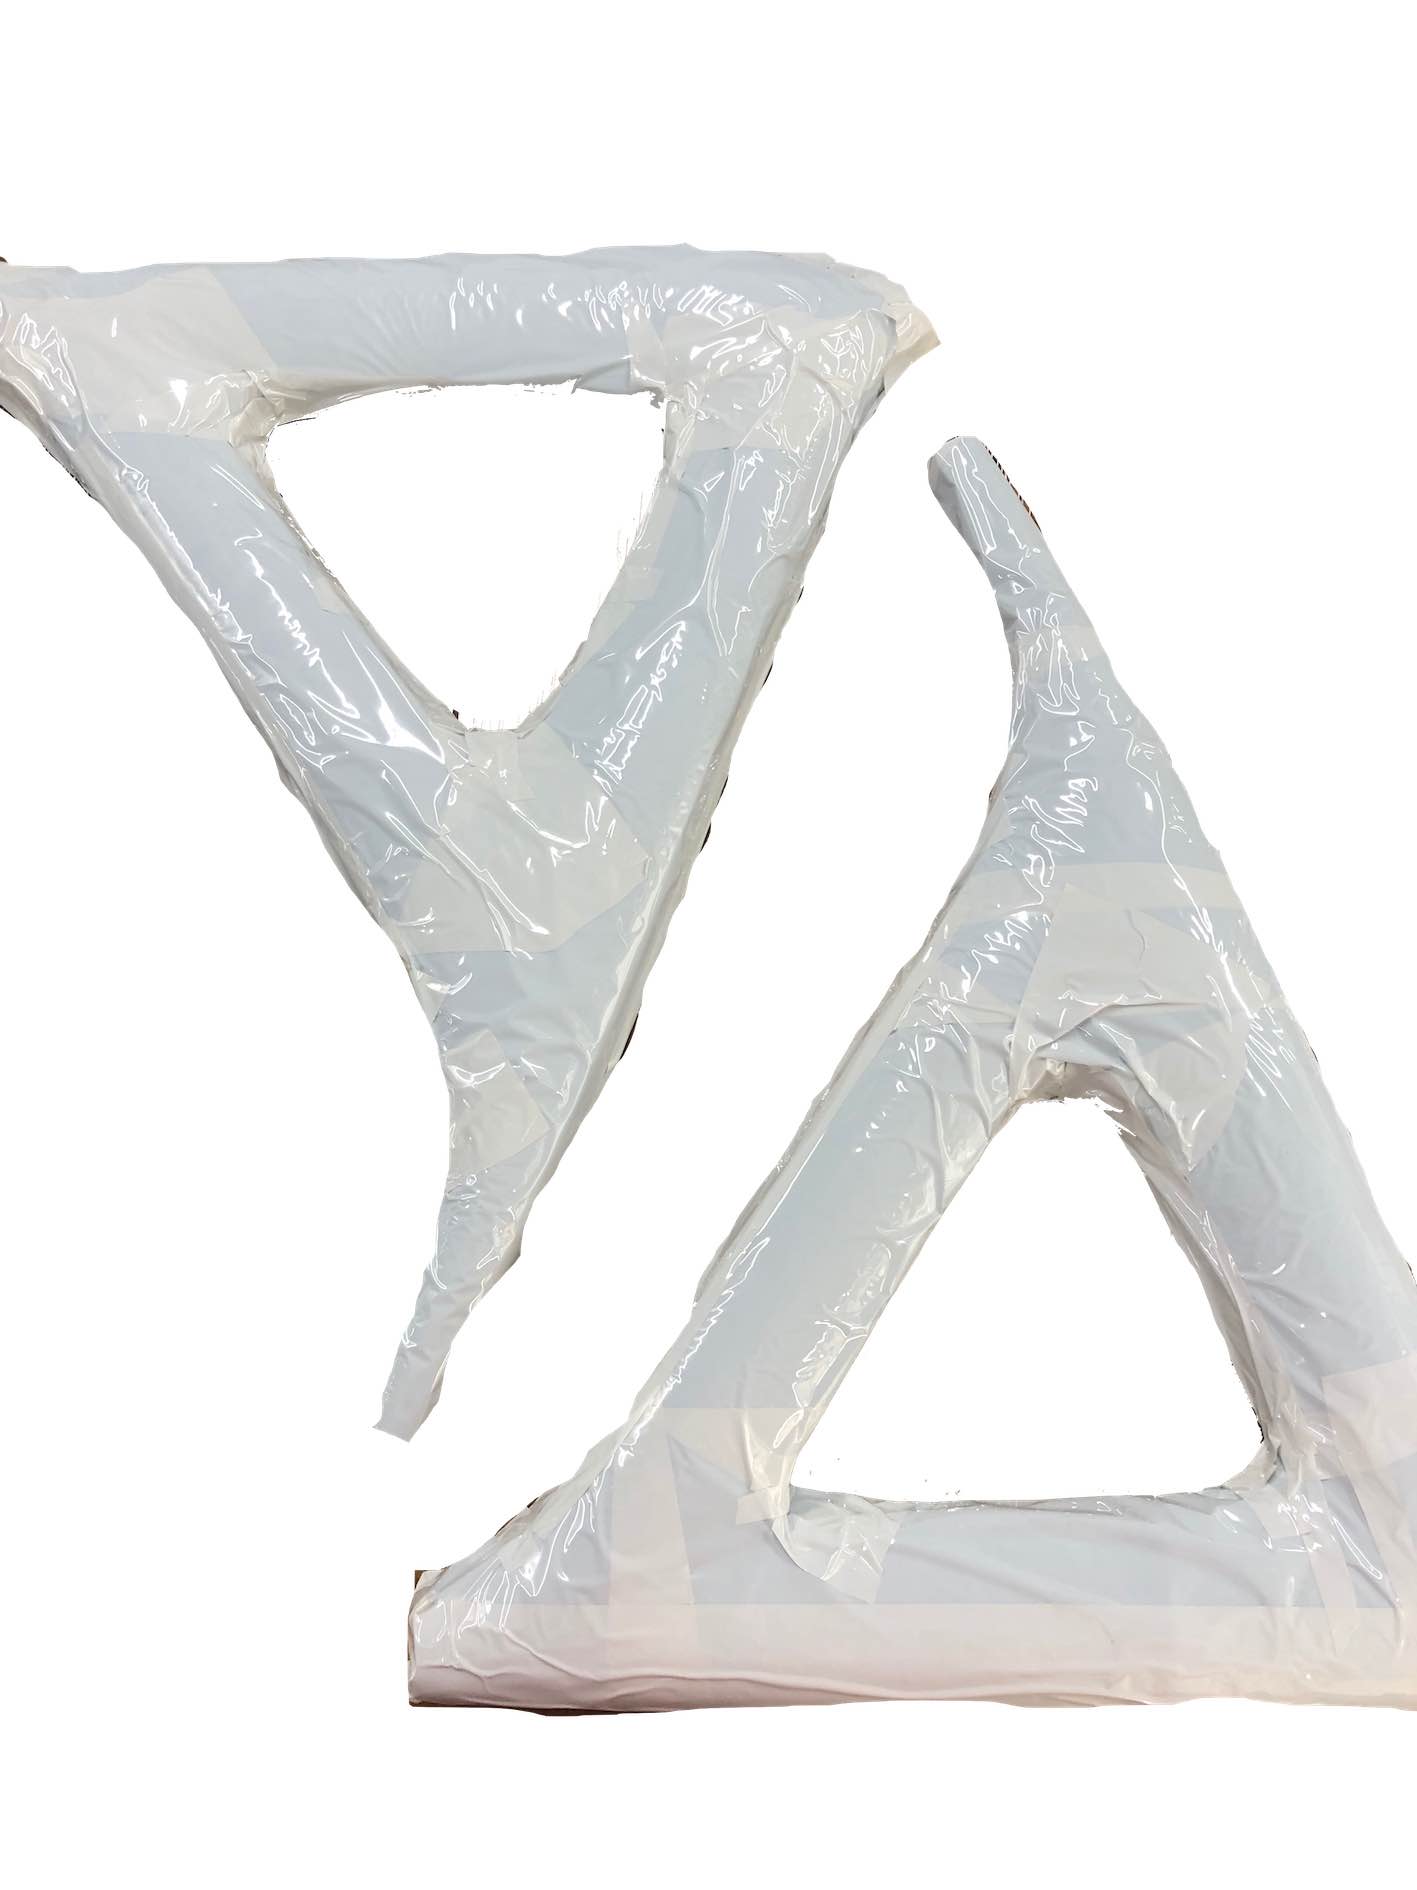
The next step was protecting the foam. I didn't have any acrylic coating, so I resorted to covering it with vinyl all over. The first picture to the right shows the result of using oil based products on foam. Once the foam was fully sealed, it was ready to have the fiberglass shaped around it.
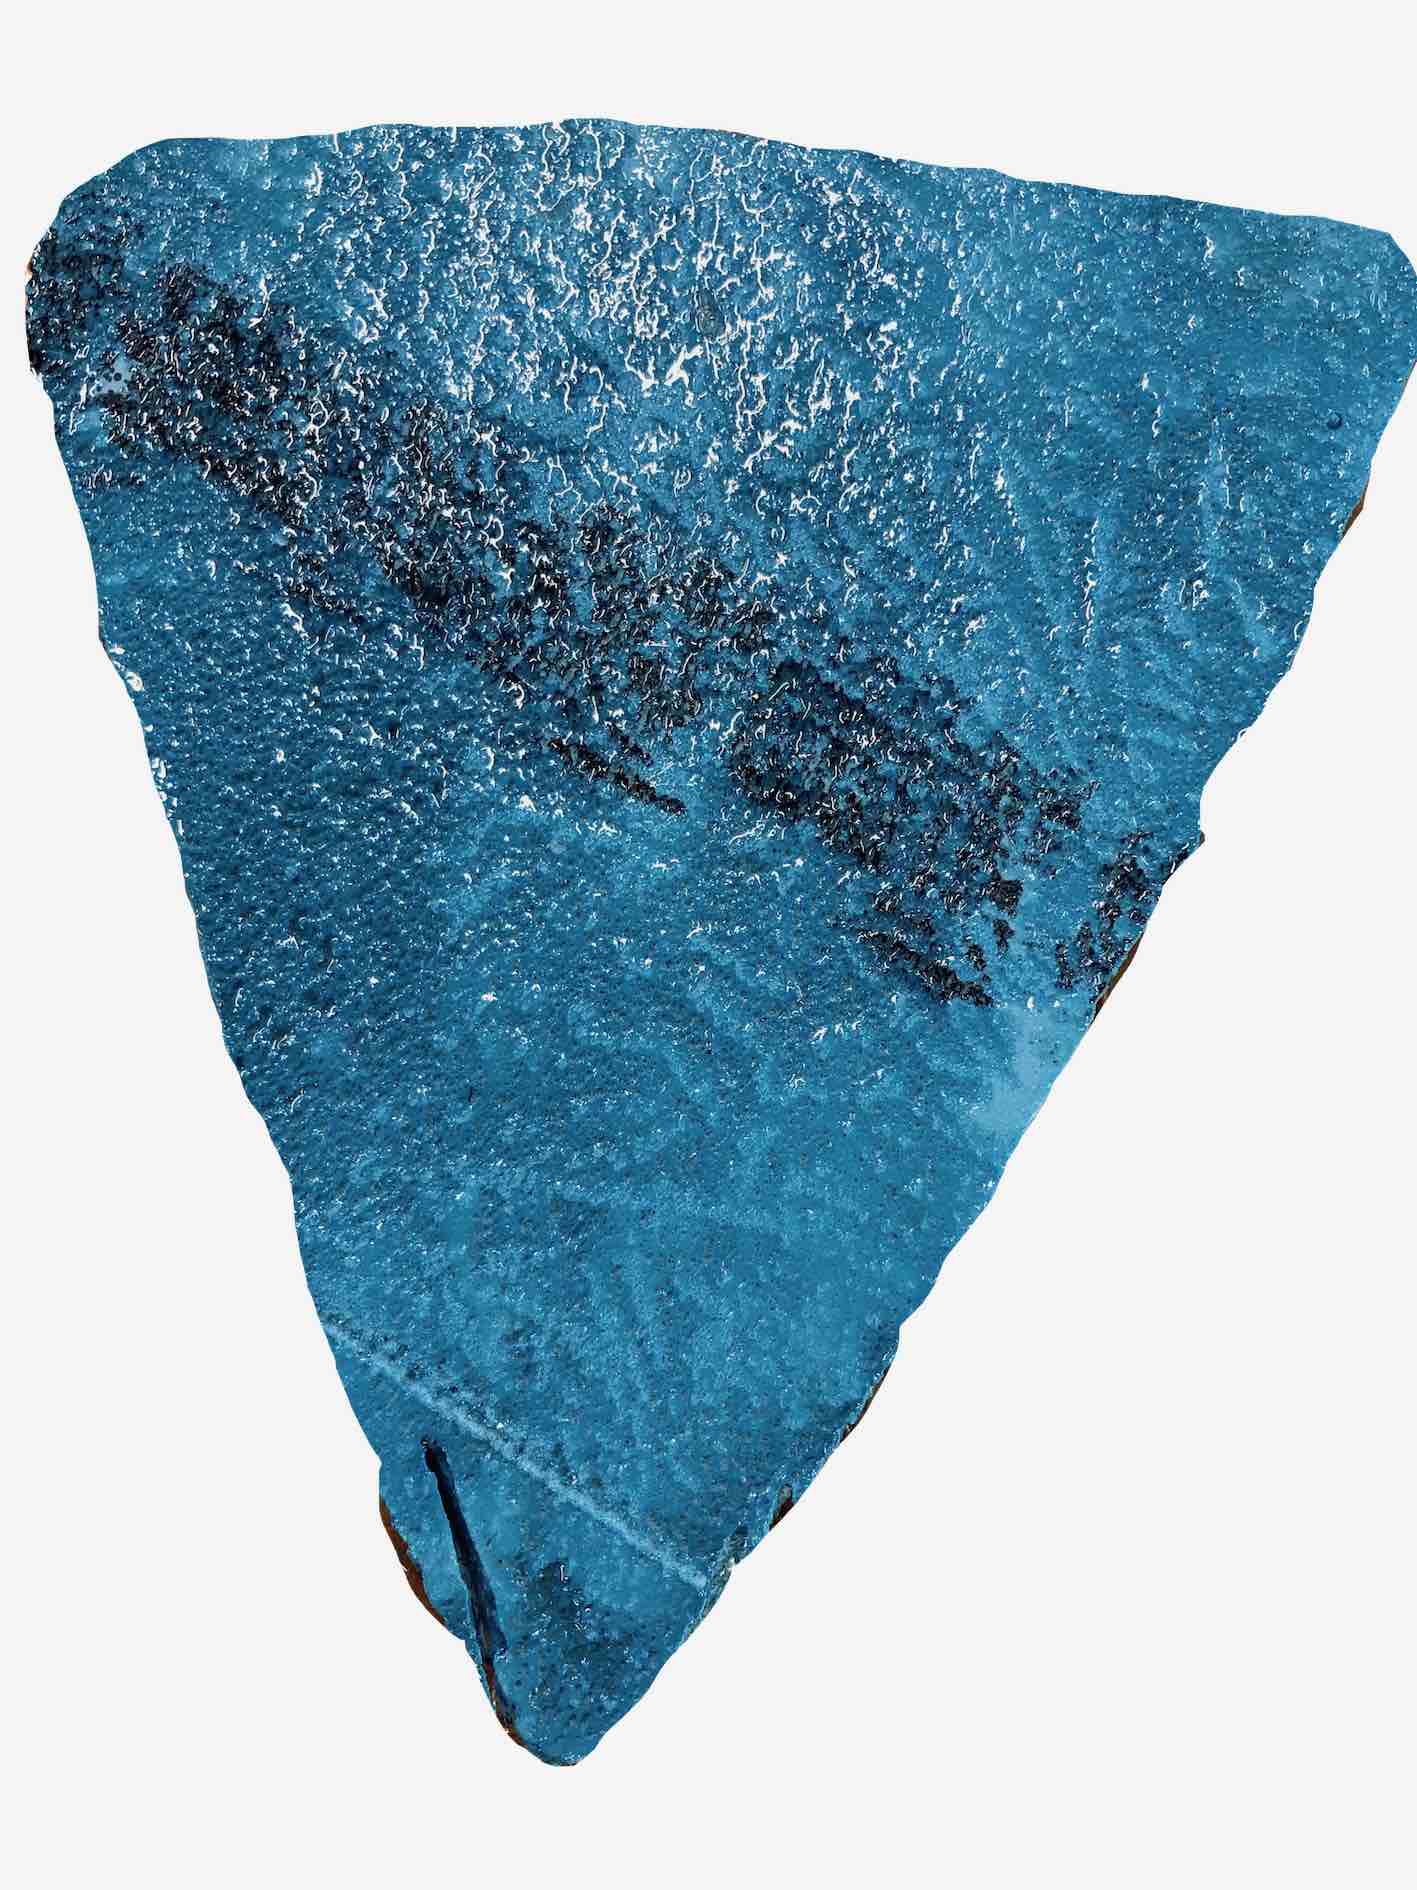
I cut up patches of raw glass fiber material and made sure I had enough, I mixed the local resin using a ratio of 350 to 1 resin to hardner.
When applying the resin to the fiber material, a blotching or
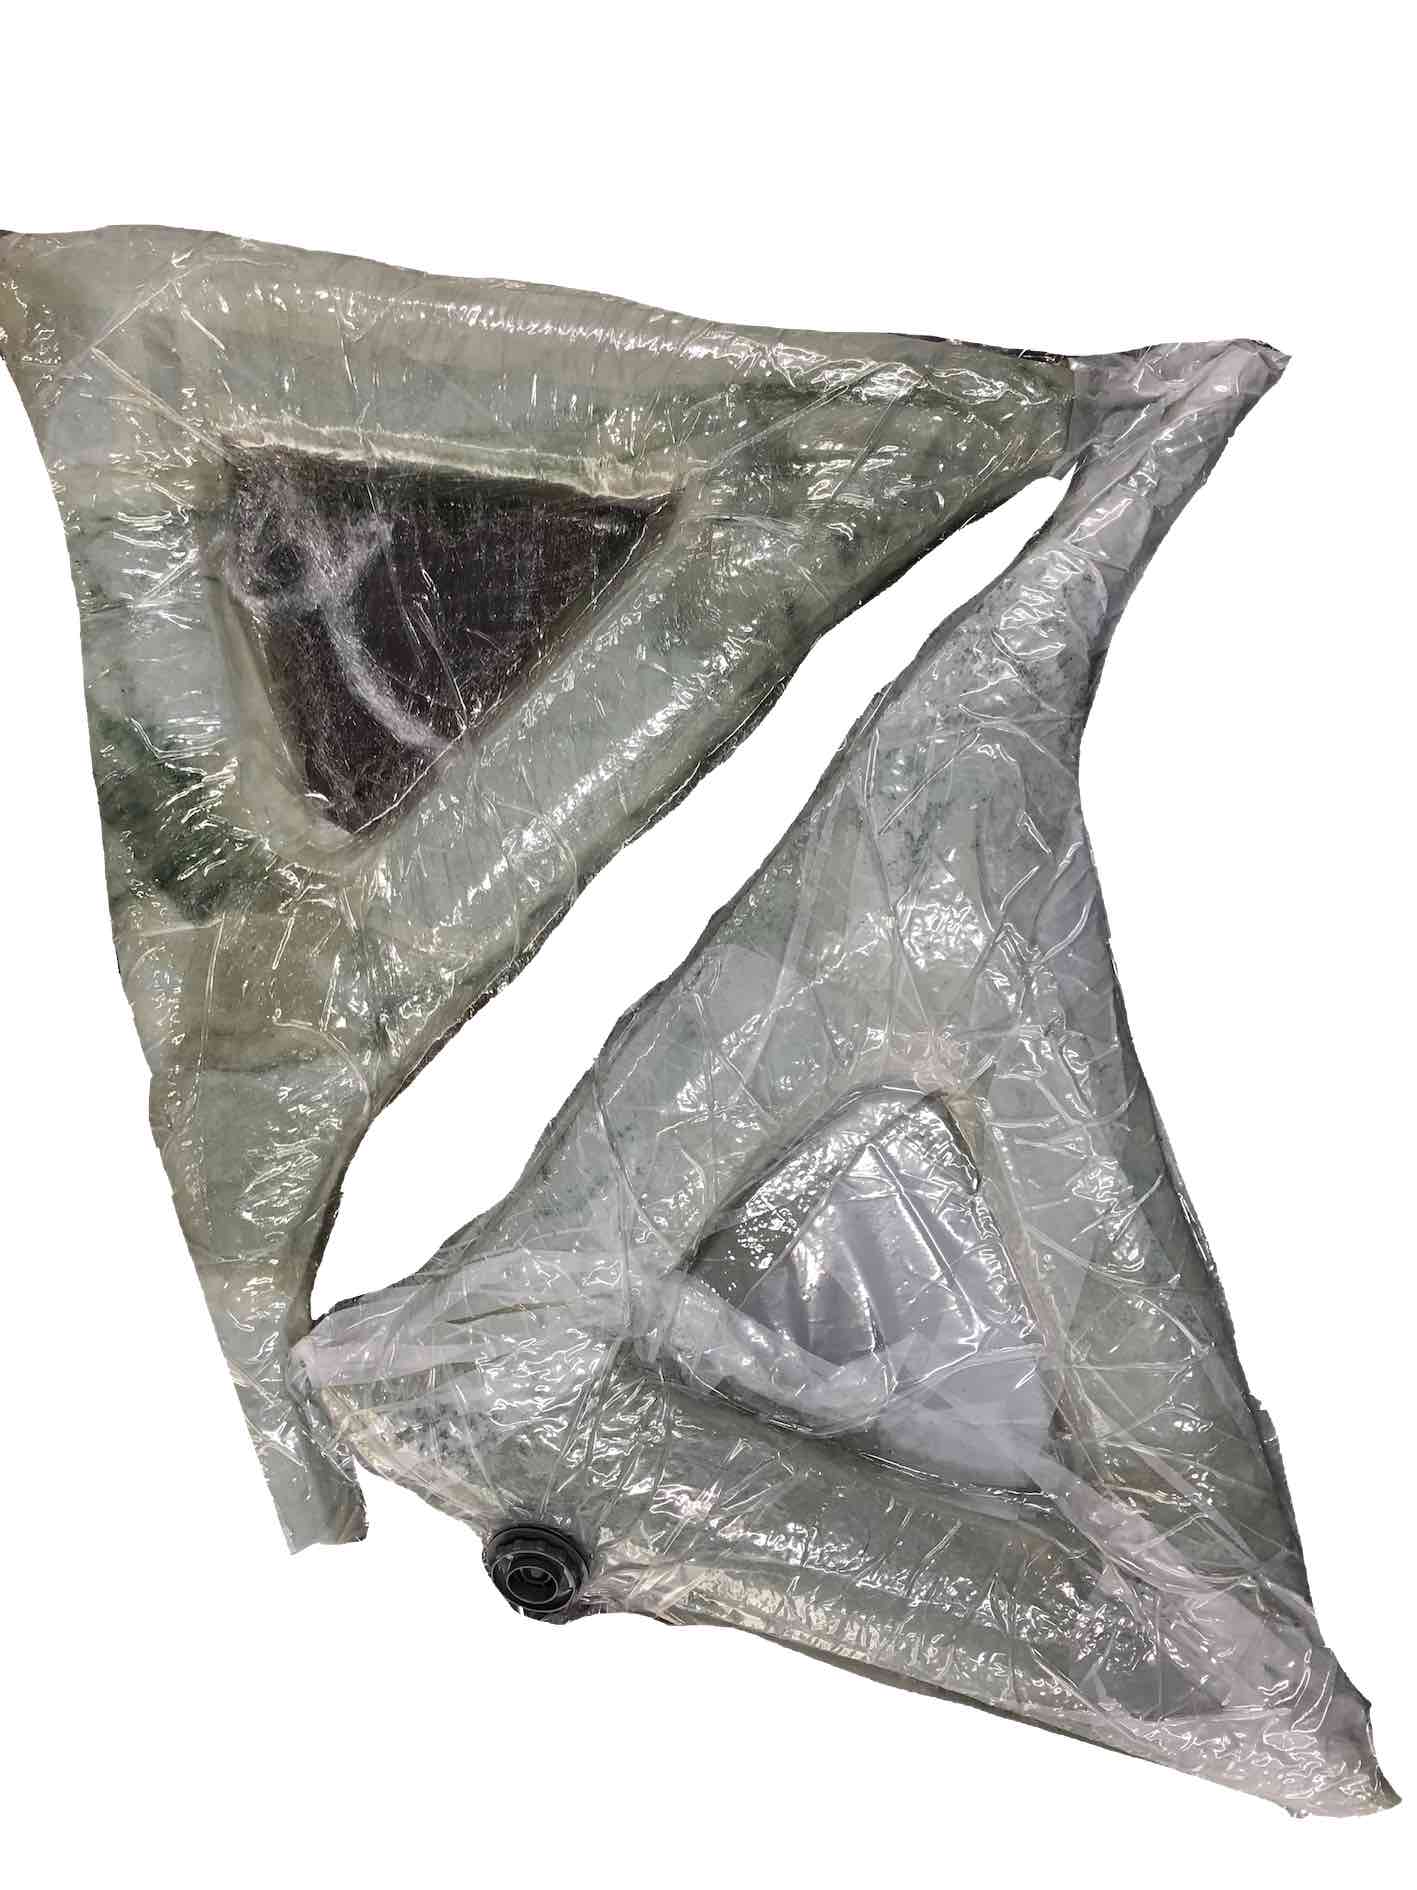
Once the resin has been applied to the fiber material, I covered the pieces with nylon aprons and put them in vacuum bangs to ensure the fiber takes the shape of the mold. I vacuumed the bag and left them till the next day to harden.
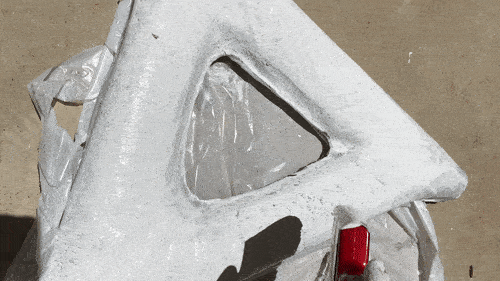
Once the resin was set I moved to the finishing process, it involved a repeating cycle of sanding and priming, increasing the sandpaper grit every cycle. After 3 cycles, I decided I had reached a smooth finish and was ready for the painting process.
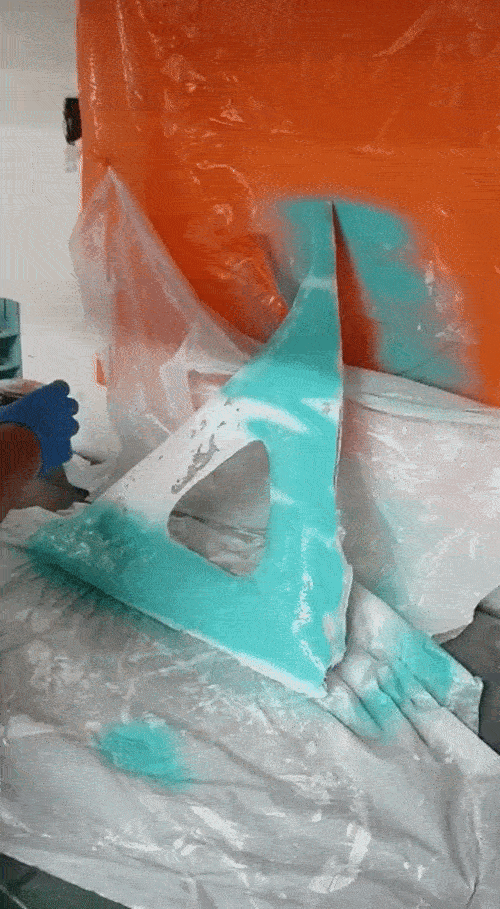
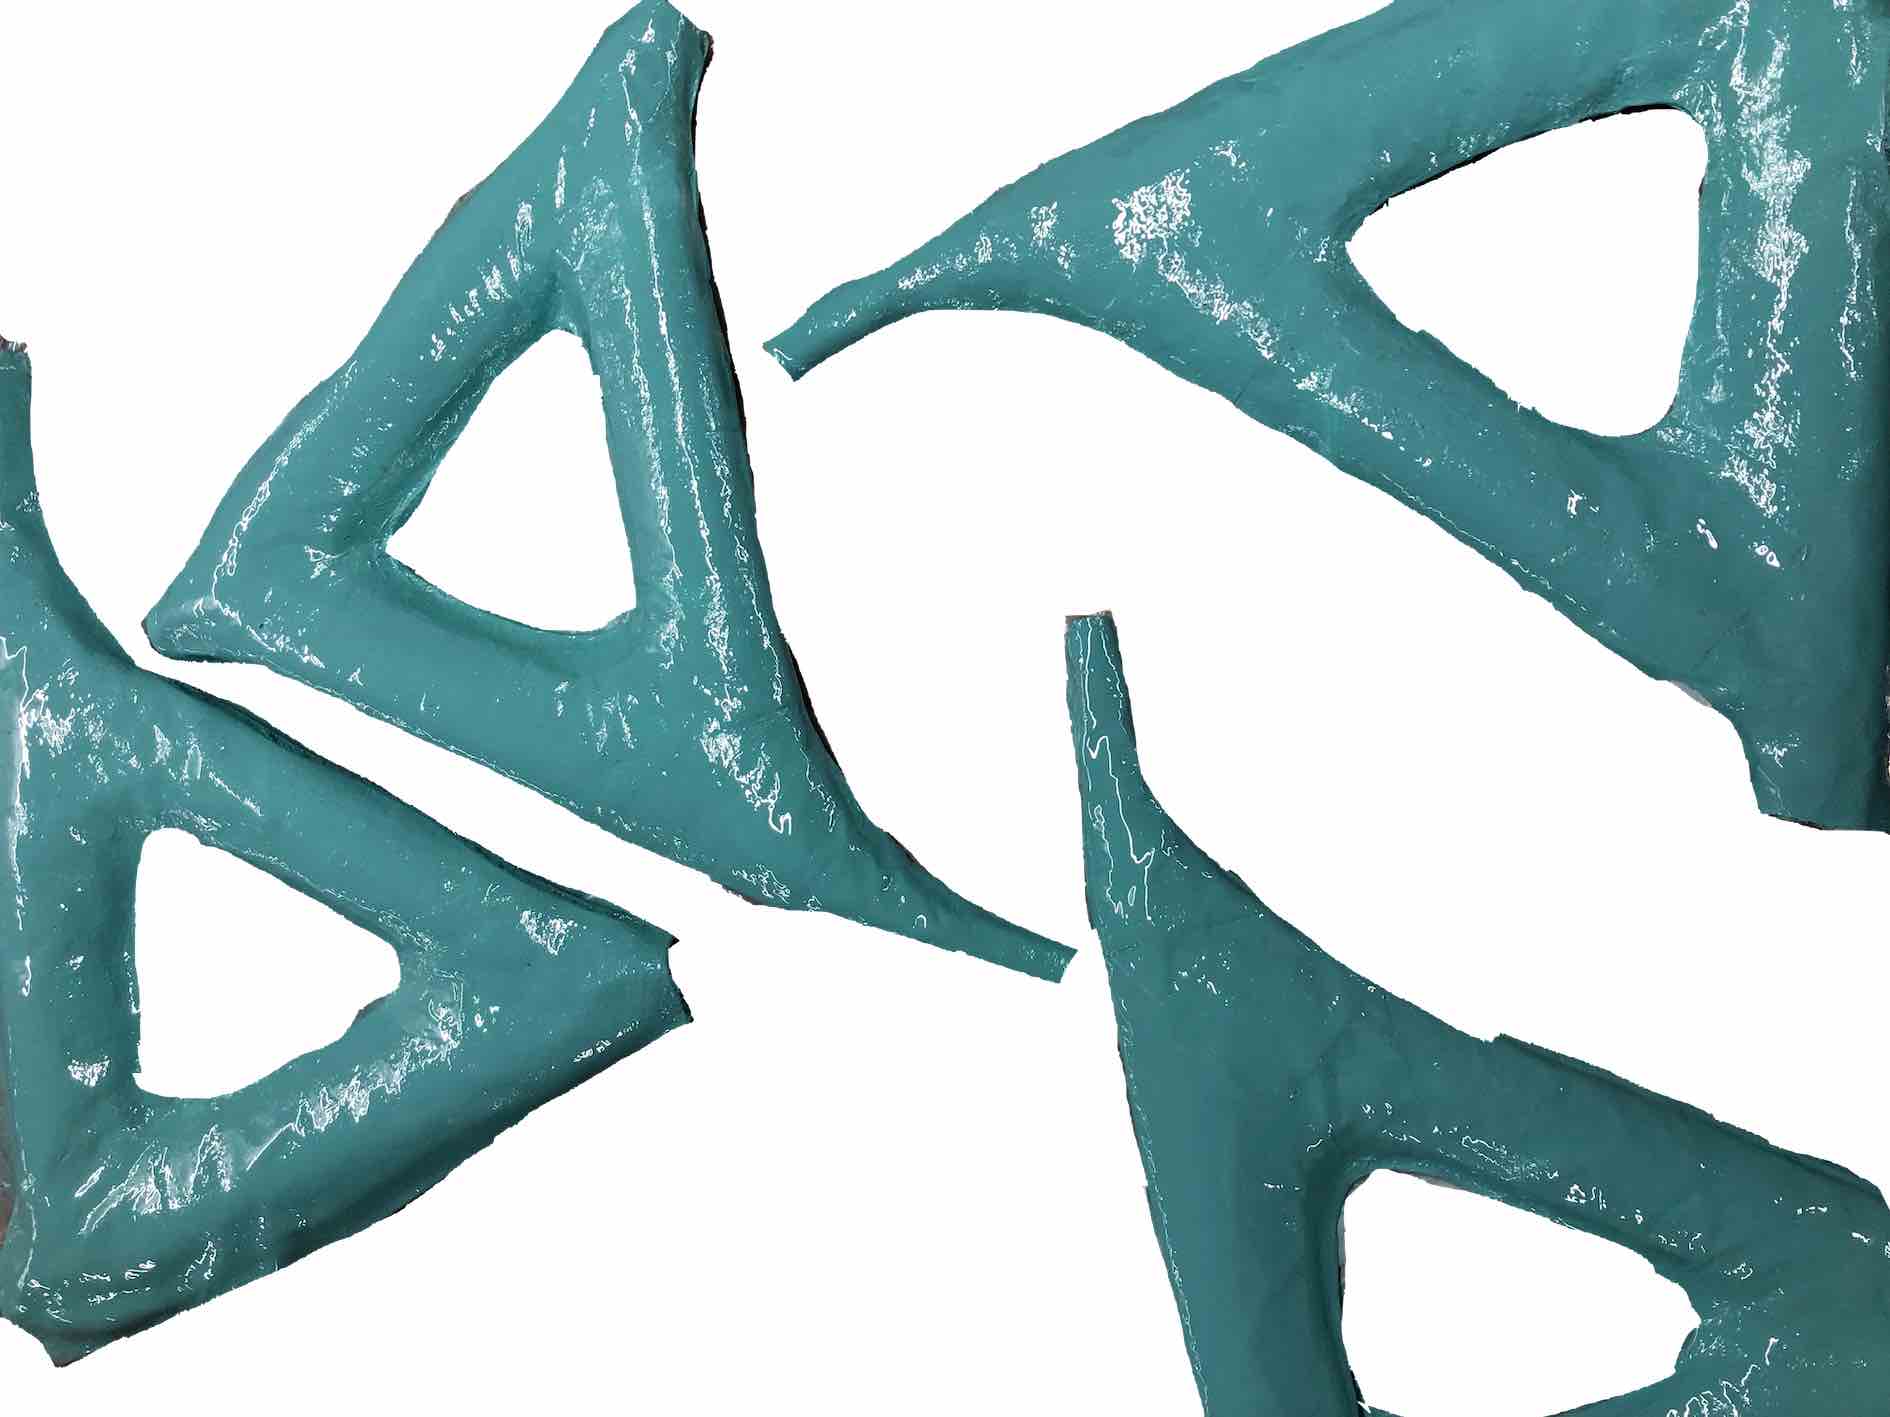
I mixed the paint with paint thinner, until I got a milk like consistency. This was required to avoid clogging the airbrush. I poured the thinned paint and sprayed the fibreglass pieces using a steady lateral motion from a distance of about 20-30 cm.
Files to download
Please find all the files required, since some of the mold files are used for a seperate project, I will only post the .stl:
-min.png)