
This work is licensed
under a
Creative Commons
Attribution-NonCommercial-
ShareAlike 4.0
International License.
This week we worked on 3D printing and scanning. In order to stay consistent with the concept of my final project, I tried to print the molecular structure of graphene. I will then use the skills learnt to print a translucent and flexible screen. The goal will be to have audiences interact with the membrane as the images projected on the screen change. Students should have:
Described what you learned by testing the 3D printers.
Shown how you designed and made your object and explained why it could not be made substractively.
Scanned an object.
Outlined problems and how you fixed them.
Included your design files and "hero shot" photos of the scan and the final object.
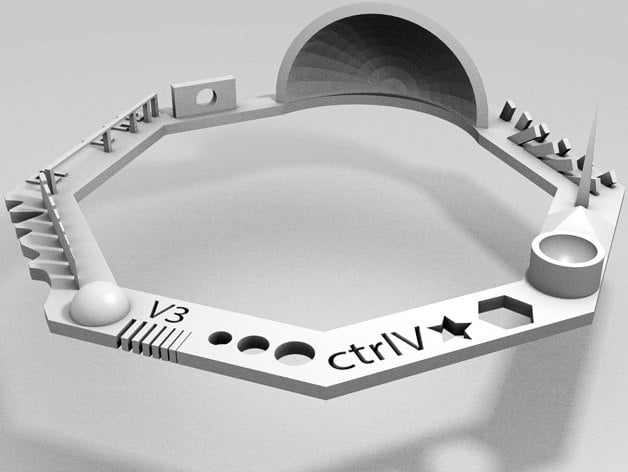
This week I was in a group with Daniel Zuehlke, Aitor Aloa, and Michael Heinz. We tested the following model available on Thingiverse. We were however, not very successful. We used white PLA.
 .
.
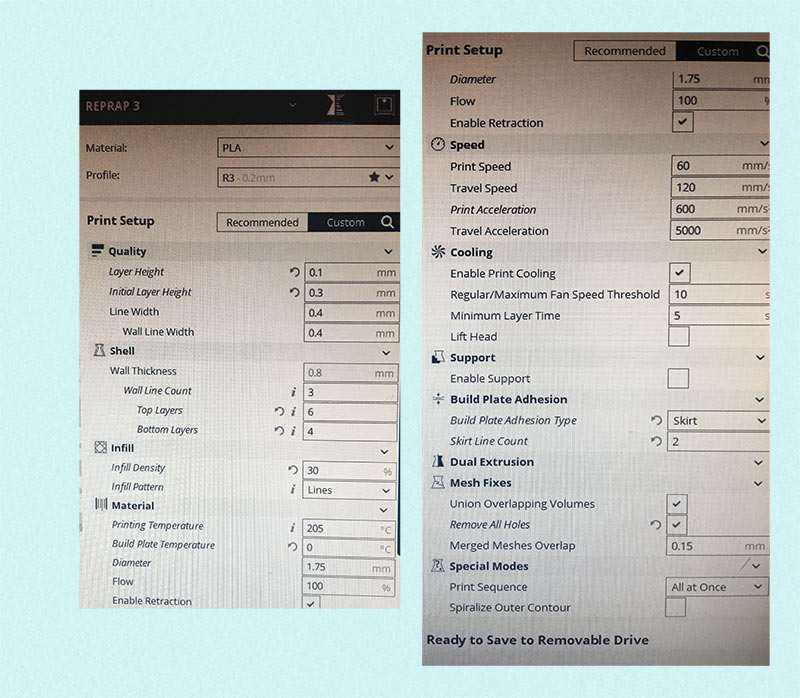
We imported the file into the free 3D printing software: Cura Ultimaker.The program offers a lot of settings and customization for the print. We focused mostly on the "Layer Height", "Line Width" and "Wall Line Width" under the "Quality" section and then on the "Infill" section and "Material" section. Below are the definitions of some of the Cura Ultimaker settings:
Layer Height: "thickness of one layer height in millimeters".
Line Width: "width of a single printed line, which should be close to the nozzle size"
Wall Line Width:"width of a single wall line"
Infill Density: "amount of plastic used on the inside of the print"
Support: this refers to the structure that is printed so that the floating parts of the materials do not fall down.
- Cura Ultimaker online manual
Below is an image of the LCD of our 3D printer. For the RepRap 3, we did not have to heat up the printing plate.
Below is an image of the result after our first 3D printing try:
Our second print went better as the printer did not stop halfway. However, due to the resolution of the printer and the one of our settings it was hard to pinpoint details and nuances of the print.
From the results gathered in this group assignment and the insights provided in the 3D Hubs website, I concluded that:
3D printing is a very versatile fabrication process that allows you to reproduce almost any object, no matter its complexity.
Large range of filament materials to choose from. You can even make your own.
There are not many extra costs associated to starting a print since the source material is a digital file. The latter can be customized as needed allowing for tailored versions of the same print. This really sets apart 3D printing from traditional manufacturing processes.
It is extremely time consuming. The technology to make time efficient 3D prints has not reached mainstream printers yet.
Not all filaments are sustainable.
As much as 3D printing is a very hip fabrication process, 3D printers are still very delicate machines requiring a certain degree of skill for them to be troubleshot.
3D printing is not the most efficient process when making a large amount of parts.
For this part of the assignment, I would have loved to use a microscopic scanner to capture any of the carbon allotropes at my disposal. Since we don't have one available at our Fab Lab, it might be a great option to consider for machine building week! Instead, I used the small milling machine, Roland Modela MDX-20. This machine is a bit different from the Roland SRM-20 used in week 4. It does not have a security cover and requires more manual settings. For 3D Scanning instead of using a drill bit, I used a thicker and longer needle. This tool is called "Active Piezo Sensor" (RAPS).
I think the Modela works in a very enticing and yet simple way. The machine digitalizes the shape of an object by capturing the coordinates of as many points as possible on the object's surface. I decided to test the limits of the machine. I knew it was unlikely for the Modela to register materials such as soot or charcoal in powder form. I therefore started wondering whether the tool could register soft surfaces whose shape changed over time. That is how, I decided to scan kid's modelling putty. See below the product:

This time, I used "Dr. PICZA" another Roland program. In this program, you narrow down the surface area of the object and then determine the resolution. The latter will determine the distance between one point and the next. Therefore the smaller the number, the higher the resolution. I first tested scanning at 0.80mm.
Below are a couple of videos showing how the tool behaves when it touches the ever-changing object. You can see how the z-coordinate of one point is never the same as the putty flattens out over time. There is also no way of knowing how deep down the material the tool will go.
Another interesting thing to note is how the tool itself shapes the edges of the material as it tries to pick up the data. See video below:
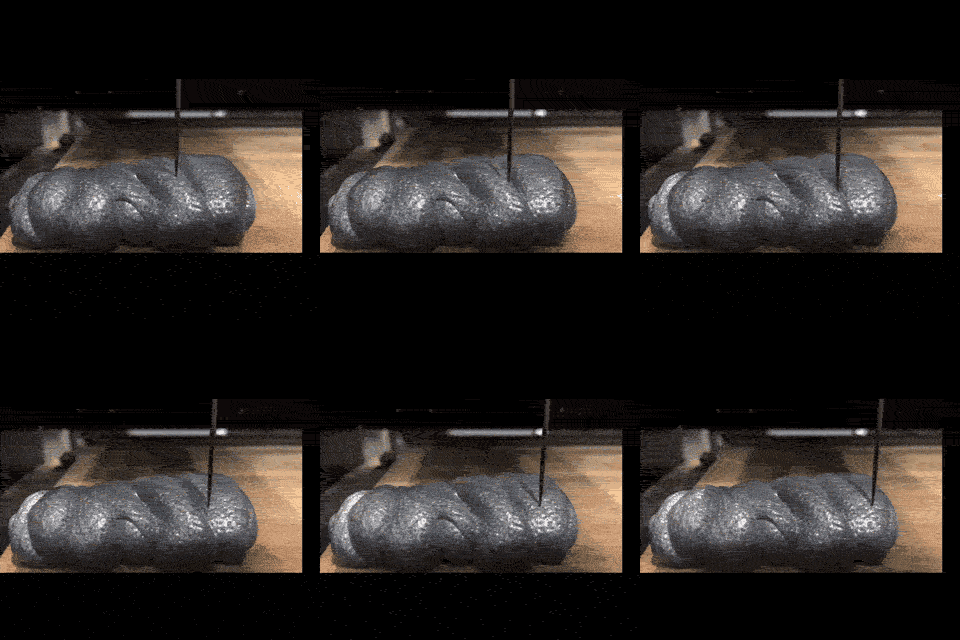
This is how the material looked after the machine was done scanning. The imprint of the tool serves as evidence of the scanning process:
Given the unpredictable nature of the material, I think the resulting model is pretty interesting!
I then tried scanning a different shape of the same material at a higer resolution of 0.30mm.
However, as the machine started scanning, I realized I wasn't too happy with the shape I had created. So I tried tweaking it without altering the path of the tool.
I then changed it a second time and tried to create a peak at the center of the piece.
What ended happening this time is that when the tool reached the peak of the material, it encountered a big
resistance so it ended up pushing all the material to a side.
Increasing the resolution to 0.30mm did not make that much of a difference. I think it just increased the scan time and polygon count of the resulting model. However, one must take into consideration that the lack of results visible results might also be because I changed the shape while the scan was still running.
With this assignment, I initially wanted to create the touch screen for my final project: the surface to be projected on. I wanted it to reproduce the molecular shape of graphene since it is the carbon allotrope that works best as a flat surface. This object must be made using an additive process because there is no clear way of making smooth spheres substractively. While I could have made the screen by casting a mold, the resources in our lab did not allow us to cast a model in the size I needed. Therefore the most adequate process for me to create a screen with embossed atoms, was by 3D printing it.
I worked on the model I created during Week 3 in Blender. 3D printers struggle printing smalled sized spheres without supports. I would have to split my model vertically and print it in two parts. In order to have a larger projection surface, I increased the size of the atoms so that they would take over the complete length of the bonds. I also decided to test a small sample before printing the whole screen.
I then imported the file with these changes into Meshmixer to fix the joints and clean up the mesh.
I used the following tools to get my model ready for 3D printing:
- Edit -> Transform: to rotate the model.
- Edit -> Make Solid: to make sure there are no small gaps in between the atoms. Solid Type: Accurate; Solid Accuracy: 126; Mesh Density: 110; Cell Size: 0.097 mm.
- Analysis -> Inspector. Flat Fill -> Auto Repair All.
For more details on shaping meshes in Meshmixer please go to Week 9
My screen has to be semi-transparent and flexible so I used the transparent and flexible filament Filaflex. You can find the datasheet here. This filament is a bit thicker than regular PLA. It has a diameter of 1.75mm. I therefore used a different printer, RepRap 1, because it uses a 0.6 mm nozzle. To change the filament, I warmed up the printer and manually extruded while I pulled out the current spool. Then I carefully placed the Filaflex through the nozzle and extruded again until the output material was clear.
I then generated the G-Code using Cura.
And sent the code to the printer through the OctoPrint site, accessible through an IP address.
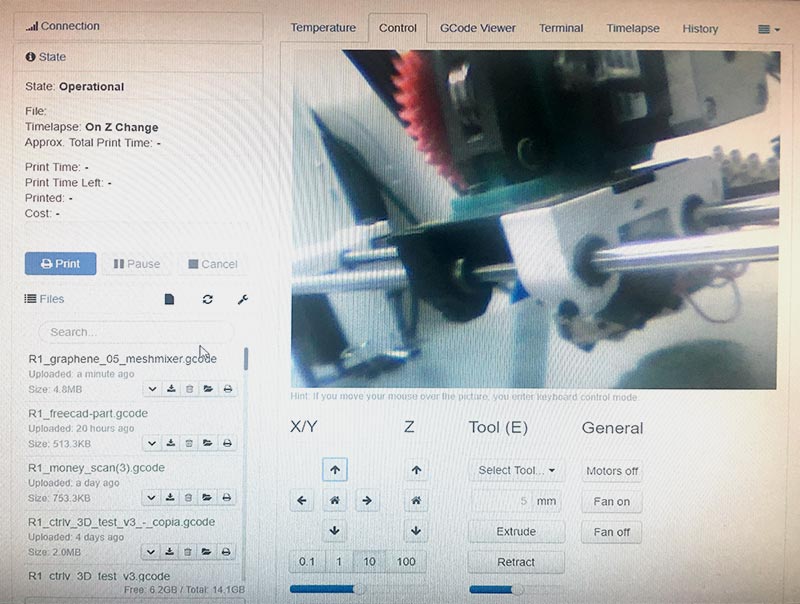
The print went relatively smoothly. It took about 45 minutes.
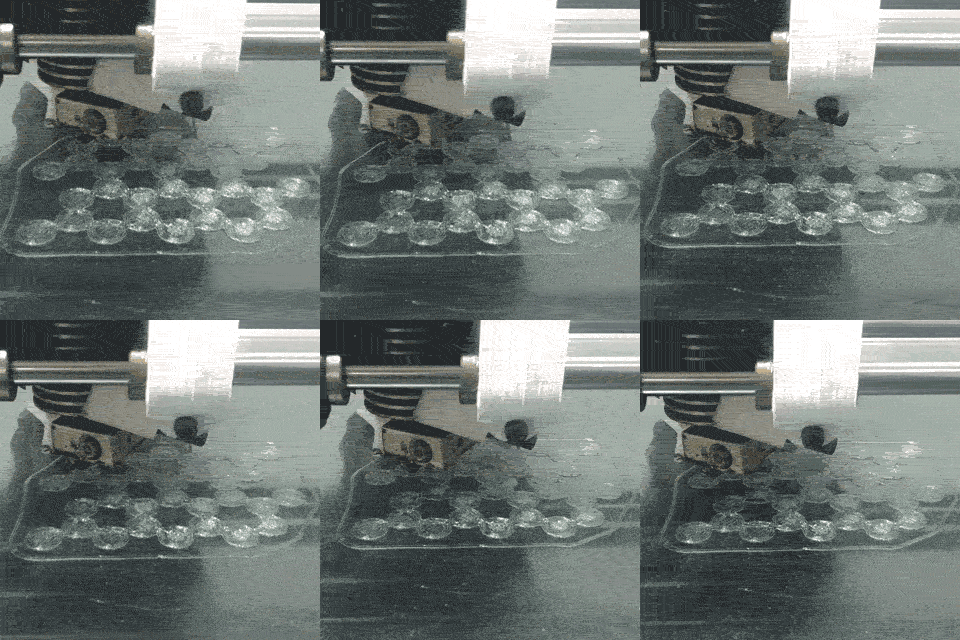
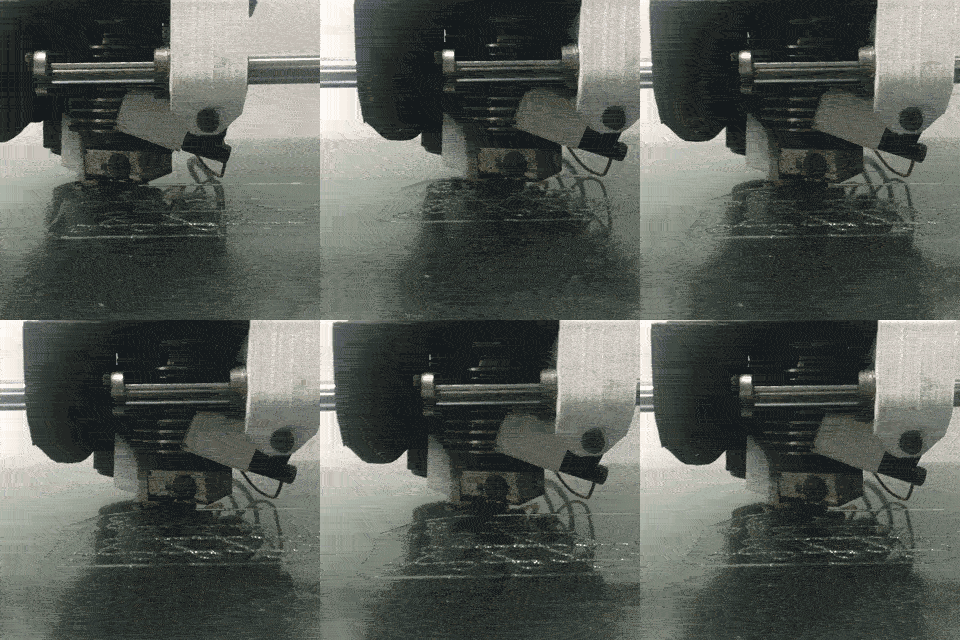
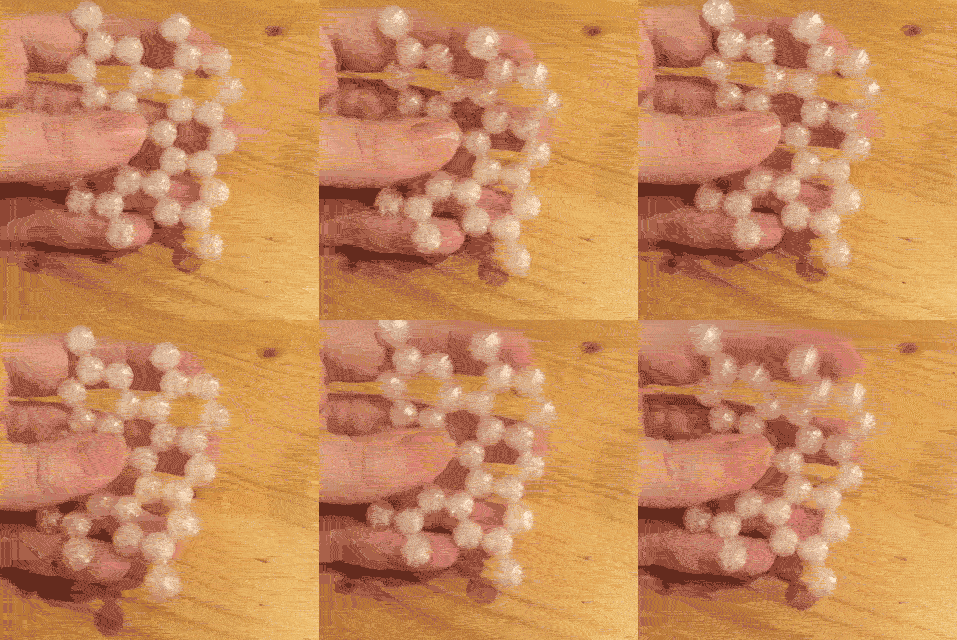
As I mentioned before, this was just a sample. I wanted my screen to be of about 80cm x 100cm. This meant that I would have to make four prints that cover up the whole printing plate. I modified the design accordingly, as seen below.
I also experimented with using Blender to prep the file instead of Meshmixer. See below the main commands used.
However, I soon realized that this was going to use up too much material and time. I had to figure out a different solution.