4/2/2015 // Project Management //
Emergency Floating Device
A device made for children. They wear it on while swimming and it can save them in case they start drowning.
The principal of the mechanism is a pressure sensor and a pulse sensor. The preaure sensor can tell if the child is underwater for too deep and/or too long and the pulse sensor can tell if there is a sudden change in the child’s pulse.
A user scenario:
1. The adult sets the device on land, on location.
2. The device is put on the child.
3. The child goes swimming.
4. The child starts having trouble in the water.
5. The devise beeps and alarms the people around.
6. In case the child starts sinking a small oxygen tank fills an air bubble and it floats the child.
The Passion Fruit Idea
In our back yard we have a very big passion fruit vine that gives a lot of fruit twice a year. Since our back yard is a public place on its other side people can come and pick fruit from there. On one occasion there was a small group of people picking. The turned out to be urban pickers and growers. They know where some edible plants grow freely and they go there every now and then to pick them.
The idea is to make a device for urban growers that can notify people when there are plants to pick. It will be planted or nested on the plant so that when the plant is ripe it notifies the grower who then can notify the pickers. It can also help the grower give better care to the plant since it can alert it when it needs water and/or other things.
The ideological purpose of this product is to create and expand communities of urban farmers and to establish a connection to people and nature.
A user scenario:
1. The grower programs the plant. [Data input: kind of plant, location, season etc.]
2. The grower puts the device in the ground/on the plant.
3. When the plant is ready for picking the device notifies the grower who in tern publishes the event on a designated app.
4. The pickers come and pick.
Interactive Helmet
A motorcycle helmet that shows online data regarding the driver.
Since driving a motorcycle is a two hand driving experience. It is also a dangerous one if you’re not 100% concentrated.
The interactive helmet will show the driver only the curtail things they need to know like warnings of road and incoming cell phones.
A user scenario:
1. The driver is about to start driving, he turns on the helmet which resets intel and browses for information regarding the place and time.
2. The driver says the destination address.
3. The driver starts to drive. He receives weather information and road conditions. He can decide which road to take in case of multiple options.
4. While driving the user received an incoming call, it appears on the helmet screen as a small icon and he can take the call or decline it with voice comment. (He can control every element of the helmet using voice commands)
5. The helmet front camera spots a vehicle that might crash into the driver, it alerts the driver of the danger in front and makes an alternate route for the driver.
6. n case of an accident the helmet can recover footage of the event.
7. When the drive is over the helmet can save the data for future reference and data base and/or upload to social media pages of the user.
The Maze
A few weeks into the Fab Academy I've decided to go in a new path and to make The Maze. It is going to be an interactive game for children based on a classic wooden maze that I will be making together with
Or Shoval.
Making A Website
This is my first time building an html website. I started it like I start any new project, by researching it and looking into tutorials.
For my next step I found one tutorial to use. I choose it after trying a few different sites. This one I found to be the most intuitive with a good graphic interface and a great tutorial set for people like me that have zero experience with html and scc.
Once I started working with the tutorials I wanted to be able to translate what I was learning into my own website. I downloaded Brackets and started building my first site from scratch
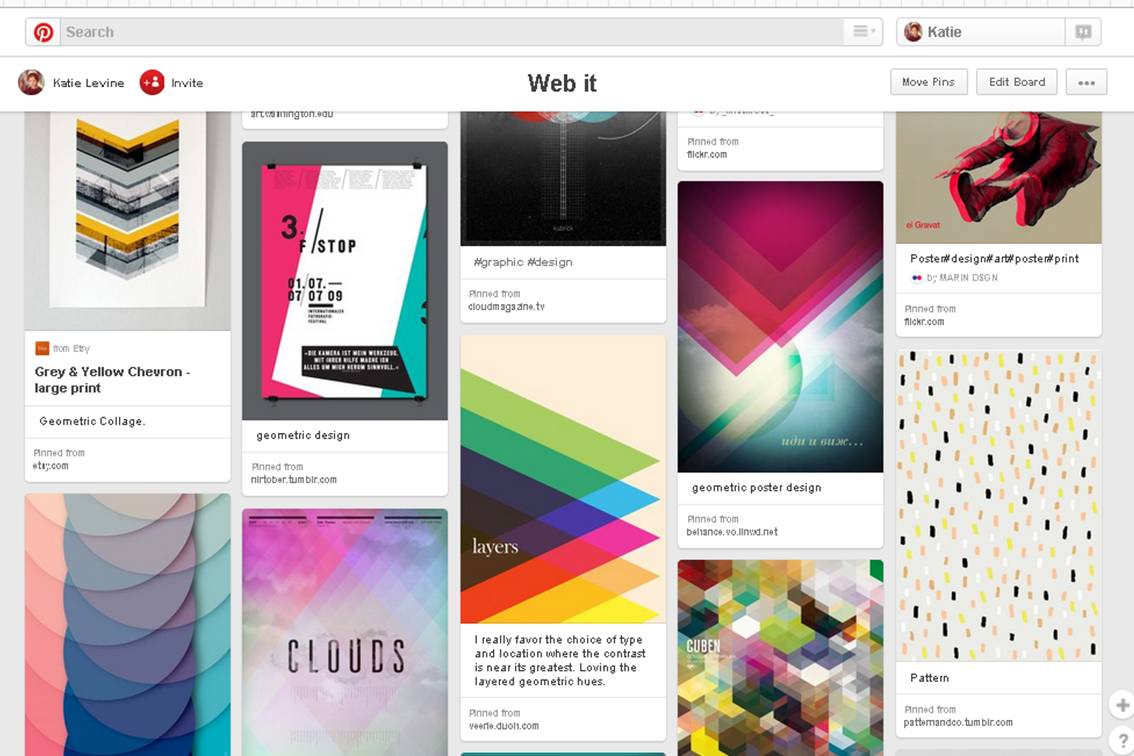
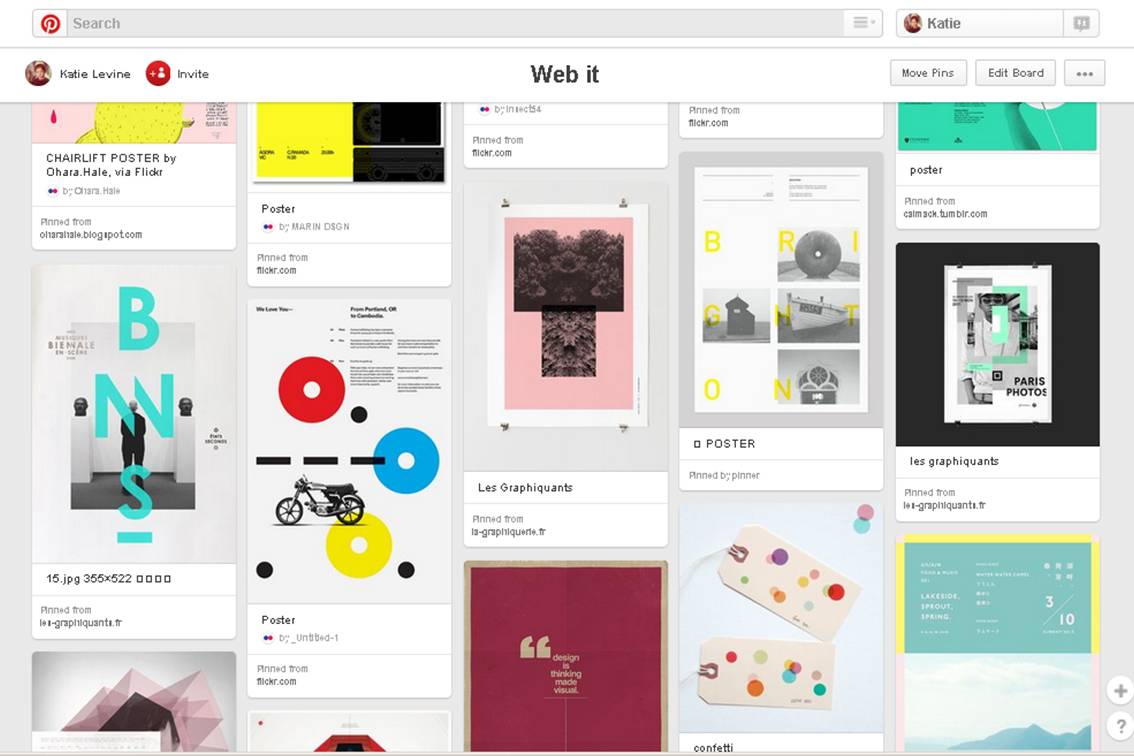
As a designer my process always includes some sort of visual inspiration. I use a lot of sources; one of my favorite ones is Pinterest because it allows me to collect all the visual information I like in one easy step.
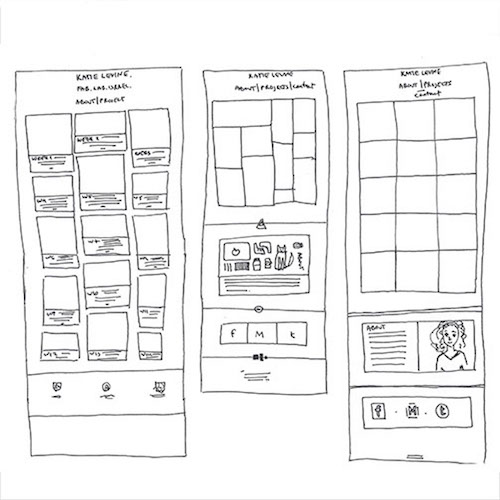
For my final step I made a few layout sketches so that I'll be able to visualize my site and design the layout easily. I choose to make the layout in a way I thought would be clear for the user to understand and easy for me to manipulate and design.
This is the design I choose for my website. On the right is the main page grid I wanted to use and on the left is the layout of a single page.
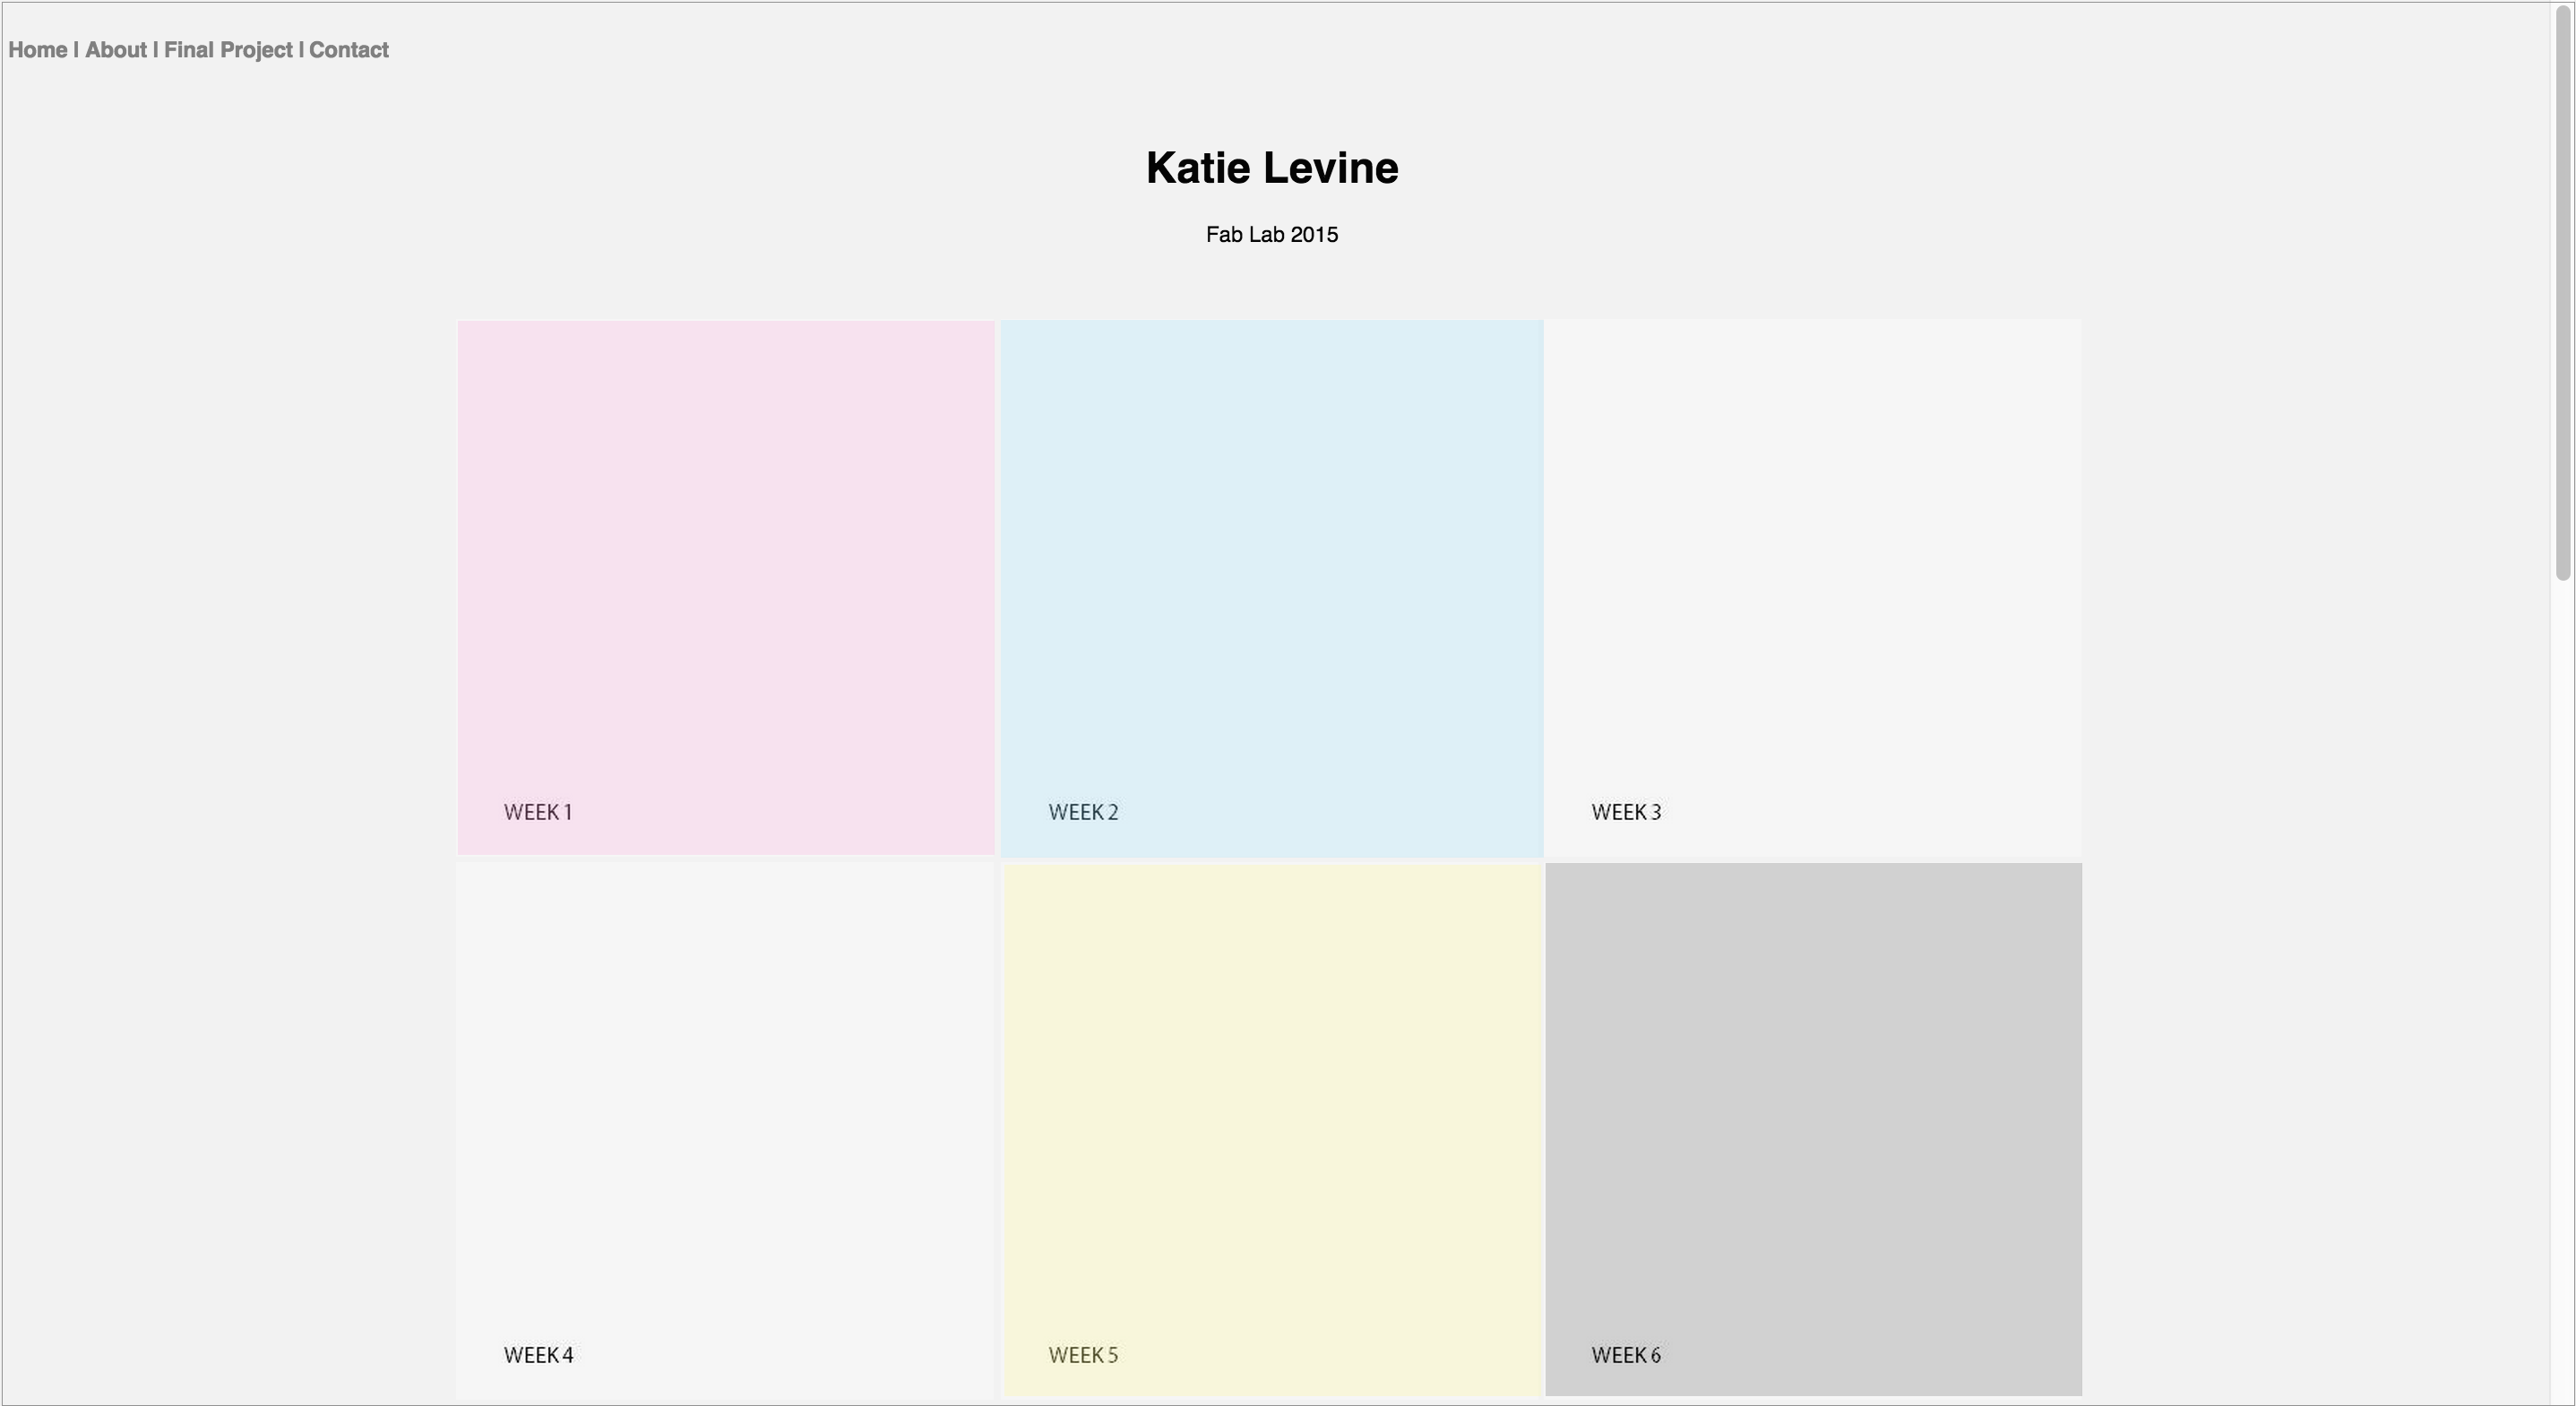
This is the first site I have build using html. It was not easy but I love my new skill. I had a few technical problems and a lot of things I didn’t know how to do, I had help from my fab lab friends but once I was alone with the code I could not repeat it. While building it I understood that my initial design might be something hard to achieve in the limited time I have and, frankly, it just wasn’t doing it for me .
Eventually I changed my site in a few ways. I decided not to make it scroll down mainly because I realized that I would have a lot of material to publish so a scroll down site would be very long and uncomfortable to view and to edit. Instead I made individual pages for each week and divided it to sections using the div tag.
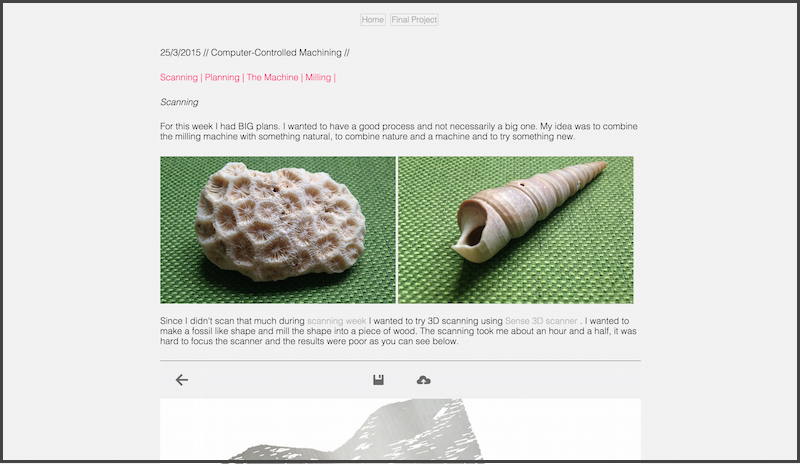
This is the actual HTML page for the example above:
<!DOCTYPE html>
<html>
<link rel="stylesheet" type="text/css" href="style.css">
<head>
<title>
Katie Levine, Week Eight
</title>
</head>
<body>
<div id="menu">
<ul>
<li><a href="index.html">Home</a></li>&nbsp;
<li><a href="final.html">Final Project</a></li>&nbsp;
</ul>
</div>
<div id="week_8">
<h2>25/3/2015 // Computer-Controlled Machining // </h2>
<ul class="link_list">
<li><a href="#Scan"> Scanning |</a></li>
<li><a href="#Planning"> Planning |</a></li>
<li><a href="#The Machine"> The Machine |</a></li>
<li><a href="#Milling"> Milling |</a></li>
</ul>
<div id="Scanning">
<h3>Scanning</h3>
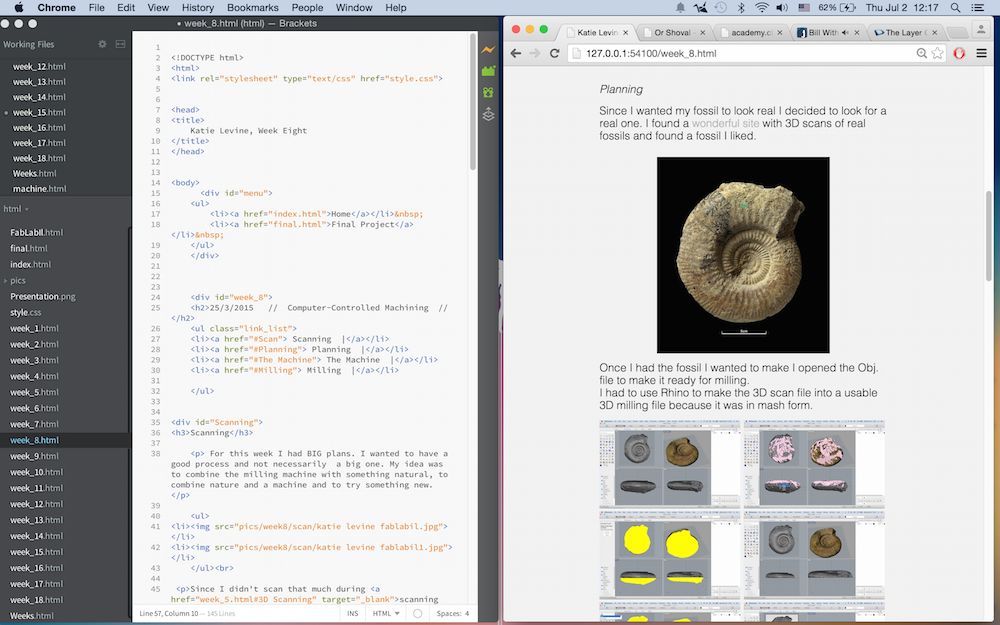
<p> For this week I had BIG plans.
I wanted to have a good process and not necessarily a big one.
My idea was to combine the milling machine with something natural,
to combine nature and a machine and to try something new. </p>
<ul>
<li><img src="pics/week8/scan/katie levine fablabil.jpg"></li>
<li><img src="pics/week8/scan/katie levine fablabil1.jpg"></li>
</ul><br>
<p>Since I didn't scan that much during
<a href="week_5.html#3D Scanning" target="_blank">scanning week</a>
I wanted to try 3D scanning using <a href="week_5.html#3D Scanning" target="_blank">Sense 3D scanner </a>.
I wanted to make a fossil like shape and mill the shape into a piece of wood.
The scanning took me about an hour and a half, it was hard to focus the scanner
and the results were poor as you can see below.</p>
<div id="bigpic">
<img src="pics/week8/scan/katie levine fablabil 1.png">
</div> <br>
<p>This is the best result I got from almost two hours of scanning. Given, Im not a pro and this is the
first time I've used this scanner but the results weren't good enough and I found the scanner to be better
with bigger objects. </p>
<ul>
<li><img src="pics/week8/scan/katie levine fablabil 2.png"></li>
<li><img src="pics/week8/scan/katie levine fablabil 3.png"></li>
</ul>
</div>
<hr id=break>
<div id="Planning">
<h3>Planning</h3>
<p>Since I wanted my fossil to look real I decided to look for a real one.
I found a <a href="http://www.3d-fossils.ac.uk/home.html" target="_blank"> wonderful site </a>
with 3D scans of real fossils and found a fossil I liked.</p>
<img src="pics/week8/New Rhino Fossil/1.png">
<p>Once I had the fossil I wanted to make I opened the Obj. file to make it ready for milling. <br>
I had to use Rhino to make the 3D scan file into a usable 3D milling file because it was in mash form.</p>
<ul>
<li><img src="pics/week8/New Rhino Fossil/katie levine fablabil 1.png"></li>
<li><img src="pics/week8/New Rhino Fossil/katie levine fablabil 2.png"></li>
<li><img src="pics/week8/New Rhino Fossil/katie levine fablabil 3.png"></li>
<li><img src="pics/week8/New Rhino Fossil/katie levine fablabil 4.png"></li>
<li><img src="pics/week8/New Rhino Fossil/katie levine fablabil 5.png"></li>
<li><img src="pics/week8/New Rhino Fossil/katie levine fablabil 6.png"></li>
<li><img src="pics/week8/New Rhino Fossil/katie levine fablabil 7.png"></li>
<li><img src="pics/week8/New Rhino Fossil/katie levine fablabil 8.png"></li>
<li><img src="pics/week8/New Rhino Fossil/katie levine fablabil 9.png"></li>
<li><img src="pics/week8/New Rhino Fossil/katie levine fablabil 10.png"></li>
<li><img src="pics/week8/New Rhino Fossil/katie levine fablabil 11.png"></li>
<li><img src="pics/week8/New Rhino Fossil/katie levine fablabil 12.png"></li>
<li><img src="pics/week8/New Rhino Fossil/katie levine fablabil 13.png"></li>
<li><img src="pics/week8/New Rhino Fossil/katie levine fablabil 14.png"></li>
<li><img src="pics/week8/New Rhino Fossil/katie levine fablabil 15.png"></li>
</ul>
</div>
<hr id=break>
<div id="The Machine">
<h3>The Machine</h3>
<p>To make the milling plan I used the built in program Part Works 3D.
It was very user friendly and in a few short steps the milling files were ready.</p>
<ul>
<li><img src="pics/week8/3D/katie levine fablab 1.png"></li>
<li><img src="pics/week8/3D/katie levine fablab 2.png"></li>
<li><img src="pics/week8/3D/katie levine fablab 3.png"></li>
<li><img src="pics/week8/3D/katie levine fablab 4.png"></li>
<li><img src="pics/week8/3D/katie levine fablab 5.png"></li>
<li><img src="pics/week8/3D/katie levine fablab 6.png"></li>
<li><img src="pics/week8/3D/katie levine fablab 8.png"></li>
<li><img src="pics/week8/3D/katie levine fablab 9.png"></li>
<li><img src="pics/week8/3D/katie levine fablab 10.png"></li>
<li><img src="pics/week8/3D/katie levine fablab 11.png"></li>
</ul>
<br>
</div>
<hr id=break>
<div id="Milling">
<h3>Milling</h3>
<p>Milling took about an hour for both the rough and the delicate milling.
I live in the southern part of Tel Aviv and near me there are a lot of small workshops for
carpentry and welding so I got a few leftover blocks of wood to pic from. Initially I wanted
to use an african walnut because of it's nice pattern but the pieces I had were too small so
I went with <a href="http://en.wikipedia.org/wiki/Beech" target="_blank">Beech</a>.
It's a hard wood used a lot in furniture manufacturing and I choose it for its dense fibers. </p>
<ul>
<li><img src="pics/week8/Fossil/katie levine ohad meyuhas fablab 1.jpg"></li>
<li><img src="pics/week8/Fossil/katie levine ohad meyuhas fablab 2.jpg"></li>
<li><img src="pics/week8/Fossil/katie levine ohad meyuhas fablab 3.jpg"></li>
<li><img src="pics/week8/Fossil/katie levine ohad meyuhas fablab 4.jpg"></li>
<li><img src="pics/week8/Fossil/katie levine ohad meyuhas fablab 5.jpg"></li>
<li><img src="pics/week8/Fossil/katie levine ohad meyuhas fablab 6.jpg"></li>
<li><img src="pics/week8/Fossil/katie levine ohad meyuhas fablab 7.jpg"></li>
<li><img src="pics/week8/Fossil/katie levine ohad meyuhas fablab 8.jpg"></li>
</ul><br><br>
</div>
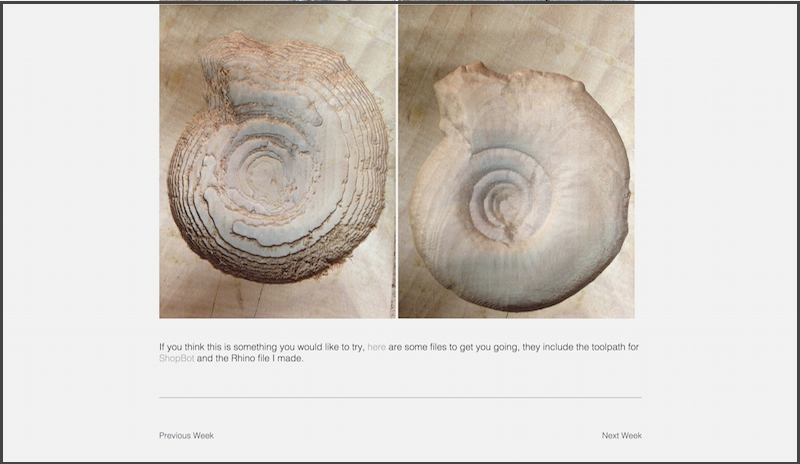
If you think this is something you would like to try, <a href="pics/week8/files/Archive.zip" target="_blank">here</a>
are some files to get you going, they include the tool-path for <a href="http://www.shopbottools.com/" target="_blank">
ShopBot </a> and the Rhino file I made.
<hr>
<class id=prev>
<a href="week_7.html">Previous Week</a>
</class>
<class id=next>
<a href="week_9.html">Next Week </a>
</class>
</body>
</html>
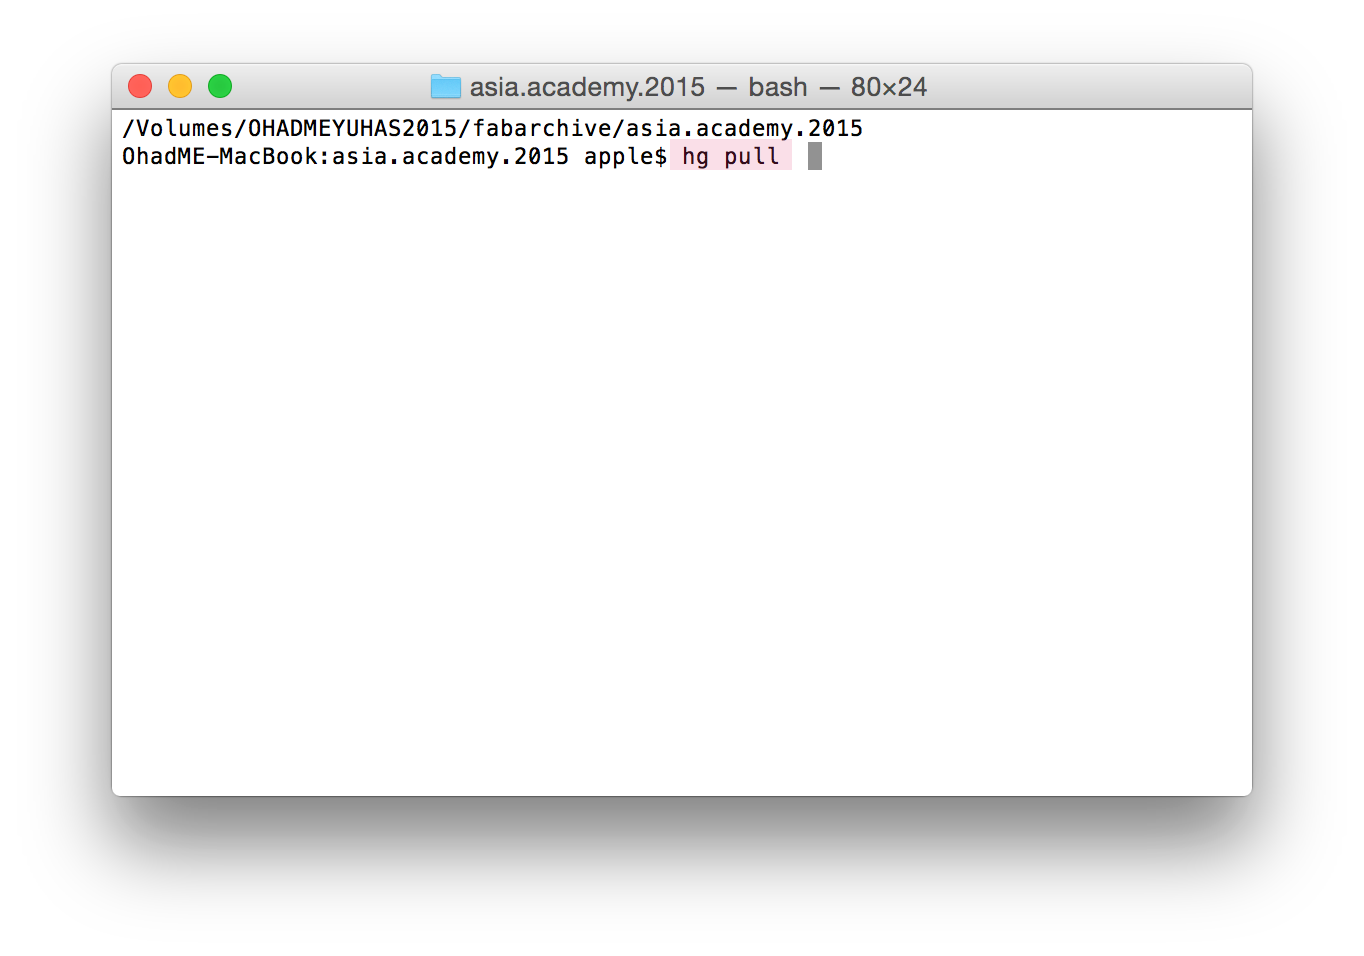
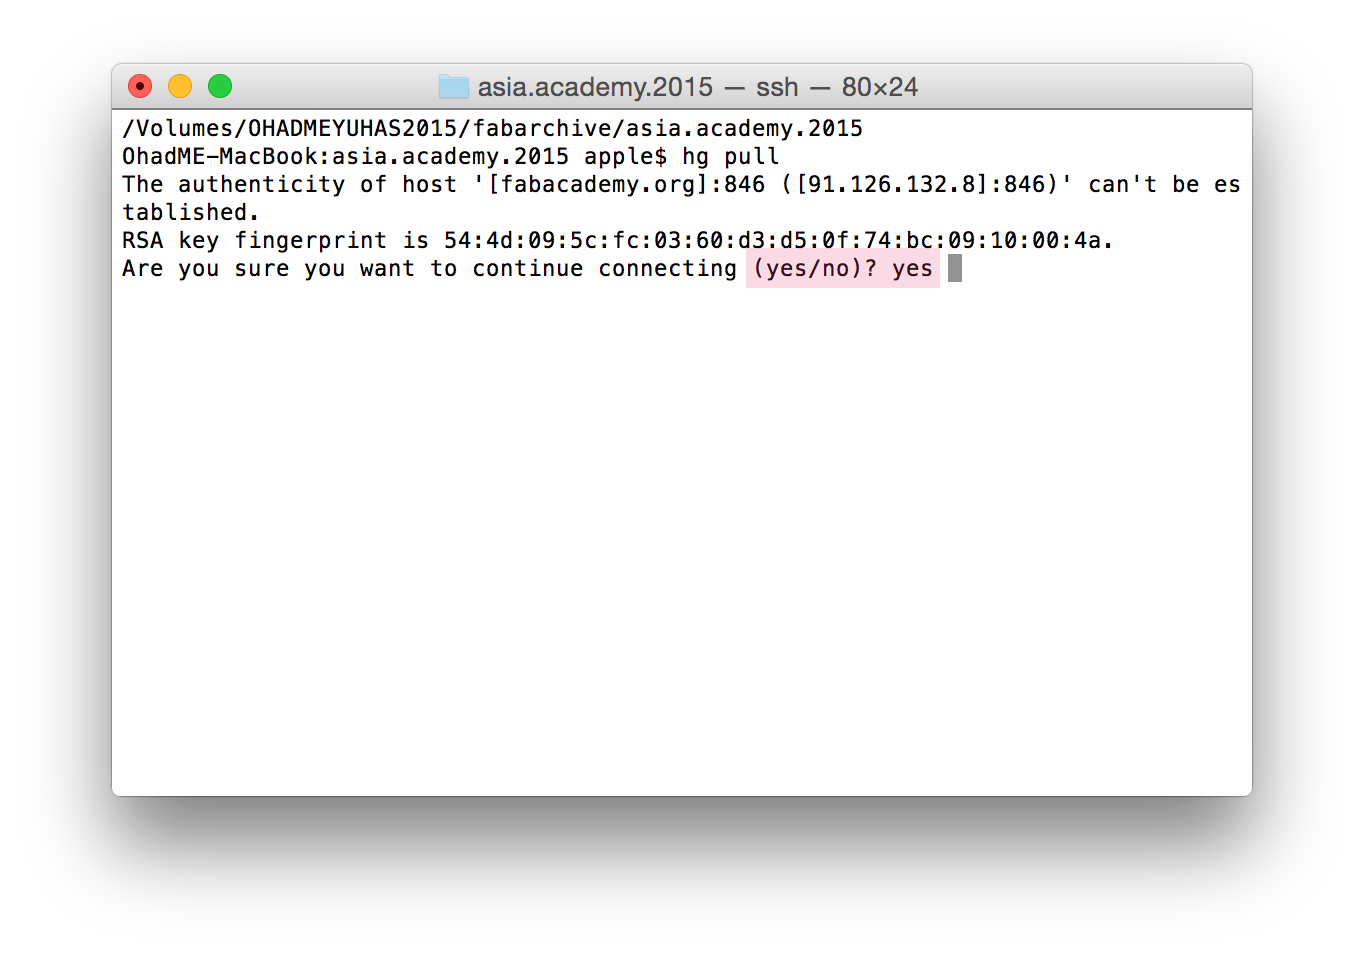
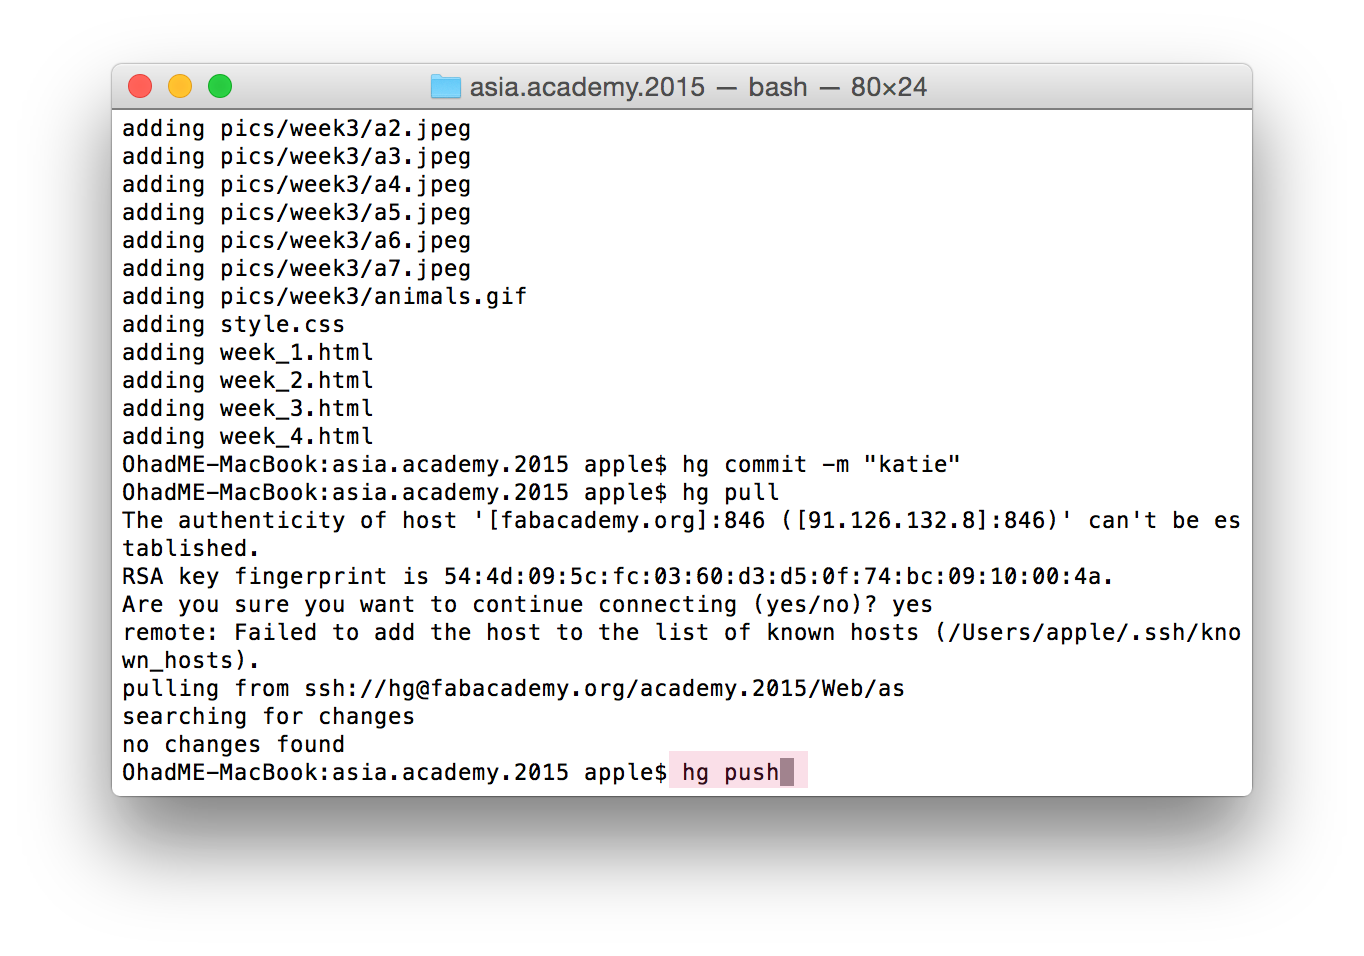
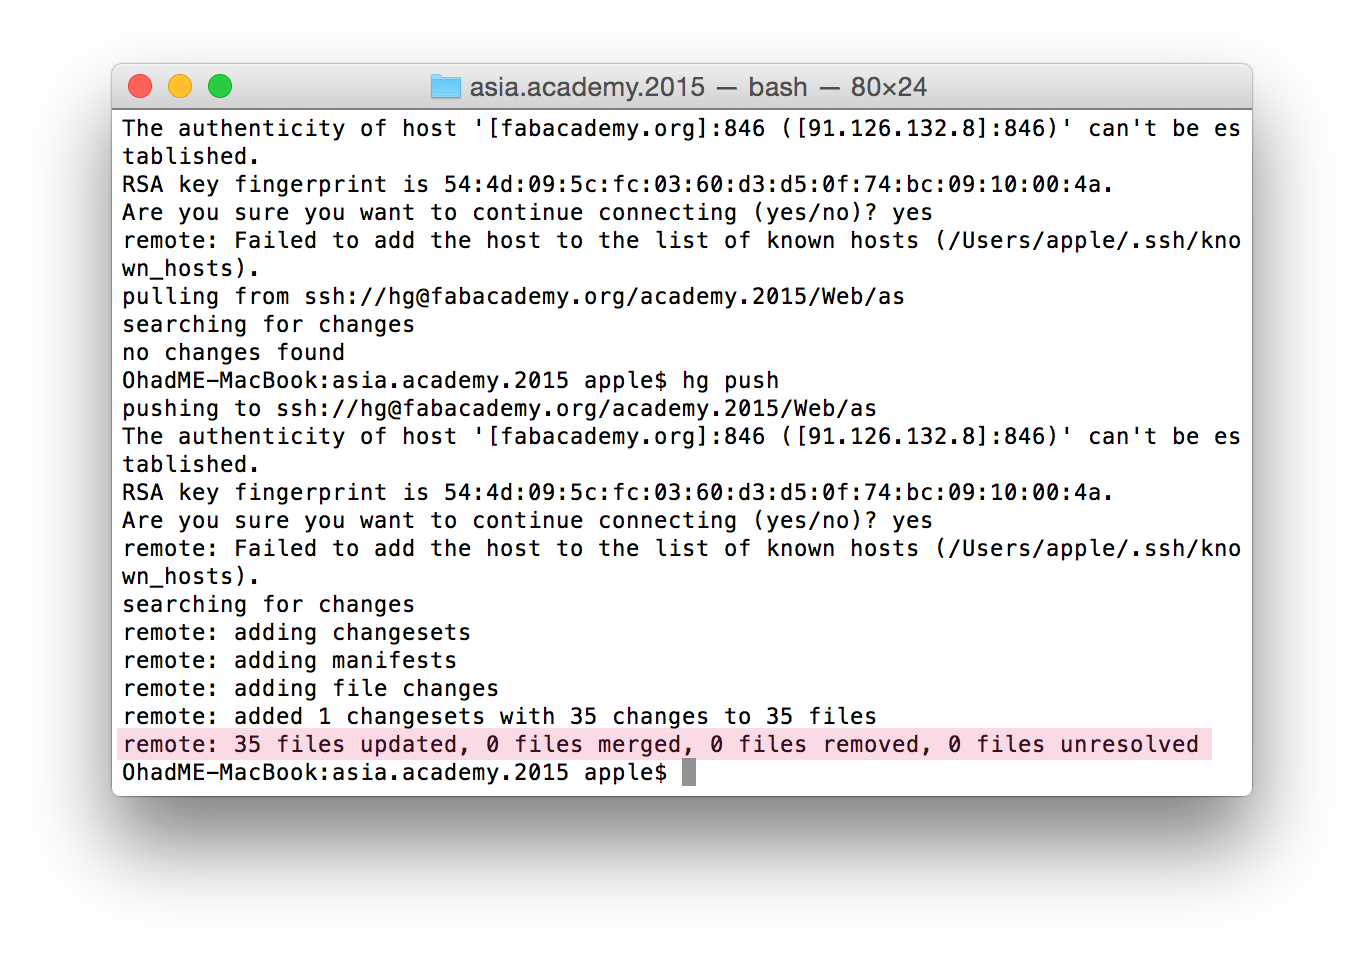
Mercurial
Once I had my first HTML site I needed to upload it to the Fab Academy archive using
Mercurial. I used
this
tutorial to help me upload my site.
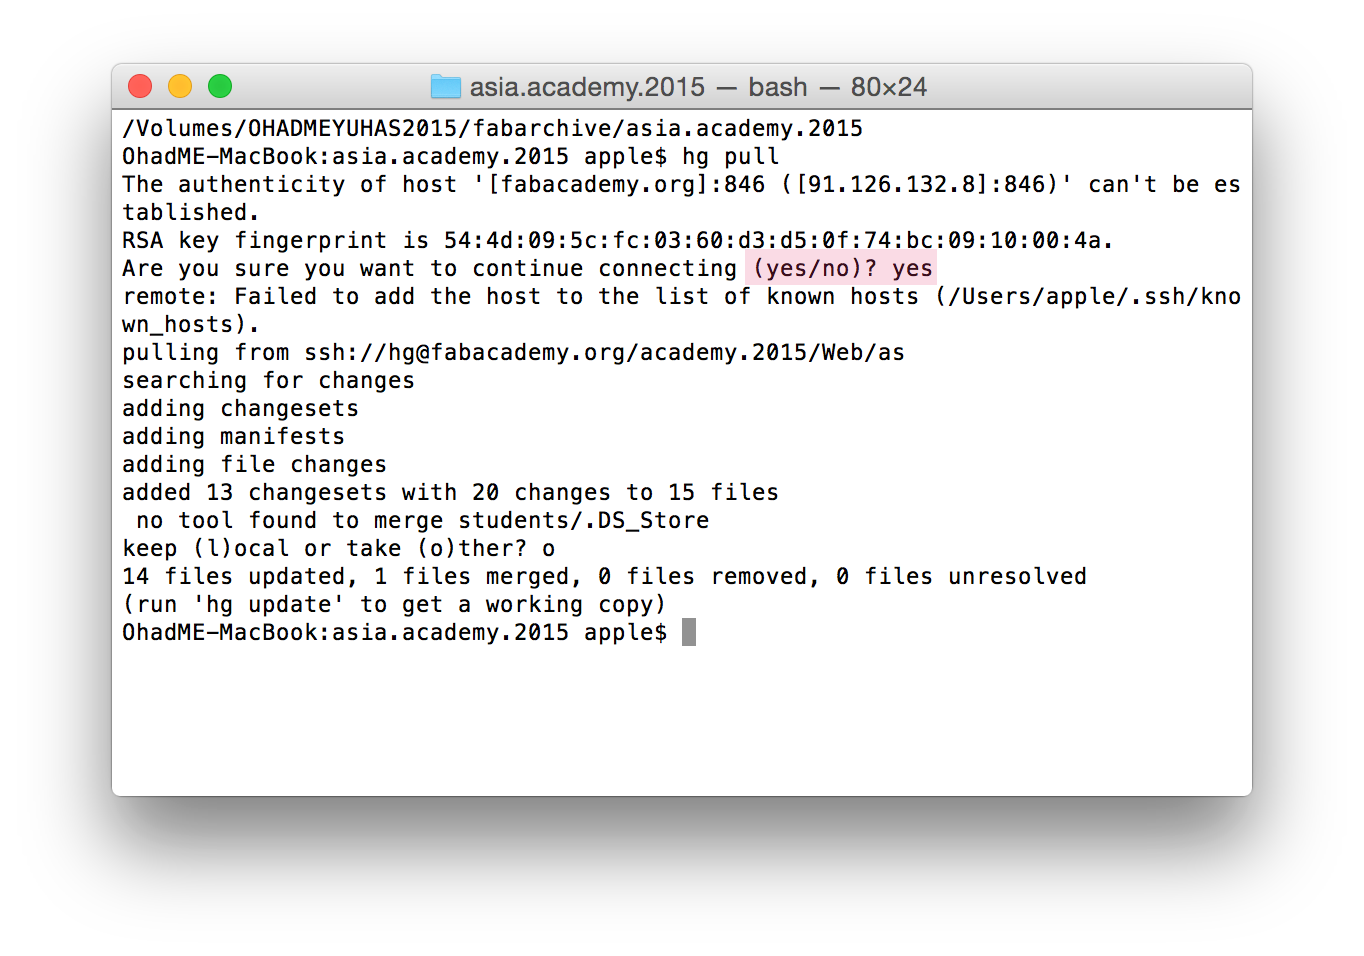
The commands I used for mercurial are listed below, please use a valid tutorial before uploading to the main site where you files are kept for all eternity (along with your mistakes and googolplex sized files).
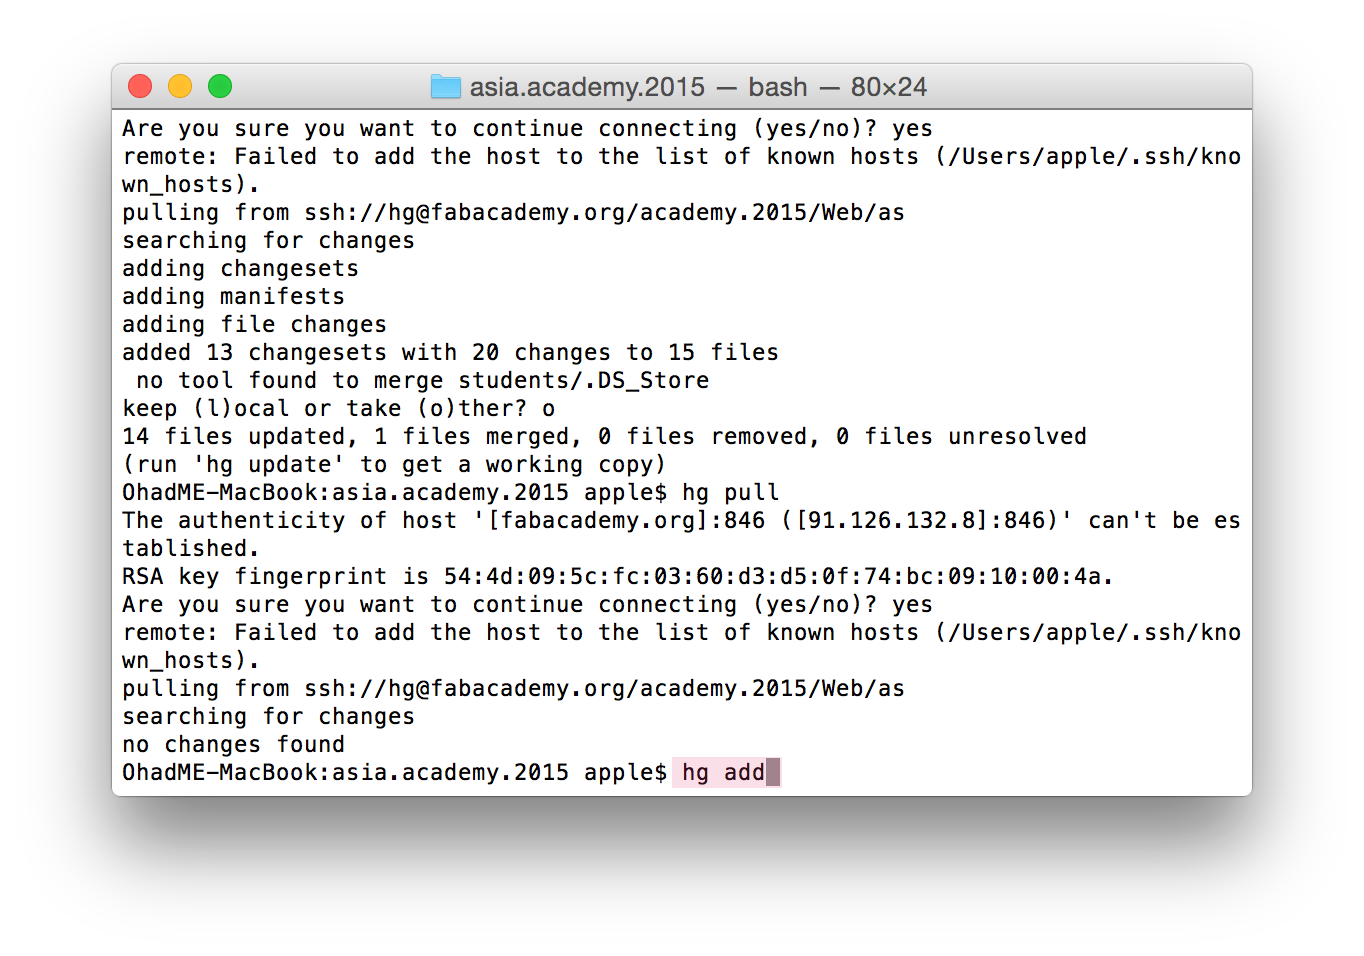
hg pull
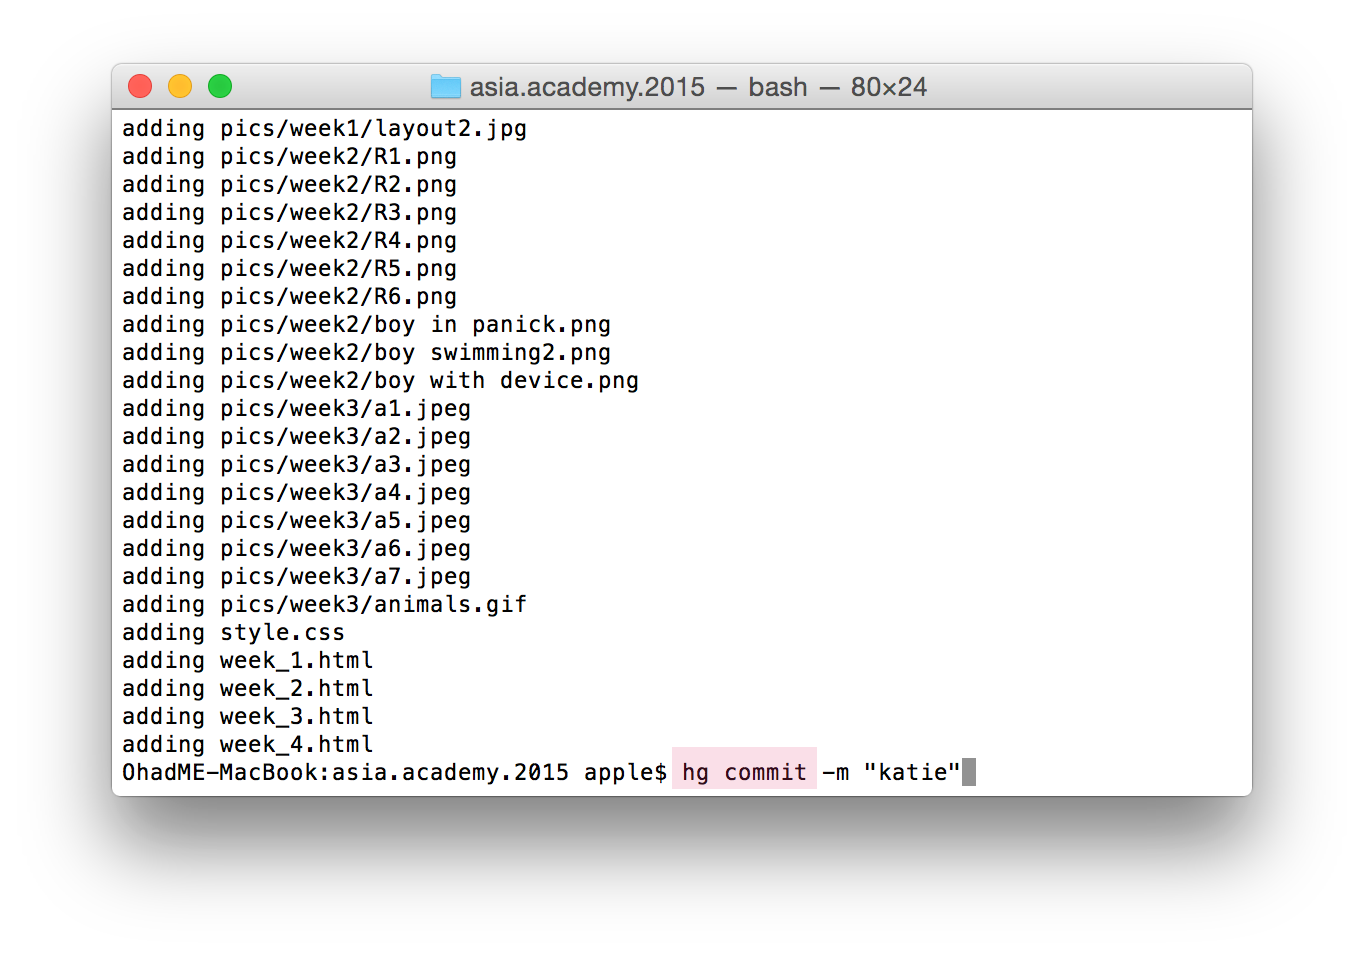
hg add
hg commit
hg push
Next Week