| HOME | ABOUT ME | FABLAB UPM | FINAL PROJECT |
| week 1 Principles and practices, project management |
| week 2 Computer-aided design |
| week 3 Computer-controlled cutting |
| week 4 electronics production |
| week 5 3D scanning and printing |
| week 6 electronics design |
| week 7 computer-controlled machining |
| week 8 embedded programming |
| week 9 molding and casting |
| week 10 input devices |
| week 11 composites |
| week 12 output devices |
| week 13 networking and communications |
| week 14 mechanical design, machine design |
| week 15 interface and application programming |
| week 16 applications and implications |
| week 17 invention, intellectual property and income |
| week 18 project development |
| week 19 project presentation |
Week 1: Introducing the Final Project
Goal: get a customizable and variable space, sensitive to what happens around . Build a changing and dynamic architectural model that is transformed according to environment conditions change .
The project is based on three main steps:
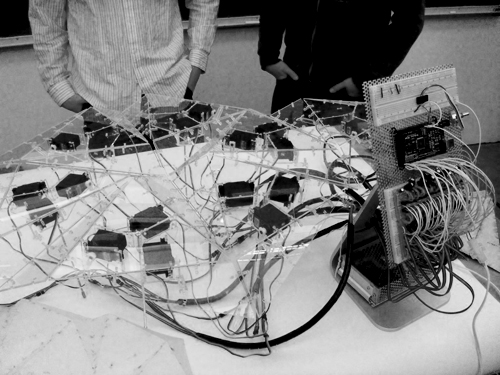
1 - digitization of the space through a 3D scan (using a device like Kinect) that allows us to get digital real-time data from this physical space. 2 - use the data collected to transform the model designed, using a parametric CAD software (Grasshopper type) that allow the modification of the design according to the changing initial conditions . Thus, the data collected by the 3d scan are the initials the parameters and variables that will transform the space designed by CAD . 3 - Connect the digital model to a physical mechanism, built using digital manufacturing tools in the FabLab and make their shape change according to the outputs change from the parametric processing. |
 |
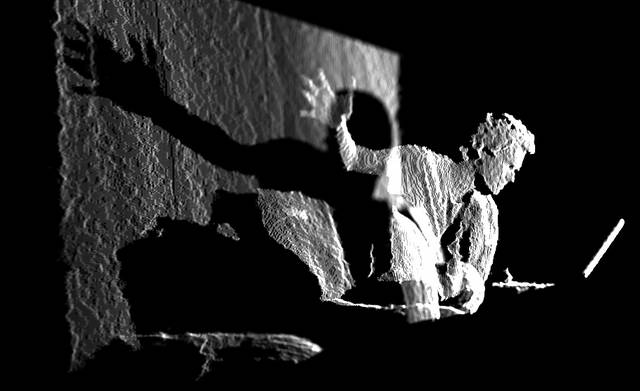 |
Digitization of space by devices like Kinect allows us not only to know in real time what happens in the physical space but also to use it as initial parameters that will transform the final model, creating a continuous feed of data whom the surface answer adopting different shapes.
|
Here I give you two examples of projects that works with the transformation of surfaces in a similar way as I do. The first, PixelSkin is a surface facade based in equilateral triangles that regulates the entrance of light into the building. The second example, Responsive Kinetics, is a project focused on the mechanical deformation of a tessellated surface in response to temporal variations of elemental forces. The surface changes With the light, air, and precipitation from outdoor to indoor conditions. I insert two videos you can see the two projects in motion.
|
PixelSkin by Sachin Anshuman |
|
Responsive Kinetics by Anthony Diaz and John Hobart Culleton |
Week 2: CAD
Goal: Get a CAD design for our Final Project
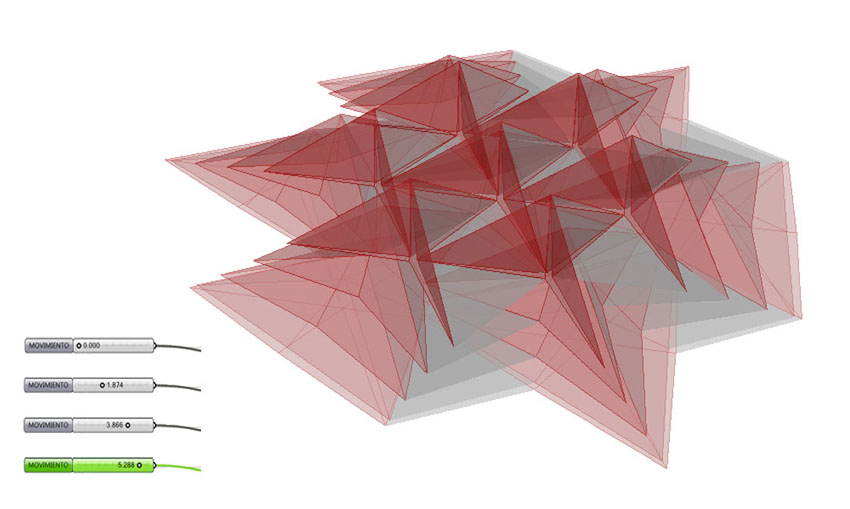
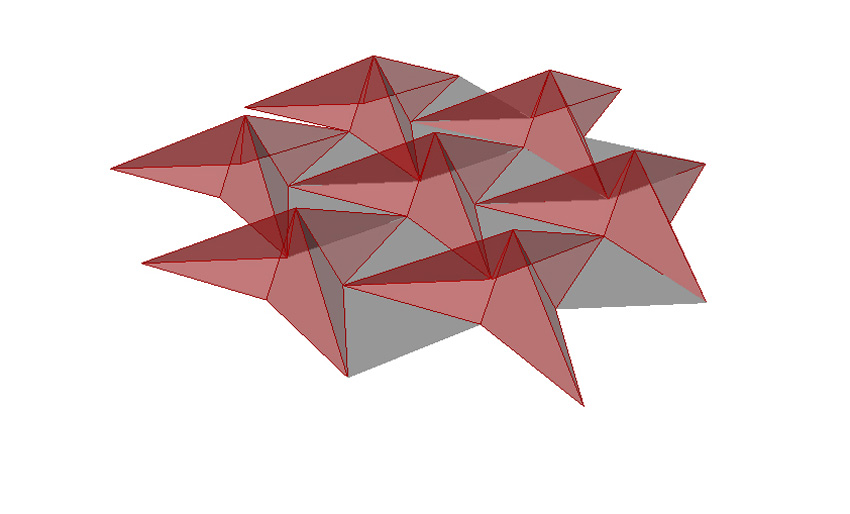
The design is based on getting a skin which expands and contracts to reduce its size a third part by folding its faces.
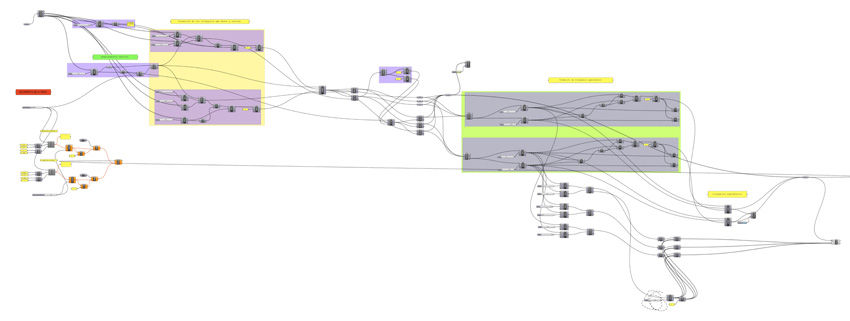
The work involves parameterize the surface using Rhino and Grasshopper, from the surface triangulation and by folding and unfolding the faces we get the motion needed to reduce the surface.
Grasshopper definition:
Rhino results:
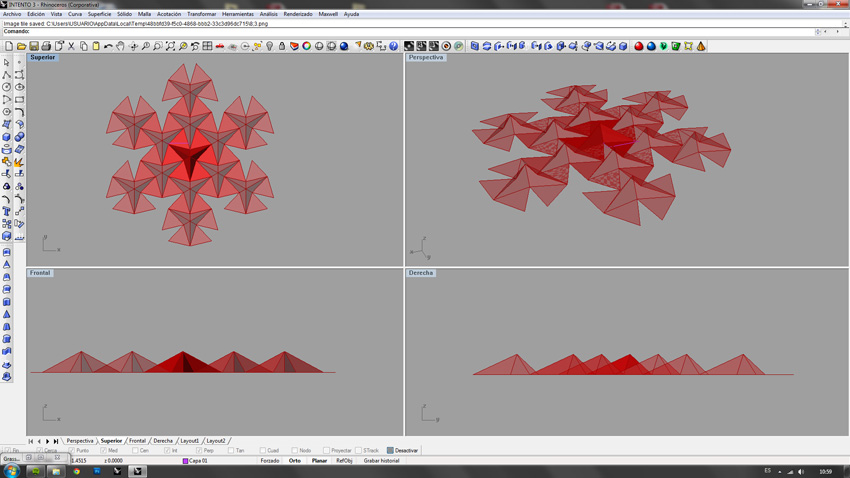
Expanding and contraction of the model changing the initioal parameter:
