The Shop Bot/PressFit Table
Make something BIG!
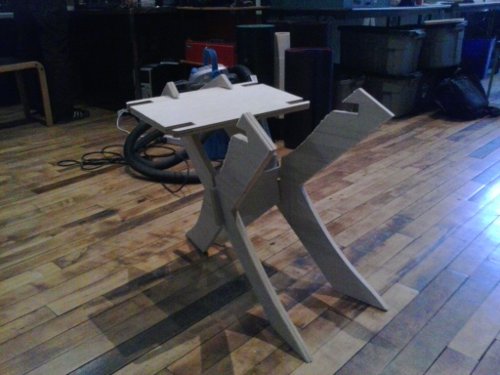
This week I used inkscape to design a small table to put next to the couch at home. (Holder of remotes, food, drink, etc...) Starting with a curved and notched rectangle I then made two 'X' shaped legs with a support "beam" in between them. Anna documented our material thickness (sheets of 4' x 8' plywood) as .748 inches, I kept this in mind when created the notches for the press fit table. I thought that giving .05" of relief for this would work great for press fit design, making my notches a whole .753" wide. This would later prove to be a little too much unfortunately.
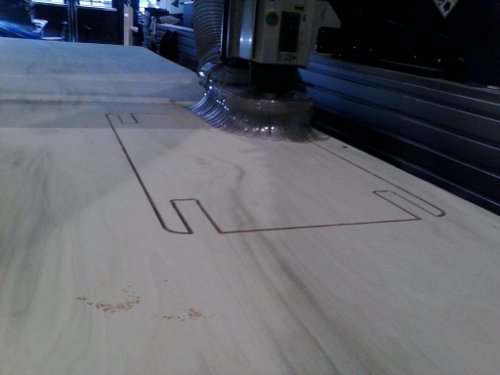
To set up the tool paths on the shopbot I went with a 1/8" downcut bit. Using PartWorks I went through all of my joints and created dog bone fillets for a smoother fit.
NOTE: If using clones in Inkscape always unlink them before exporting as a PDF into PartWorks. Any clones in your PDF will come up as strange box vectors instead of straight lines.
The Shop Bot:
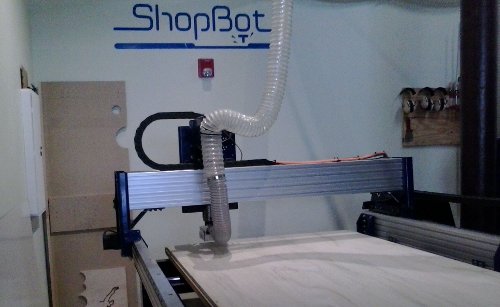
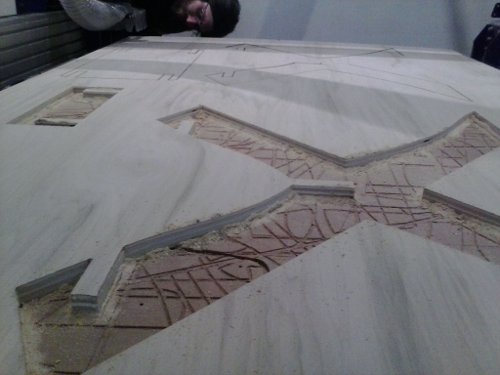
Loaded Bit into colar/collet, preparing to 0 all axes:
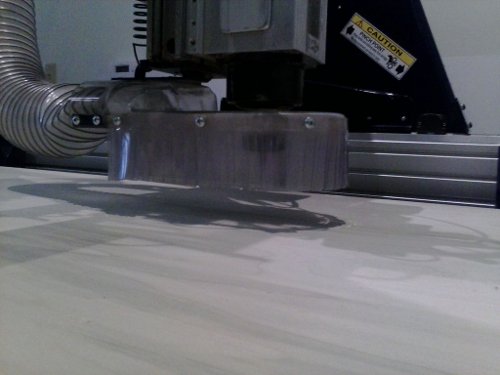
The downcut bit worked great for this job, because I have relatively large pieces the compacted chips left behind managed to hold the piece in place without the need for creating tabs.
I found that .05" of relief on all of the pressfit notches was a bit too much, put together, the structure was very loose. Also I made a silly design error with the size of the table top; after rezing the legs I forgot to resize the table top, it is much too small. 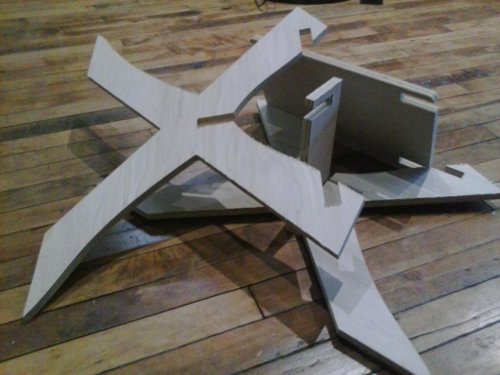
However if I turn the top sideways it made a pretty neat looking stool!