Fab Labs. Advanced made simple.
Local Solutions for local problems.
Posted by James Akumu | For Fab Academy
Molding and Casting Project
For the this project, we are to design and make a product using the molding and casting method, which is used to make exact copies of the original.
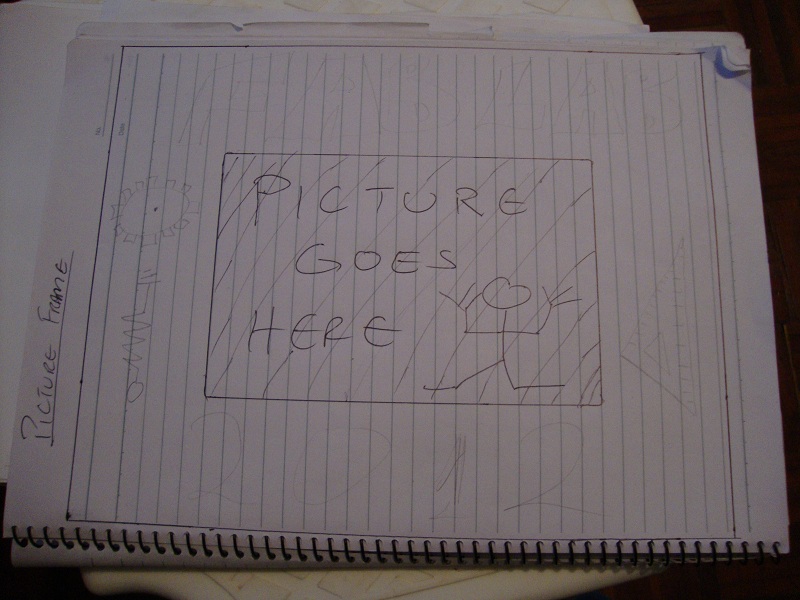
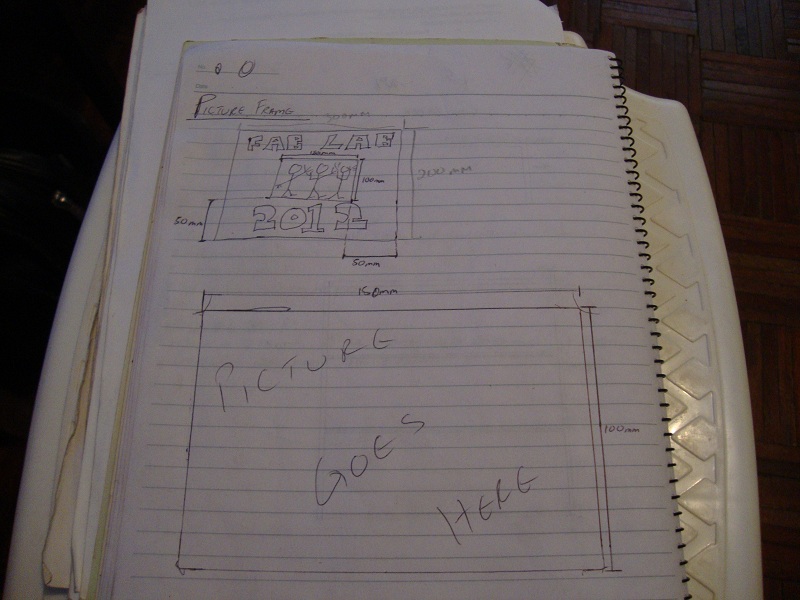
I designed the picture frame to hold the standard size picture, which is 150mm by 100mm. However, the design can be scaled down to accomodate smaller pictures.
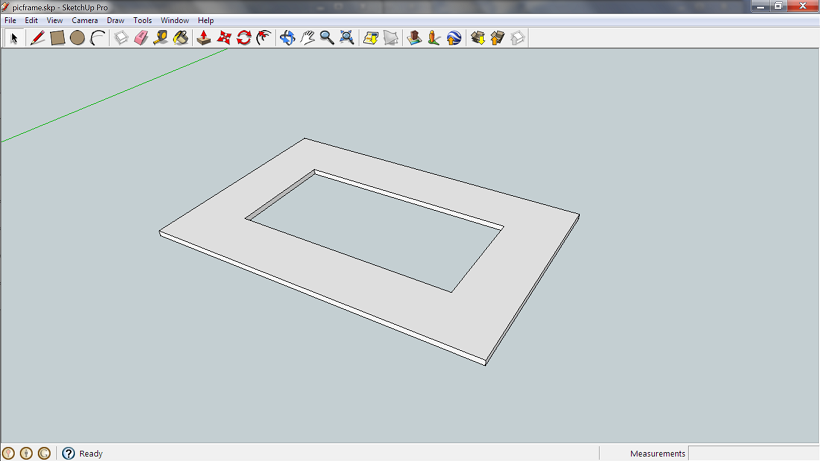
I used SketchUp to design the picture frame.
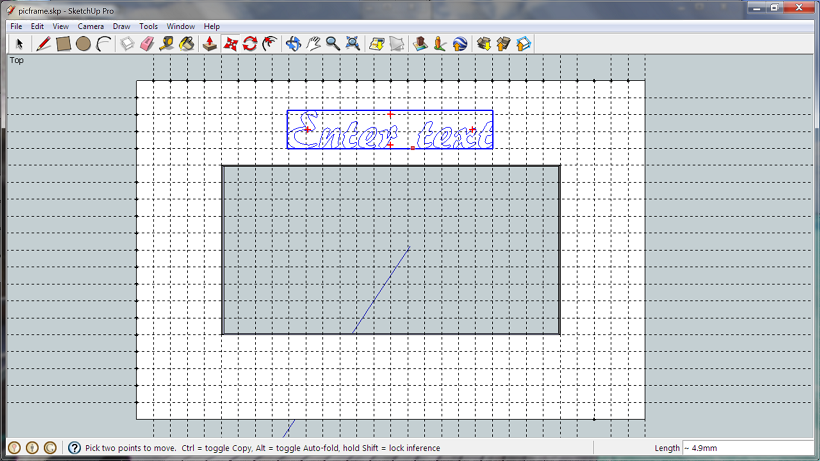
I used guidelines to place the 3D text symmetrically.
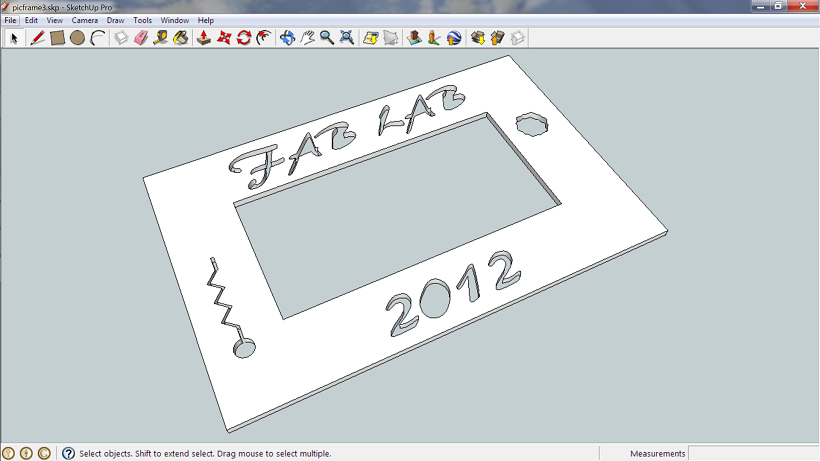
This is the final design. Time to cut a prototype, which the mold will be made from.
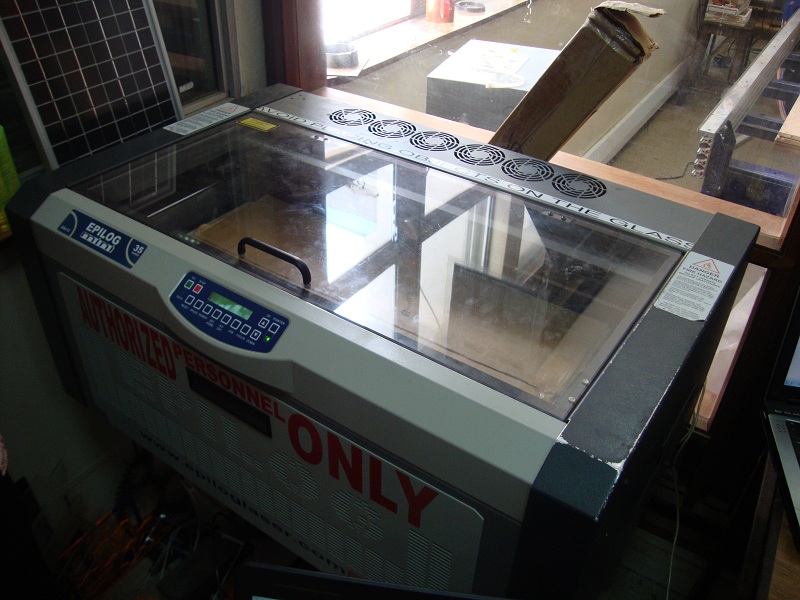
I used the Epilog Mini to cut a prototype.
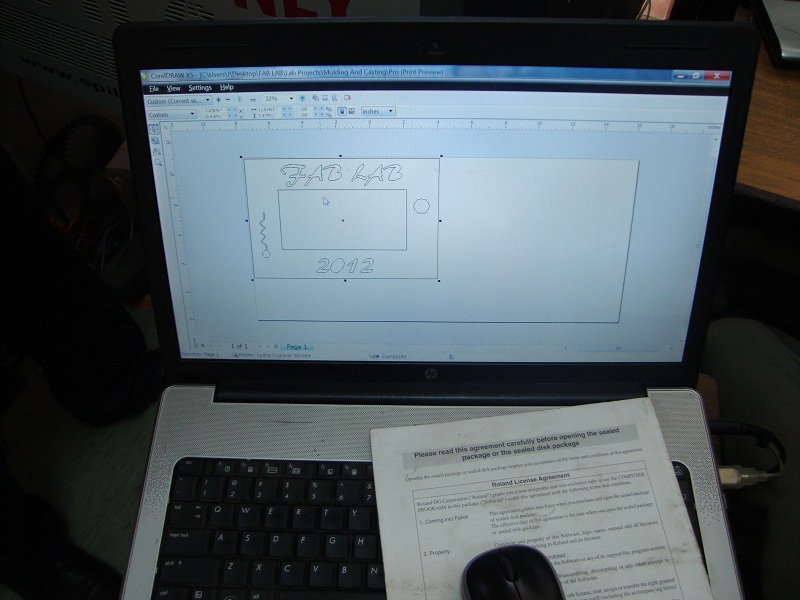
The Epilog drivers are not compatible with the SketchUp file format. When you send a SketchUp job to the Epilog Mini, it immediately says 'done'. So I used a plug-in exporter for SketchUp that I found on the net, that exports to dxf, and exported a top view of the picture frame. I then opened the .dxf file on CorelDraw X5, and sent the job to the Epilog Mini.
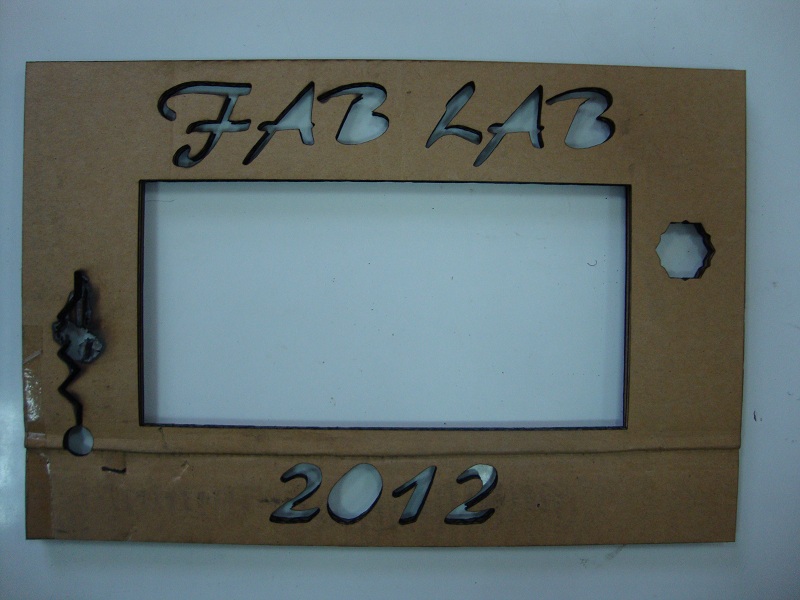
I did an initial run using cardboard to make sure everything comes out correctly. Some of the cardboard caught fire, but it was not anything serious. This is why it is very important that the machine be attended to when running.
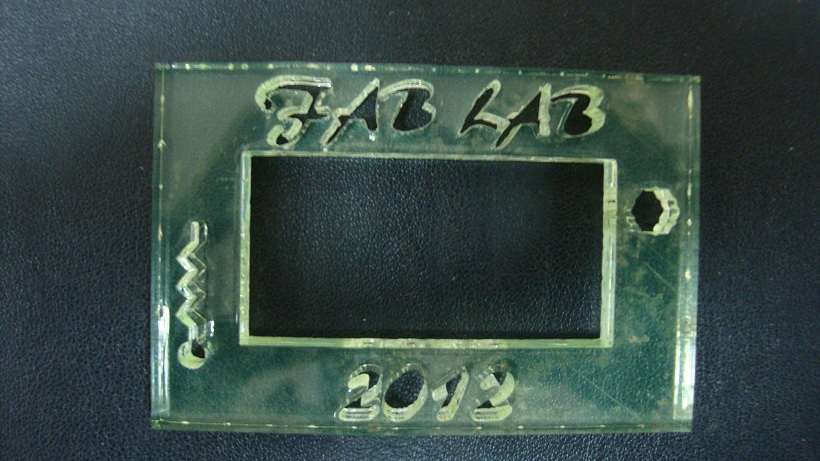
This is the final cut prototype, using acrylic. This will be used to make a mold, that replicas will be cast from.
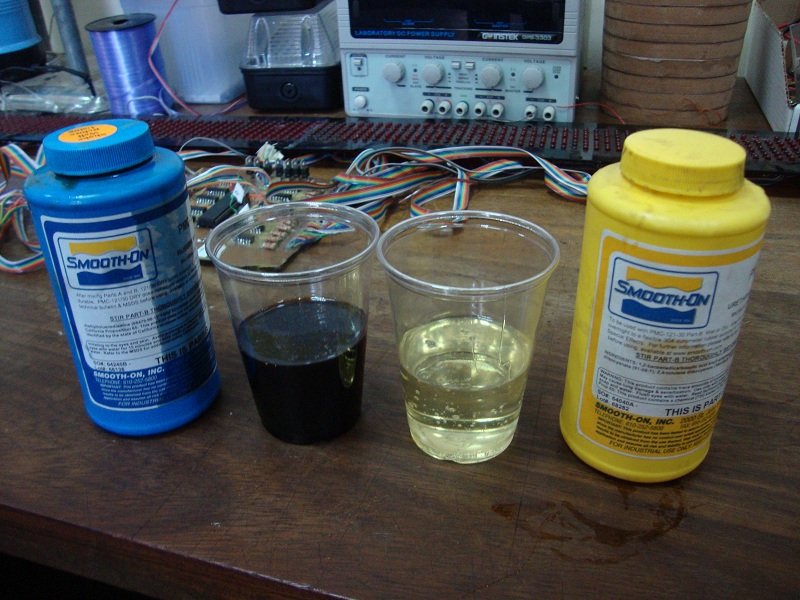
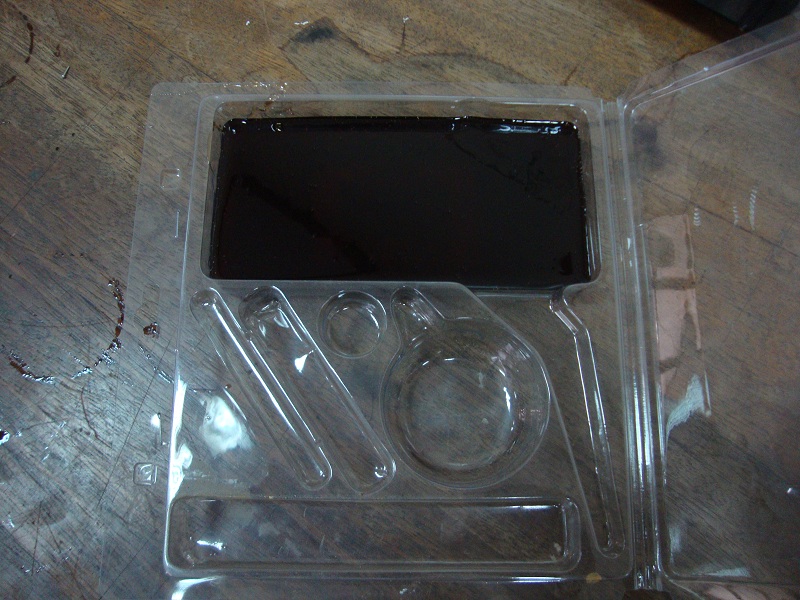
These are the mold making chemicals to be mixed together to produce a tough rubber material that will become the mold. The PMC-121 Series urethane rubbers feature convenient one-to-one by volume mix ratios. PMC-121/30 Dry and PMC-121/30 Wet are exceptionally strong and abrasion resistant for soft urethane mold rubbers. These rubbers will meet the stringent demands of production casting of wax, plasters, concrete, resins and epoxies.
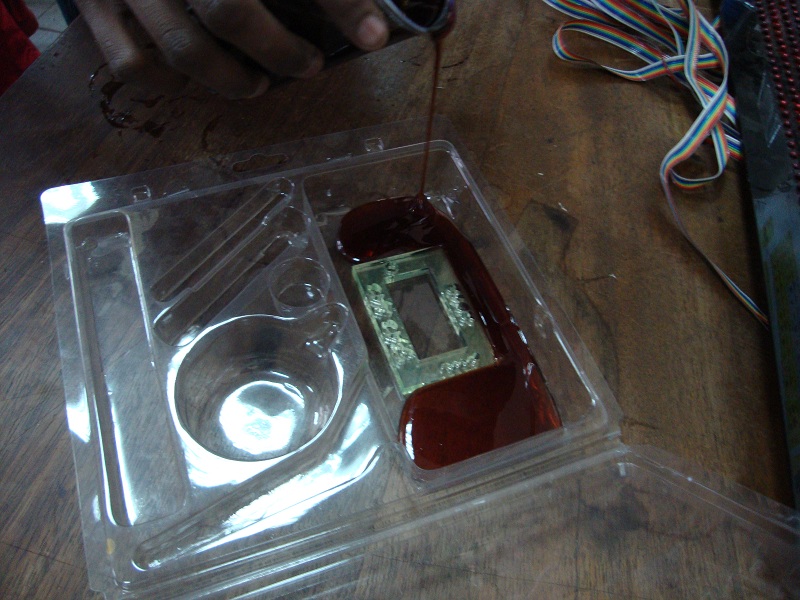
I placed the prototype model in a container with a flat surface. After patiently mixing and stirring the above mentioned chemicals, for consistency, and to remove air bubbles, I poured the mix over the acrylic prototype.
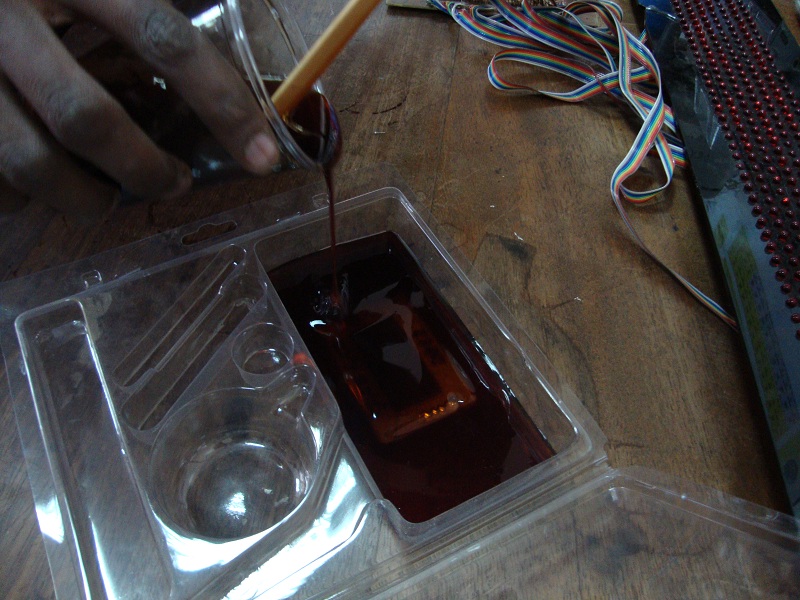
Pouring is done very slowly to avoid creating air pockets.
The prototype model is totally submerged in the liquid mix.
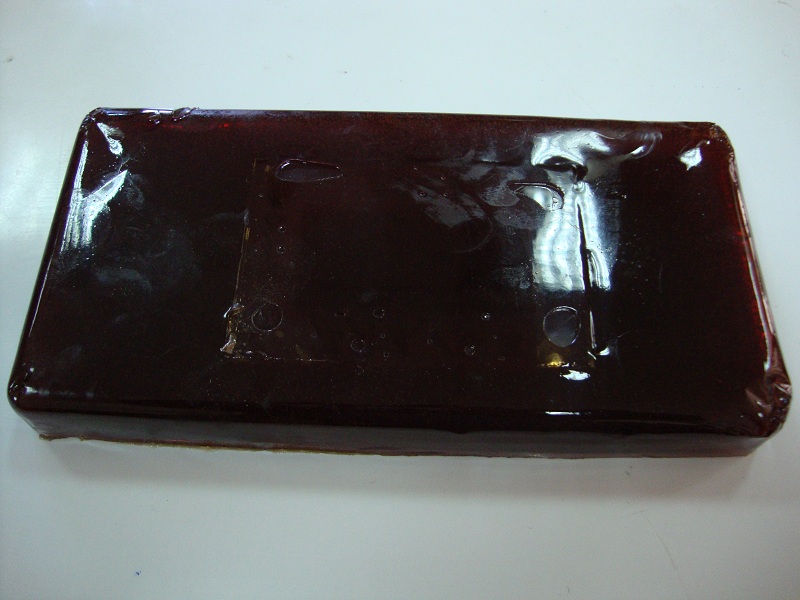
Coming back the next day, I find that the urethane rubber seems to have settled well.
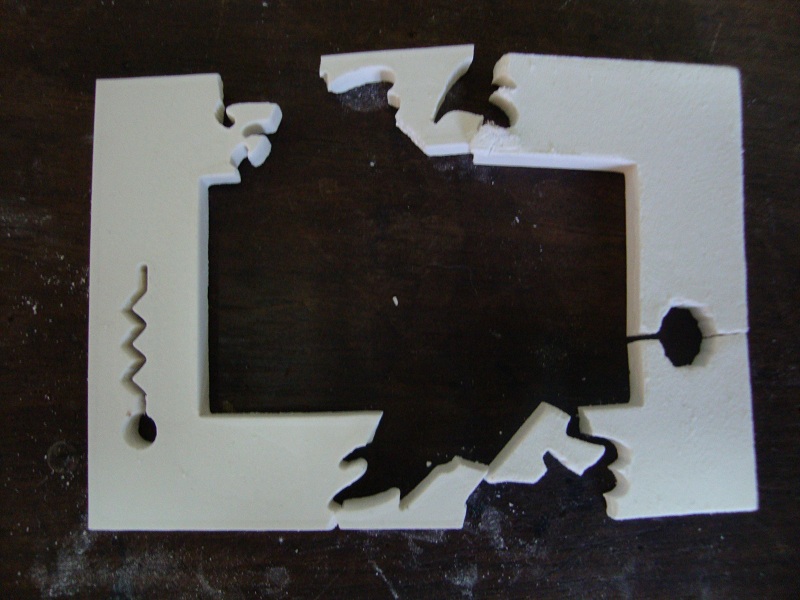
After carefully removing the prototype from the mold, an inverse image of the original is revealed.
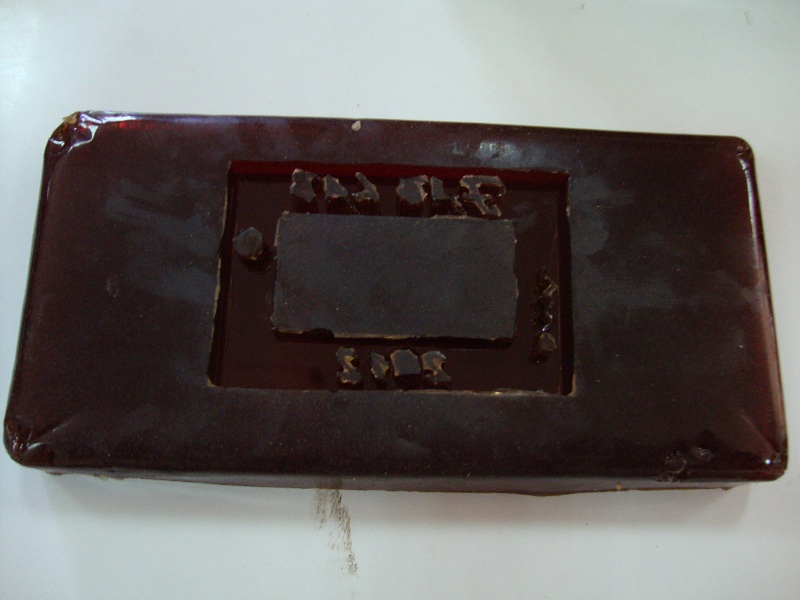
For the casting material, I used Dry Stone, which is a cement mix with a higher gypsum content for quicker setting time. I slowly added the Dry Stone powder to half a glass of water, while continuously stirring, to keep the mixture from setting, and to remove air. I then slowly and carefully poured the mix into the mold to avoid creating air pockets.
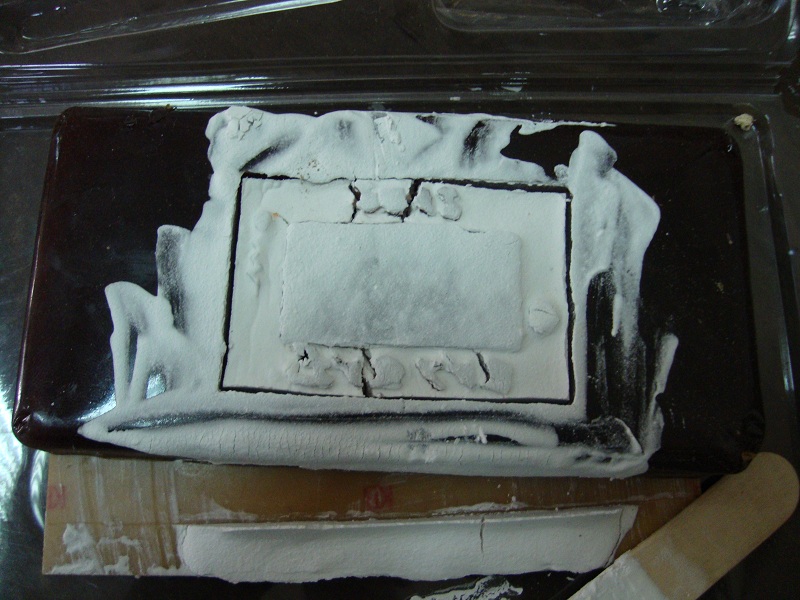
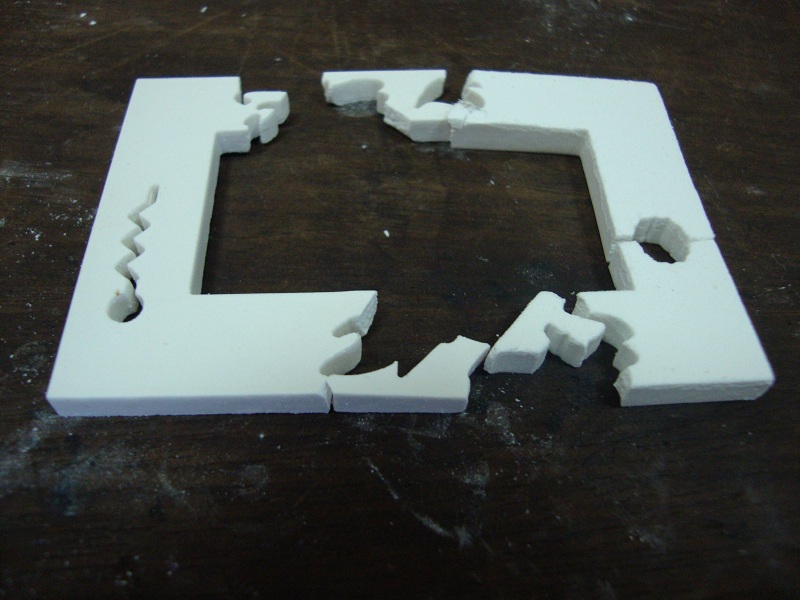
The cast cracked while drying. This means that my mixing ratios, of water to dry stone, were wrong. I must have put too much dry stone. I was going by sight and texture as I mixed the ingredients, but it is better to have a scale to get the mixing ratios right.
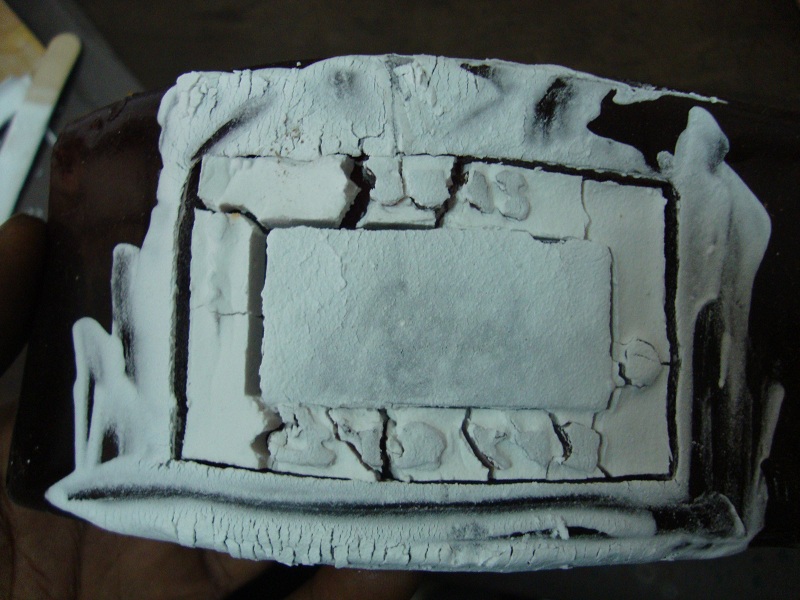
When I picked up the mold, even more cracks were evident.
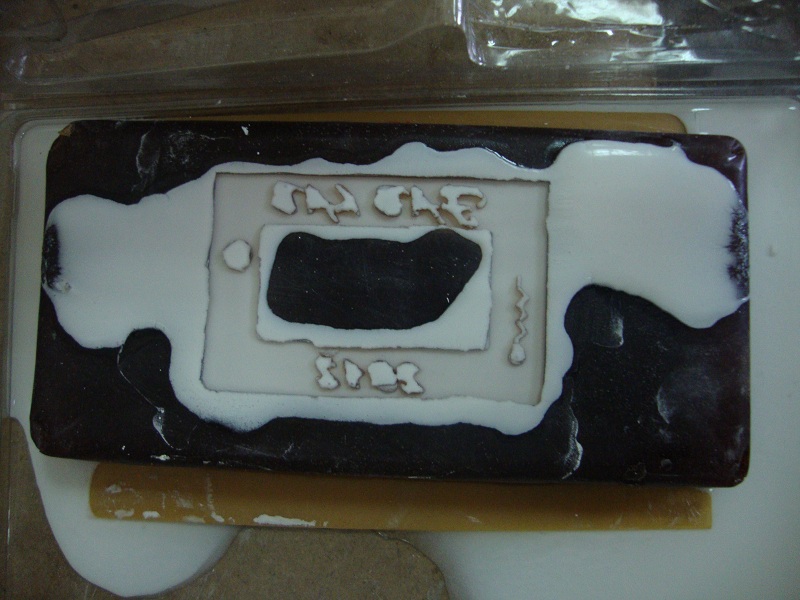
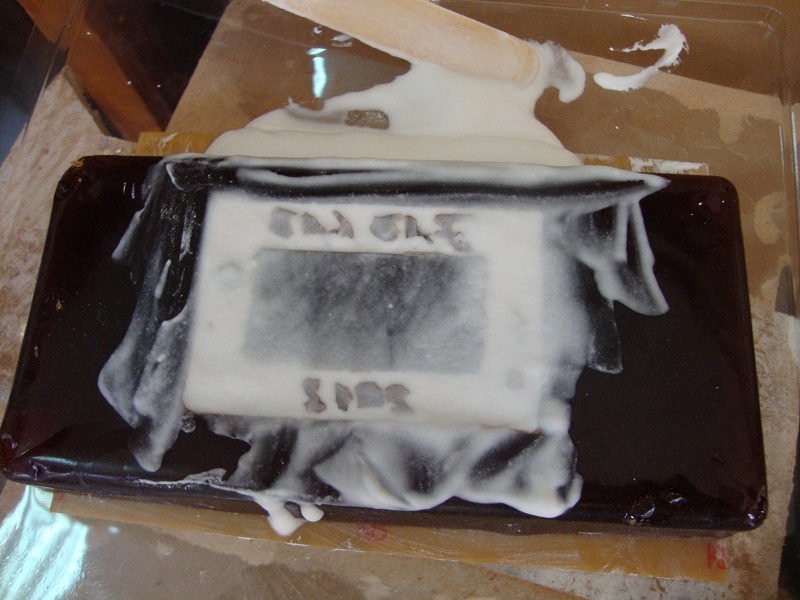
I cleaned out the mold; made a fresh dry stone mix; and poured the mix into the mold carefully. I could'nt find a scale, so I approximated the ratios, which are: 100g of powder to 65g of water.
This time the cast was much stronger than the first time, and did not crack when I picked it up. However, when I tried to remove it from the mold it refused to come out. I was told that the font I used for writting was too small, with too many curves, and this is what made it difficult to remove the cast. When I applied pressure to try and get it out, it started cracking.
I will have to make a new mold, a bit larger, with a simpler font.