Fab Labs. Advanced made simple.
Local Solutions for local problems.
Posted by James Akumu | For Fab Academy
3D Scanning and Printing Project
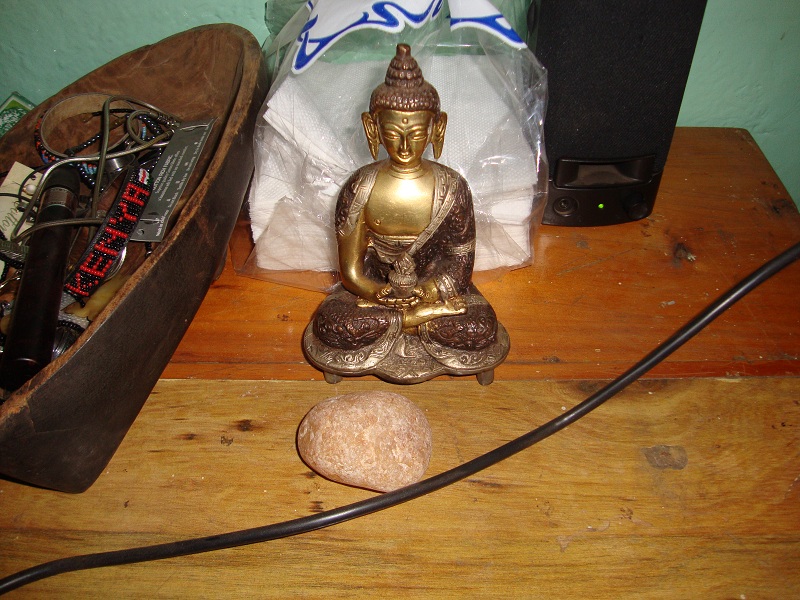
For this project, we are to scan a 3D object and print it. I took photos of many different objects and proccessed them using Autodesk 123D Catch. I started with a buddha statue that sits on my desk.
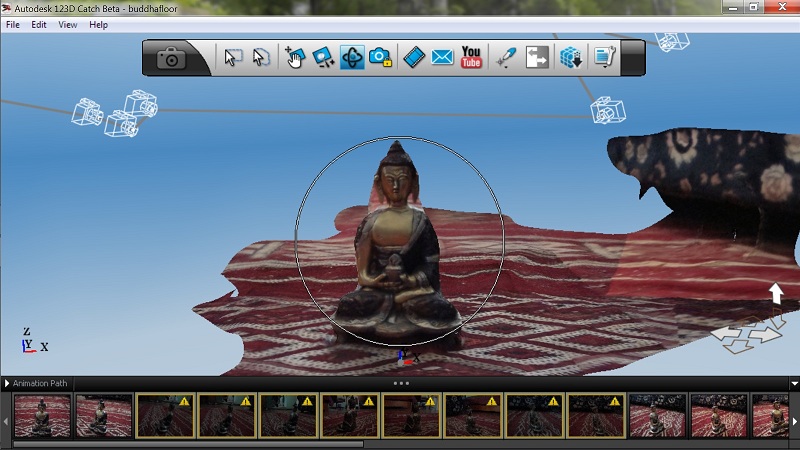
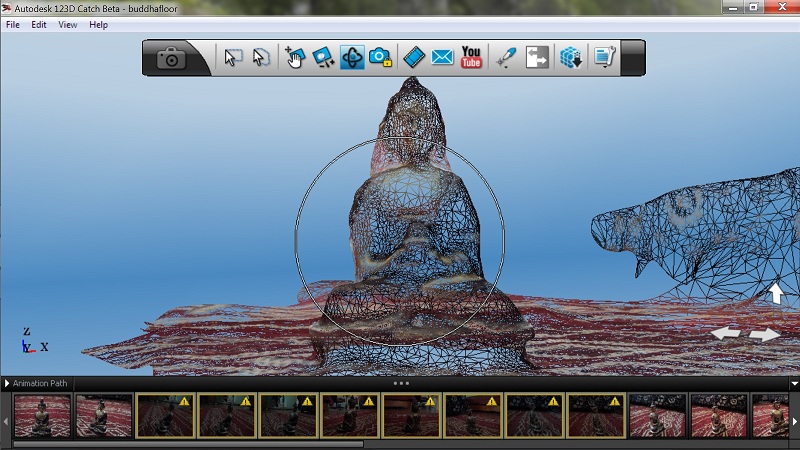
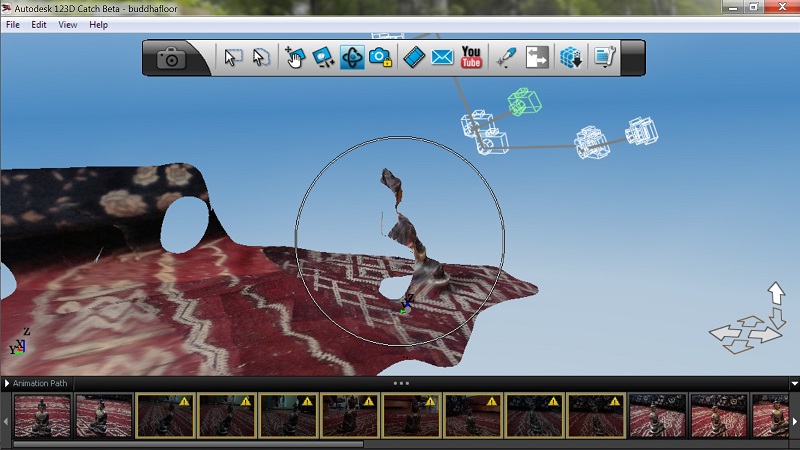
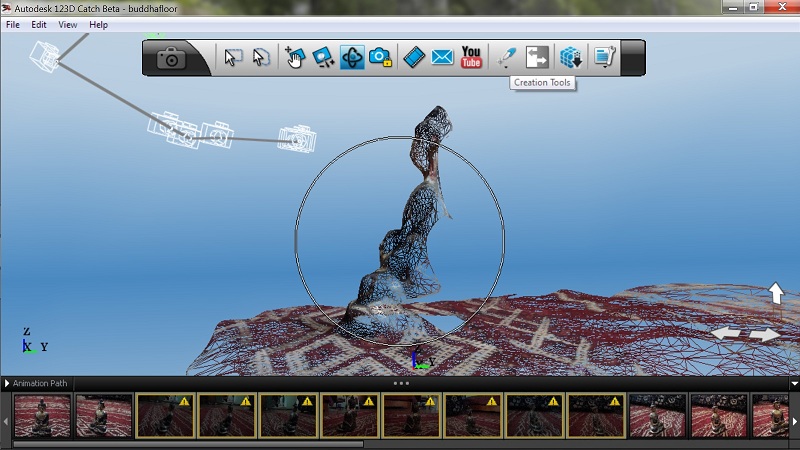
I took the pictures in my house using a 100-watt light bulb. Even with a bright bulb, many features were not picked up by the software, including most of the buddha's back. The buddha statute is made of brass and other metal alloys, and this makes the surface reflective, which is not advised for 3D scanning.
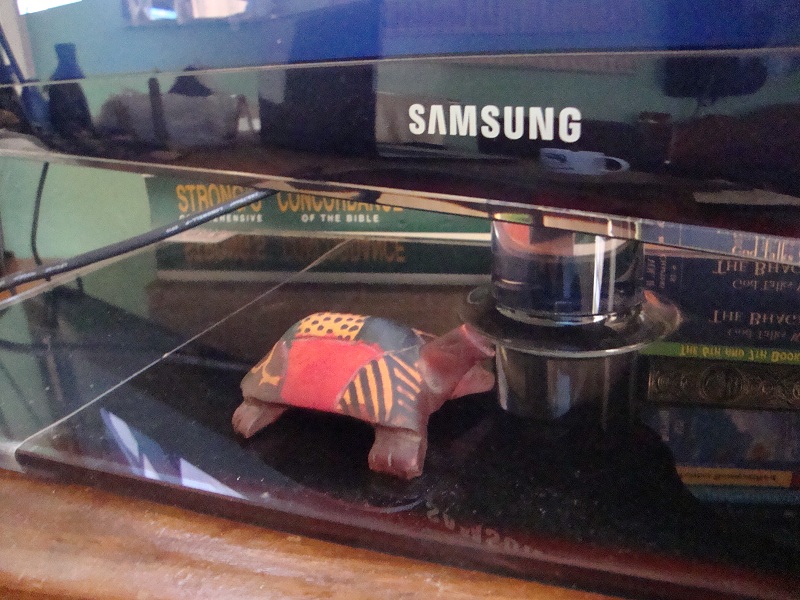
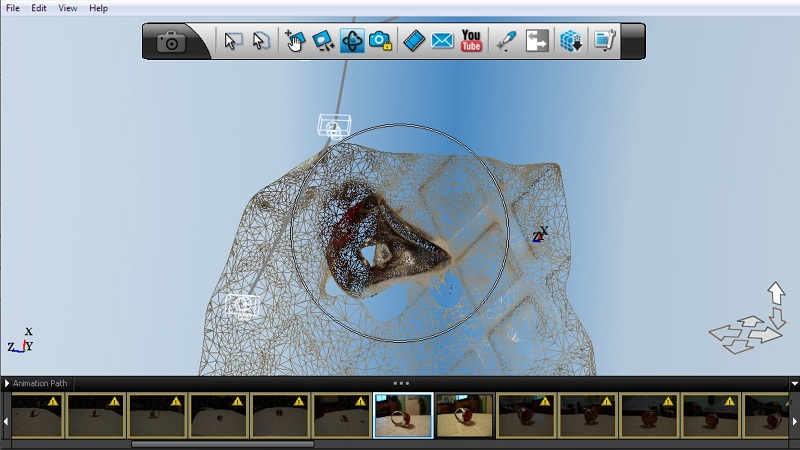
Next, I tried a small wooden turtle that sits on my TV stand.
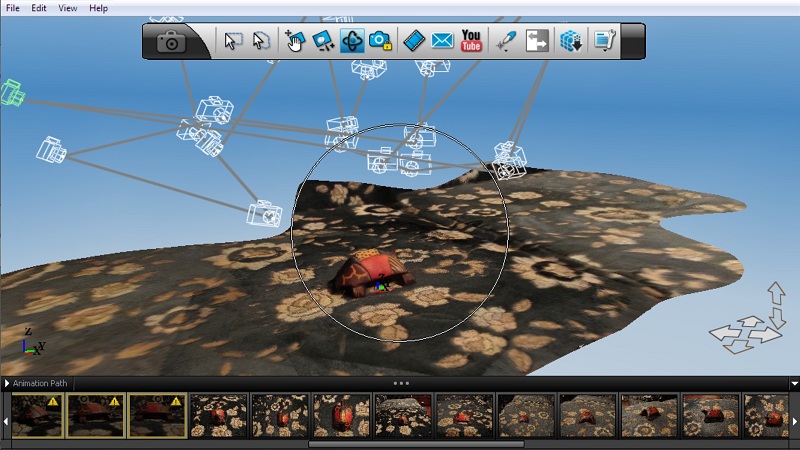
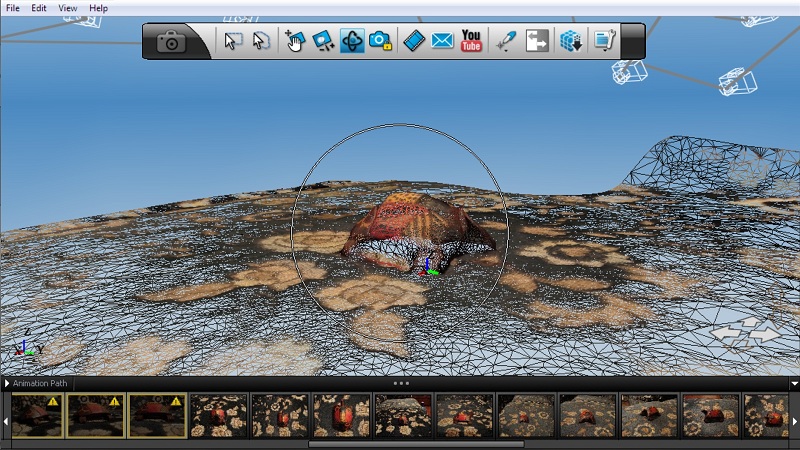
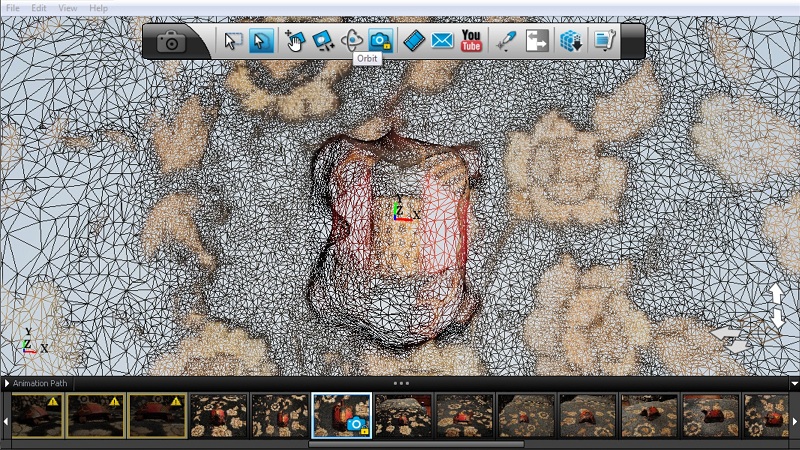
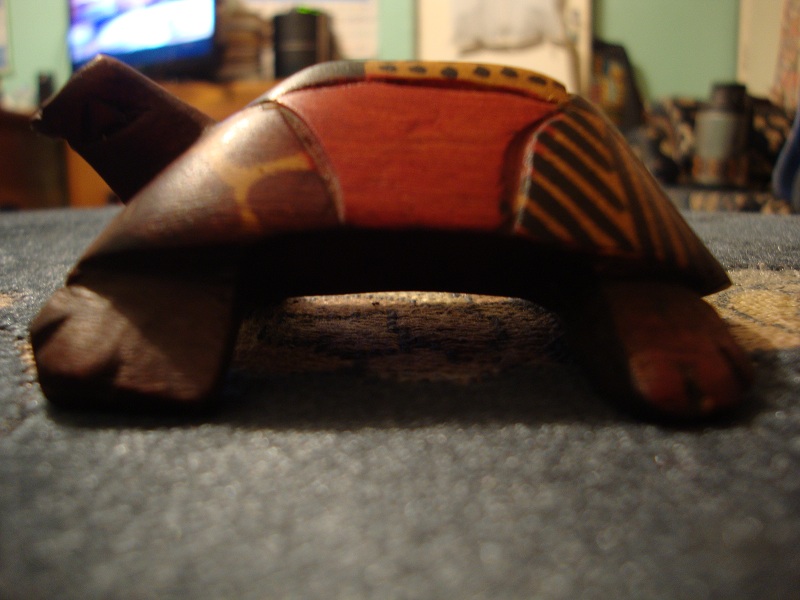
Most of the features were picked up by the software, except the turtle's head. Also, since the turtle has legs, and does not sit flat on a surface, the turtle was meshed to the surface on which I was shooting. A tutorial suggested that when shooting any object with legs, the object should be raised, and the legs should be independently supported.
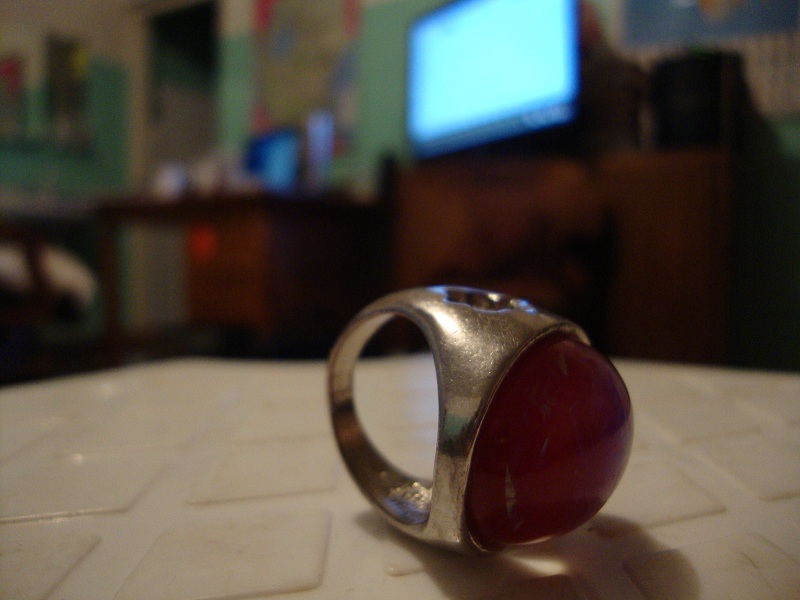
It was getting late and I was about to give up and try the next day, with natural lighting outside, but I decided to try one more object. This time I went for something small, and without much detail. I found a ring that I wanted to convert to a fab lab ring. Lets see how a ring will come out!!
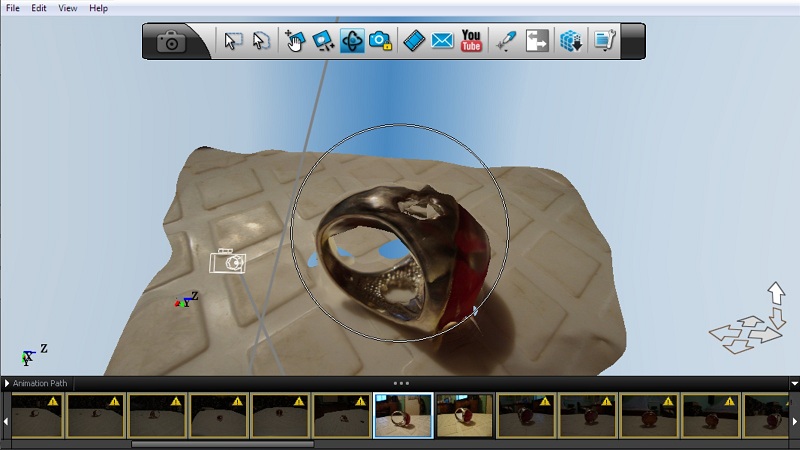
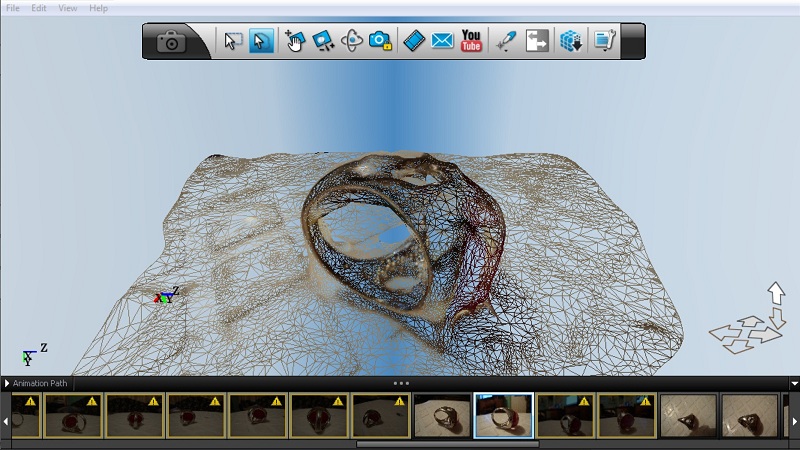
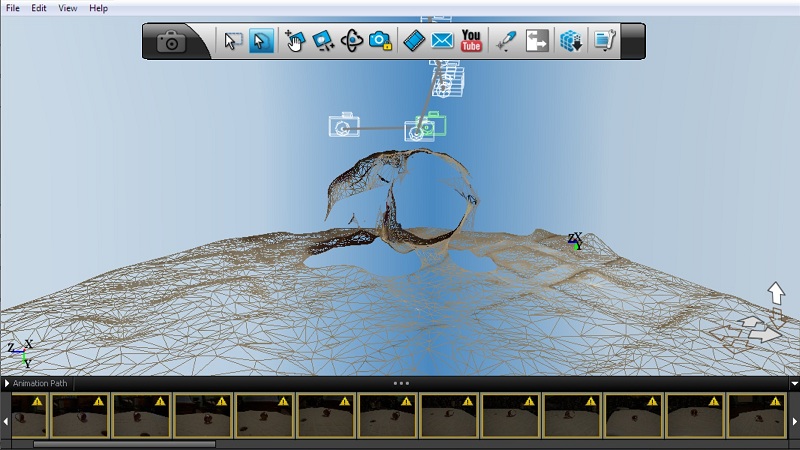
Only the side facing the light was proccessed by the software. The shadow side was too under-exposed for the software to pick up.
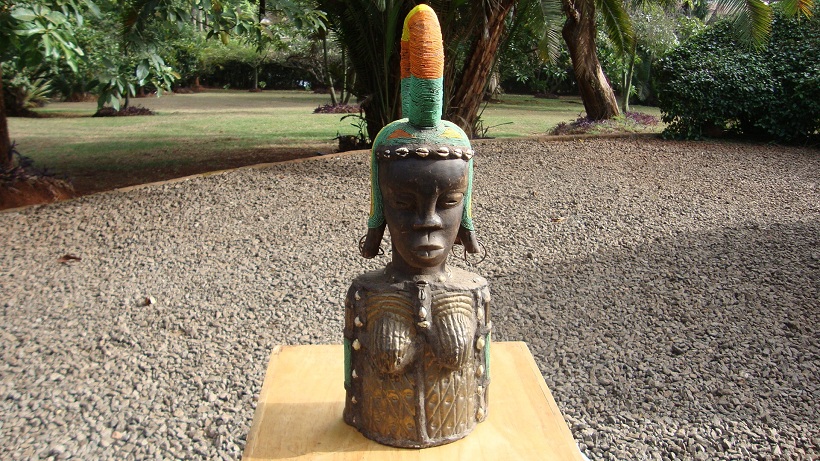
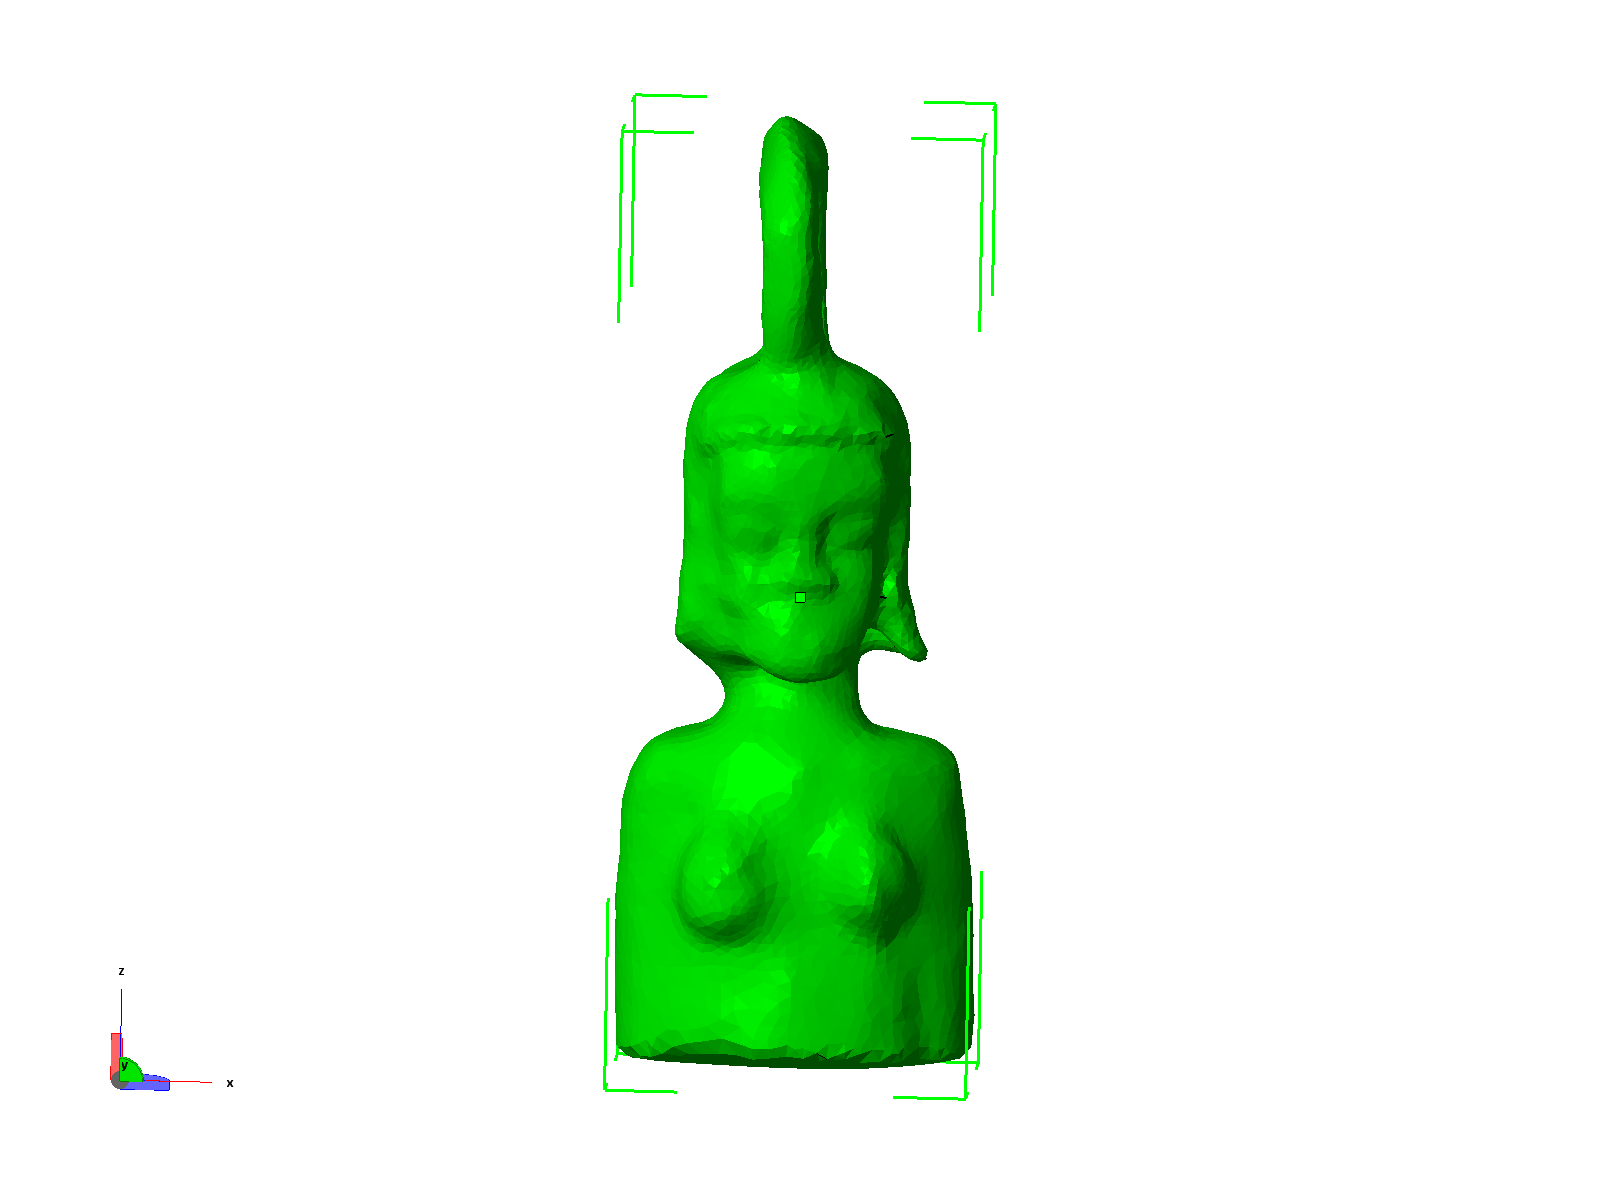
The next day I found a large statue of a woman with a very intense look that was just begging to be scanned. I took her outside and started shooting. The mistake I made was that I should have made her face the sun. Because of this, the left side of her face came out a bit shaded, but not too bad.
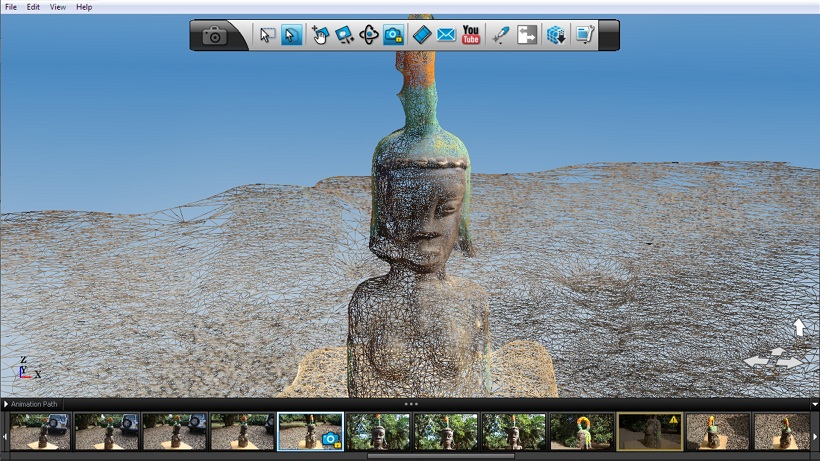
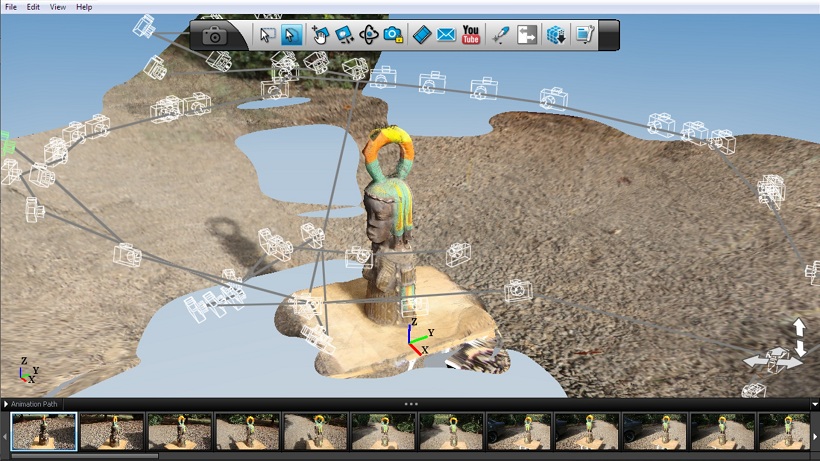
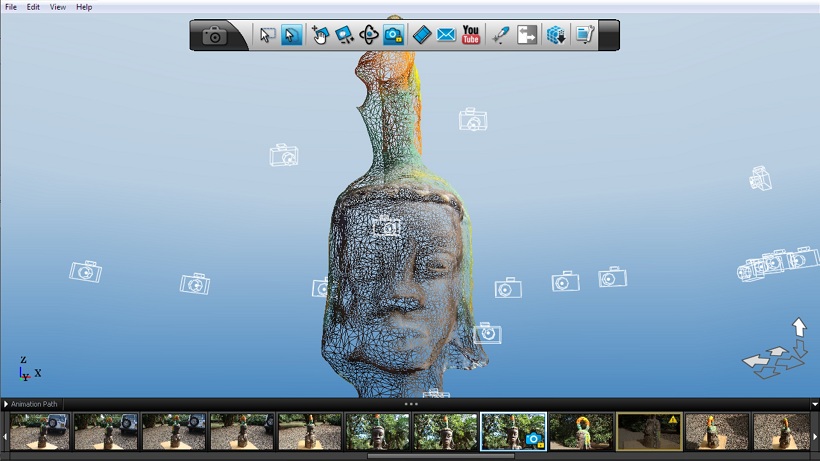

I finally got a scan I can work with. A tutorial recomended taking between 50 and 70 photos for every object you want to scan. I took 63 photos for this scan. I went with the medium resolution option to not take too much time printing.
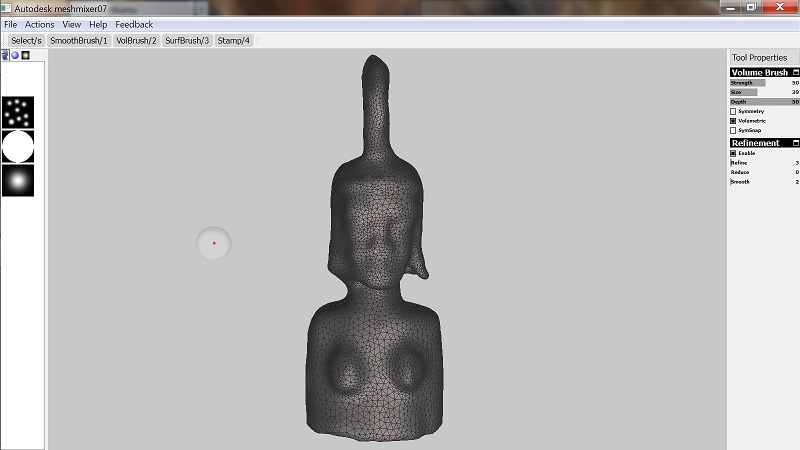
I deleted the extra surfaces to leave only the statue. Next I exported the file in OBJ file format and opened it in Autodesk Meshmixer to edit the 3D design and make it a solid. When I finished editing, I exported the file in STL format.
I then opened the file in Netfabb Studio Basic to scale the model. We were sent dimensions for the model not to exceed 5cm cubed for the ZCorp Z510 and MakerBot 3D printers. So this is it. I will now send this STL file to Barcelona for printing.