Wildcard Week
Welcome to week #15 assignment This week I learned how to make anything from fibreglass with my instructor!
Fibreglass
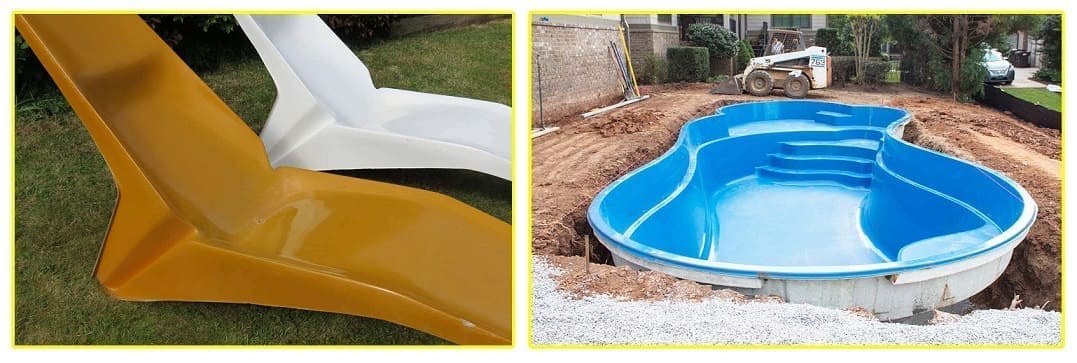
Fiber bonded with resin has a long, long history. it is a great manifacturing technique to build durable and light weight objects. this technique has been used in building ships, furnitutre, planting pots, swimming pools, and even cars!
Fiber-reinforced plastic is extreamly strong that some estimates it is 6 times stronger than steel for the same weight in material.
Class with our Instructor
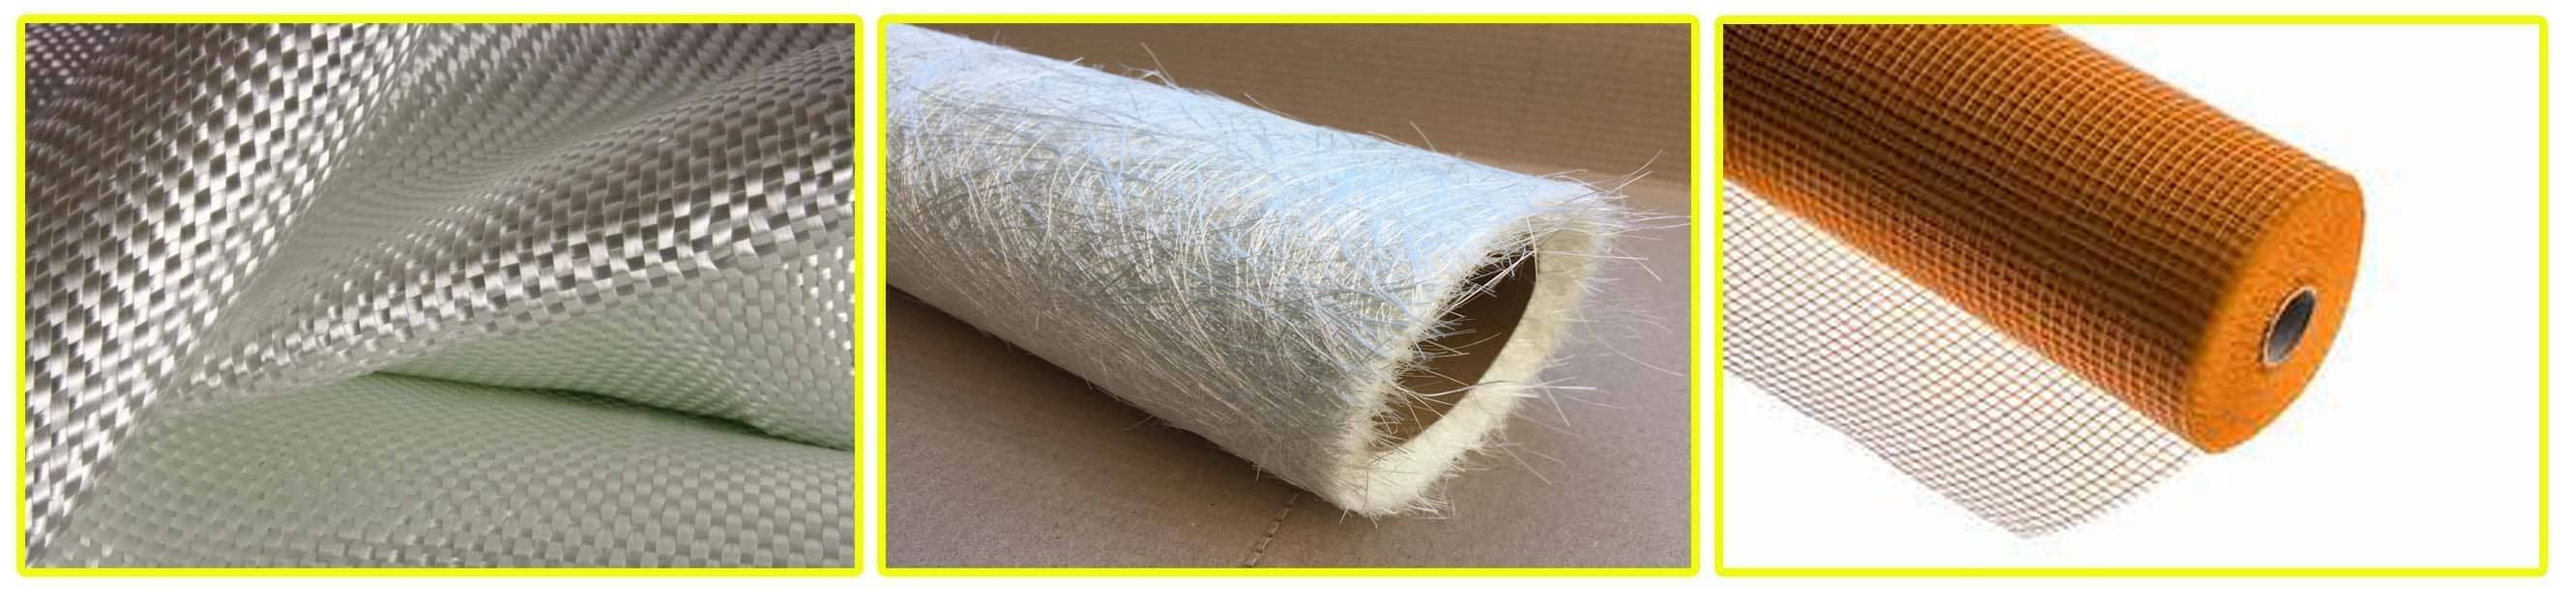
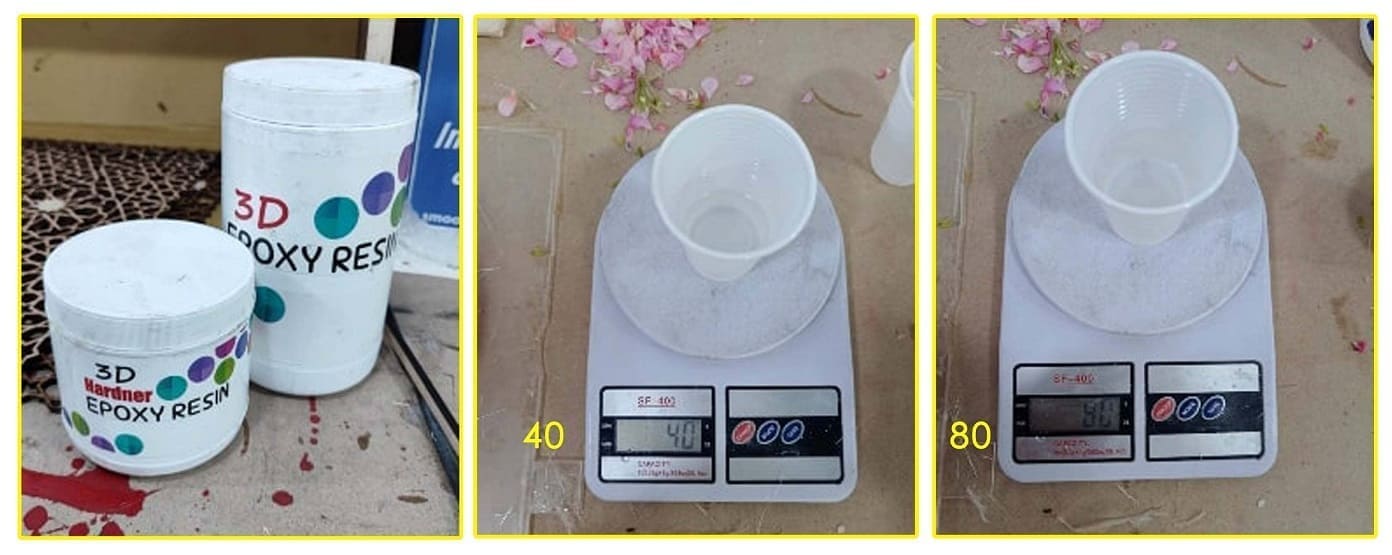
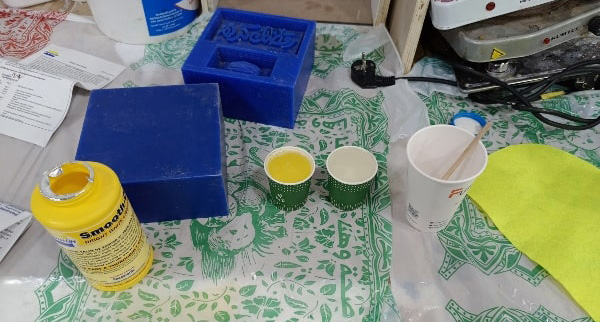
For our group assignment, we learned the different fibre material we can use to fabricate any model from fibreglass. Supplies 1- Fibreglass Fabric Reinforcement. 2- Epoxy Laminating Resin. 3- Epoxy Coating Resin. 4- Wax for coating. 5- a brush.
You will also need to wear gloves and mask when working with resin.
Fibre Cloth material options:
Our instructor had a ready made molds, one is the negative mold engraved in a wax cube (the blue wax block). the second one is the Positive mold, which is 3D printed (the red mold).
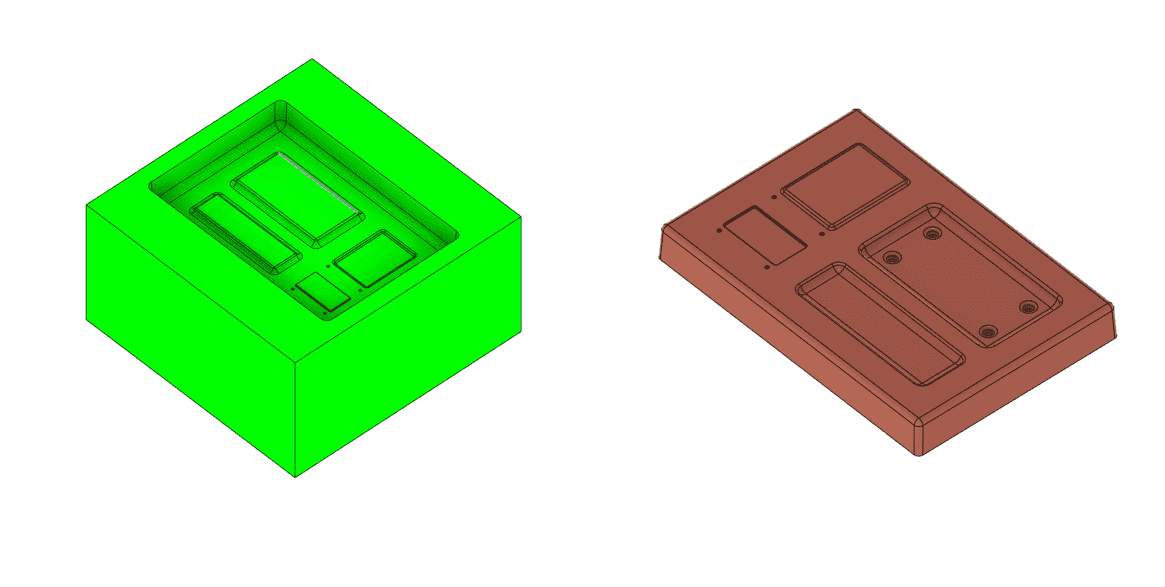
First we started off by preping the molds. With a heat gun we heated the first mold to have smoother edges.
We applied some vaseline (you can use wax too) to the first mold to make it easier to release our casted object.
For the second mold (the red one); We coated it in wax multiple times, we waited 15 minutes for wax to dry and we coated it again. We measured the amount of fabric we need and we cut it as required.
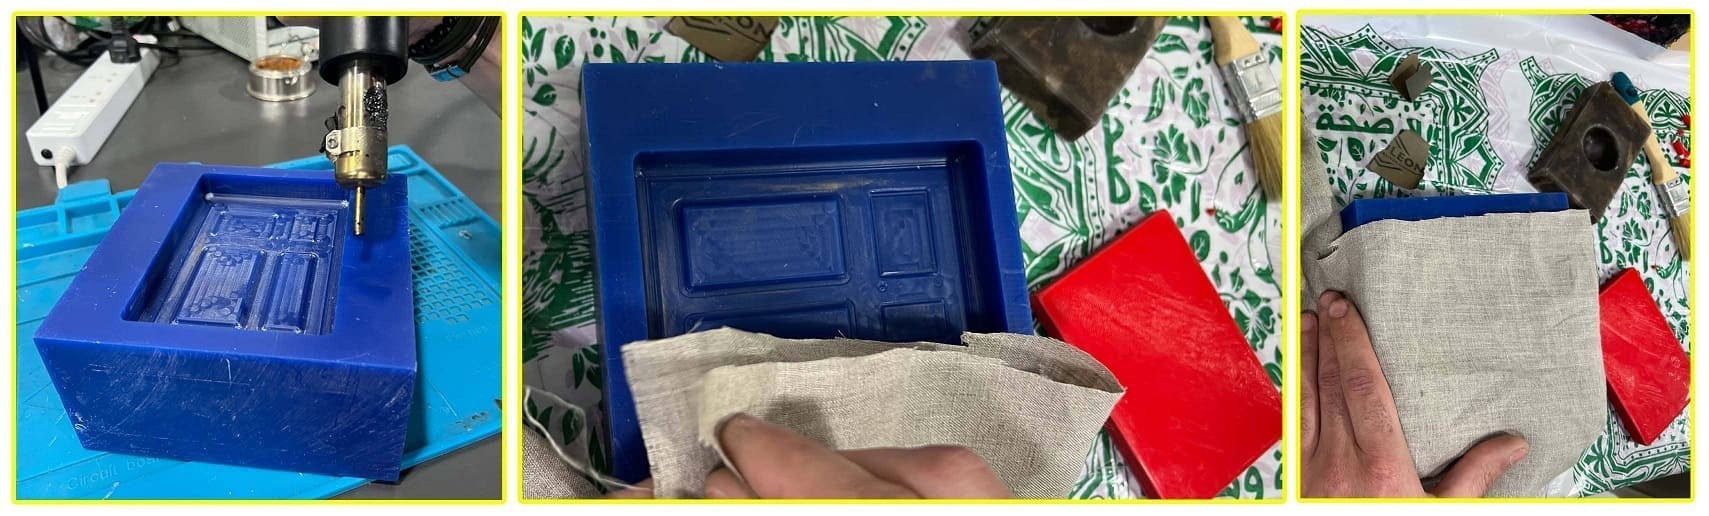
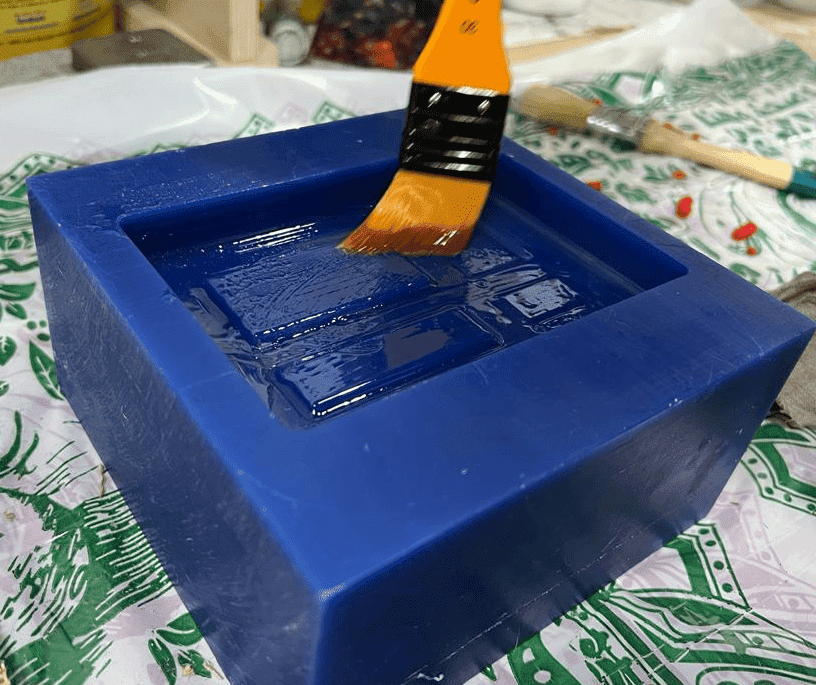
Second we mixed resin according to datasheet measurements.
we coated the first mold with resin using a brush, enlayed the fabric and with the same brush we made sure to squeeze on it’s surface until it absorbed a good amount of the resin mix applied below it.
we applied our second mold on top of our fabric and made sure it was in the right place.
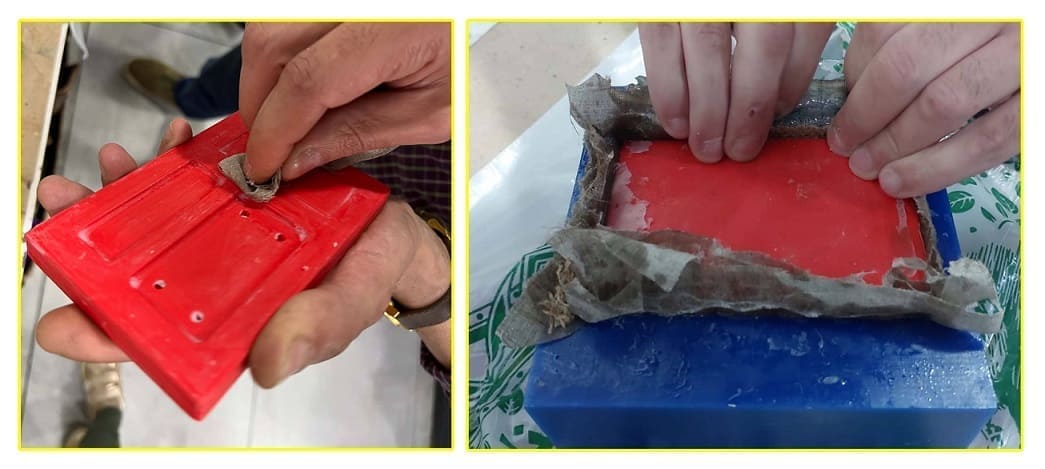
Third after few hours of curing, we removed the second mold “the red one” which required some force. and the fibre glass object we created came out easily.
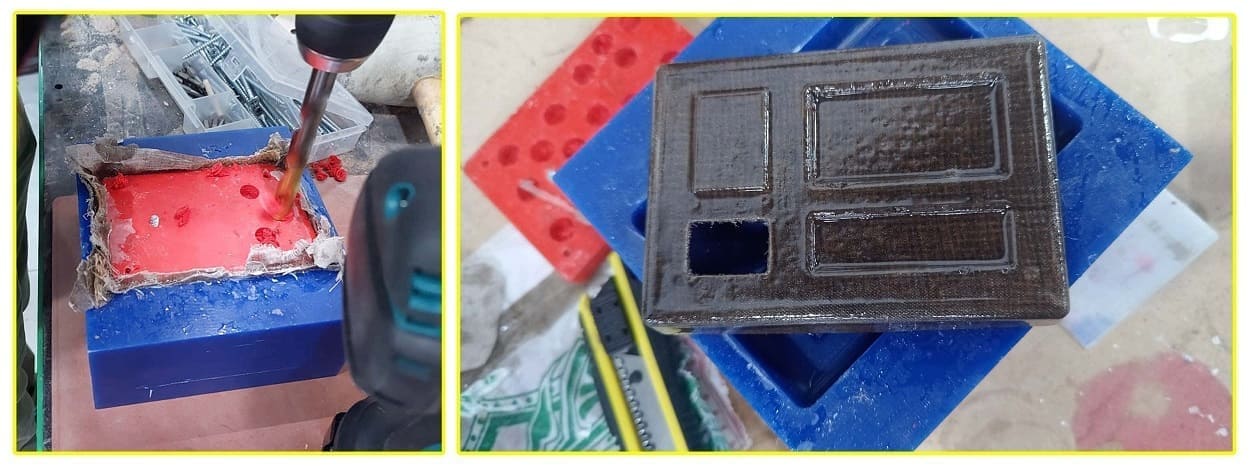
Conclusion: we chose to make a fibreglass object for this week because this process is very versatile, we can use it in our final projects, we tested properties of the object we made such as strength and weight. this process is simple, cost efficient and can be applied in different ways.
Group Assignment
For our group assignment, we will be using Smooth-Cast™ 305 liquid plastic to conduct tests with fabric. we will use two different types of fabric to compare and see the differences between them. Additionally, we will perform tests on each fabric to observe the effects of varying the number of layers.
In our data sheet, mixture A+B are based on volume.
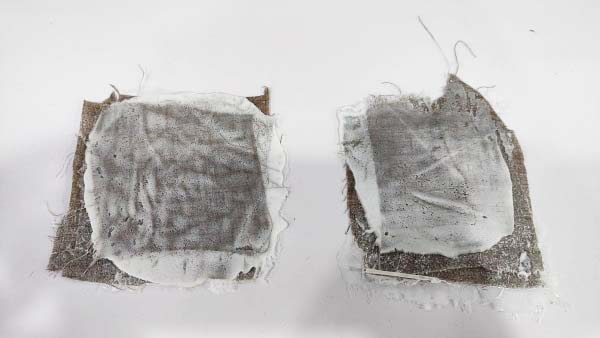
we tested our samples with linen fabric, one sample we added 3 layers, another sample we tested with 5 layers.
The second samples will be made with Burlap fabric, one with 2 layers of fabric and another with 4 layers of fabric.
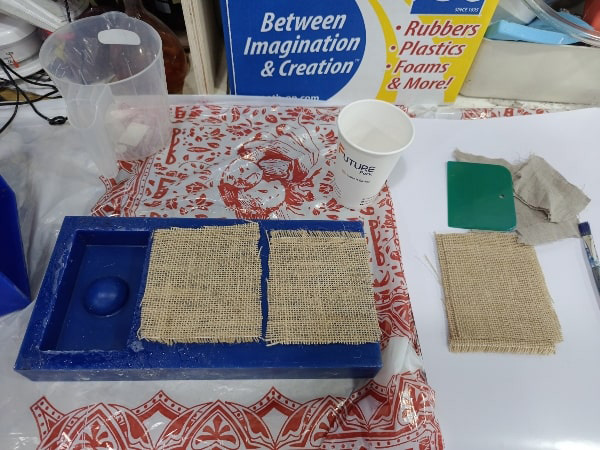
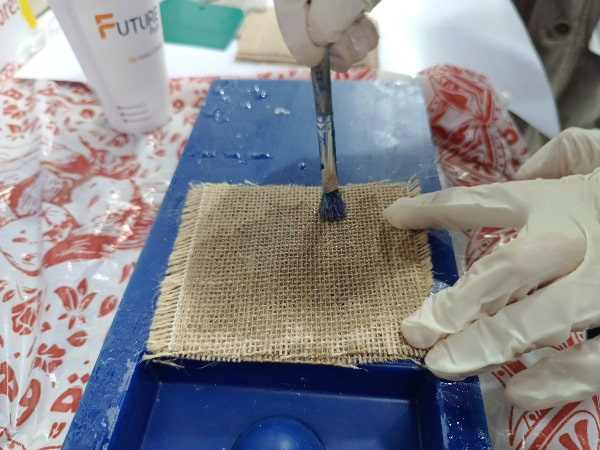
We are not using a mold in this assignment we are applying resin directly onto the fabric (since it is just a sample to test charechteristics) therefore; apply a generous amount of resin directly onto the fabric and spread evenly until fabric absorbs all resin, apply your second layer of fabric and add more resin.
repeat until you added all your fabric layers onto eachother.
Linen 2 samples
Burlap 2 samples
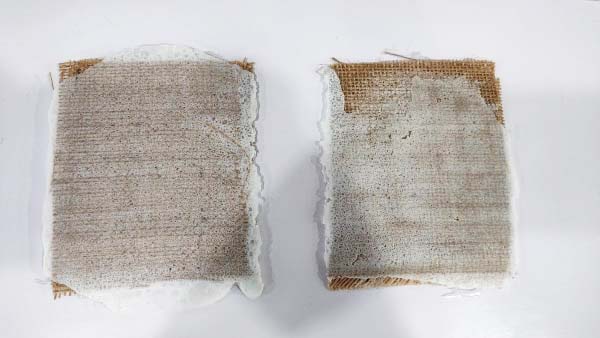
Our conclusion is that linen fabric makes a better and stronger fibreglass material than Burlap. and the more layers we added the stronger our fibreglass test was!
Decomposable Plant Pot
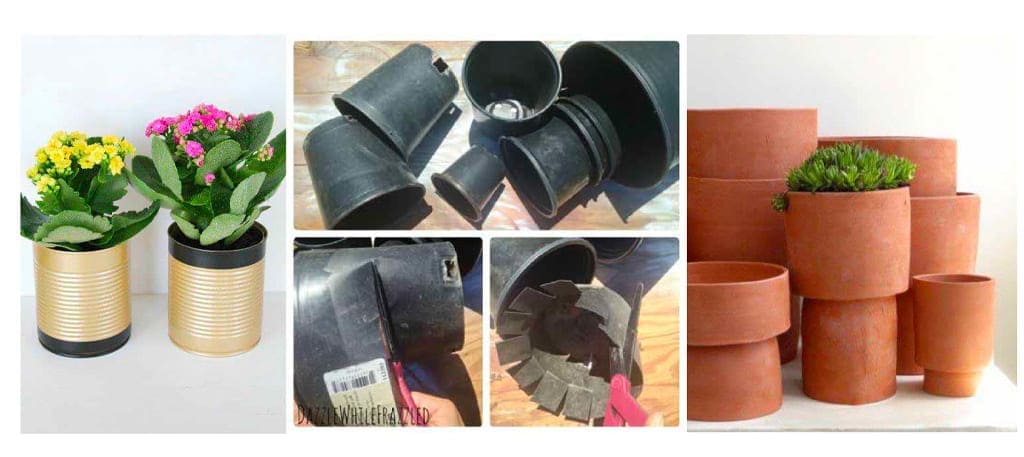
For my assignment, I wanted to explore something I have seen on another students’ page (Thank you Zaid!), I wanted to create a decomposable Plant pot made from cardboard waste in my house.
The idea is to replace these plastic pots with a more environmentally friendly option.
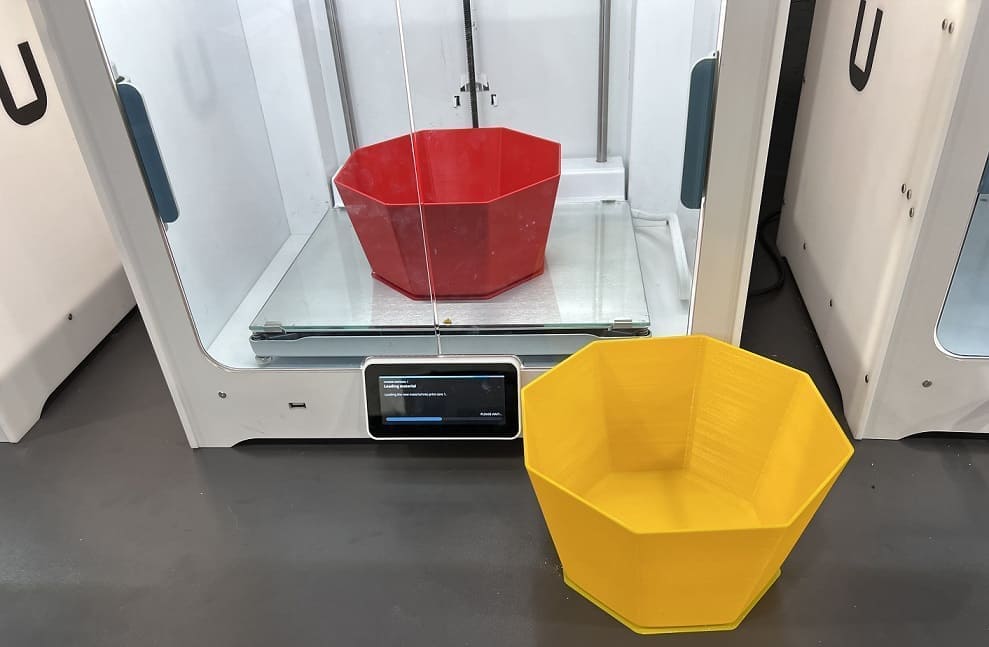
First I designed my pots, positive and negative molds. the positive is slightly smaller in scale (1cm) which is the thickness of the decomposable pot I want to build.
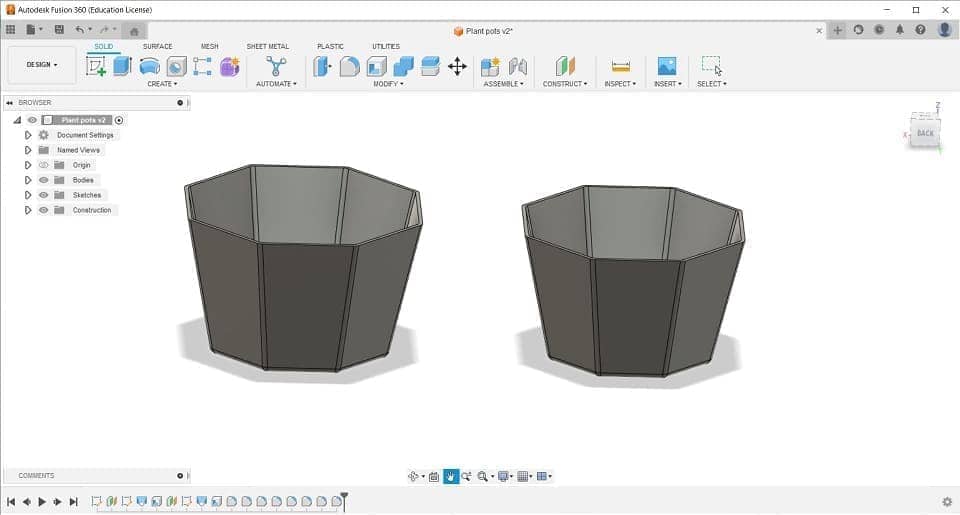
I printed them with 0.2 layer height and 40% infill I wanted to be solid and strong so it can cope up with the pressing pressure.
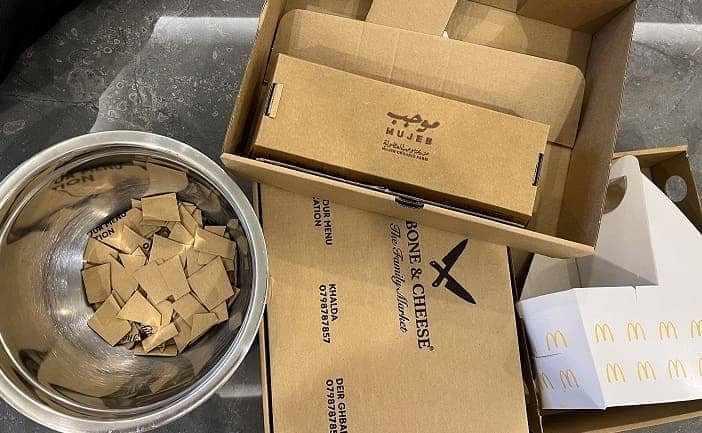
Second I cut all the cardboard manually, which took a lot of time and effort!
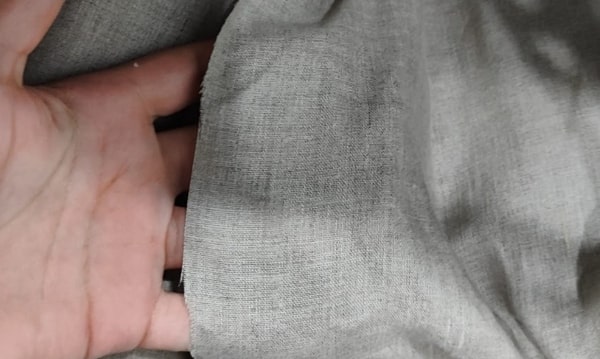
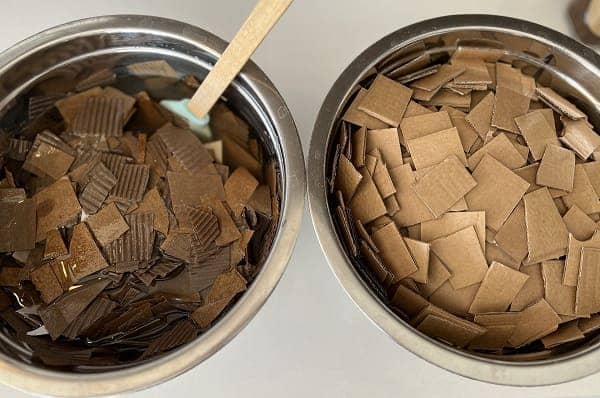
I soaked it in water and kept it overnight. image to the left is soaked cardboard, to the right still dry.
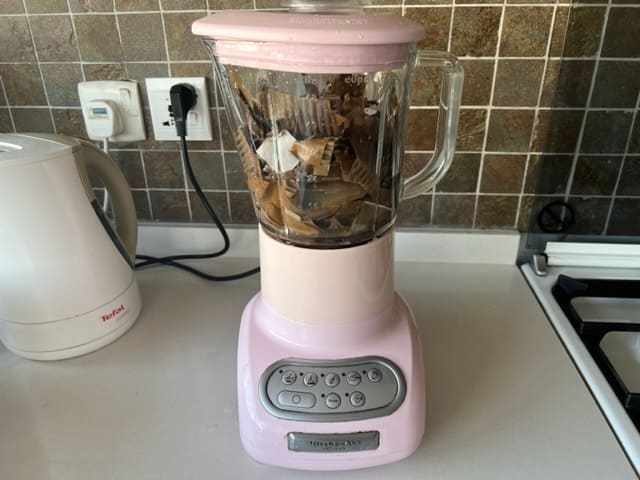
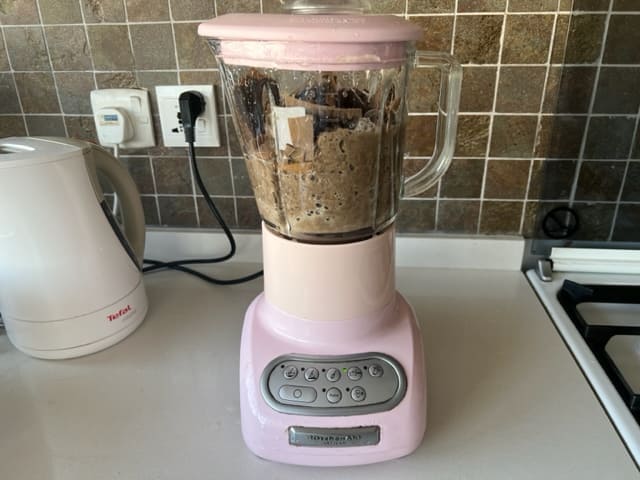
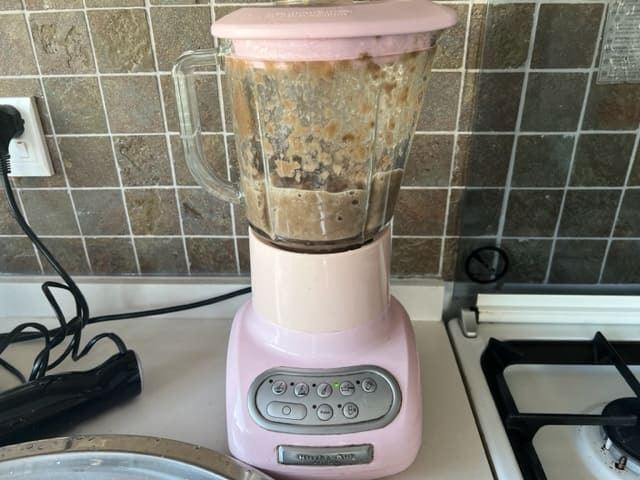
Third next day, card board was soft but not as expected, i put it in my blender and it didn’t mix as well, I tried the hand blender too and still not blending well! so I put back in my blender and added more water than before (almost double the amount) and that’s how I got it to blend!
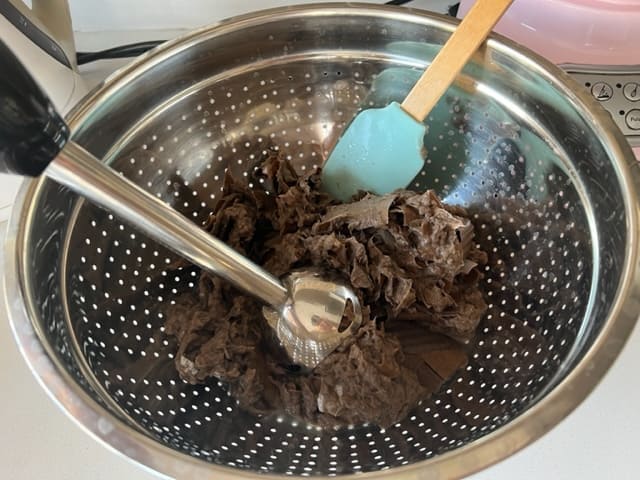
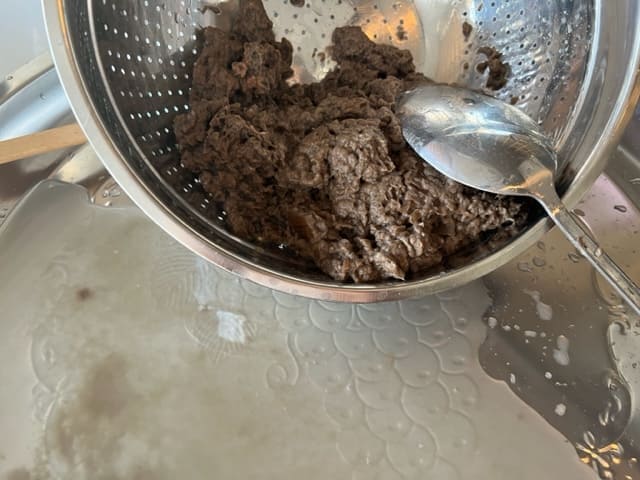
Fourth Now you need to take the excess water out of the cardboard! I did that by squeezing the cardboard by hand and by a spoon into a perforated bowl.
Fifth to create a natural adhesive for the pot, we either use pureed rice or we use cornstarch! i wanted to try rice puree, I boiled rice with a lot of water on low heat, i kept monitoring the rice because I didn’t want it to cook I wanted it to over cook!
after it was over cooked I pureed it with a handblender and added it to the cardboard mixture.

Sixth I mixed both rice and cardboard and added seeds.
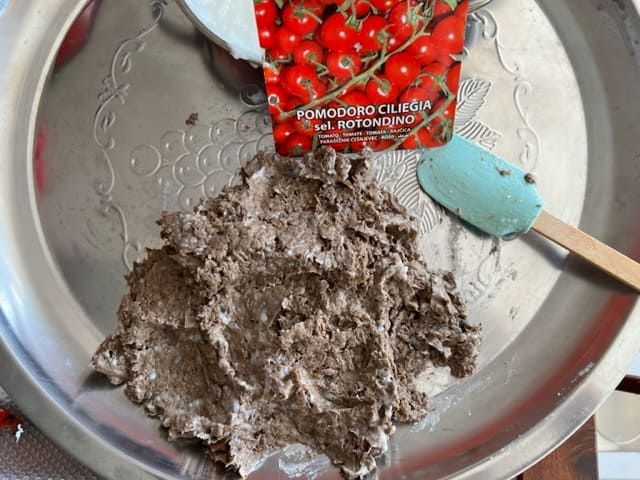
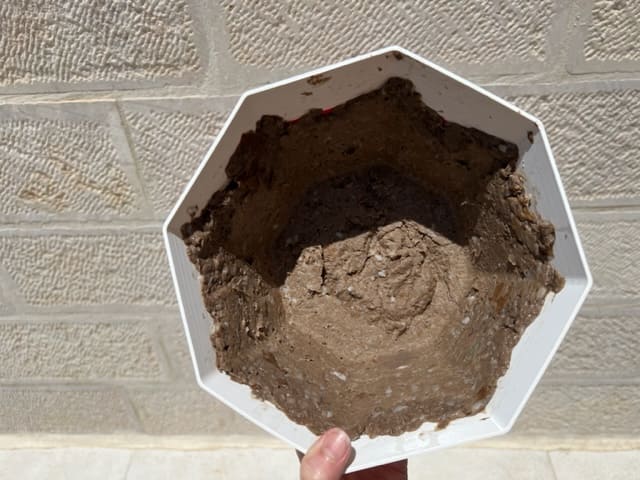
I put mixture in the bigger pot and pressed with a spatula to have even thickness everywhere.
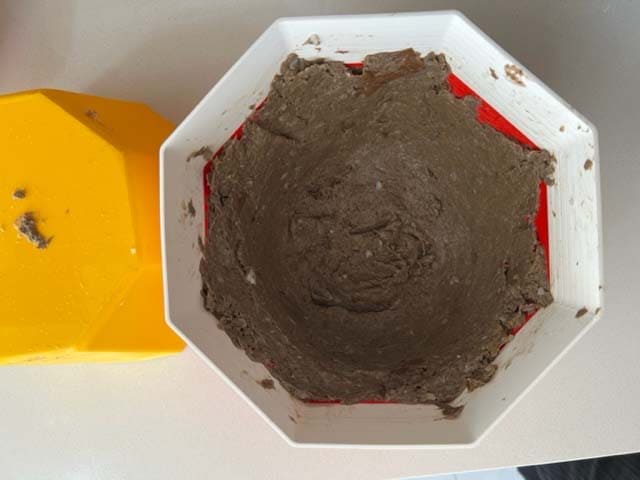
I inserted the smaller pot and pressed well.
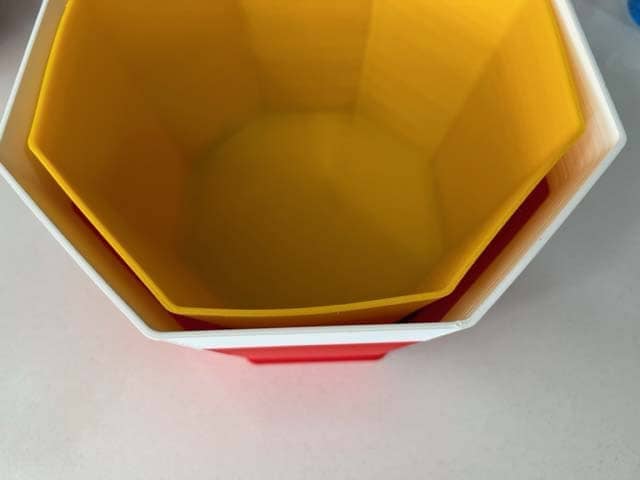
I left it overnight upside down to get rid of the excess water if any!
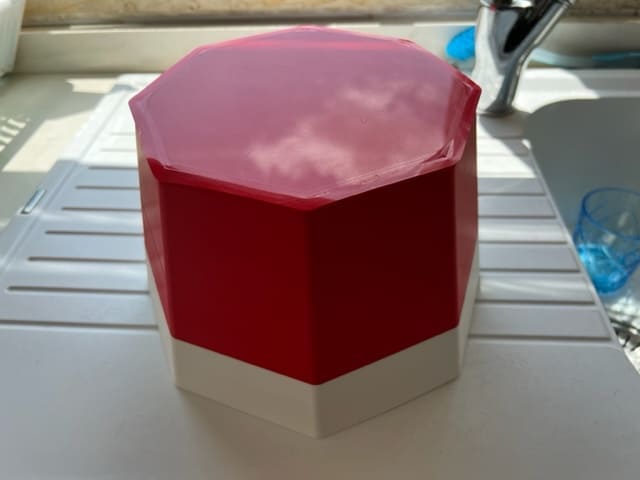
After two days, the smaller pot came out easily, the smell is really aweful and the cardboared isn’t dry yet!! I just hope it will dry before my assignment submission so I placed it under the sun!
Hero Shot

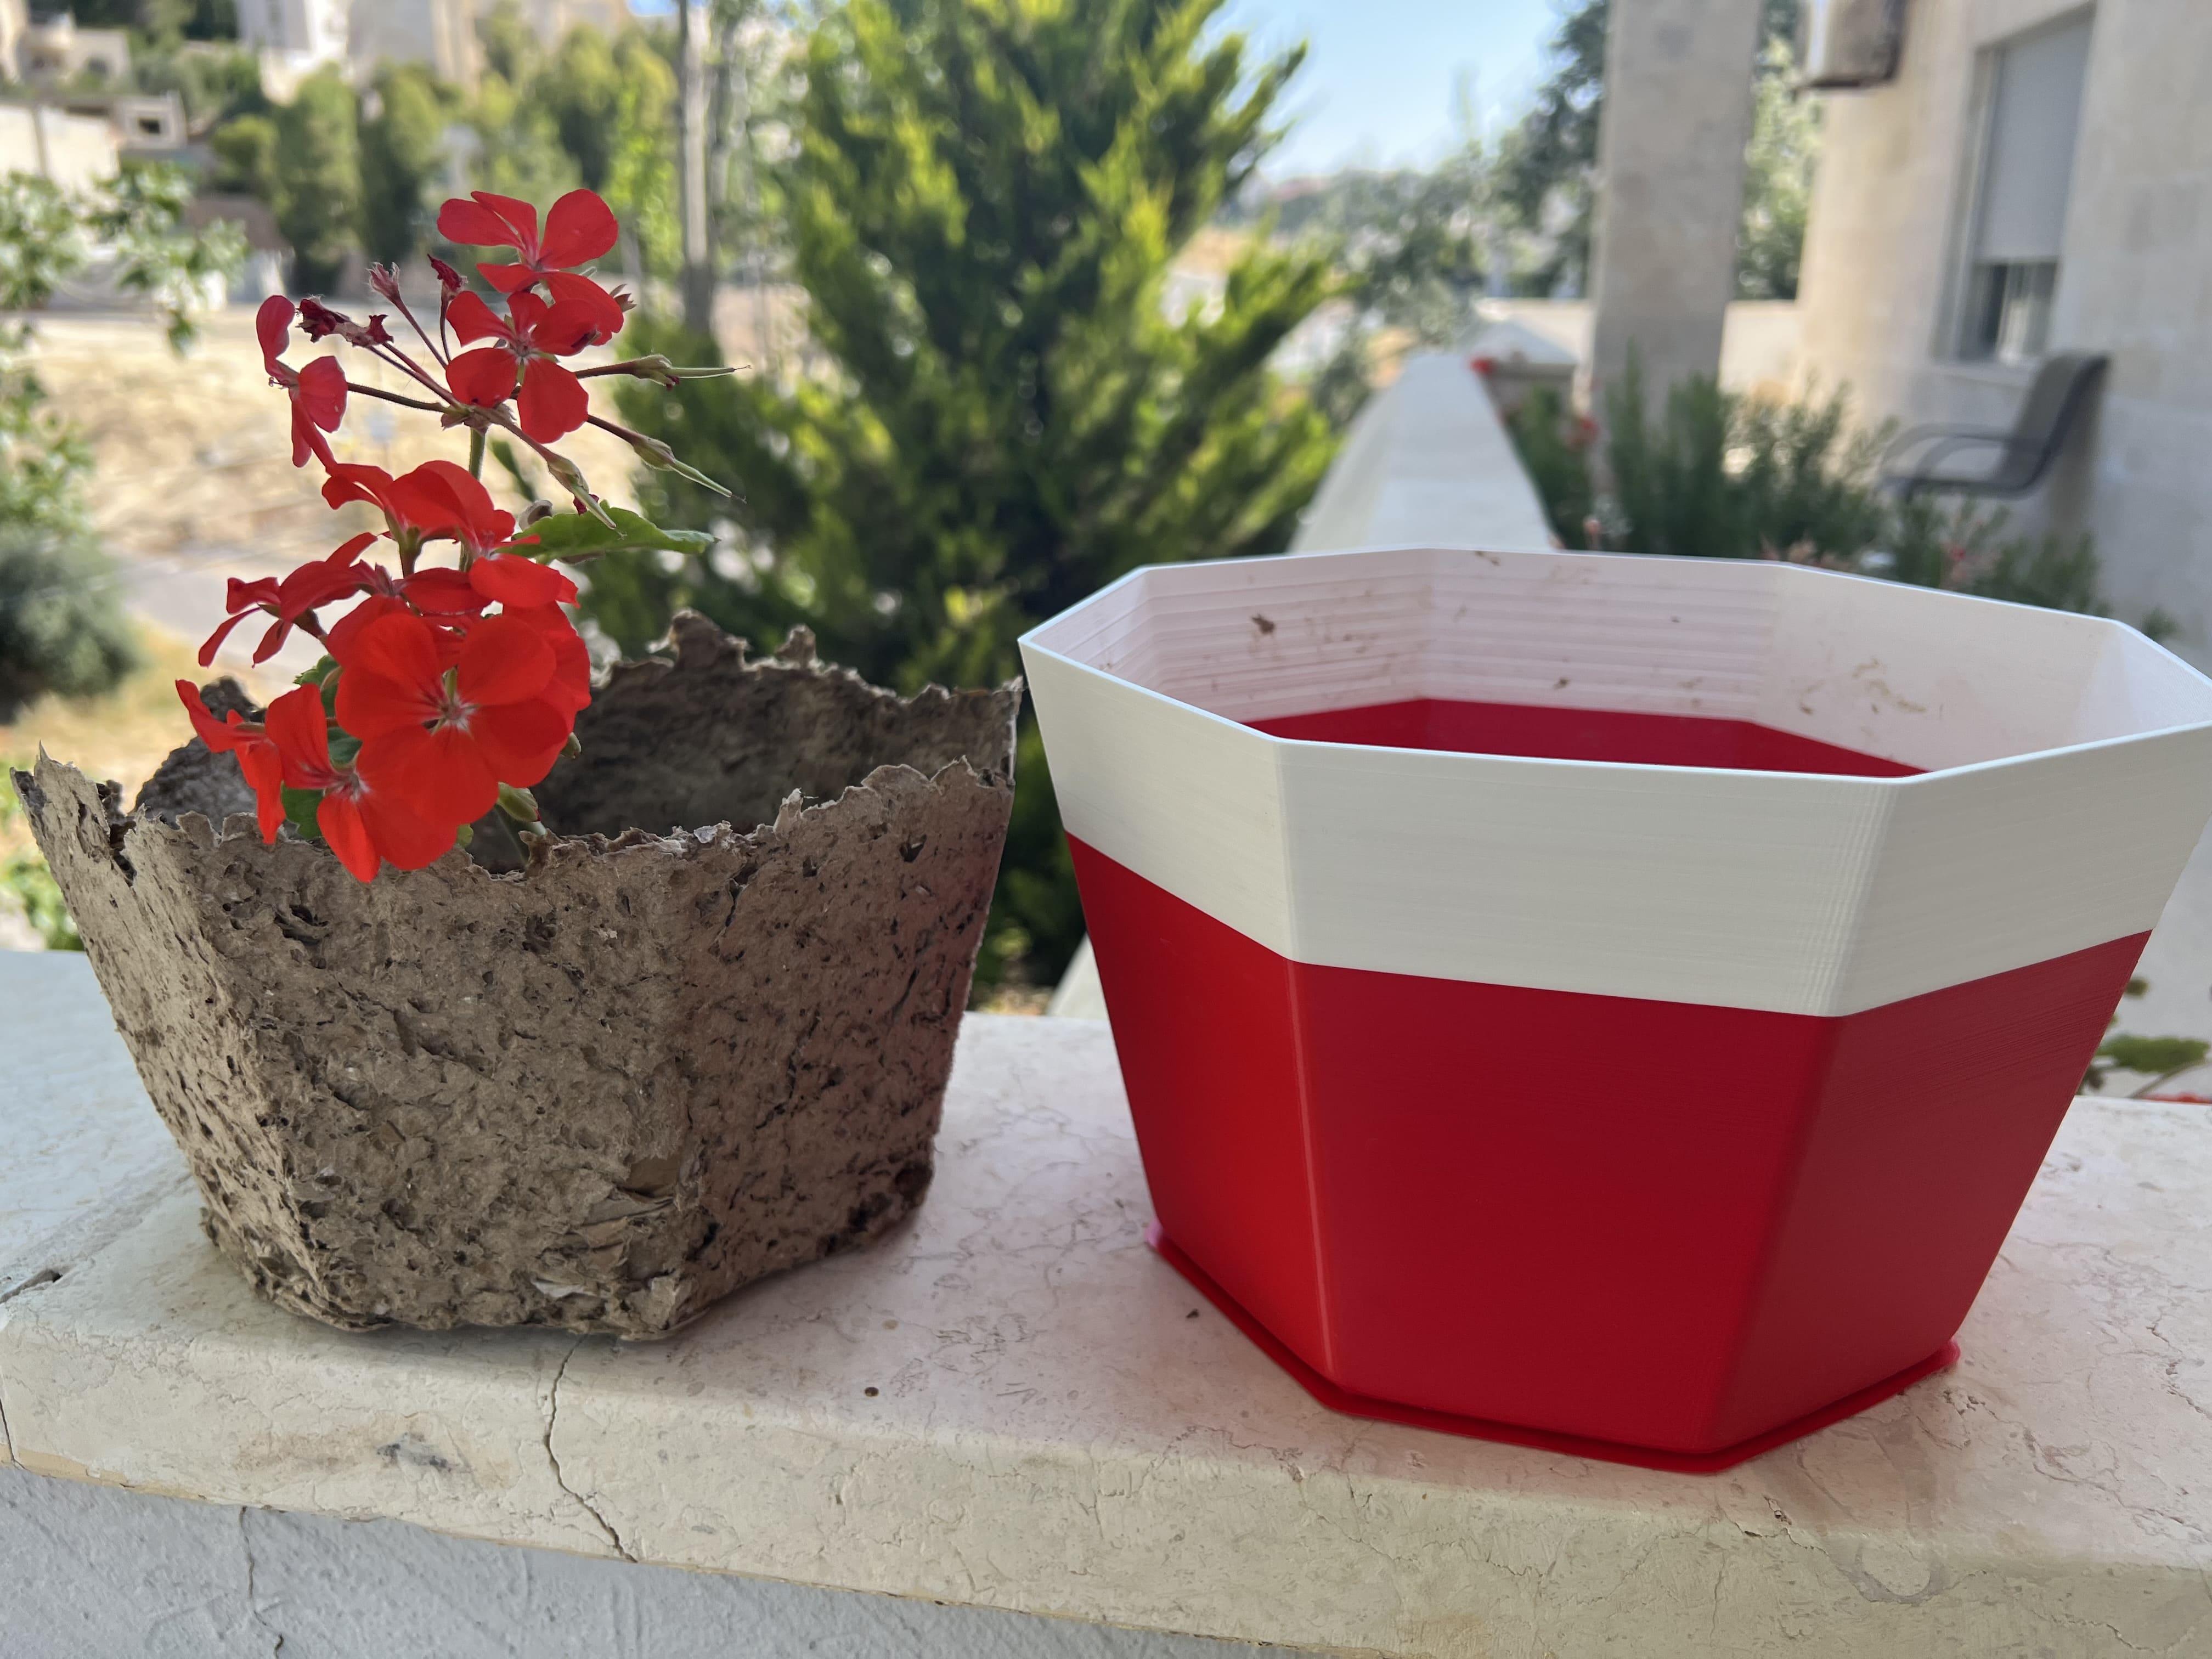
I am in love with my pot!! I will definitely do this more often!!!
I might change the design of the pot to have a moveable base, same as the cheesecake pan! tgis will make it easier to remove my biodegradable pot.