MOLDING AND CASTING
Welcome to week #12 This week we learned how to make any 3d object through molding and casting.
Design
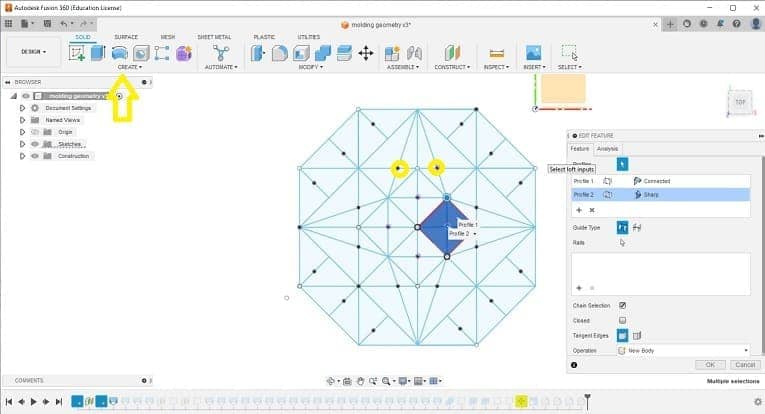
I decided to design a 3D geometrical tile, hopefully I will cast it with concrete because I am a big fan!! for the design I drew a simple rectangualr geometrical shape, and used the loft command to create the shape I wanted as follows: After I drew a 2D sketch, I added points where I wish to have my triangles tip. press on create > LOFT > Press on the surfaces and select the point > enter
I drew a rectangule around my shape after measuring the exact size of the wax cube I have at the lab.
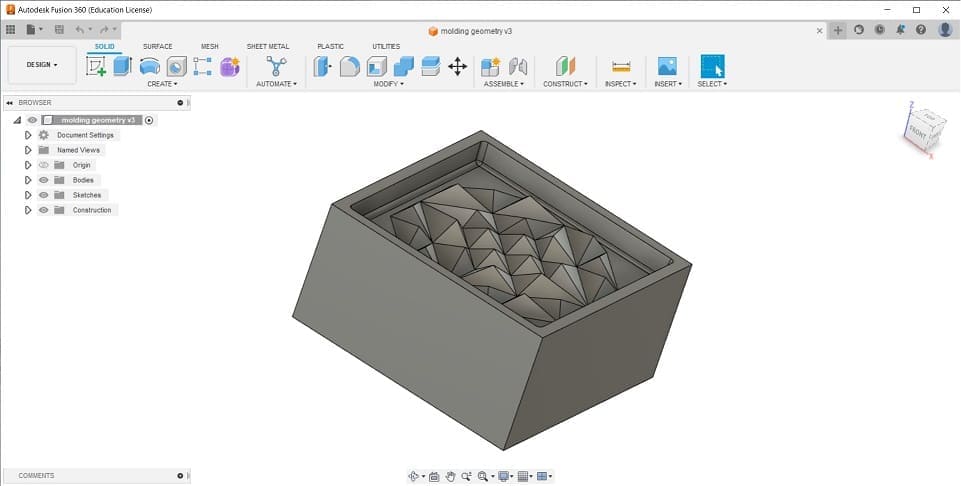
I also took into consideration the tool I will be using while designing my geometry tile, therefore I made .6mm fillet angles at the edges.
I also made sure i hade tapered angles around my tile. (5mm)
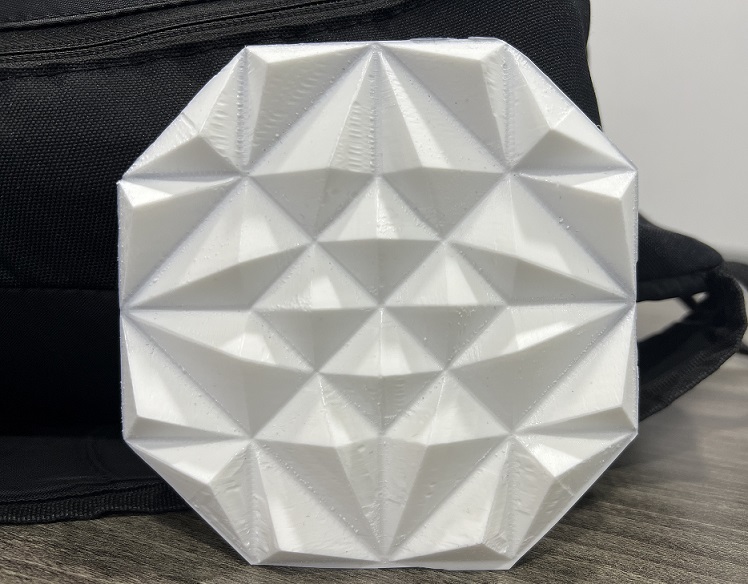
I was curious to know if my 1mm tool will be able to make my sharp pyramids or no! scroll down for the end-result it definitly did!!
Machine set up
I am milling my wax cube with SHOPBOT CNC machine, I opened my .STL file of the design with Vcarve software (the software operating the shopbot CNC machine), choose the size of the working piece and import file.
I prepared two toolpath files: 1- Rough machining toolpath. 2- Finish machining Toolpath.
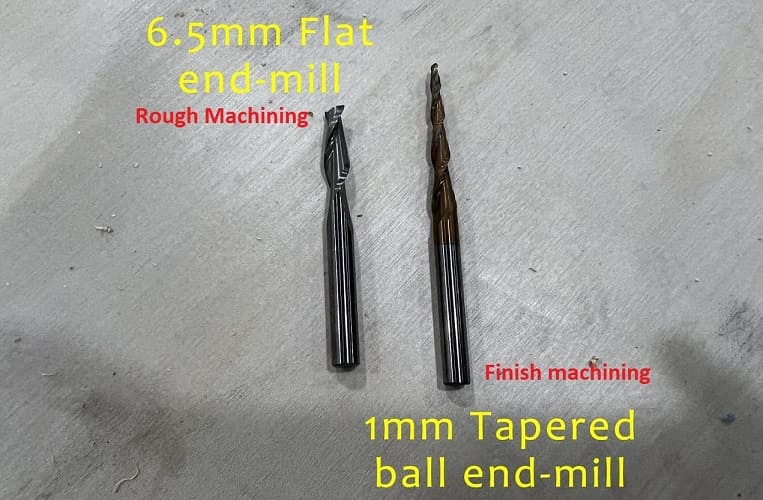
Rough Machining
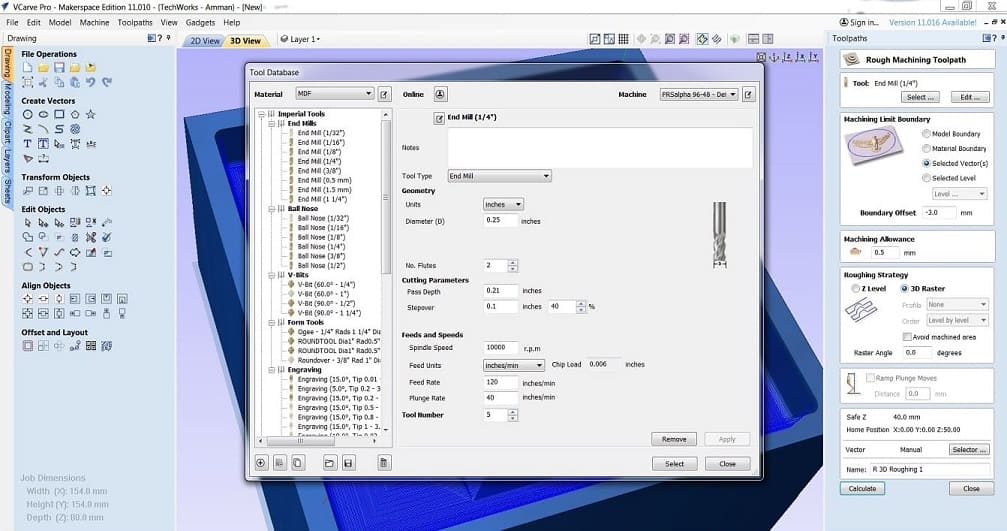
For Rough machining I used a flat endmill tool shown in picture above.
Rough machining setup: - Tool:1/4 inch flat end-mill. - Machining Limit Boundary : Model Boundary. - Machining Allowance : .5mm - Roughing Strategy : 3D Raster.
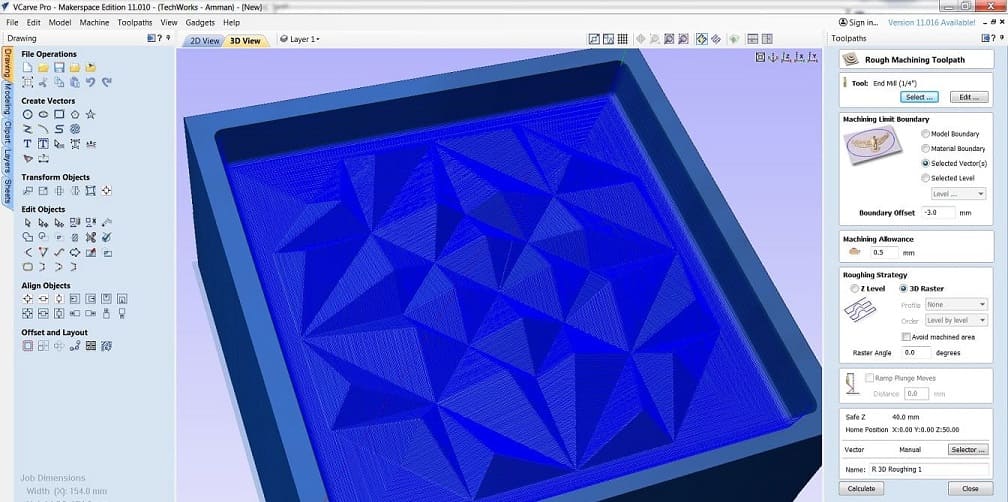
Rough machining tool setup: - Diameter : 6mm (.25 inches) - No Flutes: 2 - Stepover : .1 - 40% - Feed rate : 120 inches/second. - Plunge Rate : 40 inches/second.
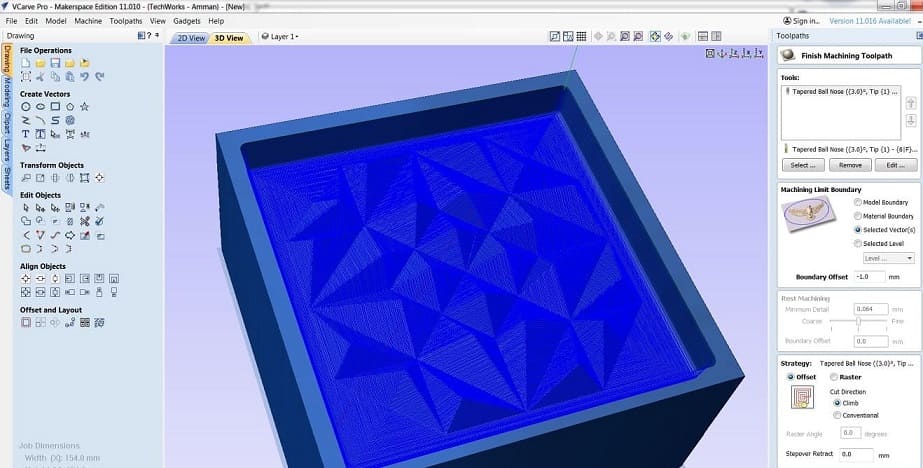
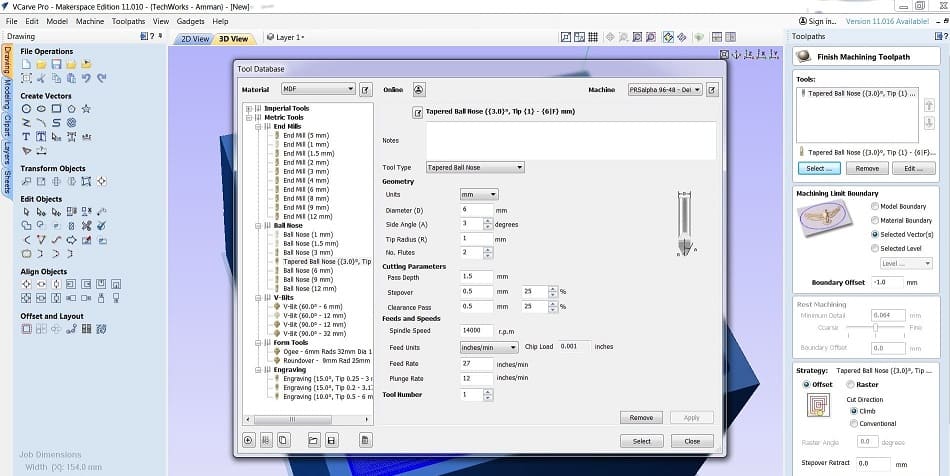
Finish Machining For finish machining I used the 1mm tip tapered ball nose endmill tool shown in picture above (tip is 1mm, tool diameter is 6mm).
Finish machining setup: - Tool: 6mm tapered ball nose end-mill. - Machining Limit Boundary : selected boundaries - Boundary offset : -1.0mm - Strategy : offset.
Finish machining tool Setup: - Tool: 6mm tapered ball nose end-mill. - Tip Radious: 1mm - Side Angles: 3 degrees - feed rate : 1.6 - Plunge rate : 1.6 - spindle speed : 1400 - Step Over: .2mm - Clearance Pass: .2mm
NOTE: Feed Rate and Plunge Rate must be the same value in finish machining.
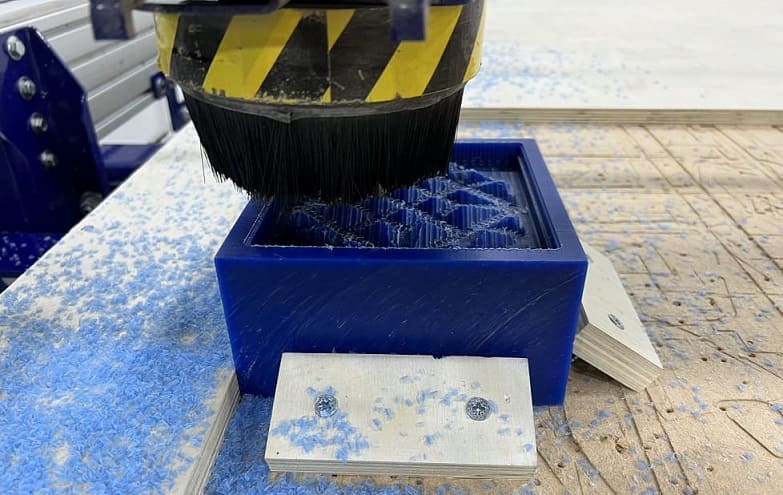
Milling my cast
Fixing my working piece
After cleaning the sacrifice bed surface, I fixed my wax cube by fixing 3 wooden pieces around it, for using this method you must fix the wooden pieces in (approximately) a 45 degrees angle.
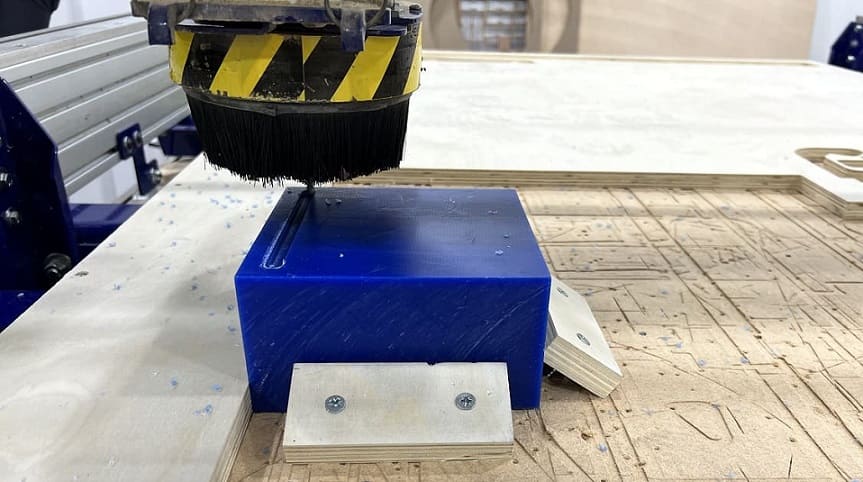
Start the machine Assign the coordinates you’re working with, X & Y are the edges of your cube, you can set it up visually. the Z axis can be set up through using a paper, keep moving your endmill micro steps untill the paper gets stuck on your working piece.
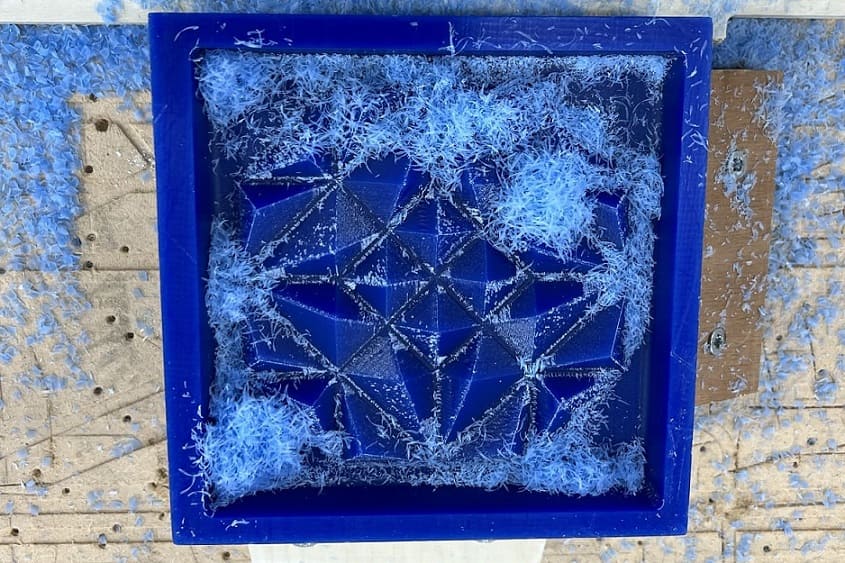
Cleaning of the mold
I tried cleaning the rough surfaces with air pump but still didn’t work.
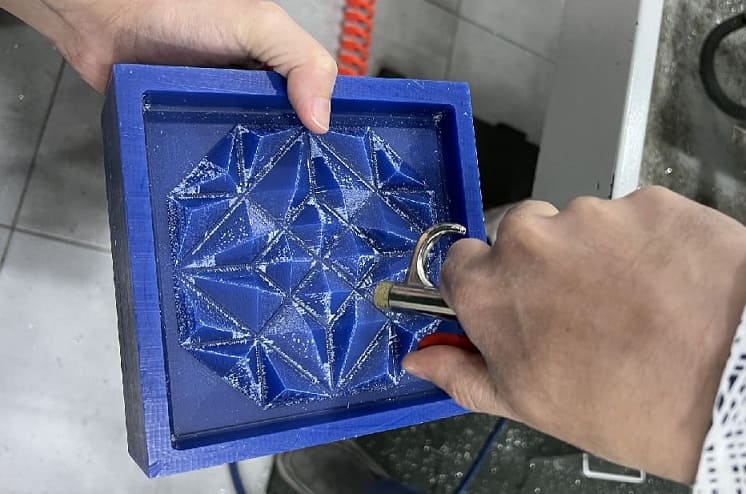
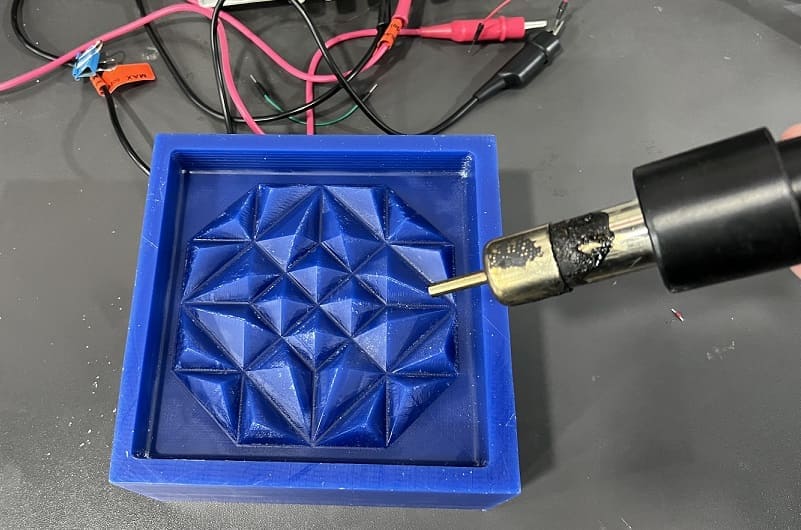
I also tried with the heat gun (which is tricky because it will distort the shapes slightly) but i had smooth surfaces.
I then cleaned it with water before casting.
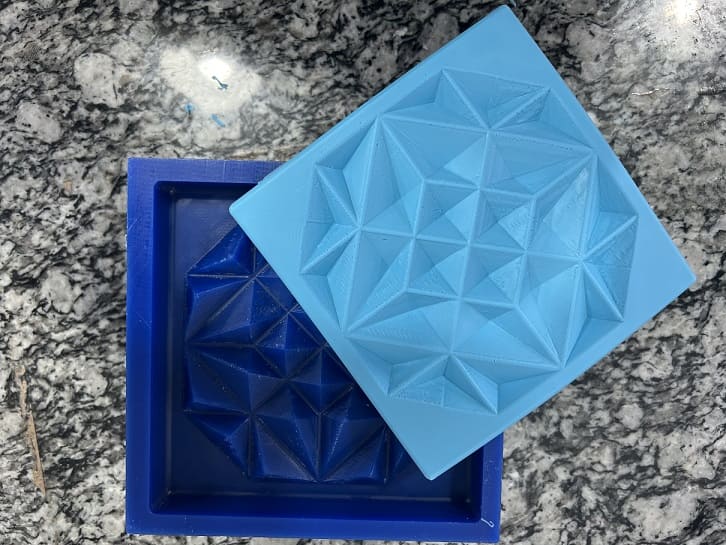
Moulding & Casting
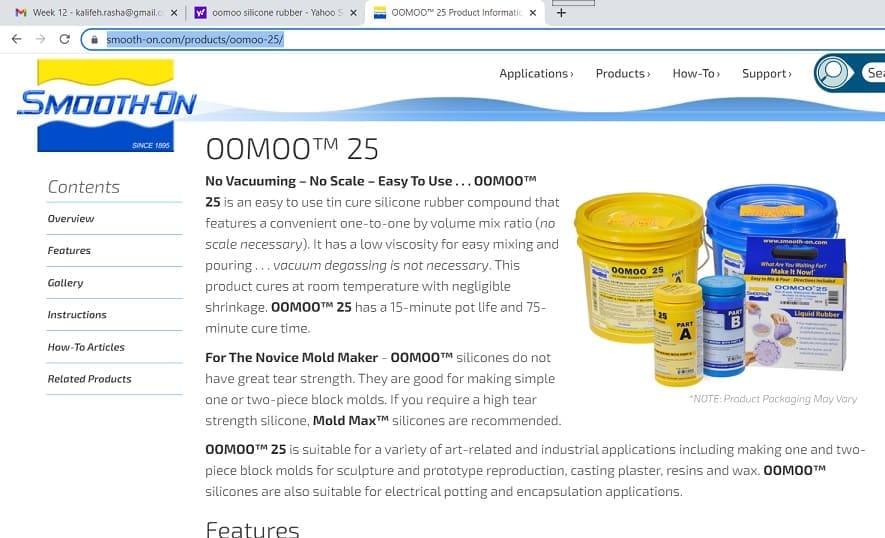
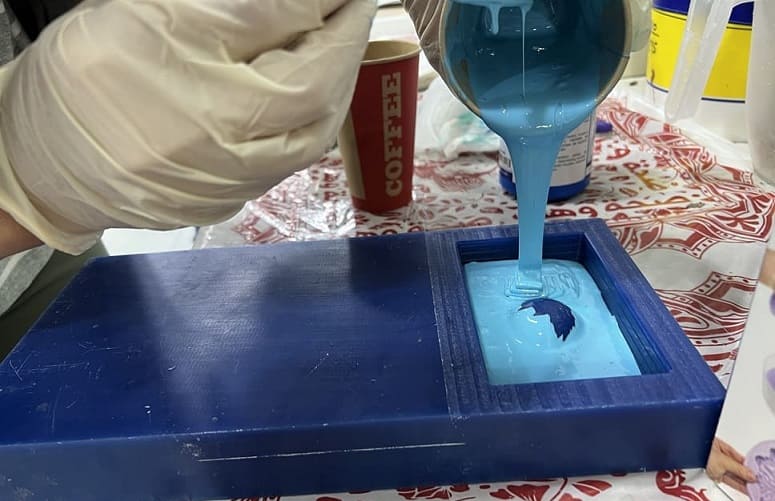
For the silicone mold, I am using the oomoo 25 silicone rubber
| Product | Pot Life | Cure Time |
|---|---|---|
| OOMOO™ 25 | 15 mins | 75 mins |
Mixing by volume: 1A:1B Mixing by weight: 100A:1300B

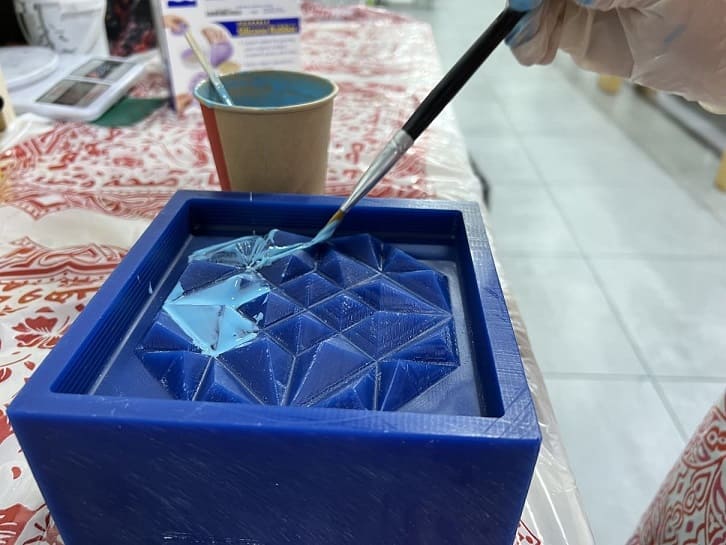
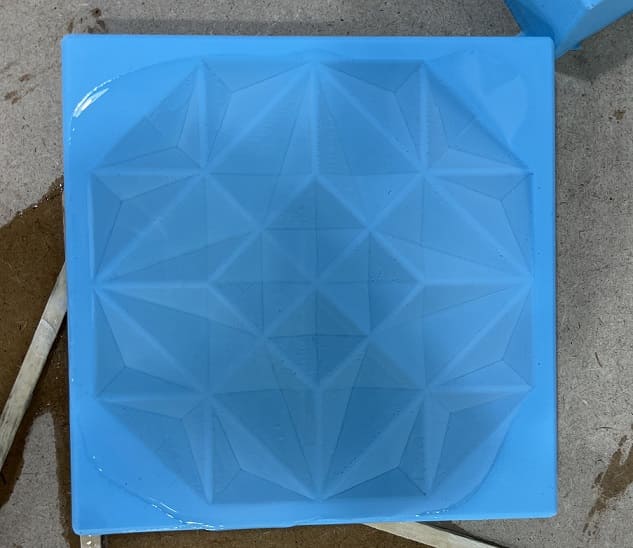
using a brush I put some of the silicone on the edges to make sure they are well covered with bubbles.
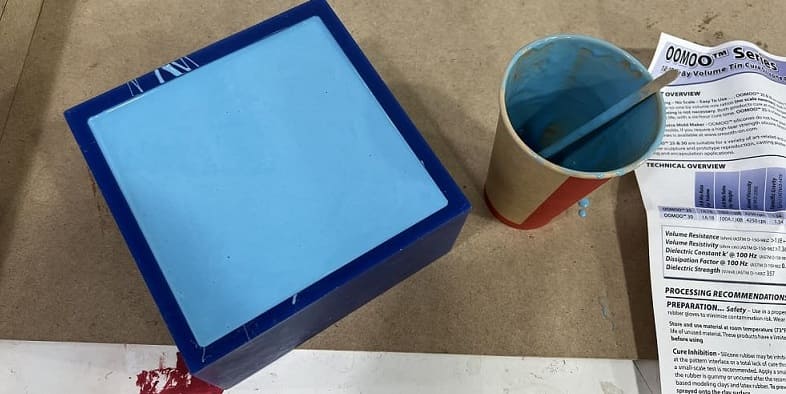
I was very happy I mixed the exact right amount of silicone :) I filled my cast with water and poured it in a cup to measure visually the amount of silicone I need, I mixed more than I needed by mistake but after pouring I consumed the entire amount because I realized I was supposed to mix 5-10% more silicone than water!
NOTE: some of the silicone will get stuck on the cup or the stick, therefore; mix 5-10% more silicone than what you need.
NOTE: Shake your cast with the silicone inside right after you pour your material to git rid of any bubbles stuck inside.
For the casting process, I will mix the smooth-on 305 liquid plastic components in a 1:1 ratio by volume as specified in data sheet.
I let my mixture cure for around 25 minutes before Ipoured it into my cast.

Hero Shot
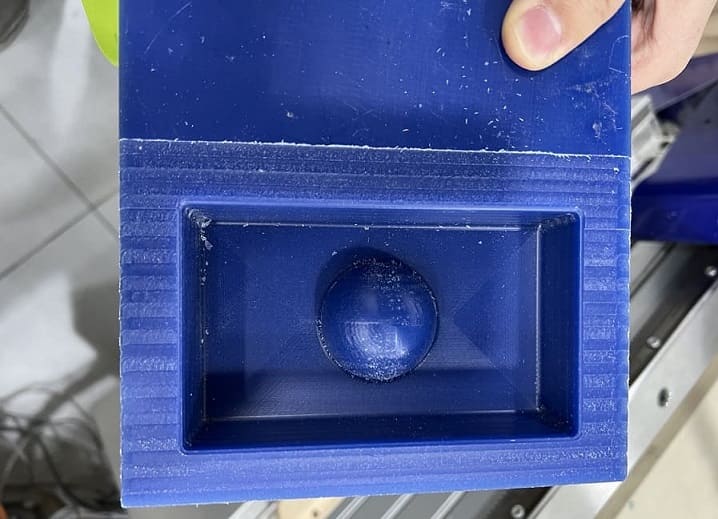
Group Assignment
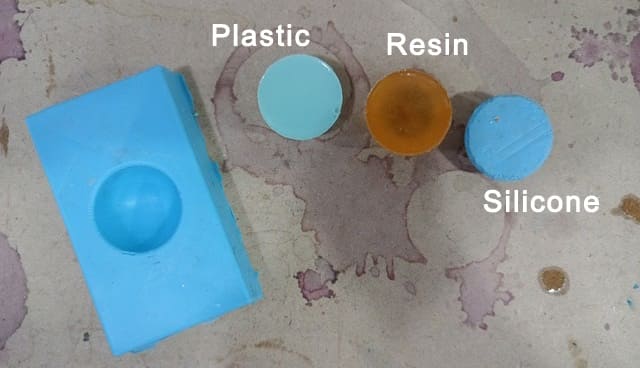
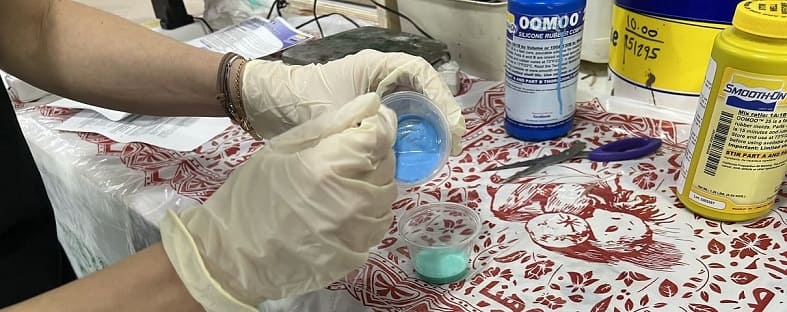
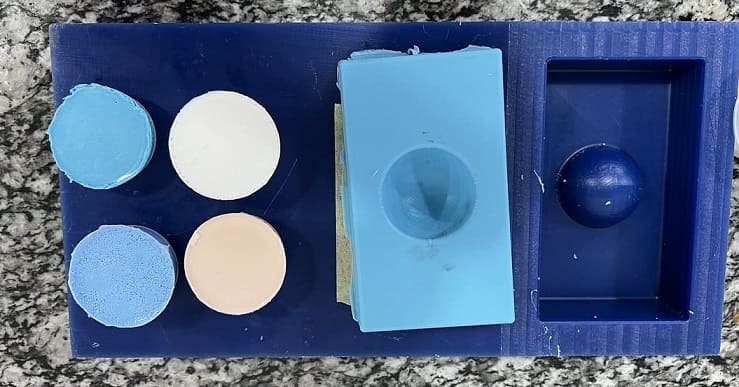
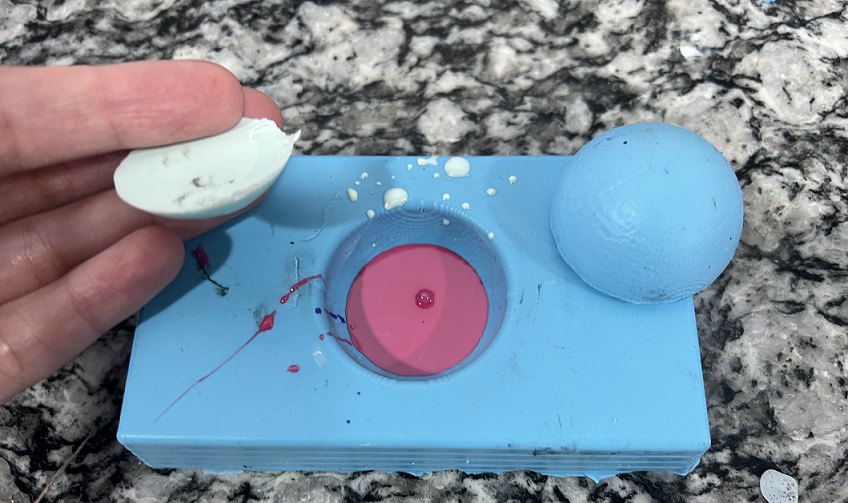
For group assignment we designed a basic shape, half a sphere. and we mixed different material available in the lab in small cups as samples for material.
We also learned about safety during molding and casting, it is very important to cover the surface area you are working on, also to wear gloves and aipron to protect your hands and clothes.
the silicon casting curing time took around 130 min.
We tested liquid plastic samples with different colors mixtures, all samples cured after 22 hours.
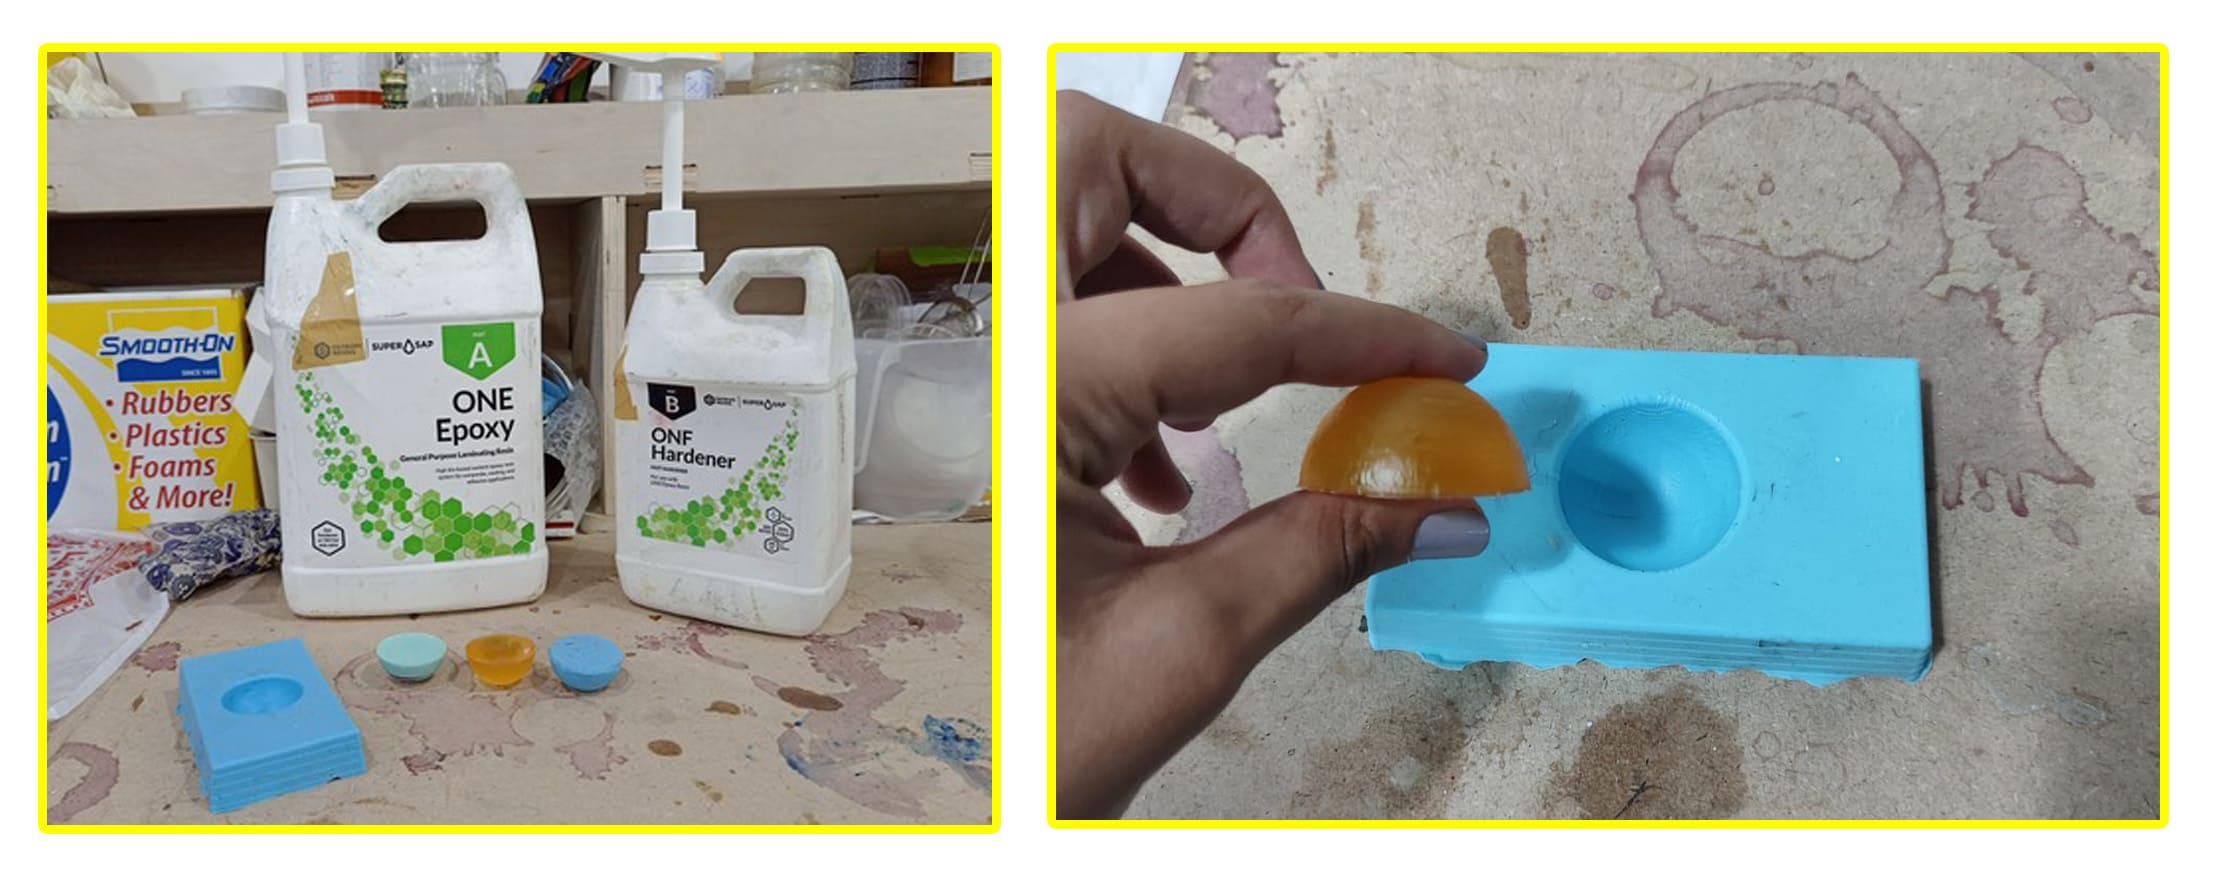
the material we compared and tested are: 1- oomoo 25 silicone rubber 2- Smooth-on 305 liquid plastic 3- super-sap resin
We tested the smooth-on liquid plastic with different pigments. Smooth-On color system datasheet
For the color addition the ratio should range around 0.01% - 3% of the total weight of both parts mixed (A+B).
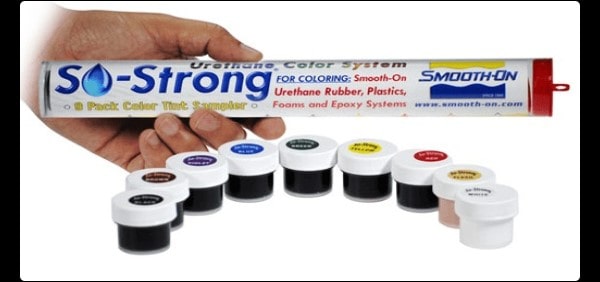
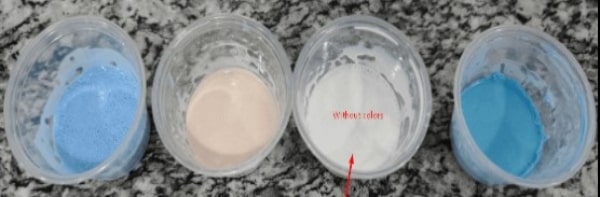
if you do not add any color your plastic will come out white.
We also made a plastic sphere using our silicone rubber. the plastic came out strong and with soft surface.
Below is an image of the resin material we tested with and the sample we compared to other tests.
Conclusion
Material consistency: liquid Plastic & Resin are both firm material, while Silicone is a rubber material.
Density: Silicone sample had the highest density, resin sample was the second highest density and plastic sample had lowest density. we concluded this from material weight since density is weight of material per unit volume.
Scratch resistance: it is easier to scratch resin surface than scratching plastic or silicone.