10. Mechanical Design
For this week, I have learnt on Machine Design
For this week, I have worked on:
Group Assignment - Machine Design:
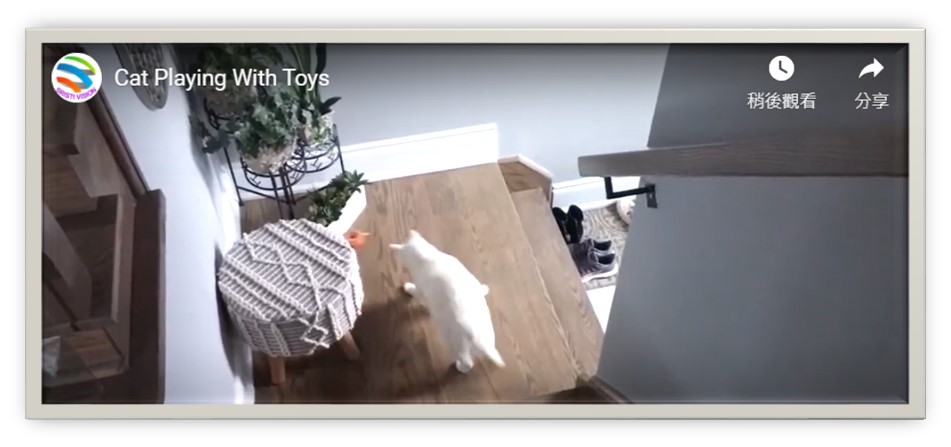
After our first group meeting, we have decided to make a machine for cats’ playing game as their instinctive hunting behaviours for attraction their attention and maintaining enough exercises to stay cats’ healthy.
If you have interest, you can CLICK HERE to see our idea and the Video Show to know more about the details. Some main points are mentioned below.
Step 1: Design Ideas & Schedule
Stage of Development for Machine Concepts
From the beginning, our 5 groupmates, German, Mai, Queenie, Patrick and I have thought and searched many different types of machines those fit for the design about cats including the suggesion from other FabLabs as follows:
- An Automated Cat Laser Pointer toy
- Some Great Machine Ideas about Habitats for cats from a Fab Academy Student in 2020
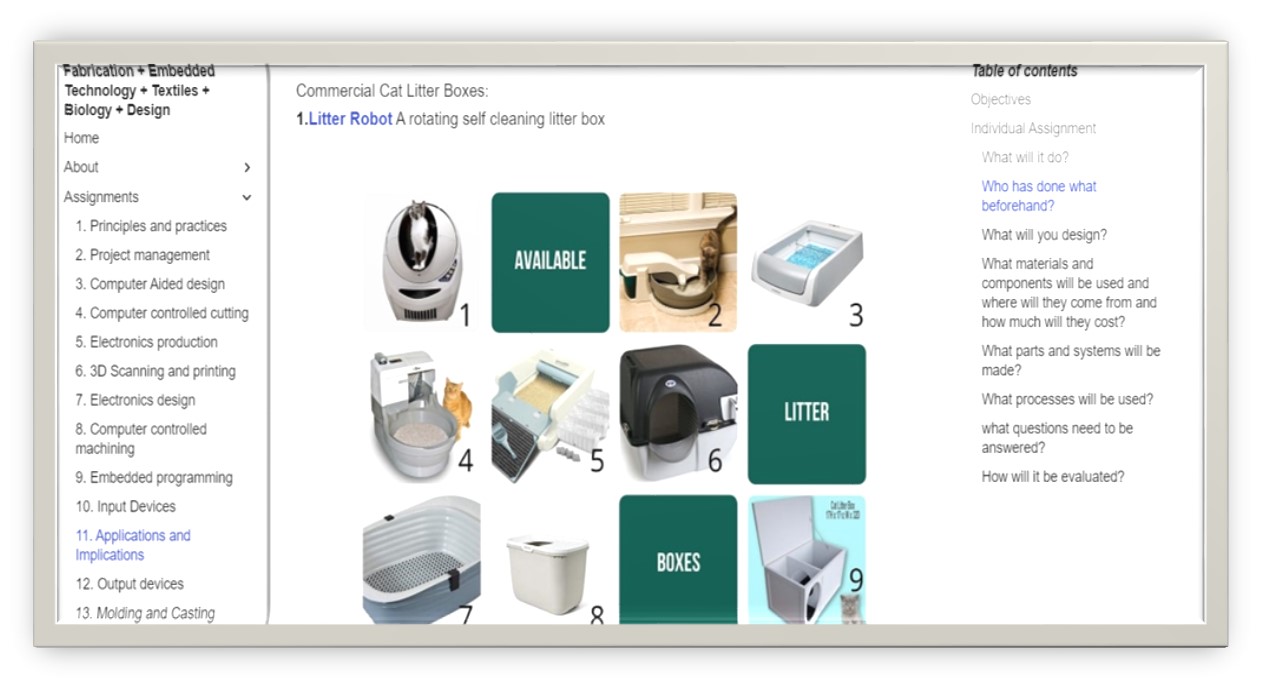
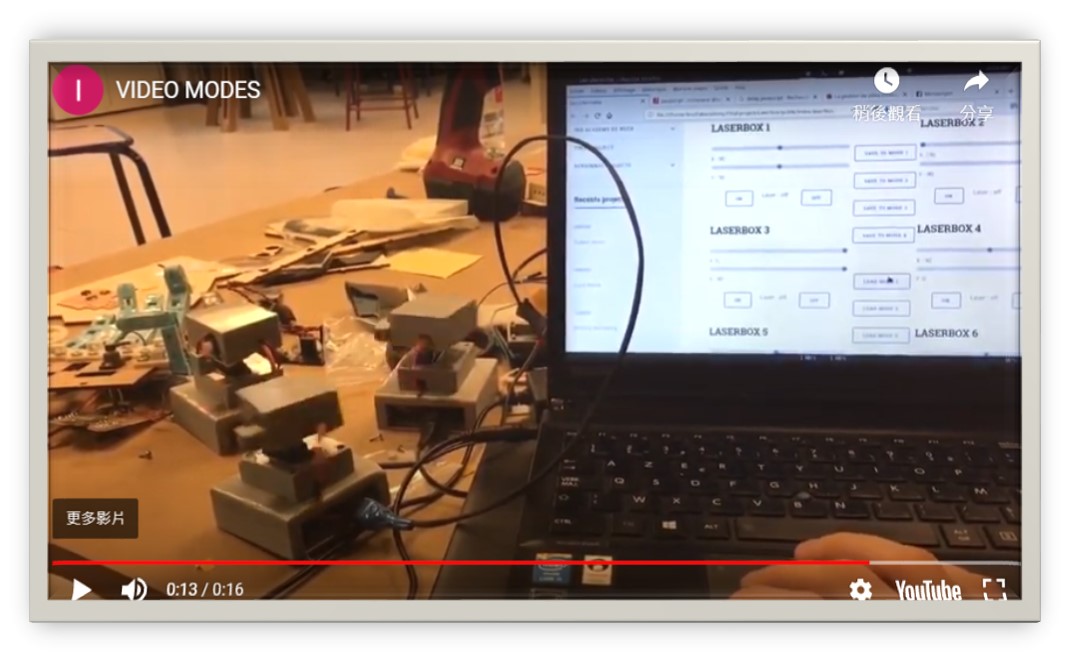
- Suggestion from Ted - Fab Taipei during our Group Discussion: Laser Box from a Fab Academy Student in 2019
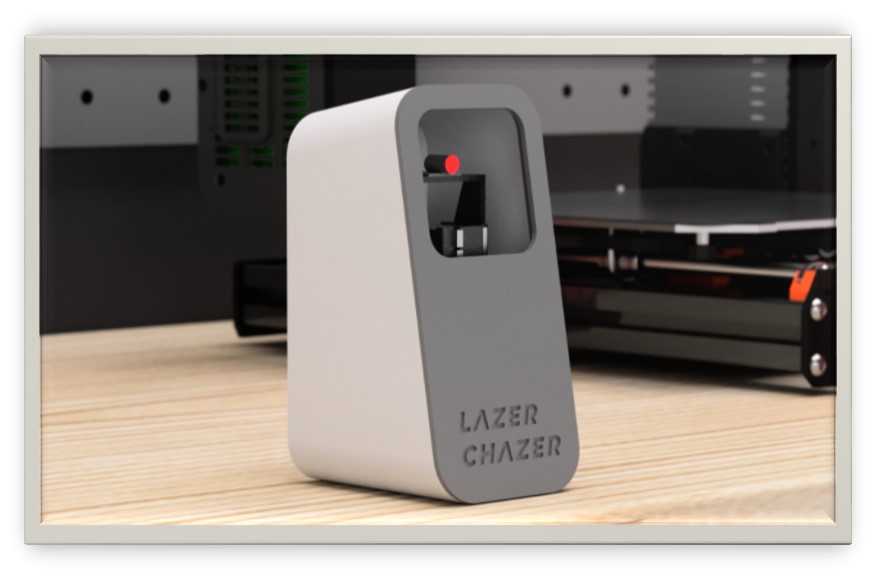
- Suggestion from Adrian - Fab MCU during Global Open Time: Lazer Chazer
- Always Stay Connected to your Pet
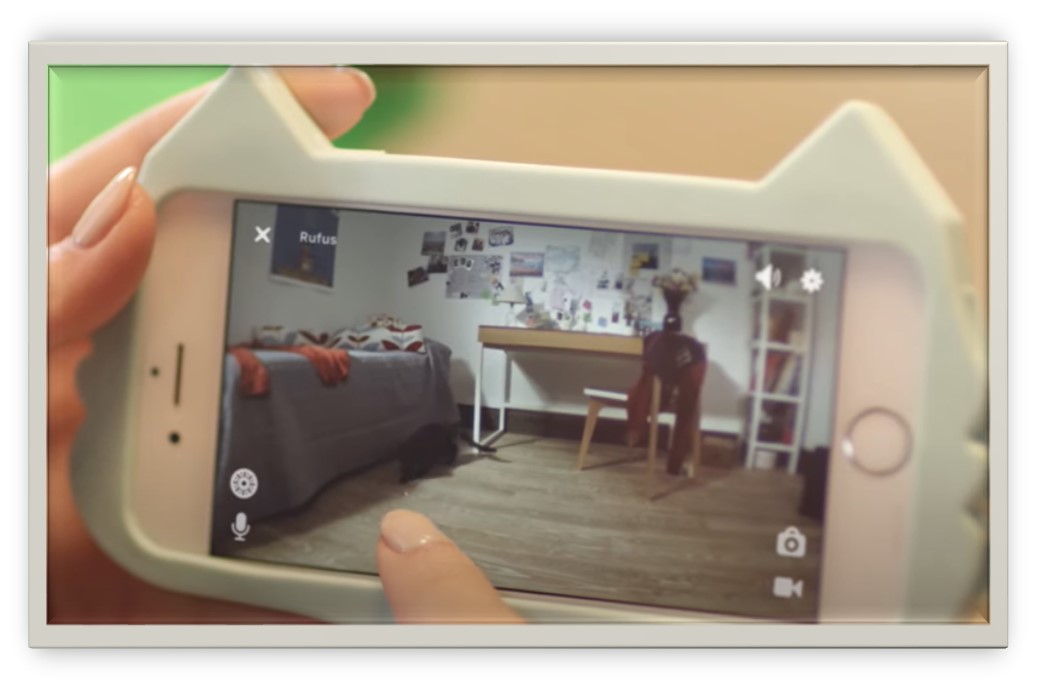
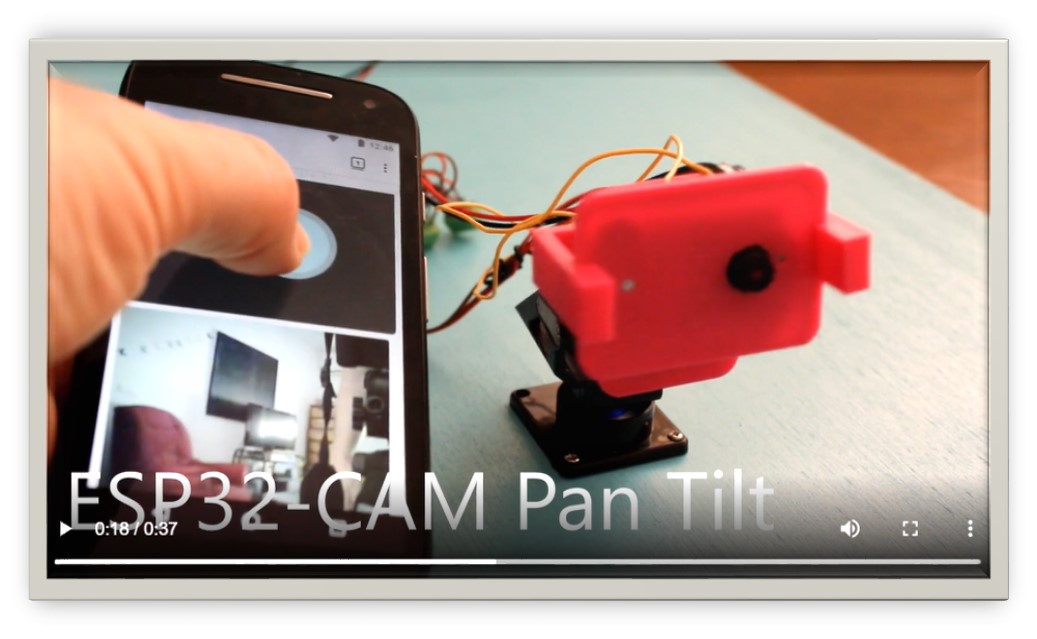
- Pan and Tilt Control for an ESP32-CAM with a mobile phone touch interface to control and view the video stream.
During 1st Discussion:
We discussed and concluded to ESP32-CAM as one of the devices because it is a very tiny piece and newly trend components could be used in the future project.


After our group discussion, we have decided to make a machine for cats as conclusion by - using ESP32-CAM to watch our cats or other pets anywhere - monitoring the camera via Wi-Fi or Bluetooth - controlling different carmera angels by our phone panels - adding a laser pointer as playing with cats at the same time - pressing a button in our phone panels for moving the laser pointer automatically
Studying and Working Habits
In Hong Kong, we have long studying and working hours for most of the people. We always spend less time at home than at school or in our working place. At the same time, we would like to see what either our child or the elderly do or base on the safety reasons at home.
Therefore, installation of remote carmera at home is very common in Hong Kong. Since many people would treat our pets, such as many different kinds of cats, like our children, we would like to provide any game as remote exercise for the cats even we cannot accompany with them at home.

Characteristics for the Cats
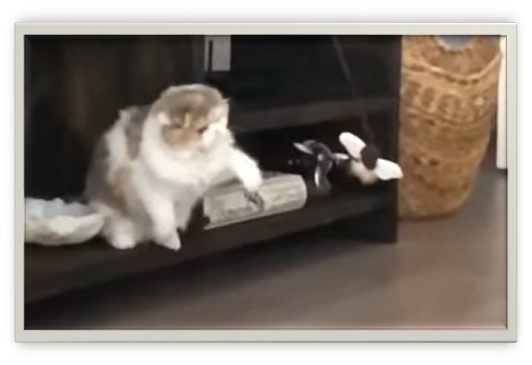
Most of the cats like the movement of laser pointers becasue they Hunt little dots as signs of life instinctively.
The cat plays only for a short while if the toy will not move automatically.
We must design a machine with moving object to arouse the cats’ attention and play continuously.
During 2nd discussion:
We concentrated on the design of control panel of HTML interface and the pixel range of drag box mapping with moving angles of servo.


We have grouped altogether and discussed more details via zoom meeting again to complete the further following steps.
Step 2: Hardwares Prototype
We have gotten the similar ideas from Laser Pointer Toys and made a prototype for testing.


This mini servo is suitable for a large range of tasks including beam robots and other automation tasks. It is onnly weights 9 grams and gives you a 1.6kg cm torque. This servo is for you if you are planning on building smaller size robots.
A laser pointer which a laser diode emitting a very narrow coherent low-powered laser beam of visible light that arouse the interest from the cats.

Basic Hardwares are necessary for application including an ESP32-CAM AI-Thinker Board, USB cable and Computer running Windows, LINUX or macOS. ESP32 board is a chip that is included a system that integrates many different features:
- Wi-Fi(2.4 GHz band)
- Bluetooth
- Dual high Performance
- Ultra Low Power co-processor
- Multiple Peripherals
Uploading Code by using ESP32-CAM-MB USB Programmer is the easiest way to program your ESP32-CAM Board.
- Tailor-made Shield It acted as a board for easy connection of each component.


Step 3: Coding for ESP32-CAM
Step 4: Design for Touch Interface
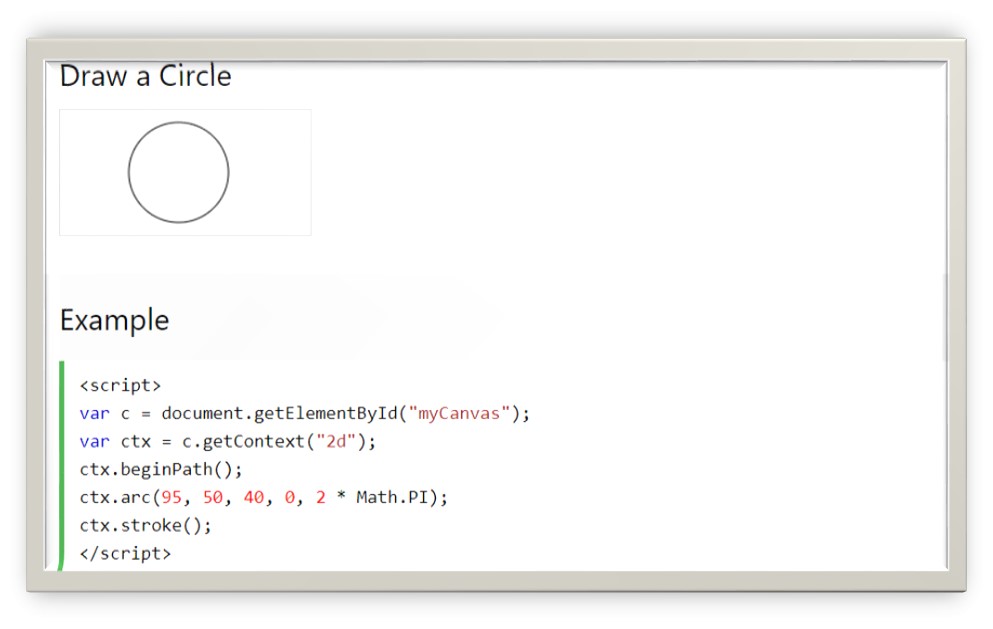
Editing the ESP32-CAM Camera Web Server HTML

Drawing a circle
Individual Assignment
Step 5: Design for Machine Appearance
There were two stages of the design for Machine Appearance. Similar appearance for lazer chazer was printed for capacity testing and possibility of locations for each components and wires.
- 1st Stage

Pit Pattern was added into the inner side of machine cover for free adjustment of slide plates placement.

- 2nd Stage
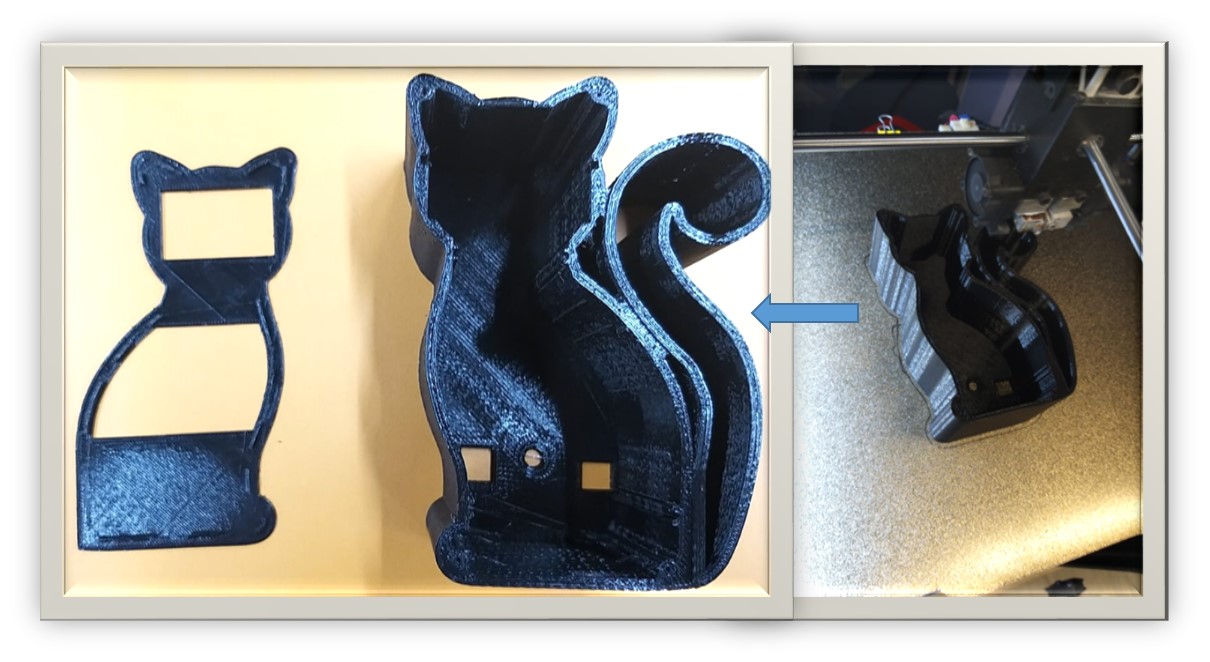
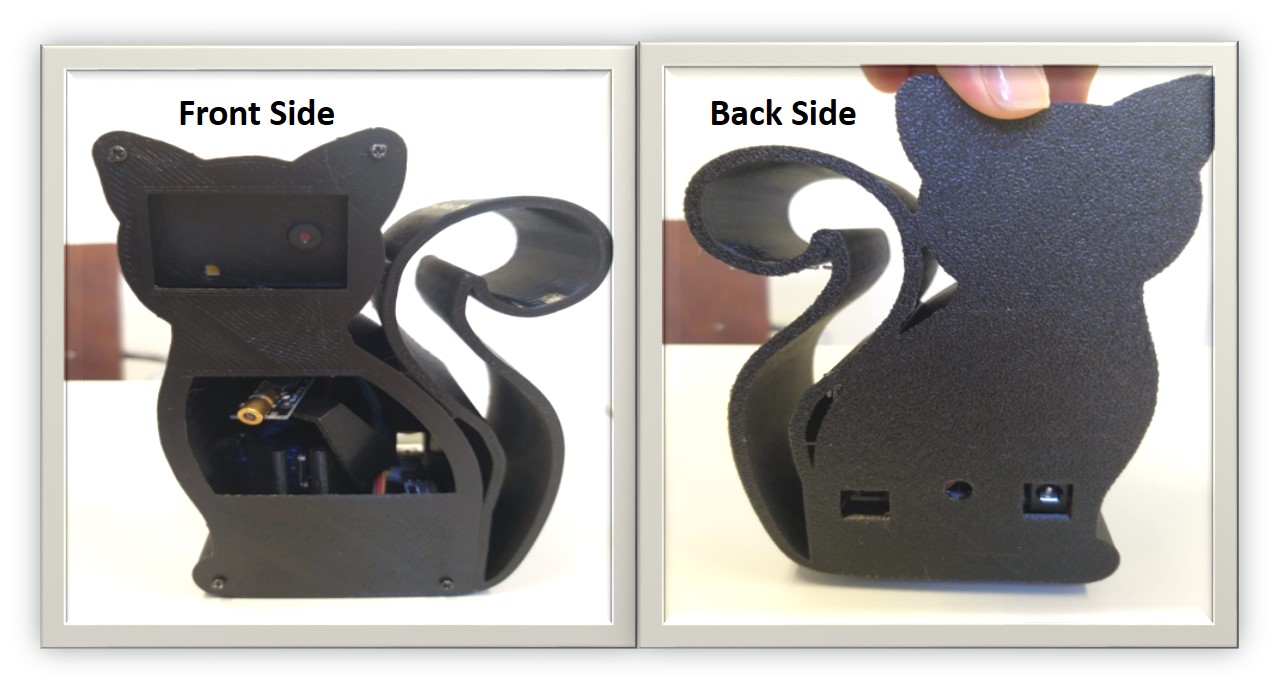
Since we have made the machine for cats at this week, a cat-like appearance was designed by Fusion 360 to increase the attraction of product design.

3D Printing Machine [Raise3D N2 Plus] was used to print machine cover as following information:
- Dimension: 142mm x 103mm x 61mm
- Thickness: 3mm
- Weight: 150g
- Duration: 14 hours
- Nozzle Diameter : 0.4mm
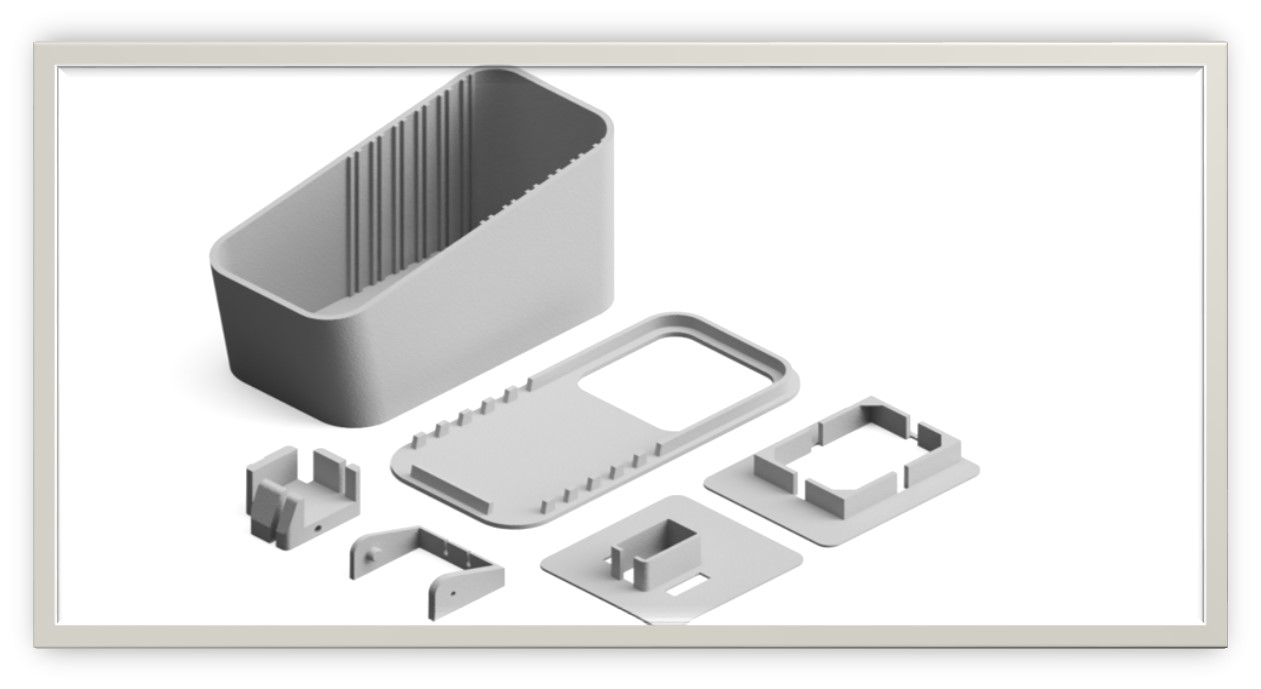
We had two attempts for printing machine covers and their comparsions, according to 2nd attempt, as follows:
- Four more crews holes were added at each corner for more fixation.
- Three separated smaller holes were built instead of one larger hole for determination of different plugs, 5.5 power jack and mini USB, for power supply. A hole at the backis spared for 3 DBI antenna receive the signal from Wifi.
- Less PLA material were used.
Therefore, we chose the 2nd attempt of machine cover design for further machine testing.

Sources Files for Machine Cases could be retrieved as following links.


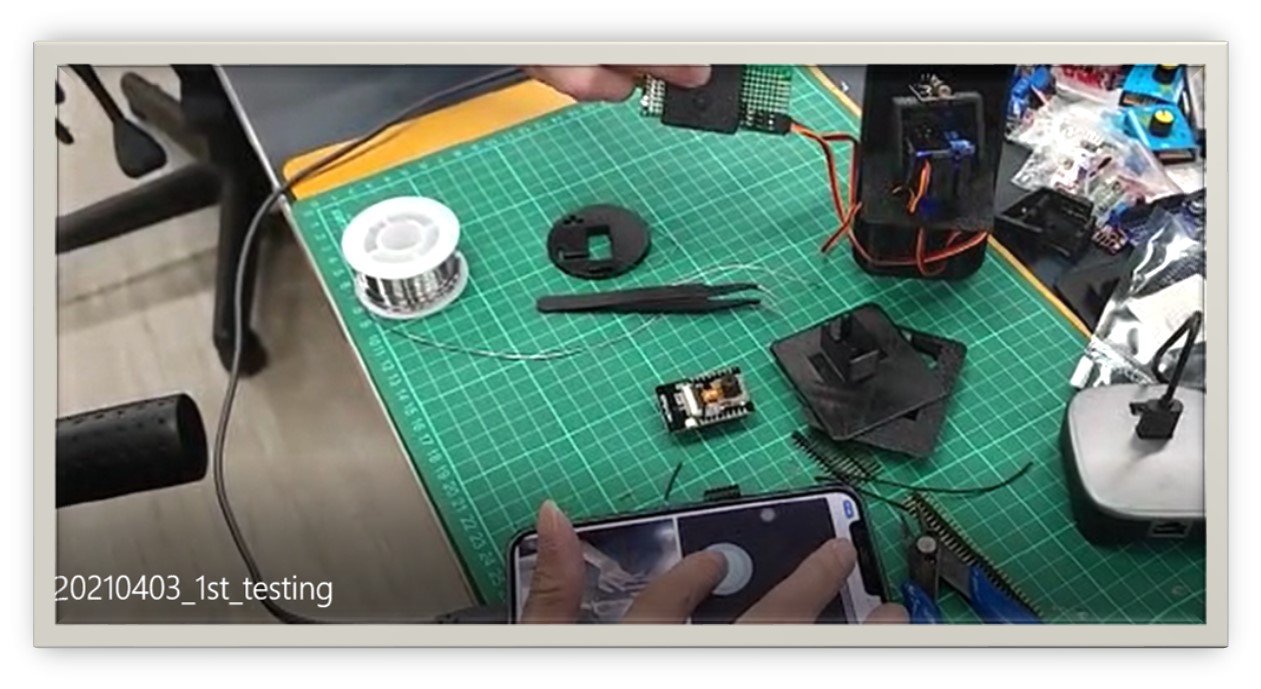
Step 6 Machine Testing
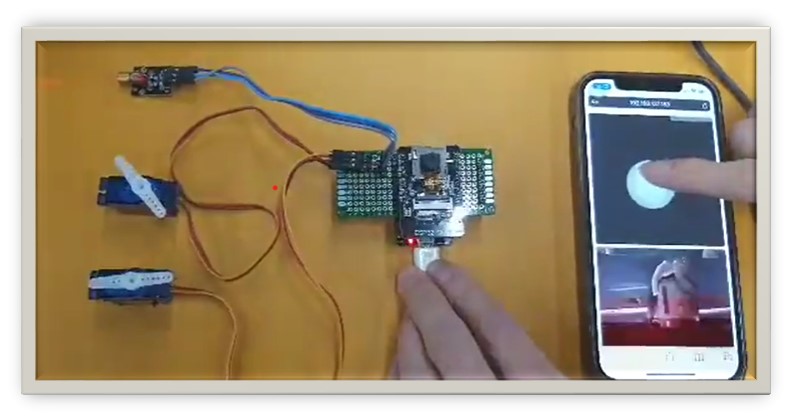
1st Trial
After connection of each component with 1st machine cover design, the movement of the laser pointer can be controlled by the circle of mobile phone interface via intranet.
Main points for 1st trial:
1. Web server host is successful.
2. Servo could be controlled by GUI interface.
3. Values for coordinates of X-axis and y-axis can be mapped with turning angle of pan and tilt.
2nd Trial
Motion of Laser pointer was added in programming.
Main point for 2nd trial:
Problem about ESP32-CAM board including flash LED in pin4 that control the tilt of servo have found. This is due to the sample program.
3rd Trial
Two servos could be assembled as Tripod-head with two-degree of freedom. The laser pointer could be fixed on top of the machine.
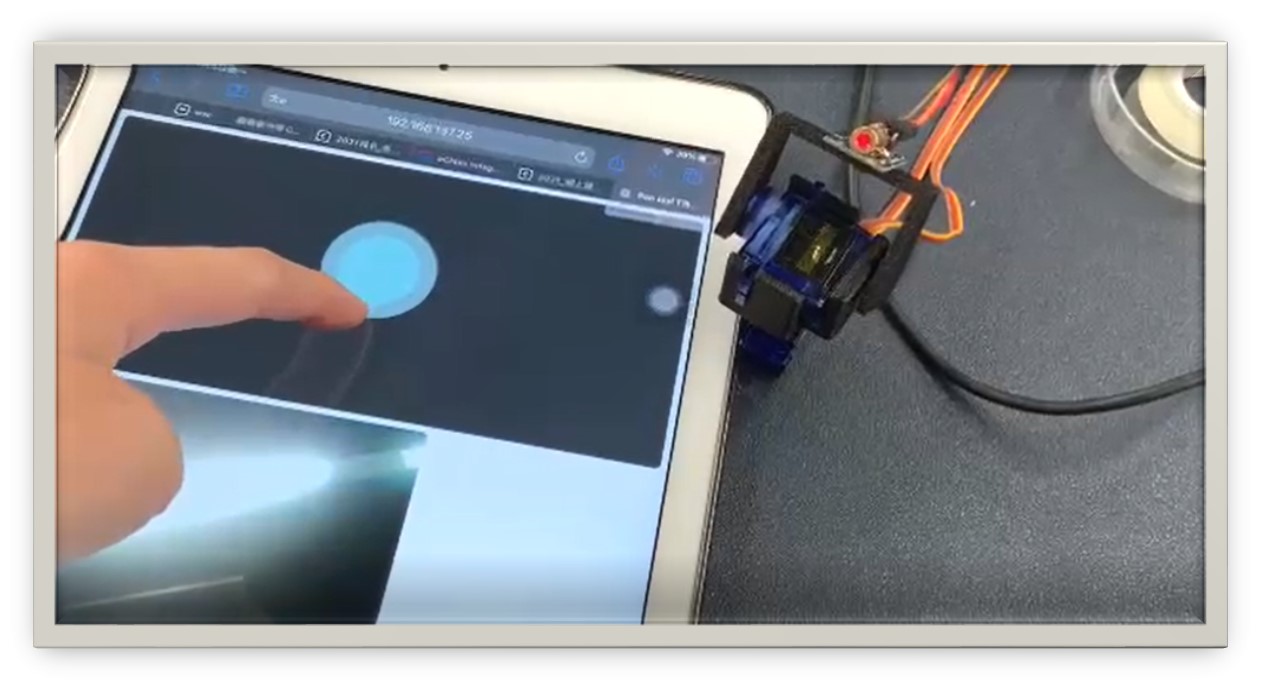
Main point for 3rd trial:
1. We can use drawing board as interface to control laser pointer with our finger’s movement manually.
2. Laser Pointer could be drawed our assigned circle pattern via a self-design press button automatically.**
4th Trial
One of the unpredicted and uncontrolled problems, noise of servo, could be found during this trial.
5th Trial
Final Assembly of all components with final testing in our FabLab.
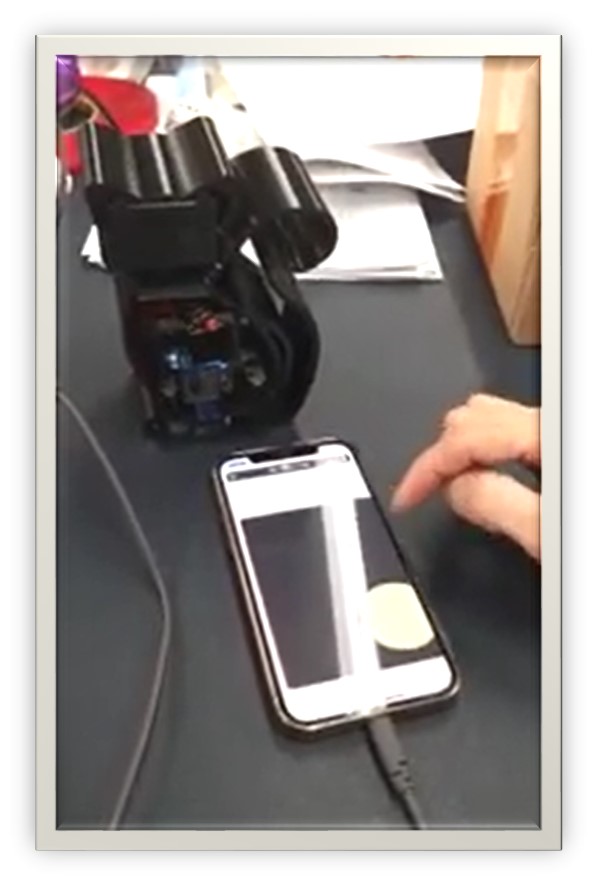
Step 7: Video Recording - Machine Testing in Real Situation
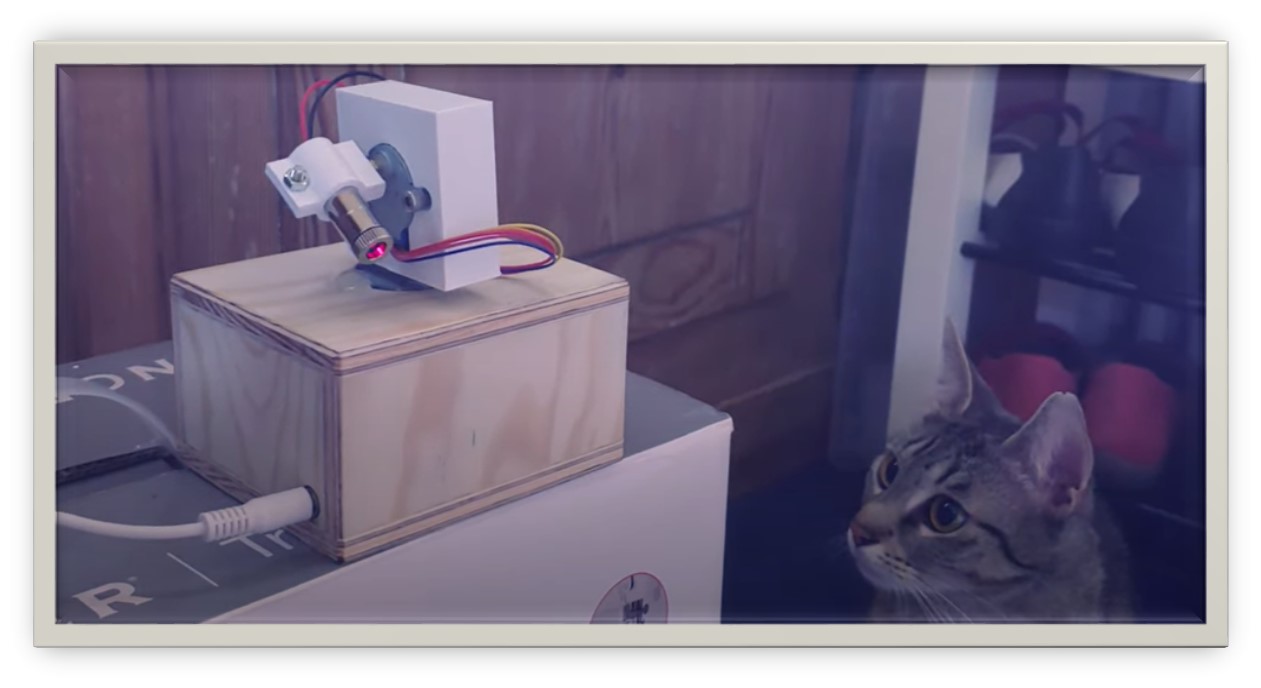
My lovely cats’ have less interest on common cat toy such as a noisy ball, especially the toy without any motion.
Before testing, 4 Easy Steps could be followed to connect our machine, Cat Eye, with HTML interface for testing in real situation.
- Using USB wire to connect between Cat Eye and a Computer with any Wi-Fi signal

- Opening HotSpot and Checking designated IP address for Cat Eye

- Using the same Wi-Fi network for both computer and control device

- Using the same Wi-Fi network for both computer and control device

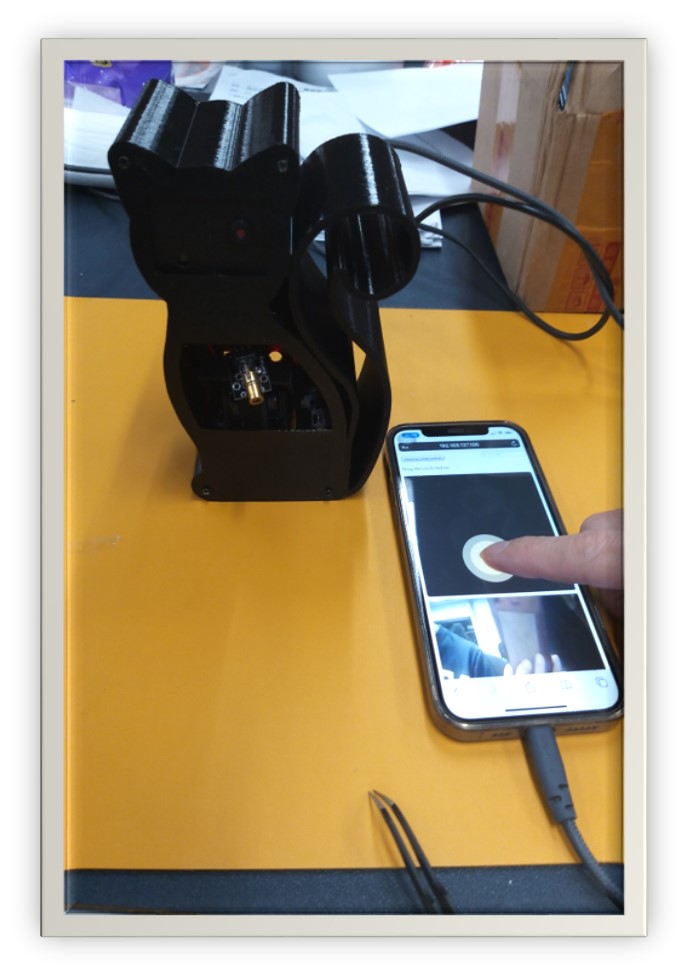
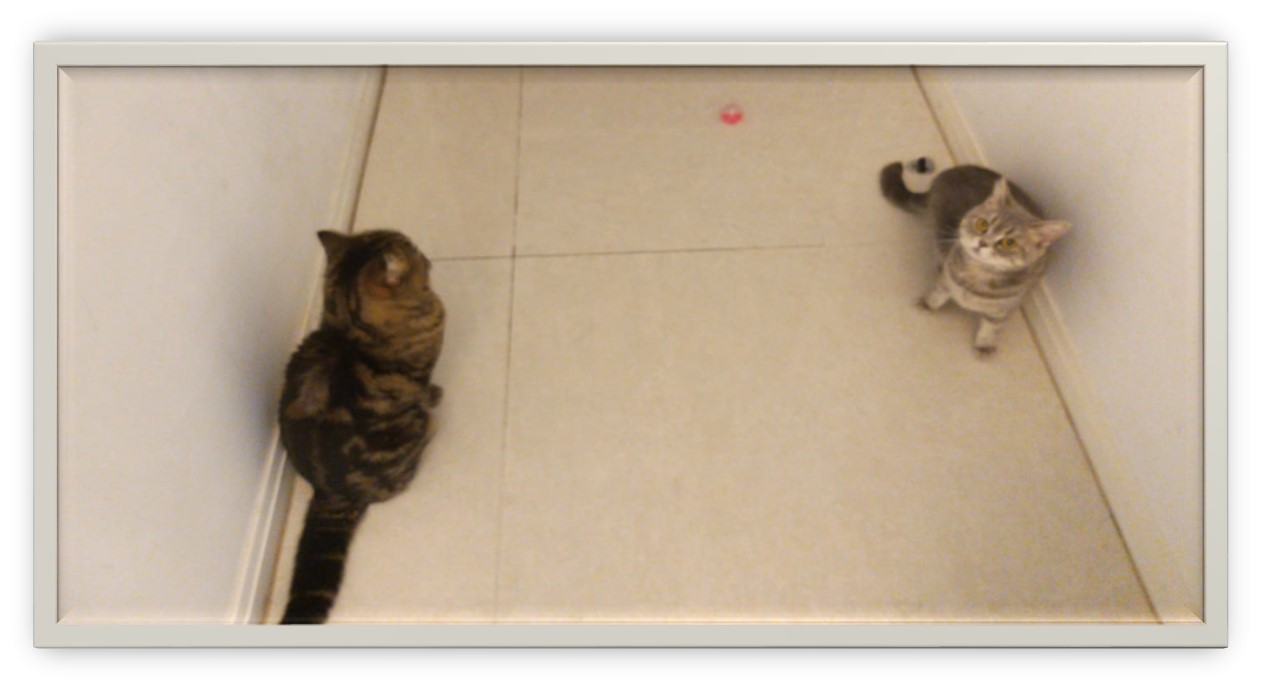
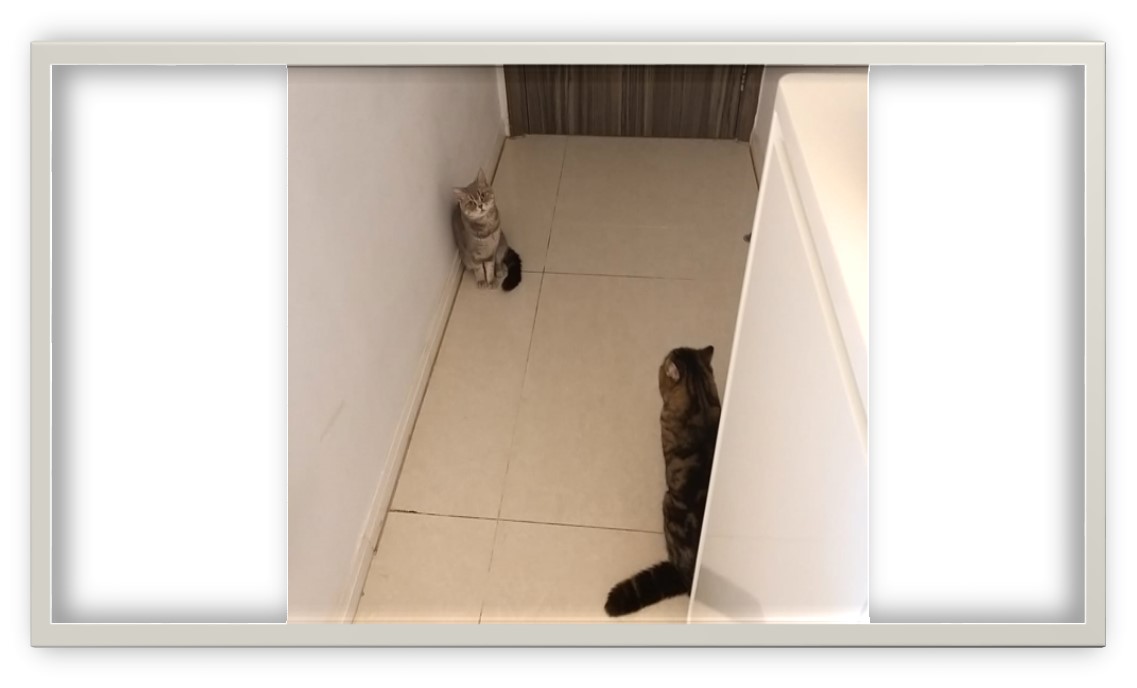
At the beginning of the test, I try to test the function of “Drawing Circle control”. My cats’attention have been drawn to come to assigned area by pressing this simple button once on the HTML interface which control the laser pointer to sketch a circle pattern automatically.

One of my lovely cats has chased the movement of the laser red dot by controlling the yellow circle button on the HTML interface manually.
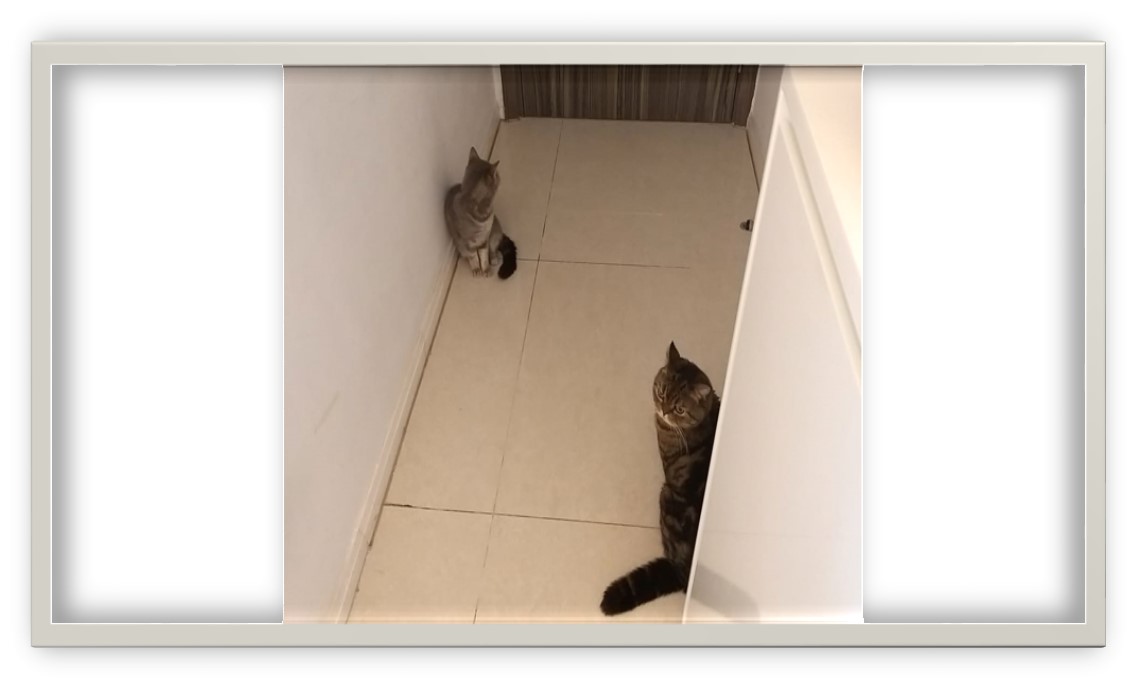
Except a button on sketching the circle and a yellow circle button on the HTML interface, a live video could be shown on the same webpage. We could play with the cats under the webcam for distance control remote together. Two lovely cats could play one by one and I could control the speed of the movement of laser pointer due to safety monitoring.
Step 8: Project Presentation
Our Final Machine Product - Cat Eye
More Modifications:

Behind every successful man,
there’s a lot of unsuccessful years.
Bob Brown