12.04.2021
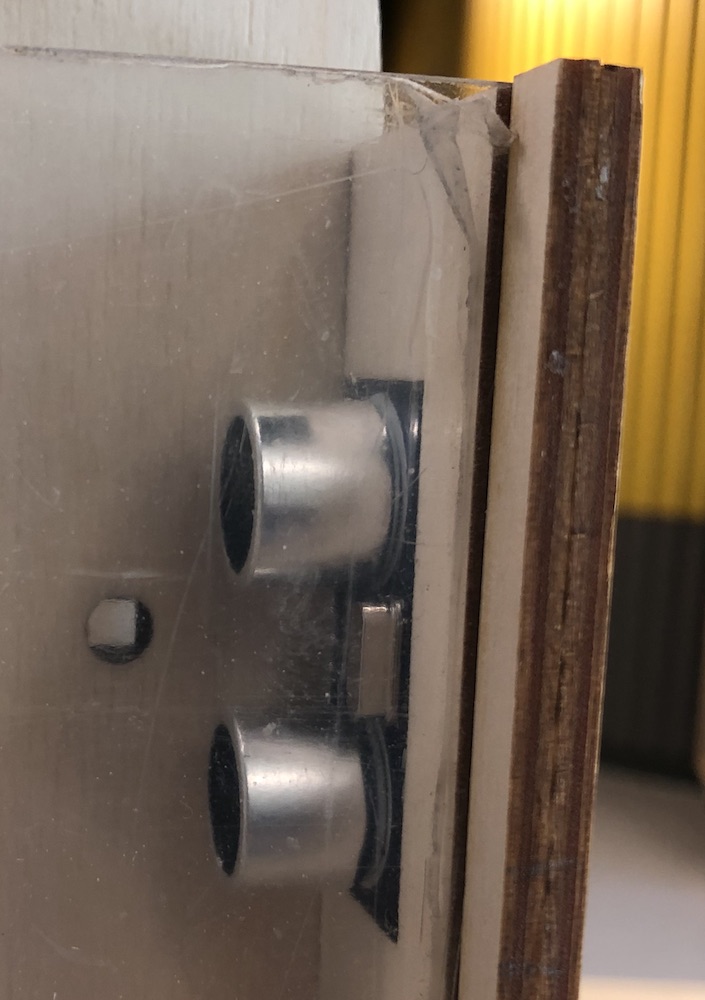
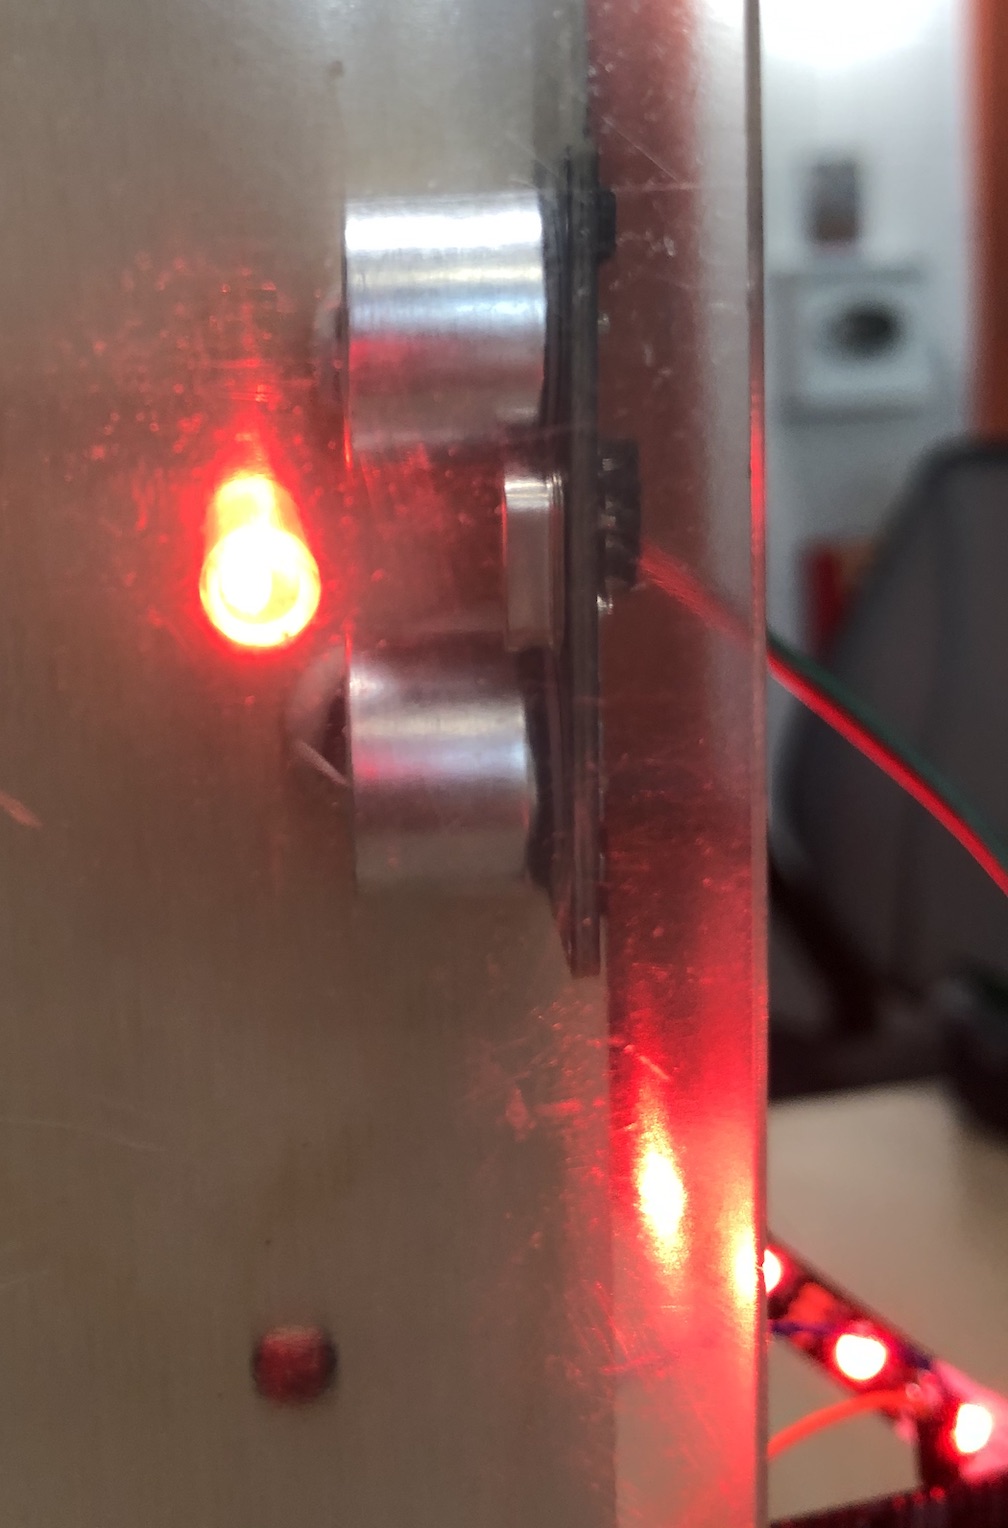
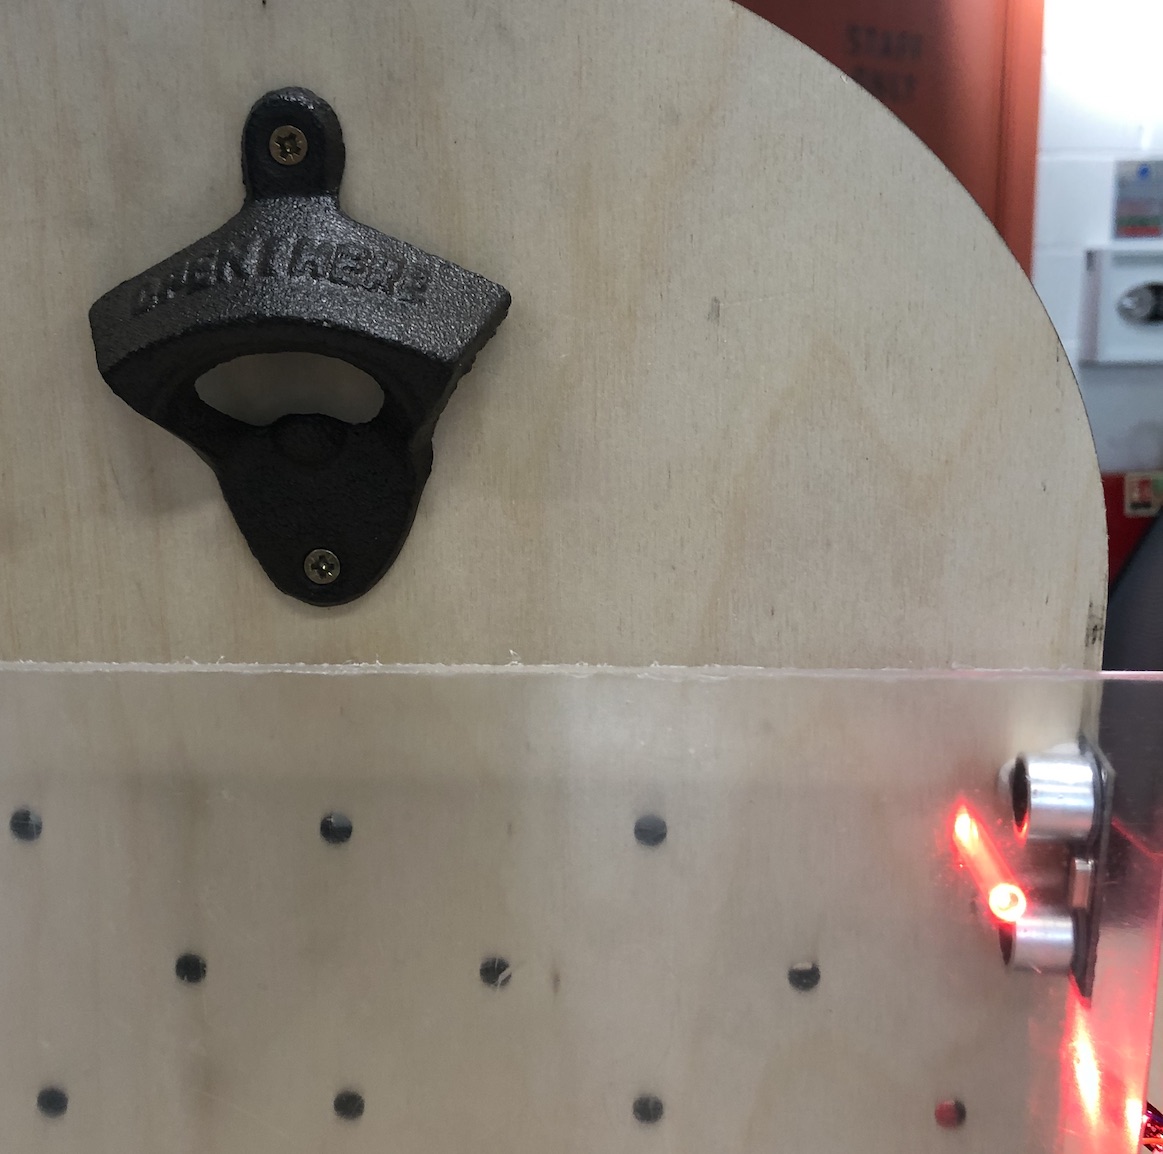
I started by placing the sensor in between the back wall and the acrylic and this seemed to work well, it didn't pick up the back wall or the acrylic so this was a good sign. I then paniced and thought that I would have an issue with the acrylic being in the way but it was fine.
By having the sensor there it means it will sense the cap going down, this worked well and lit up the neopixel which was a great thing to see.
During input devices week and the second part of output devices week I played around a lot with the sensor and the neopixels. Getting the neopixels to light up at the correct distance was fun and made me understand what sensor to use. This was the point I should have tried out everything makeing sure it all linked up together with the final design, I shot myself in the foot in the last week as I hadn't testeds this sooner.
I made a hgue mistake in the testing above and didn't test it with all the acrylic tubing in place when I was testing it. Unfortunately the sensor picks up the tubing when it is future away from the sensor, I tried it so that the recieving sensor was behind the tubing and the trigger sensor was open but this didn't work either.
I didn't get any photos of this happening but this is why I ended up having to move the sensor to the top of the arch rather than to the side of the tubing. I will then have to change the programming so that there is a delay to the lights turning on to make it seem like the cap has made them go off rather than the bottle.
As a group me Jonny and Andrew spoke about how, what or where the sensor could be moved to so that it would still work but wouldn't be too obvious. Jonny spoke about different sensors I could use to go off when the cap goes into contact with the bottle opener. I think in my head with such a small amount of time to get this sorted I just wanted to stick to the same sensor and move it somewhere which would work.
I thought about moving so that it was inline with above the first line of tubing, just removing the top line and then Andrew suggested on the arch at the very top and add moulding for it to hold onto. This was a great idea!! I then went ahead and tested this with a very simple sketch on my board and the led to see if this would work. Also were this would need to sit on the arch how far out it would need to go and how often this actually works.
Here is a video of this test:
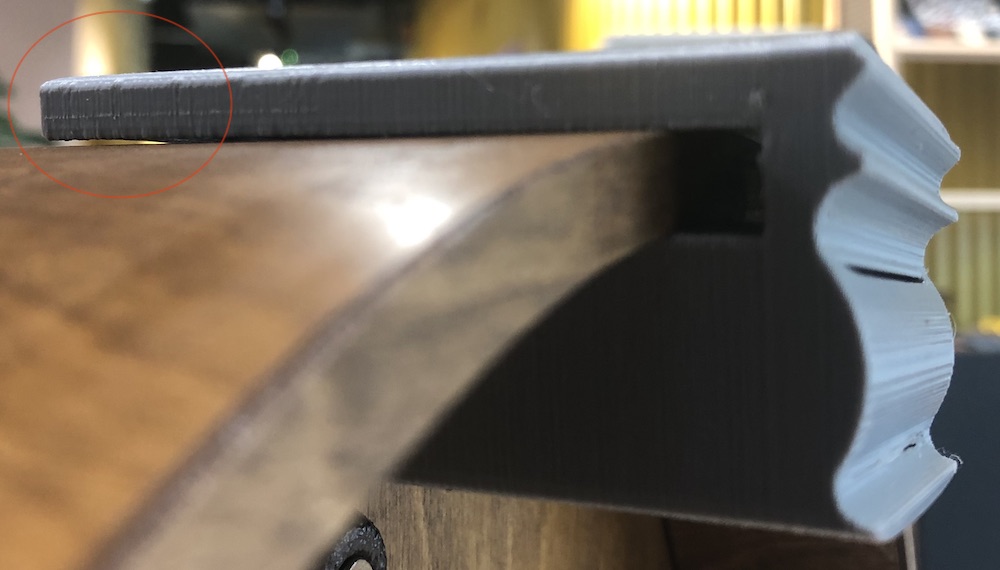
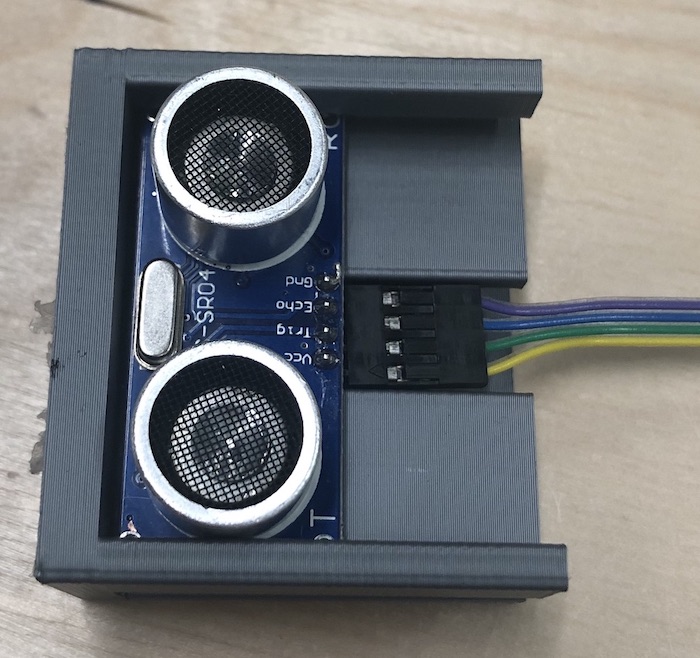
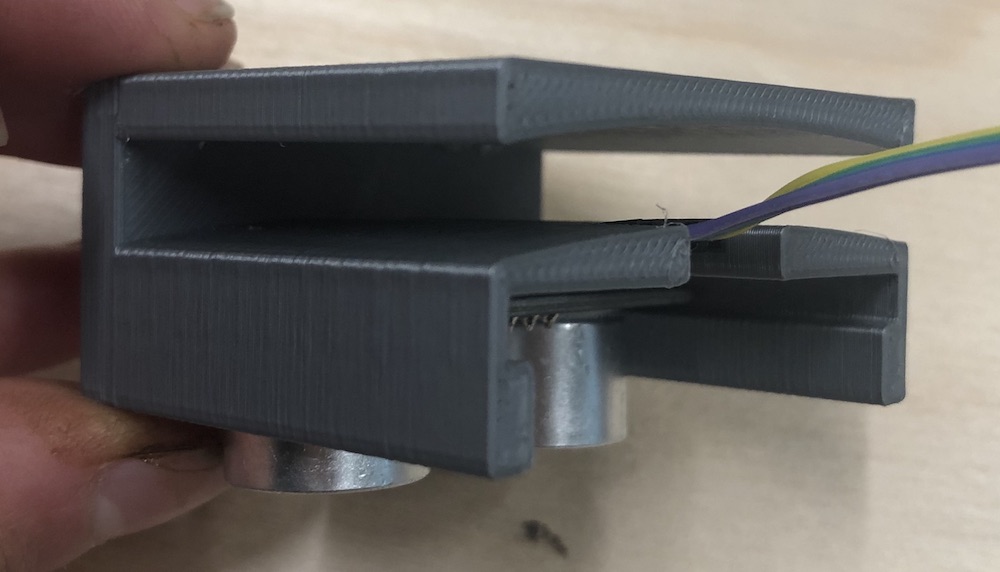
I designed the holder so that it would just slide onto the arch and then the sensor will then slide inside it as seen below.
The first one I made was a) too loose around the arch and b) was much larger than it needed to be on the top area. I therefore made a new one with a smaller hop part and a tighter area around the arch which fitted much better. I also noticed that I could make the gap for the pins much smaller so that the overall piece would be smaller. I dont want this to stick out on my game I want it to so that you don't see it until you realise the lights go on and you try to find out why.

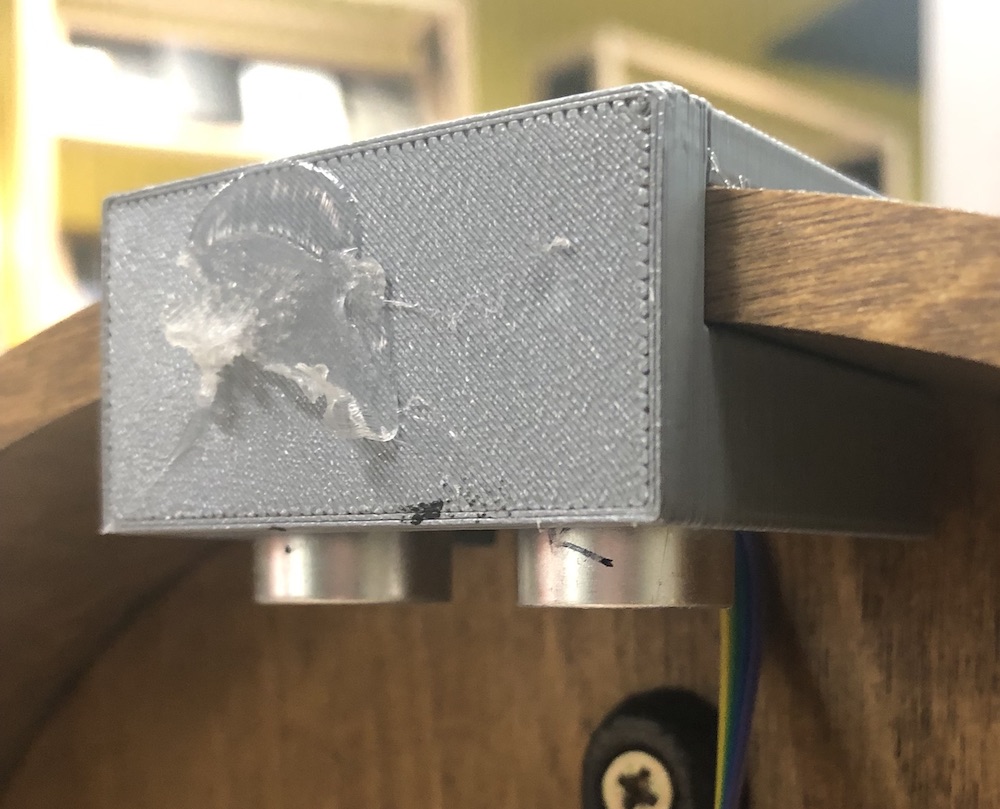
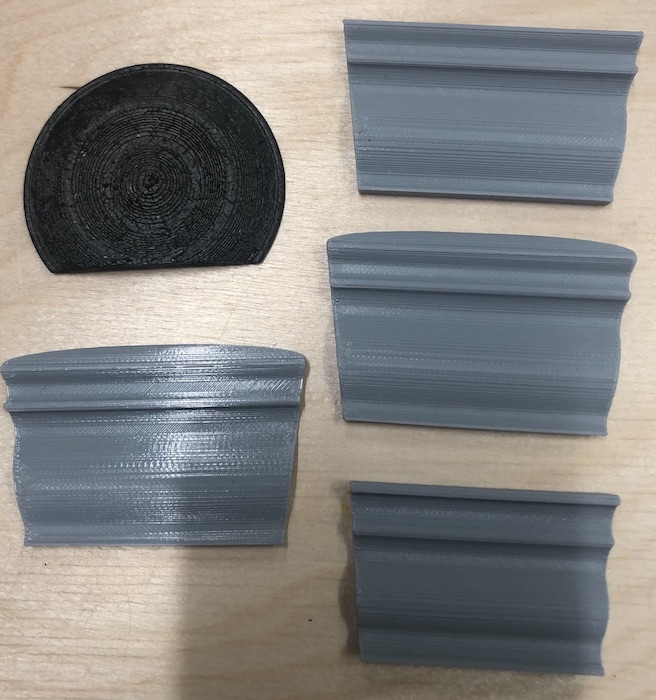
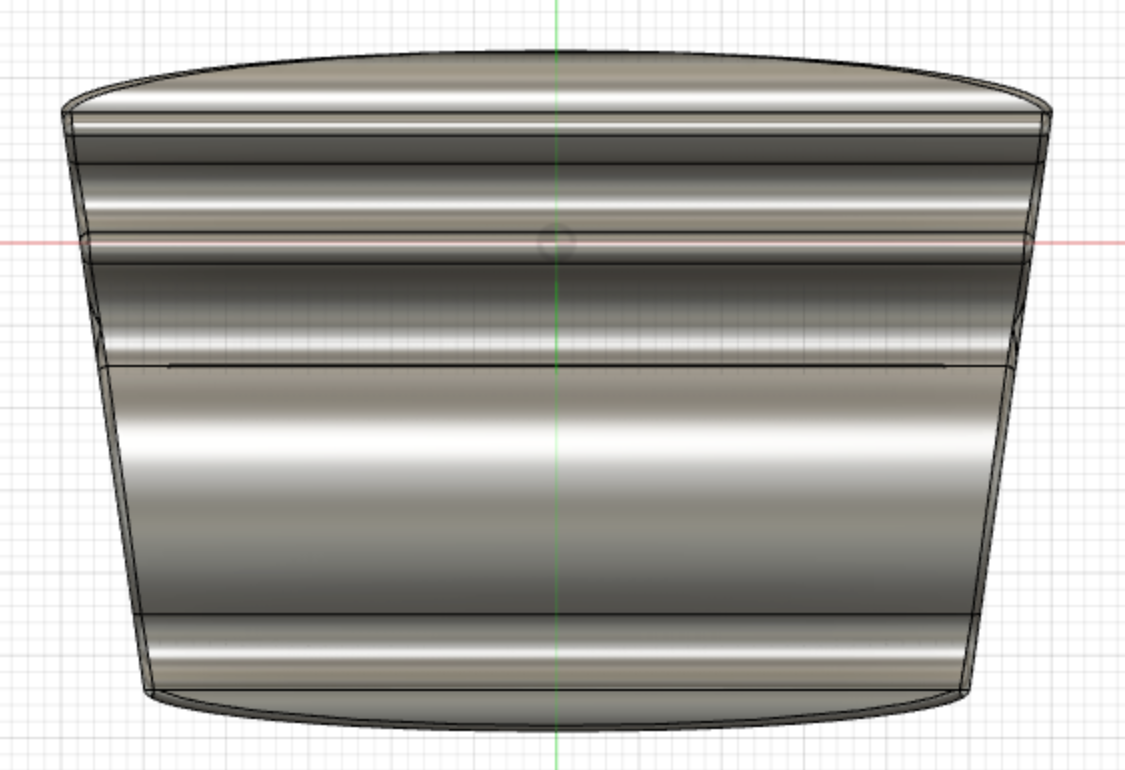
I thought it would be easier to see what is the best moulding for this piece was to 3d print a few as they didn't take long and then stick them to the front of the sensor holder. In the end the right middle looked the best with a slight curve to the bottom so that it would match the top, this was fun to make and trying to match it to the other moulding was also intersting.
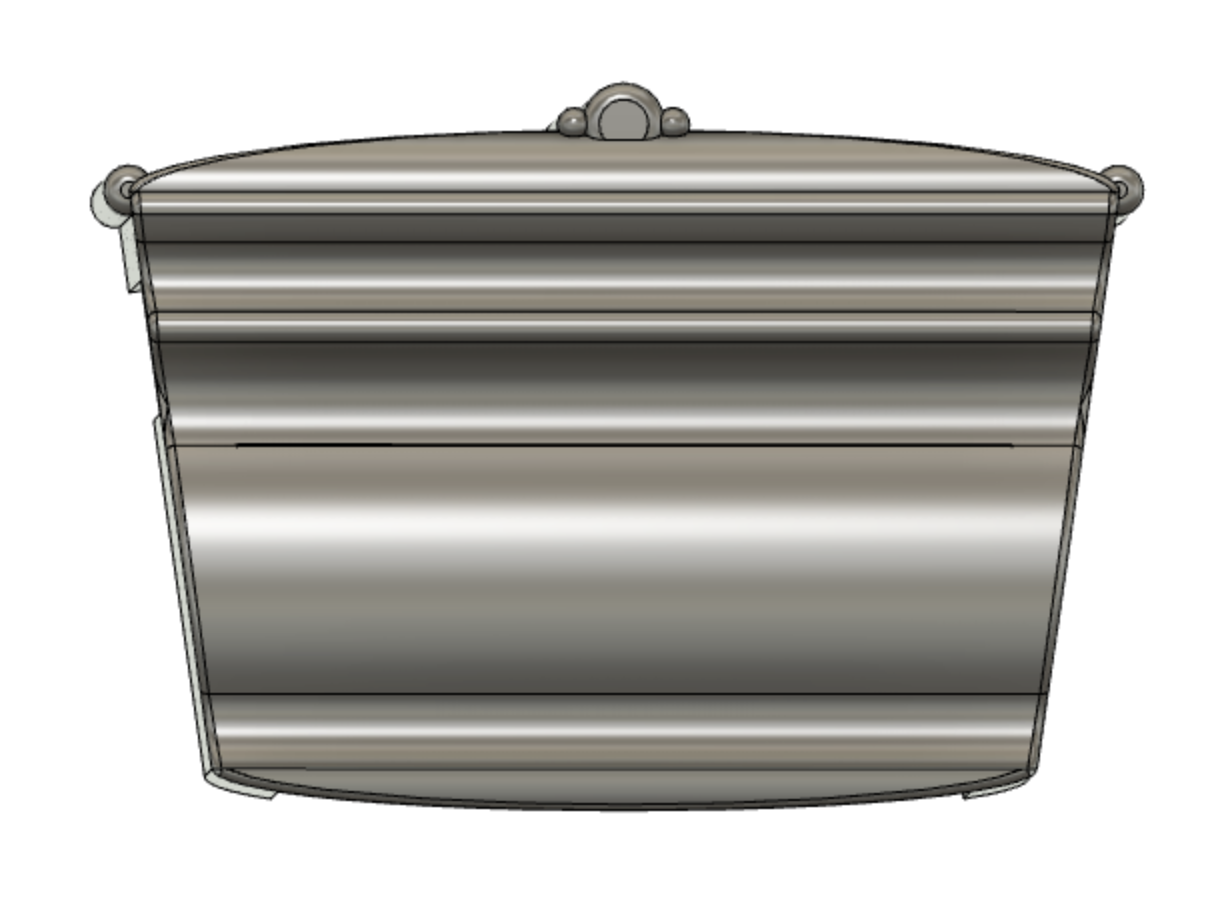
I worried that the moulding might be a little plain so in fusion I thought that by just adding some fancy parts to the top would make it look more interesting. In the end this actually does not look like it works with my game aesthestic.
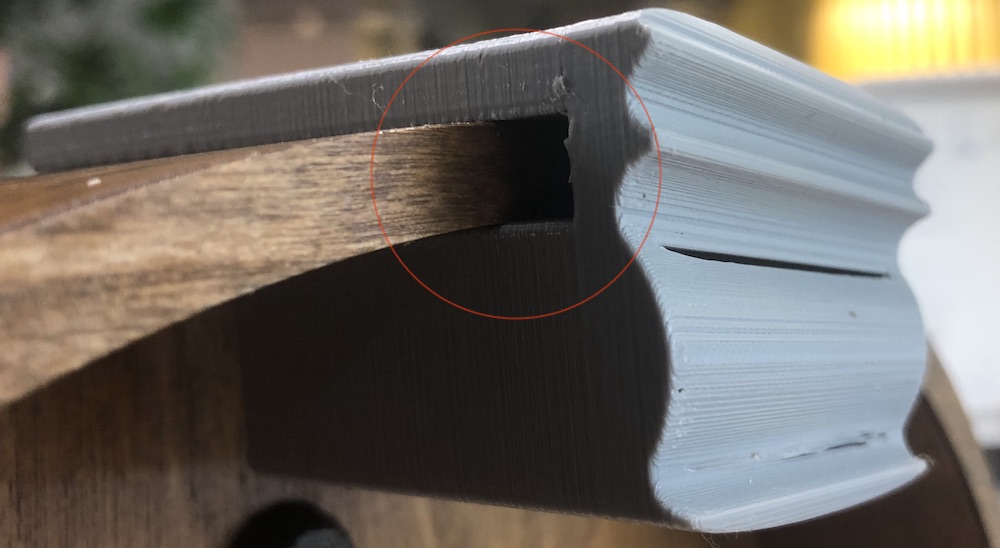
I then printed a final version on the sensor holder but for some reason it didn't slot all the way to the edge of the arch and at the back it was too far away, it also wasn't flush to the arch.
There was something wrong with this print and I extruded the inside of the moulding too far as I realised that the sensor needed to be pushed out more so that it wouldn't go off and off without the bottle.