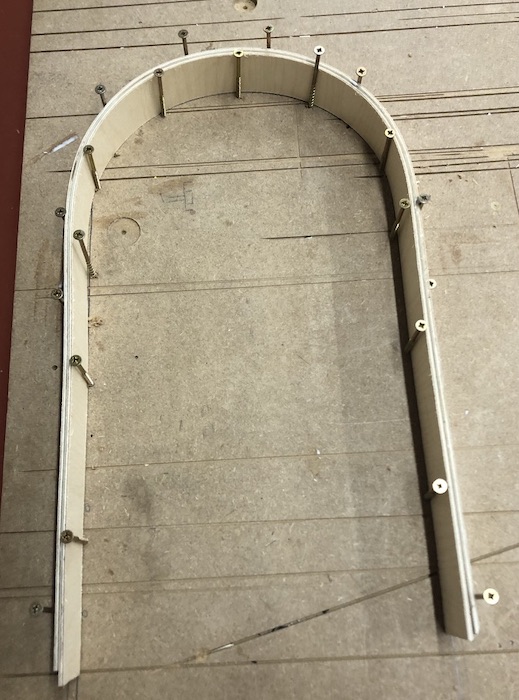
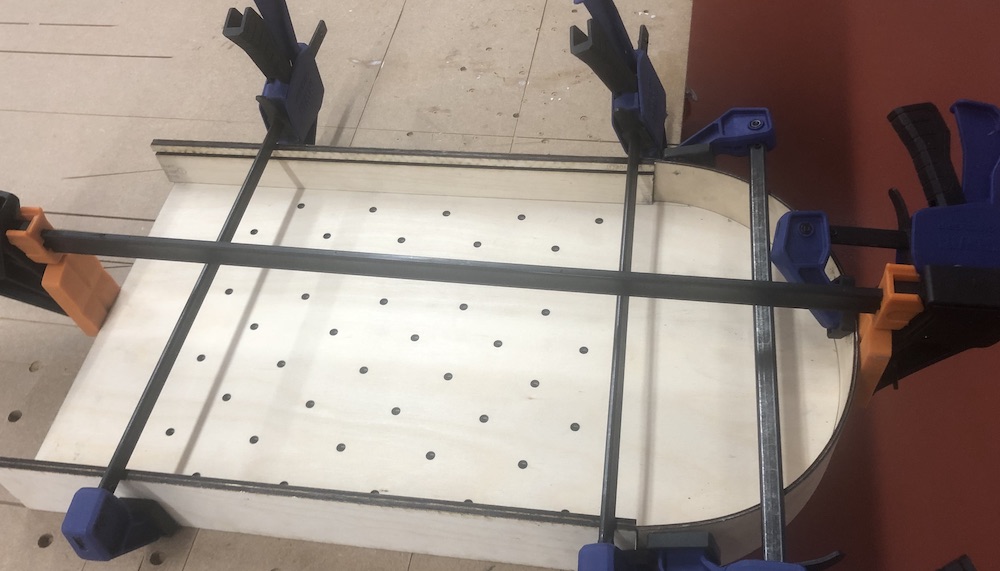
In my head the best way to get the arch for my project was to bend two pieces of wood together and then glue them up in a jig in the correct shape I was wanting. The glue would then set and hold the shape of the two pieces of bend wood.
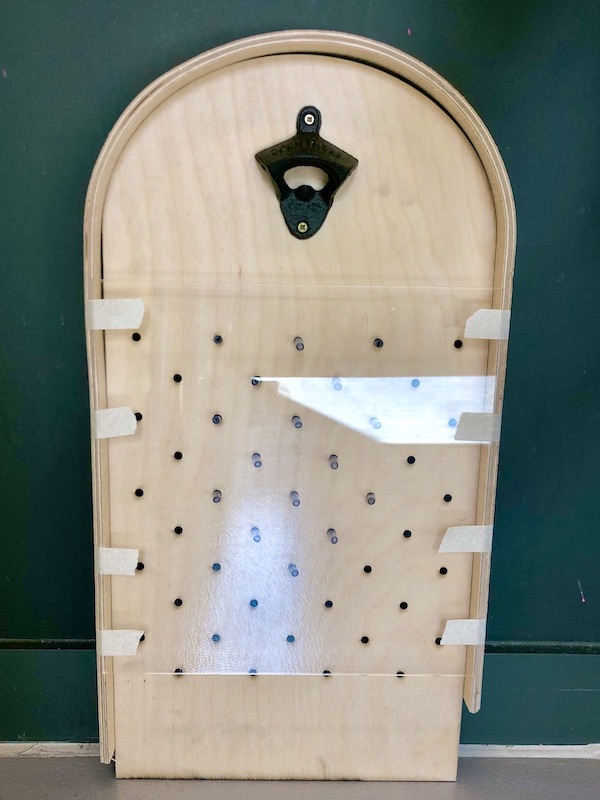
I did this by drawing around the laser cut plywood arch I had made to test out the distance of the back board and the acrylic sheet. I used screws to slot the two pieces of plywood together in the gap, this was very hard and I ended up making a dent on one of teh side of the plywood.
As you can see this did partly work but in some areas the plywood didn't line up exactually and therefore I had issues with glueing it to the main body. I did managed to glue them all up but I then realised that I wasn't sure how I was going to make the groves down the side of the frame. This was something I would solve very easily by laser cutting all the parts and then glueing them together.
I ended up just using masking tape to hold the acrylic on which worked well as it also helped me understand how far away the sheet needed to be for the cap to fall down the gap.

As I mentioned before I ended up laser cutting all the parts for the frame of my final piece, the reason for this was that I realised it was really hard to get a piece of wood that was the correct length that goes all the way around my back board. I also needed to find a way to slot the acrylic in and this was getting more and more complcated. I now know that I also didn't need the arch to slot into the main body of the game as it could just go over the curve itself and slot into the frame sides.
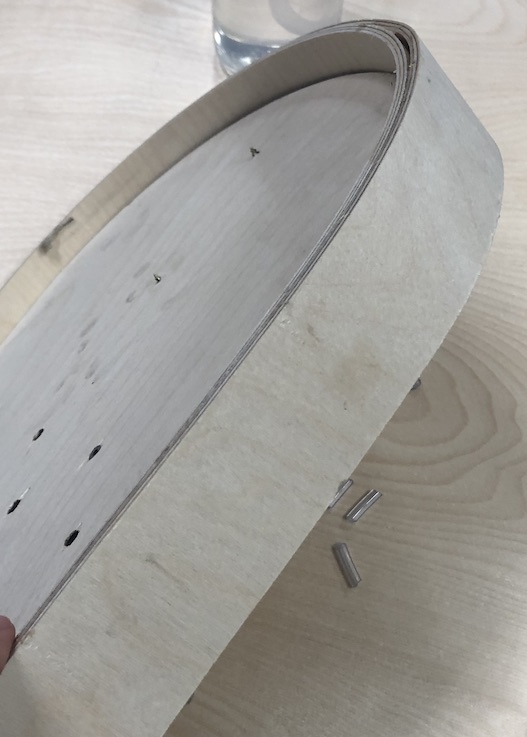
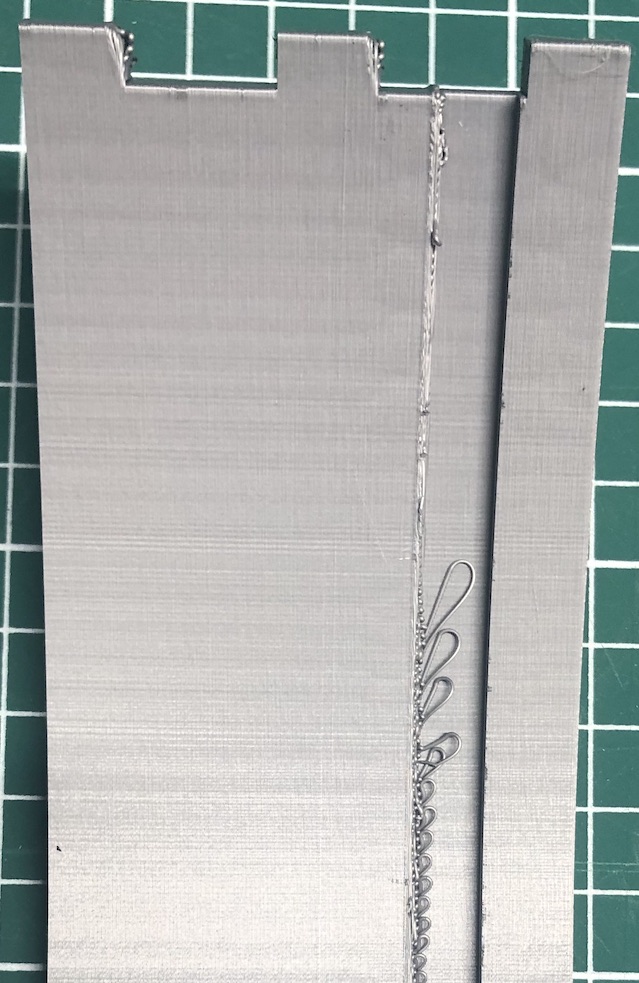
I thought that I might be able to get a 1.5 mm piece of plywood to do the same technique with the glueing two pieces together and then letting them try in the correct shape. Sadly this didn't work as the tight curve that goes to the edges was hard to get working. I was also going to struggle to get the two to connect together as the prussure made from the curves ply was very strong and hard to hold down even after it was glued into place.
This did not work so I went back to the drawing board.
Andrew from the beginning thougth about 3d printing the arch for my project but at the time I didn't think was going to work as I was struggling to see how they would then link up or how I would make it look like wood. Then because I had brought 0.8 mm ply wood and 1.5 mm this could be bend very easily around the arch and then glued down to get the wood on the arch.
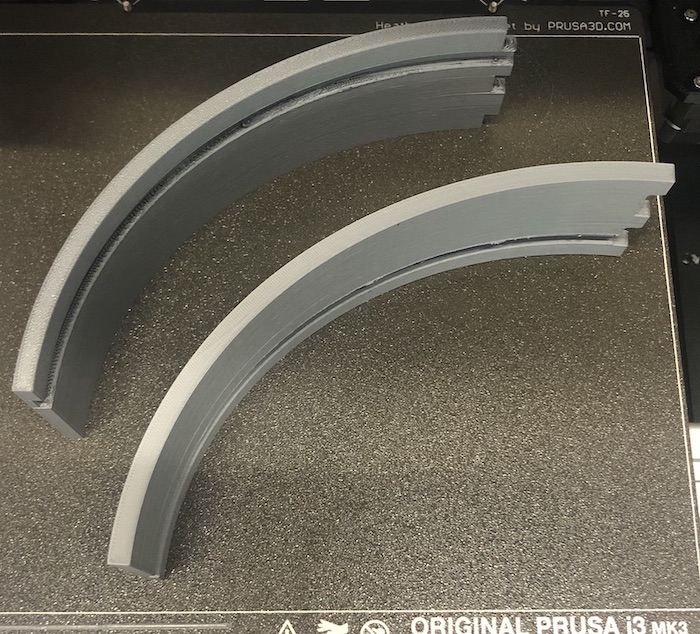
Also because at the beginning I had designed my whole project in cad I had the designs ready for me to just print on the 3d printer. I placed it in prusa slicer saw it was going to take 11 hour and left it going over night.
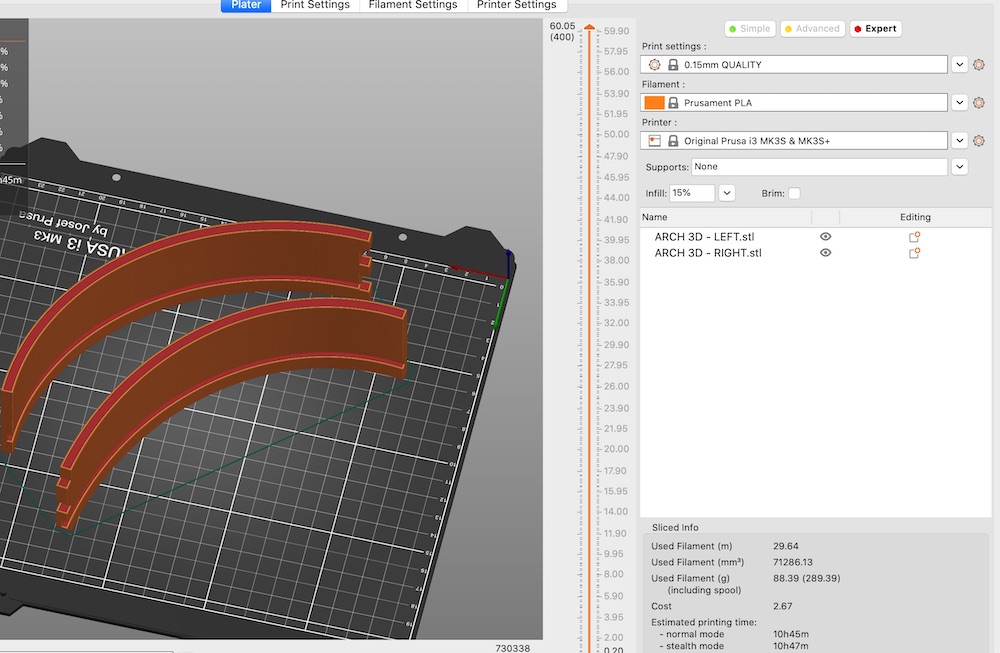
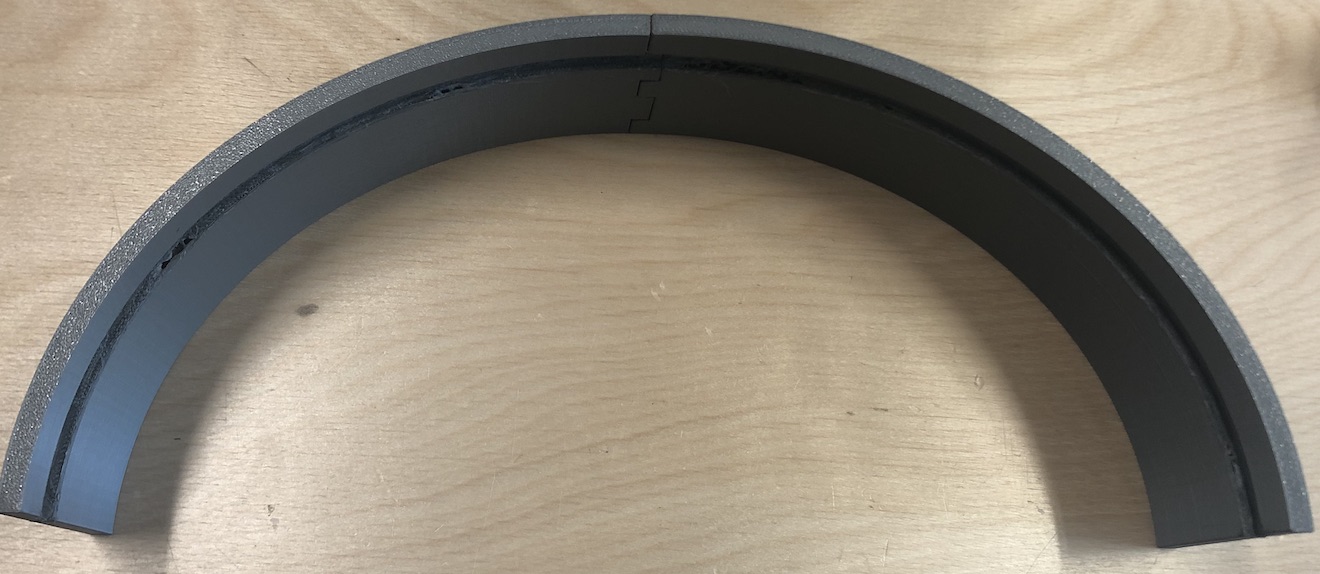
The shape of them came out well, I did have an issue as I didn't put supports under the edge where they were giong to connect to the back board so there was some loose filament I had to cut away to get it to slot in place.
The finger joint at the top worked great, I glued it up and placed it on the piece and it fitted well. The issue I was still having was that you could see the join between the two parts. We then had a thought that because of the design and era that I was going for with the bottle opener I could make moulding to go around the arch and the framed plywood.

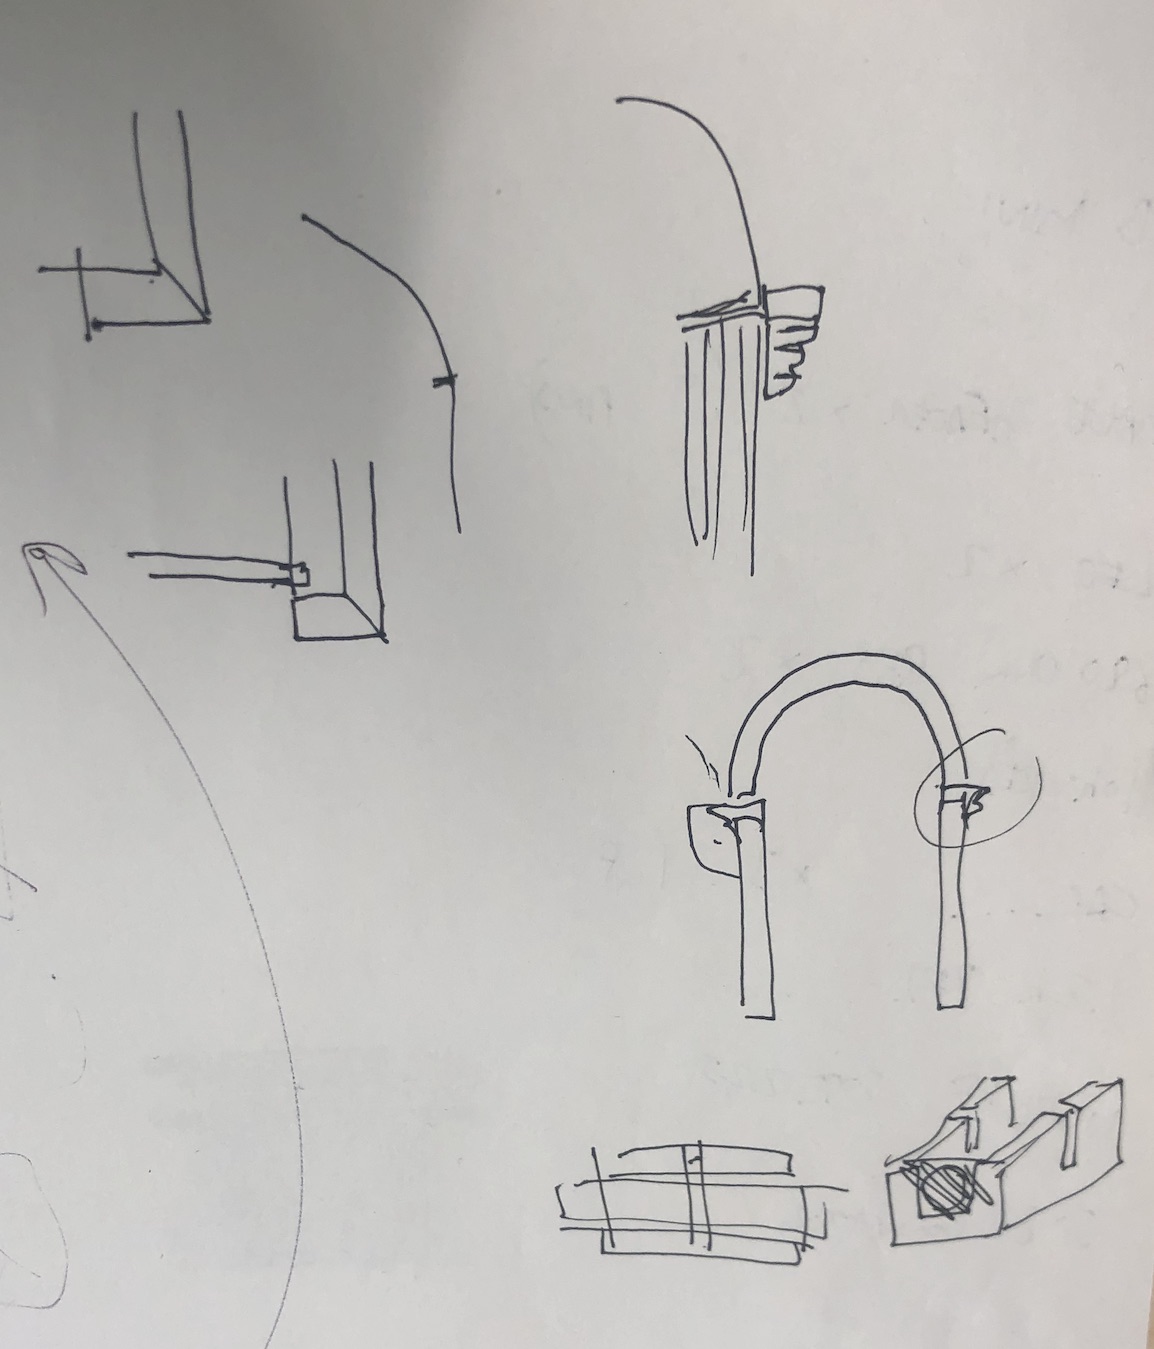
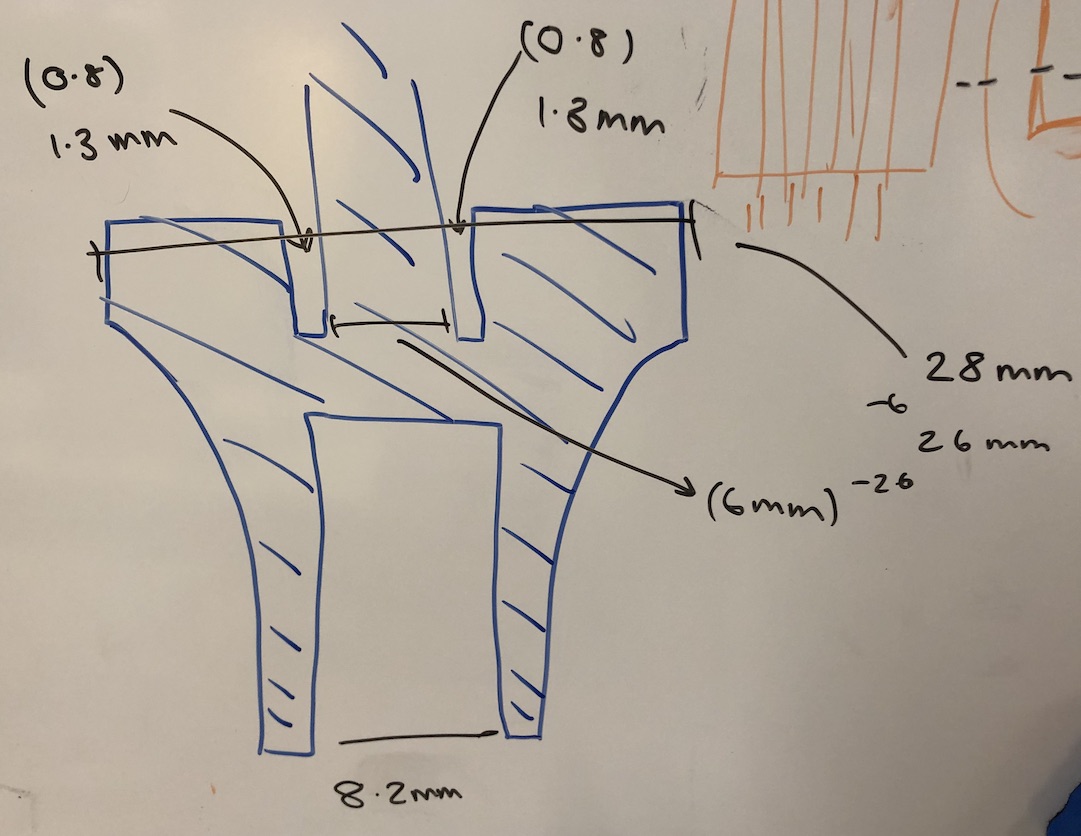
I then went ahead and started doing some design ideas on our white board, Andrews are on the left showing me how I could connect the two and how the two pieces could come together with the moulding. Then on the right I did a drawing of the cross section of the arch with the measurements I would need to get it to work with the plywood and the framing.
My idea was to making it so that the arch can slot onto the frame rather than being fixed as Andrew suggested this because then I would have the ability to remove the acrylic framing as I was making it. It also gave me the chance to not rush the making side and glue the acrylic in or have to make the bottom be able to slot in and out.
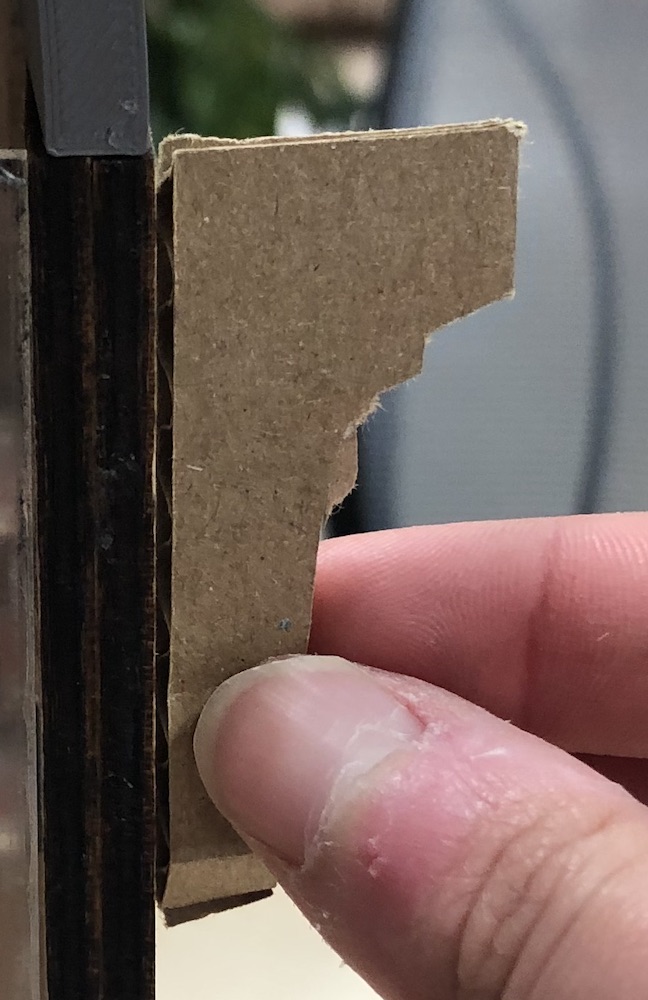
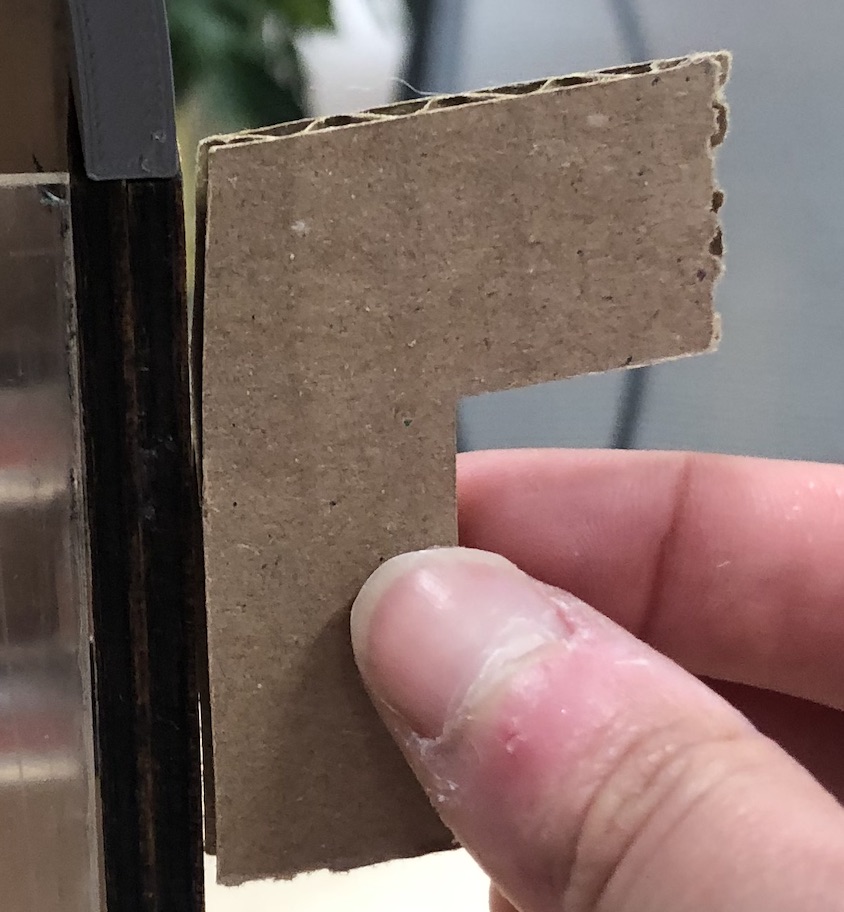
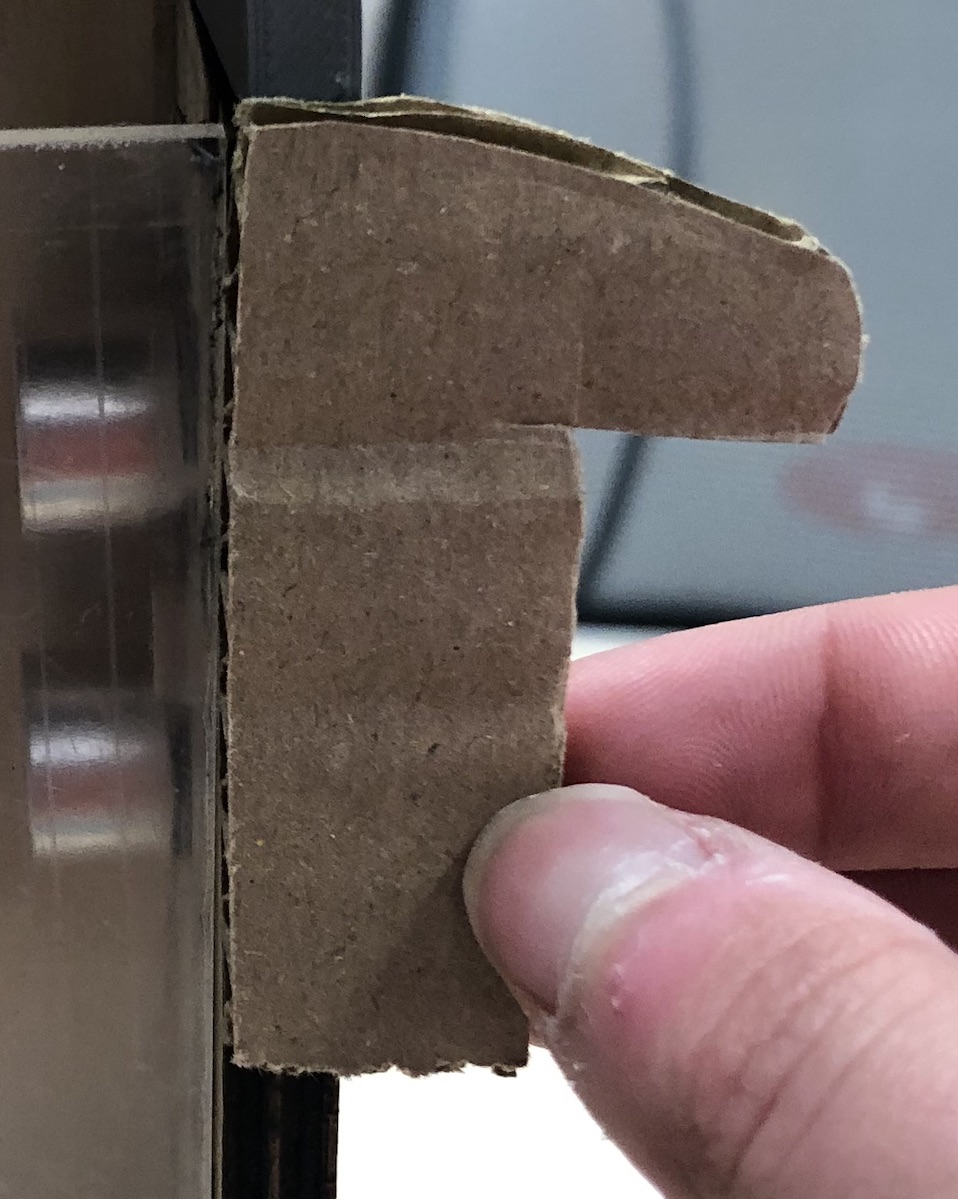
I then moved onto designing the moulding in cardboard to get a sense of how the overall moulding should look. I was struggling to get the shape in my head and how I would qickly mock it up in fusion so instead I did this. It worked very well and helped me understand the scale of moulding I would need to cover the areas and to keep it looking interesting.
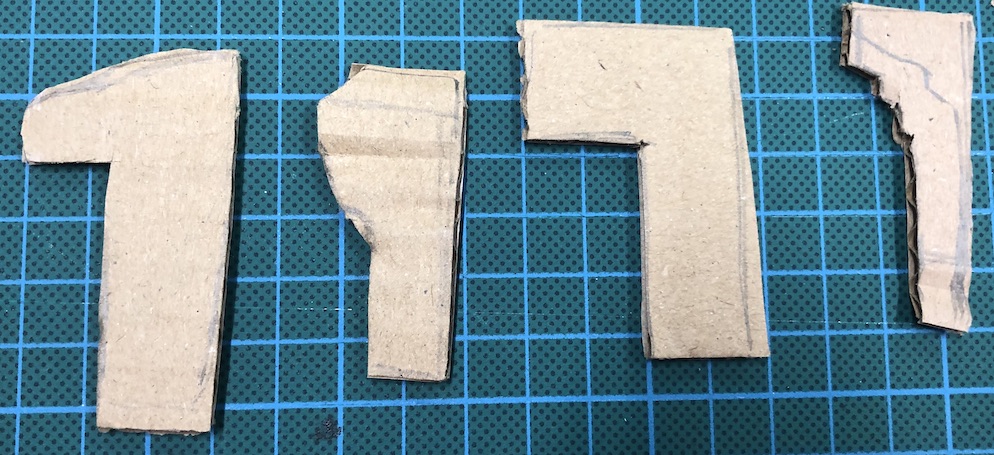
I made a few but these were the onces I was looking at in the end and used the far left one as my insperation for my final design of my moulding.
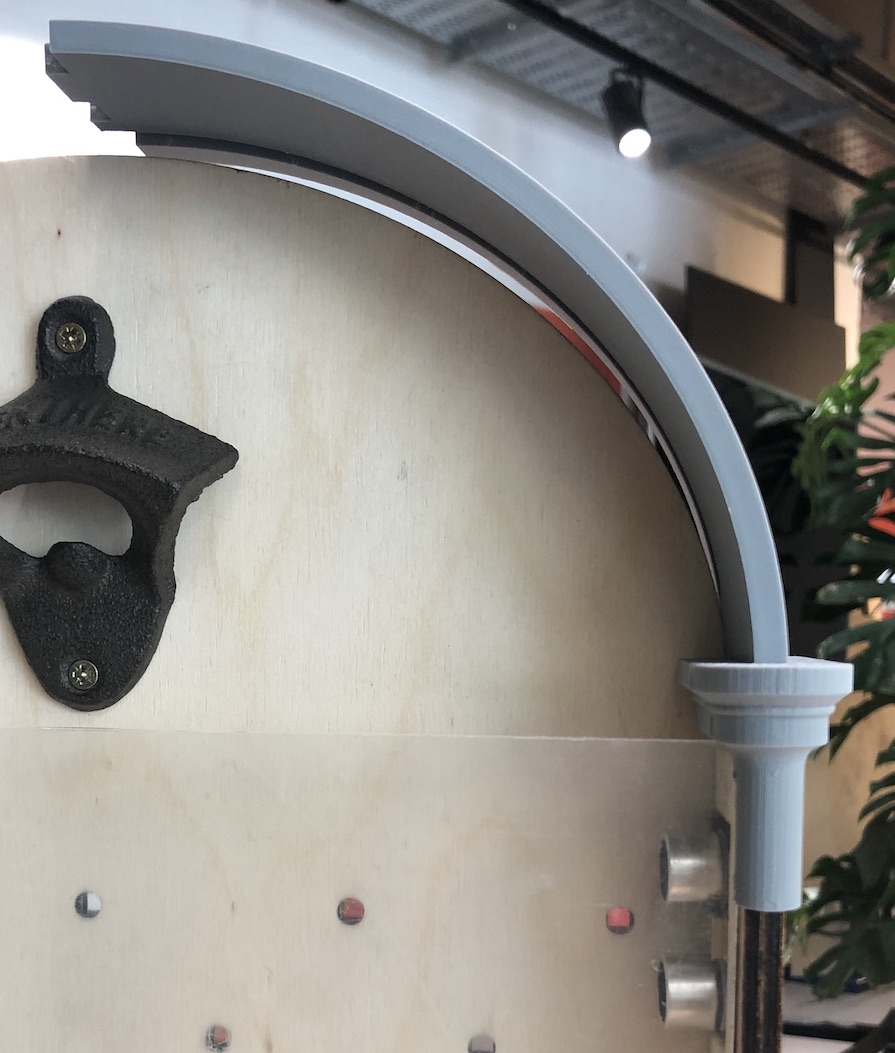
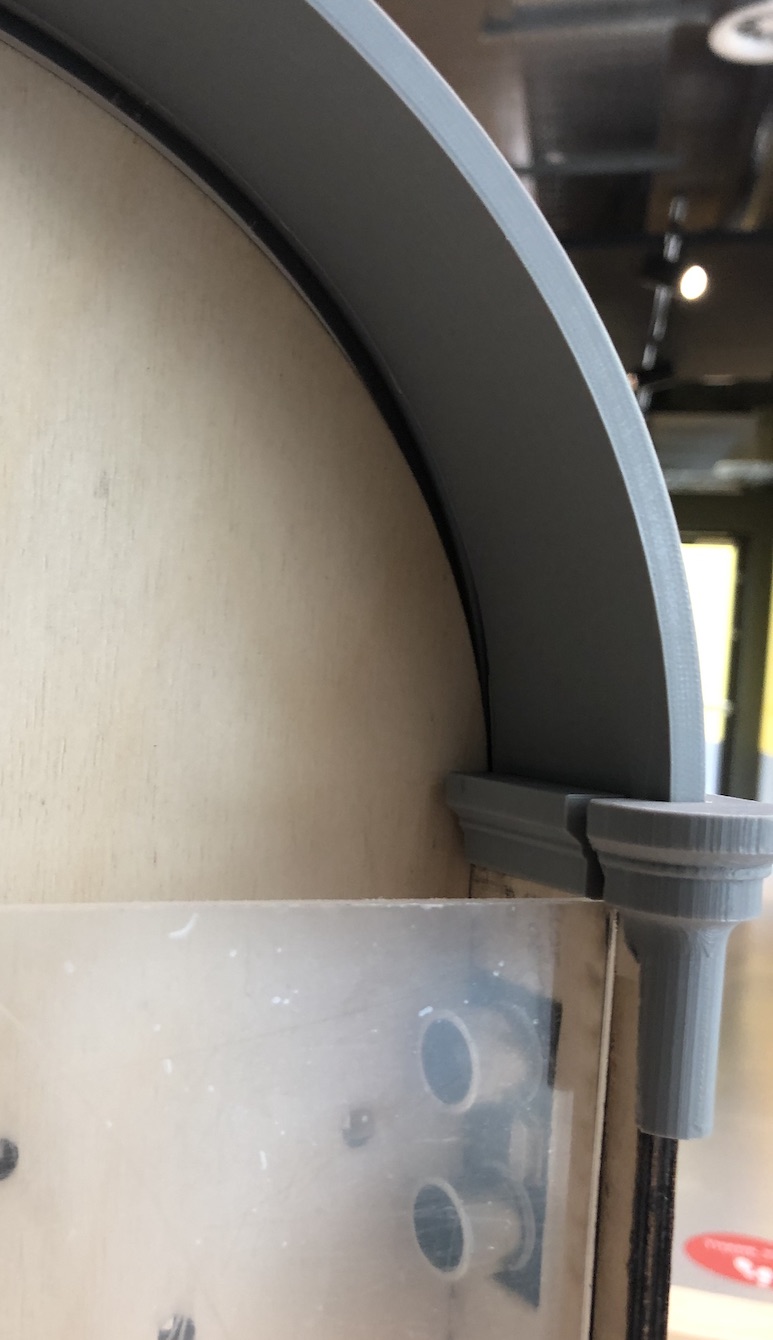
I then went ahead and designed it in fusion, printed it off and the outcome was much better than I thought. I had a issue with the supports as I thought I was going to be able to snip them out but this wasn't possible. I had also made the gap for the acrylic too small and therefore it didn't fit in, T then got some snips to get it to the correct distance for me to then redeisgn and print again.
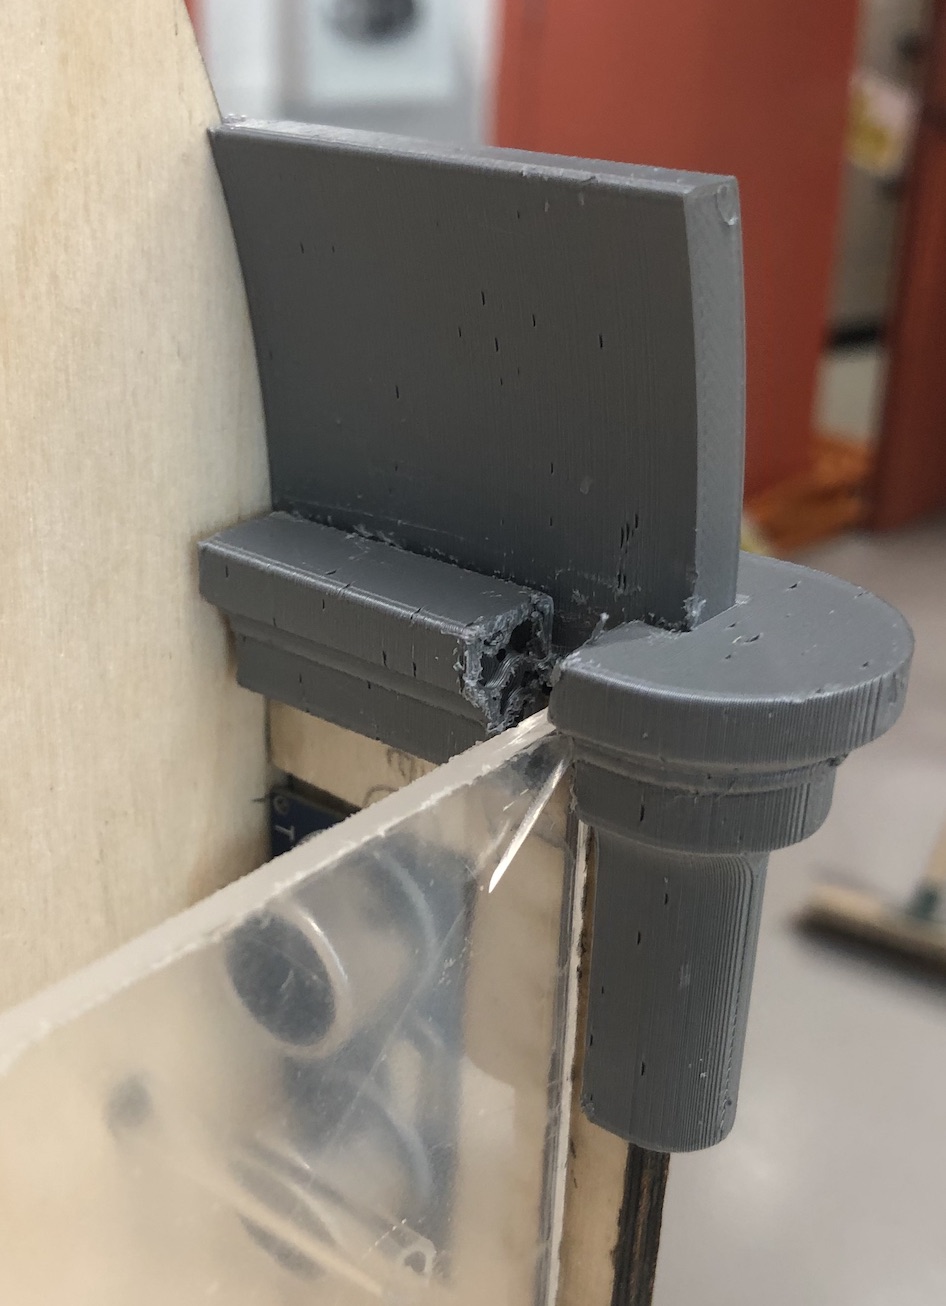
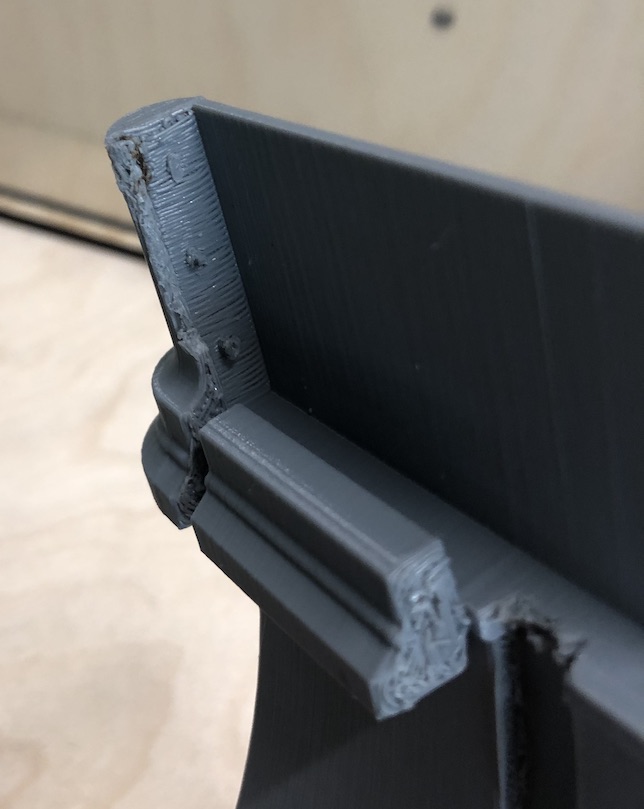
This print was much much better but because I needed to cover the sensor it needed to be longer at the bottom, I also added extra moulding to give it a finished edge. It also didn't fit perfectly onto the arch which was annoying but once I had printed two this wasn't an issue as I had just made the join in the wrong place.