Embedded Programming
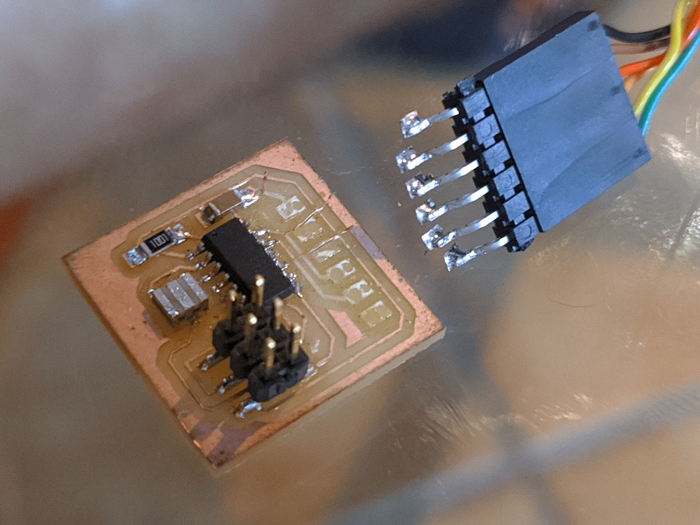
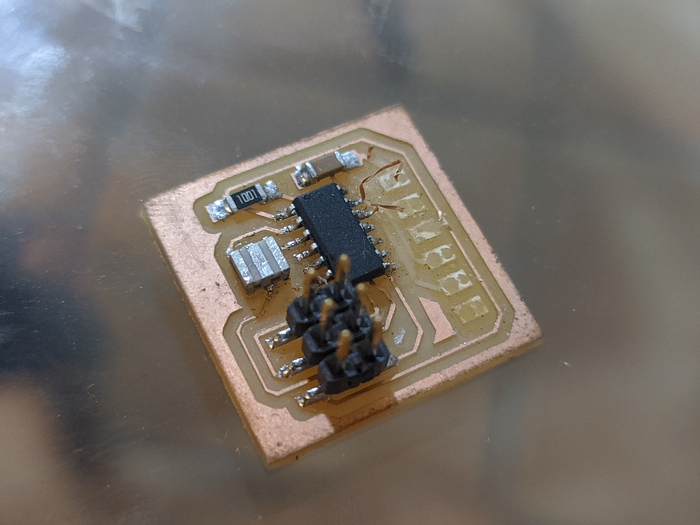
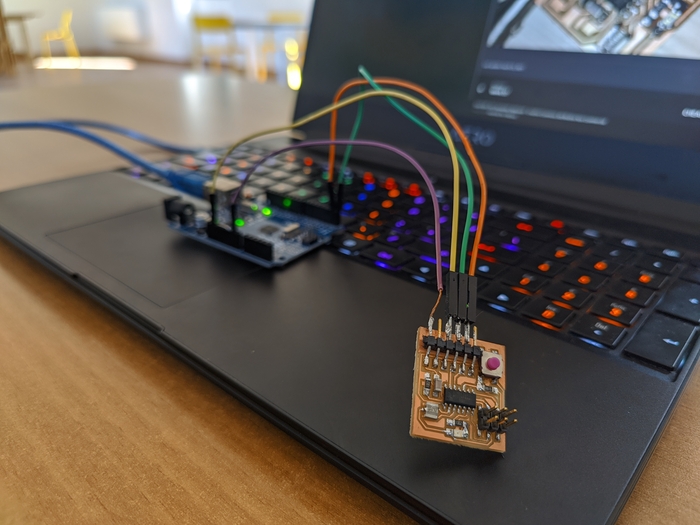
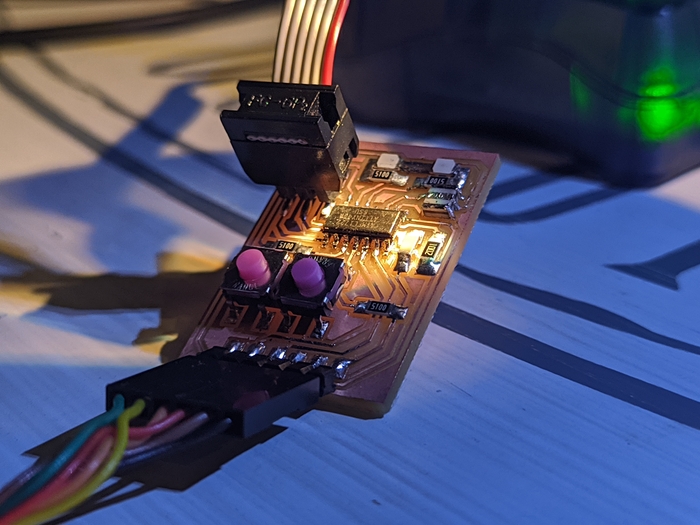
Starting this week I wanted to try flashing modified code onto my first echoboard from Week 06. During the process my ftdi pins teared off the board with copper pads. So, I manufactured the new ones. One with a button and led and second with two pieces of each leaving no free pins.
▼ Goodbye first echo board
▼ Pads stick to legs

▼ ATtiny waving “Goodbye”
The new boards
On the new boards I was trying to pack the components as dense as I could. Soldering such a tiny pad was not an easy task, especially when you need to spread tin evenly on the pads. I was trying to use tiny pieces of tin placing them on pad and melting. Though it was easier to control amount of tin on the pad it took more time than applying a wire. So, for the second board I’ve used faster method. Though it was faster, aligning Attiny above the pads was harder.
▼ The board with one led and a button
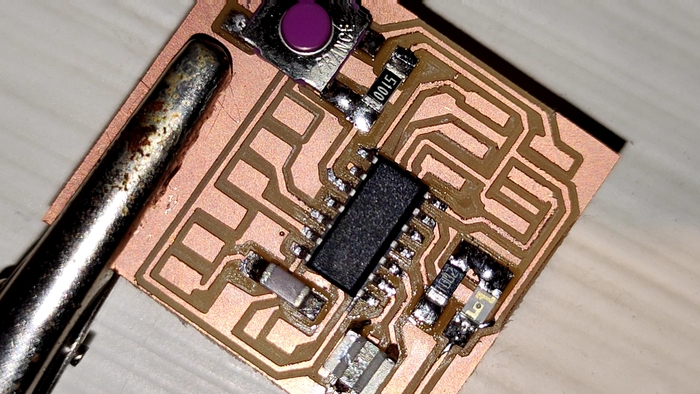
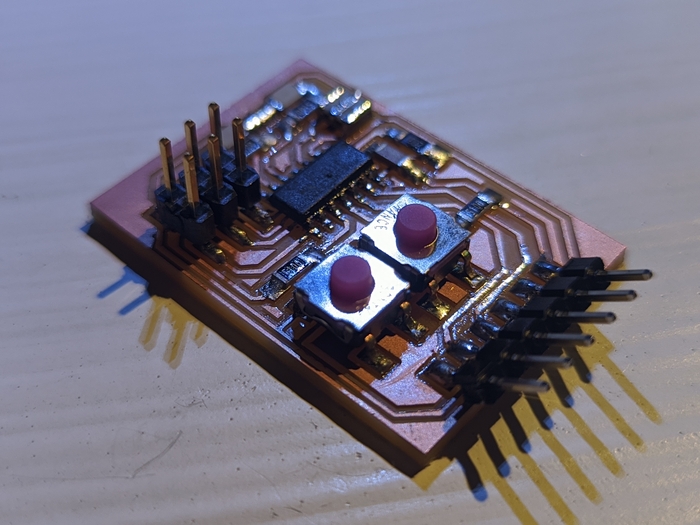
▼ The second board with two couples of LEDs and buttons
Programming using Avrdude with GitBash
As the soldering is finished I’m about to test it with echo code, but what a nuisance, I forgot the FTDI cable at the lab. Complaining about loosing a weekend I recalled that Arduino has serial converter on board, and I have an Arduino! Googling for a while I found that you can disable the MCU connecting reset pin with a ground. Then connect RX (recieve pin) on the Attiny to TX (transmit pin) on the Arduino and vice versa.
The controller I’m using is Attiny 44 and here is some specs from the datasheet:
◤ 14-pin SOIC, 12 programmable I/O lines
◤ Operating voltage 2.7 - 5.5V
◤ Speed grade 0 - 8MHz at 2.7 - 5.5V, 0 - 16MHz at 4.5 - 5.5V
◤ 32 x 8 general purpose working registers
◤ 4K byte of in-system programmable memory flash
◤ 256 bytes in-system prgrammable EEPROM
◤ 256 bytes internal SRAM
▼ Programming the fuses using GitBash
▼ Arduino as converter
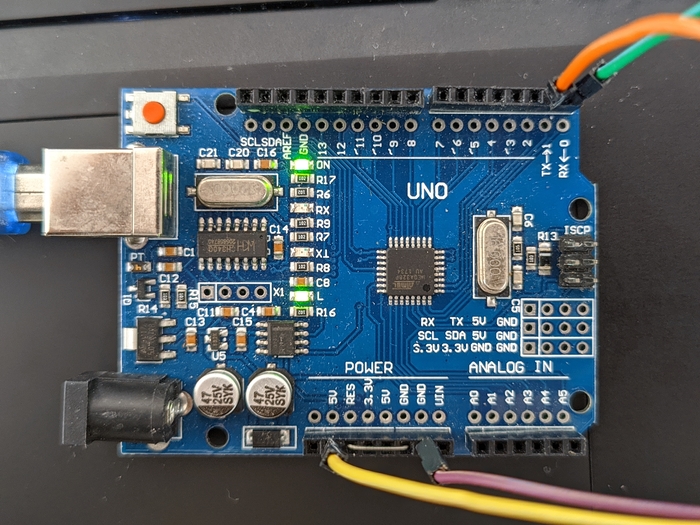
▼ RX TX VCC GROUND
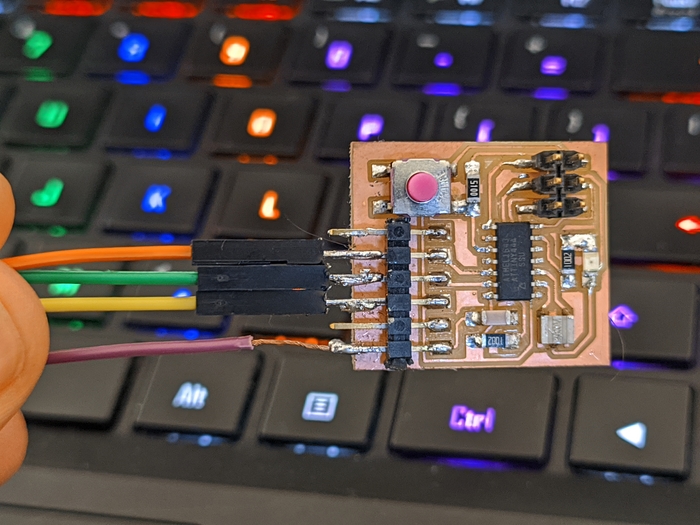
I don’t have female jumpers at home so here is ugly but working solution.
Since week 06, when I had some problems using flashing tools, I was able to establish working tool-chain on Windows and use it to program my boards.
▼ Programming using GitBash
Turns out I have Chinese Arduino and the serial converter is not from FTDI but from WCH and requires special ch340g drivers.
▼ Using Microchip studio’s Data Visualizer for serial communication
Because of wrong drivers serial console outputs some alien characters.
▼ ch340g drivers installed
▼ confirming communication in Arduion IDE
Using Microchip Studio for programming
Flashing through Git Bash I was also interested to use Microchip studio. It didn’t work with external makefile that goes with example code from FAB tutorials. I was able to troubleshoot it through trail and error also reading console printout and applying some fixes according to it.
▼ From this point I’ve got to FTDI cable and proceeding with it

To use Microchip Studio configuring project manually or using extension is required. To generate microchip project I’m using extension called “Create Project From Makefile” which must be installed through Extensions and Updates in tool section.
▼ Adding source code and makefile through Create Project From Makefile
Here I’m specifying the makefile path which is located in project directory both with C code. Correctly specifying the Project Name and Make Target are critical to allow Microchip proceed to Device Selection window.
▼ Microchip using external makefile failing to program the board
To flash the board I’m using AVRISP mkII selecting it in configuration manager.
For some reason program was not able to generate hex file. Directories reserved for mentioned kind of file was not generated and that why the error Failed to launch. Missing file: C:\blah\blahblah occurred. Looking into solution I tried to uncheck Use External makefile in build configuration. It somehow worked, error has gone and flashing succeeded, but the board was not able to communicate by serial.
▼ Attempting to flash without using external makefile option
The printout says that F_CPU not defined for specified library
For some reasons Microchip Studio unlike flashing with Avrdude in Git Bash required specifying CPU frequency inside the target C-code file. As the changes were made flashing succeeded and the board started to work properly.
▼ Adding the definition of CPU frequency inside the target code
▼ Communicating with the board flashed by Microchip Studio
Utilizing the buttons and the LEDs
As the flashing tools are working and the board is functional I’m ready to flash the code that would allow utilizing buttons and LEDs on the boards. It was easy to flash the echo code from lecture page using the same board layout because it doesn’t require altering the code for different pins. To utilize the buttons I used the code from Fab tutorial in three different versions altering the parts related to pin definitions.
▼ The second board
▼ Changing the third bit of the port A to high
This pieces:
0b00000000are representing the bit or pin number from 0 to 7. Replacing0to1will change bit’s state from low to high corresponding to the position of changed digit counting from the right side. The last digit will set the zeroth bit/pin and the first digit afterbletter will set the seventh.
Flashing with simple C or using macros
Using the code form example I was trying to adjust 3 different versions of a code that is doing the same thing. As I have no experience in coding my goal was to recognize the patterns that are representing pins and changing it according to my board. Then, add more pins trying not to break the logic. It succeeded using the simple C and with first macros variant failing on the second one.
▼ The LEDs are turned off on the button press
▼ Flashing 3 versions of code using Microchip Studio
You can see the board with two LEDs lighting on two times and the last time with one led. First two examples I was able to adjust, so the LEDs are always on unless you press the button. The third variant was resulting in only one functional, so I was not able to scale the last code for more pins.
▼
▣ Microchip projects with source code
macros-2button-nonfunctional.rar