12. Molding and casting
This week I worked on molding and casting.
Research
First things first, as a new topic I started with some research, I focused on soft tooling molding.
Here are some good tutorials about soft tooling:
and there are way more videos and articles on the topic.
design
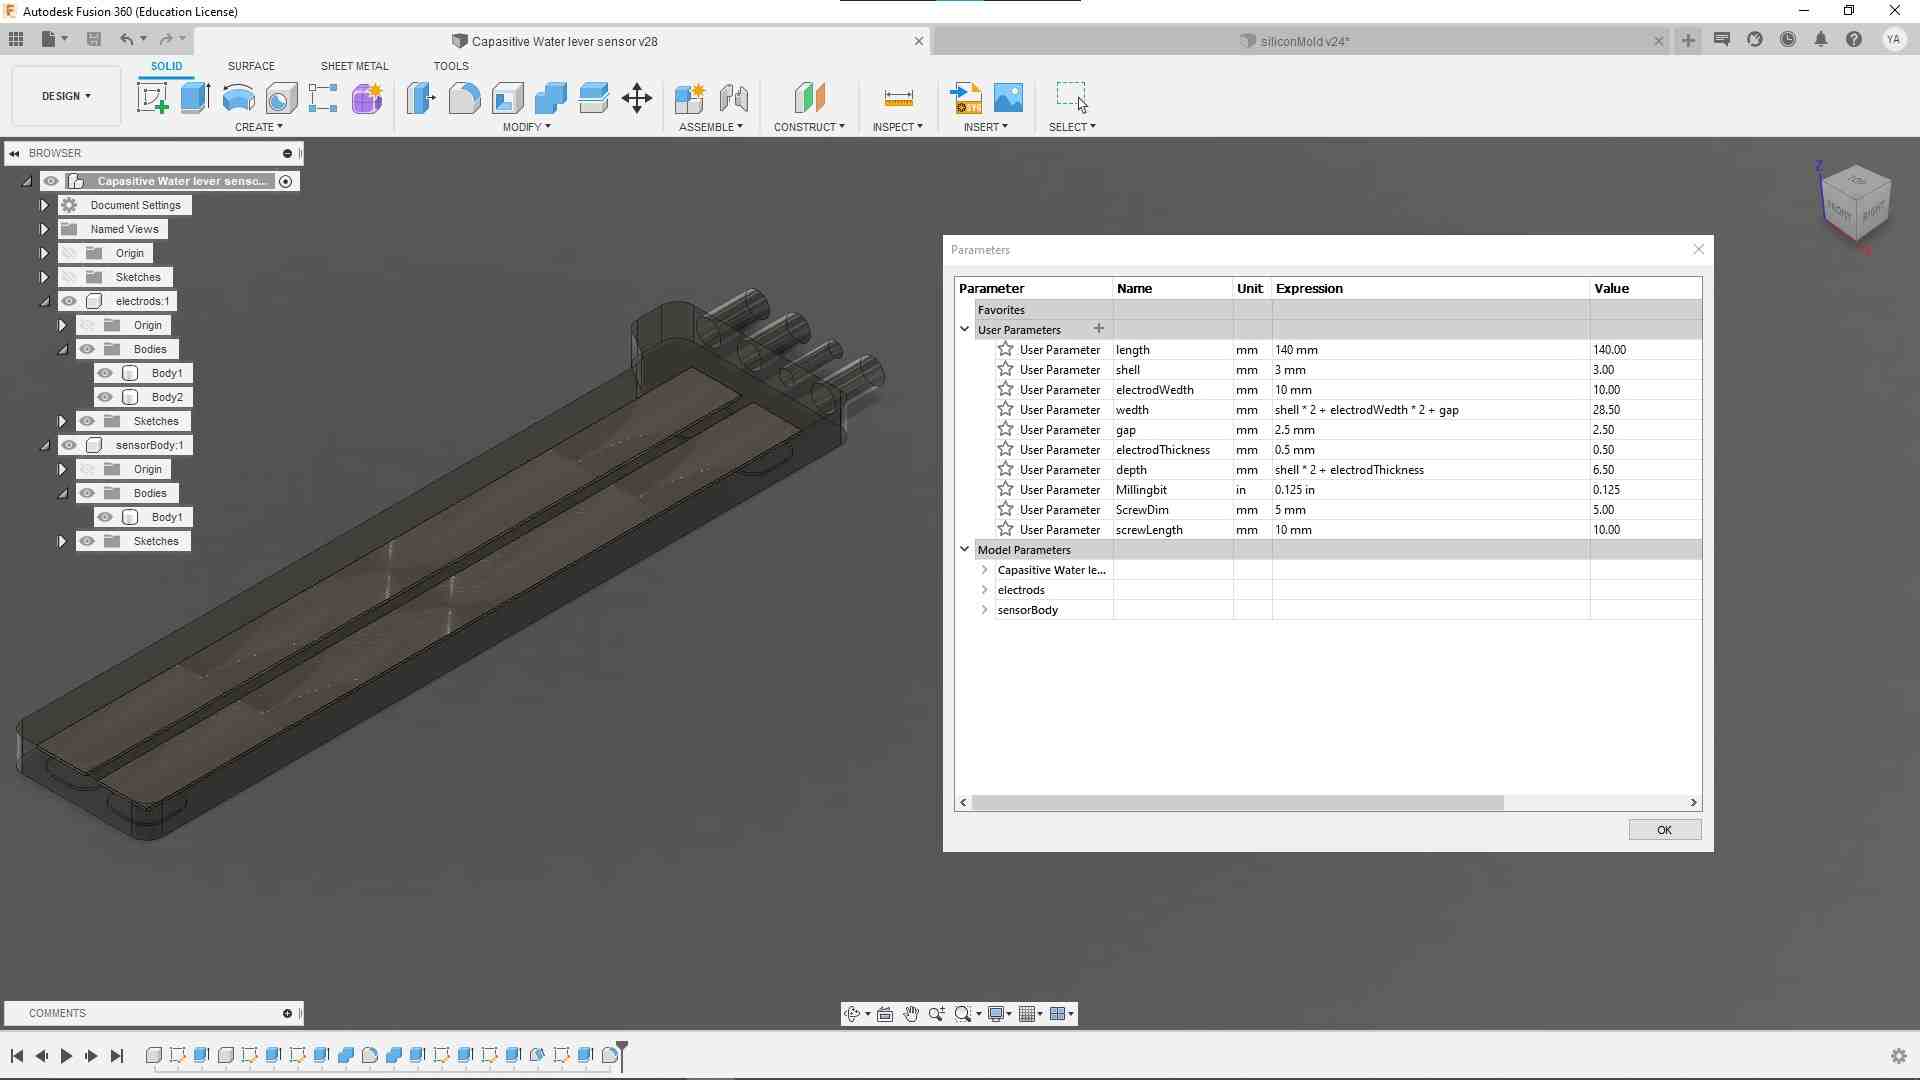
I want to make a case for the capacitive water level sensor I made in the input devices week, the case should contain the electrodes, to have a couple of mounting screws, and a wire getting out carrying the electrodes signal.
fusion 360 case design
I make a simple boxy shape, added fillets to make CNC machining easier, and screws built-in from the sides.
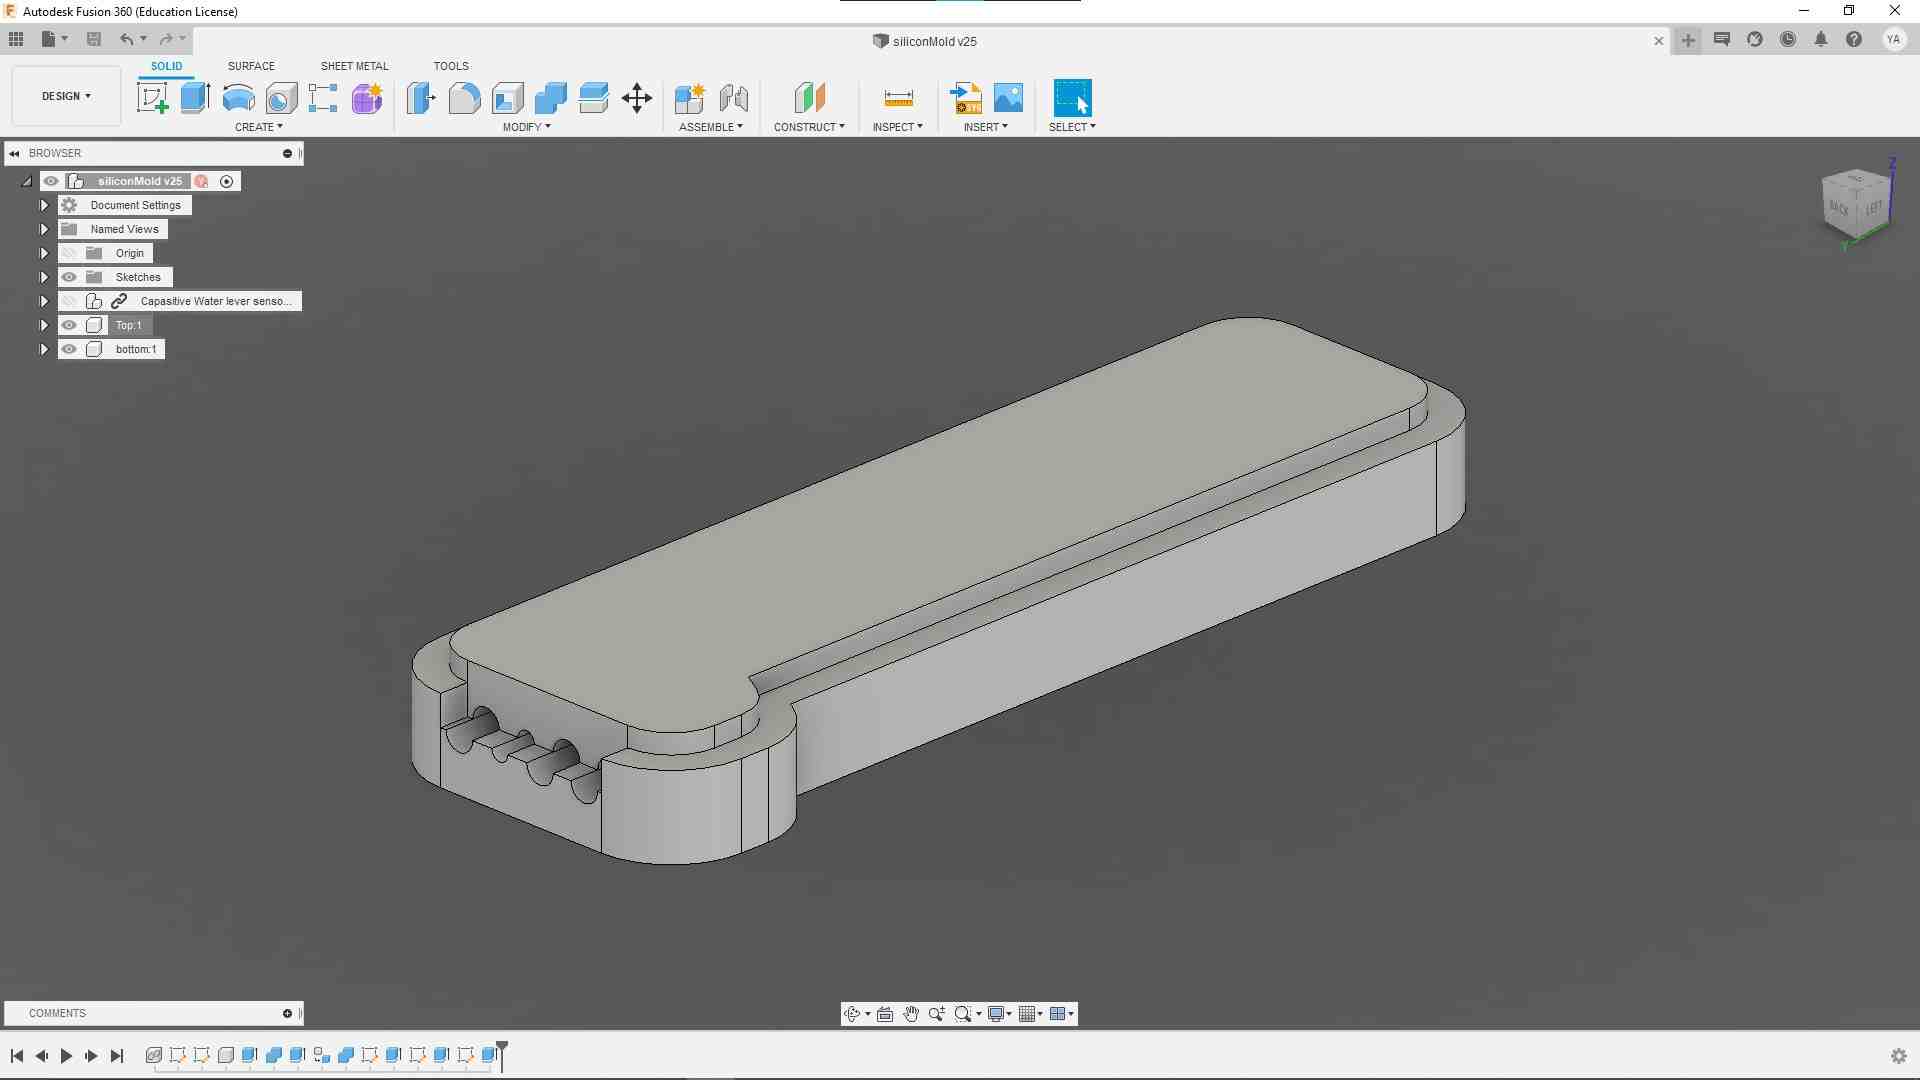
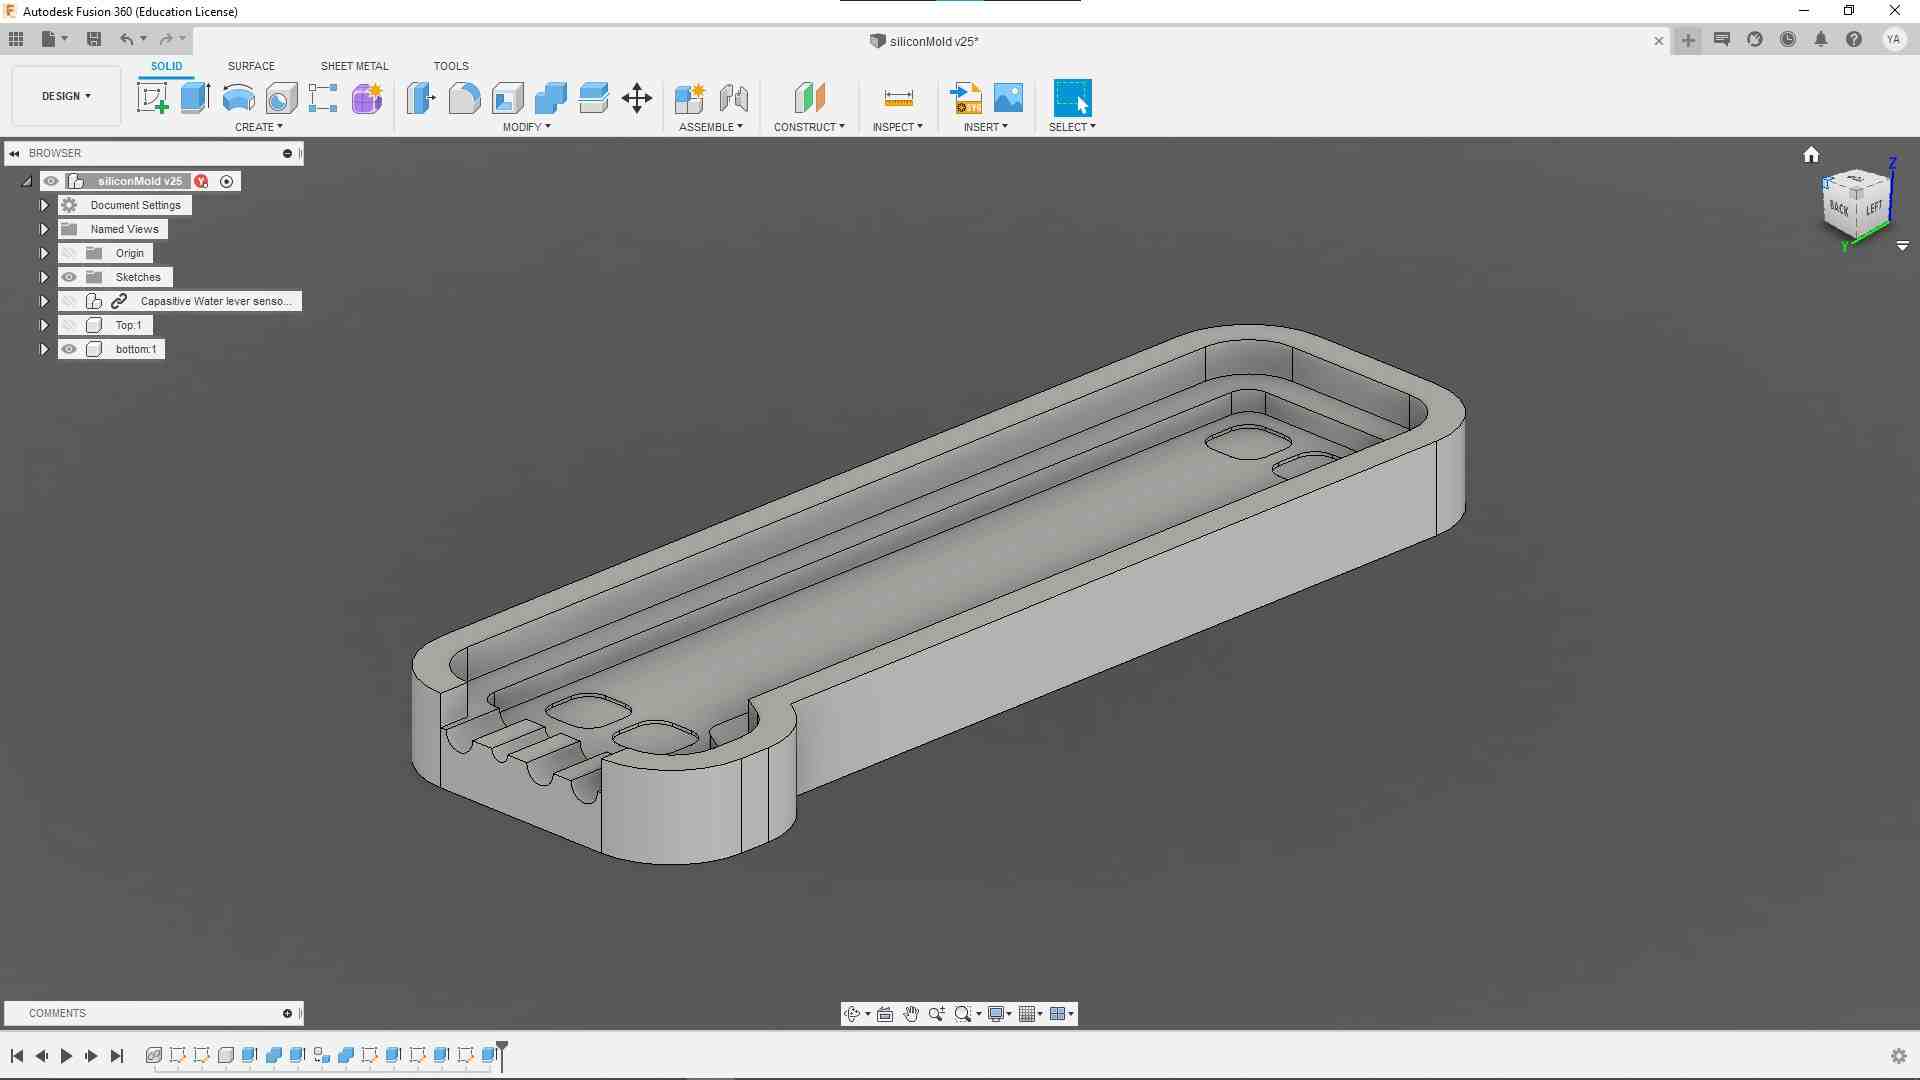
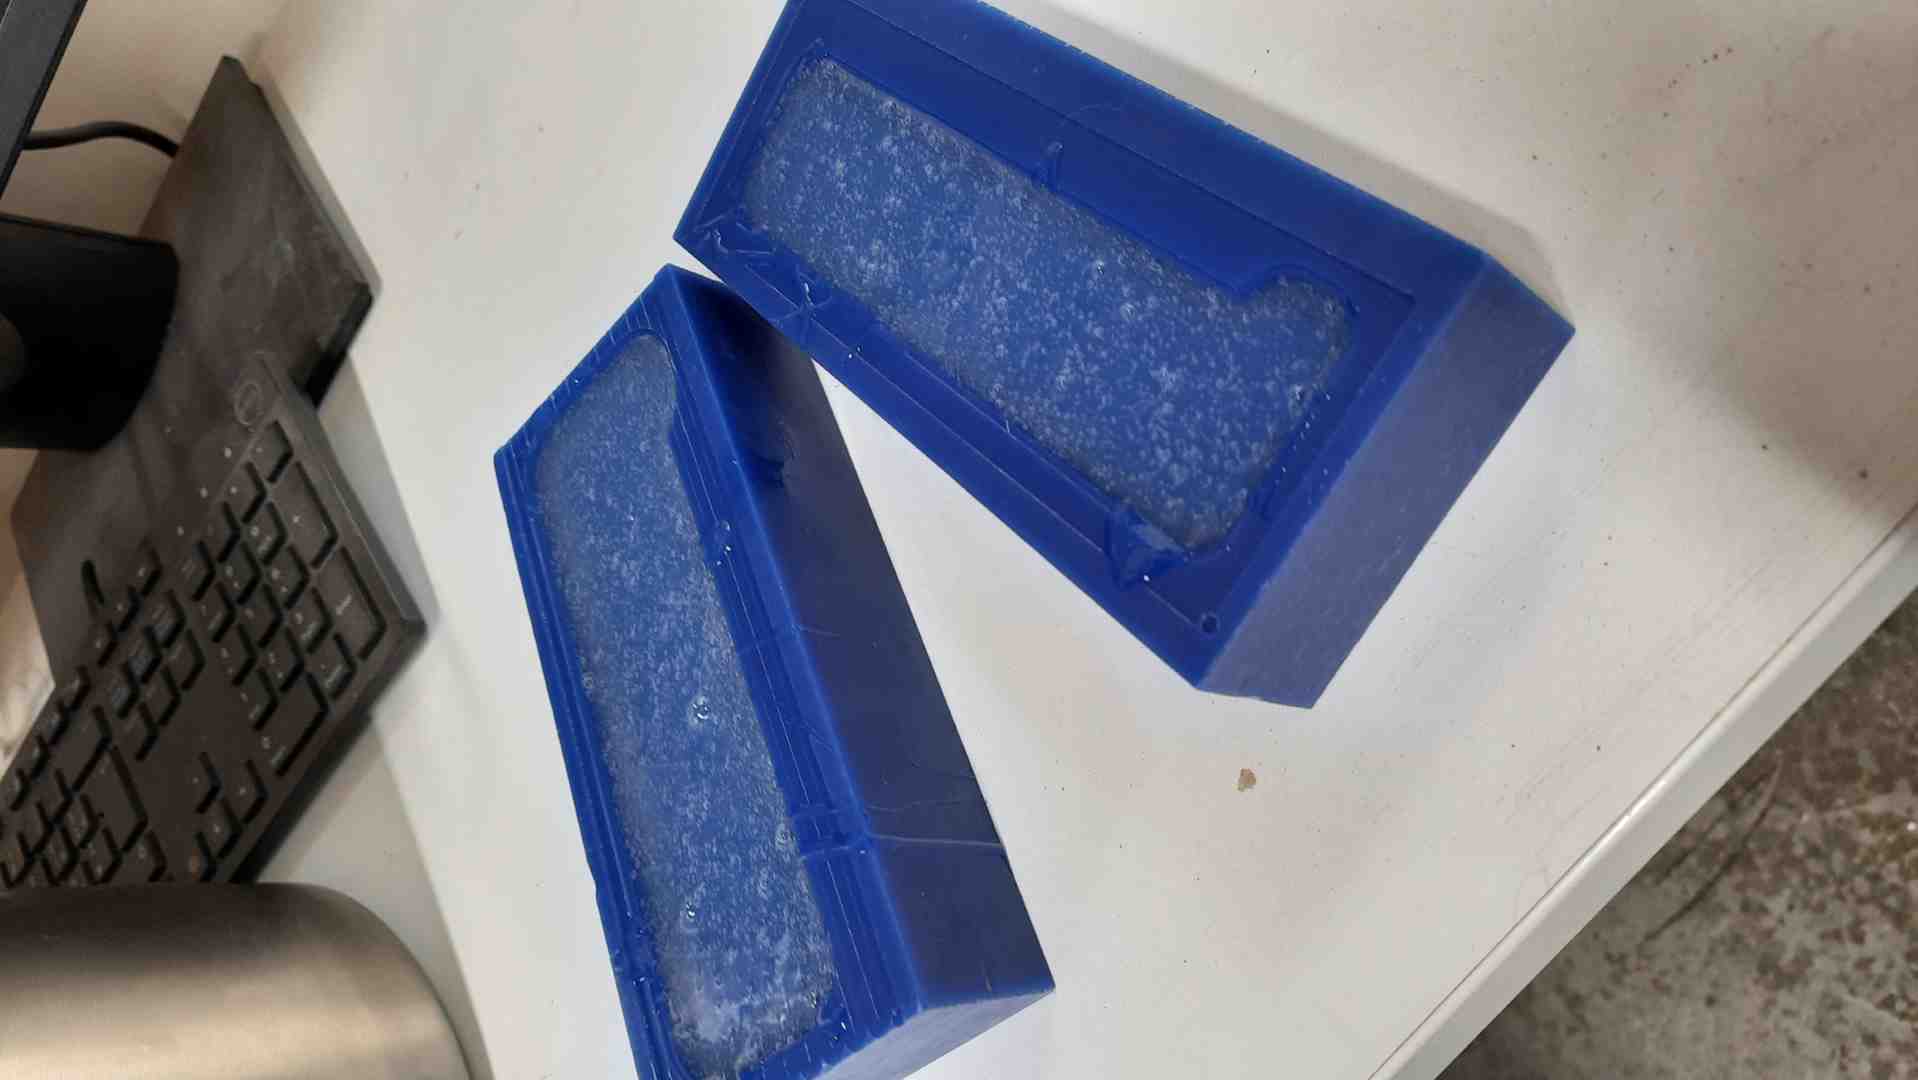
silicon mold design
The mold has two parts so that I can insert the screws before casting, the bottom part of the mold contains the top part for alignment and to seal the mold from leakage.
Wax mold design
the wax mold design was a simple body, then subtract the silicone mold from it.
Manufacturing
The process of making a mold starts from a wax mold that will cast the silicon mold inside it, from there we can case multiple parts casting resin into the silicone mold.
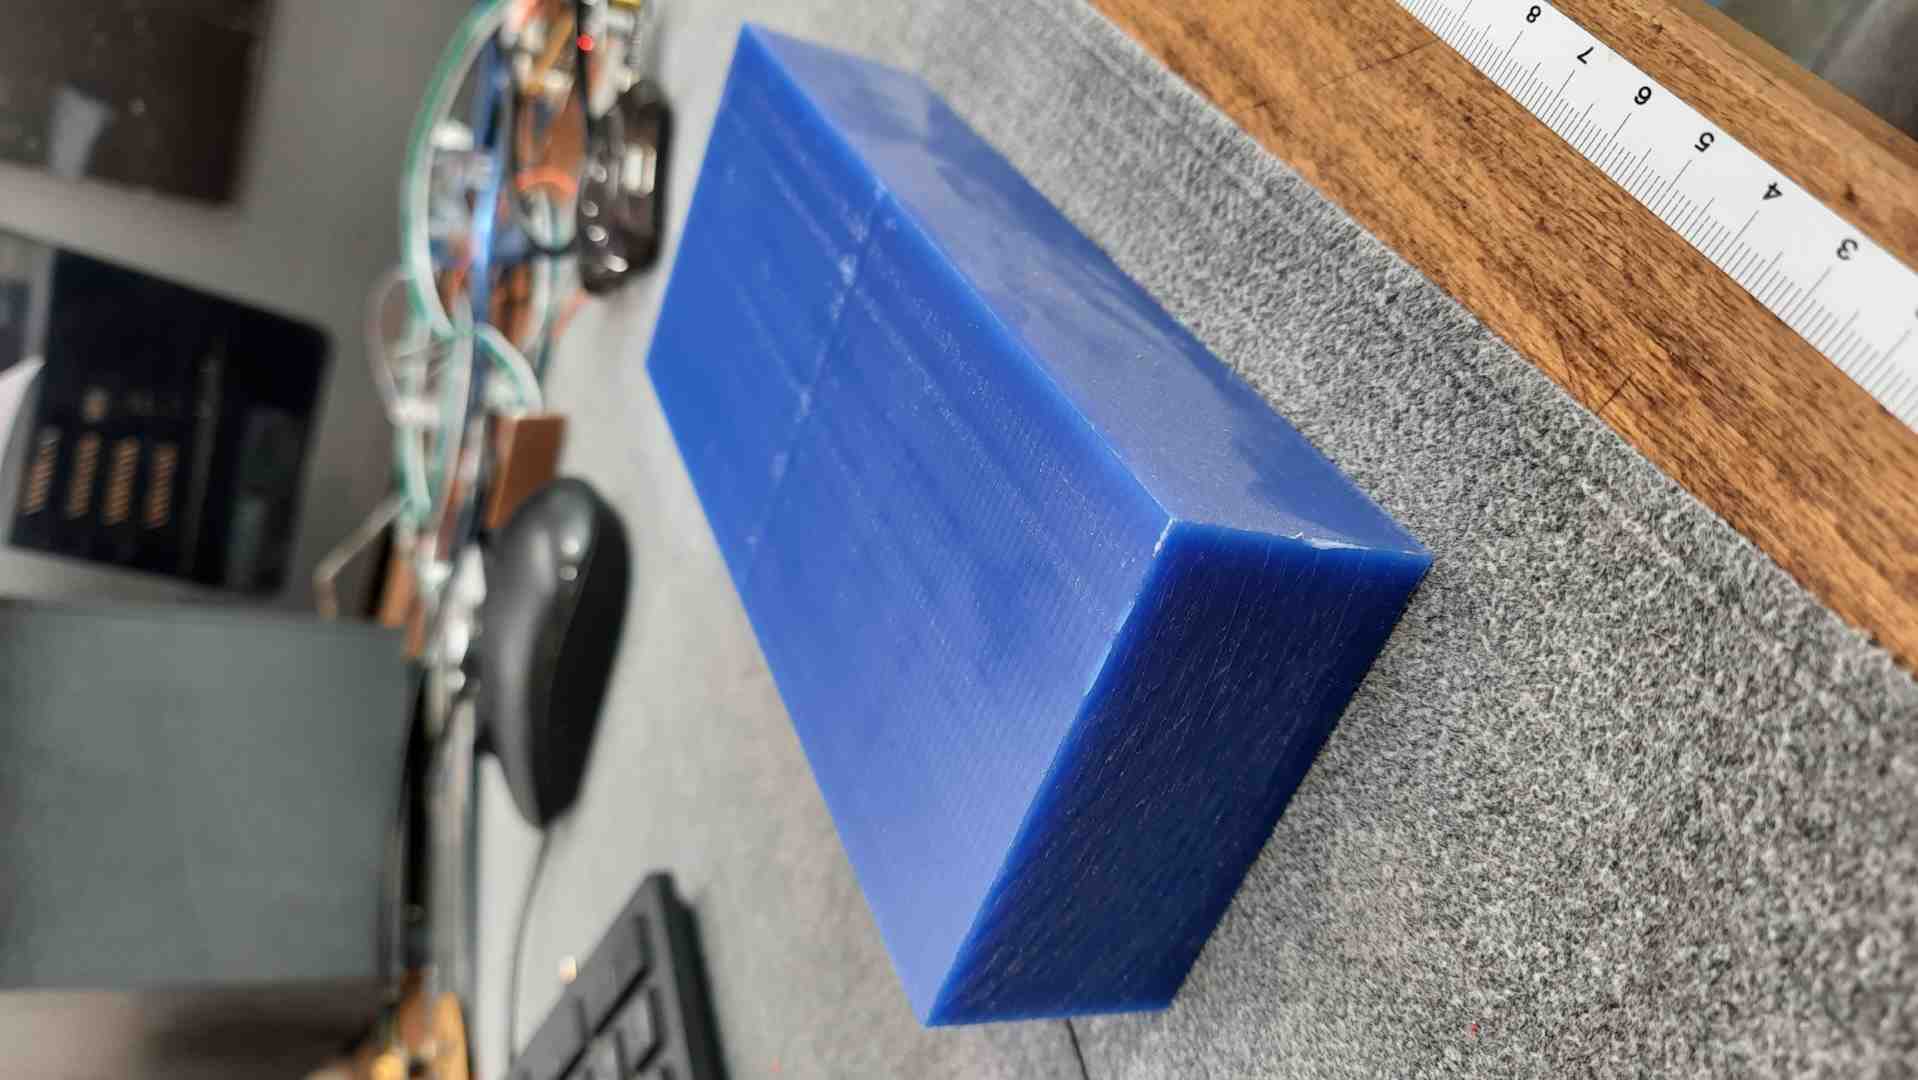
Wax manufacturing
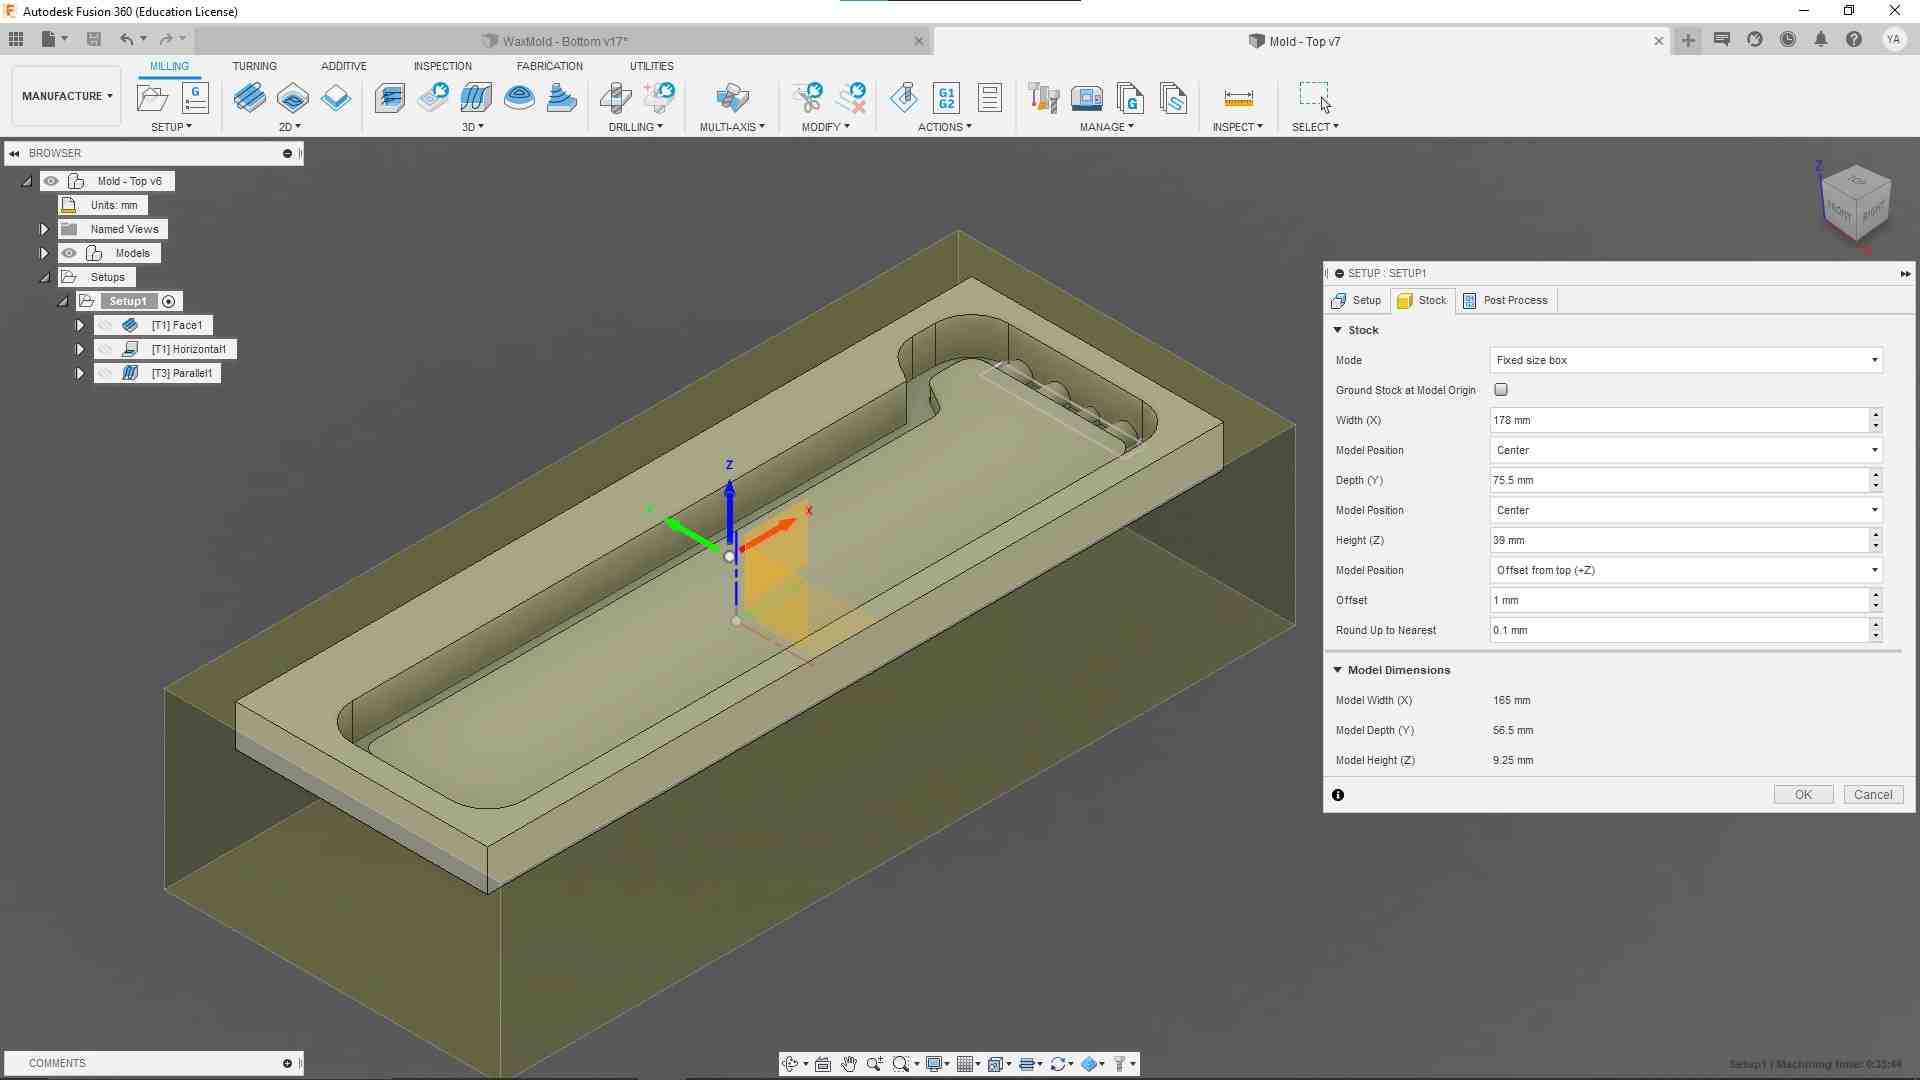
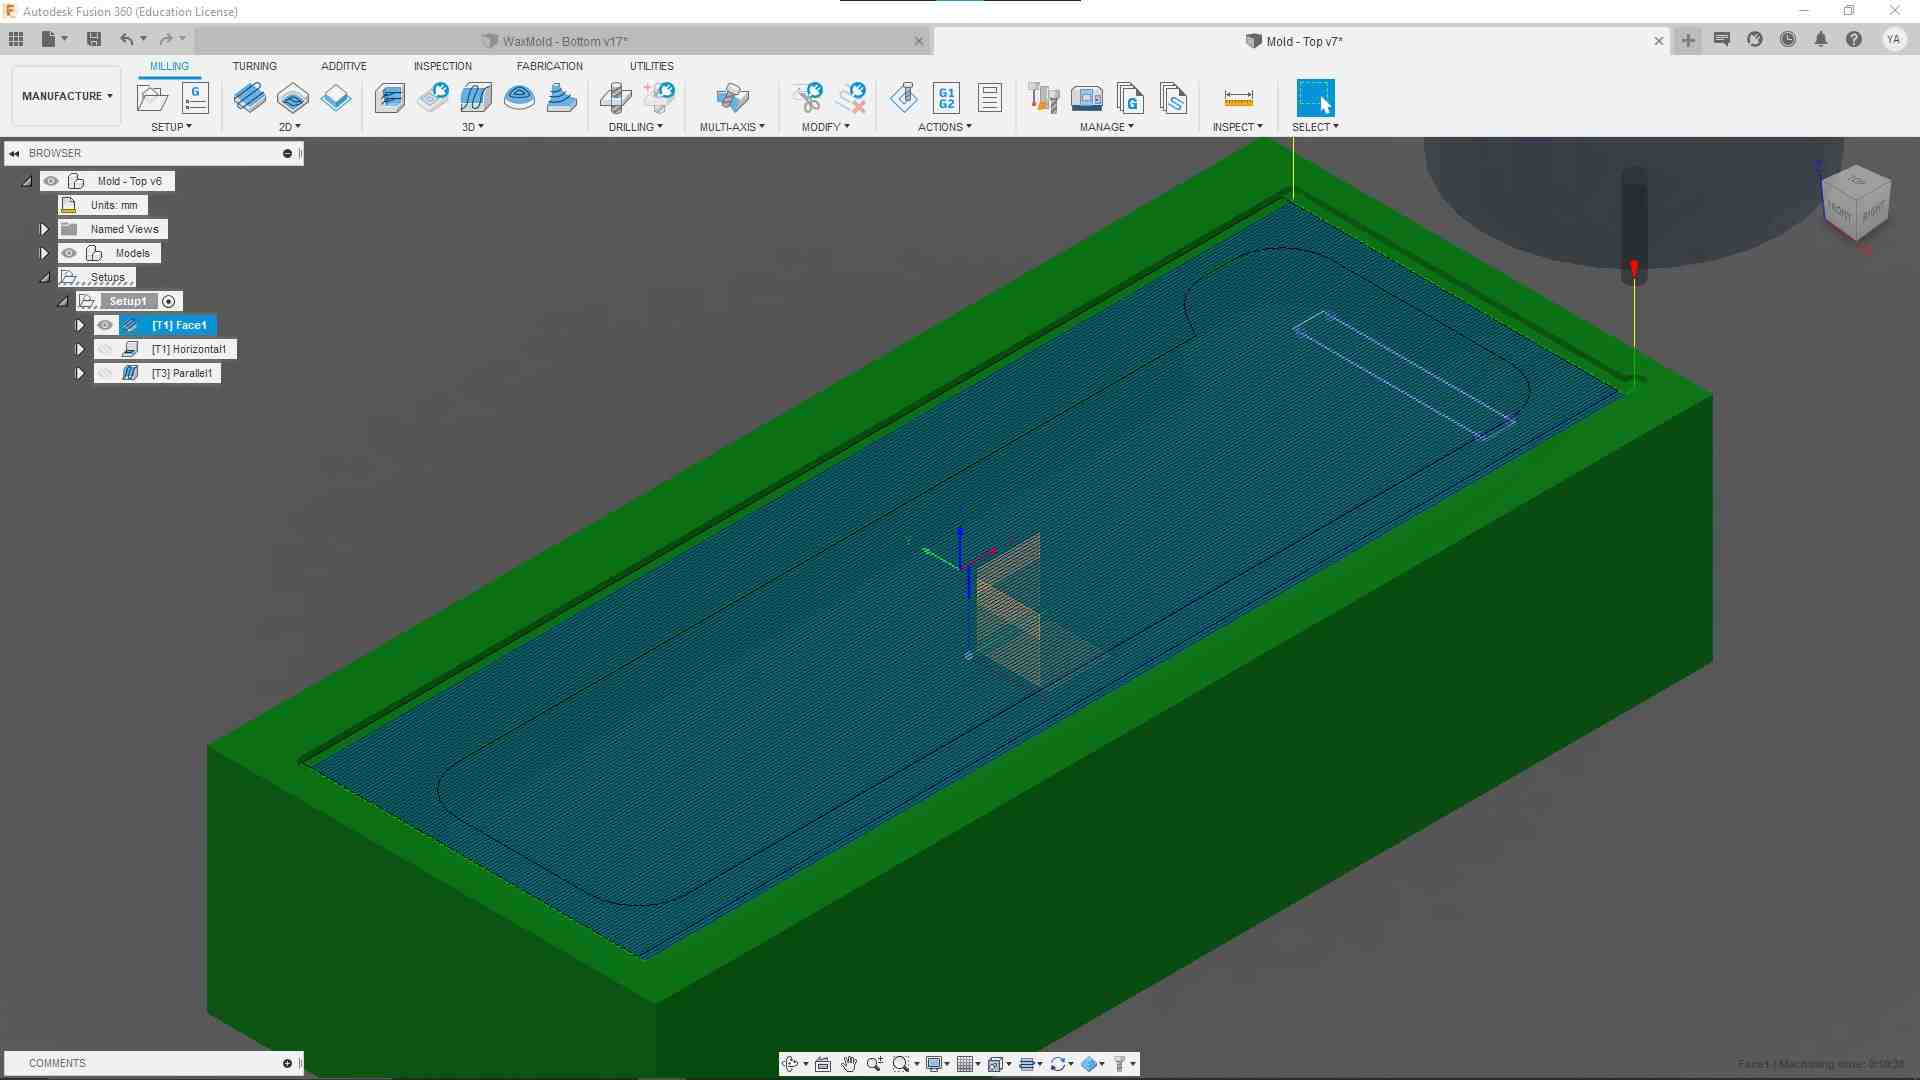
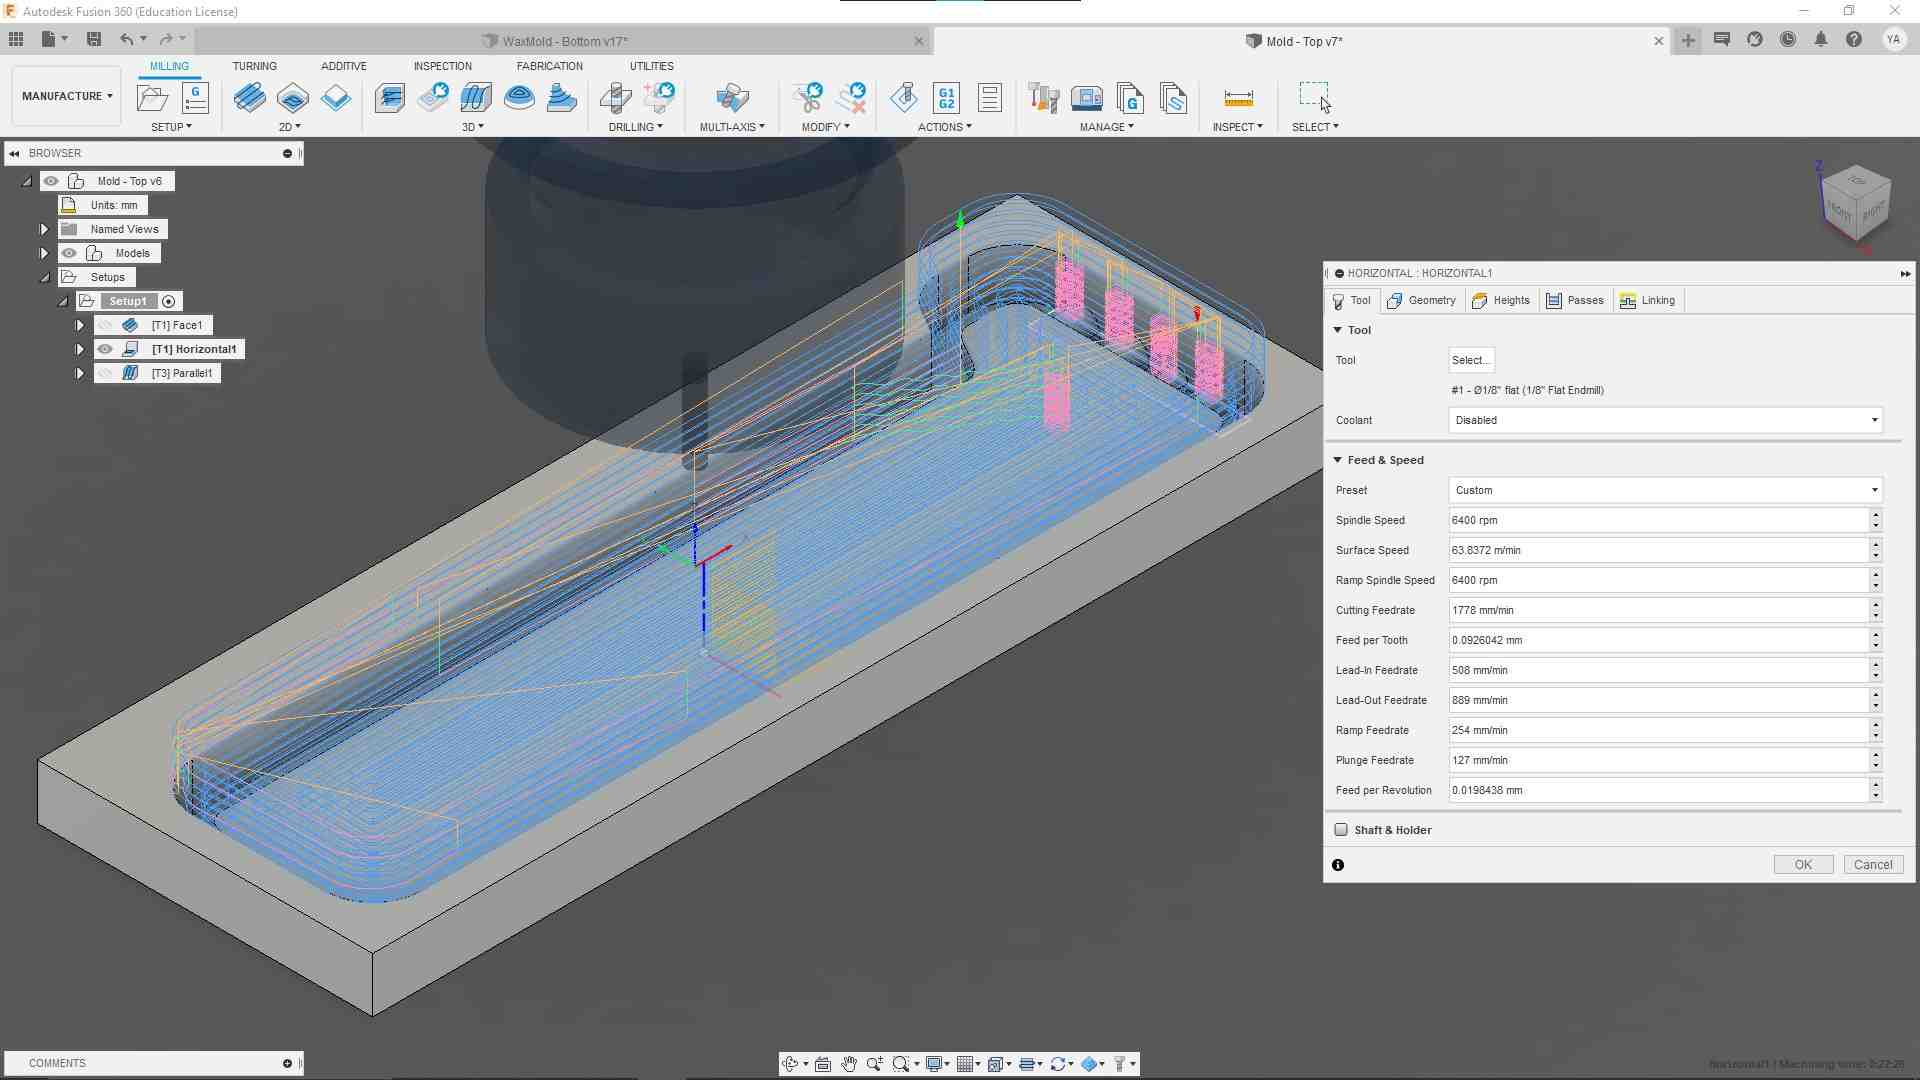
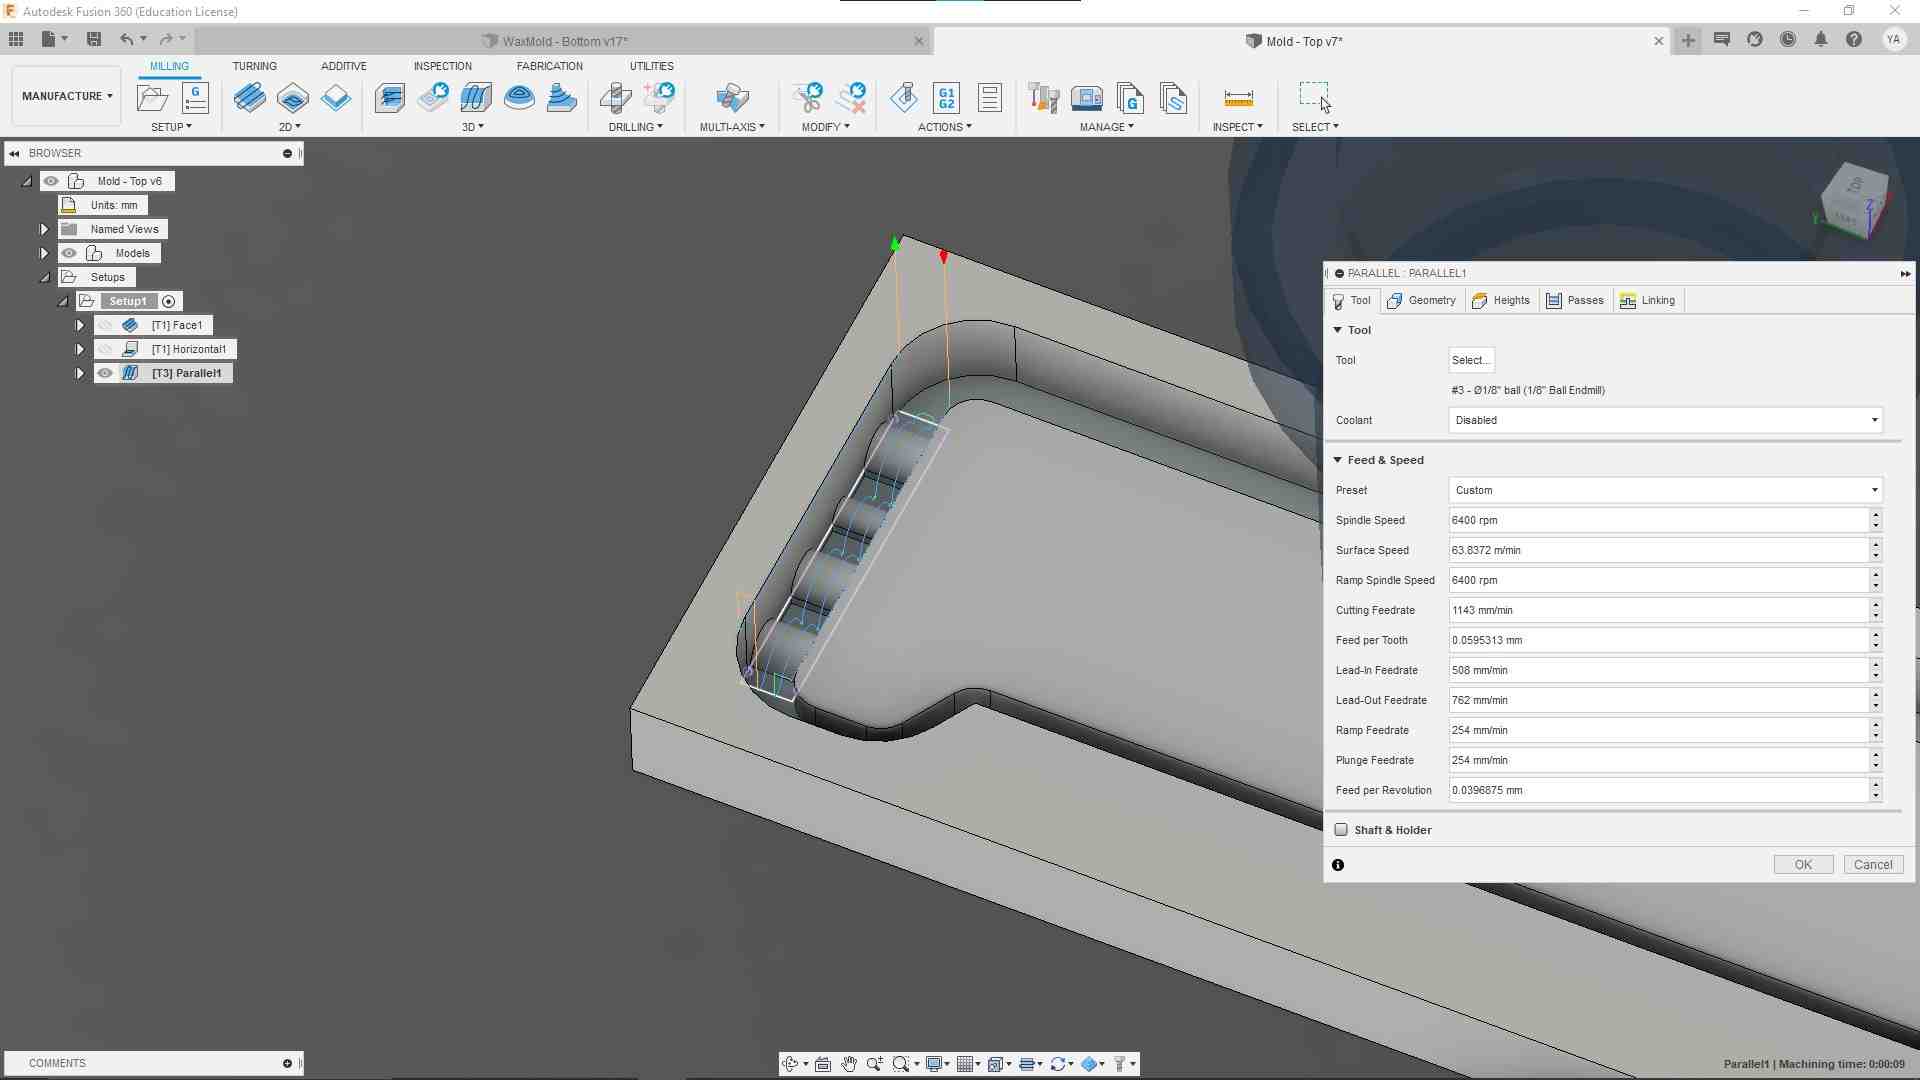
I used fusion 360 to generate the CAM files, using the Roland SRM-20 for manufacturing.
the cam file has 3 simple operations, roughly cut the wax stock to the design shape, finish all straight surfaces with a flat mill bit, then finally finish the rounded parts with a ball nose milling bit.
Cam
CNC


Casting
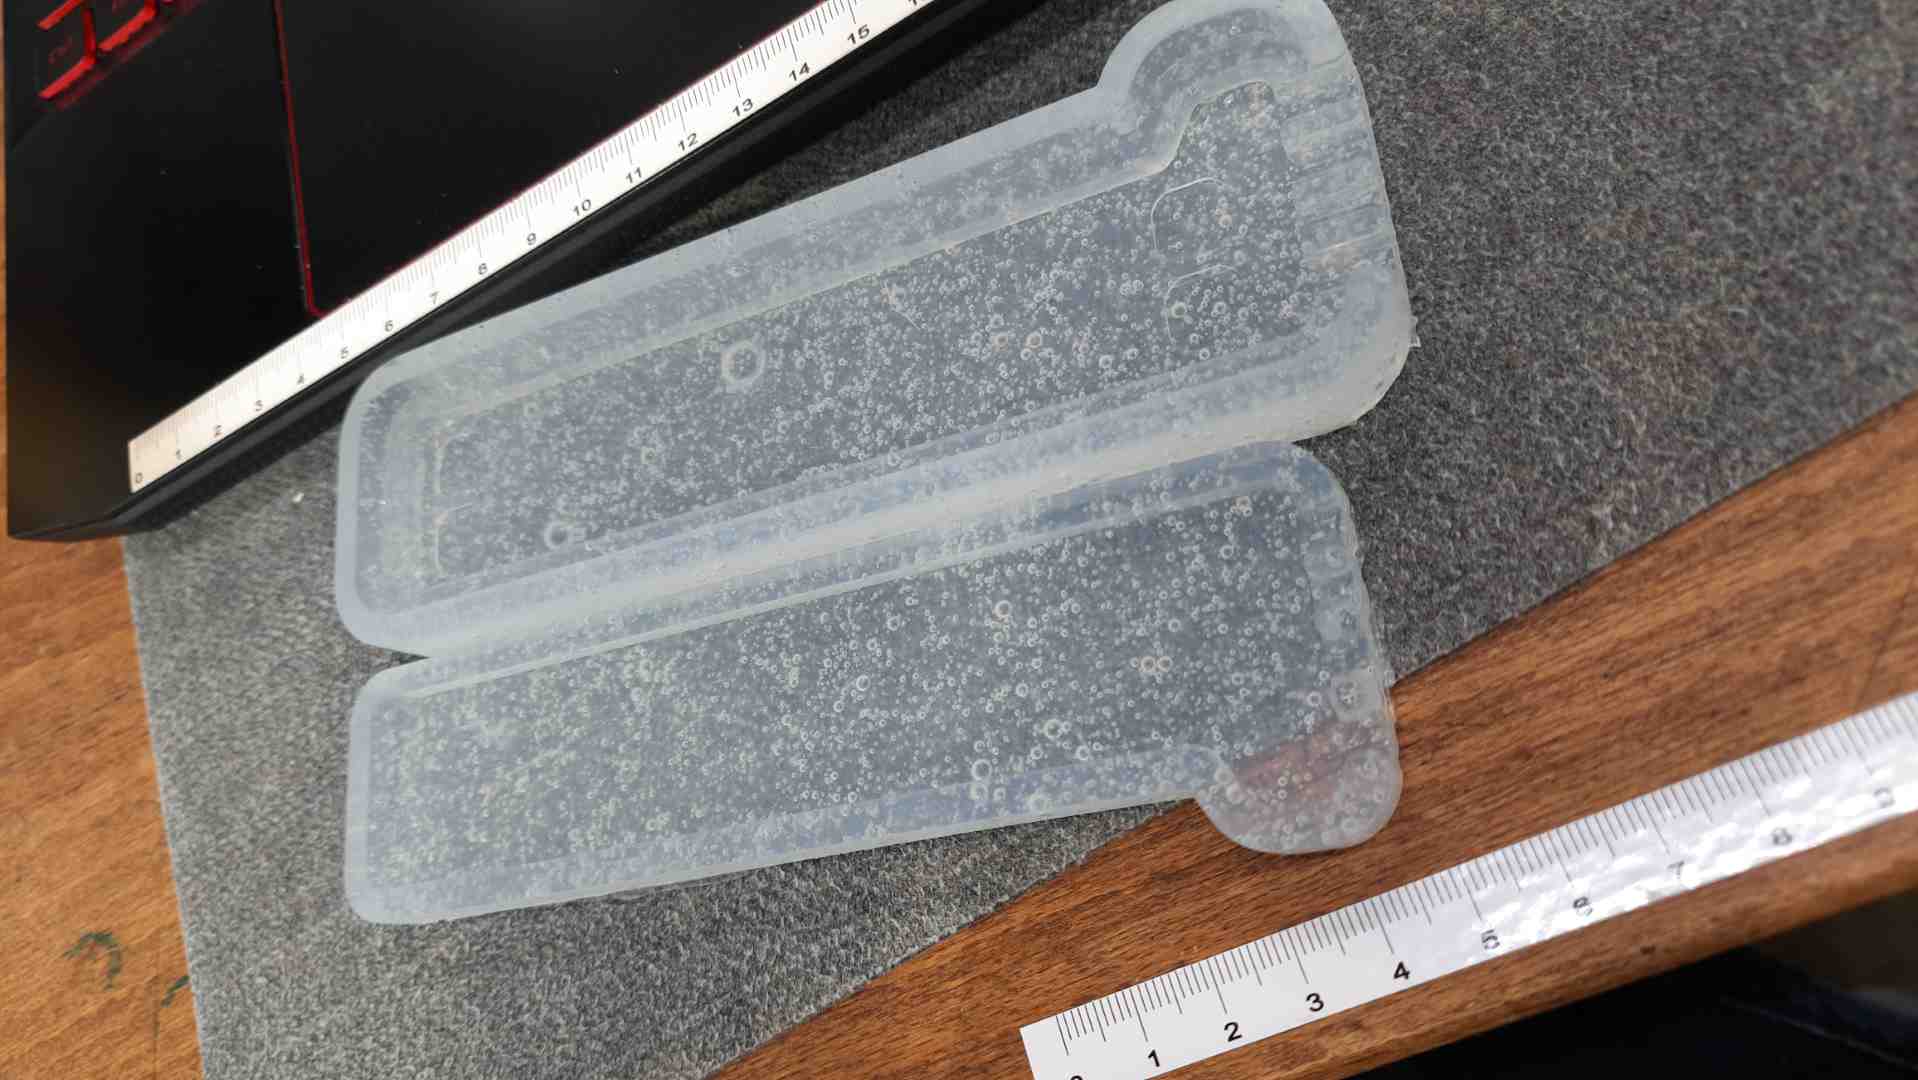
silicon casting
the silicon material that I used is Sorta-Clear 37 I am planning to cast my design in plastic resin and this silicon material is suitable for that application.
preraring the silicon was clearly documented in the material page, I started by measuring a one to one volume ratio, and mixing them as instruced in the demo video in the product page,

SORTA-Clear™ 37 Product Information | Smooth-On, Inc.
Before handling the product I checked the safery data sheet of sorta- clear silicon, it is recommended to follow their precautions before handling the product:
- If medical advice is needed, have a product container or label at hand.
- Keep out of reach of children.
- Read the label before use.
this material is not a hazardous substance or mixture according to the United States Occupational Safety and Health Administration (OSHA) Hazard Communication Standard (29 CFR 1910.1200), the Canadian Workplace Hazardous Materials Information System (WHMIS) and Regulation (EC) No 1272/2008 and subsequent amendments.
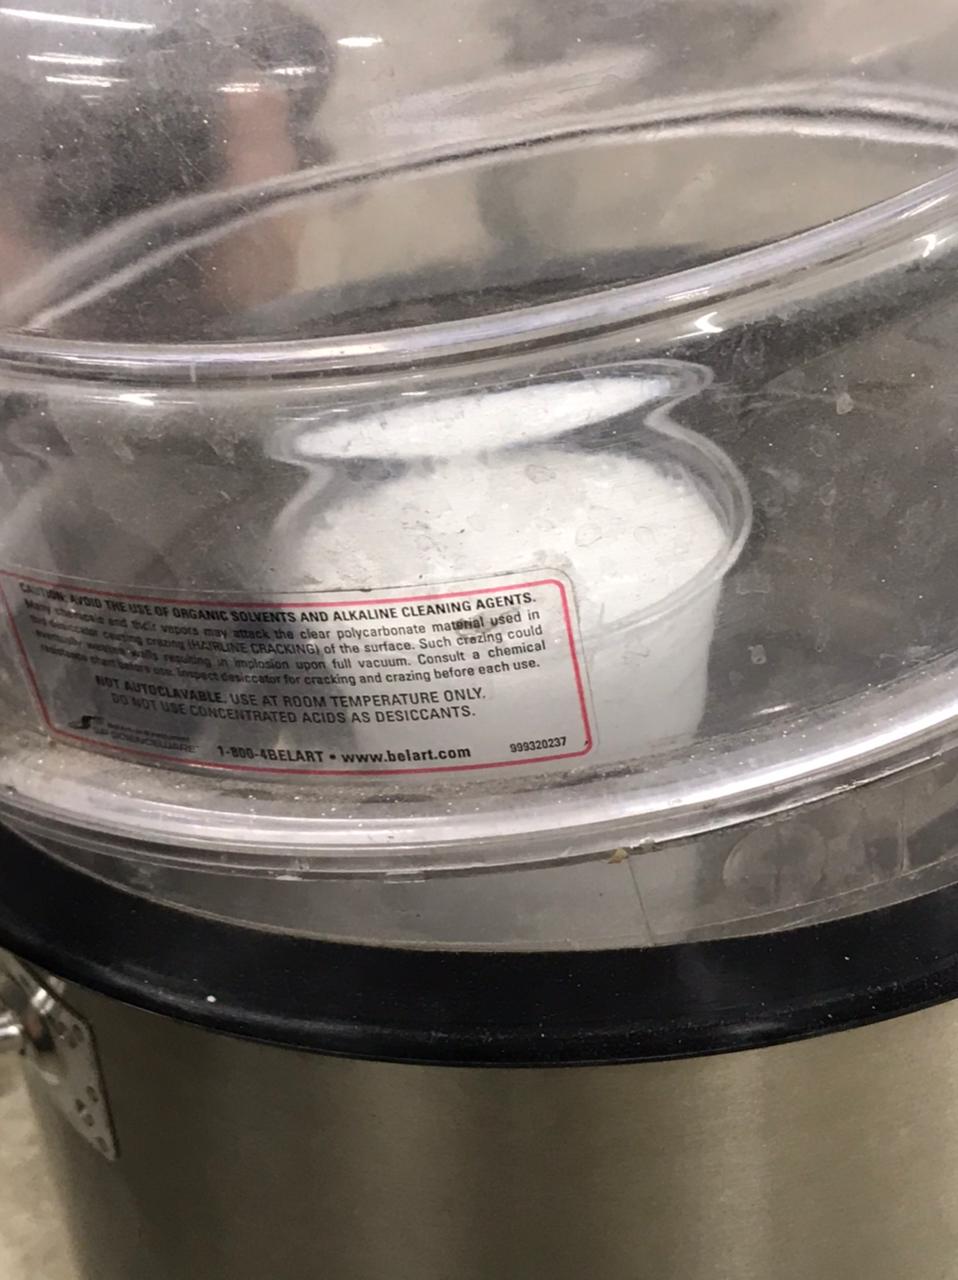
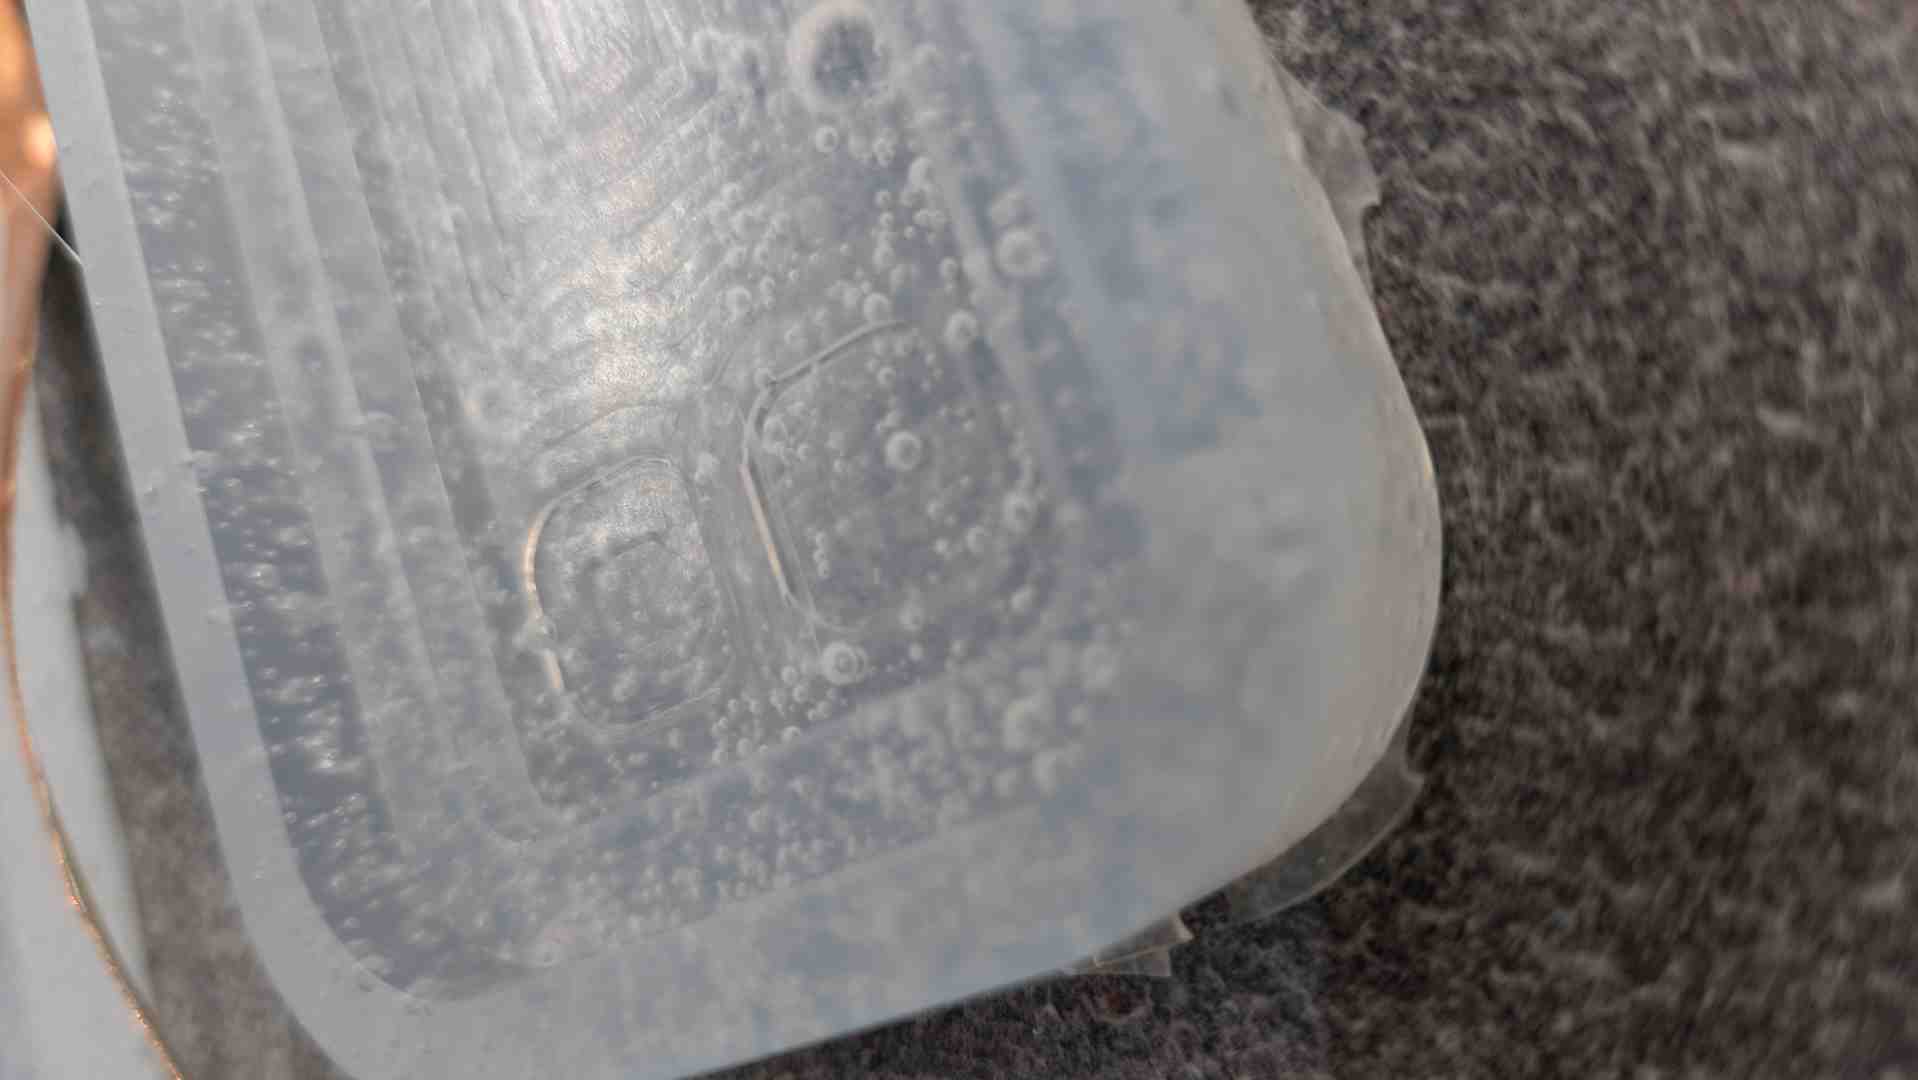
Our vacuum chamber had a leak and it was not able to extract all the bubbles out, but rather than the bubbly looks, the mold works well.
casting resin
the resin material that I used is smooth-cast 300, a series of liquid plastics, have very low viscosity which makes mixing them almost bubble-free, has a fast curing time of only 10 minutes.
After reviewing the safery data sheet of smooth-cast 300, it is recommended to follow their precautions before handling the product:
- Use only outdoors or in a well-ventilated area.
- Wear protective gloves/protective clothing/eye protection/face protection.
- [In case of inadequate ventilation] wear respiratory protection.
- Wash skin thoroughly after handling.
- Do not breathe dust/fume/gas/mist/vapors/spray
- Do not handle until all safety precautions have been read and understood.
This material is classified as: H315 Skin corrosion/irritation – Category 2 H317 Skin sensitization – Category 1 H320 Eye Damage/irritation - Category 2B H332 Acute toxicity, inhalation – Category 4 H334 Respiratory Sensitization – Category 1 H335 Specific target organ toxicity – single exposure – Category 3 (respiratory) H351 Carcinogenicity – Category 2 H373 Specific Target Organ Toxicity, repeated exposure Category 2 (respiratory)
and must be very careful while using it.
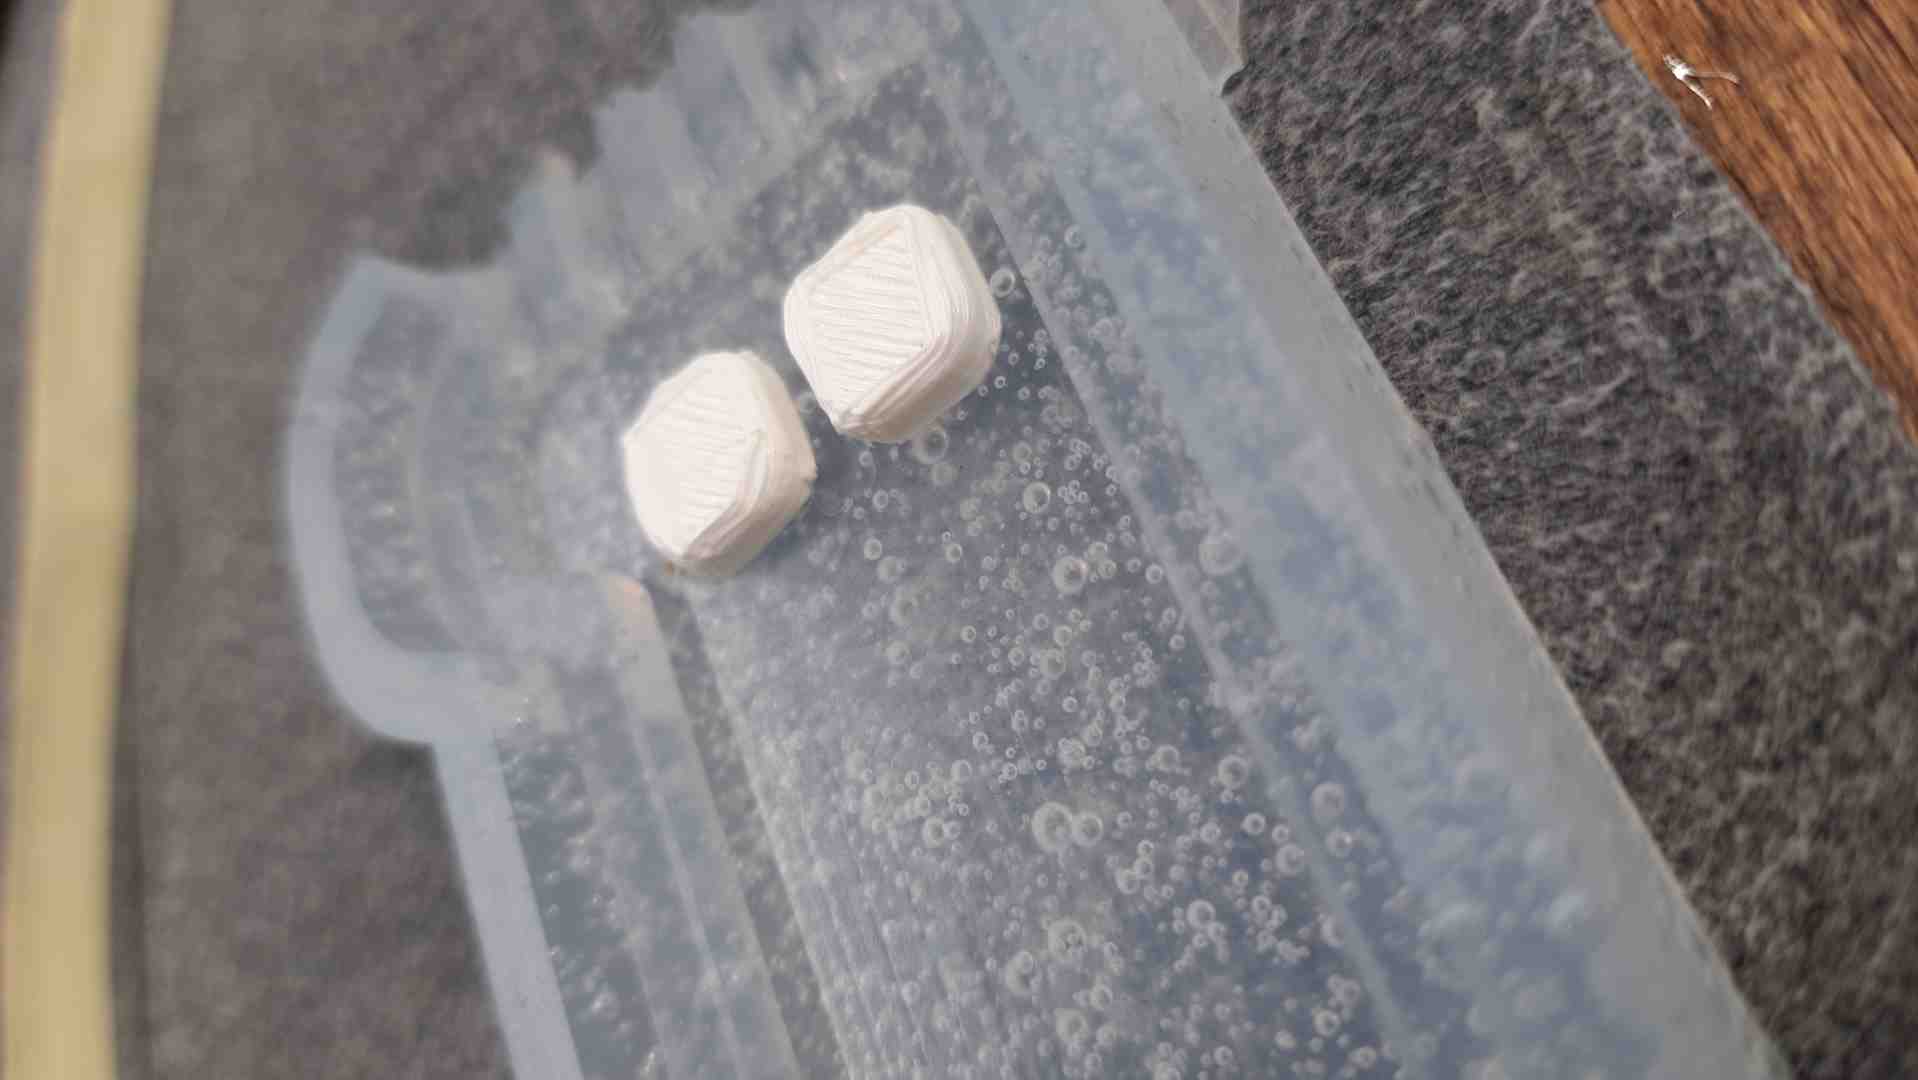
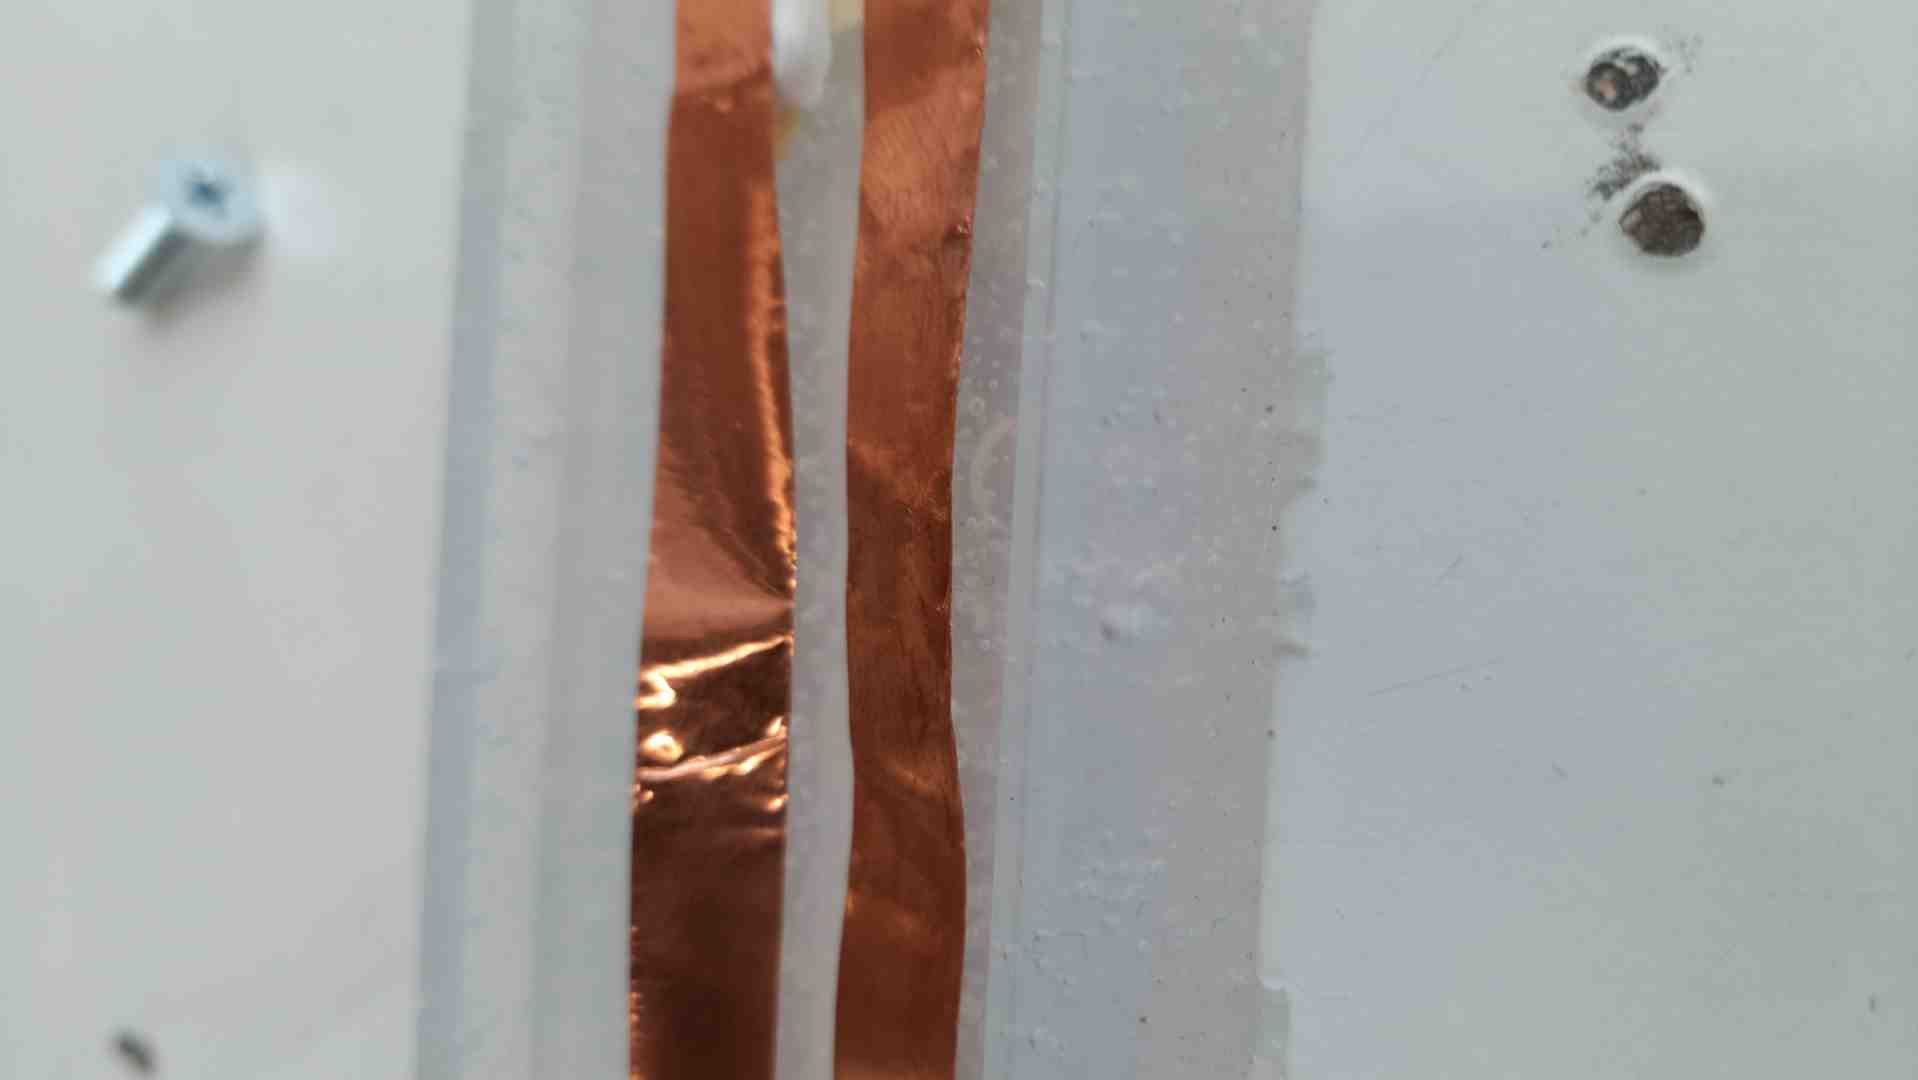
the plan was to use small 3d printed feet to hold a copper sheet, but because the sheet was tall it kept getting down and stick to the mold, so I used an old wast 3d printed part to tape the copper to it and make sure it will not reach the border of the part.
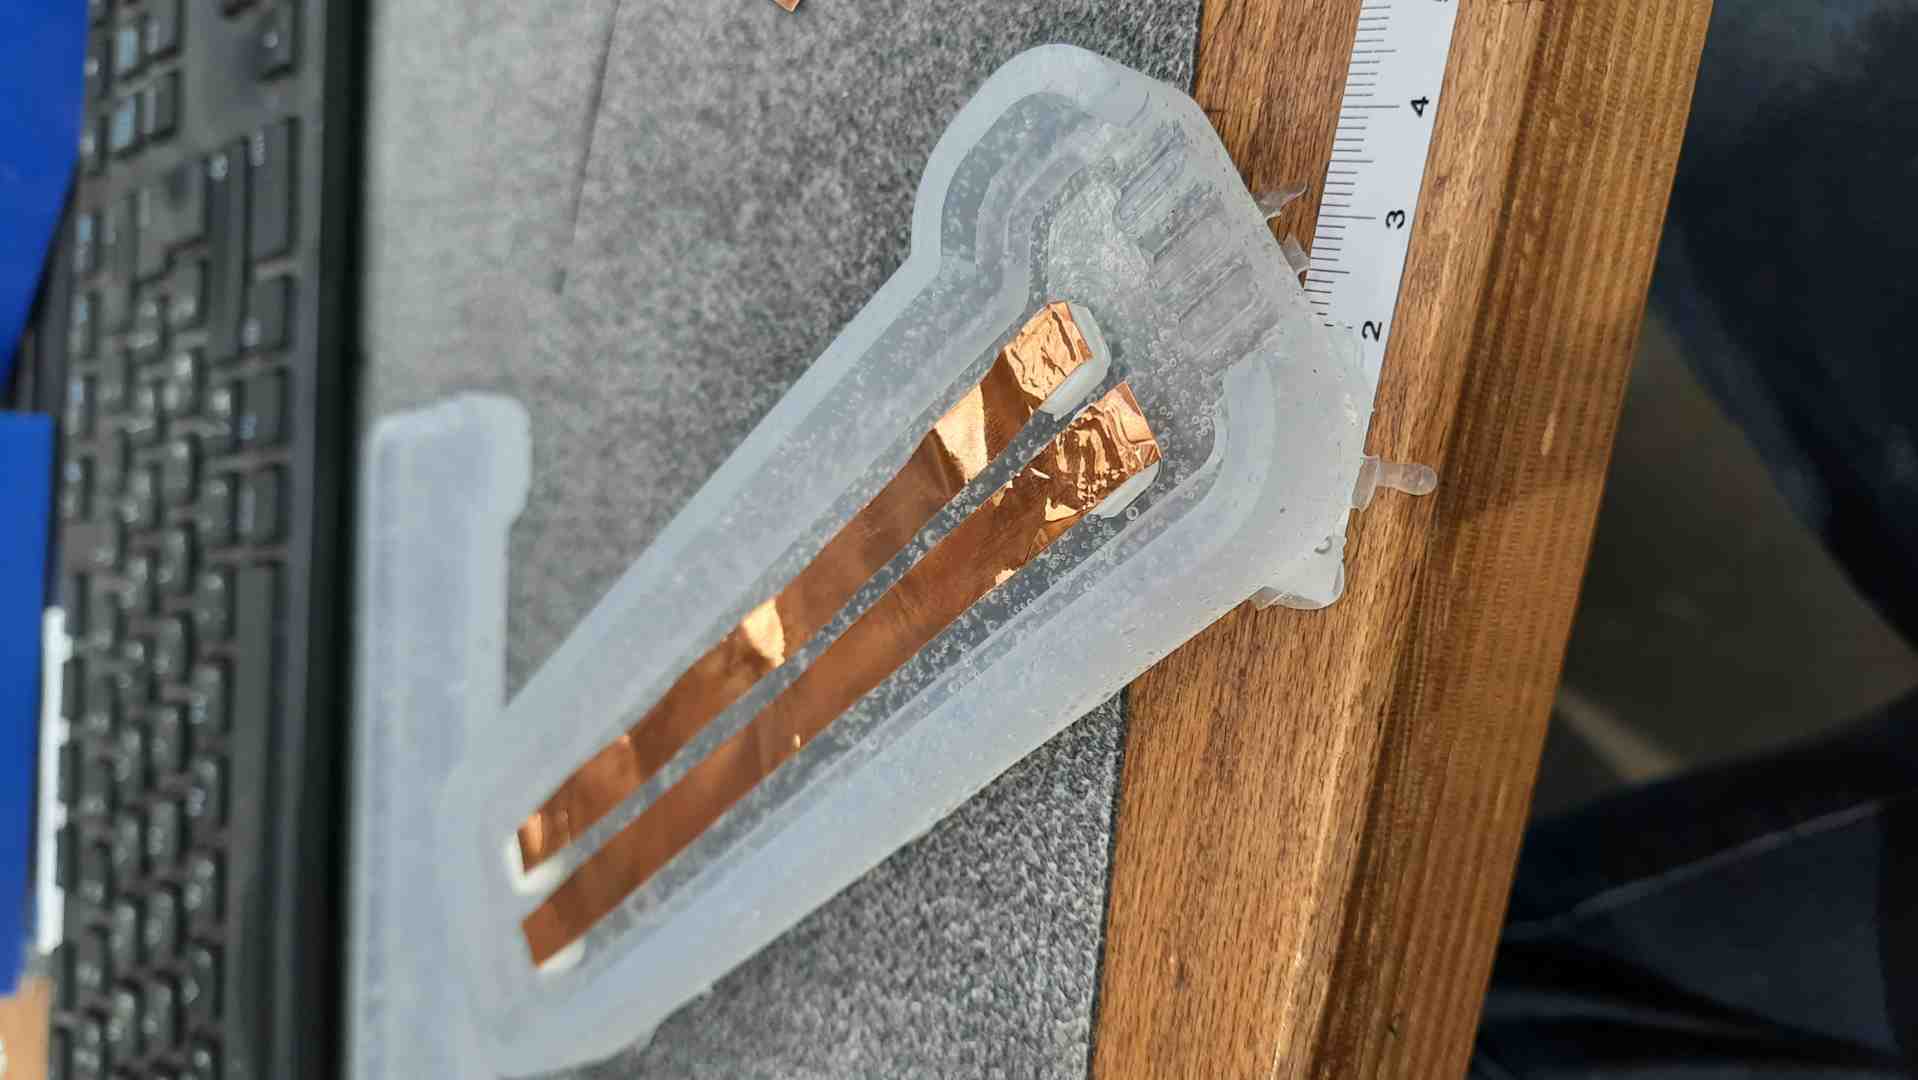
prepare the silicon mold to cast and ad screws.
Here is a video of the castings process
final results
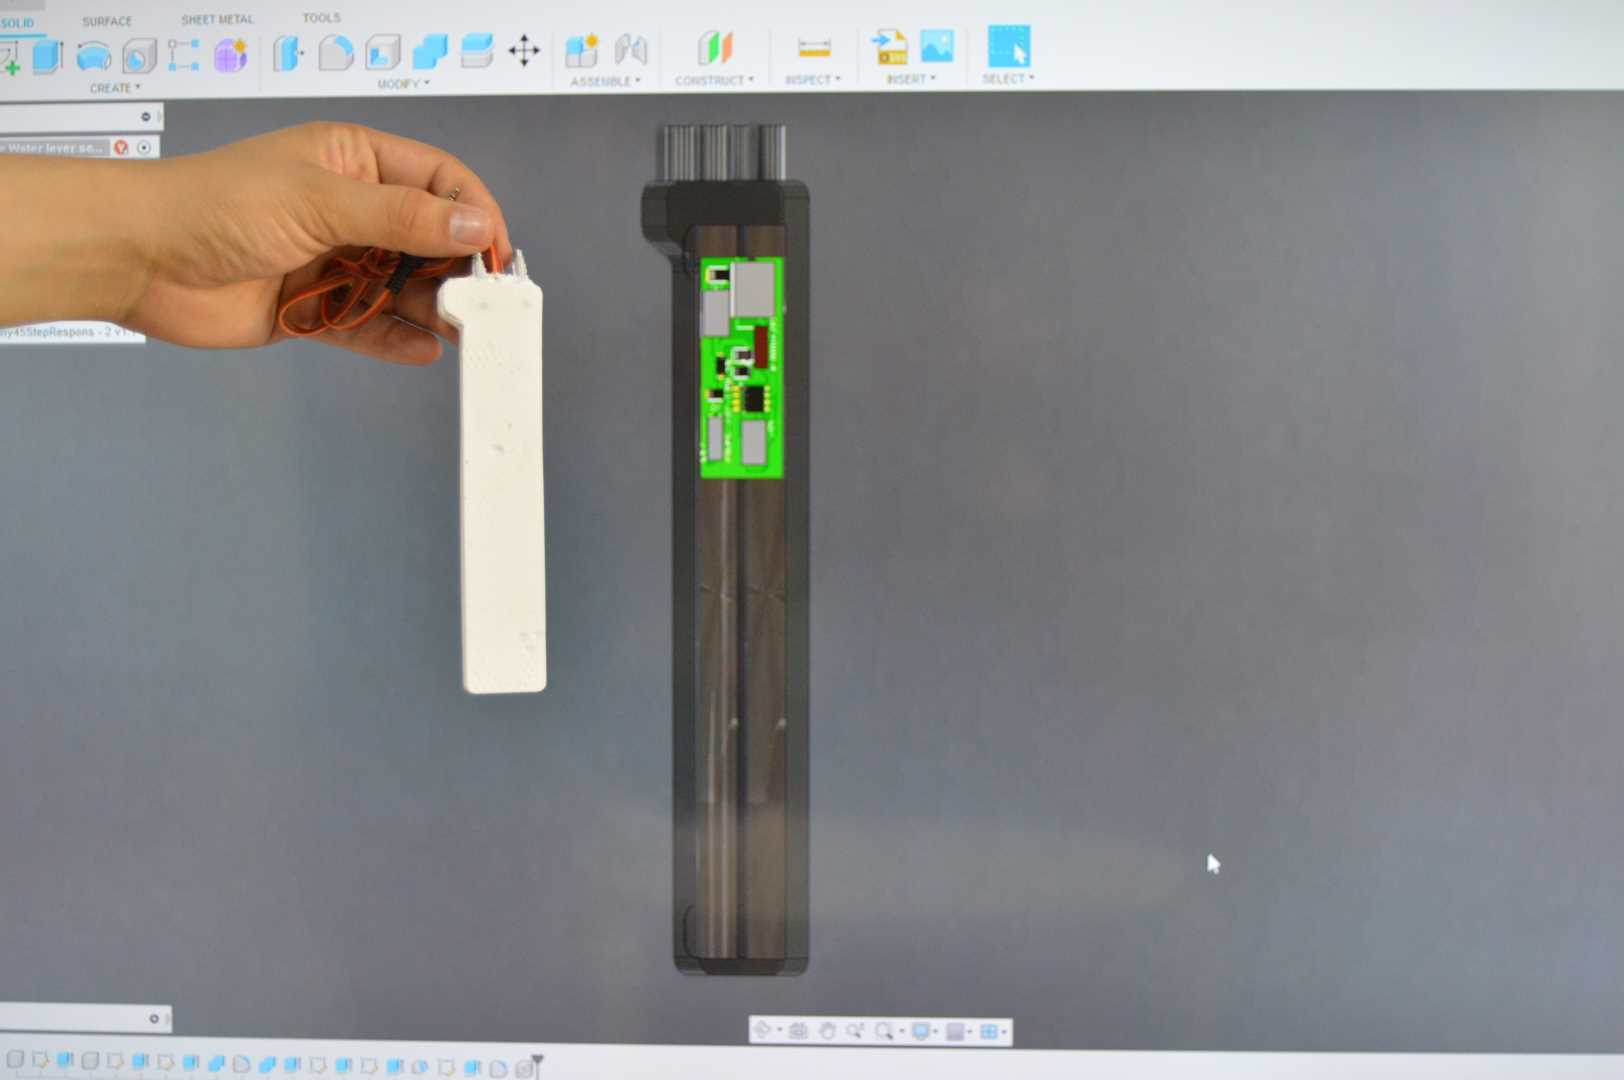
Here is the first try, with the sensor terminals inside the cast, and the electronics outside.
the sensor seems to work well, it is protected in a plastic casing with mounting screws and the copper will not contaminate the water.
the mold design can be improved, I have to find a way to make it tighter so it will not leak while I cast the resin.
wires that connects to the sensor terminals act as a part of the terminals, and it disturb the readings. therefor I casted the electronics PCB inside the casted sensor, as the PCB sends the data as digital signal it will not affect the readings.
and the results were perfect.