6. 3D Scanning and Printing
This week I worked on:
- Designing a 3D print
- Designing a 3D Print From My Bitmoji
- Printing My 3D Bitmoji
- Result Of My Print
Designed a 3D Print
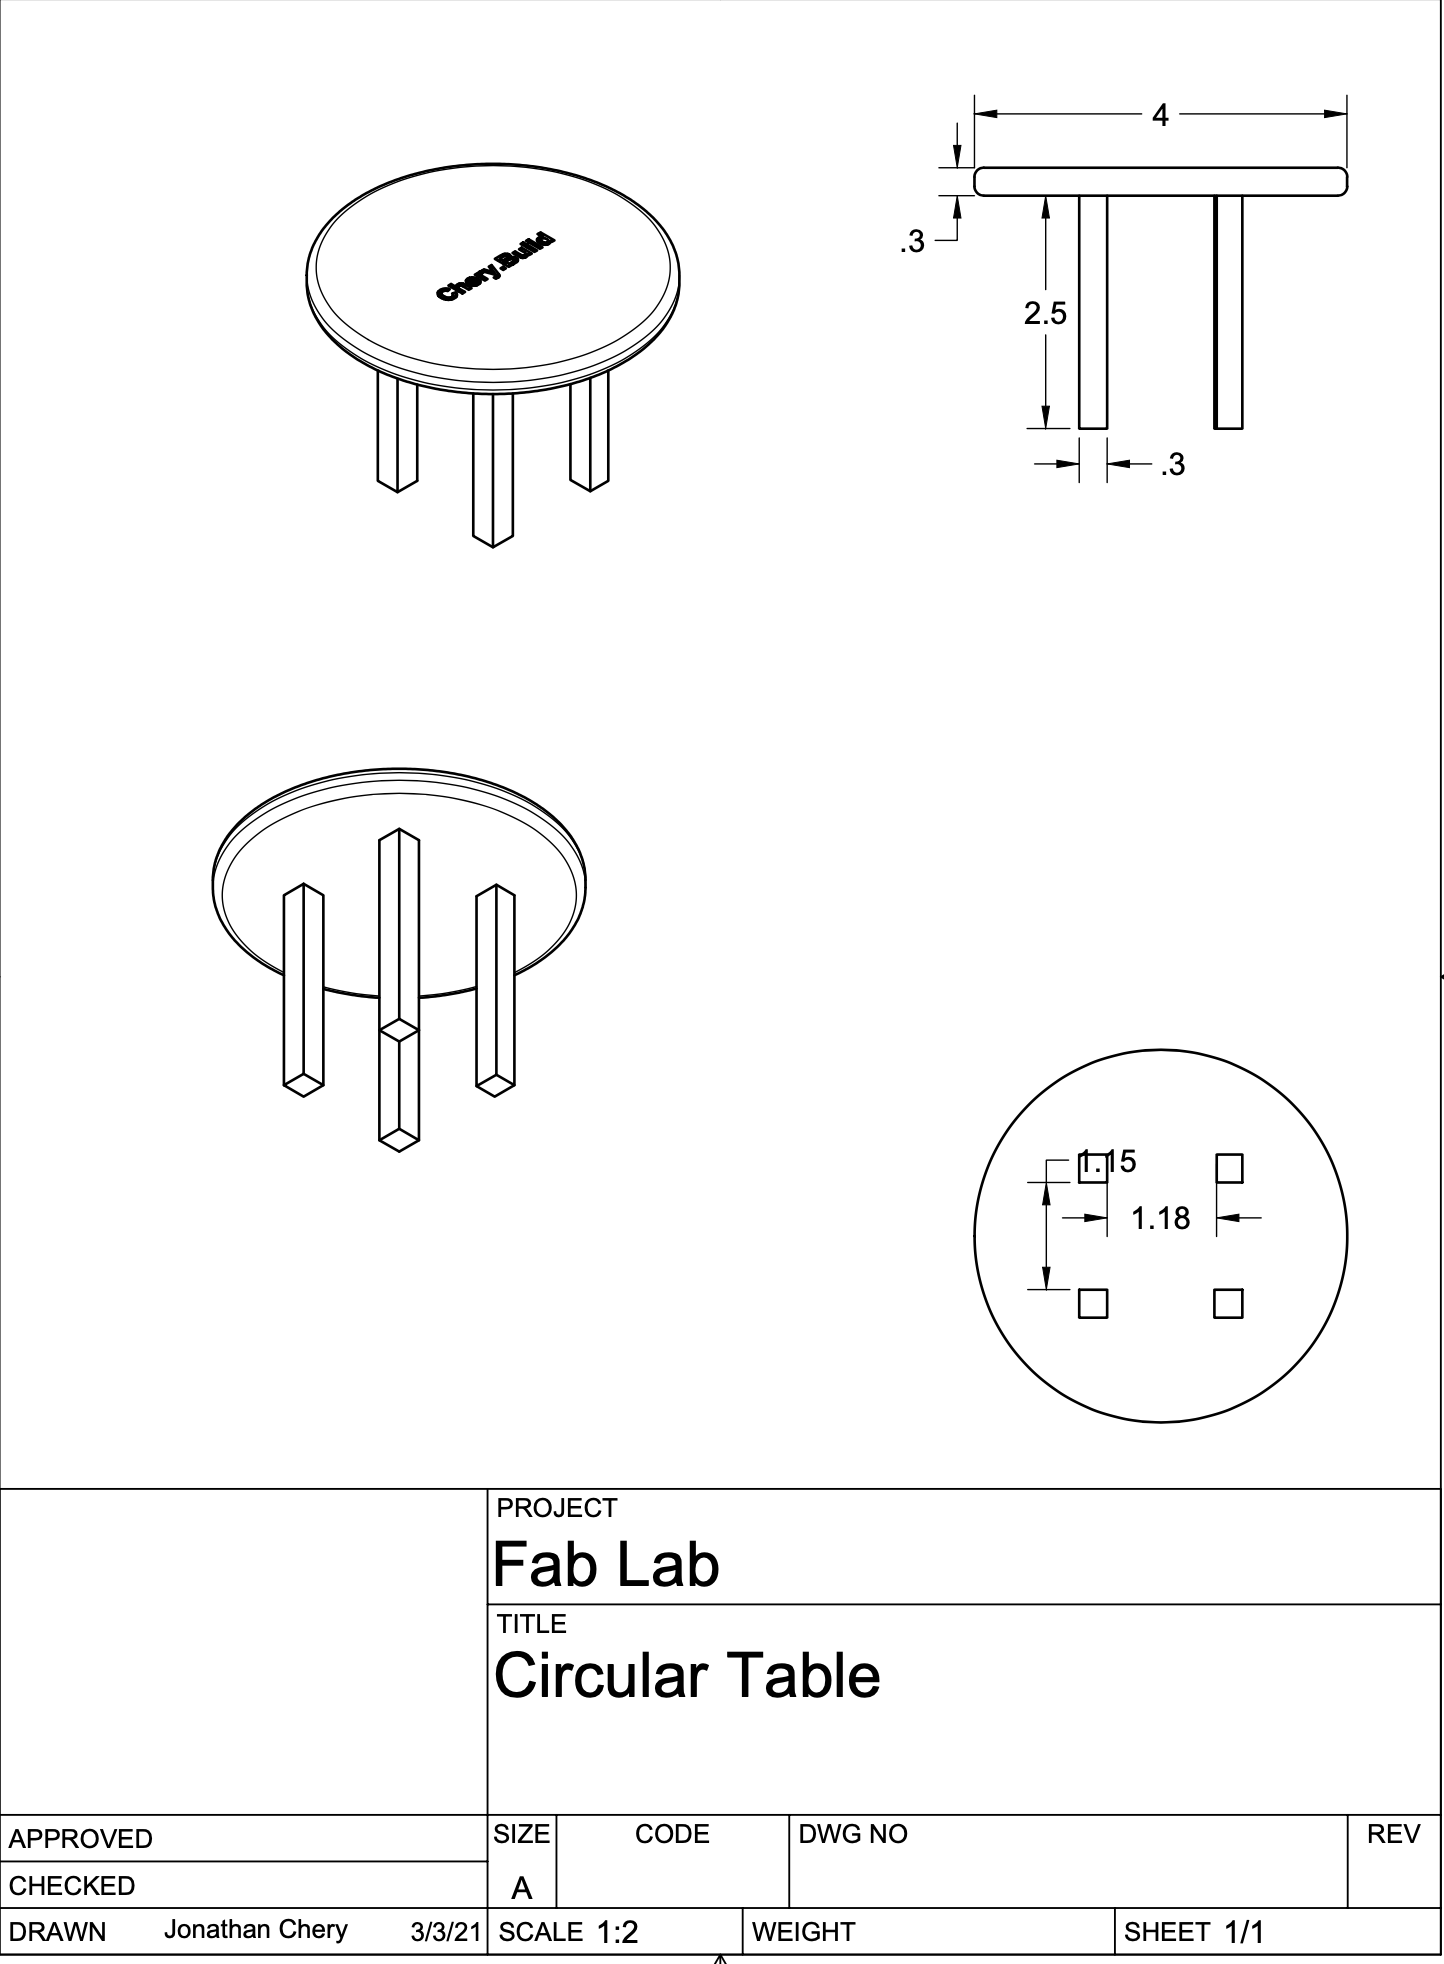
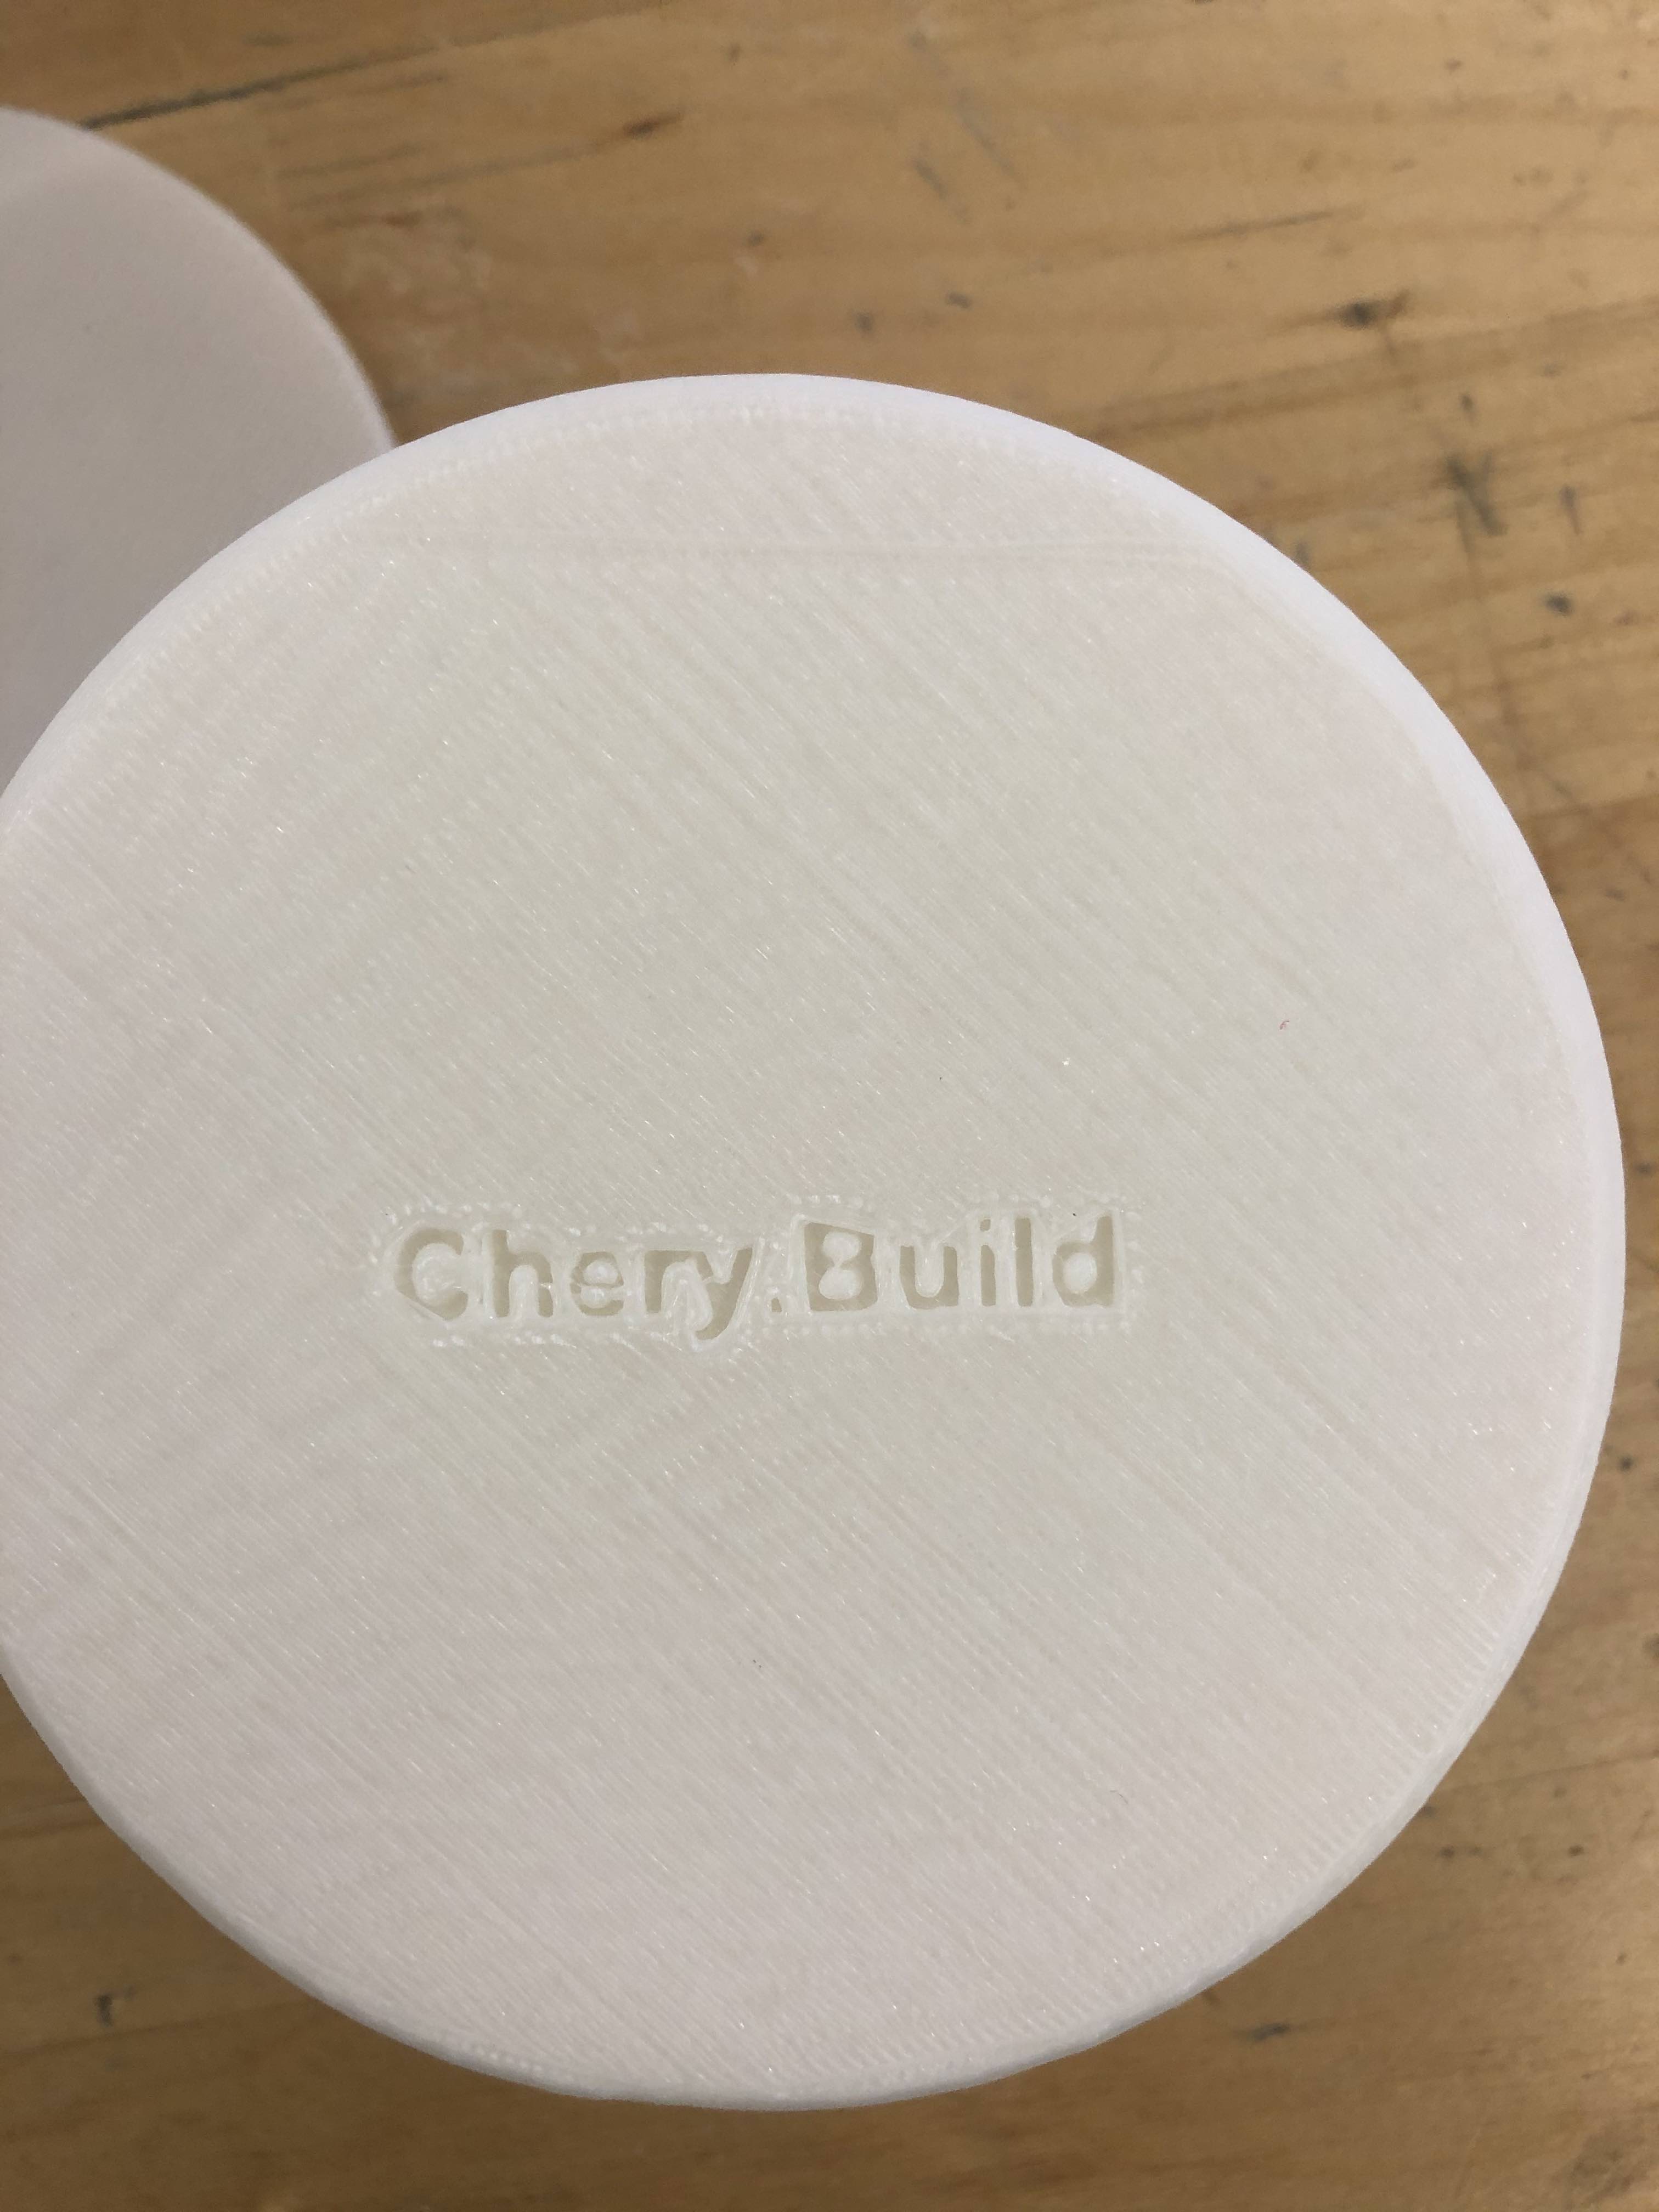
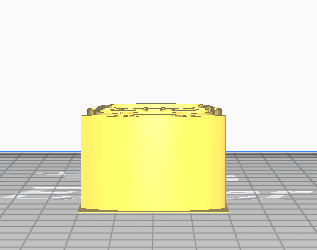
I used Fusion 360 to design my 3D print. I designed a circular table and branded it with the expression Chery.Build.
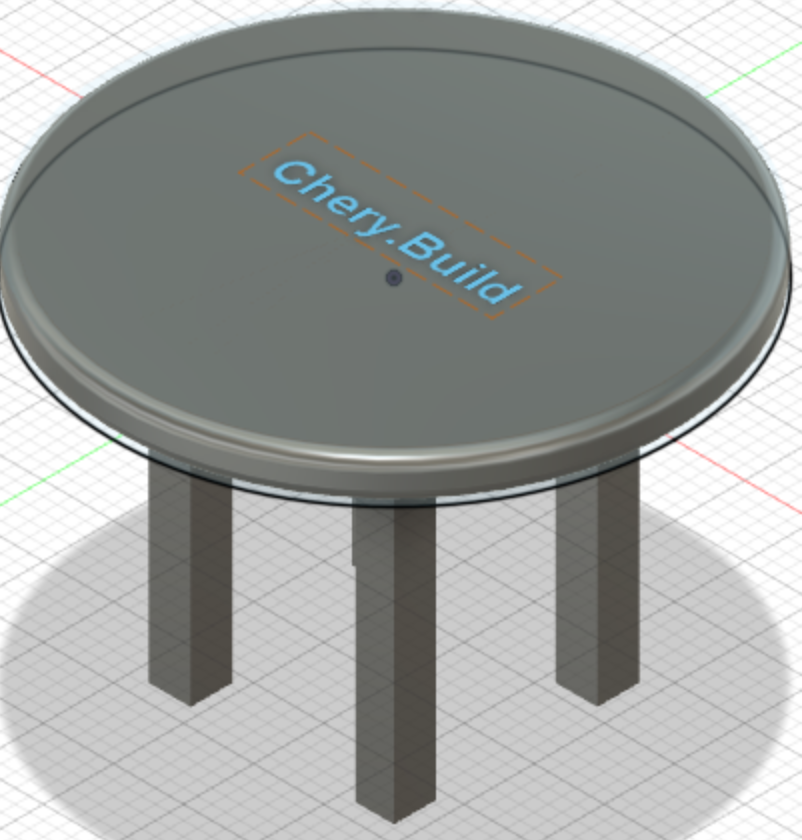
On top of creating the circular 3D print, I created a press kit in the case anyone wants to rebuild it.
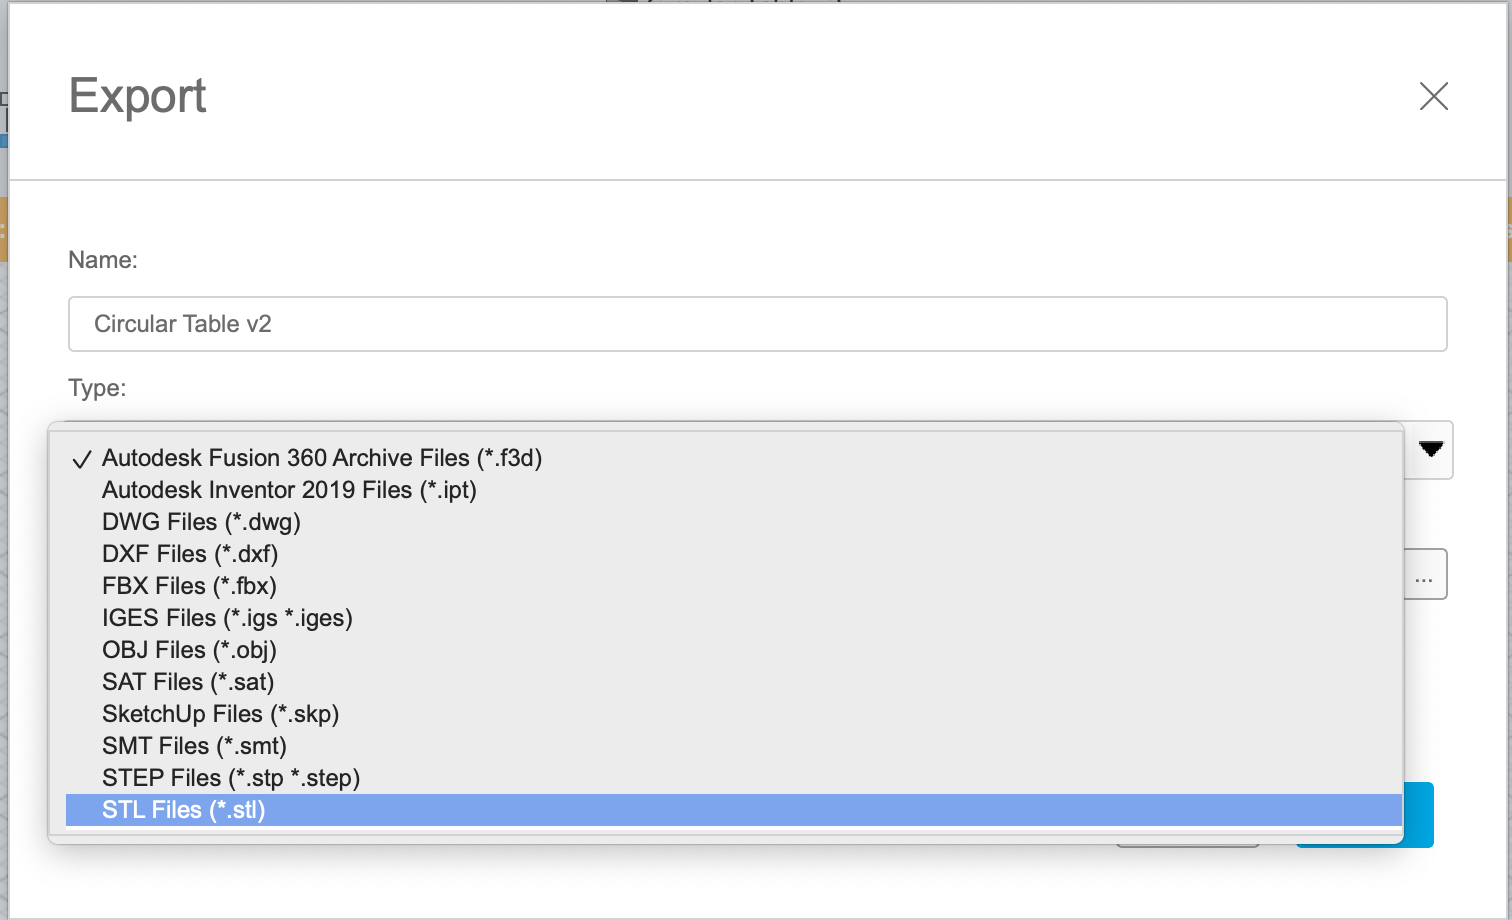
The printing journey began with a conversion. I converted my design into a .stl file.
Once I obtained the file, I saved it in a USB stick and transfered it to a 3D printer. I decided to print in the Dassault Systèmes’ Fab Lab as they have access to several printers that I can try such as:
- 3DWox
- Formlabs
I used the two printers mentioned above to explore their User Interface (UI) and User Experience (UX).
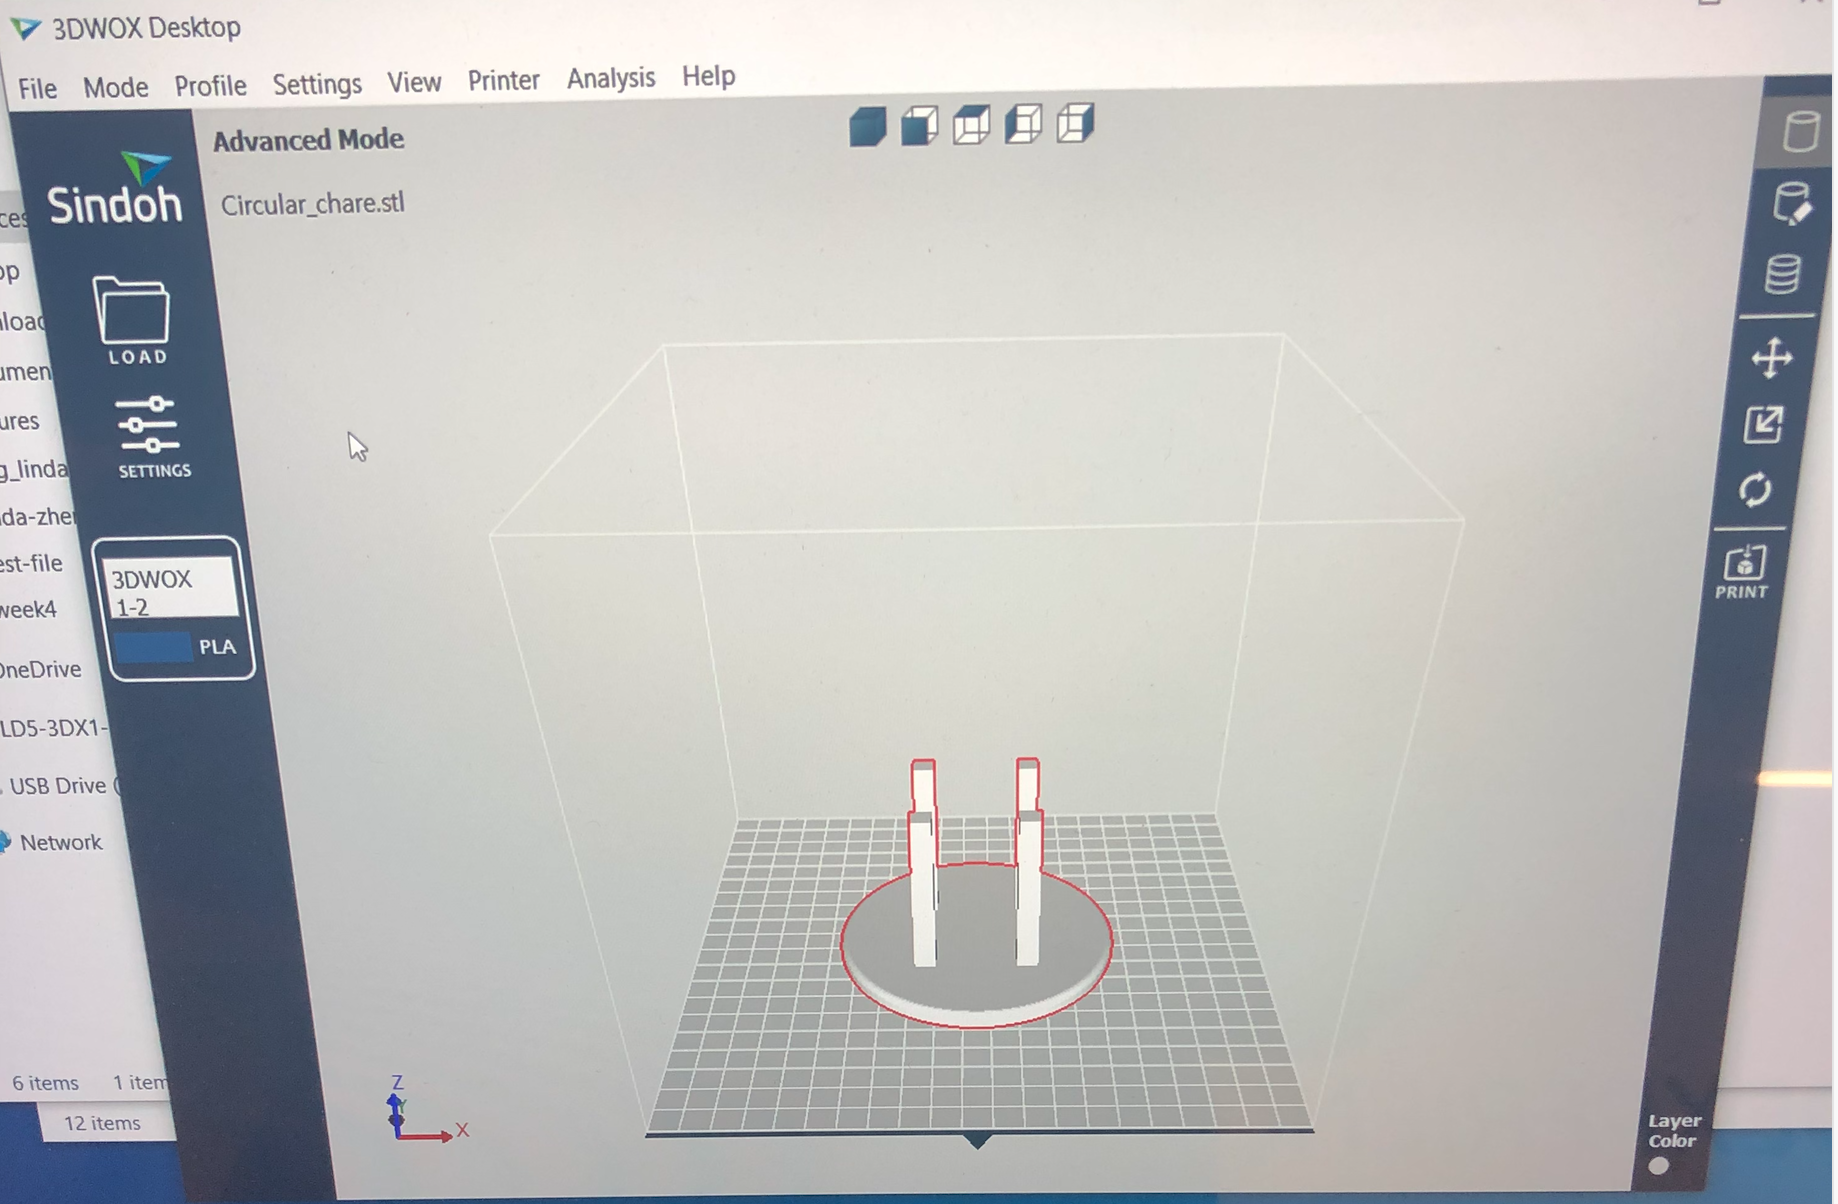
Working with 3DWox
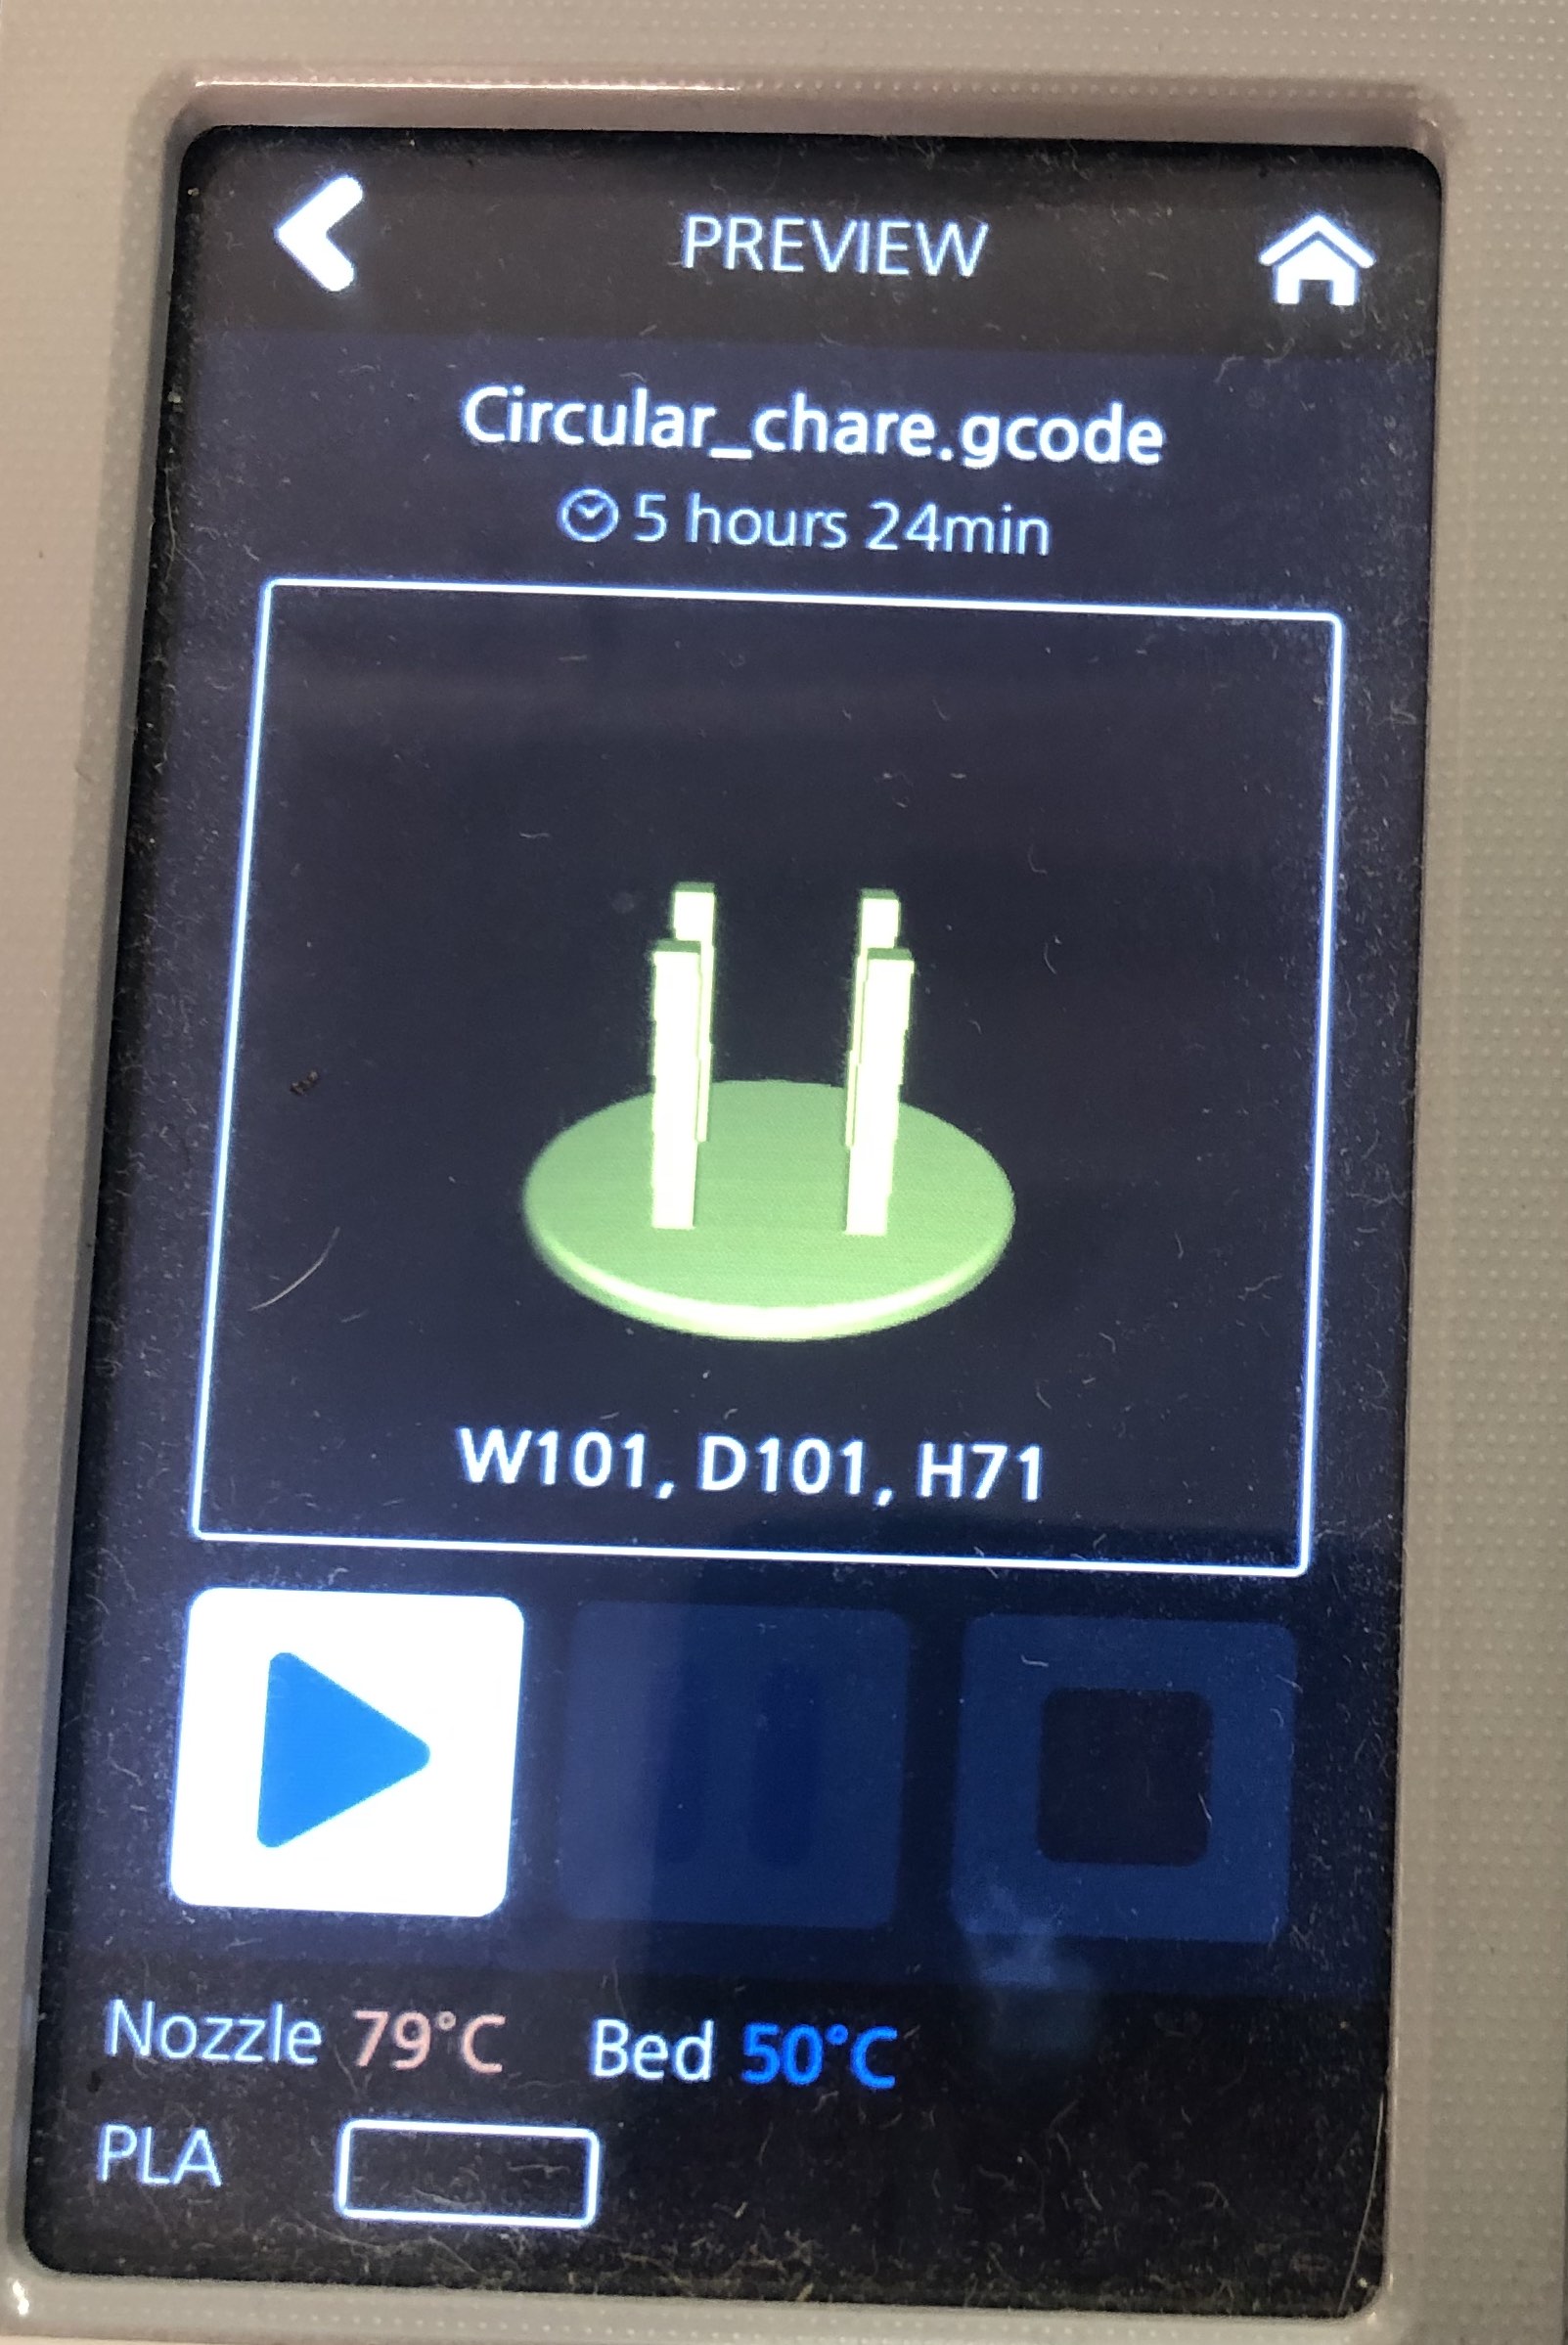
The 3DWox was a simple machine to use. I enjoyed using their software UI/UX. For the 3D print, I needed to turn the table upside down to give the print more support when printing.
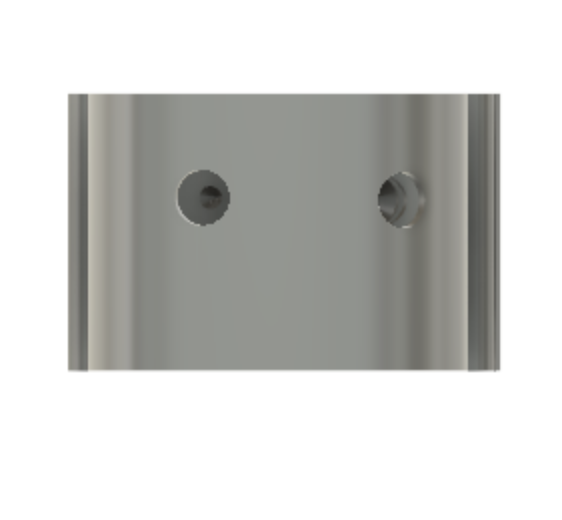
The result of the print came out well. However, it took a long time. Approximately, 5 hours which was significantly over the time constraint. However, that was not the result of the printer but, more so, my design. My table was approximately 3 inches tall.
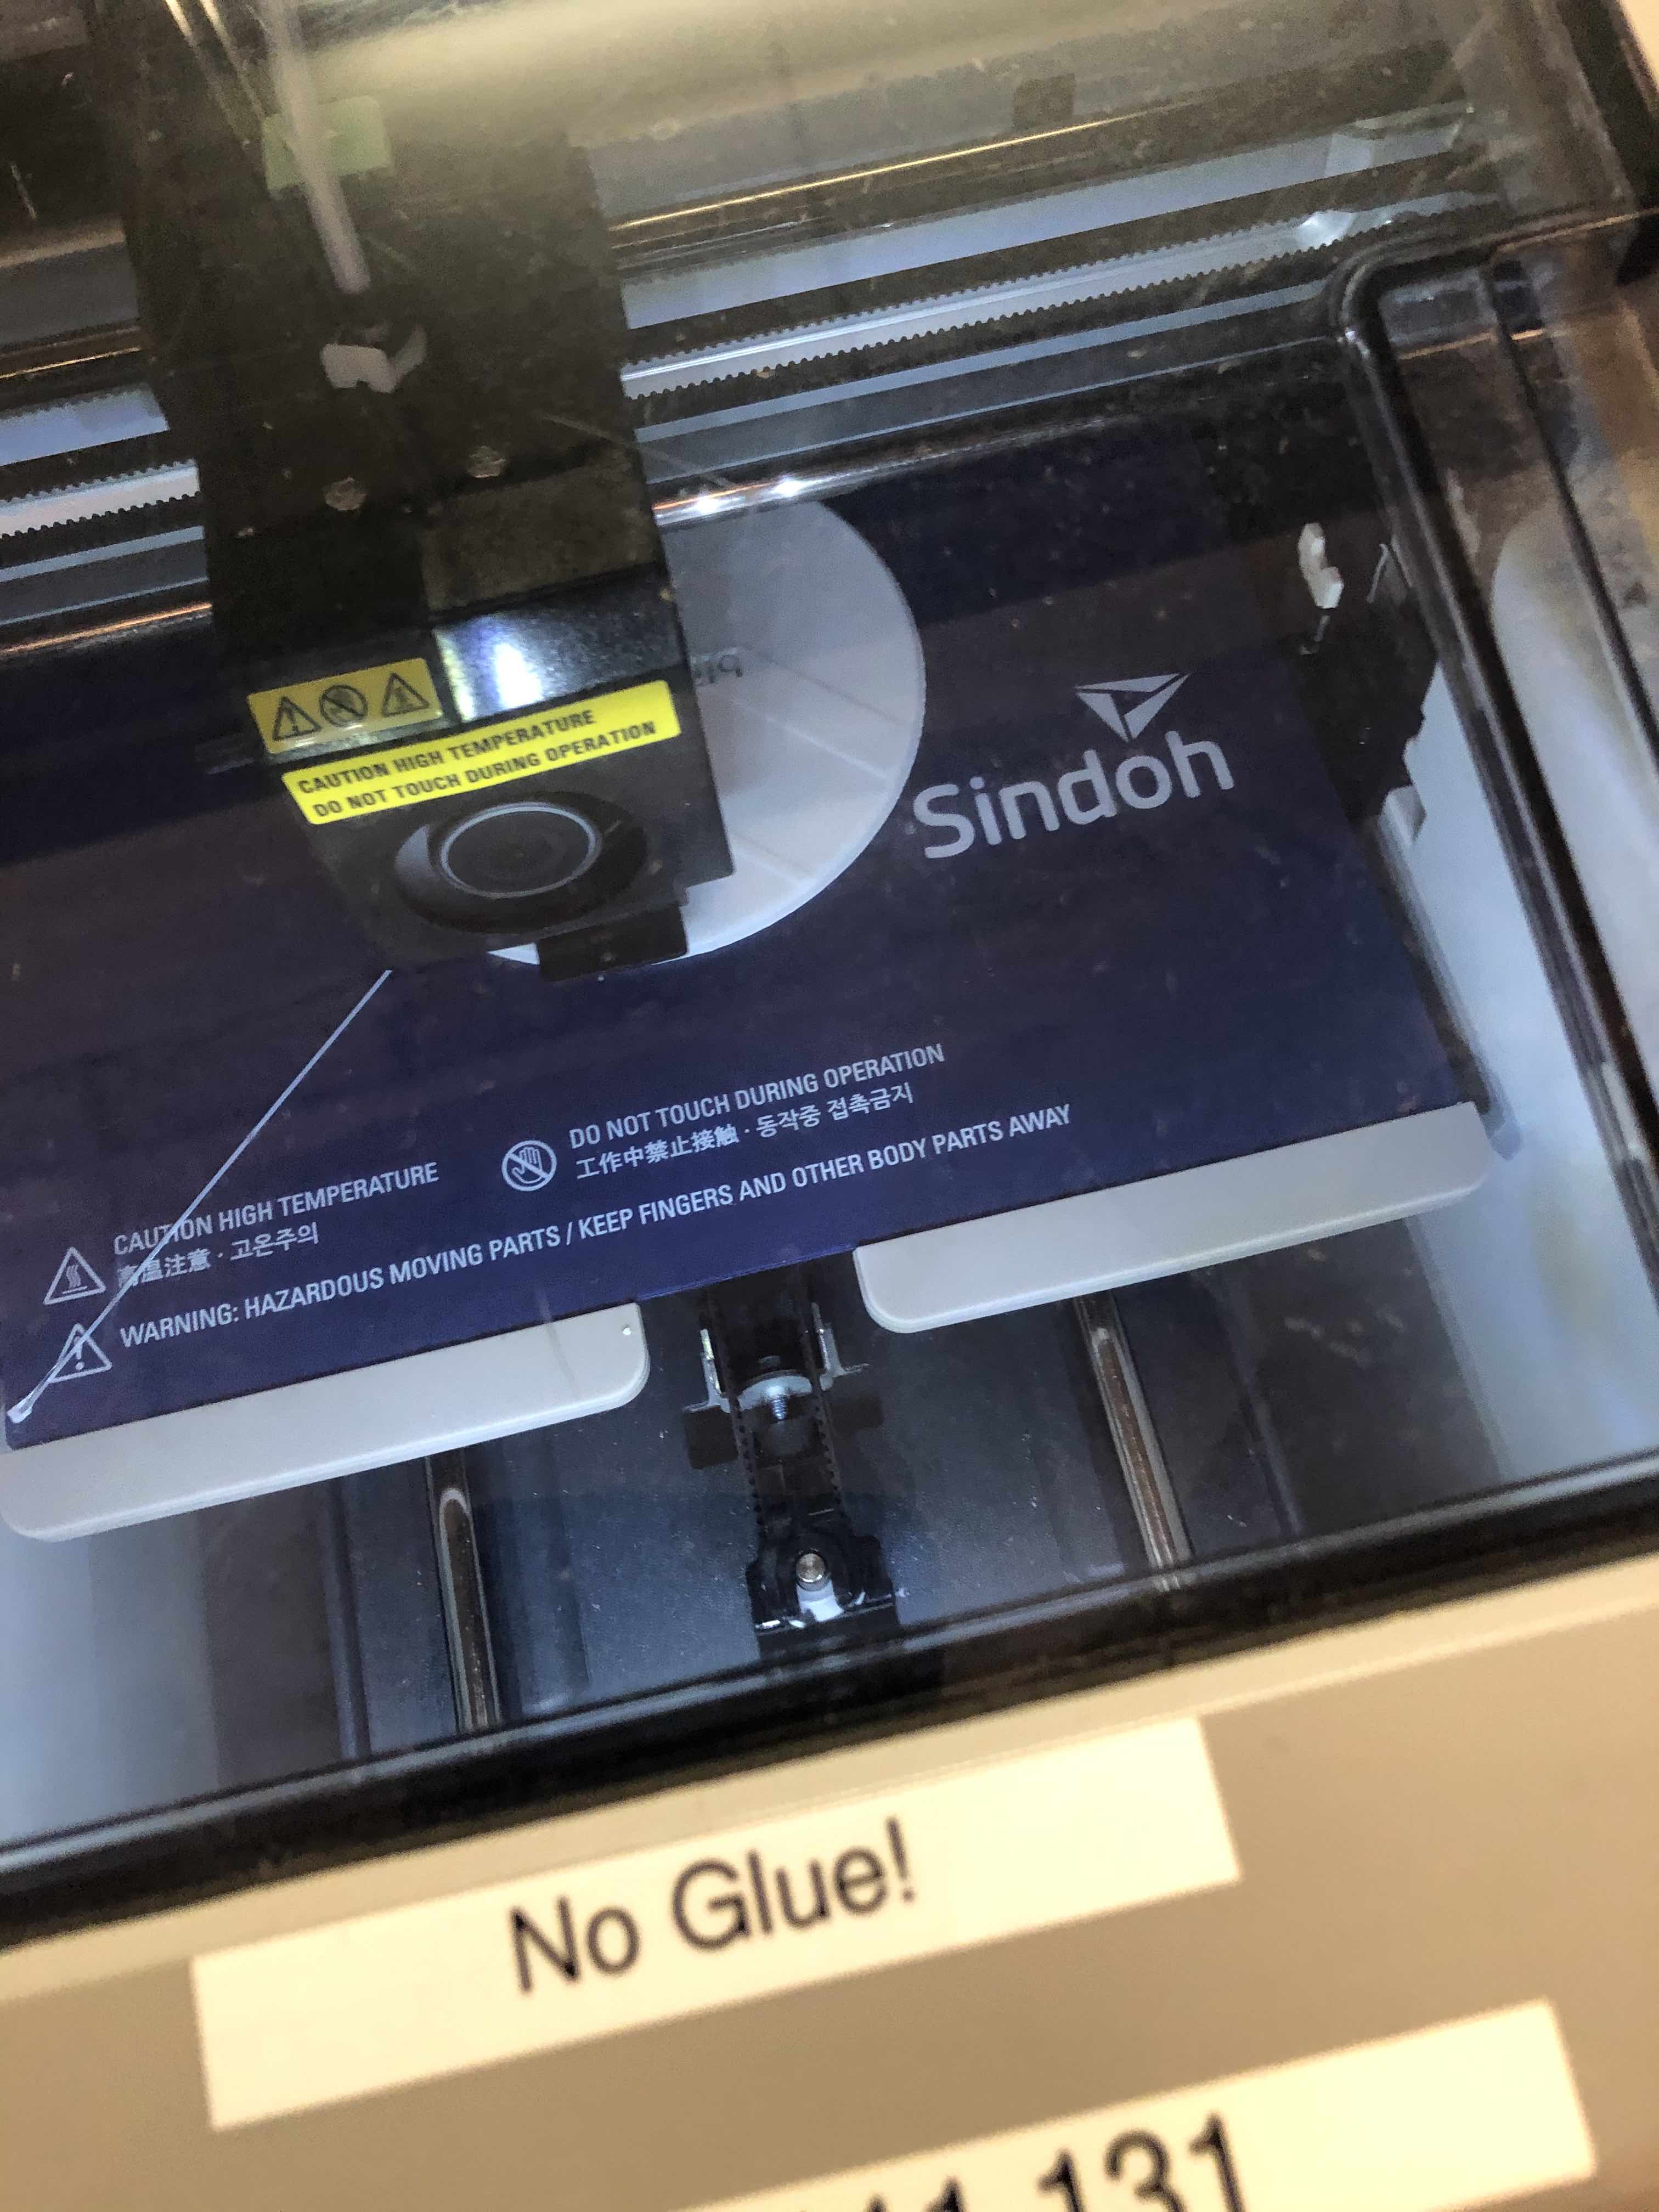
Once I set and started the print, I watched 1 - x3 layers to make sure no problems occurred.
Layer 1:
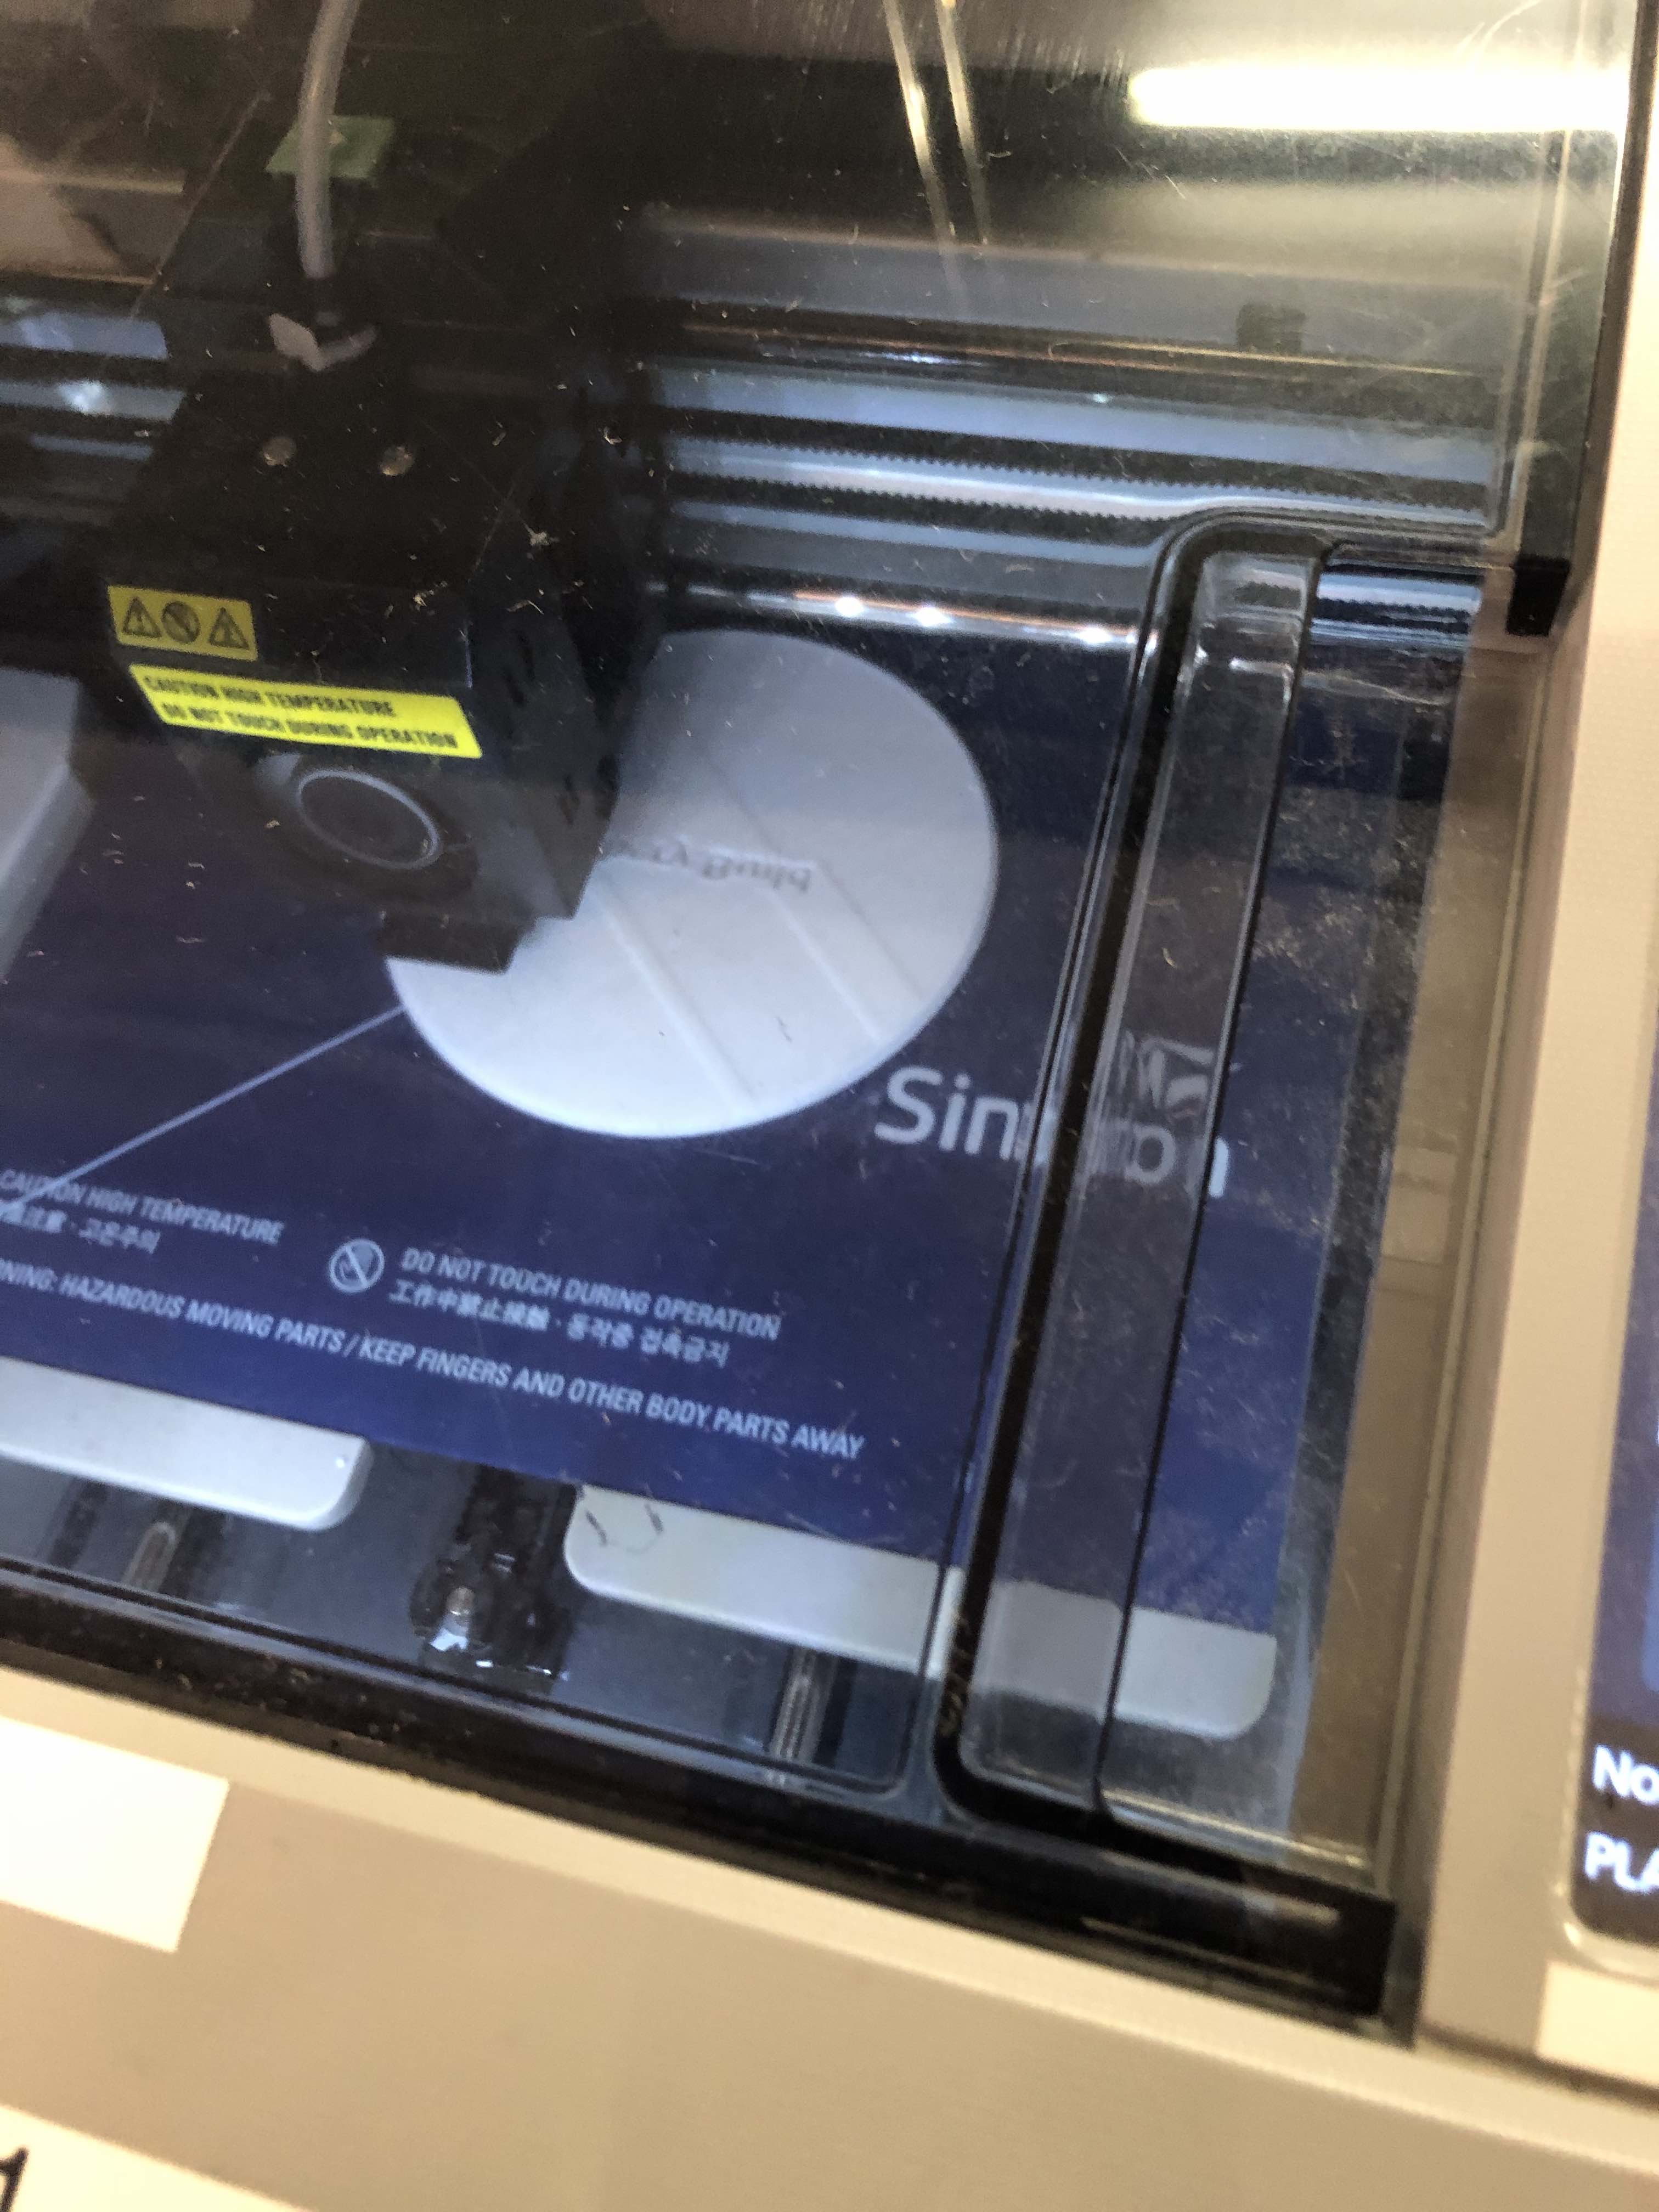
Layer 3:
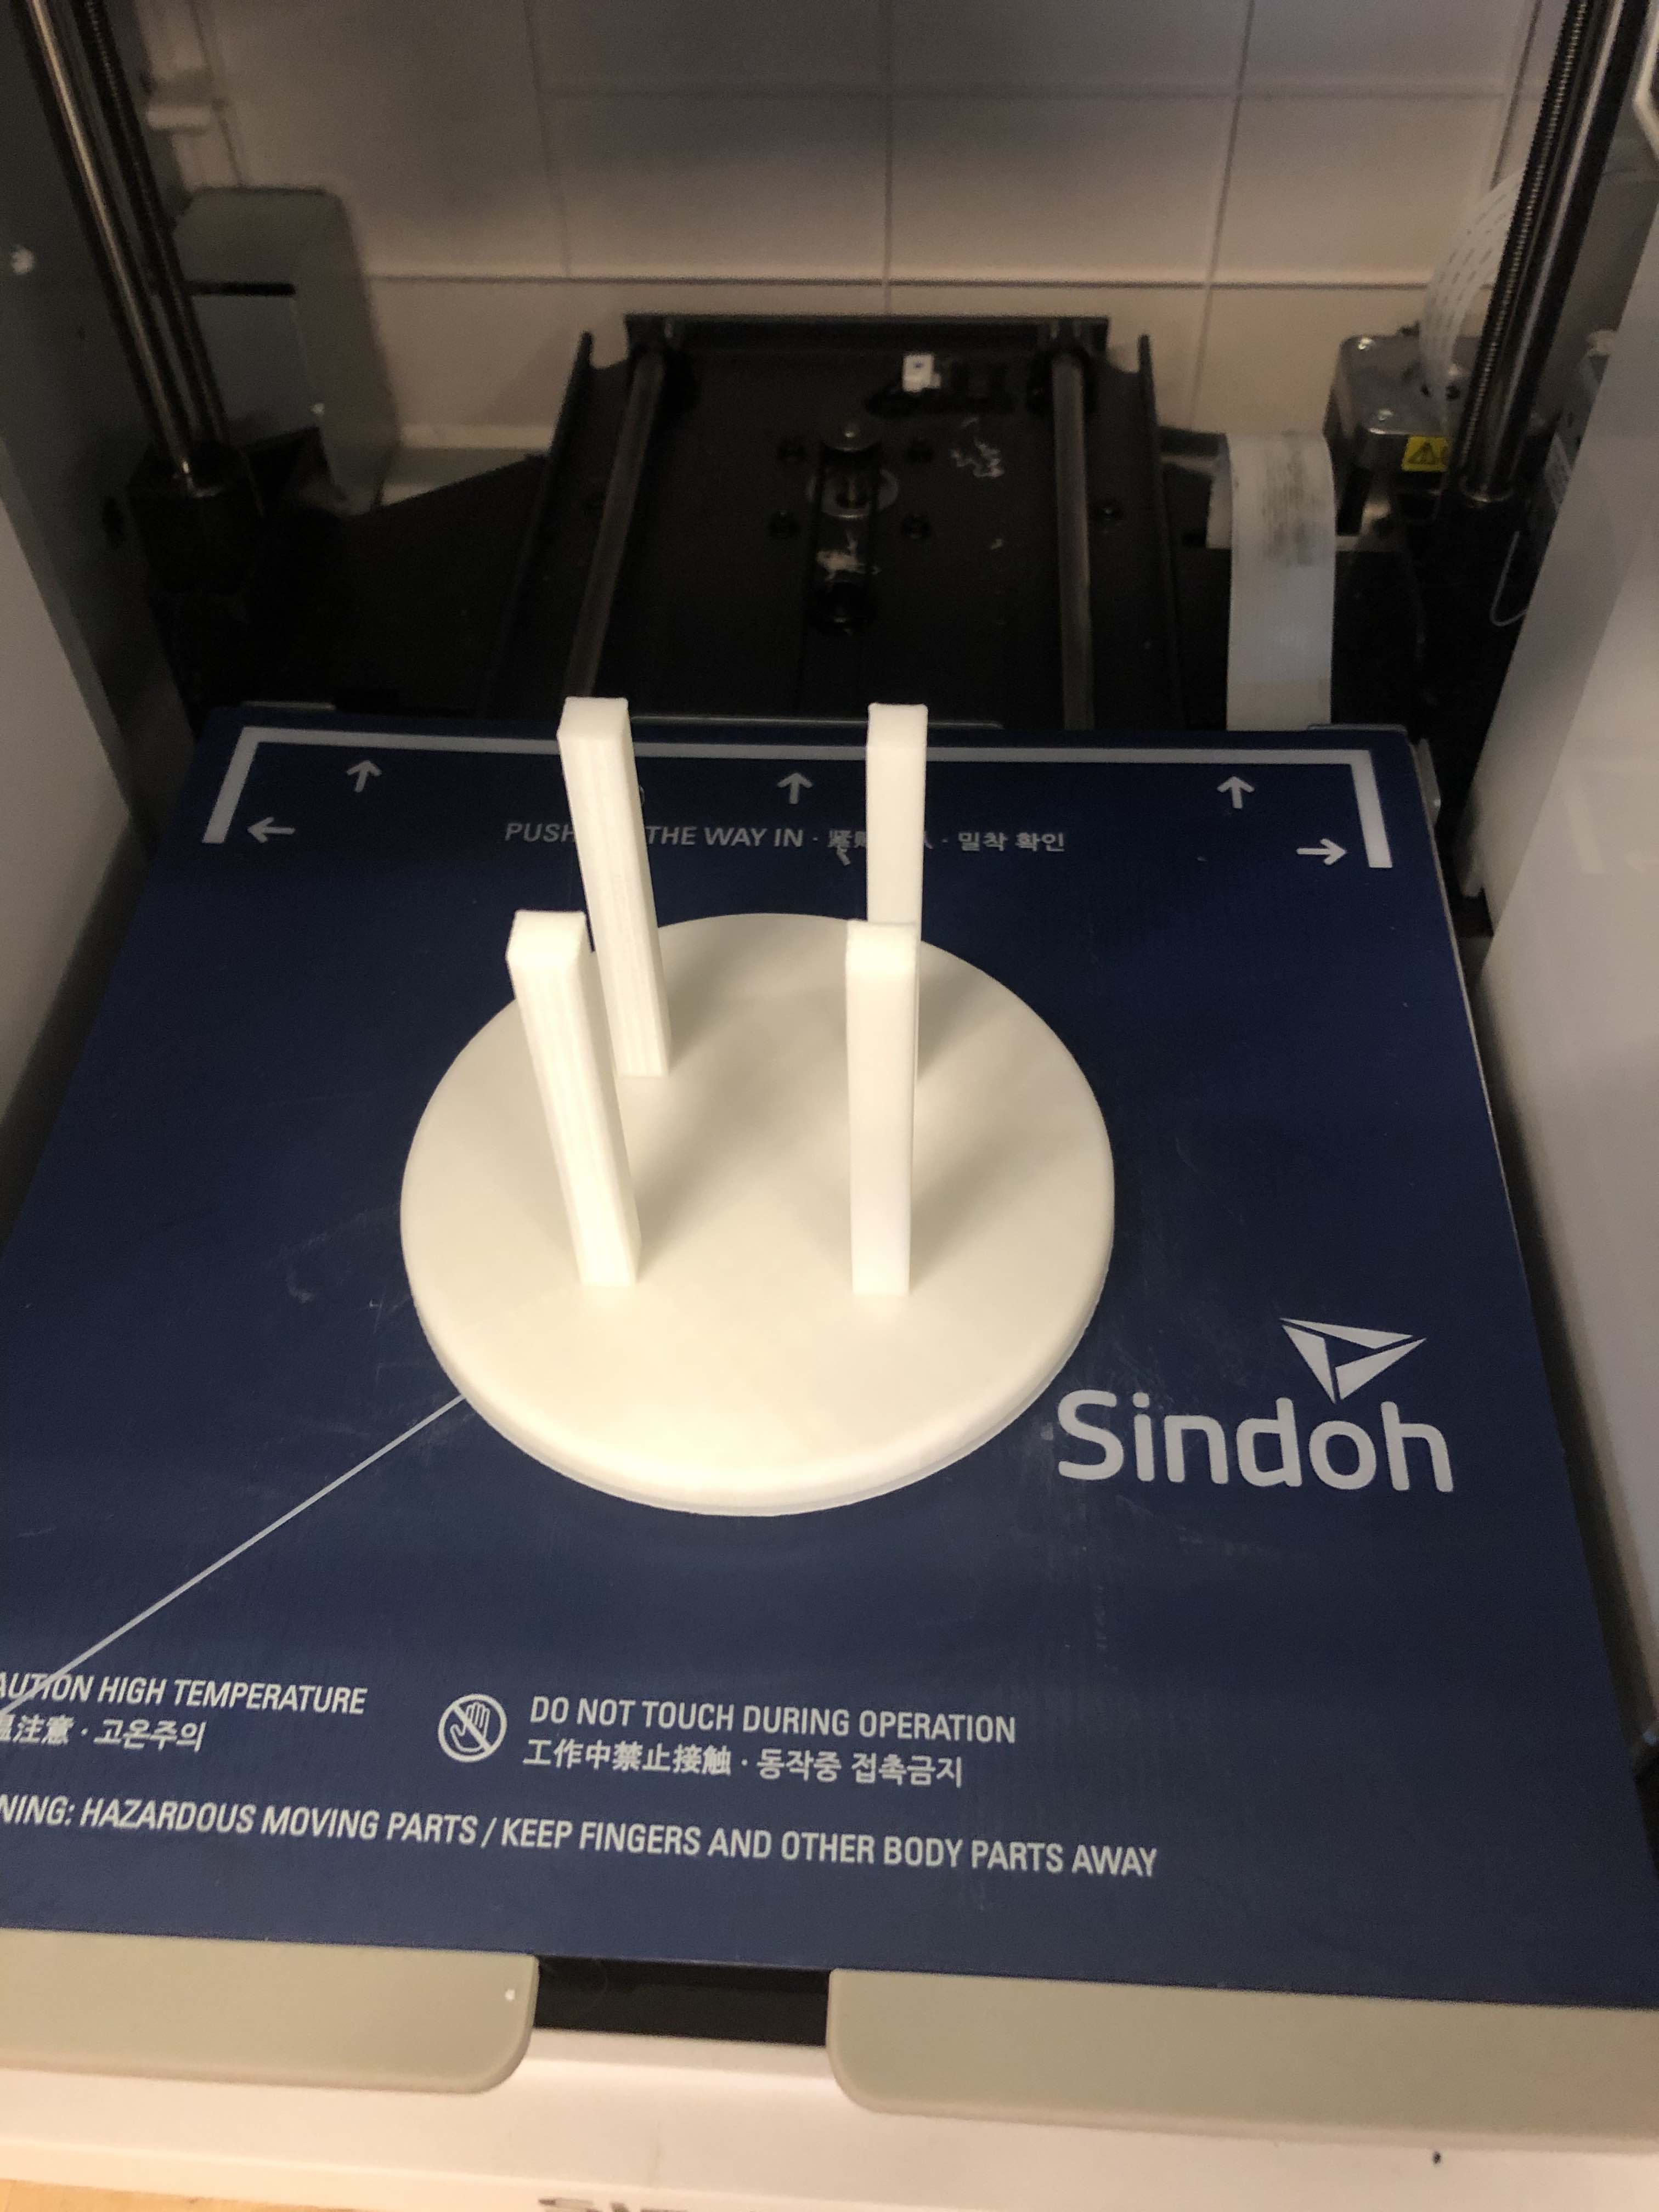
After the print was done, the result was:
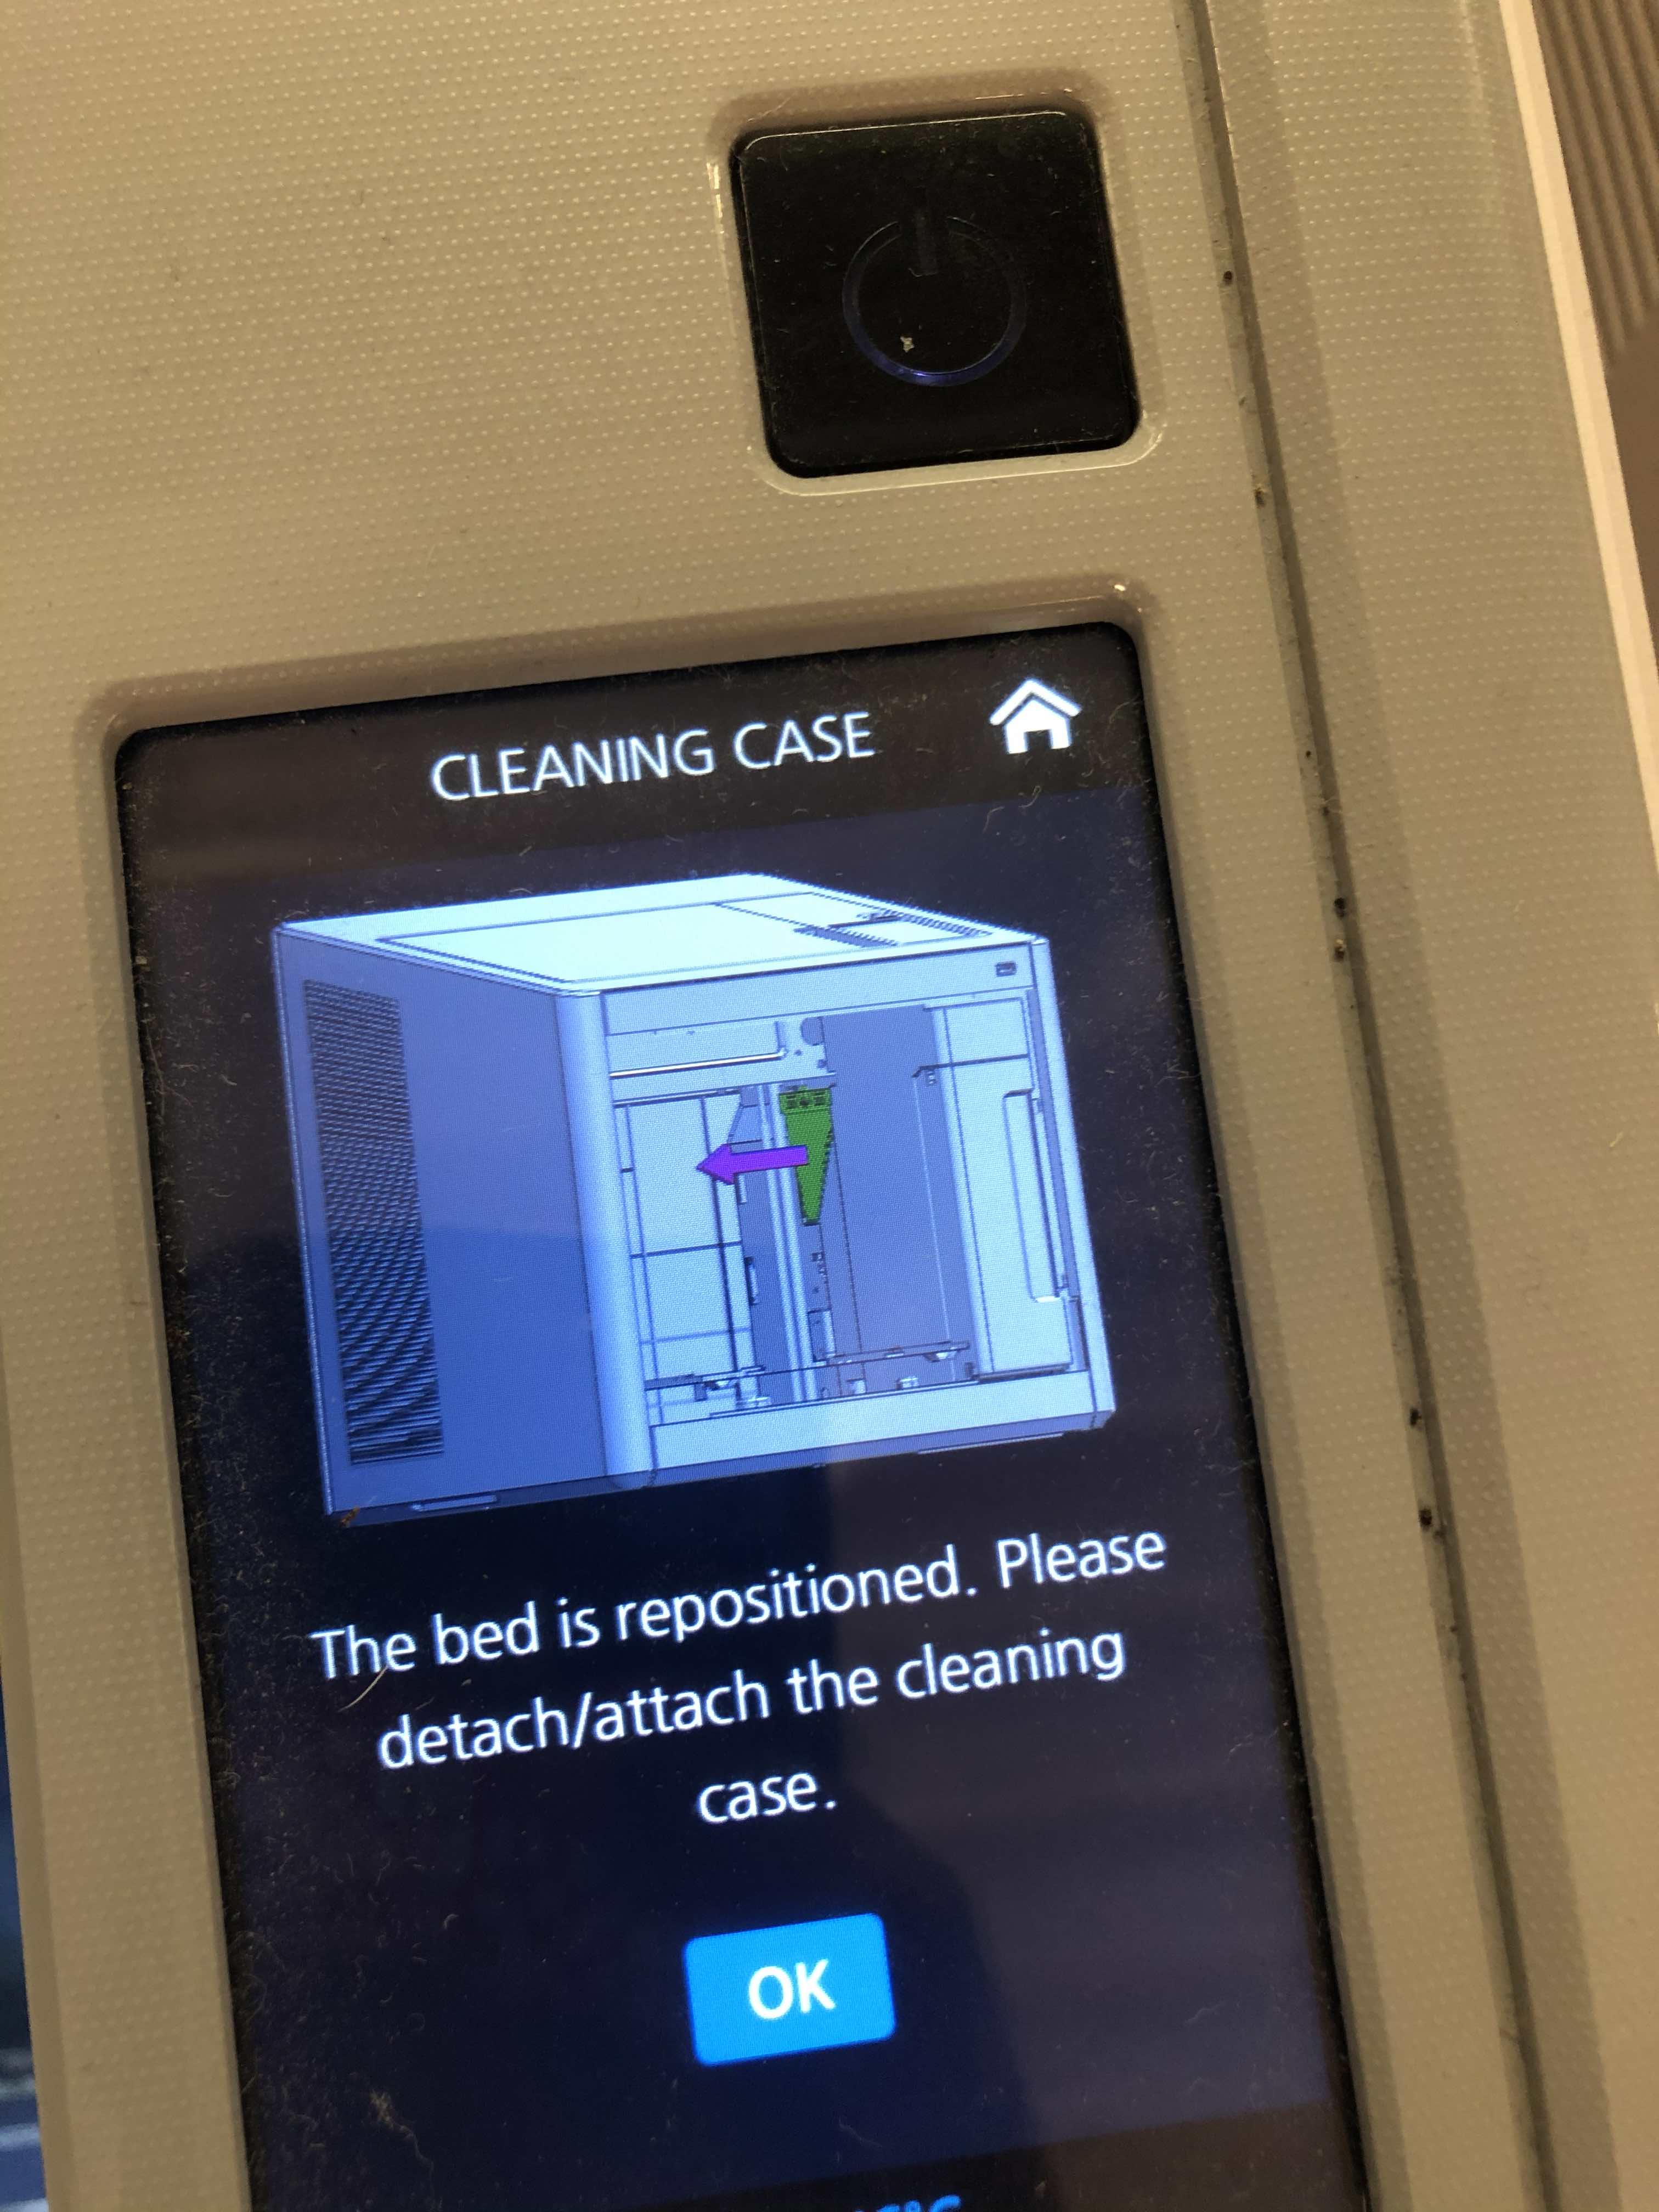
Once the print was done, I needed to clean the 3DWox. The LED display provides an image and text of how to clean the tool.
Working with Formlabs
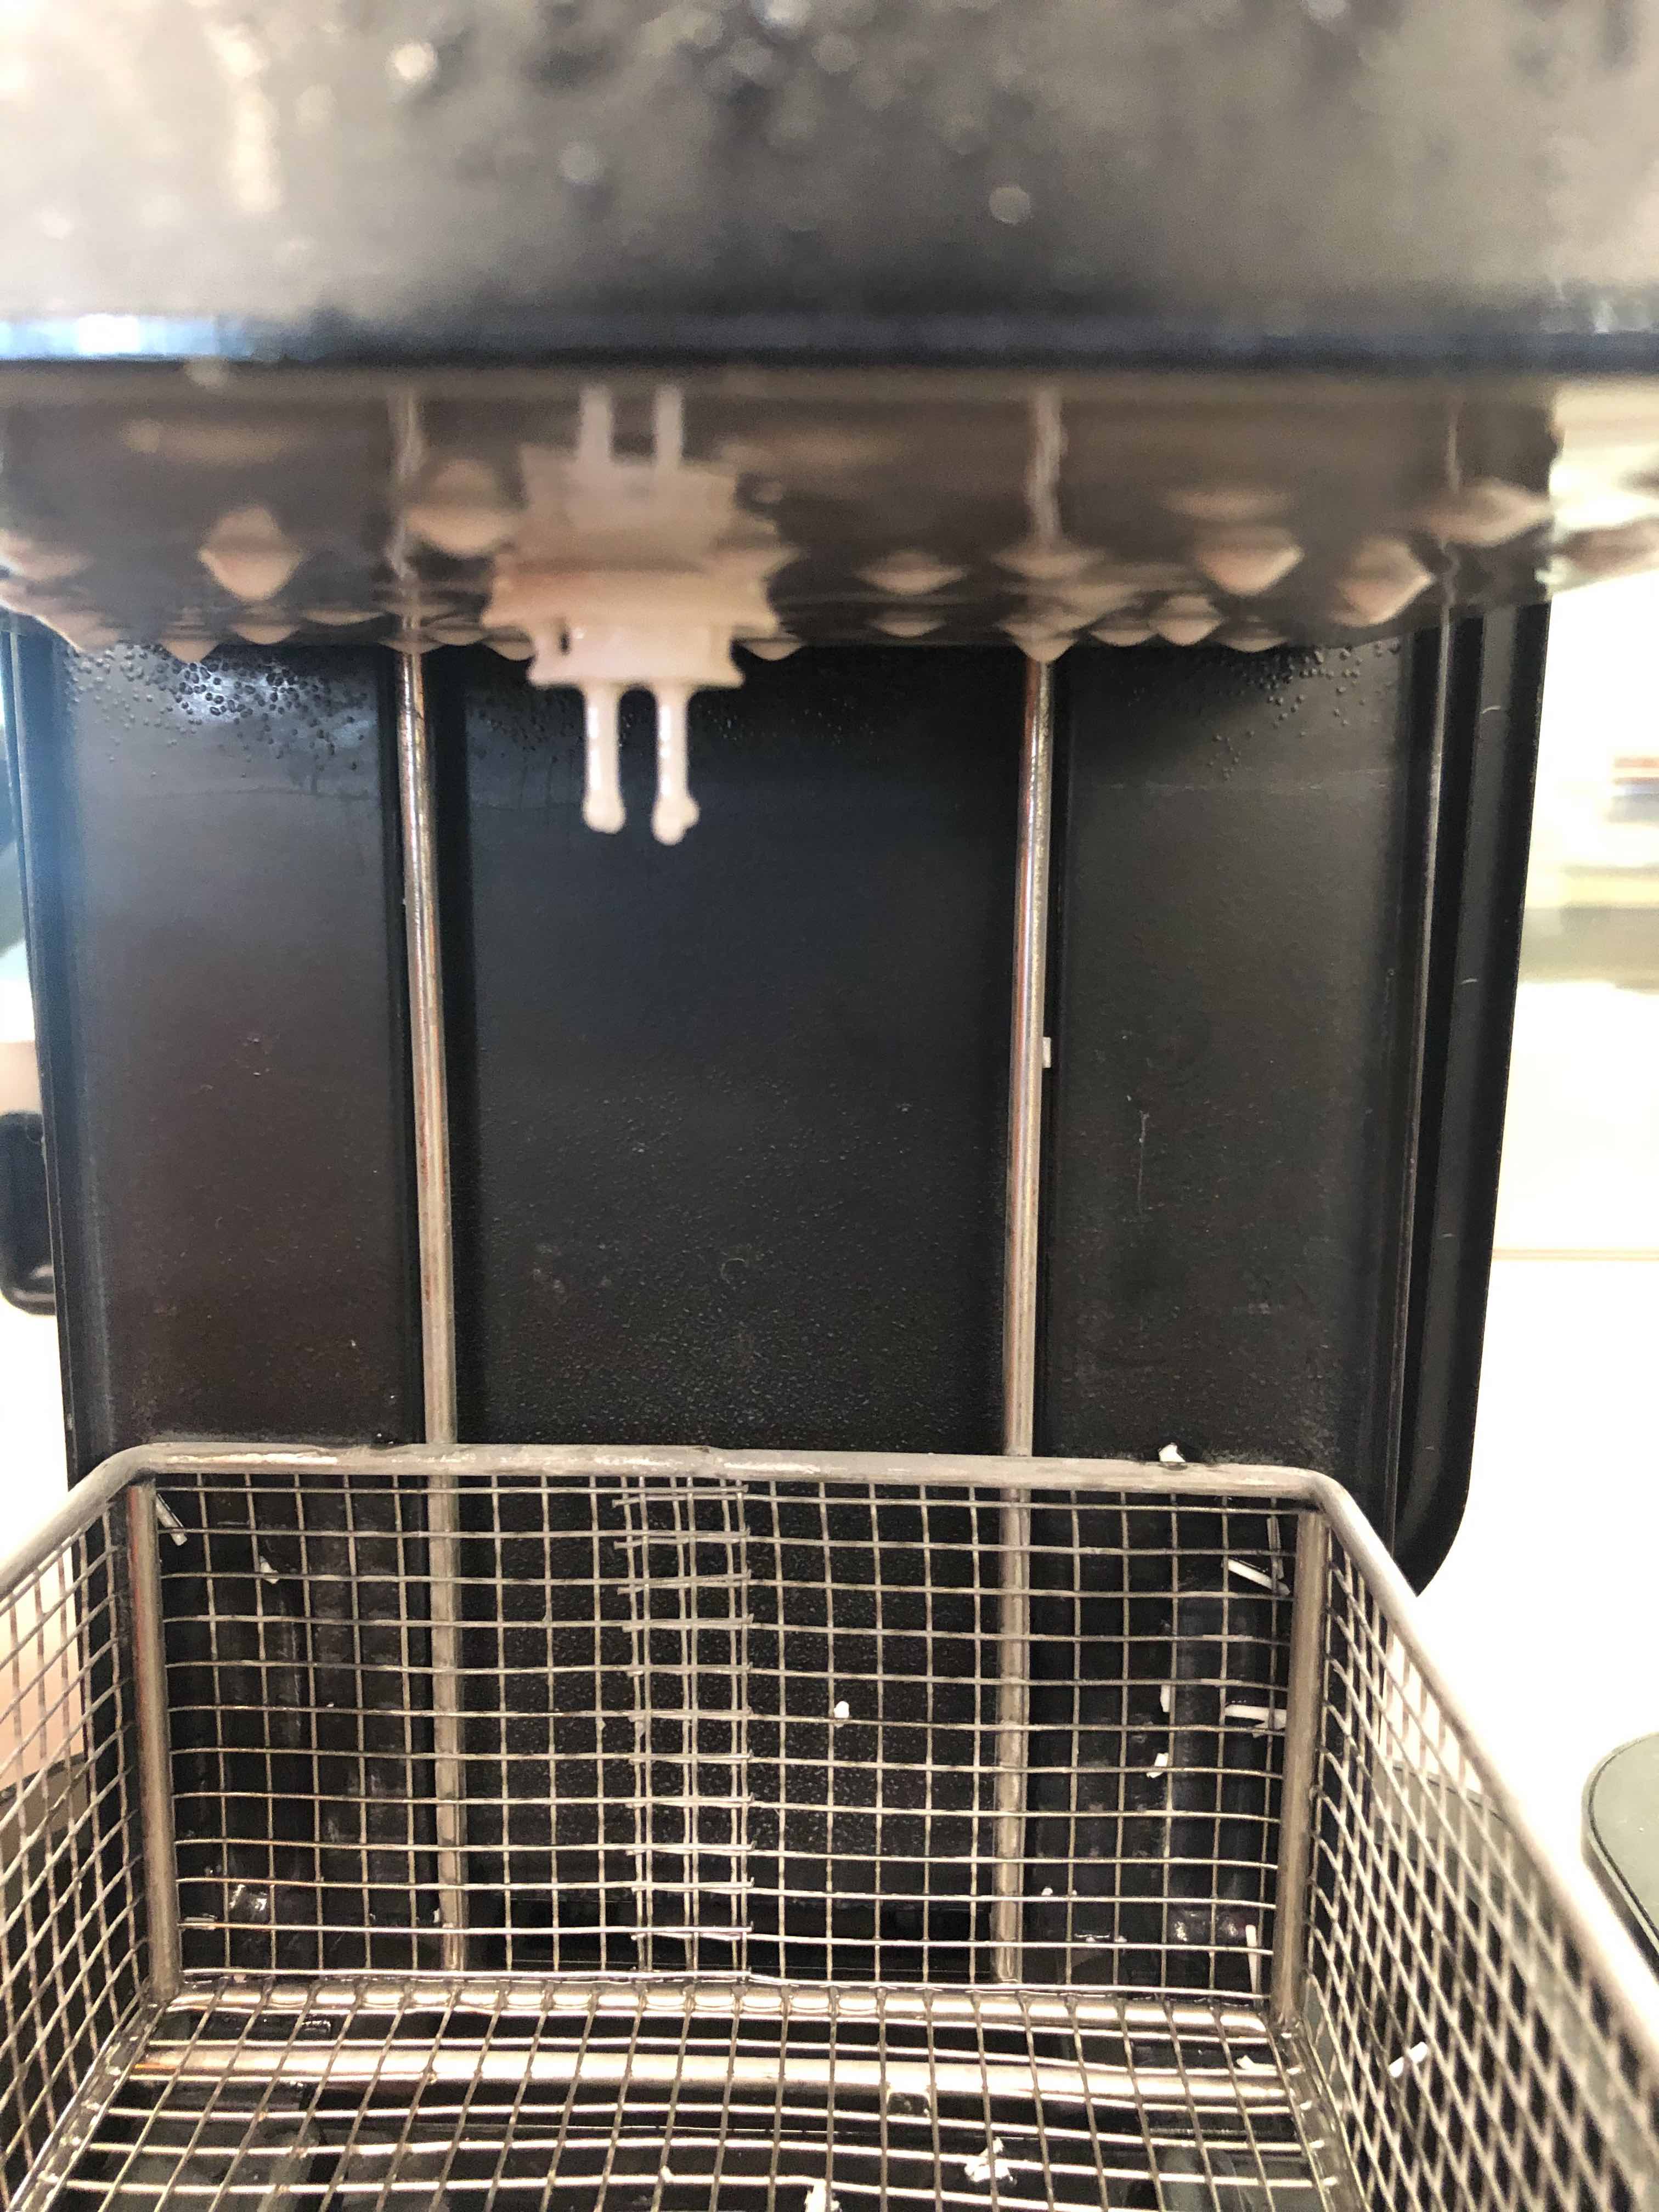
The Formlab was also a simple machine to use and the UI/UX was more intuitive. Similar to the 3DWox, I turned my design upside to build support for the 3D print. Additionally, when working with the Formlab, it is best and recommmended to wear gloves as it can get quite messy.
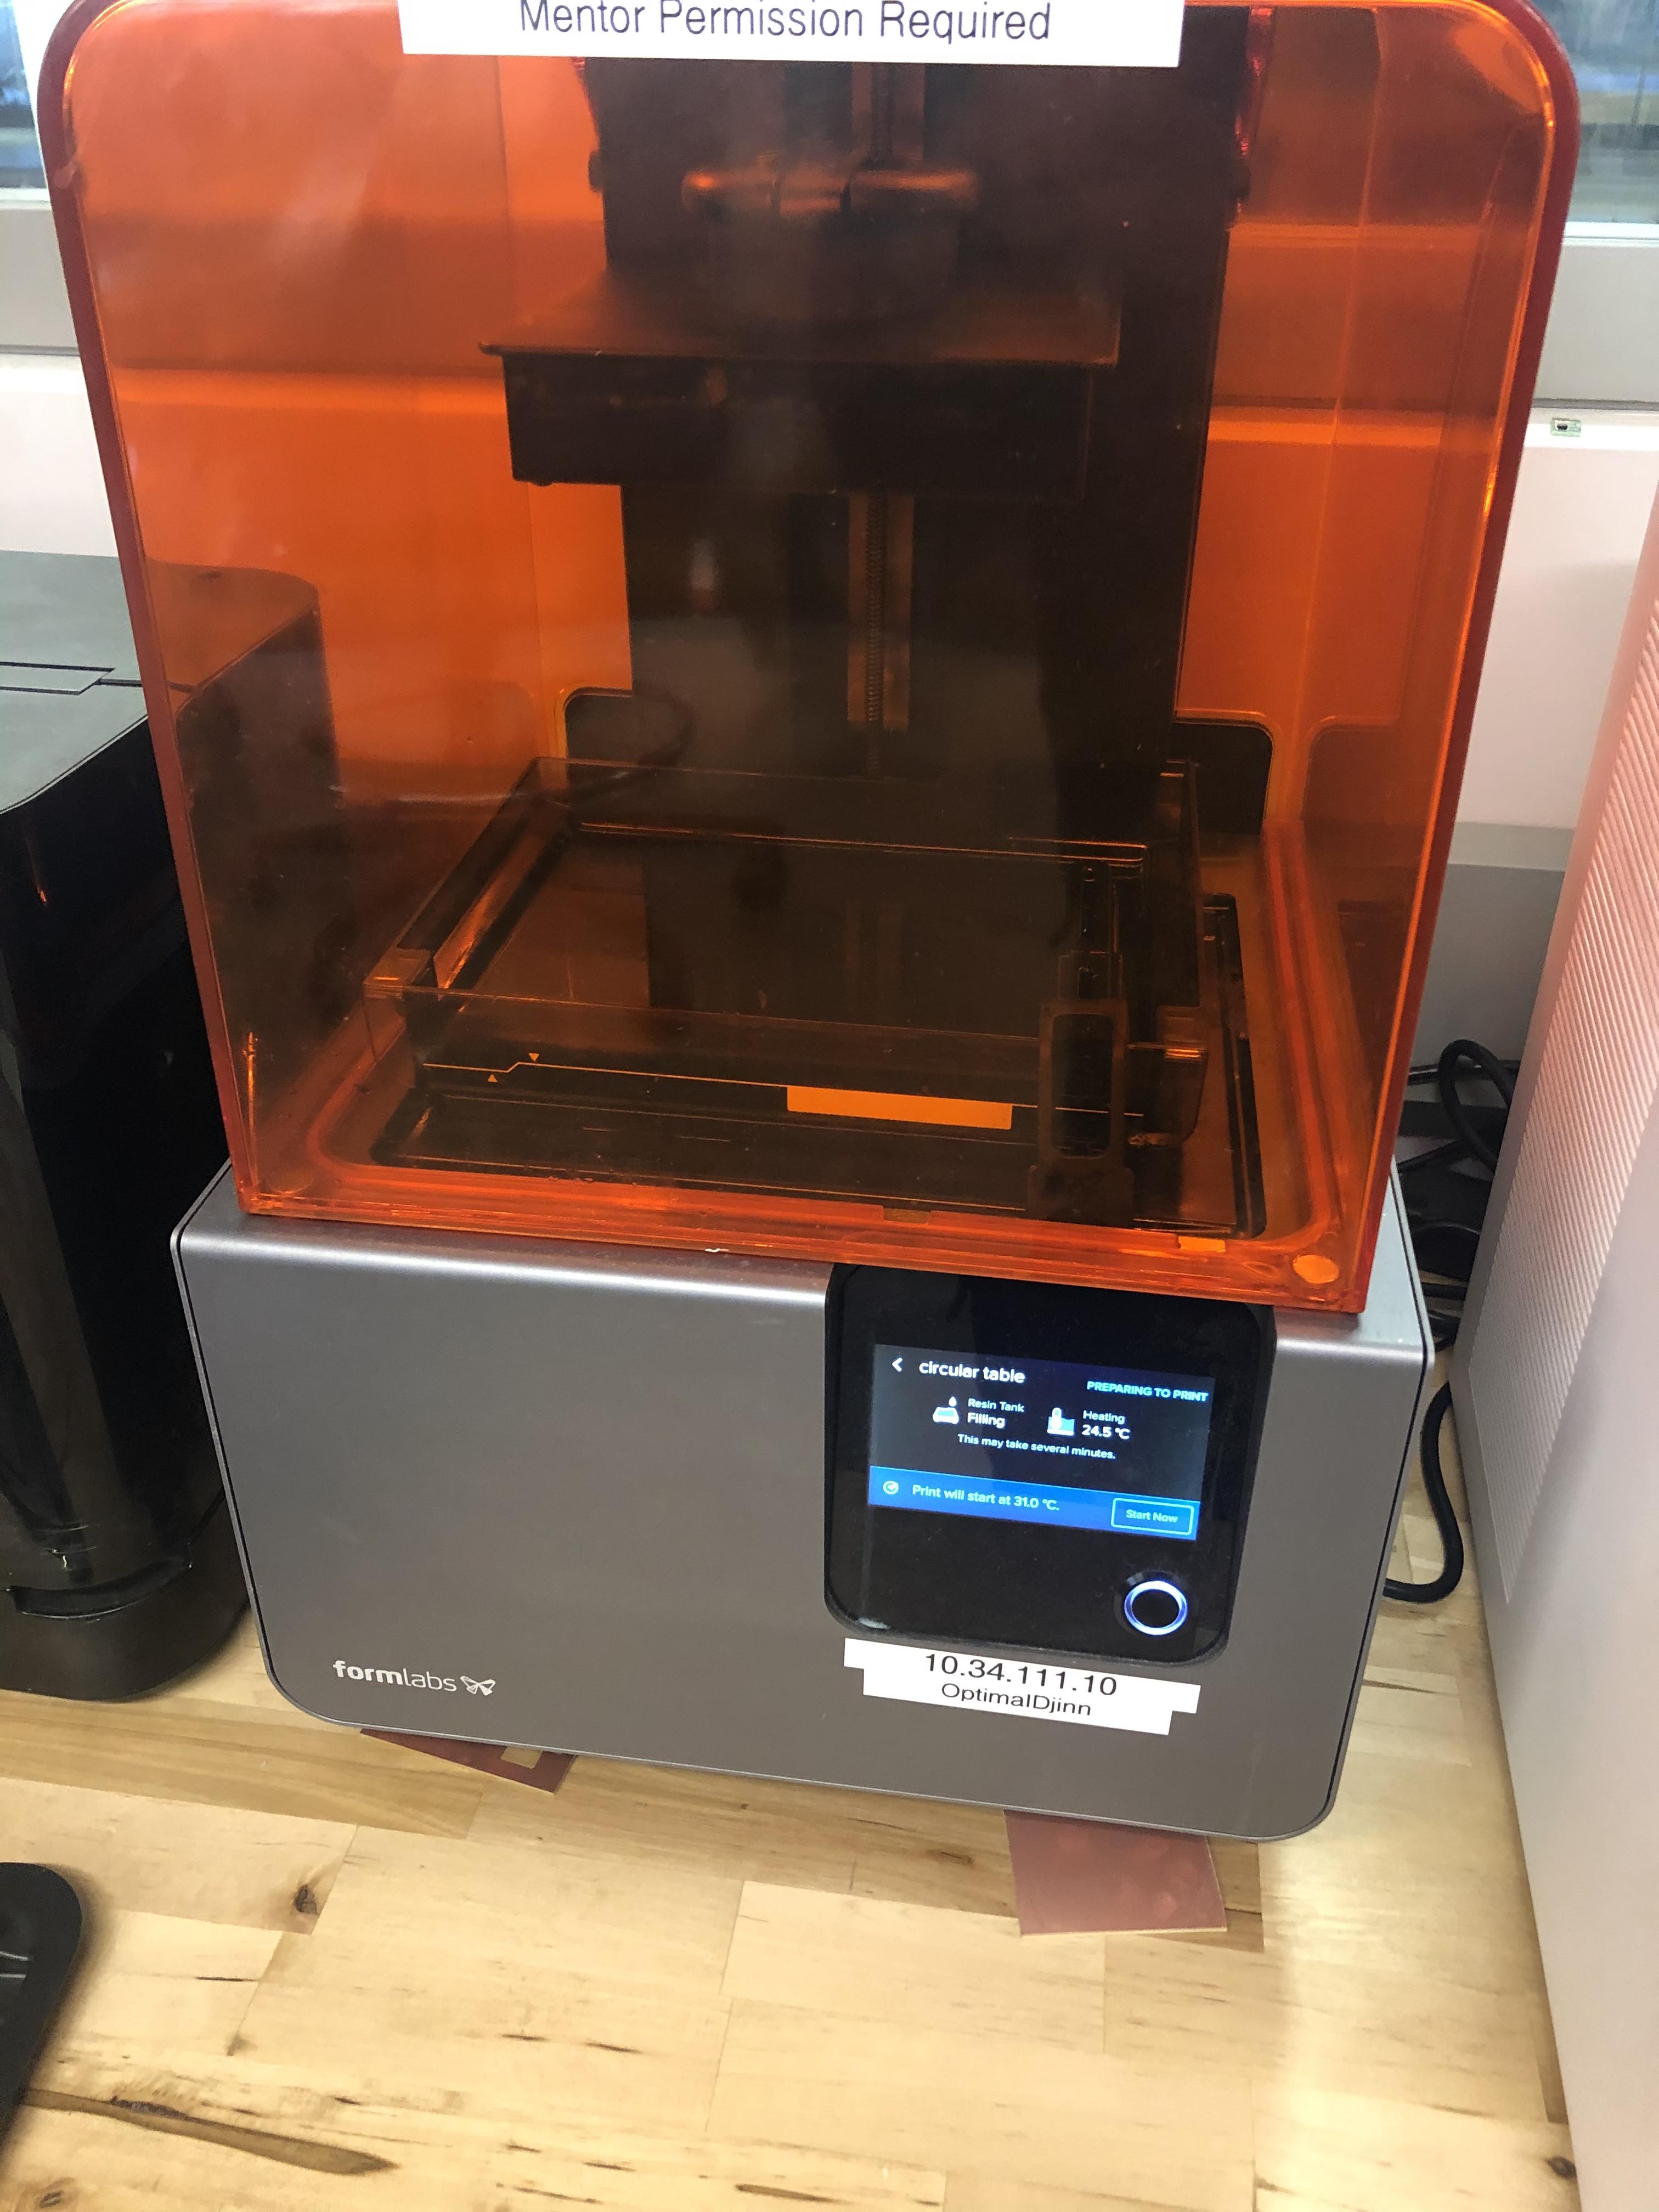
The print satisfied the given time constraint for this assignment. The total print time was 26 minutes.

In order to get my design to meet the time constraints, I needed to scale down my design. I scaled my design to <3m and created an auto-generated support.
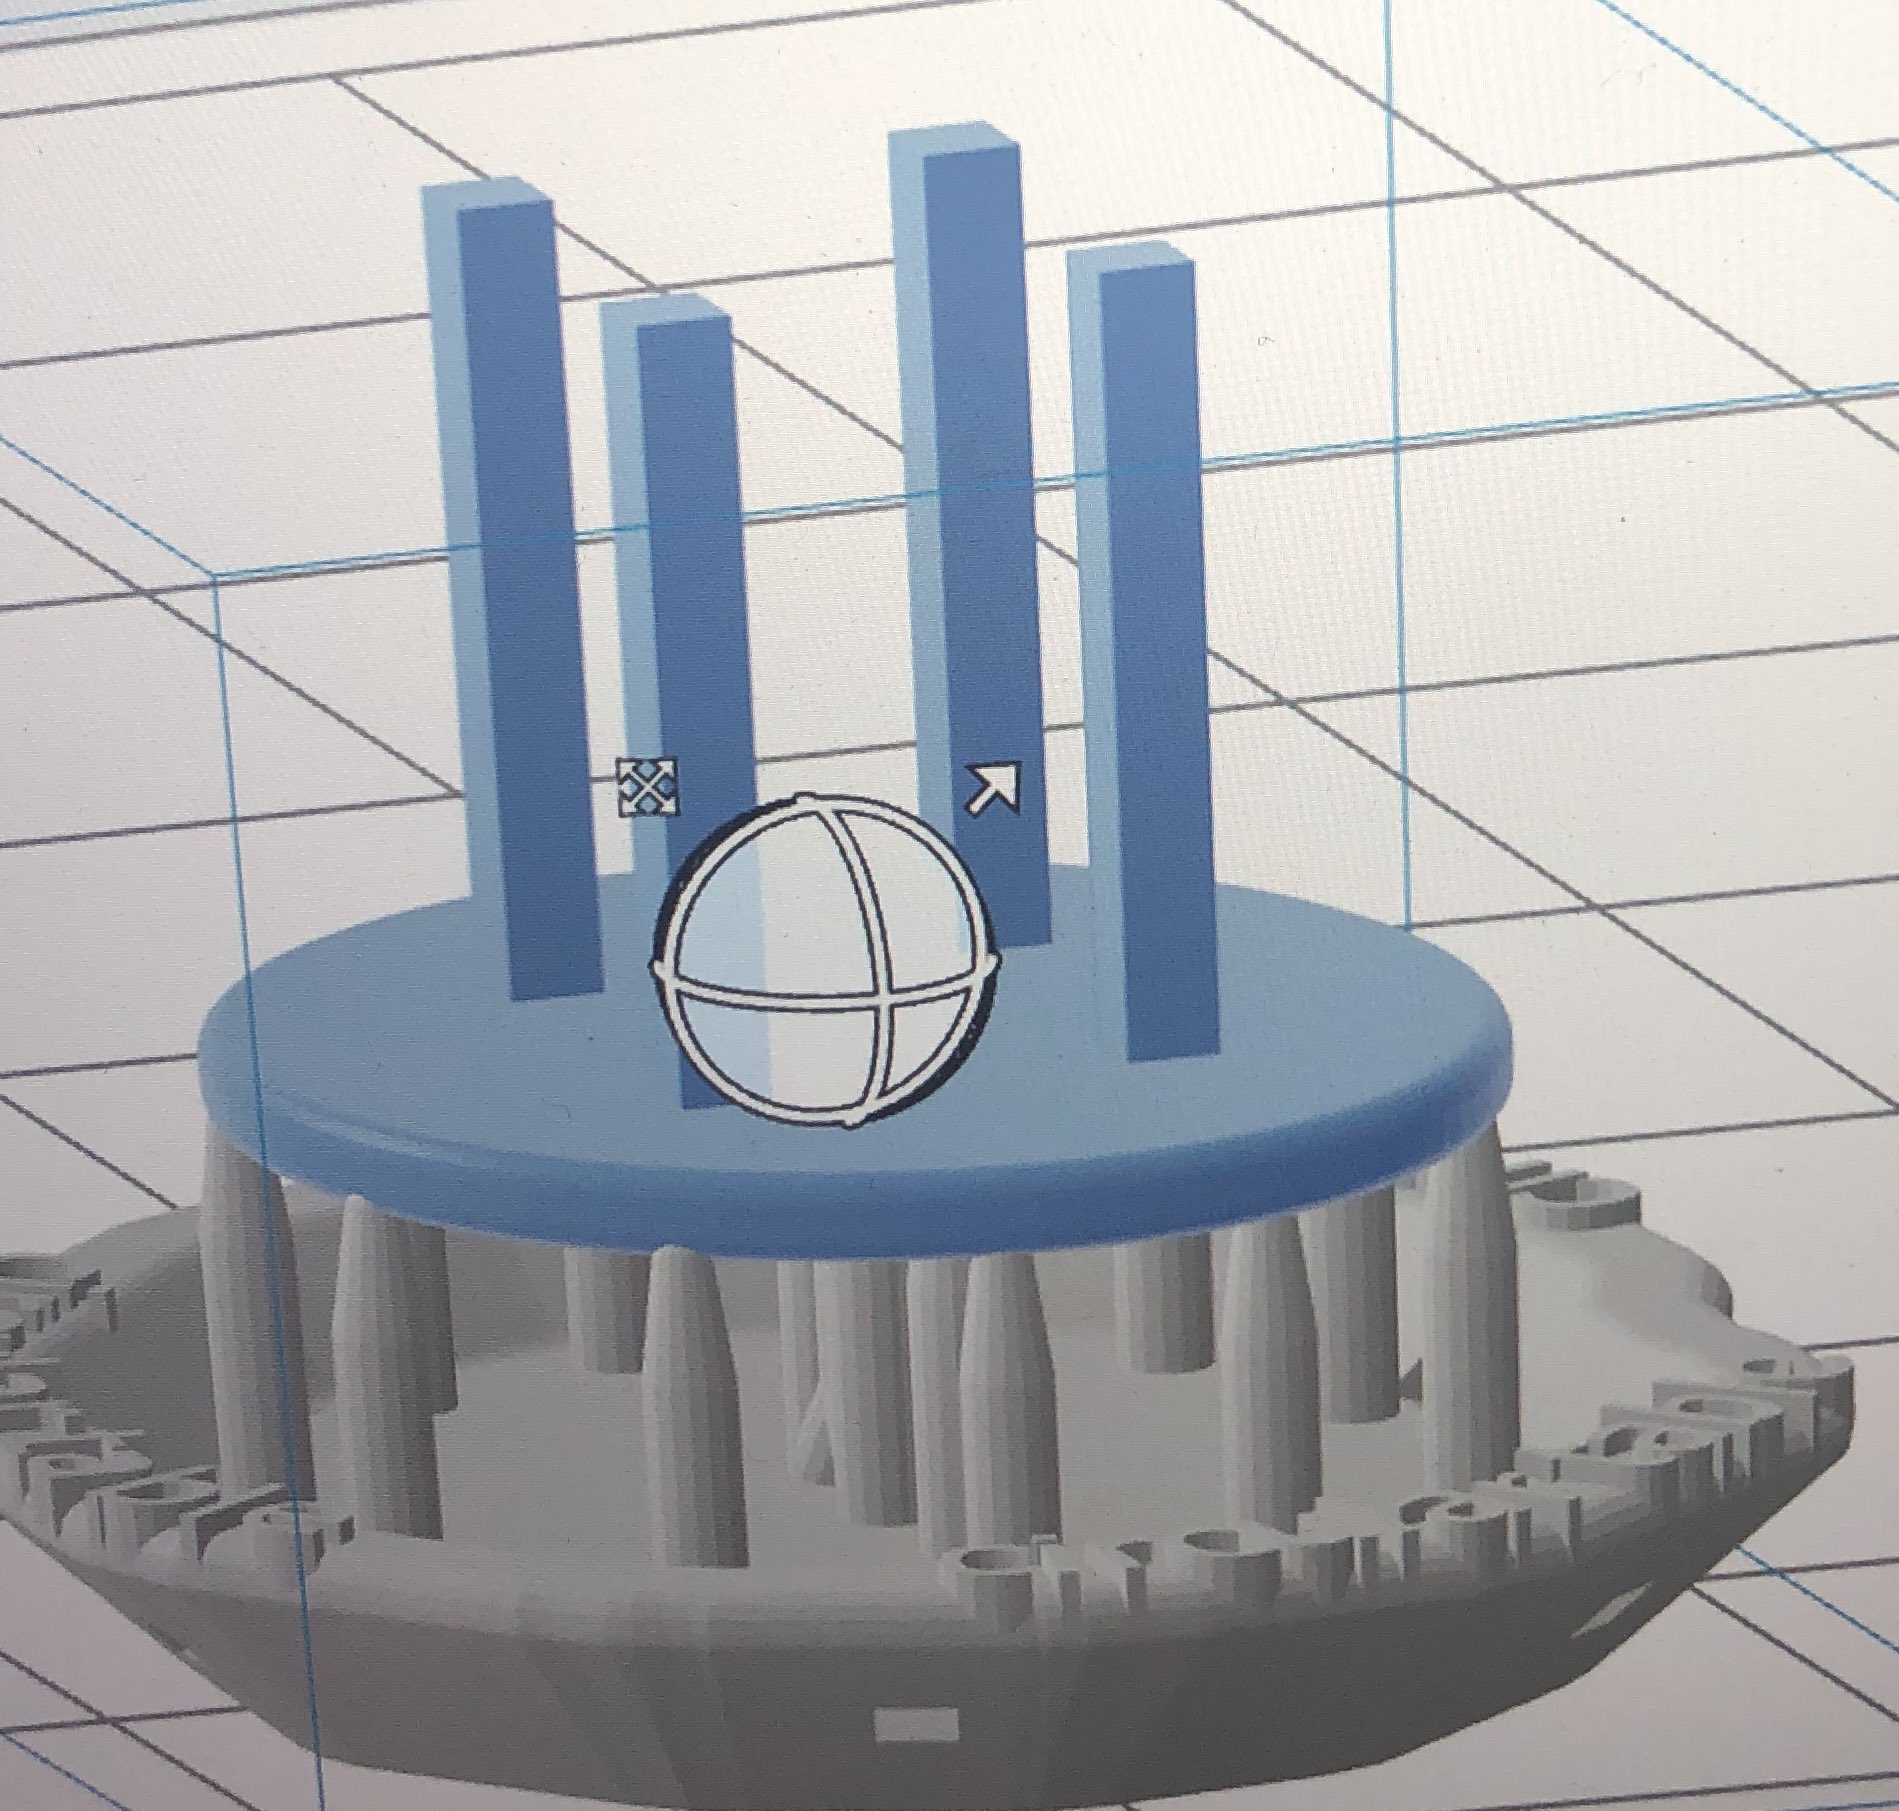
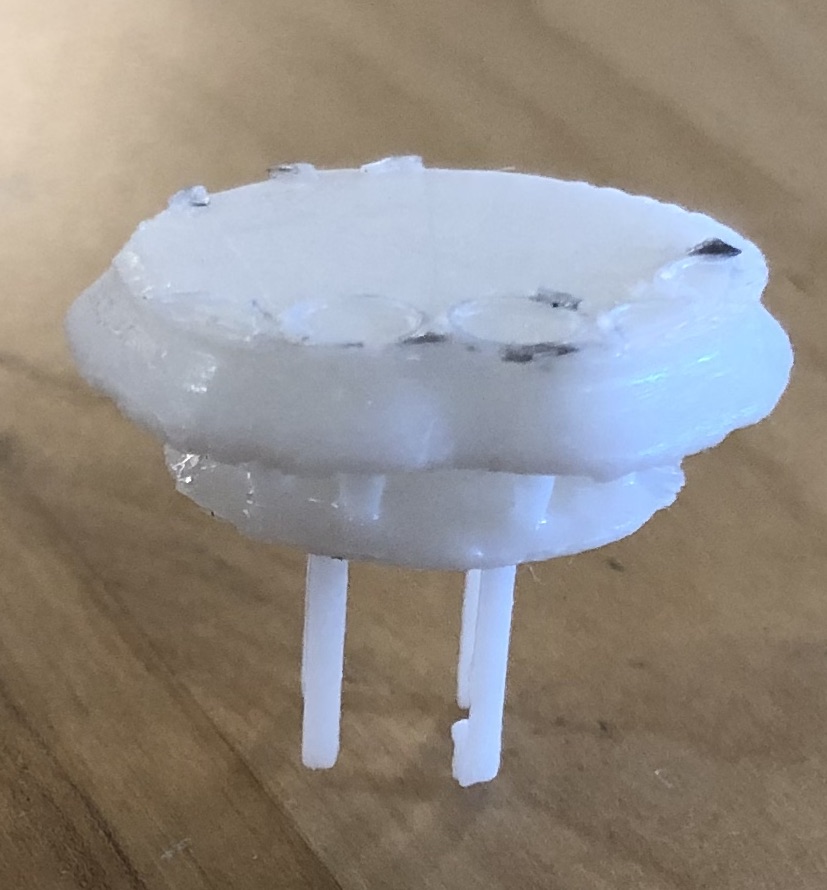
The result of the 3D print did not meet my expectation. My best guess was because it was too small.
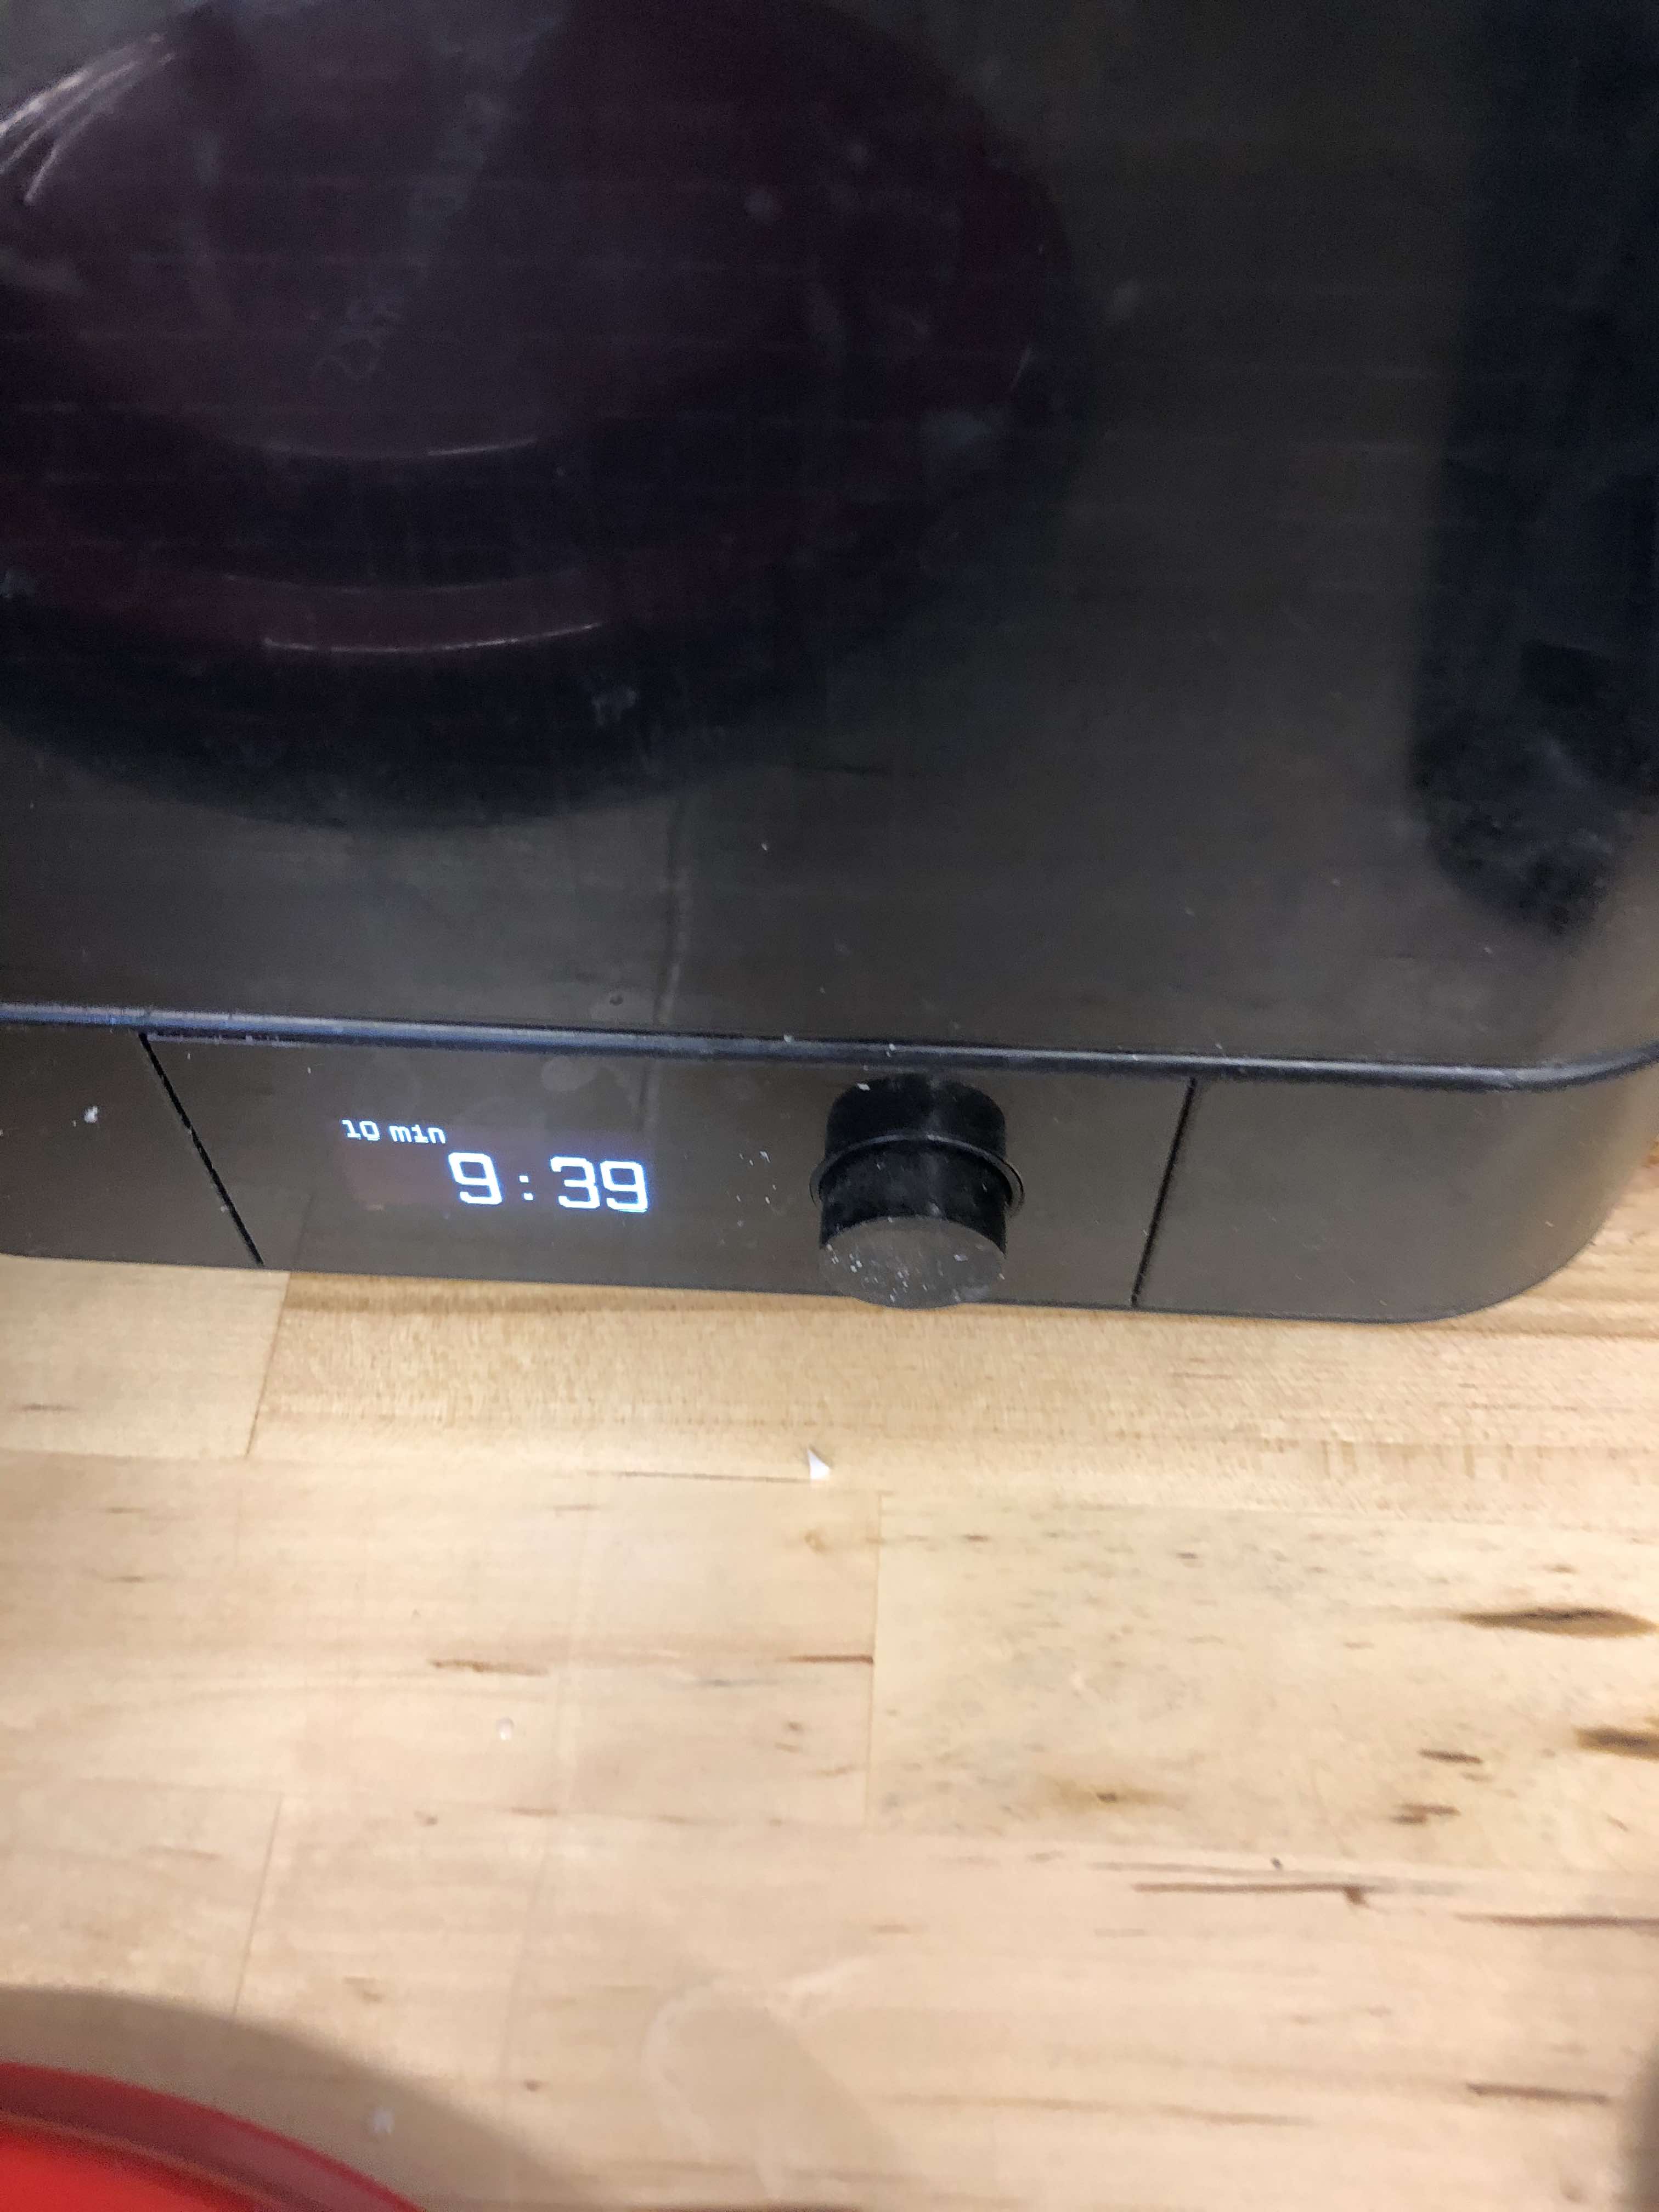
After the 3D print was made on the Formlab, it is recommended you wash it to get ride of any excess liquid. I washed my print for 10 minutes.
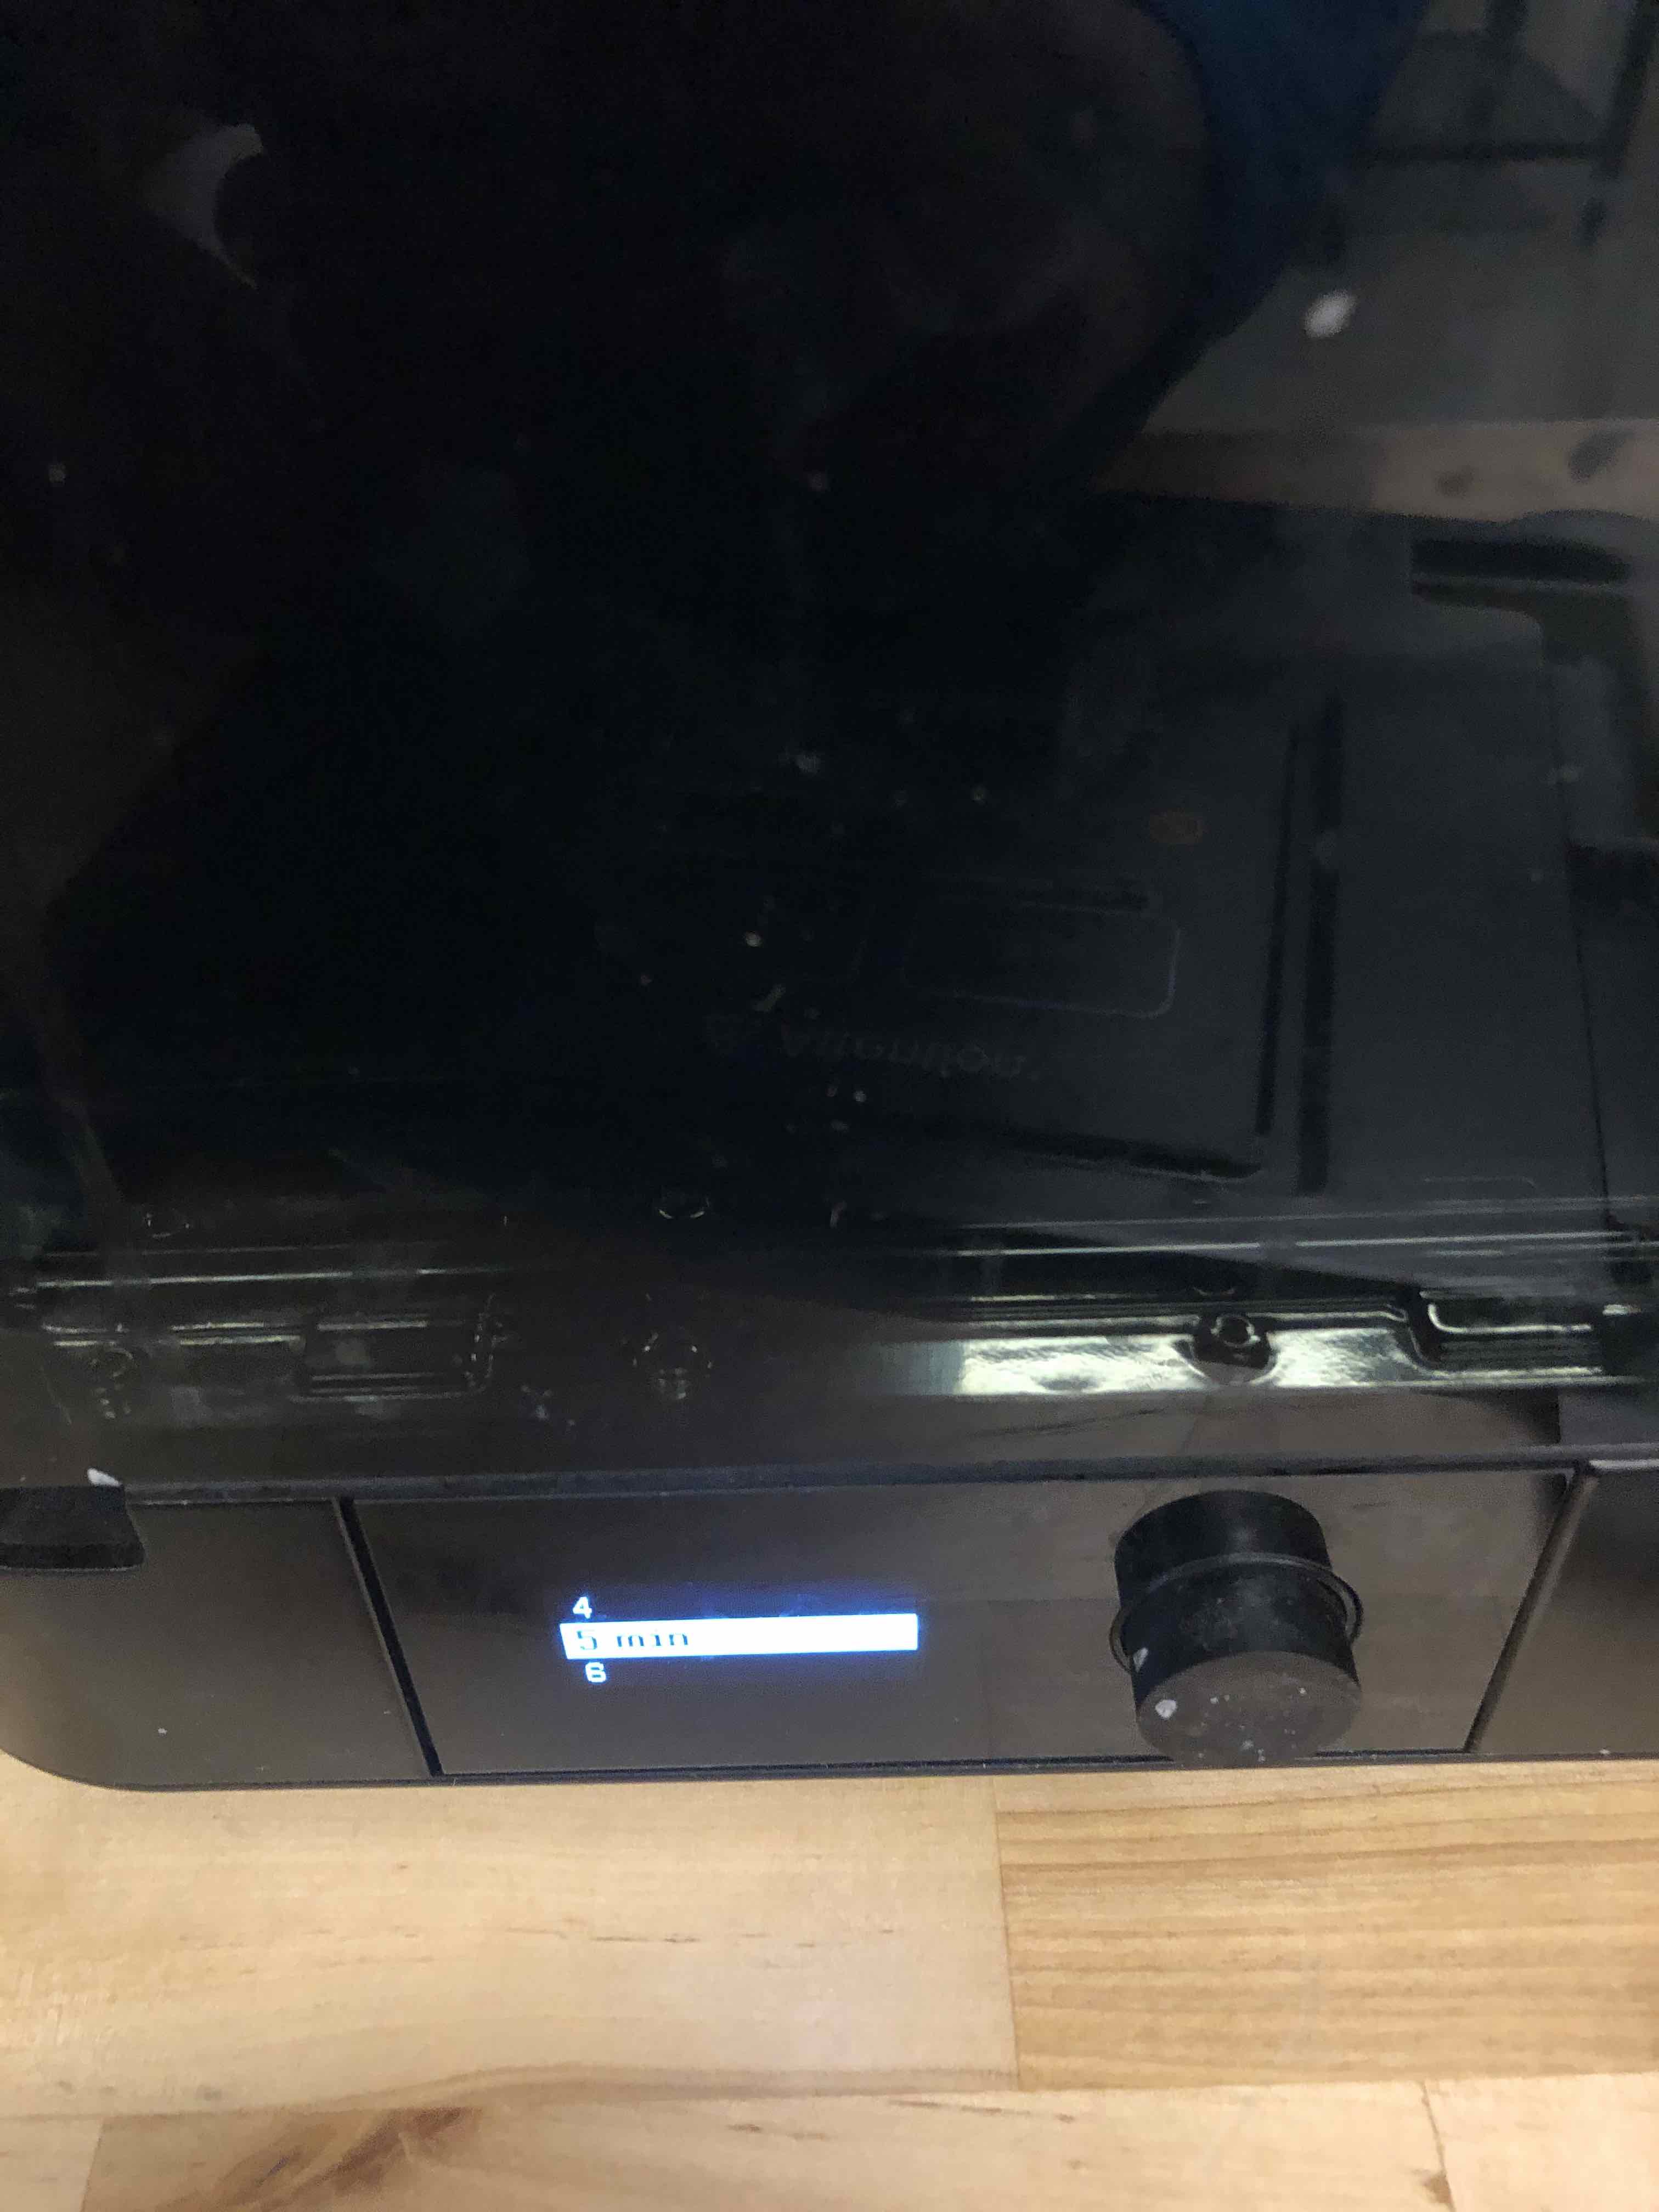
After you wash it, it is recommended you dry it. I dried my for 5 minutes.

Now, my final result was:
Cleaning the Formlab was not difficult to do. A matter of fact, there was little to clean compared to the 3DWox. I just needed to clean the the object that the print was on and, I simply sprayed it with an alcohol-based product and whipped it down.
Designing a 3D Print From My Bitmoji
To meet this week requirement of designing and 3D printing an object that could not be made subractively, I decided to make a keychain made from a Bitmoji.

To start, I followed a tutorial on Youtube called Create a 3D printable Bitmoji! Tinkercad, Inkscape & other free tools.
To start, I would go to pixlr, a cloud-based set of image tools and utilities, including a number of photo editors and a photo sharing service, and uploaded the bitmoji image I would be using to make some edits to the image that I do not want in my 3D print.
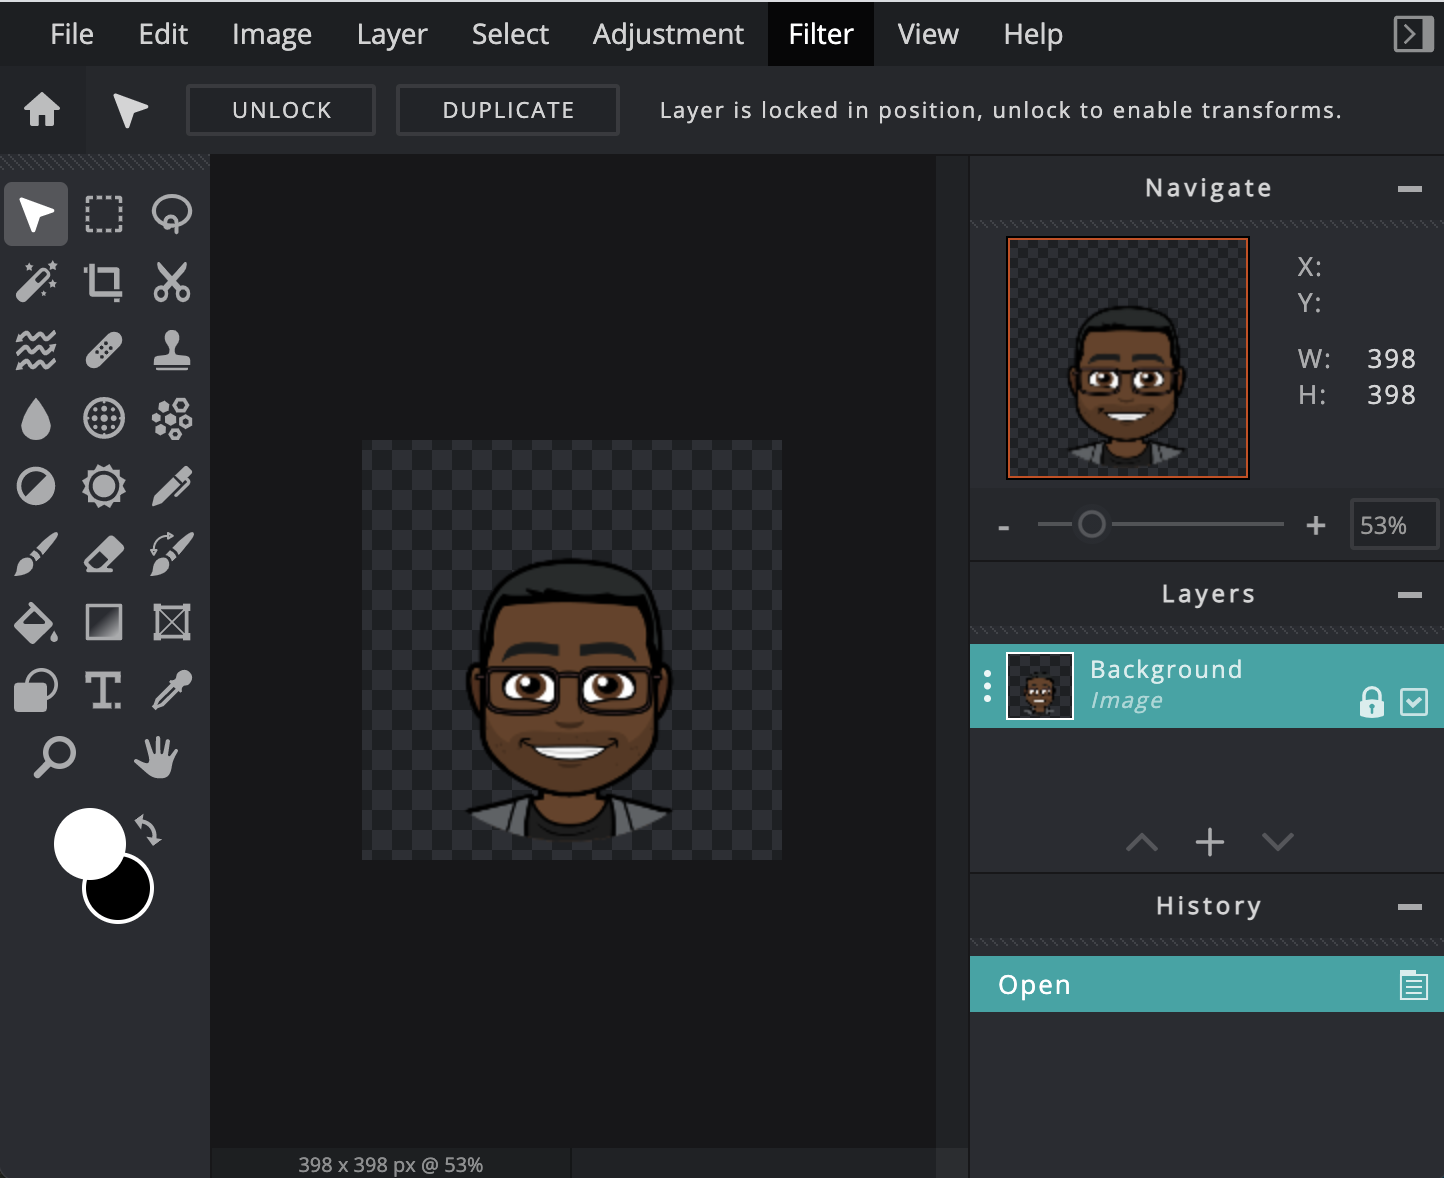
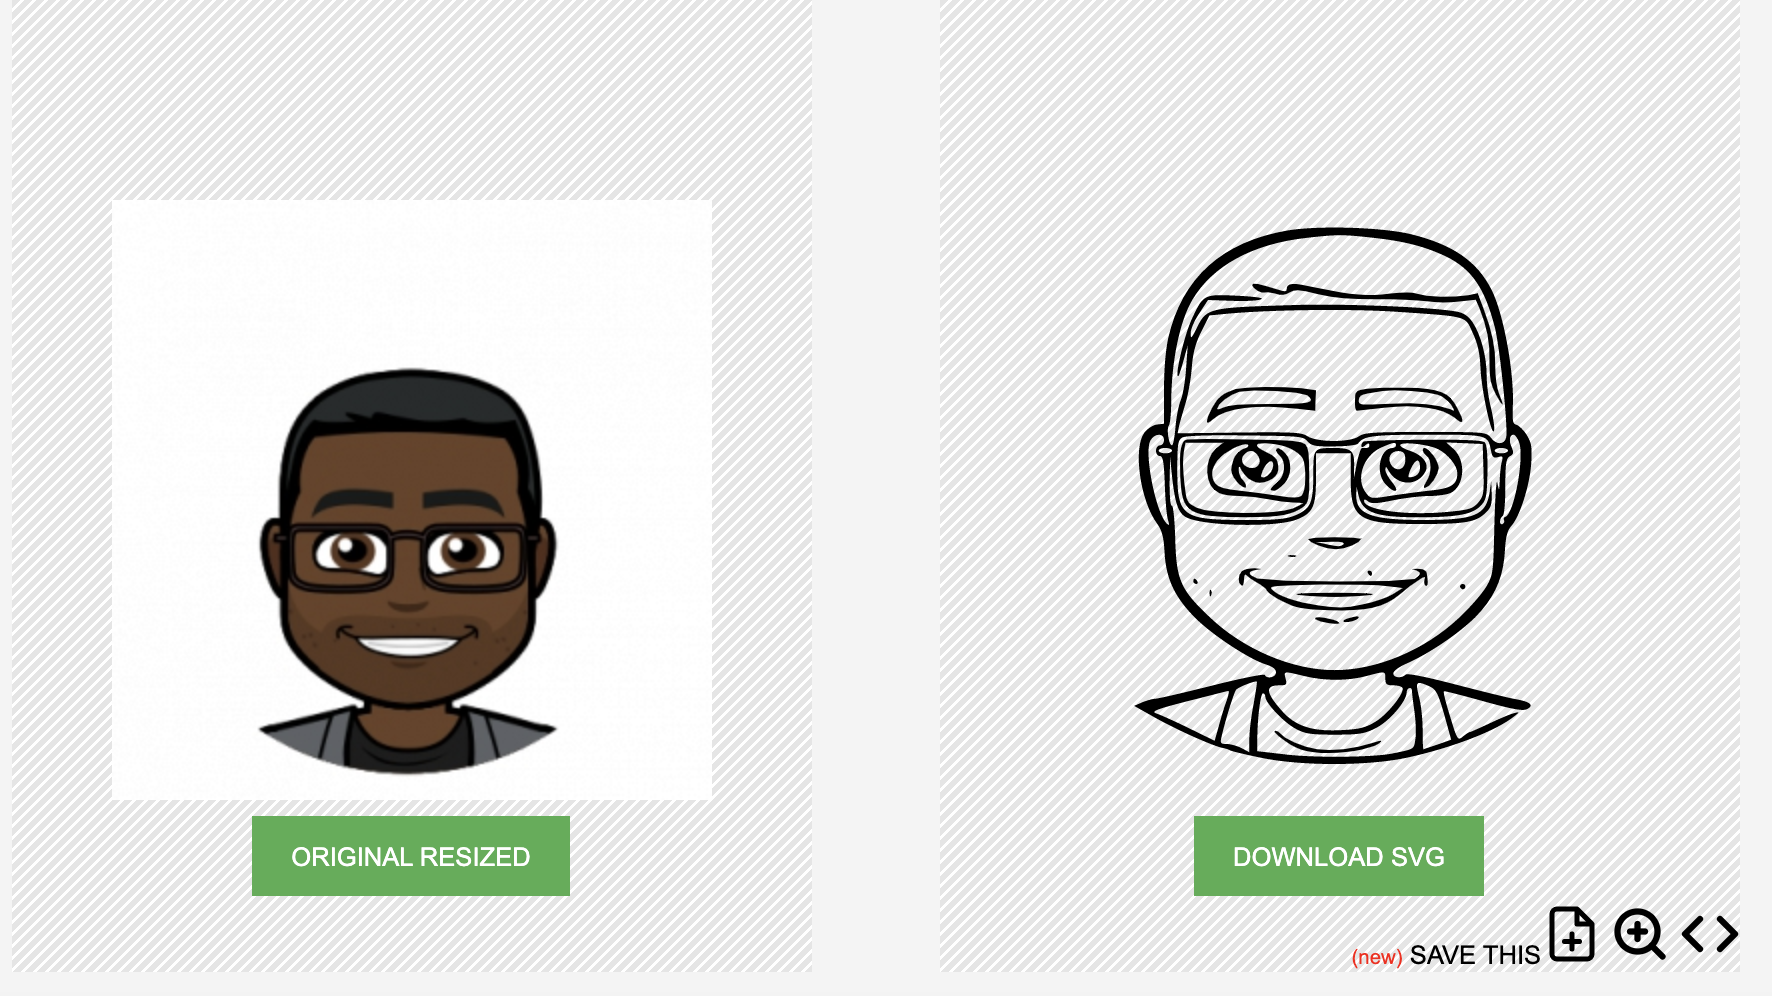
Since I don’t need to make any changes, I can keep my Bitmoji as is. Next I went to picsvg which is a free online converter that can convert an image to a SVG file. I would upload the bitmoji I saved from pixlr, if I made changes to it.
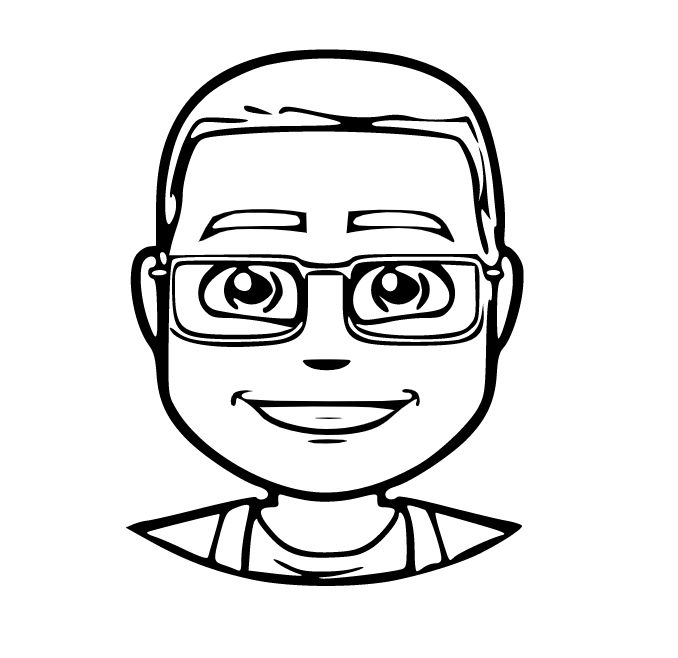
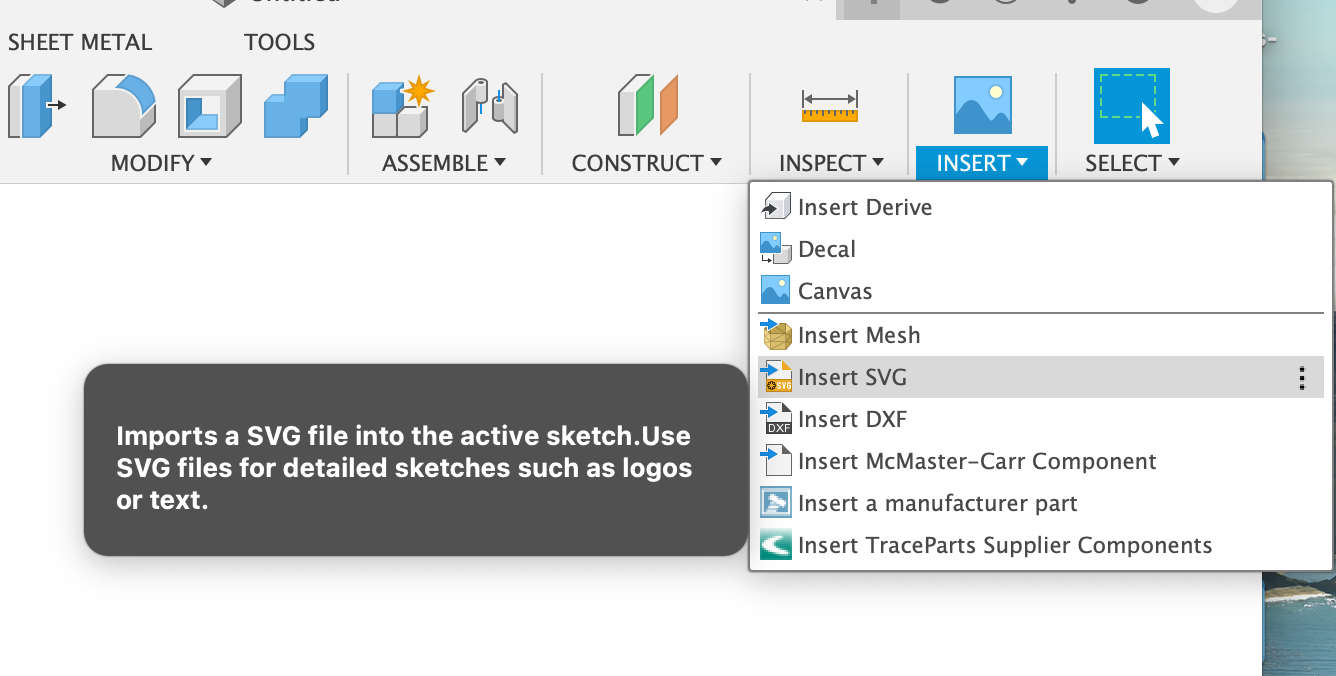
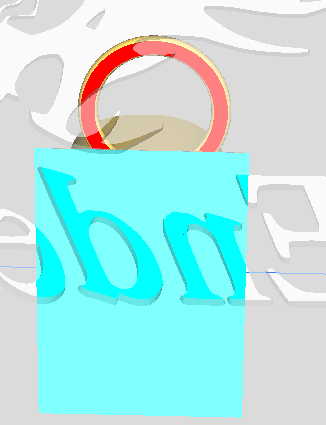
Once I made the conversion, I opened up Fusion 360, created a new design, and imported my image onto it.
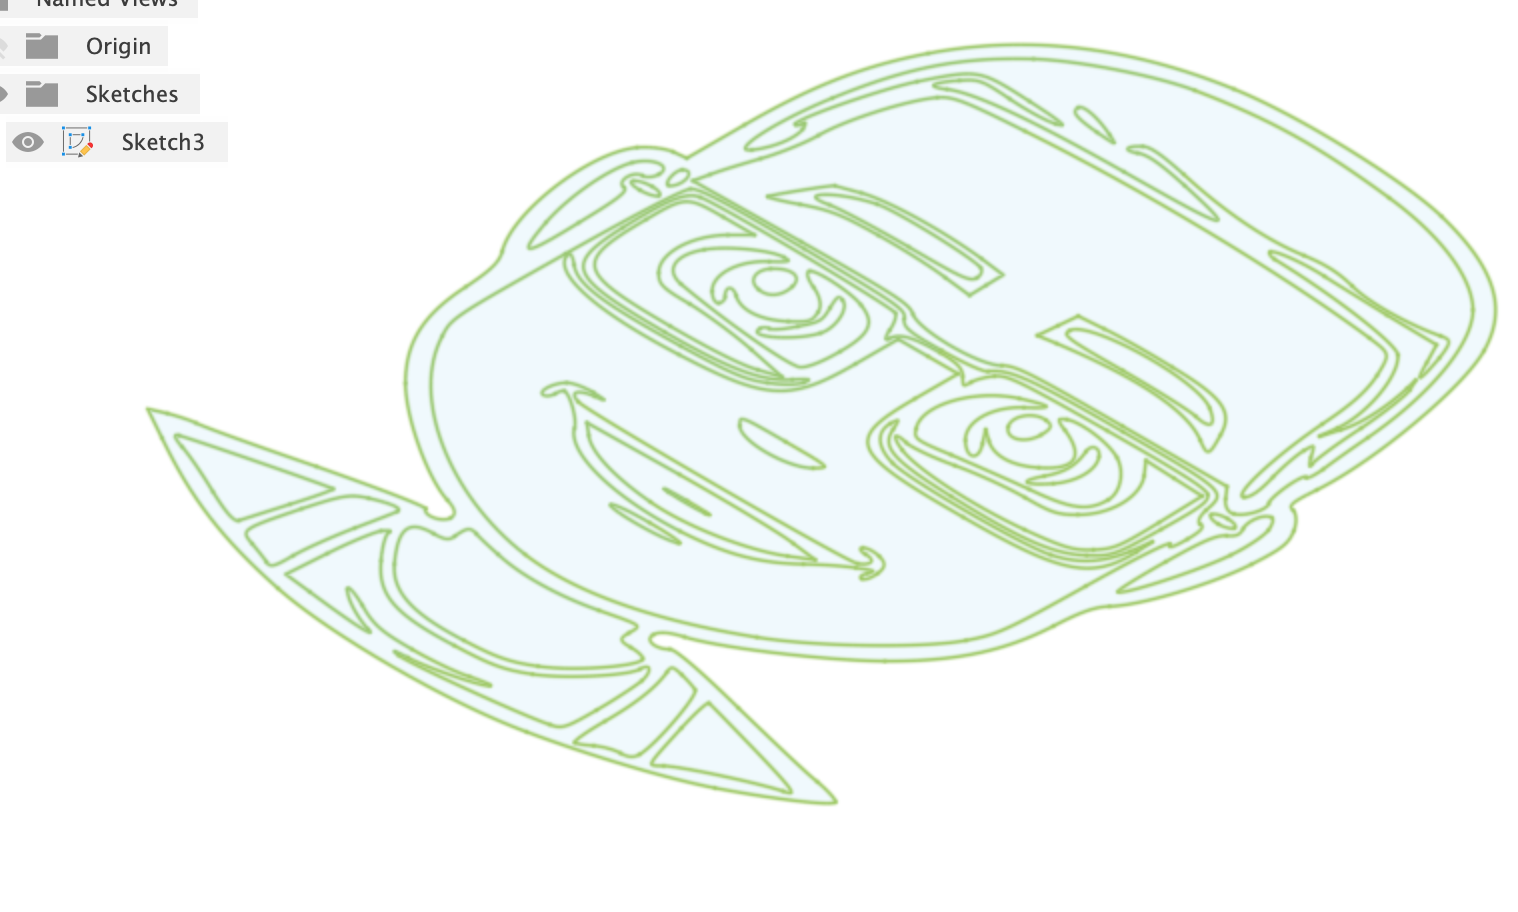
Once I imported the svg, I extruded the svg to 1 inch.
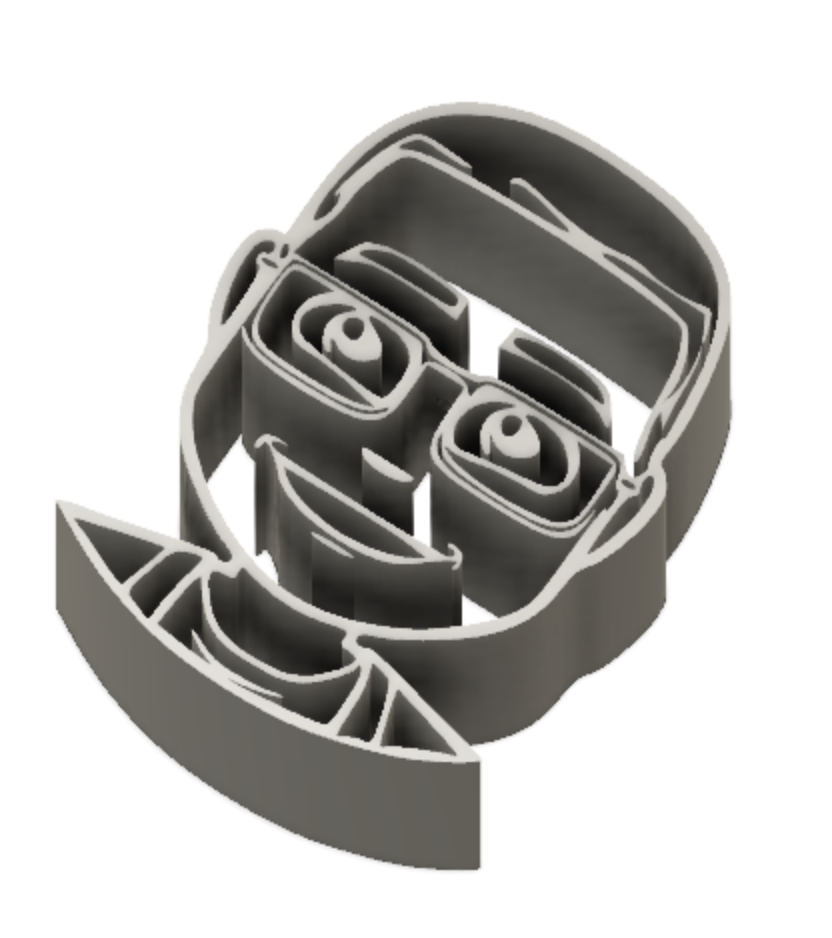
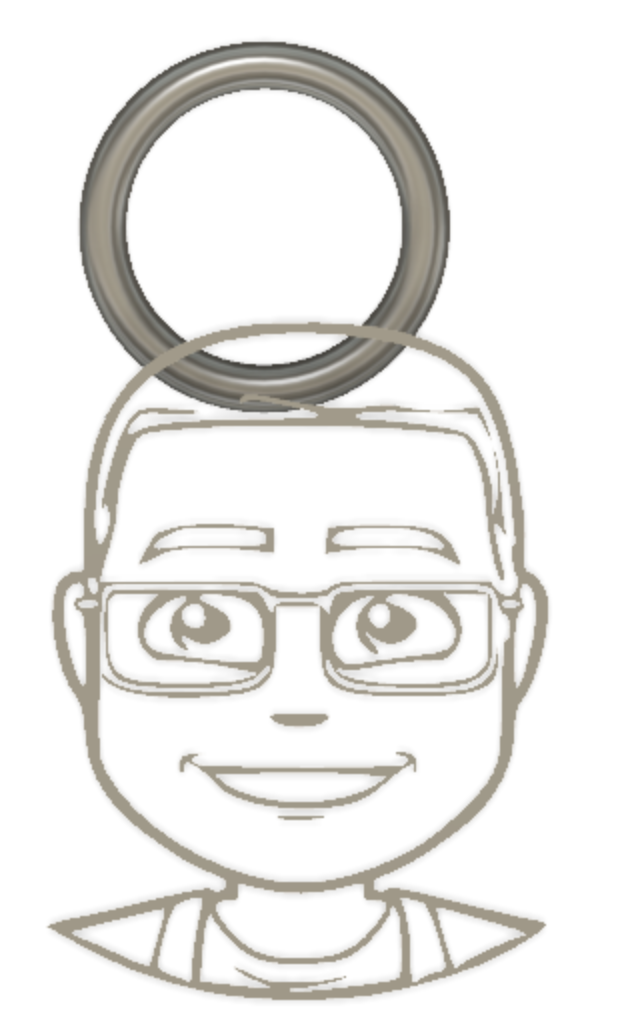
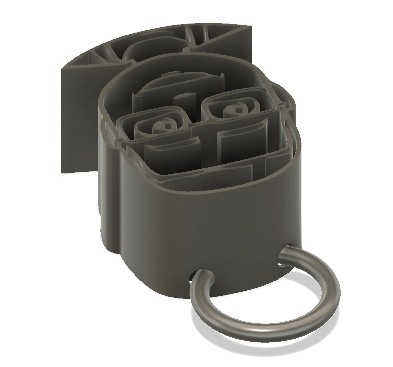
I inserted a hole on the top on my head so that I can create a ring to go through that hole.
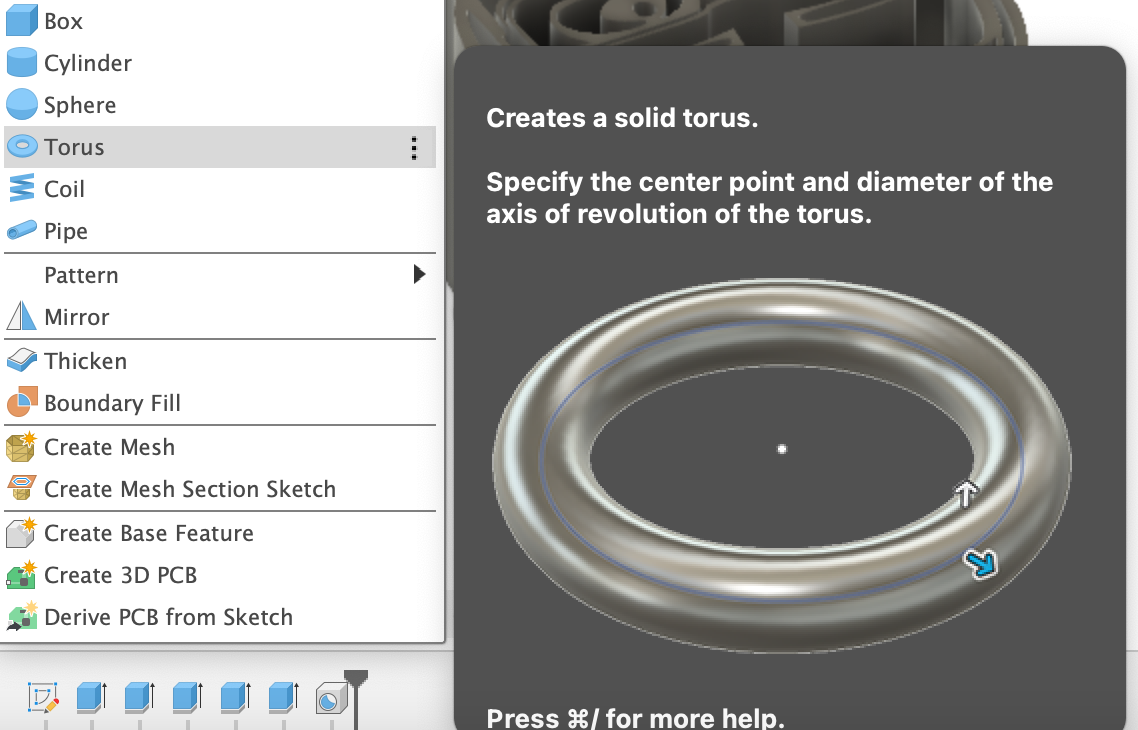
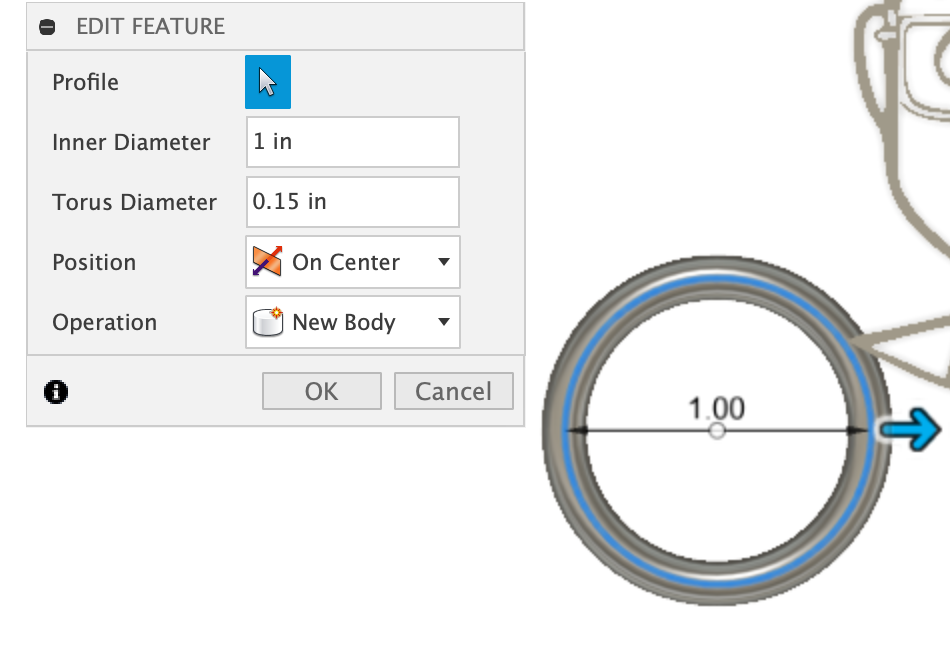
Now, to add a ring so that I connect it to my keys. To add a ring, I selected the Torus.
The next step is to combine the ring with my bitmoji.
There are some issues with this design. I need to add another hole to my bitmoji because the ring enters and exits from two different spots.
By adding another hole at the spot the ring exit, I’ll be able to fix my design.
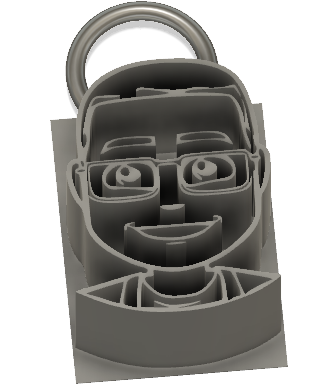
However, due to the location of the ring, I decided to move the two holes lower.
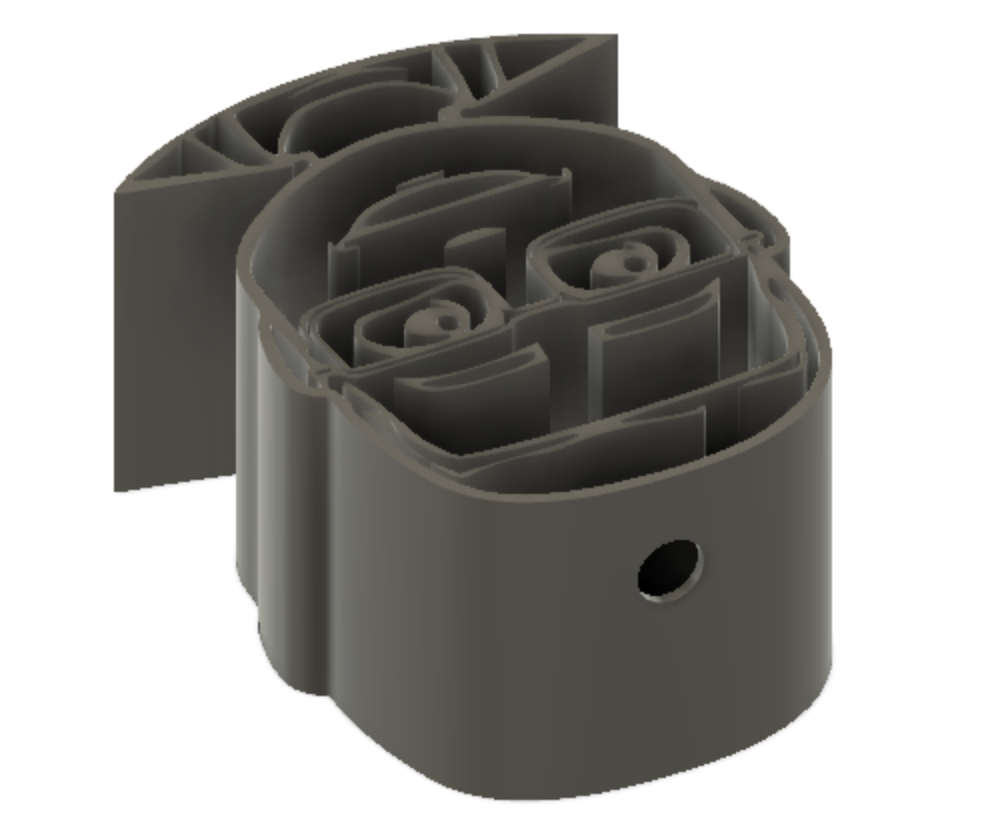
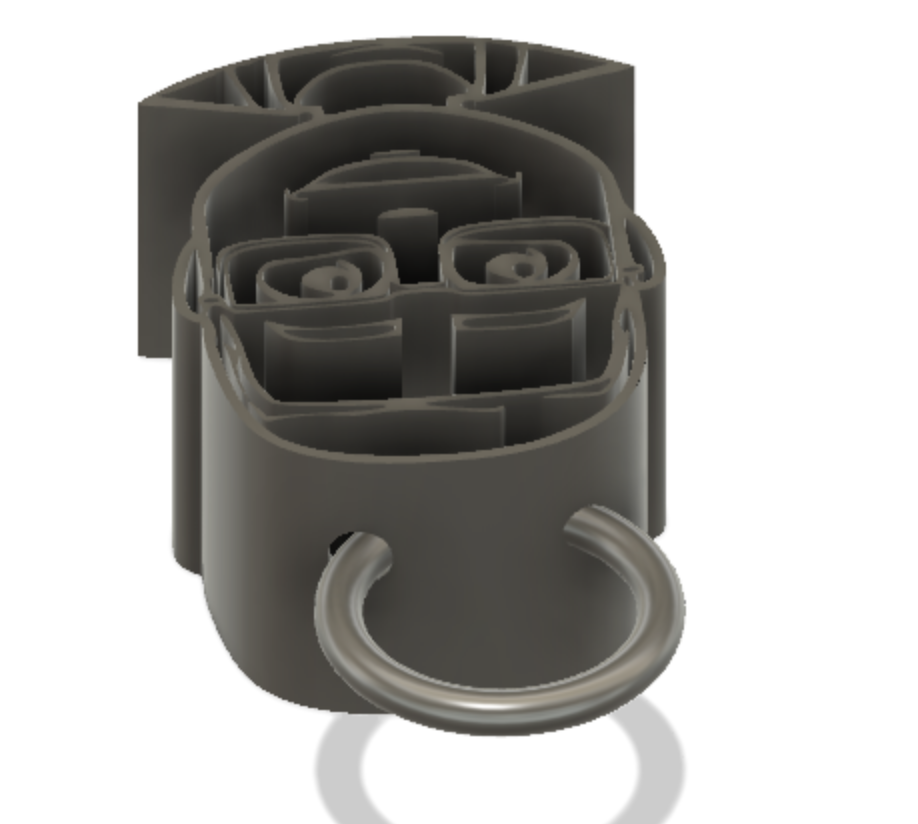
My next step was to create a flat base so that my print won’t fall apart.
Printing My 3D Bitmoji
To print my design on a 3D printer from Fusion 360, I needed to export my file in a .stl extension. To do so, I went to File -> Export -> Selected STL Files (*.stl).
Expect the export to take some time. Once I exported the file into a STL, I need to “slice” it, meaning cutting it up into specific machine instructions that my 3D printer can understand. The language (and file type) that the printer understnads is called .gcode.
There are a lot of 3D slicer available. I am using one of the most popular slicers called Cura. You can download Cura from the Ultimaker. For further instruction on slicing, I followed a youtube video called Slicing 3d Prints in Cura.
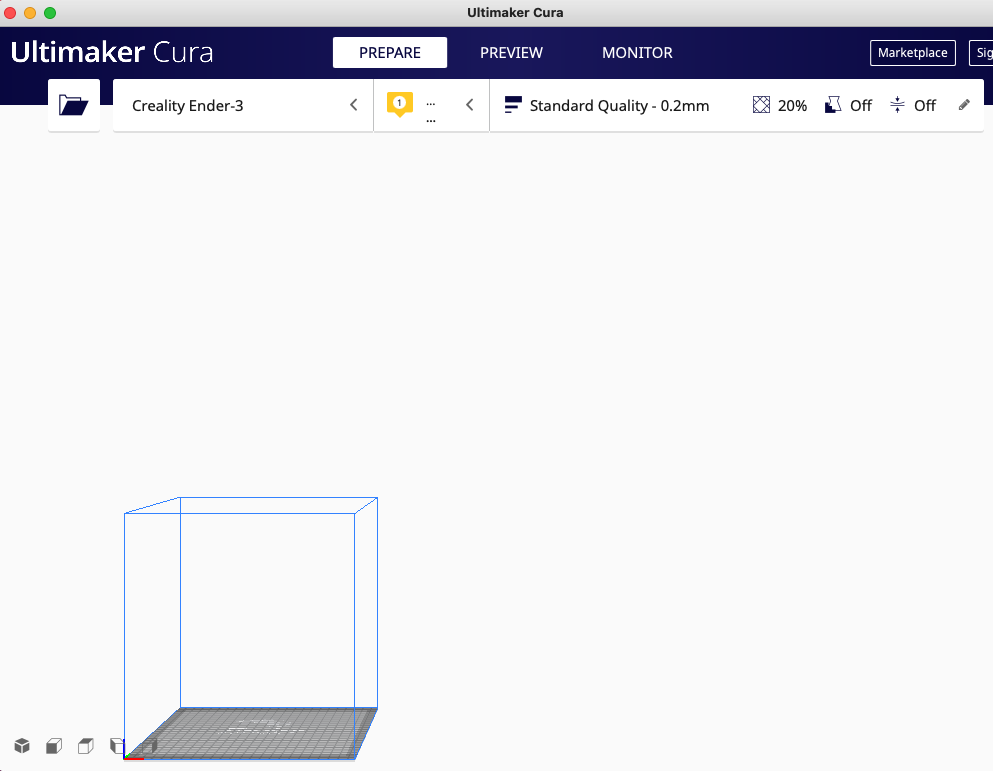
I imported my .stl file into Ultimaker.
I kept my print laid down because it seem like an easier print. Additionally, I kept the default settings on the Ultimaker. In my 3D print, I have unsupported areas which will make it difficult to print as the areas are suspended in air. For example, my ring will be difficult to print.
That said, I needed to print my object with support. To add support, I needed to select Support in Print Setting:
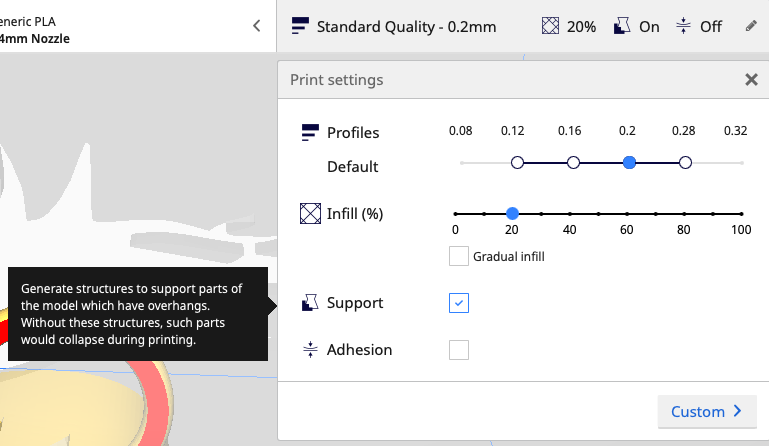
From there, I started to slice my design.
The result came out to be 4 hours and 40 minutes which goes over the time constraint. So, I scaled the item down to make it fit the time constraint.
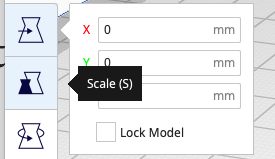
I changed the scale to match the constraints by scaling my oject to 45%:
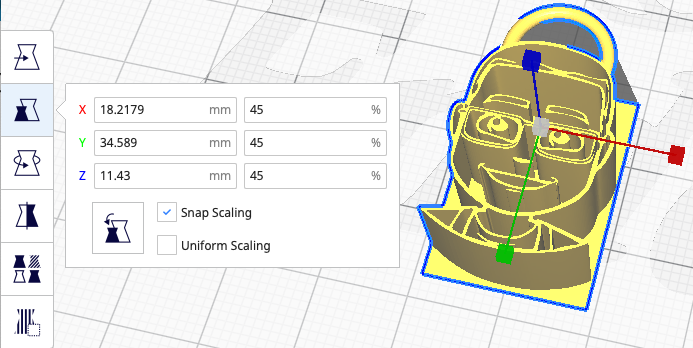
This results in a 32 minutes print, 2 minutes over but, I think that will be fine. From there, I saved my print and started printing procress.
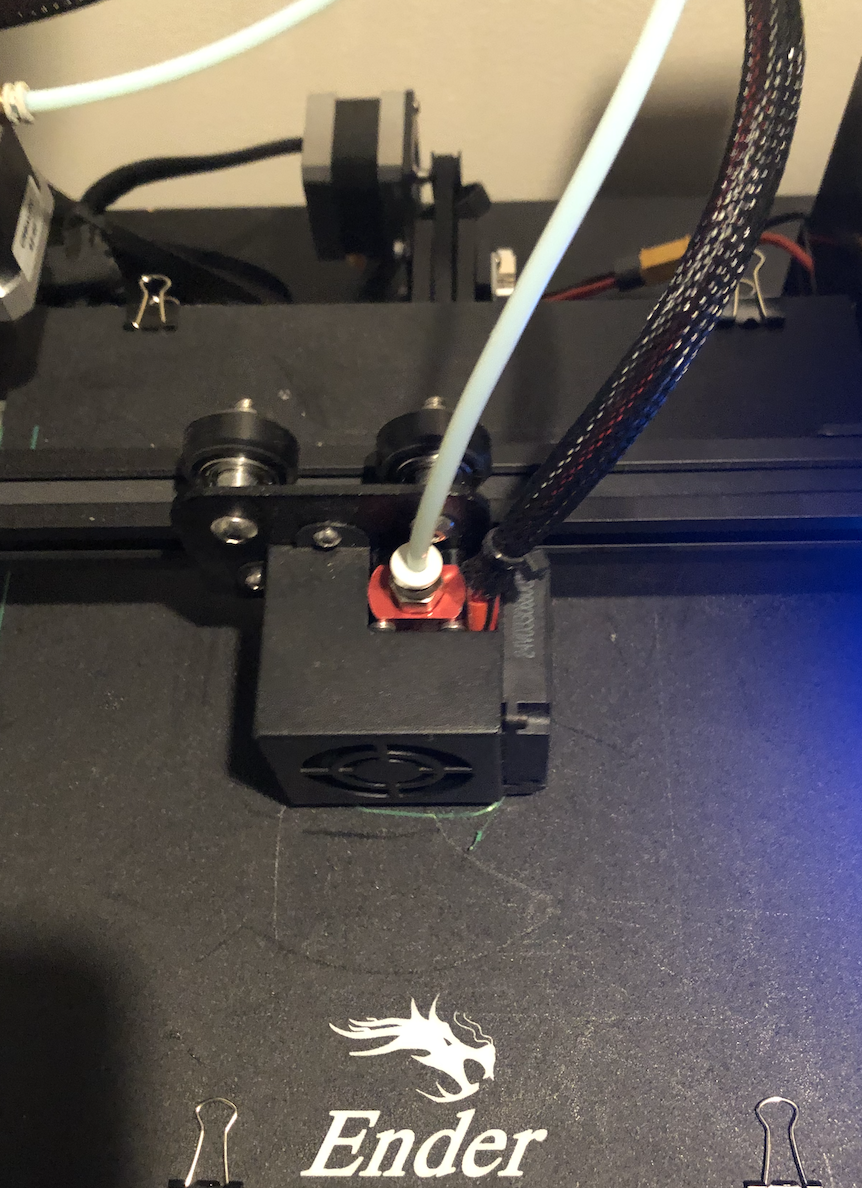

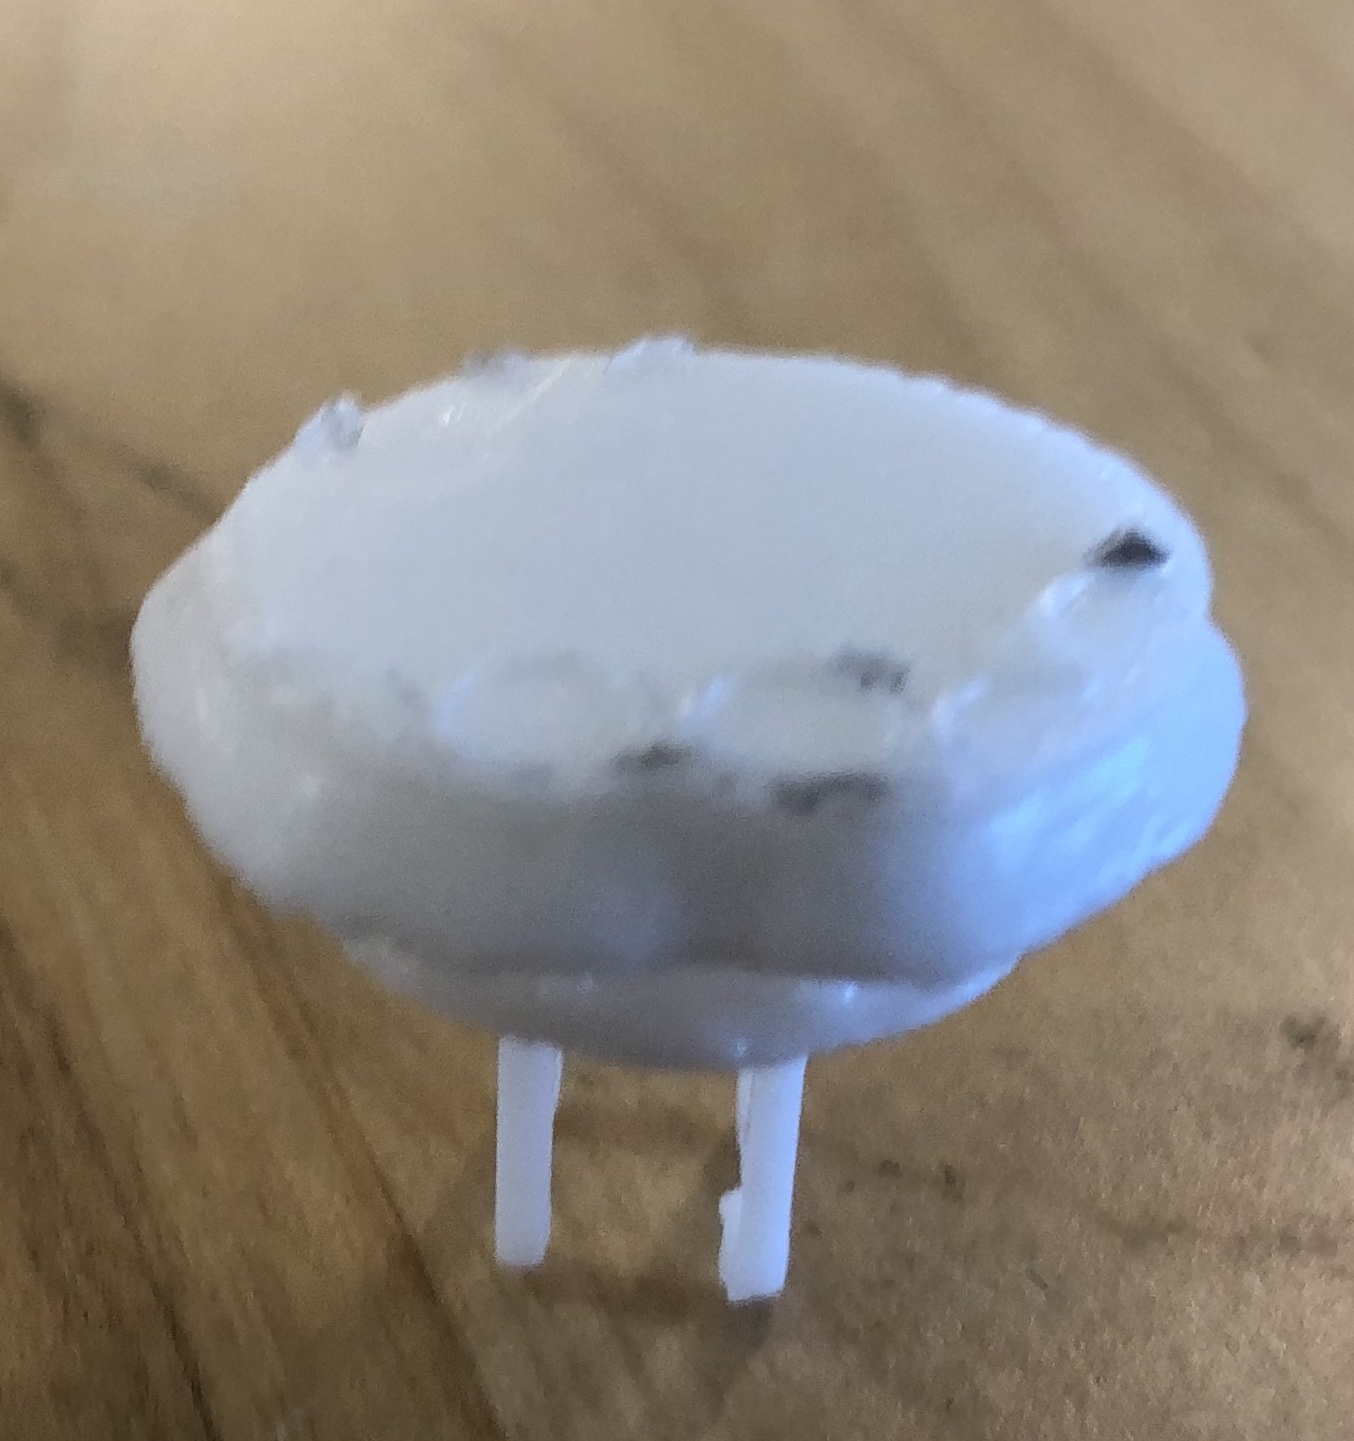
Result Of My Print
The result of the print came out well. This print wouldn’t have been able to be made subtractively because of the ring. The ring was connected to the Bitmoji during the print which would have been difficult to do with a subtractive machine. The final print result in:
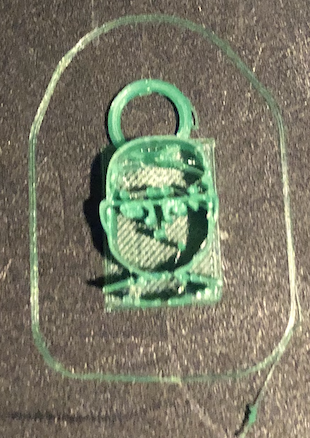
The print quality wasn’t the best however it did get the job done. I thinkn I would scale the object higher as it seems the smaller the object is, the less quality it produce. However,
- In the case you would like to edit the design, you can download the .stl file here:Download .stl
- In the case you would like to print the design, you can download the .gcode file here: Download .gcode
- In the case you would like to print the design, you can download the .f3d file here: Download .f3d
Group Assignment
This week group assignment was to test the design rules for our printer and document the work explaining the limits of the printer. Group’s Page