6. 3D Scanning and printing
This week’s assignment was to create things using a 3D printer which could not be created from a laser cutter (2d subtractive process). First we were asked to design something relatively small in a CAD software and print it. Then, we needed to 3D scan an object
Constructing & Testing Creality Ender 3 3D Printer
Prior to actually printing out any files, I first needed a 3d printer. Although the Charlotte Latin Fab Lab has access to over twenty 3D printers, due to coronavirus and social distancing guidelines outlined by our high school, time in the lab can be unpredictable and miniscule. Additionally, if I needed to print something last minute or was required to stay home for several days from health concerns, an affordable printer would be incredibly useful. Thus, each member of Fab Academy constructed a Creality Ender 3 printer in late January. The construction of the printer was overall relatively easy and only took two hours. Instructions were limited and vague, but one could assemble the majority of it without any help. Several photos of the construction process:
Following the construction of the printer, I needed to test it to ensure that it prints properly.
Power up printer and level the bed/ set offsets, so the print nozzle is just above the print surface. Set the material settings; in my case PLA: Temp = 225F, Bed = 60F, Speed = 125 Try testing the printer out with a gcode file; in this step I used the two gcode files creality provided

The prints were quick, so I would assume that the print quality was relatively low, as it is simply to test out the printer. However, repeatedly throughout trying to print out the test files, the z axis would get stuck on the side opposite to the stepper motor when making small sudden movements. This caused the nozzle to extrude the PLA several millimeters too high, which consequently did not adhere to the surface properly. Often, the PLA would coil up and make a mess. Luckily, I did not print these overnight, so I quickly realized that there was an issue. I tightened several screws and it helped to some degree; however, the problem still occurred when printing my own files. Another solution I tried was turning down the speed to 85% when laying down the base layer to get a more accurate and quality base. While this did give a better result with the base layer, the movement on the z axis still was apparent.
Designing & Printing
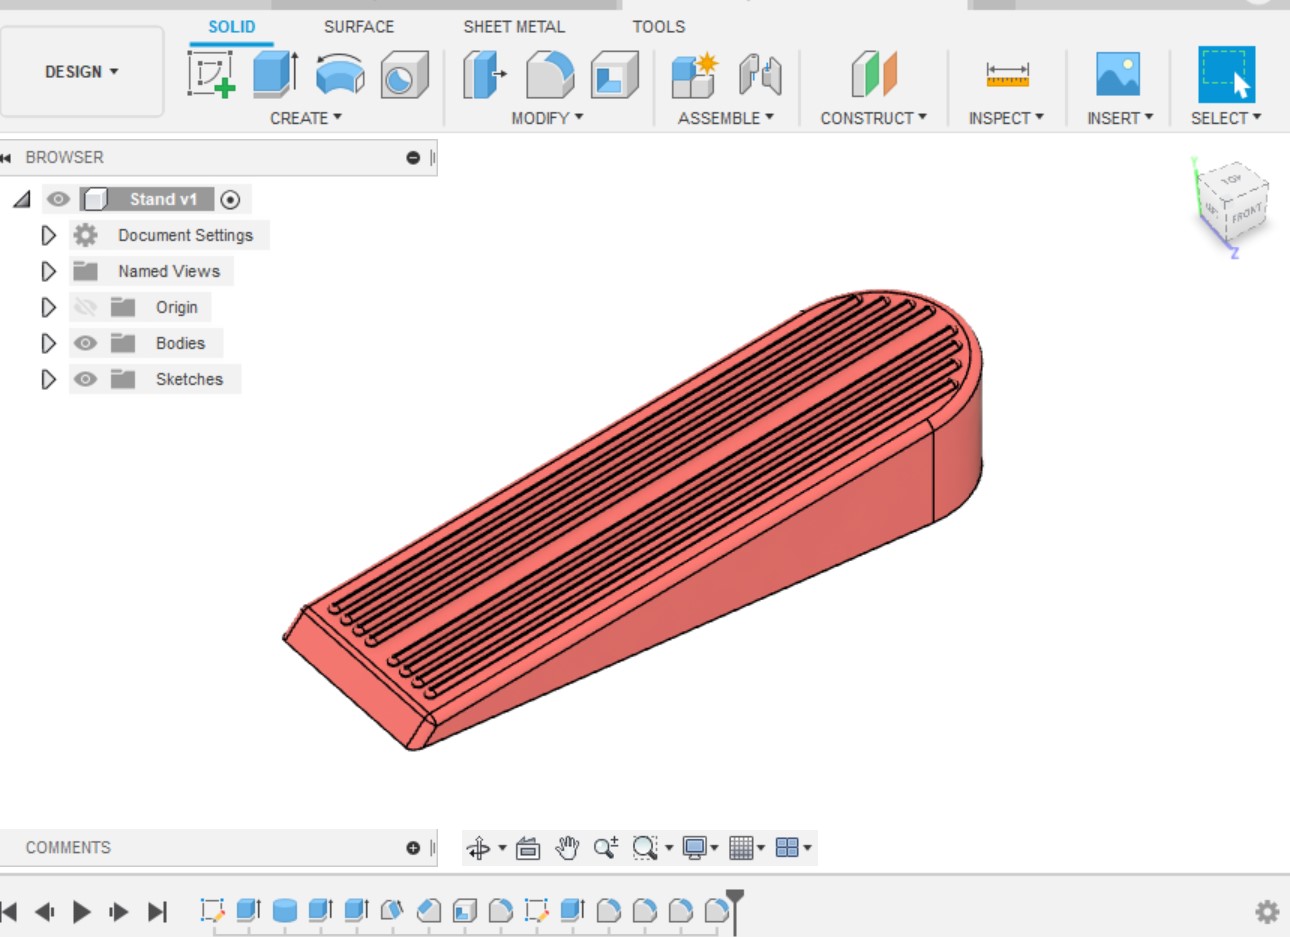
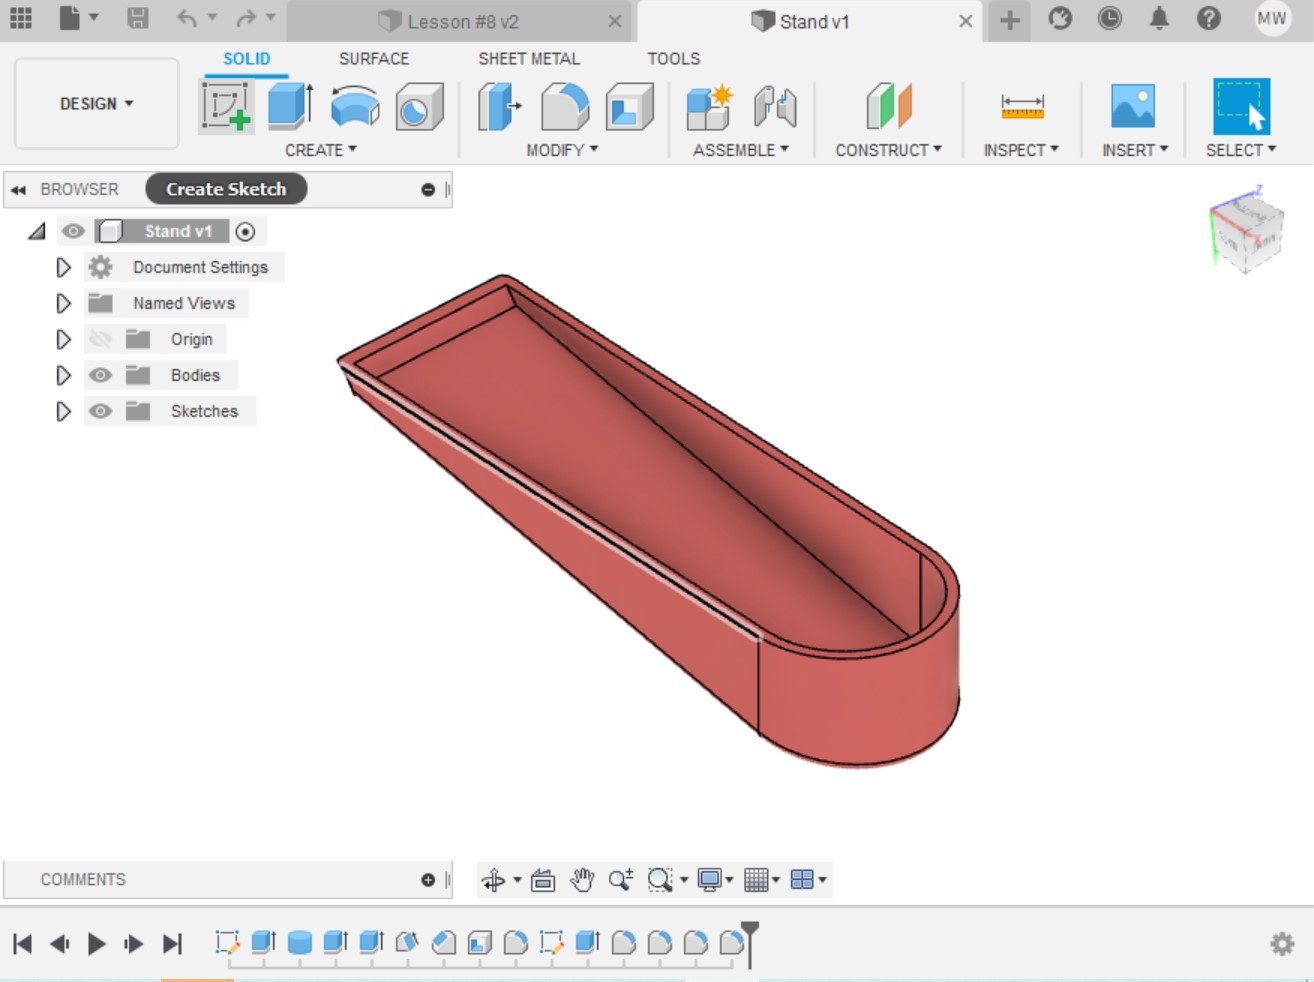
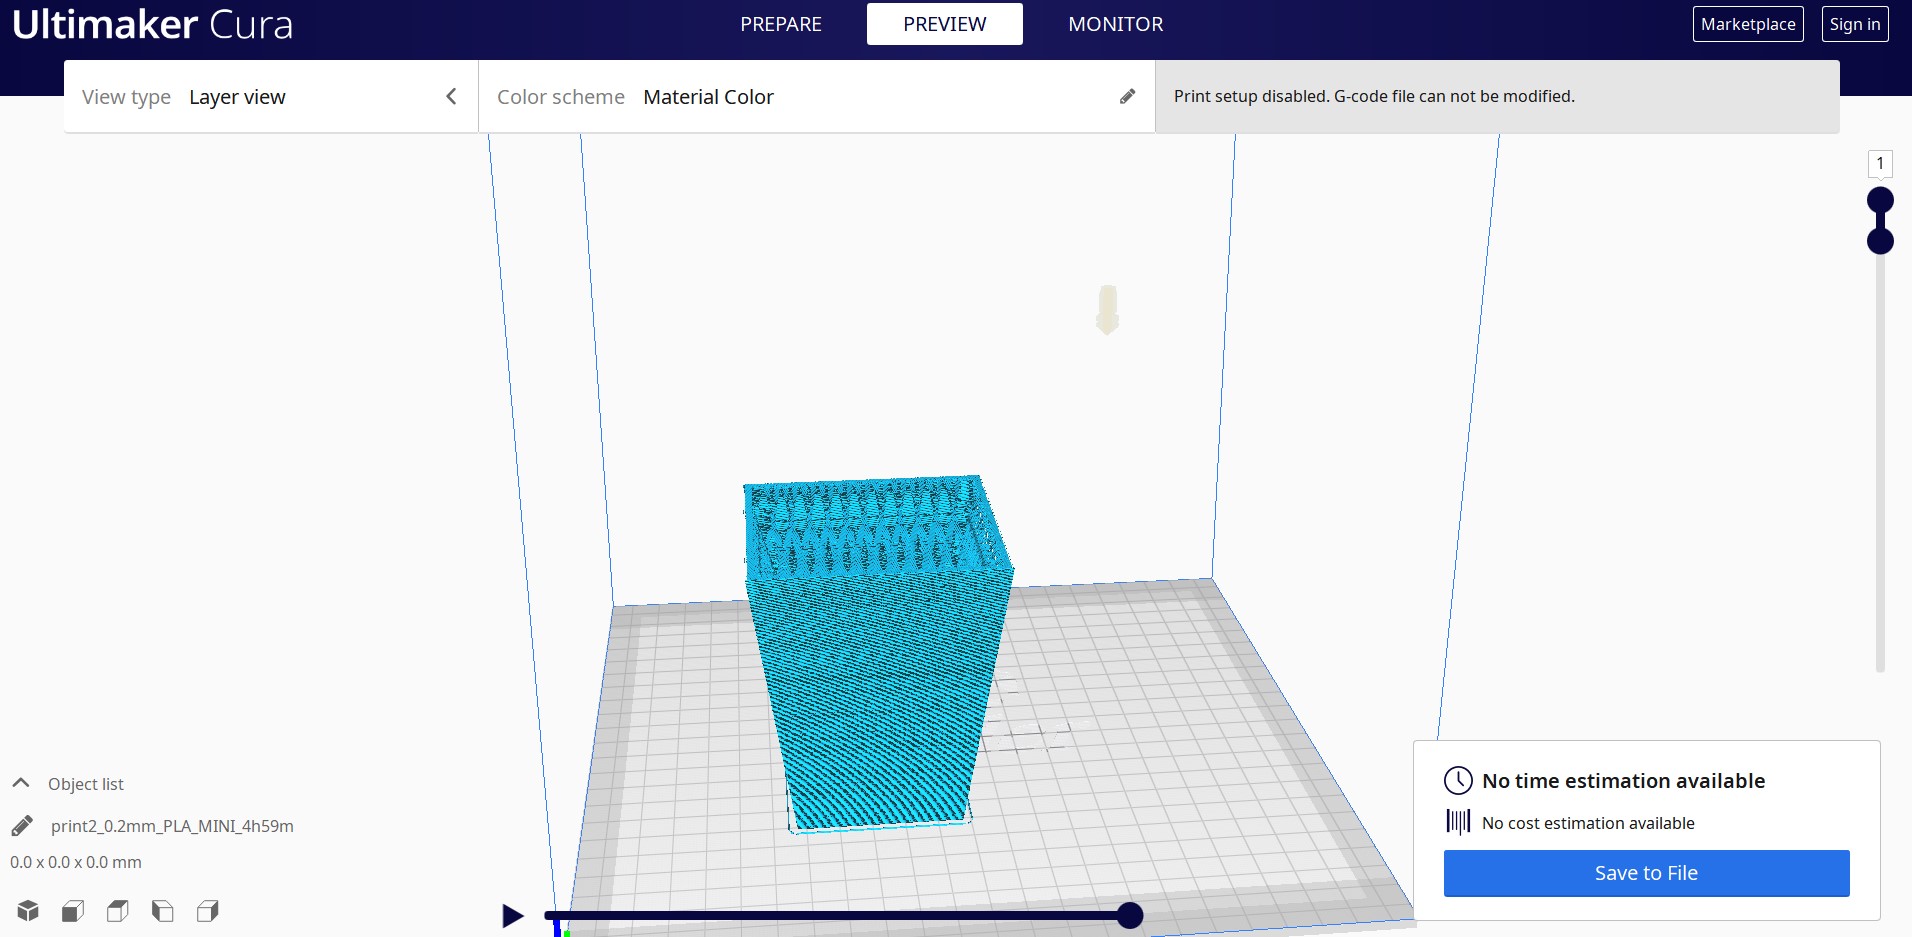
When looking at past year designs, one of the students created a very simple coin holder, and because I had no place to put some of my spare change, I thought this could be a good place to start printing. I used Fusion 360 to create the coin holder, as I prefer the program over other CAD modeling softwares, such as FreeCAD or Solidworks. To avoid creating something that could be produced using a two dimensional subtractive process, I used Fusion’s loft feature for the exterior. To hollow the design out, I used a large fillet rather than the shell feature because it looked more aesthetically pleasing due to the smoother look. The print was composed of two files: a lid for the holder and the loften base to contain the coins. Following completing the design of the print, I needed to convert the stl file into Gcode, so the printer has directions on what to do. I tried several slicers, such as Prusa Slicer, Mechmixer, and Idea Maker, but Cura is the best software for the Creality Ender 3 in my opinion. Because the printer is not wireless, I had to then upload the gcode from Cura to a microSD card from my Windows system to insert in the printer itself. The only irritating thing is that in order for the printer to register that the microSD card is in it, it has to be powered off first and then restarted.
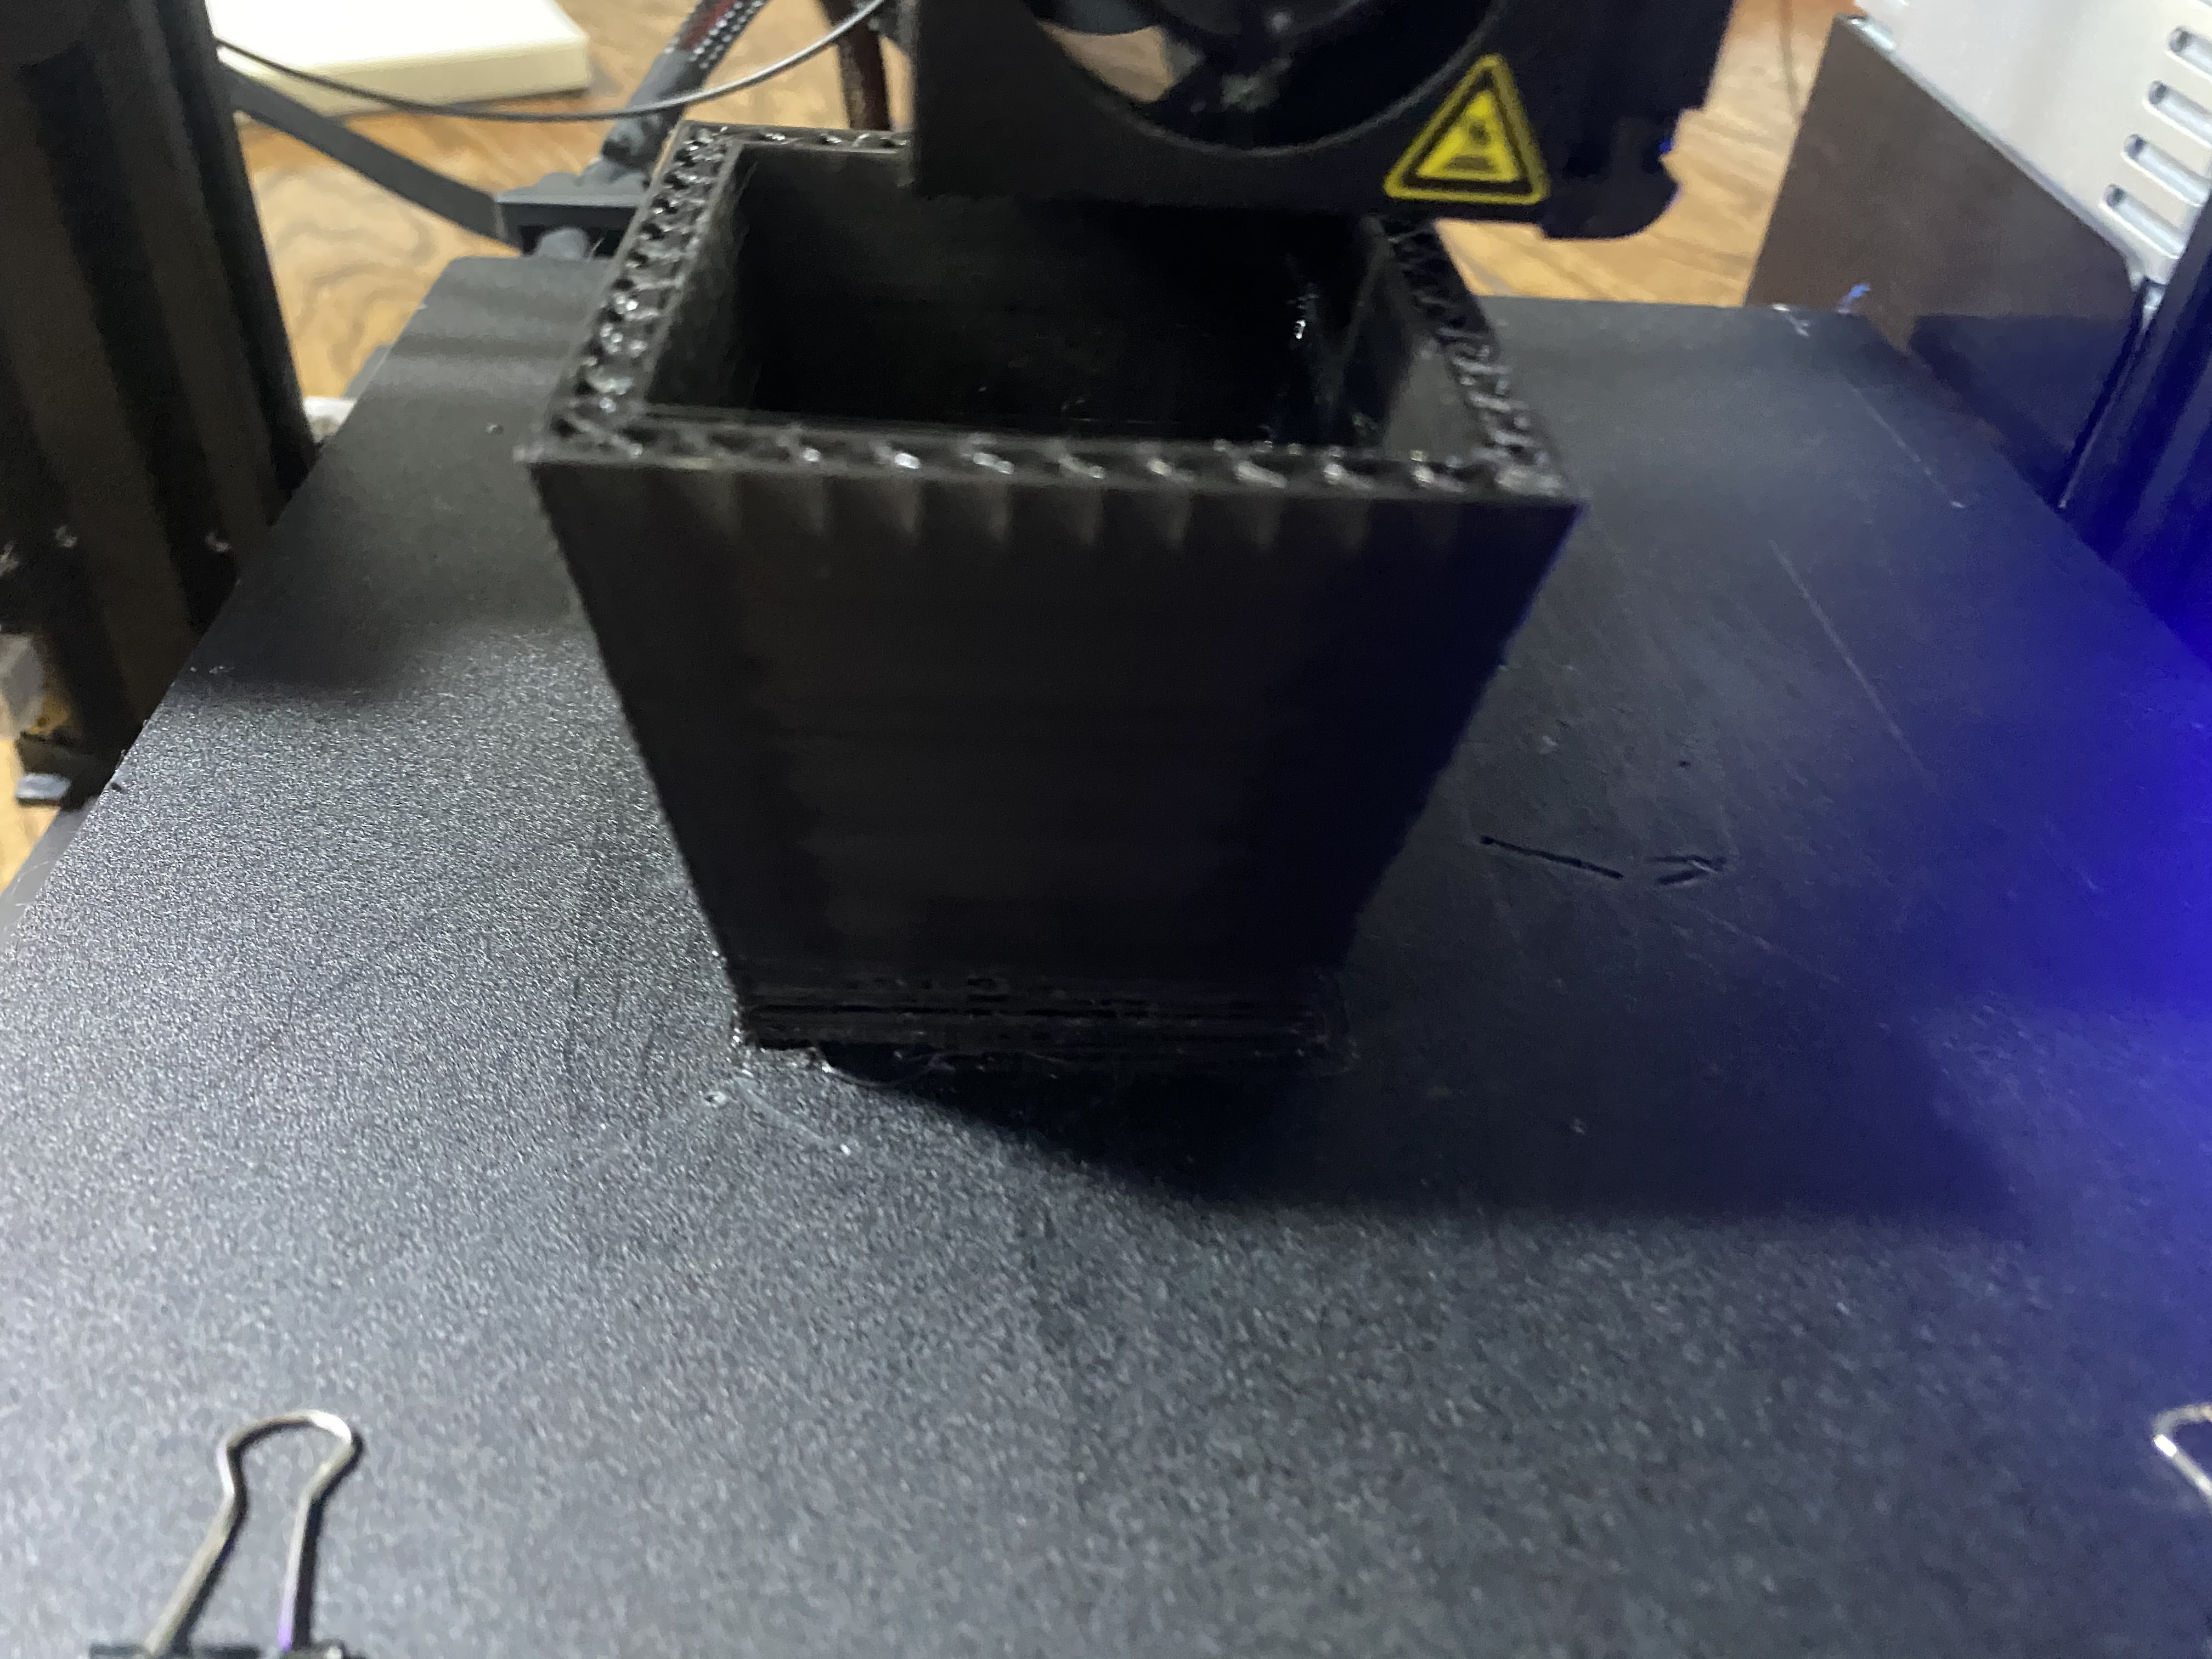
When printing the file, I encountered another frustrating issue of the nozzle temperature repeatedly defaulting back to 170F. Even after changing back into the 220 - 230F temperature range, twice it reverted back to 170F. Because this did not occur in the test files, the problem probably can be drawn to the gcode file itself when slicing the 3D object in temperature settings somewhere.
Here is a Brief Workflow I Created for the Creality Ender 3:
- Download the file from your CAD software as an STL, OBJ, FBX, COLLADA, etc. Here is a helpful link on 3d object file types which I referenced: https://all3dp.com/3d-file-format-3d-files-3d-printer-3d-cad-vrml-stl-obj/
- Import the file into Cura, move the object to your desired area in the printing area. (If this is your first time using the software, prior to importing connect your printer if it is wireless, or select the brand, then model for non-wireless)
- Adjust the print quality and fill
- Export the gcode to your downloads folder or directly to the microSD card folder.
- On the Ender 3 Printer, first navigate to the Print from TF card section and then select the file you are trying to print. Then go to tune and change the temperature and speed
- Make sure the print bed is clear of any past prints (Optional: use rubbing alcohol and a sponge to wipe down the print bed)
- Monitor the first several layers of the print to ensure that the PLA properly adheres to the print area.
3D Scanning & Printing Object:
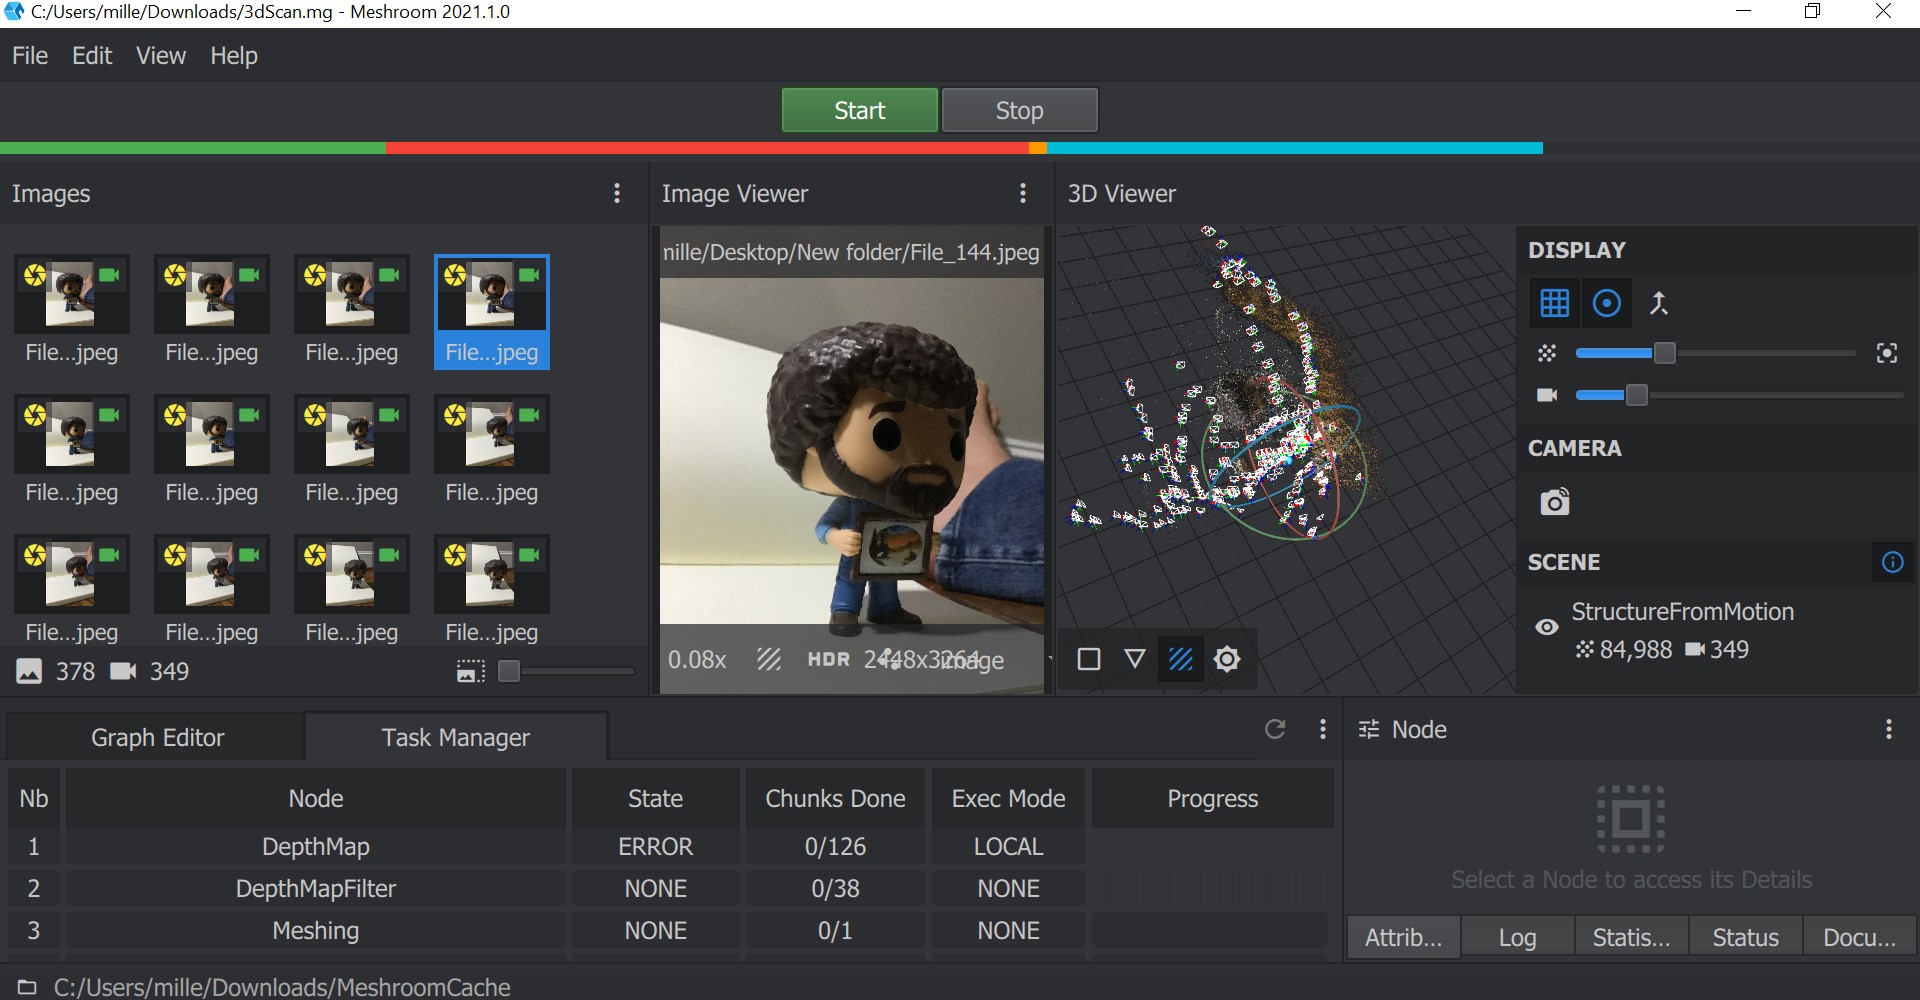
The 3D scanning portion of the assignment was by far the most difficult aspect of this assignment, as I did not have access to a 3d scanner and 3d object rederfication through photos takes significant computational power. Several of my classmates mentioned how their scans using softwares took a dozen or more hours to complete on relatively powerful home desktops computers with around 500 photos. Because I need my Mac laptop for school, I decided to use my roughly five year computer with Meshroom having about 380 photos.
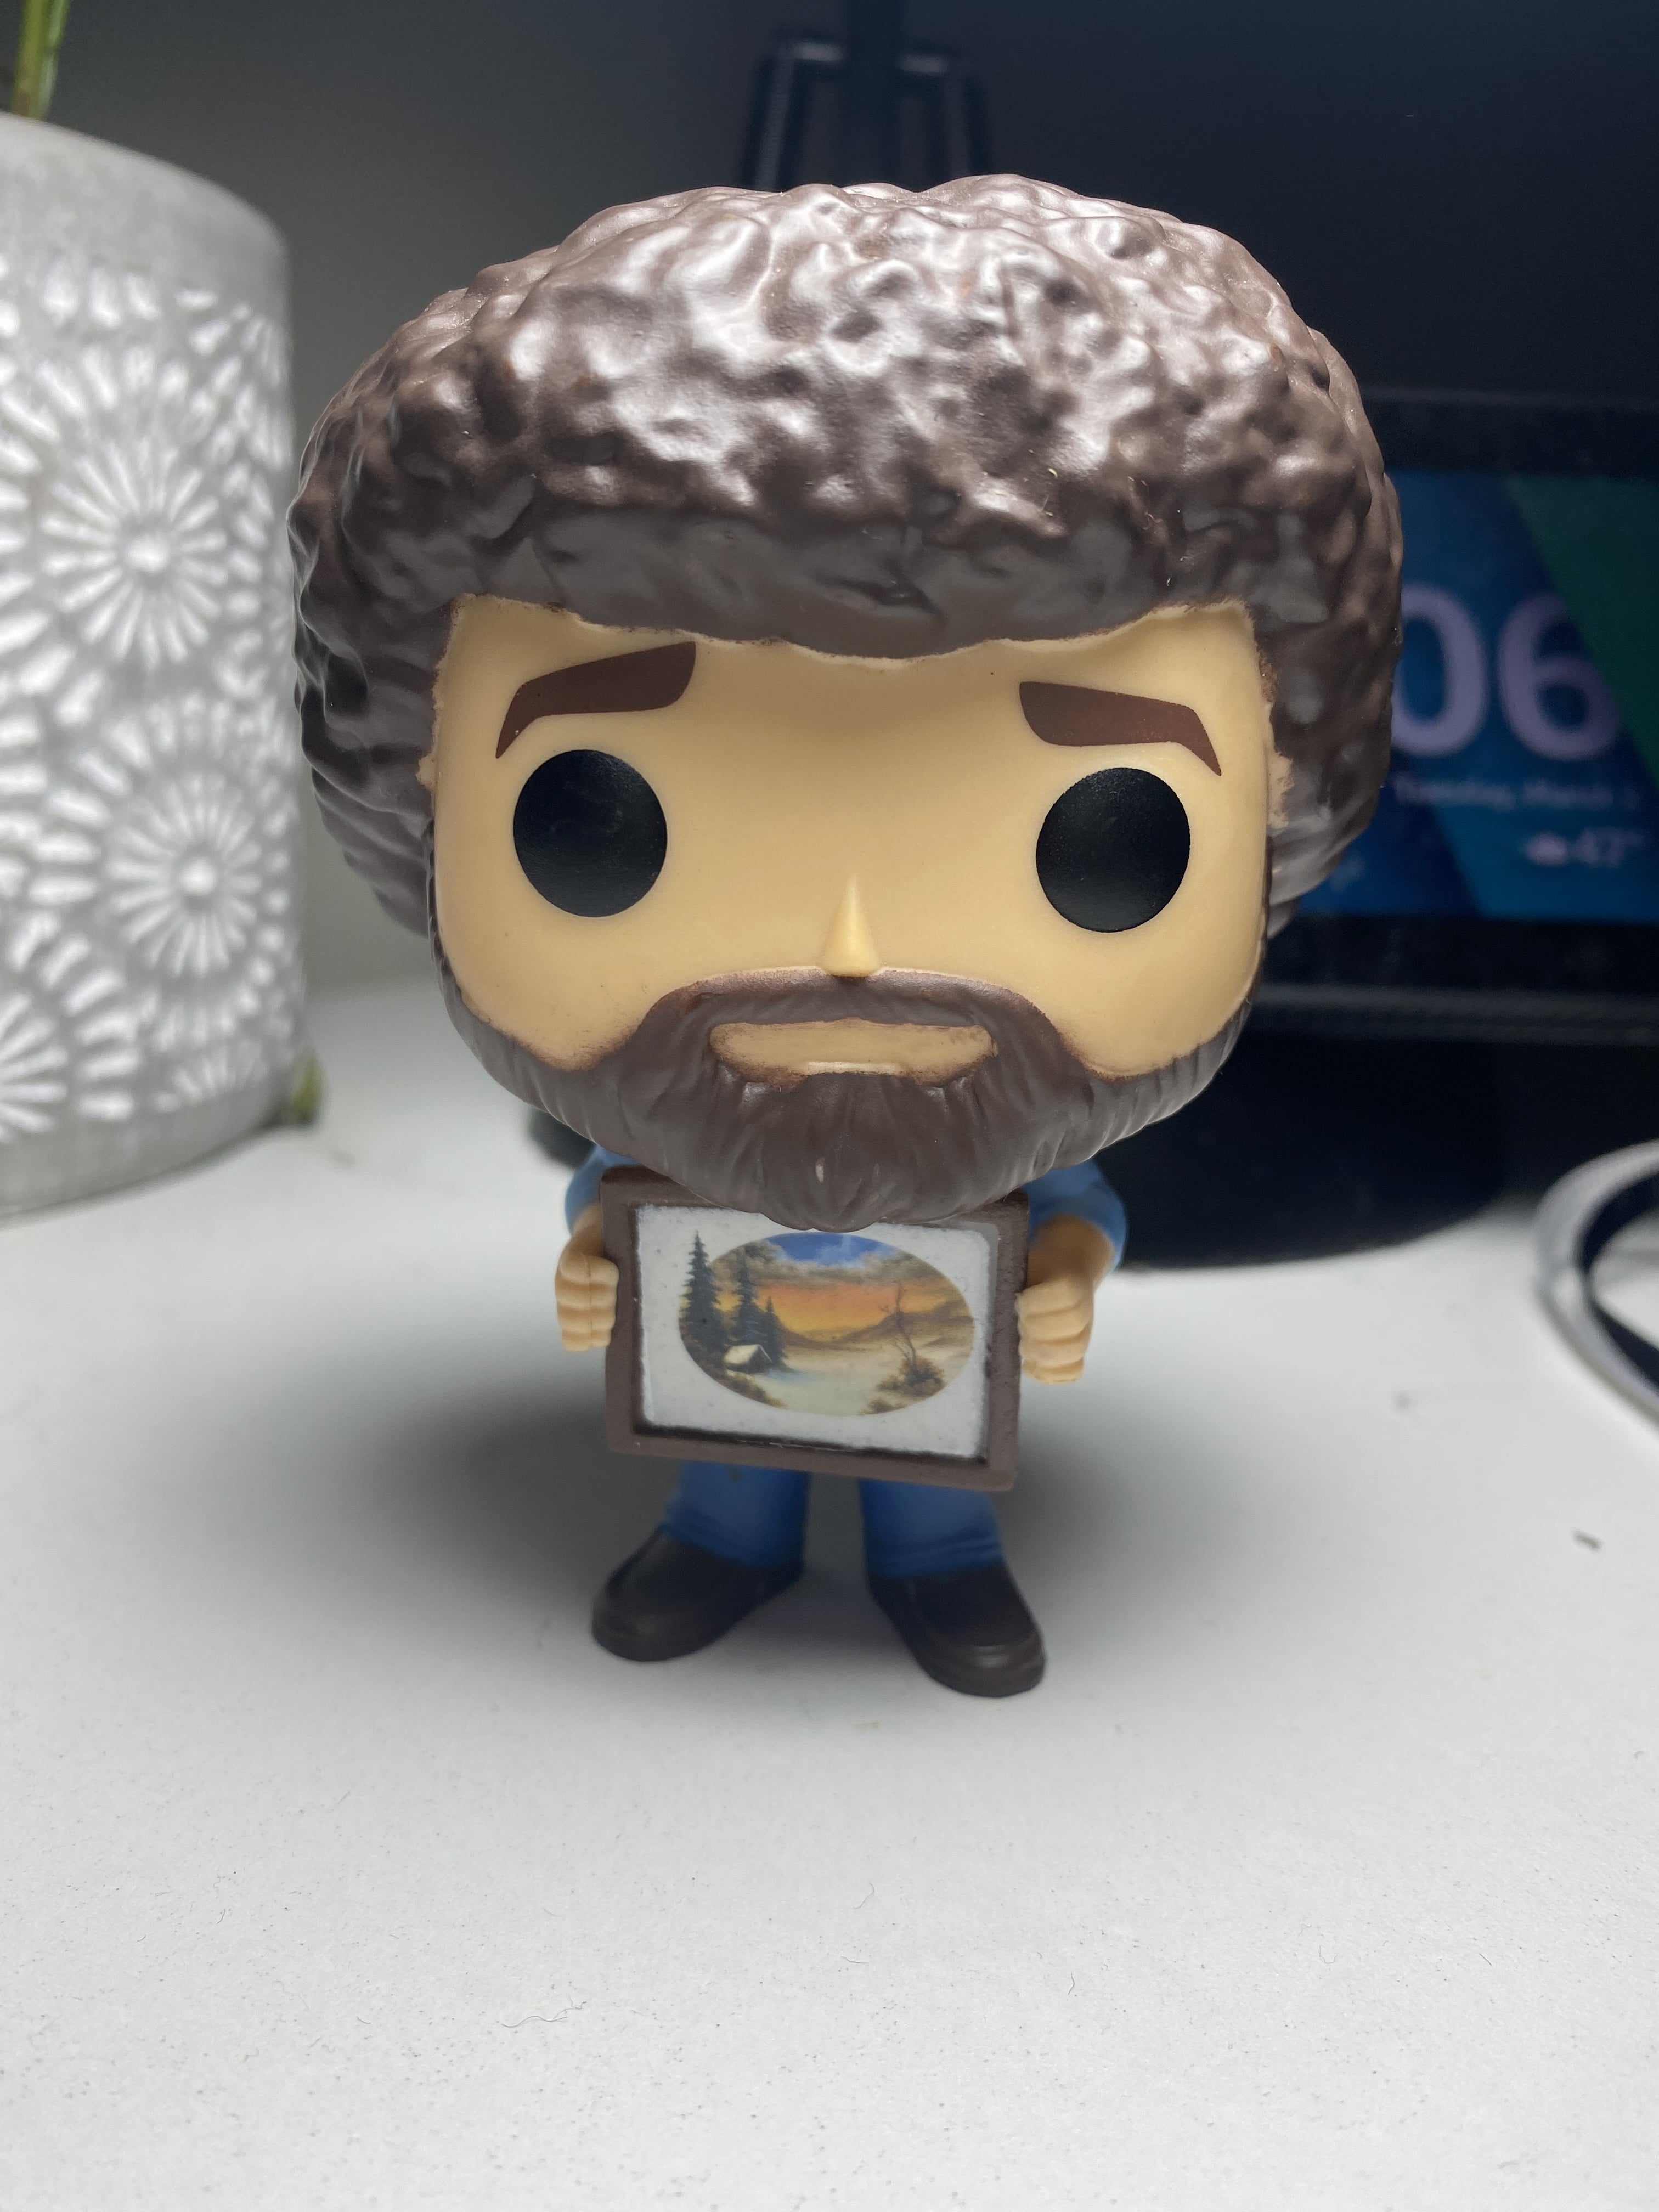
The purpose of this was to create a 3d model of something we could not easily model ourselves in a CAD software, therefore I chose a funko Pop Bob Ross figure as seen above. However, the software continued to freeze and malfunction.