Molding and Casting
Assignment - Molding and Casting
- I -- group assignment:
- review the safety data sheets for each of your molding and casting materials, then make and compare test casts with each of them
- II -- individual assignment:
- design a mold around the stock and tooling that you'll be using, mill it (rough cut + (at least) three-axis finish cut), and use it to cast parts
- Individual assigment
-
To solve this week’s task I used EMCO Mill 55.
EMCI mill 55 specification:-
Work space
- Longitudinal displacement (X-axis) mm 190
- Transverse displacement (Y-axis) mm 125
- Vertical offset (Z-axis) mm 190
- Effective height displacement (Z-axis) mm 120
- Distance of spindle forehead in height (vertical milling) mm 30-220
- Spindle head distance (horizontal milling) mm 82-272 Milling machine work table
- Work surface (Lx D) mm 420x125
- Maximum workbench load kg 10
- Width 2 T-slots mm 11
- T-slot spacing mm 90 Main spindle
- Spindle bearing diameter mm Φ35
- Type of bearing Ball roller
- Fastening tools manually
- Machine pulley jaw span mm 60 Main spindle drive
- A. C. Motor (asynchronous)
- Engine power W 500/700
- Nominal motor speed rpm 1400
- Speed range rpm 100-3500
- Maximum torque Nm 8
- Maximum drilling diameter in Al mm Φ10
- Maximum thread diameter in Al mm M6x15 Shear motors
- Step resolution µm 0.5
- Working offset in X / Y / Z axis mm / min 0-2000
- High speed mm / min 2000
- Maximum shear force in X / Y / Z N 800/800/1000 Machine dimensions, weight
- total length x total width x total height mm 84 0x865x816
- total weight of the machine kg 160
- Machine noise dB 70
- VACUUM FORMING
-
- Student cooperative - INOVARE - TŠSB Slavonski Brod-Croatia - Vacuumforming on our way
- Group assigment
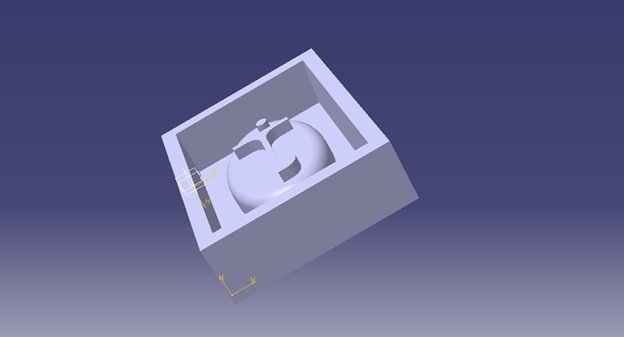
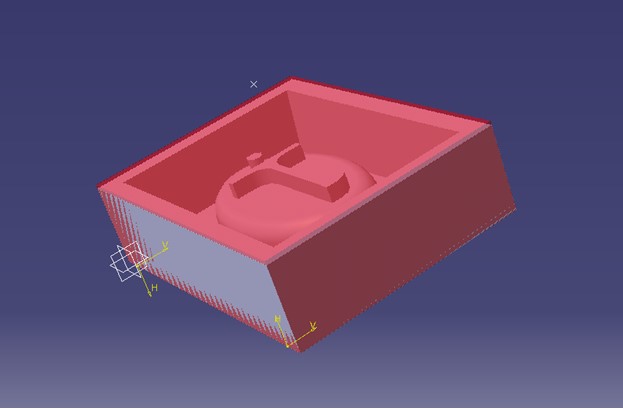 For the purposes of this task, I first made a mold model in the Catia program in the x, y plane.
To make a milling simulation, a blank 80 mm long, 60 mm wide and 20 mm high was added.
Since this is a milling machine used for educational
purposes in our school the size of the raw material cannot be large.
That's why I chose smaller dimensions of the model or mold.
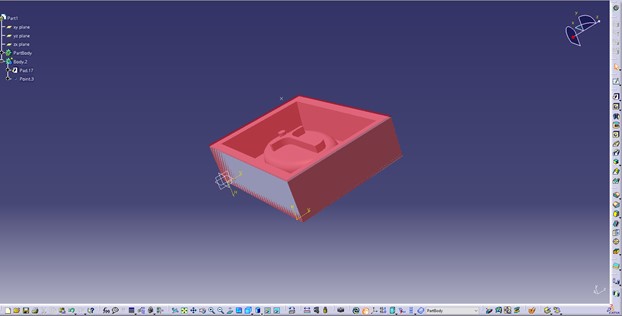
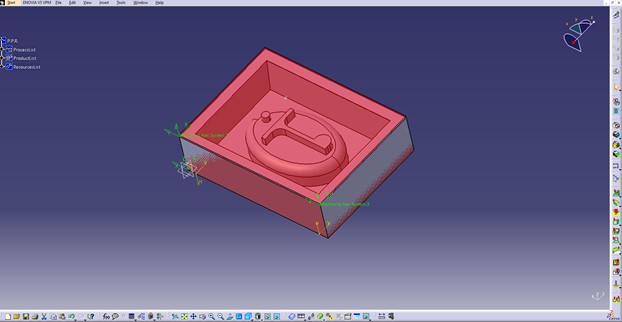 Then it was necessary to add the points
of the planes and the point where the tool will move away and where I will replace the cutter.
It was necessary to set the milling parameters, the zero points of the coordinate
system and the milling process itself. (Surface machining)
The parameters of the machine, the machine point M,
and the marking of the raw material and the workpiece that we will make are set.
Using the rough milling command, I open a window in which I mark the end points
of the milling, its contour and the raw material itself.
I choose the tool with which I will perform the operation of
rough milling. (milling cutter diameter 4mm radius 2mm).

 I place the tool in place 2 (T2 D1 M6) and open the simulation window to see if we did everything well.
After the rough milling, I open the card for sweeping.
Then I do the same procedure as for rough milling, however I take another tool
(a final milling cutter with a diameter of 8mm and a radius of 4mm).
After the simulations, I generate a code that I will later enter into the
machine computer so that the CNC machine can make our object (mold).
After generating the NC code, I make a couple of changes to the code, after which I insert it into the Win NC
simulator to check the correctness of the processing.
After checking the code, I insert it into the machine computer, calibrate the tool,
determine the zero points of the machine and start the machine.

 On the machine itself, I have to determine the parameters of
the raw material and individual points - the machine, tools and materials.
I also need to determine the parameters for the work offset milling machine.
In order to make a model on a milling machine, it is necessary to determine the
tools well, because the tools are necessary
position it using the tool head or tool rotation axis.
Each tool used on a CNC milling machine must be measured and the most important is the
distance L1 from the tool head to the tool reference point (N).
The tool database stores tool data, namely length L1 and tool diameter D1 or radius R1.
The use of radius data is important when activating the G41 or G42 tool compensation commands on the XY surface (G17).

 To run the simulation with the horizontal Start key we must first select the Parameter in the working area
the required zero point - Settable work offset (G 54) and the necessary tools for our work - Settable
tooloffset.
After that, I fill in the tables in order using the vertical function keys:
• View - how to view the workpiece
• Parameter - clamping mode, tool presentation, resolution, collision and speed display
simulations…
• Workpiece - required elevations that define the size of the workpiece and the position of the zero point W u
relative to the machine point M
• Tool - selection of tools for creating the selected program (number of simulation tools we need
match the number of tools from the program).

 Only when all the parameters are determined and the simulation is
started on the machine can the creation of the model itself be started.


 After I got the mold by the milling process, I took Mold Max ™
Silicones with which I will make a model for pouring glycerin.
Before use, I read the instructions for working with silicone.
- Mold Max™ 30
- Instructions for working with Mold Max ™ 30
Personal protective equipment, rubber gloves and goggles are required to work with Mold Max ™ 30.
Mold Max™ Silicones are tin-cured silicone rubber compounds that have exceptional working properties and library life.
Mold Max™ silicones can be pigmented with Silc Pig™ silicone colorants.
Pot life for the pourable silicones is 45 minutes and they cure overnight at room temperature.
Mold Max™ Silicones will reproduce the finest detail and are suitable for a variety of industrial and art related applications including
making molds for reproducing prototypes, furniture, sculpture and architectural elements. Mold Max™ 10, 20, 25 and 30 silicones
can be thickened with THI-VEX™ additive for brush-on applications.
Mold Max™ Silicones can be used to cast a variety of materials including wax, gypsum, low melt alloys/metals and urethane, epoxy
or polyester resins (without using a release agent).

 Before pouring the mass into the mold,
I coated it with Vaseline and baby powder to prevent the silicone from sticking to the mold walls.
I had to weigh Part A & B components using a gram scale.
I used Mold Max ™ 30 with pink pigment.
The mixing ratio for the components is - Mold Max ™ 30 100A: 10B.

 After measuring 200 g of component A and 20 g of component B in a bowl with the help of a digital scale,
I mixed both components slowly,
stirring them to avoid bubbles in the mixture.
Although I tried not to let air bubbles appear - there were some.
After 3 minutes of mixing according to the instructions I started pouring the mixture
into the mold by pouring the mixture into one corner of the mold to make the mixture flatten itself.

 The mixture must first stand for 24 hours to be safely removed from the mold.

 Finally - after 24 hours the mold for pouring glycerin was ready.
Glycerin is a sweet, colorless and odorless liquid-colored ingredient
at room temperature that can be frozen into a paste and has an extremely high boiling point.
There are several important properties that make glycerin great in skin care.
It is primarily a humectant, which basically means that it retains moisture in the skin.
Because of its ability to bind the skin’s natural moisture, glycerin is used
in very dry skin care products or skin on which we use dehydrating acne
treatments that leave the skin dandruffy and uncomfortable.
Then there is the hygroscopic ingredient which is also important for people looking
for hydration as this means that glycerin absorbs water from the air.
Glycerin treats dryness and dandruff of the skin by absorbing water
during the day which makes the skin moisturized and hydrated.

 The glycerin I used comes in the form of plates and is then cut into desired pieces.
I cut it into smaller pieces for easier, more uniform and faster melting.

 After cutting, I put the glycerin cubes in a high-temperature-tolerant dish
and placed it in the microwave. I set the temperature to maximum but the melting time is then about 10 seconds.
Glycerin must not boil completely because then air bubbles appear which may remain in the soap.

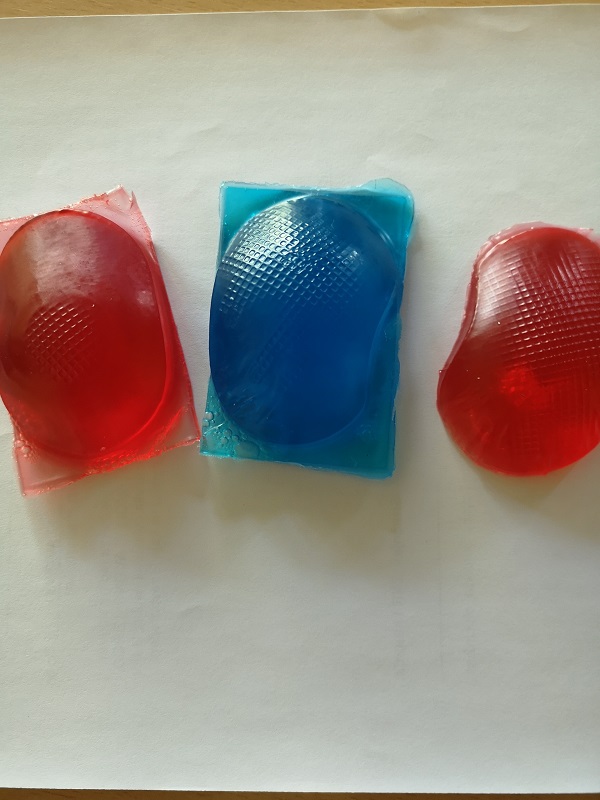
 After the glycerin is dissolved, a natural color can be added if desired,
because it is better due to allergic reactions of people who will use soap, essential oils can be added,
it is also better to use natural and plants can be added - flowers, coffee, apricot kernels. or almonds ground to a powder.
When pouring glycerin into the mold on the upper surface can be sprayed alcohol - 70-80%, which will remove air
bubbles from the surface.
I didn't remove the air in this picture - I didn't have any alcohol at the moment.
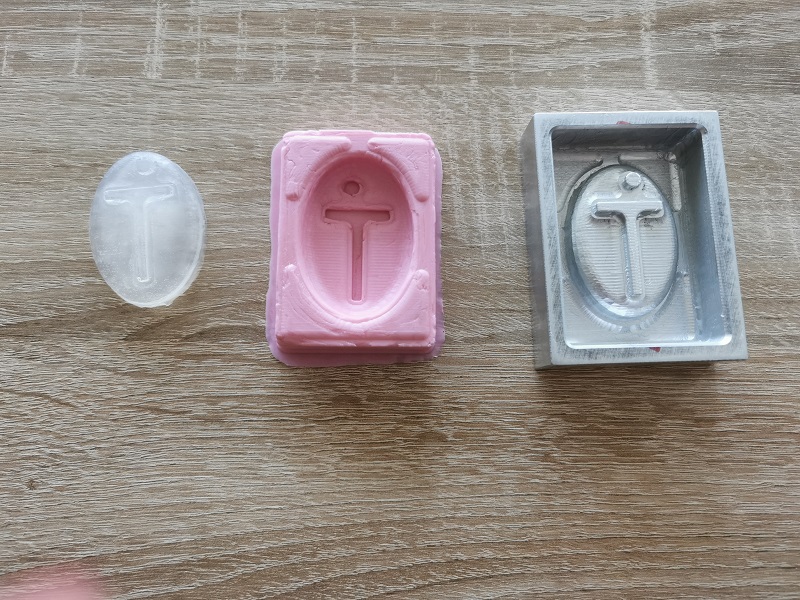

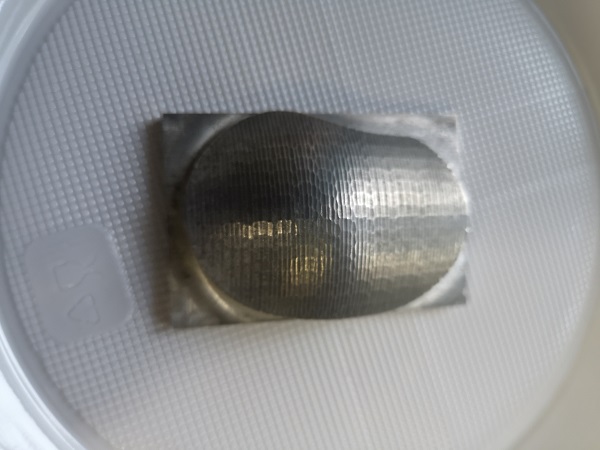
 I also tried pouring hot wax into the mold

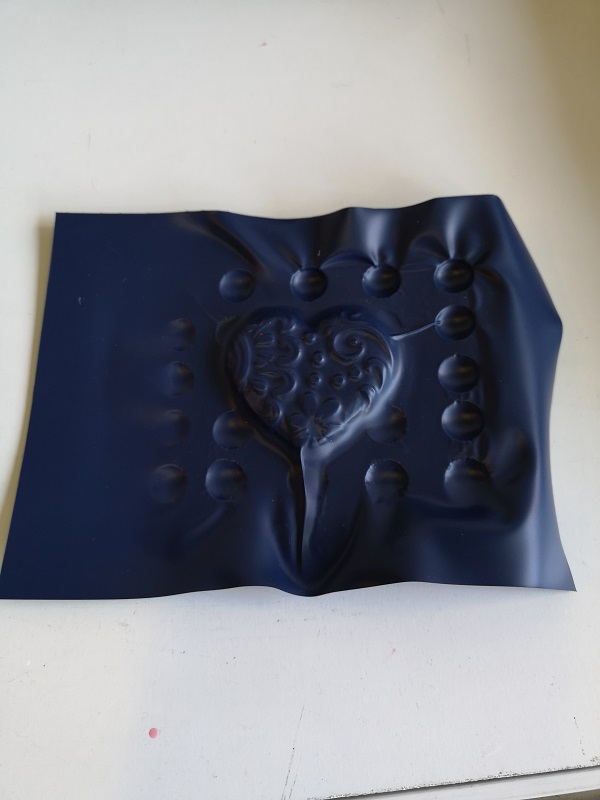 I want to show you an example of how I worked with my students for the purposes of the World skill review. Since we
had to make and use a vacuum forming device and we had no parts, we devised a simple procedure.
A wooden box was made with a hole in the side to fit the
hose of the ash vacuum cleaner. The ash vacuum cleaner is
for ordinary wood stoves at home.
Then the upper surface of the box is
drilled with a drill but the holes must be neither too big nor too small.
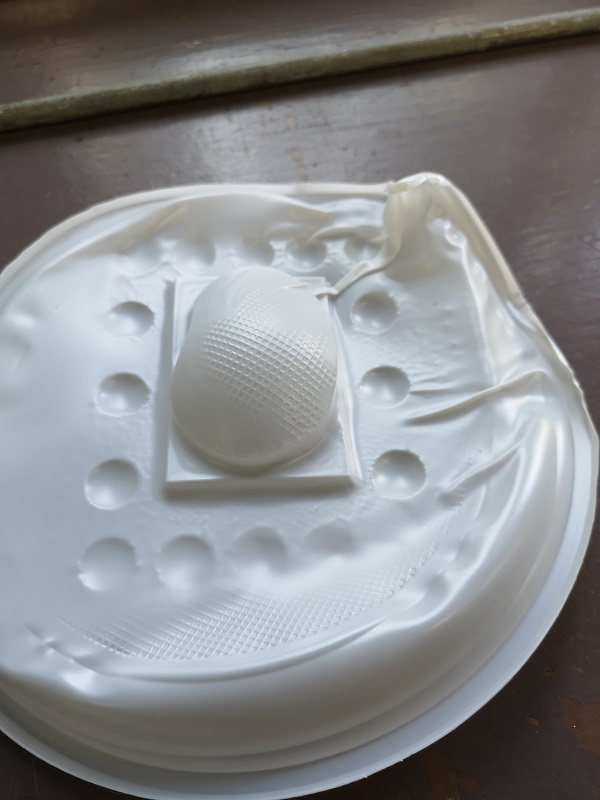
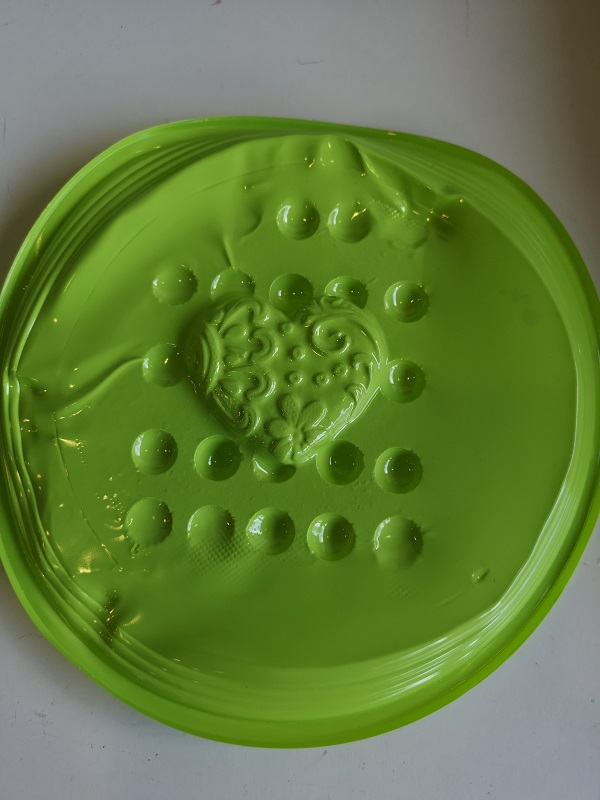
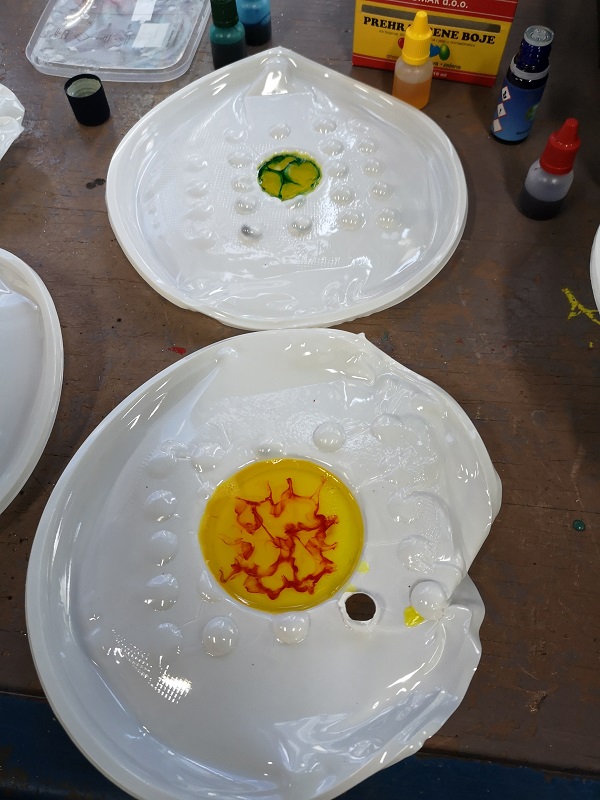
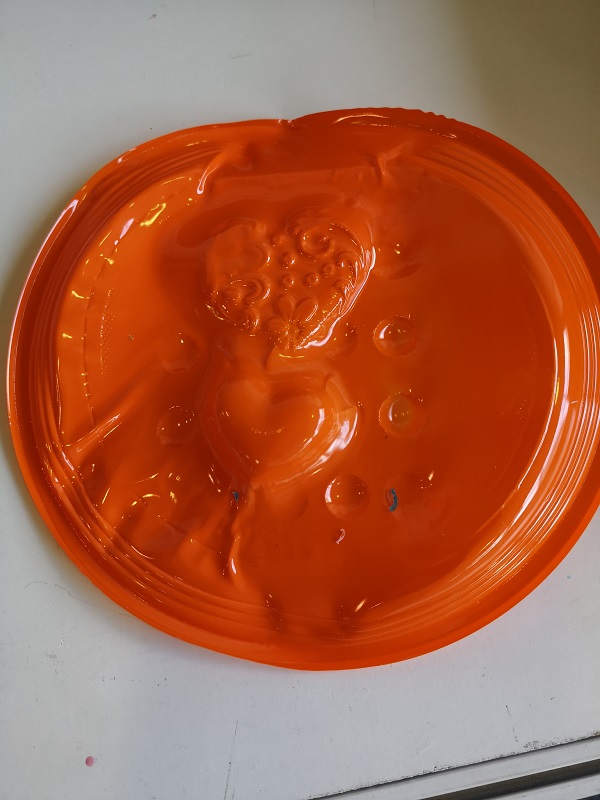 Since we didn't have a thermo foil for the vacuum forming device, we managed and took plastic plates.
The best are white. Those in color dissolve and deform differently - they crack faster in the process of pouring soap.
To heat the plate we used a hot air gun to remove the paint from the wood.
After we shaped the plastic plate according to the model we would design, we poured glycerin, pure or with additives.
For the group assignment we need to review the safety data sheets for each of your molding and casting materials. There are two different sheets for part A and part B. Here is a link to safety datasheet. Both of these sheets covers a large selection of the product line. I’m assuming that the core ingredients are the same across many different products. For Mold Max series part A there are no listed hazards. It does give treatment options for skin and eye contact and ingestion. For Mold Max Series part B it’s a lot more dangerous! The safety data sheets lists hazards for skin, eye and inhalation. Importantly, it recommends to mix outside or in a well ventilated area while wearing appropriate protective equipment. Glycerin is used for casting and it is non-toxic material. Heated wax can be dangerous. Because the wax has to be heated to pour into the mold, hand and legs injuries can occur and protective clothing and footwear should be worn.