Computer-Controlled Cutting
Assignment - Computer-Aided Design
- I -- group assignment:
- characterize your lasercutter's focus, power, speed, rate,kerf, joint clearance and types
- II -- individual assignment:
- cut something on the vinylcutter
- design, lasercut, and document a parametric construction kit, accounting for the lasercutter kerf,which can be assembled in multiple ways, and for extra credit include elements that aren't flat
- LASER CUT
-
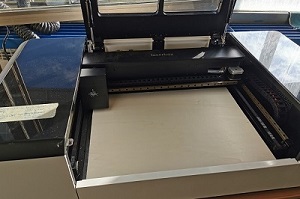 For my assigment I used laser
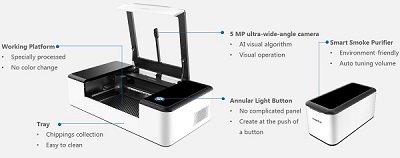
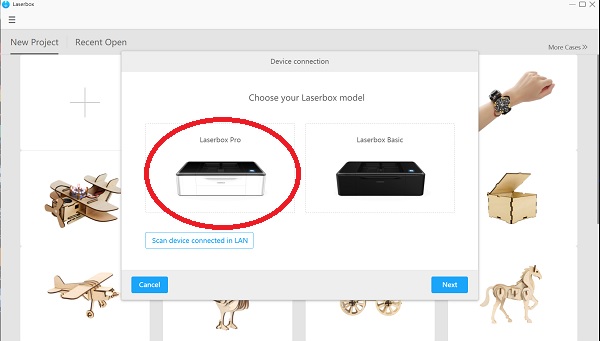
- Laserbox - Pro.
-
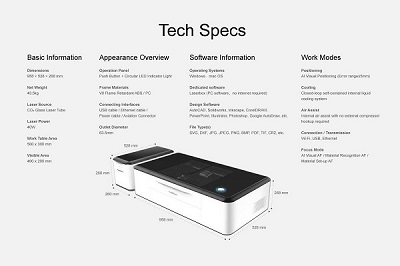
Makeblock laserbox specification
- Laser tube type and power : CO2 laser 40W
- Dimensions: 958 x 528 x 268mm
- Weight: 40kg
- Working Area: 500mm × 300mm
- Z-axis Height: 25 mm
- Max Cutting Speeds: 600mm/sec
- Precision: 0.05mm
- Visual Working Area:490mm x 290mm
- Max Cutting Thickness: 15mm
- Autofocus: Material recognition autofocus/material set-up autofocus/visual autofocus
- Connection: WiFi, USB, internet
- Design Software: PS, AI, CorelDRAW, AutoCAD, Solidworks, AutoDraw, and etc.
- File Formats: JPG, PNG, TIF, BMP, DXF, SVG, CR2, and etc.
- Operating Systems: Windows, macOS
- Material Capability: Paper, corrugated paper, wood, acrylic, cloth, leather, base plate, ABS-based color board, PET, rubber, glass fiber, plastic, corian and other dozens of materials
- Firmware Updates: Continuous performance optimizing with firmware updates
-
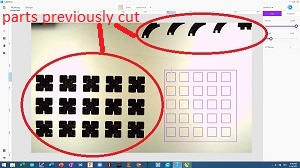 The laser that I used have automatic setting for speed and power. Power is on 100 % and speed is on 60 %.
It also have camera that makes work much easer and waste is reduced.
-
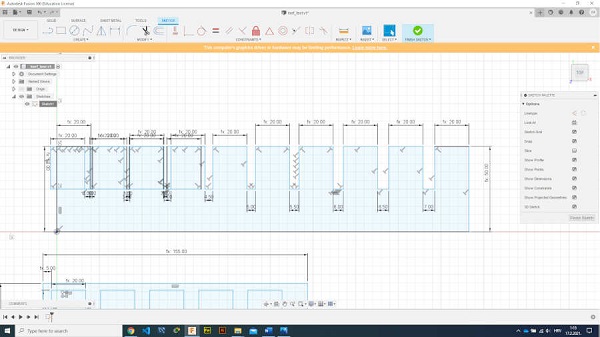
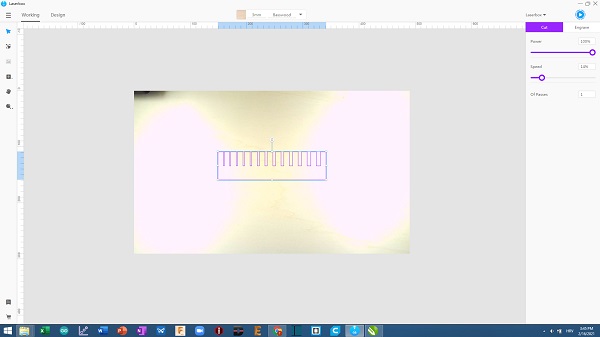 The group assignment for the week was to characterize the laser cutters focus, power, speed, rate,
kerf and joint clearance.
My colleague and I designed a shape on Fusion360 with cut outs ranging from 1mm to 10mm in thickness.
We exported file to the sketch as a dxf file and opened it up with Laserbox.
The laser power for this cut was set to 100% and the cutting speed to 14%.
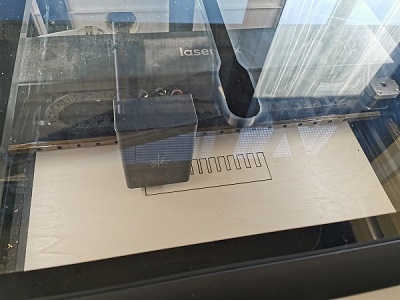
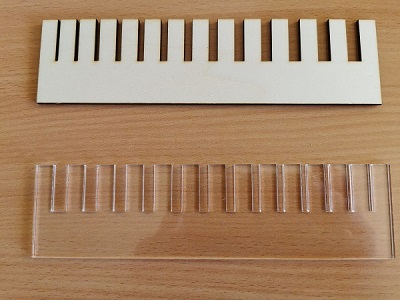 To calculate the kerf of the laser each tooth had to be measured separately.
From the obtained values, 10 mm from the design is subtracted and a value of kerf wass 0.11 (0.22 / 2).
The same kerf we got for plywood and plexiglass.
-
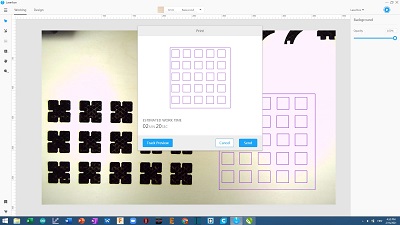
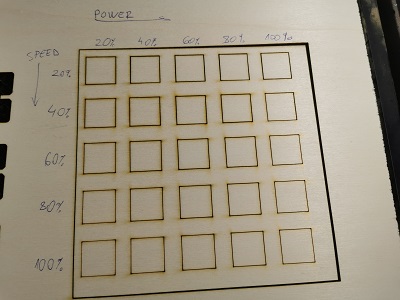 The next test was a speed and power test.
According to the drawn template, a dxf file was created and inserted into the cutting laser.
The speed and power were adjusted to obtain cutting results.
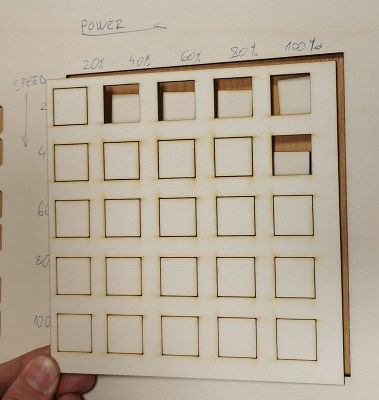
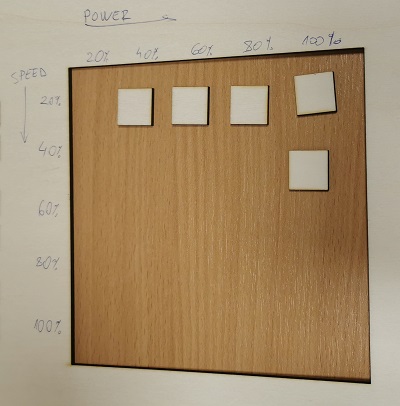 From the pictures on the left and right, it can be seen that the cutting depends on the cutting speed as well as the power.
The thickness of the plywood that is cut is 3 mm.
The higher the speed the laser could not cut the plywood.
The optimal cut on this laser for my task is 100% power and 14% cutting speed.
-
Individual assignment:
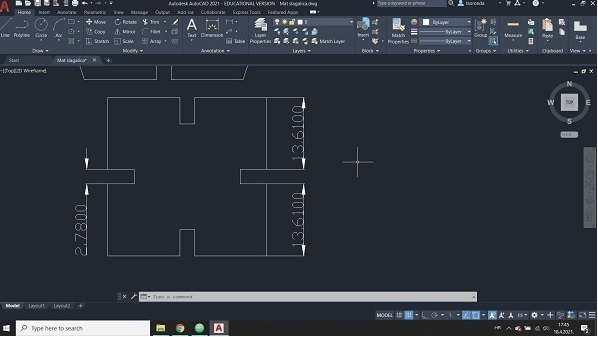
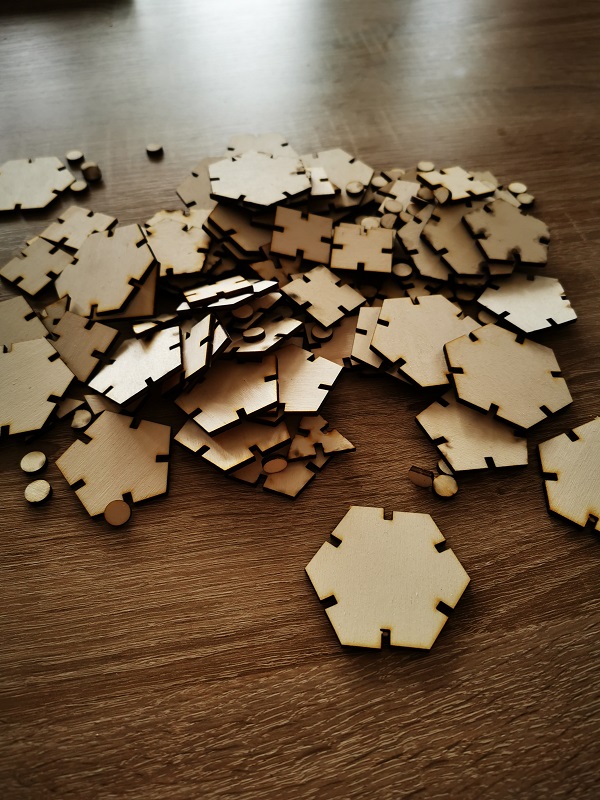
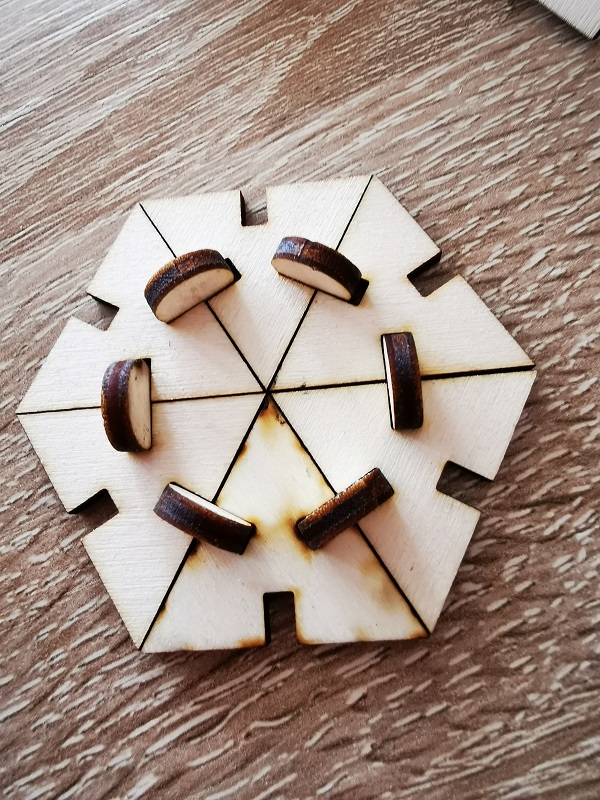
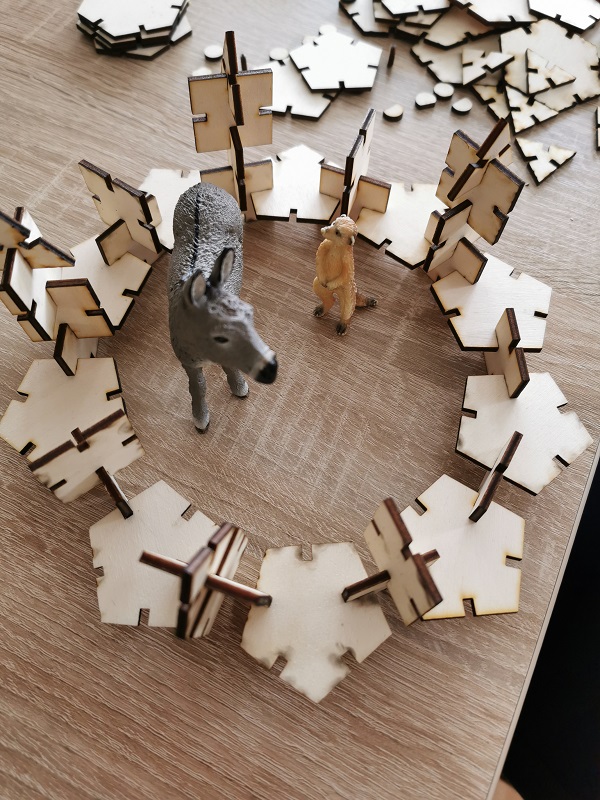
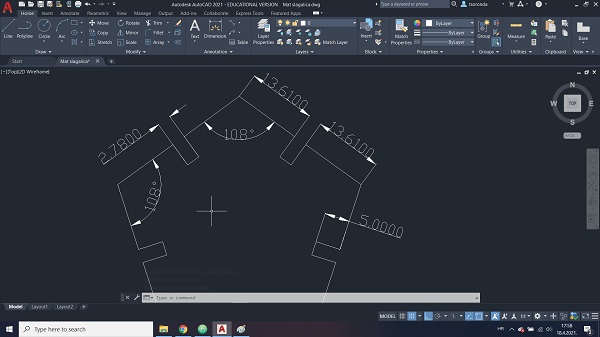 For my task, I chose to create puzzles of different shapes that can be
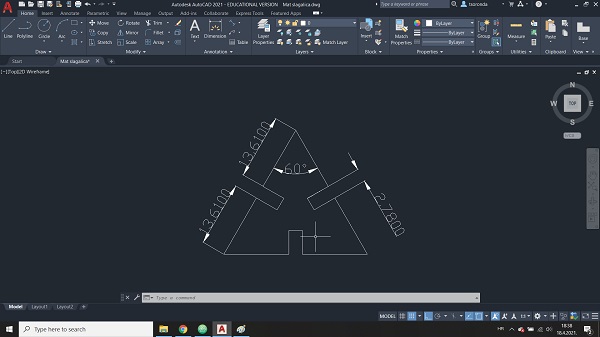
merged into different shapes after cutting. I drew a square,
a triangle and a pentagon with grooves so that they could be placed into each other.
I additionally drew a circle that can also be inserted into the grooves as a coupler.
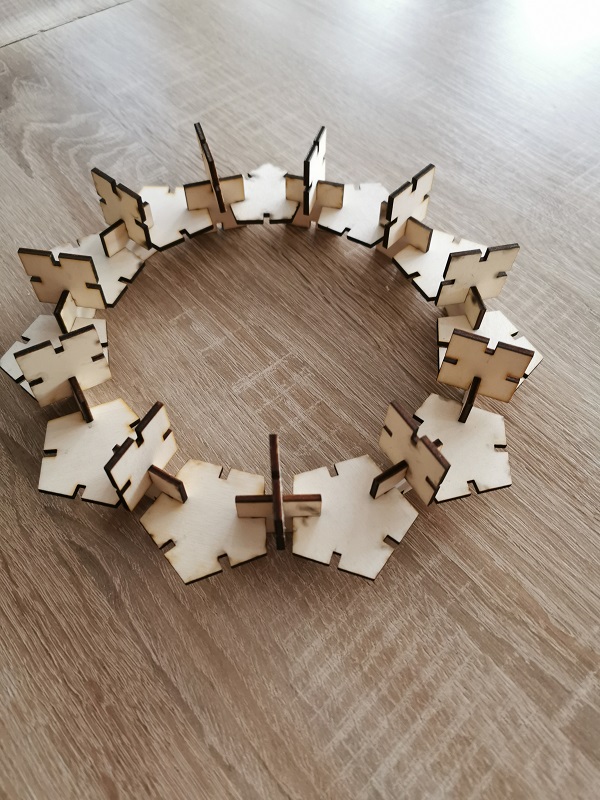
What can be agreed from this - everything the imagination desires.
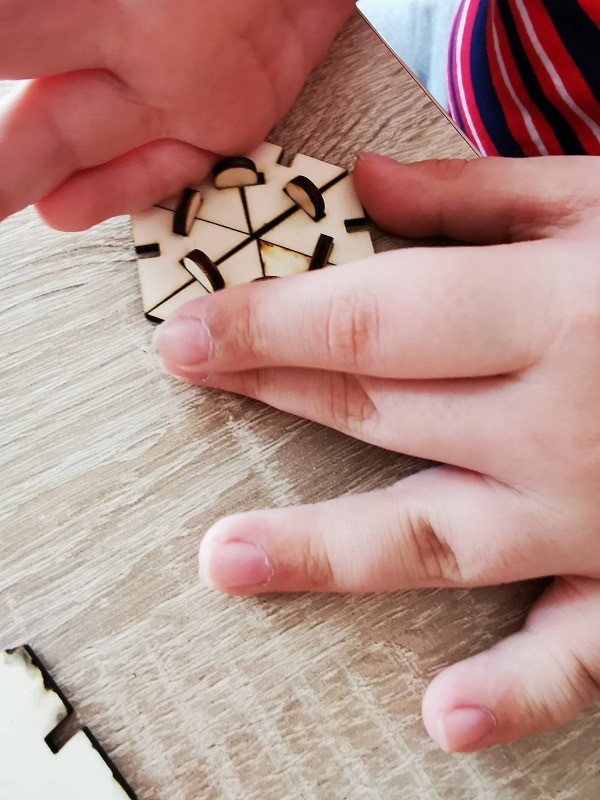
I challenged my son to whom putting together puzzles is a big motor challenge.
You can see its success in the pictures shown.
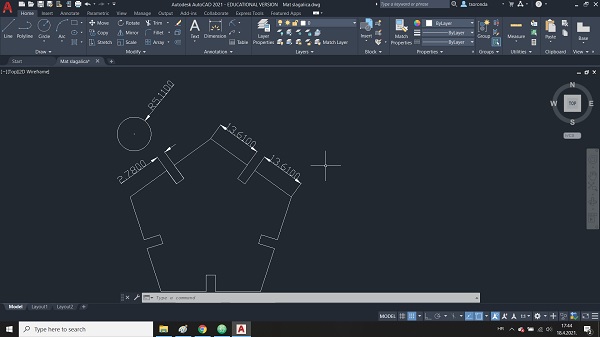
 The dimensions of the puzzles are chosen so that they are not too big or too small,
ie that my son can take them and connect them, but not too easy, but also not too difficult.
The grooves of the puzzle were 2.78 mm because the thickness of the plywood was
reduced by the kerf we calculated in the group task.
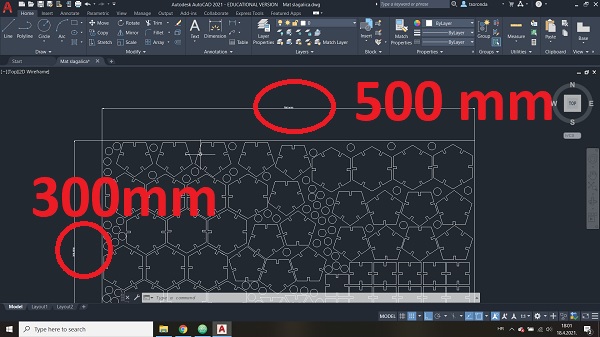
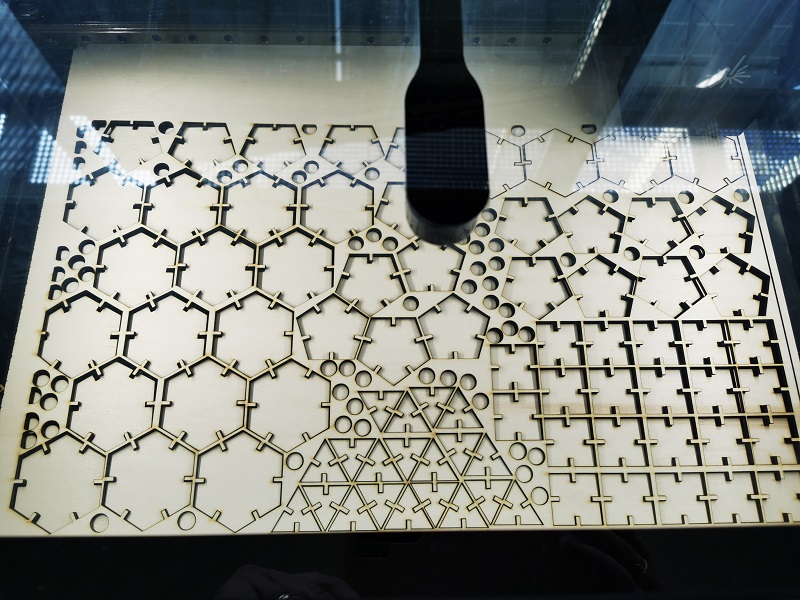
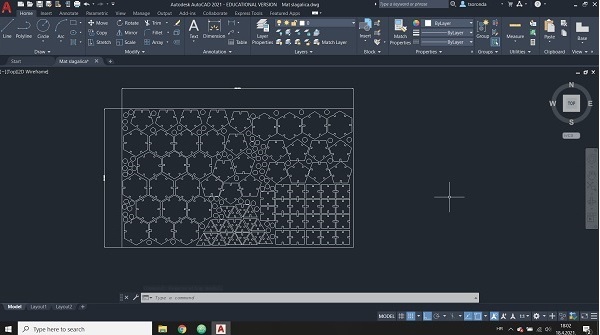 The dimensions of the plywood that is placed in this laser cutter is 500 mmm x 300 mm. The drawing is
filled so that there is as little waste as possible when cutting and that it meets the dimensions of the board.
- VINYL CUT
-
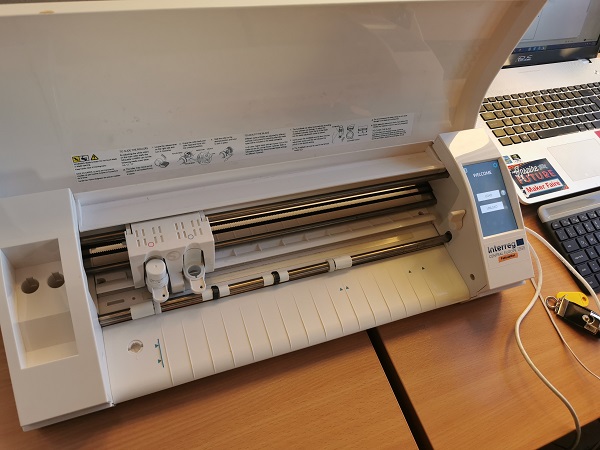 For my second individual assigment I used
- Silhouette Cutter Plotter Cameo 3 Paper/ Vinyl Cutting Plotter Machine.
-
Specification:
- Weight 8 lbs 15 oz
- Interface USB 2.0 high speed
- Maximum Cutting Area 12 in. x 24 in. (30.5 cm x 30.5 cm) with a cutting mat 12 in. x 10 ft. (30.5 cm x 3 m)
- Compatible Media Types Vinyl, heat transfer material, cardstock, photo paper, copy paper, rhinestone template material
- USB Port For reading and cutting saved files directly
- Maximum Cutting Force 210 g
- Maximum Media Thickness 78.75 mm (2 mm)
- Dimensions 22.5 in. x 6 in. x 8.5 in. (57.2 cm x 15.2 cm x 21.6 cm)
- Cutting Blade Silhouette Auto Blade
- Cutting Mat (12 inch) 12.75 in. x 13 in. (32.4 cm x 33 cm)
- Power Cable 100-240 volts AC adapter
-
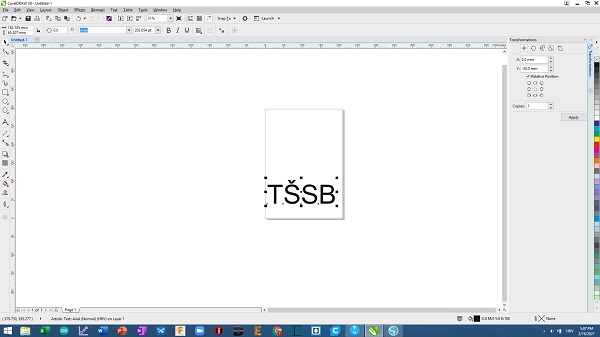
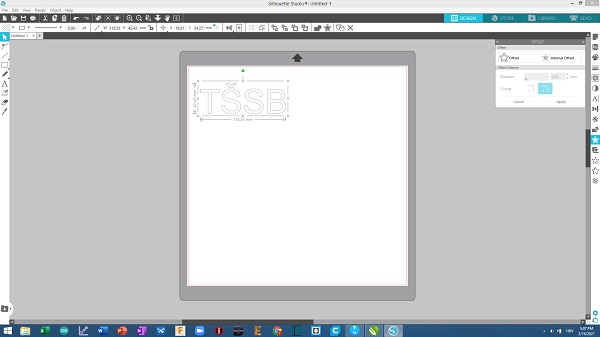
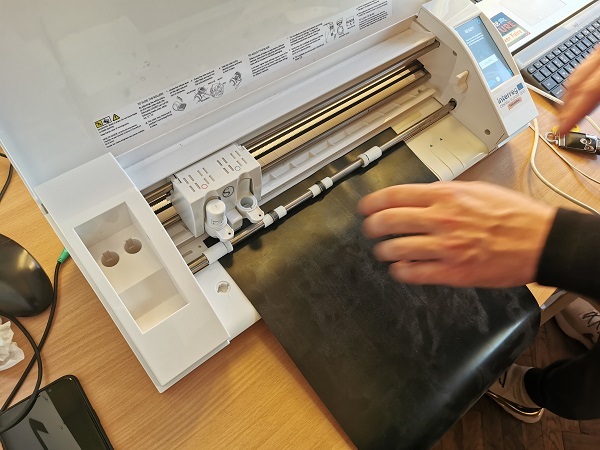 In CorelDraw, I wrote the text TSSB - the abbreviated name of my school.
Then I uploaded that file to the Silhouette studio program to work with a vinyl cutter.
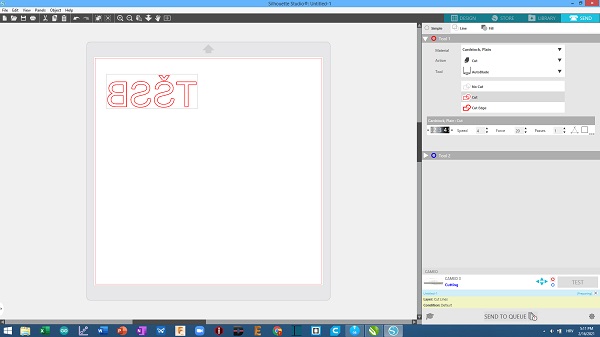
When I loaded the file, I set the cutting speed to 4, the force to 20, and the number of passes to 1.
The letters must be mirrored to rotate properly when cut and glued to the substrate.
-
-
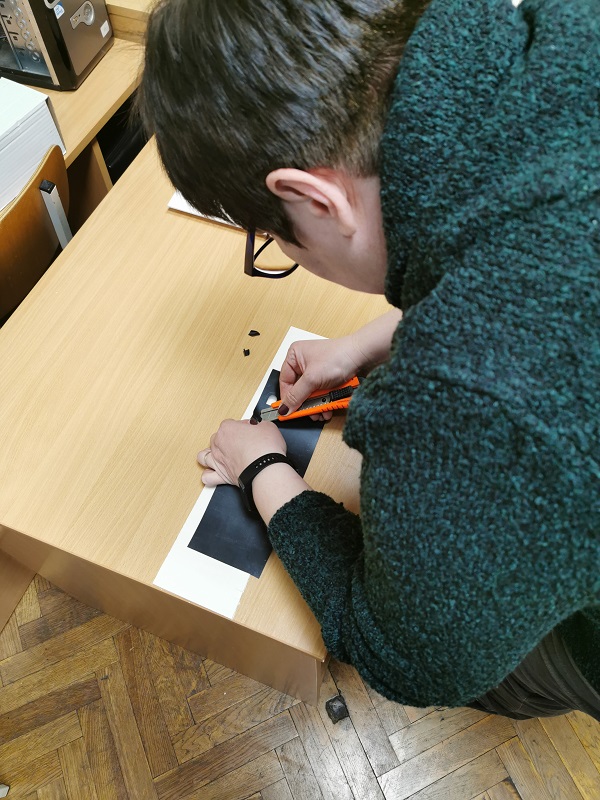
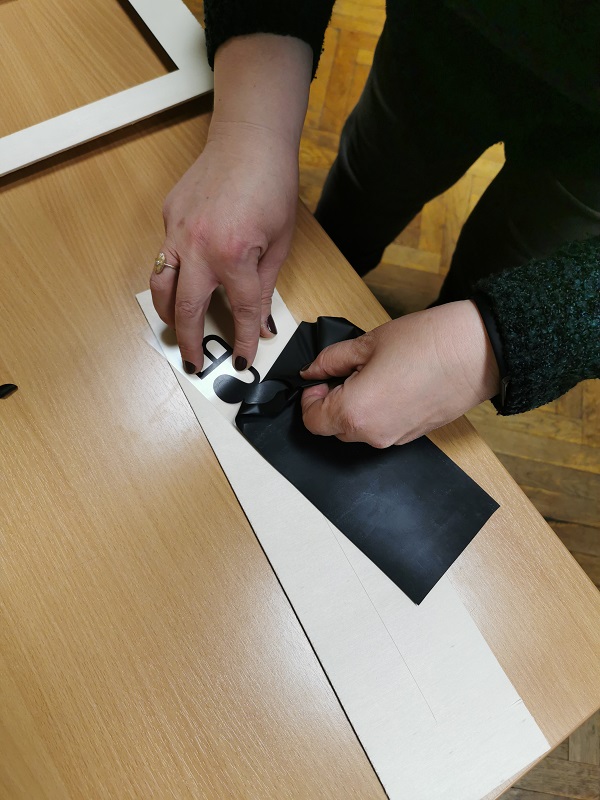
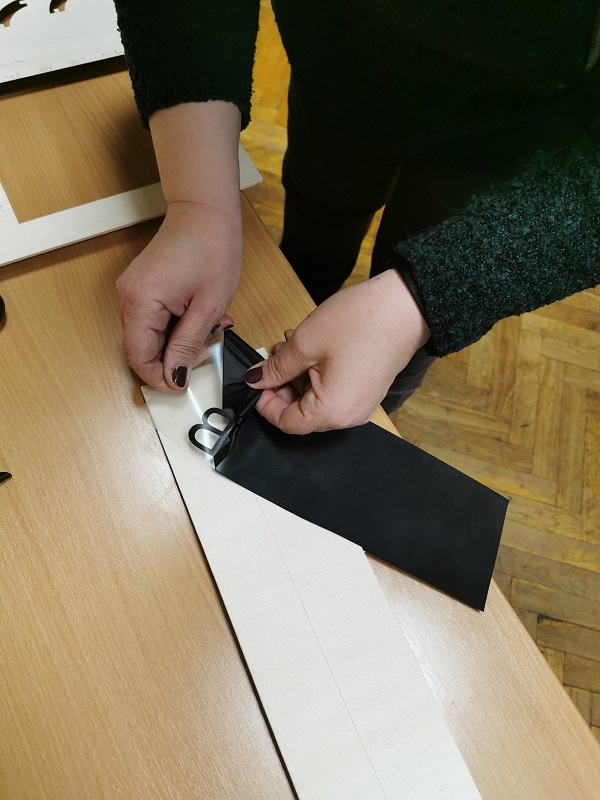 After the letters were cut out on the machine I carefully separated the excess at the letter
B and then slowly separated the foil from the rest of the letter. Then I put the letters on a
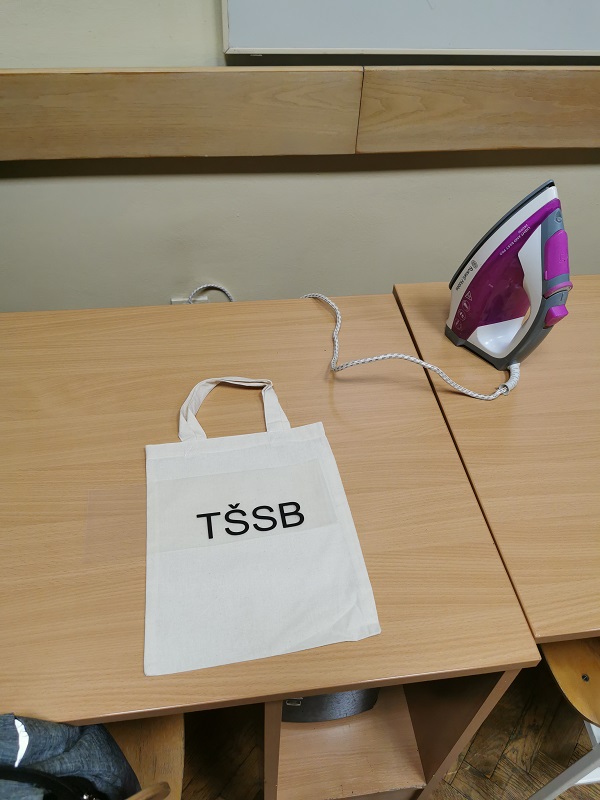
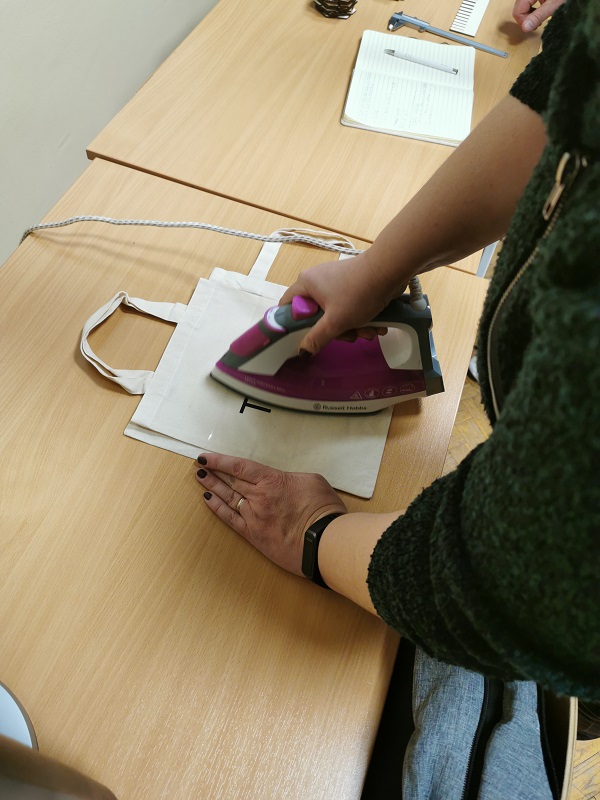
canvas bag and then pressed them with an iron or ironed them until
the letters remained on the linen bag.
-
-
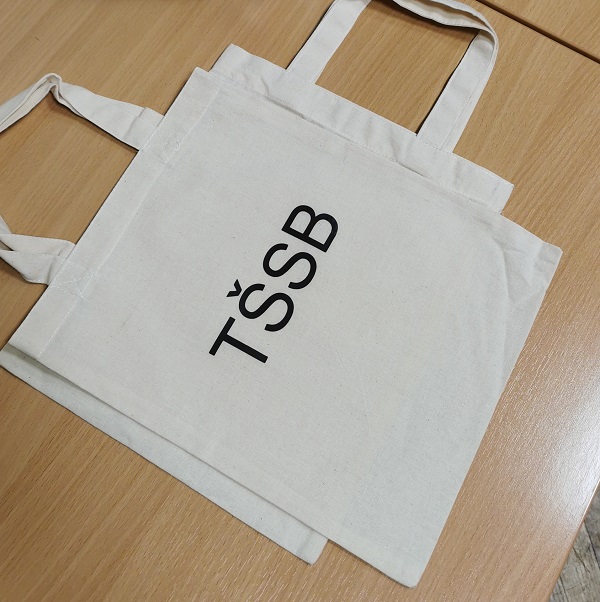 The end result
