08. Computer-controlled machining
Computer-Controlled machining
Assignment: test runout, alignment, speeds, feeds, and toolpaths for your machine
Today we are working with a CNC. The first program we use is VCarve Pro
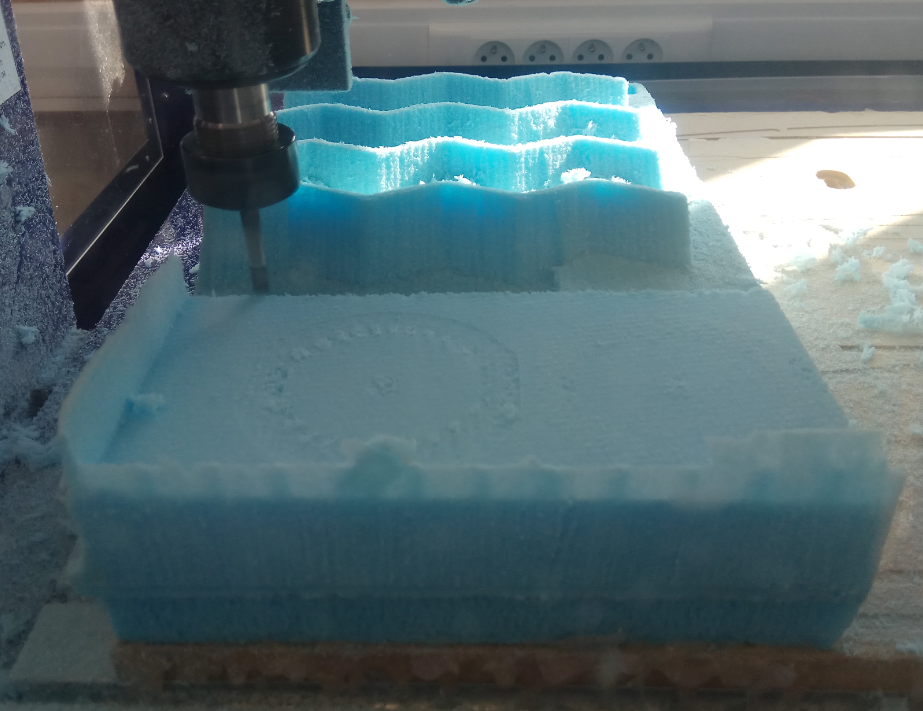
We fill first try to use styrofoam and cut a 3-centimeter layer from the top.
We enter the length and width of our block 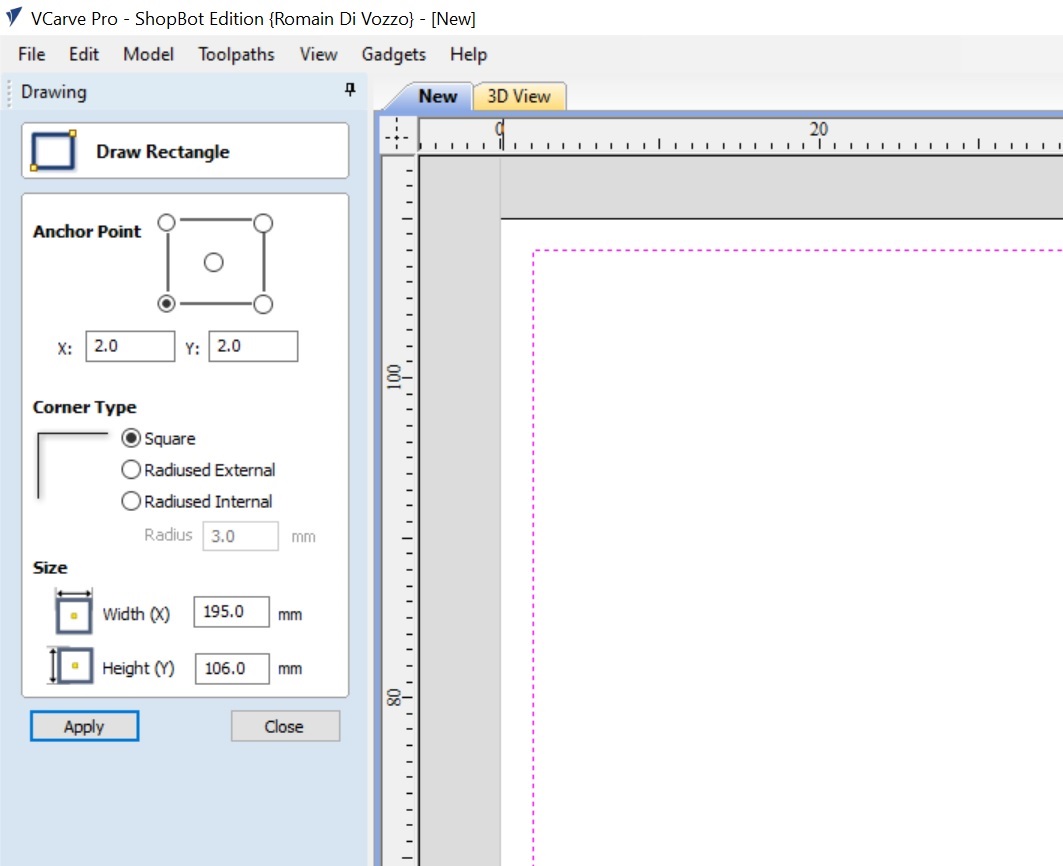
We choose a cut depth of 2 mm 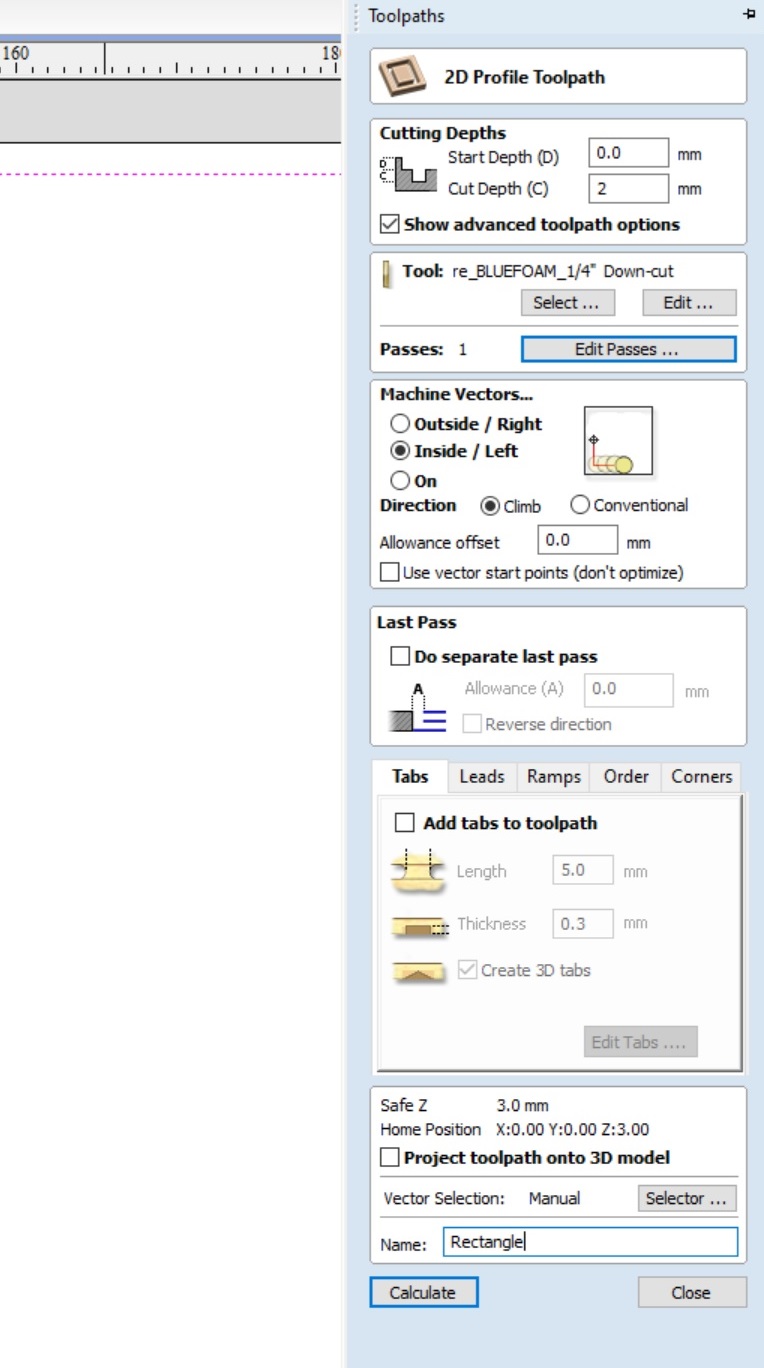
We should have the block that we created visible in 3D 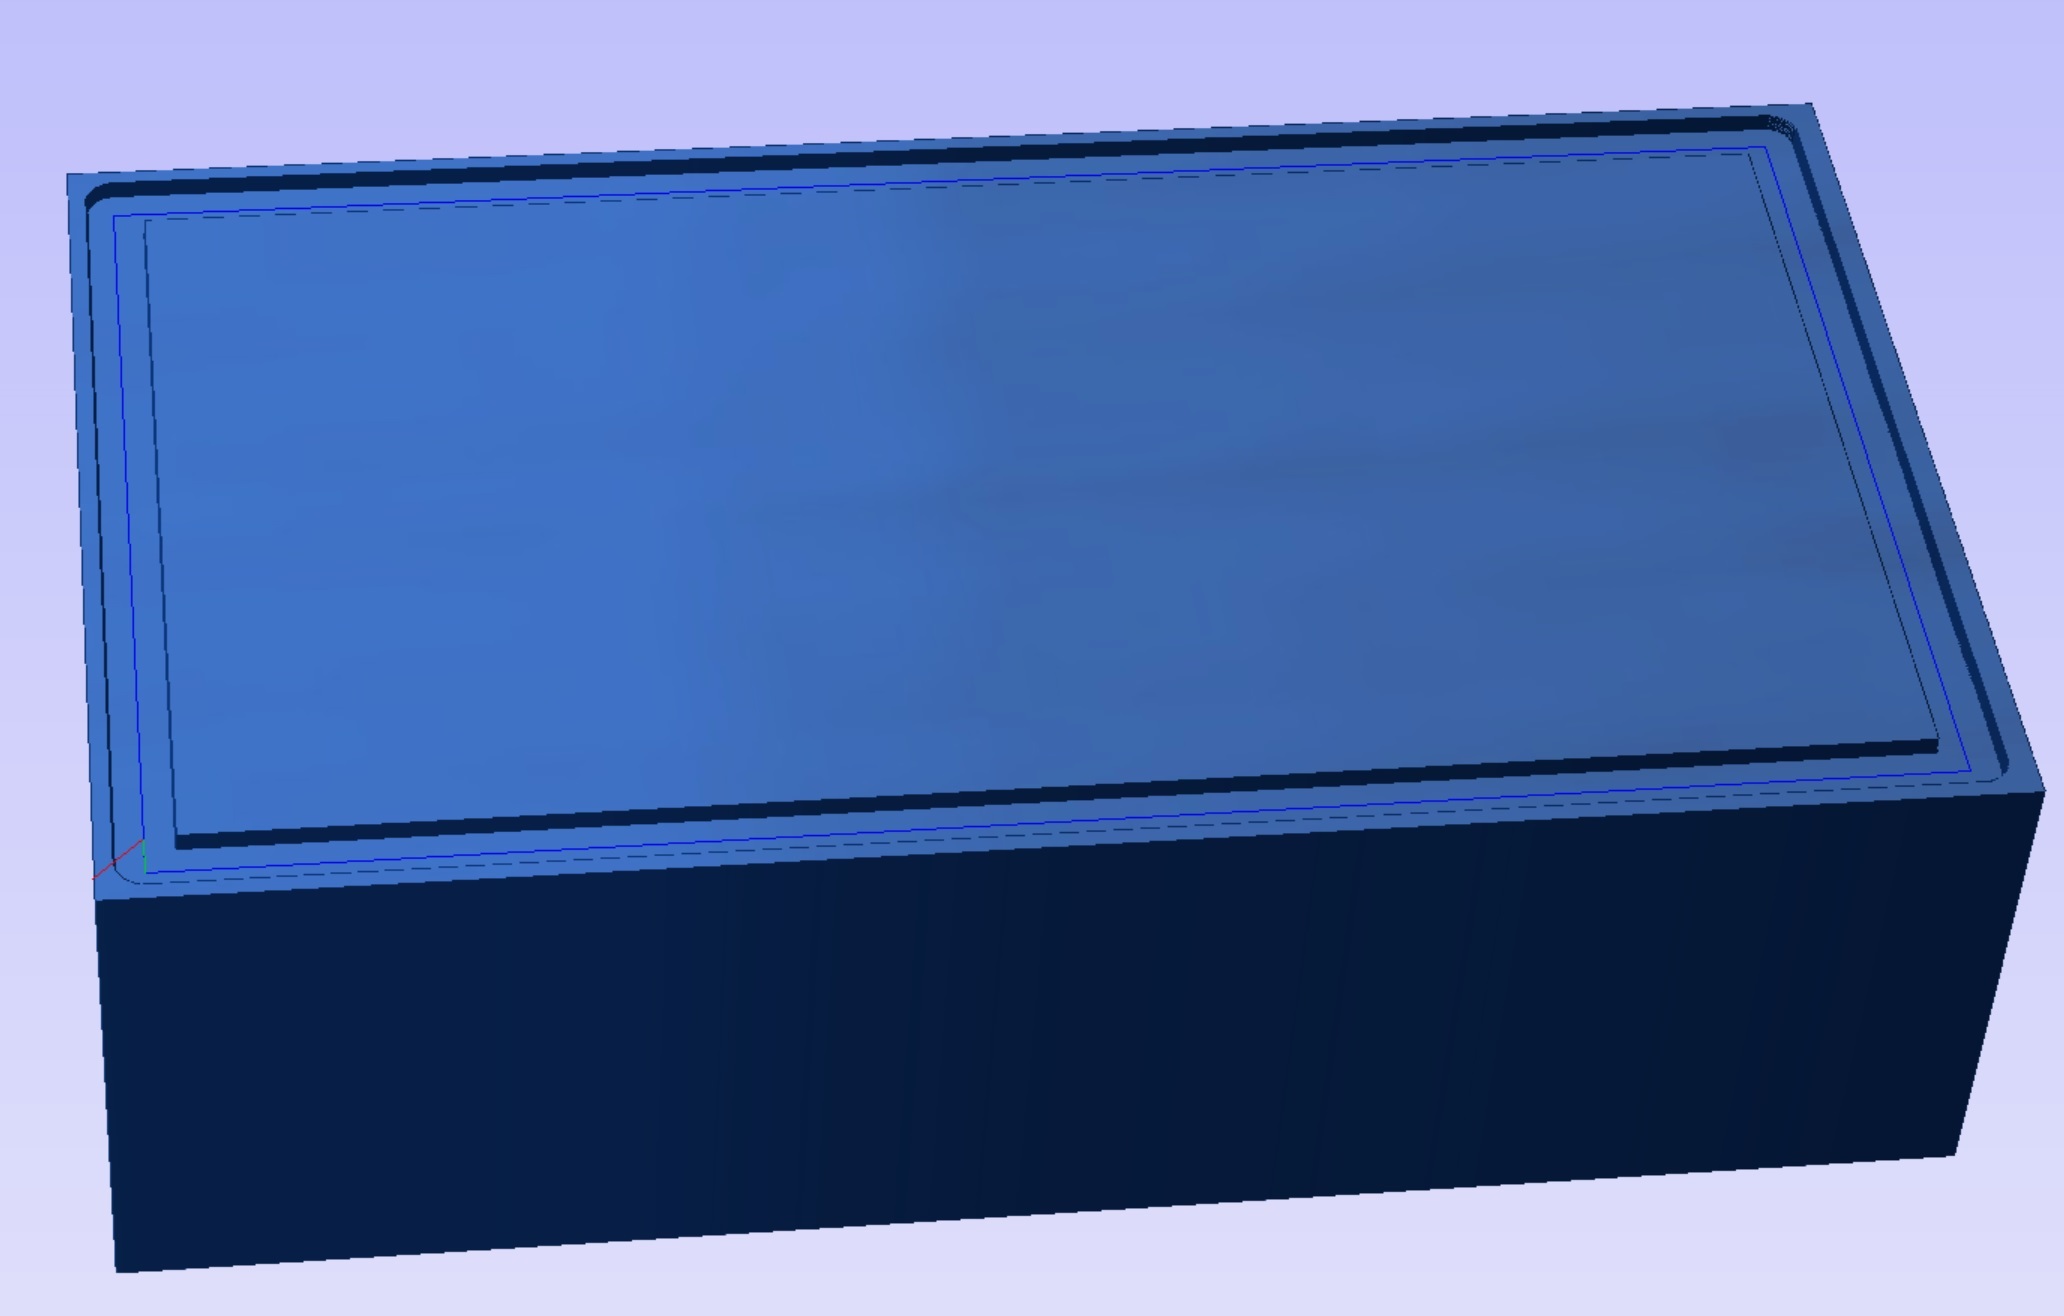
We can see the path the mill is going to take by clicking Reset Toolpath and Preview Toolpath 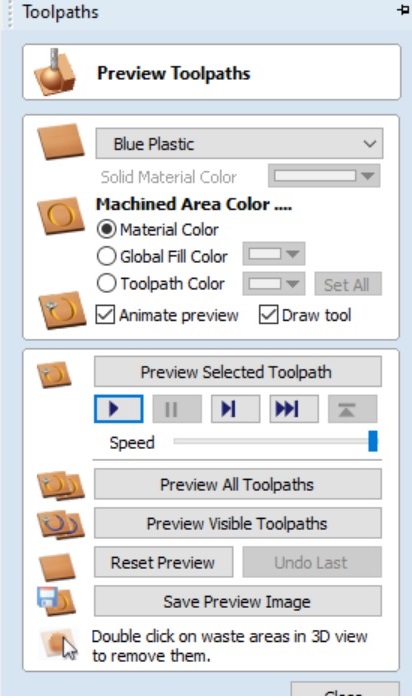
When we are done, we have 2 files to save:
- a .sbp file for the toolpath
- a .crv file as a general save with all features
We are now ready to send the job to the milling program
Running the job
We will use Shopbot to do the milling
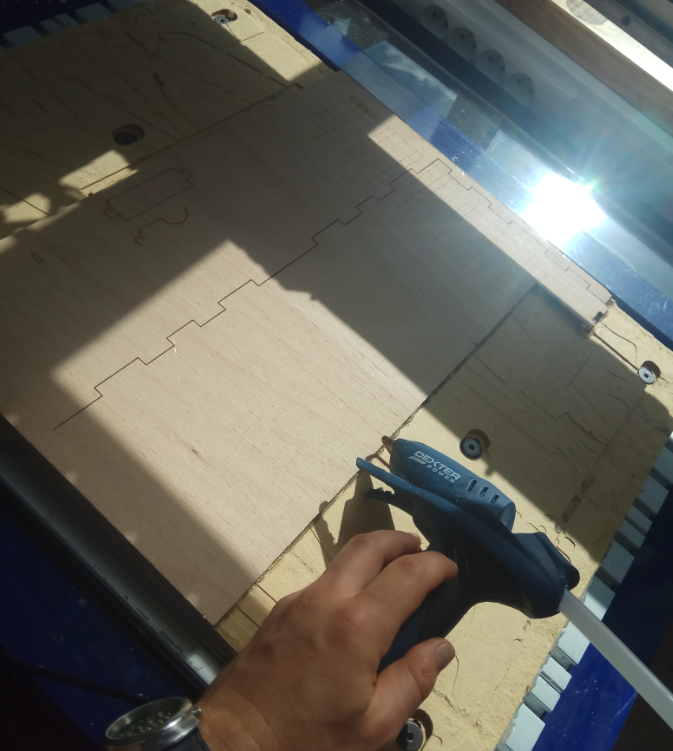
Stick base pane so it doesn’t fly off.
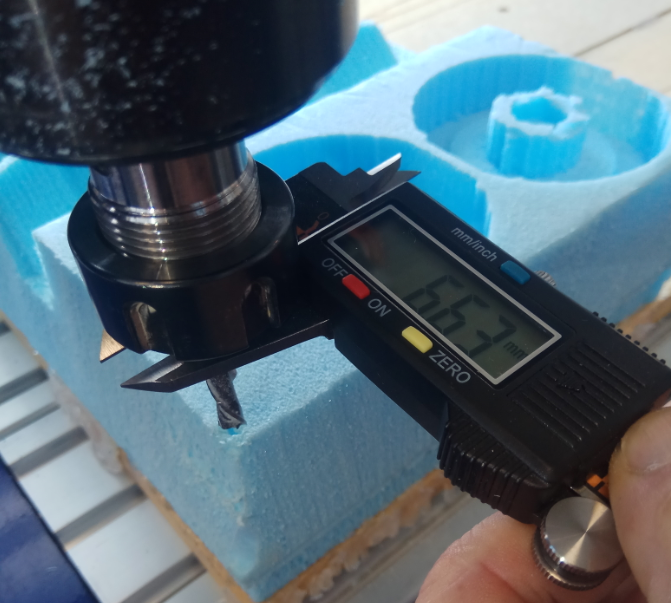
Choose the good flute for the material we are going to mill and measure it
We stick it inside the machine with 2 wrenches. We do not go too hard on then
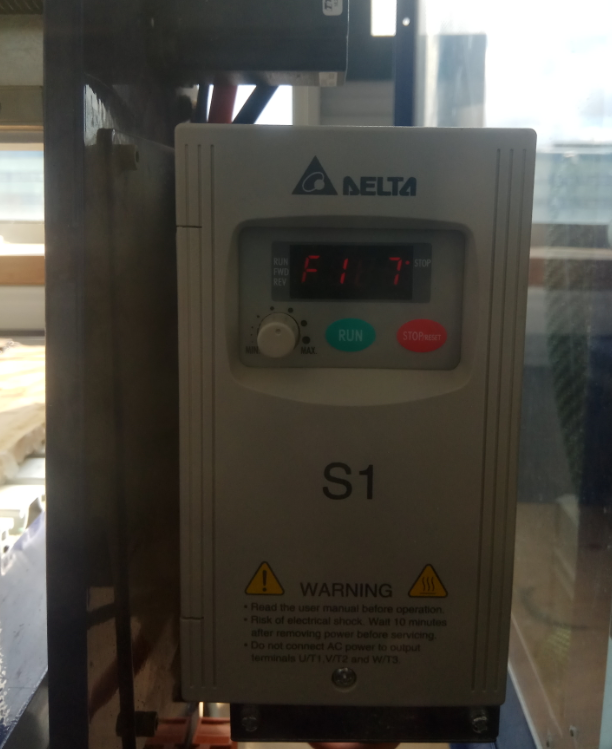
Choose rpm on the machine. It ranges 0-300, with 300 corresponding to 18,000 rpm. In our case we choose 167, which matches 10,000 rpm.
We open the file with the program. 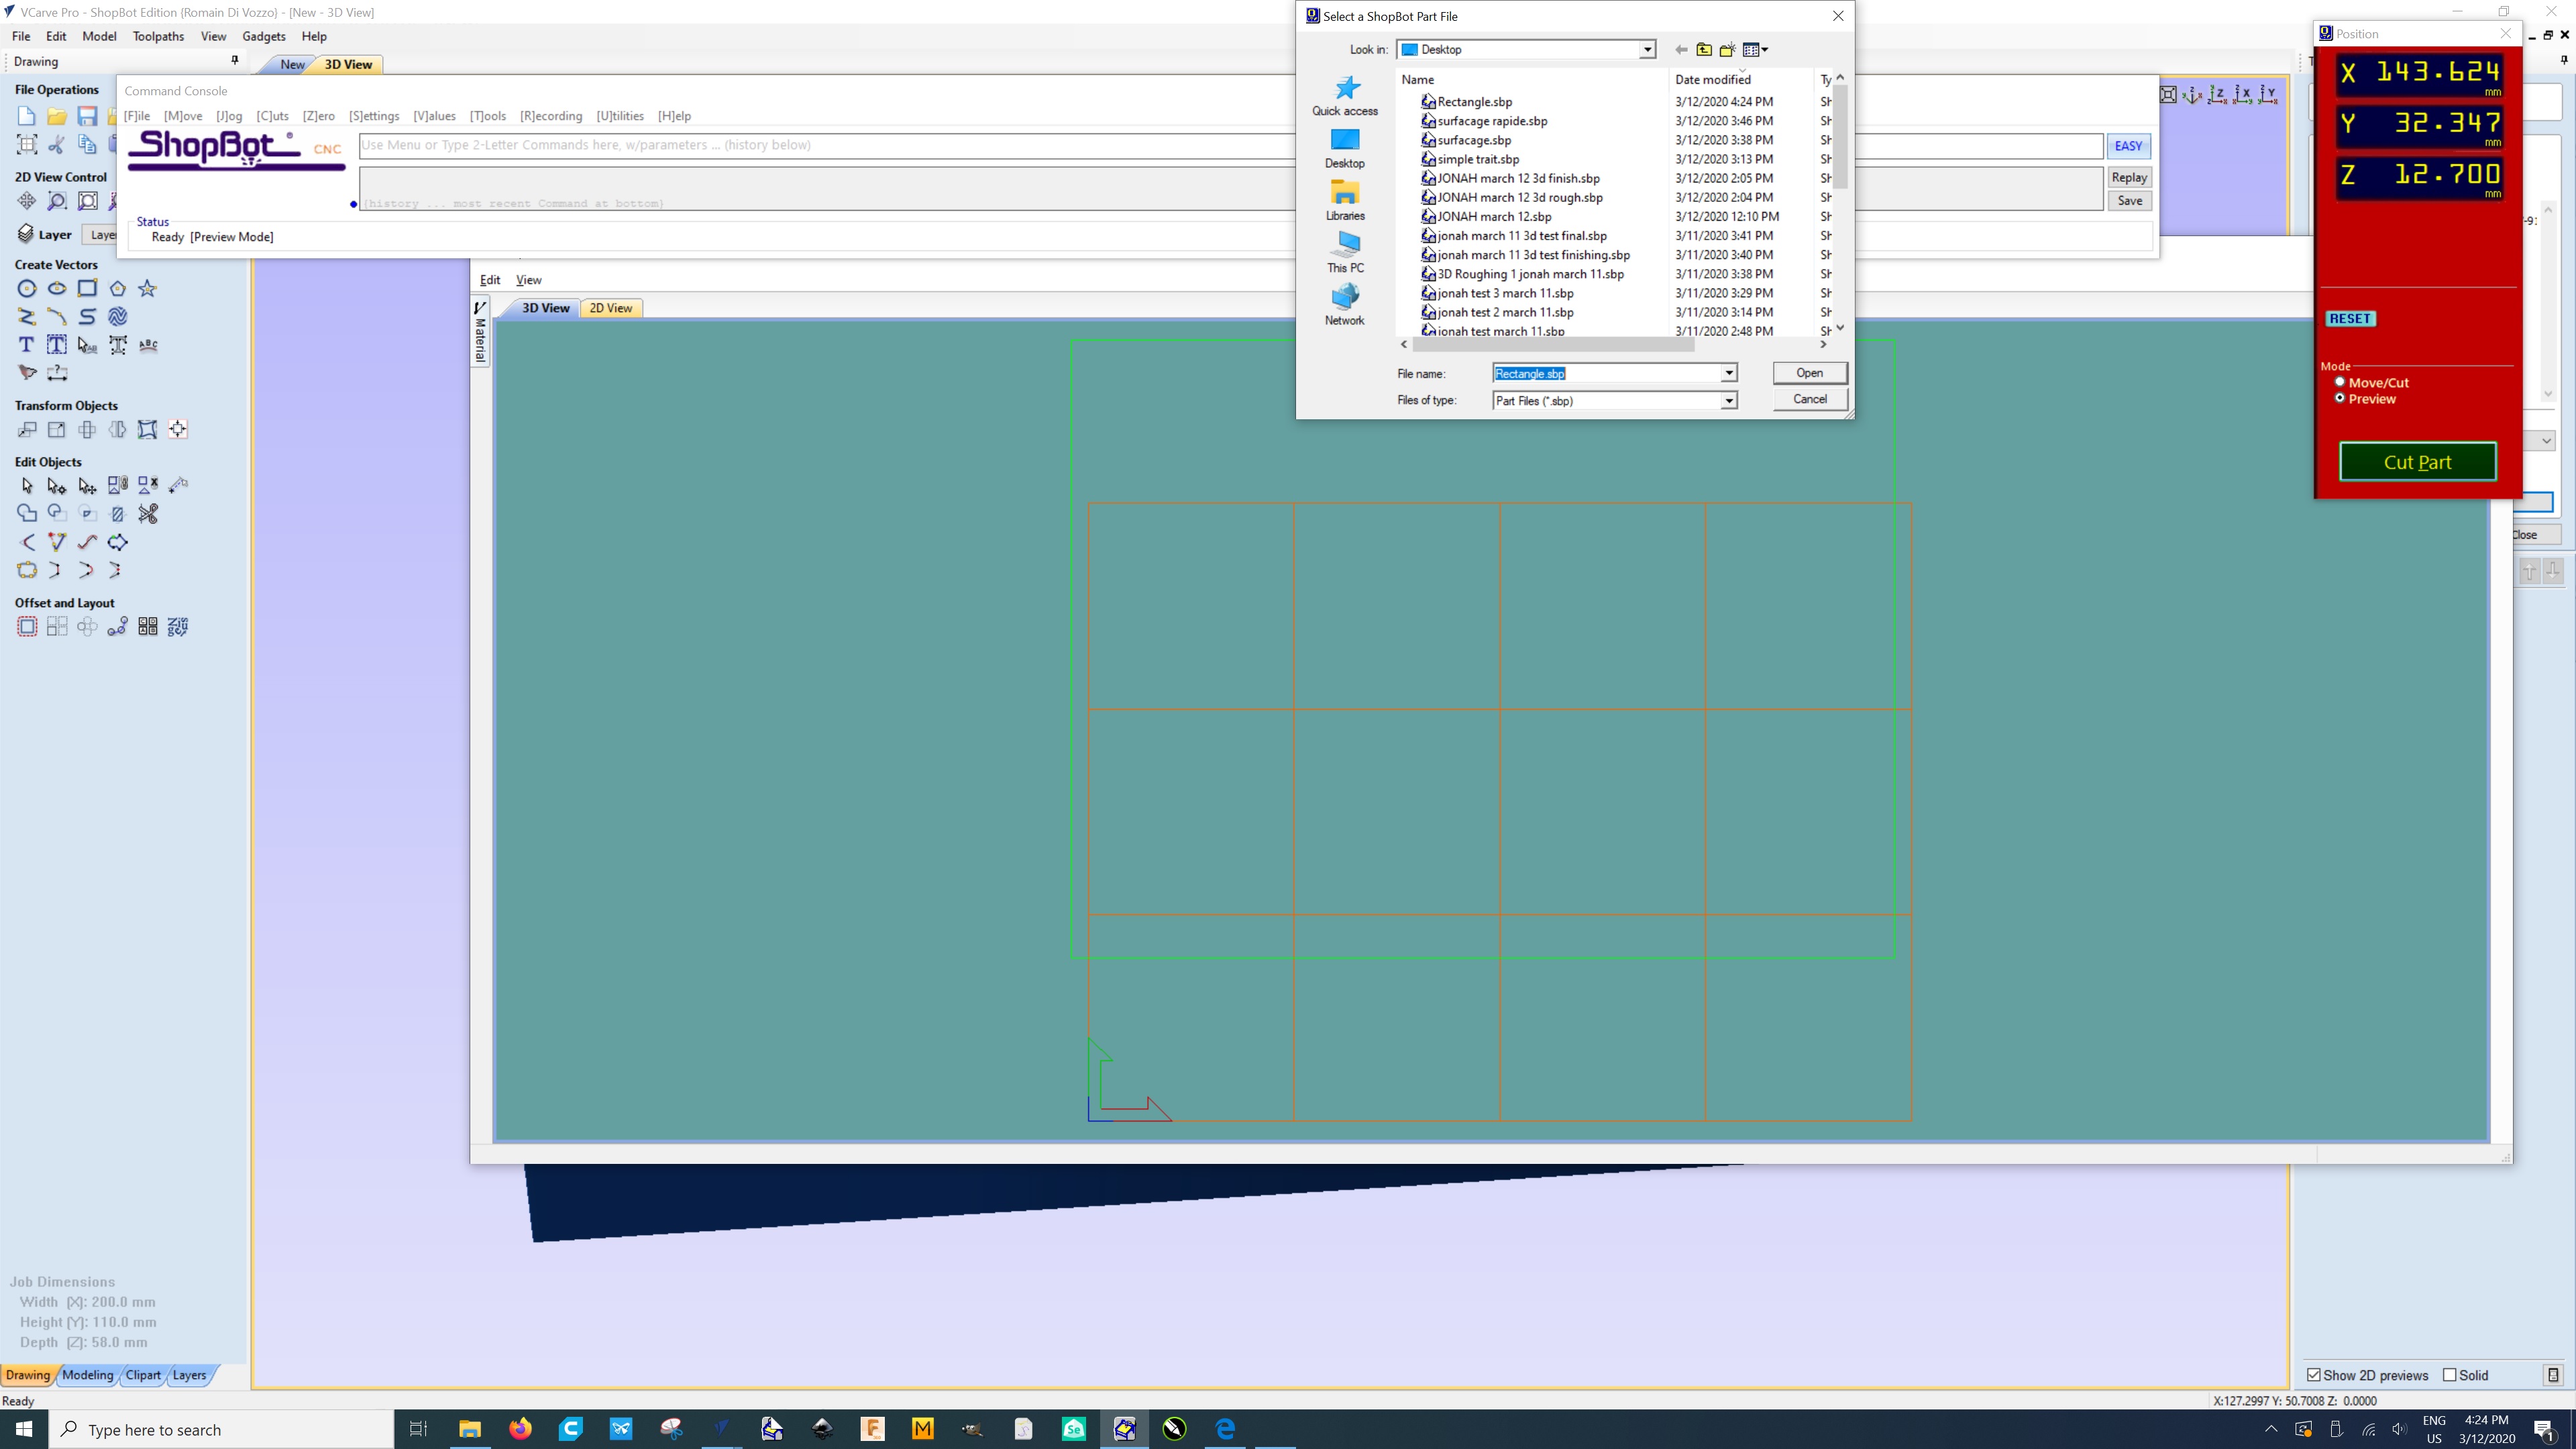
We chose a z-zero at the top of the plane by clicking Move Tool. On our program, we have to click it twice.
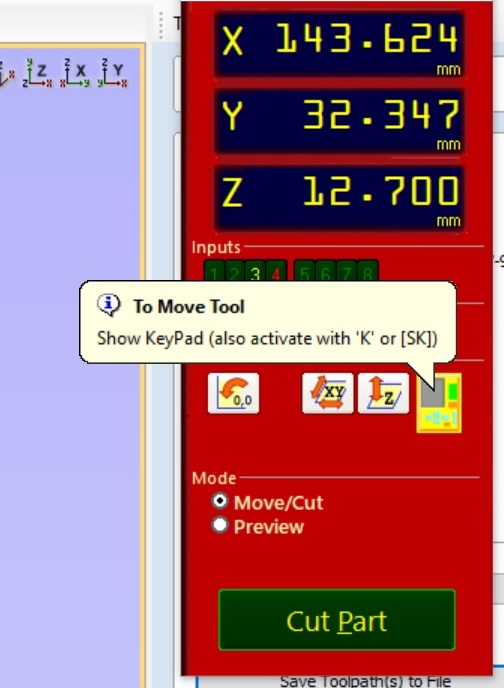
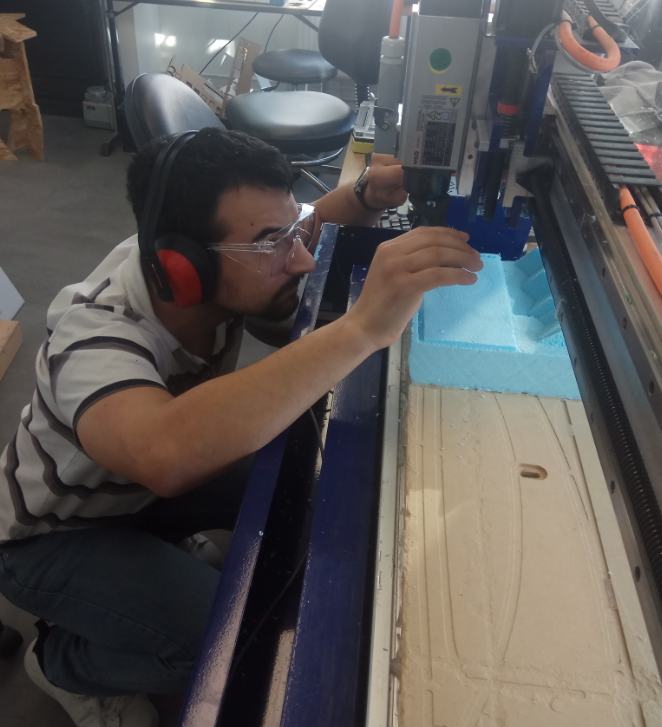
We move the mill to the zero we want. 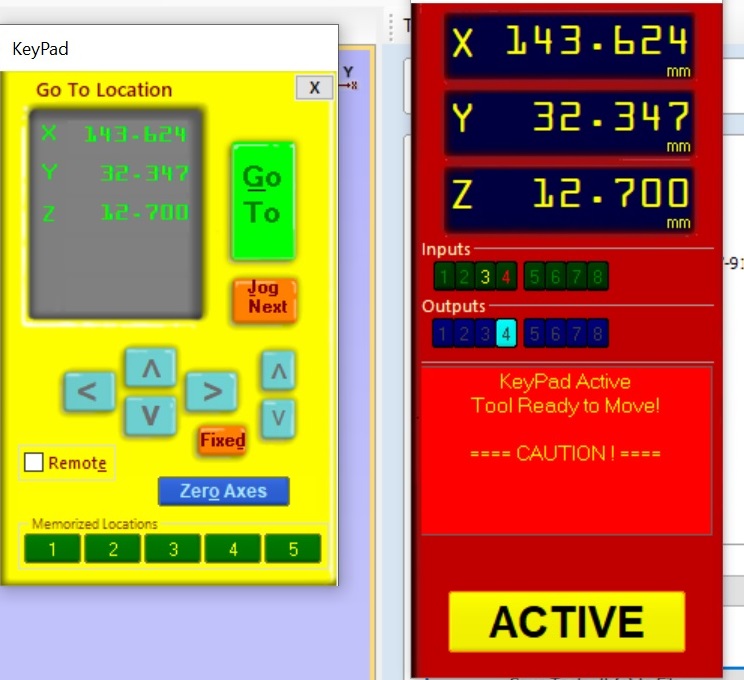
When we are done, we click the Zero Axes 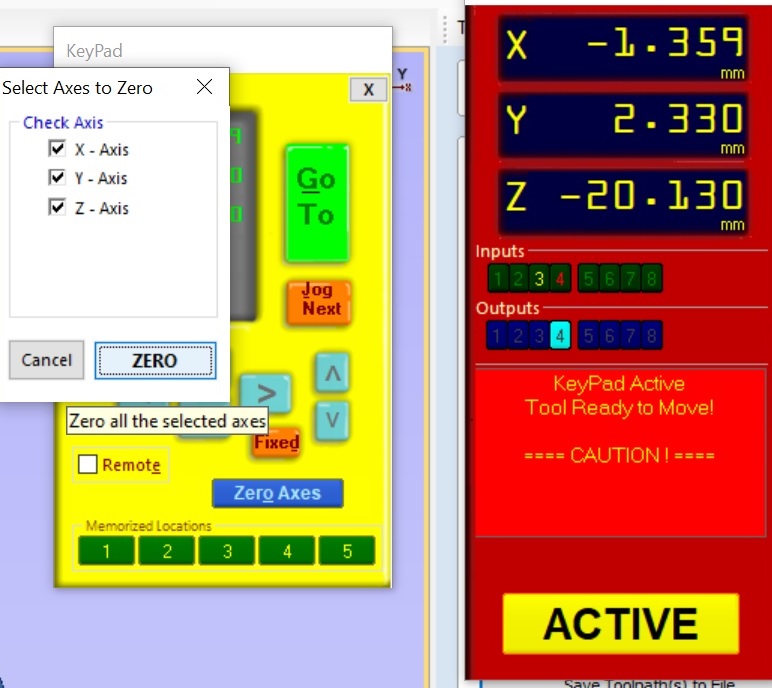
When we are done, we click Start 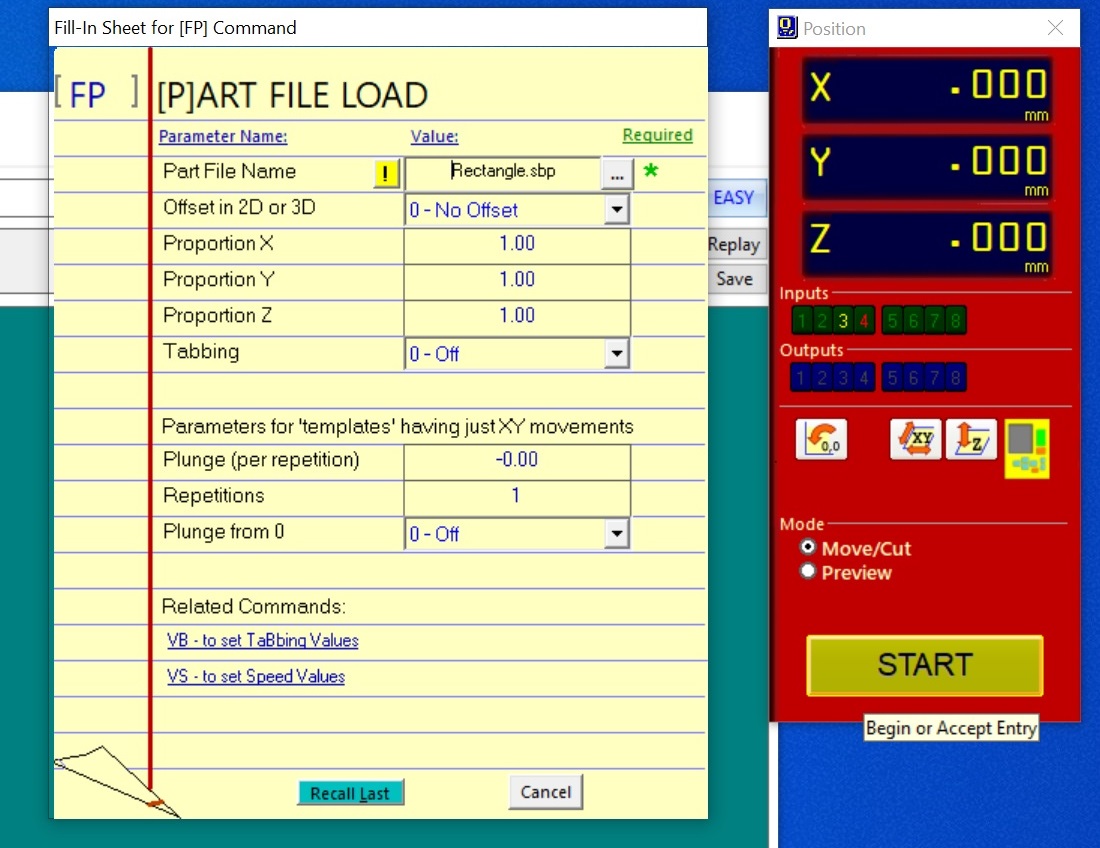
We heat up the machine by having it run for 10 minutes. This is done with Alt-C-5
The first run will be a dry run. We put the z axis higher than it should be. This way the machine is going to mill in the air so we can make sure the path looks ok.
When we are done, we set the z axis well again and click Cut Part.
We keep the index on the space bar to interrupt the process if anything goes wrong.
When we are done, we have a block of styrofoam where the top layer has been totally removed.
Second assignment: make something big
Our machine is pretty small and we only had 2 days in the lab because of the confinement rules in France. So we made something small.
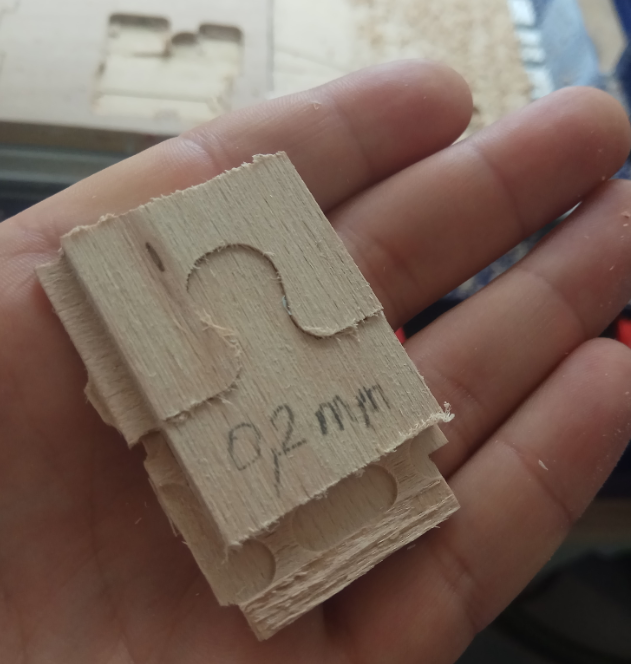
We made a small puzzle piece. We used a gap of 0.1 mm and couldn’t piece them together.
The first problem we had is that the milling went too far down. This dug too far down in the tabs, and as a result, the piece flew off.
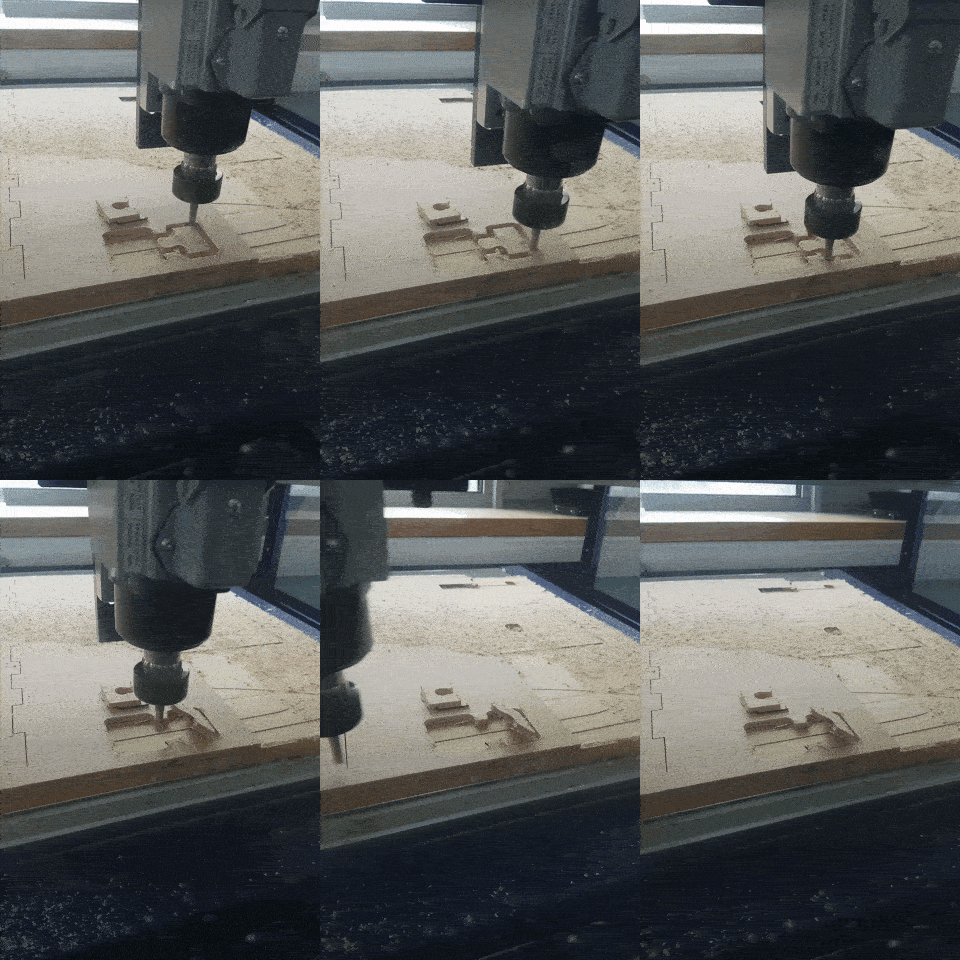
We used 0.2 mm and it worked but it was way too tight. 0.3 mm was the perfect size.
Hints for next time
The milling was very slow. Next time we mill into styrofoam, we can have a very small overlap, maybe 0.2. This way the milling can go faster
