01-02. Project management
Making the current website
How did I make the website you are reading? Here are the steps to follow.
I have decided to use Jekyll to make this website. It is a static website generator. We will use it to create the files that the webserver will display.
However, we have to work with a few limitations: 1. I am running Windows 2. I do not want to install anything on my computer
We will go around these limitations by using Docker, which will run all the programs I want without installing anything permanent.
The first step will be to create the Jekyll files on my computer.
Creating the files on the hard drive
Let’s start by pulling the jekyll image from the docker and use it to create the project on a volume I mounted on my hard drive.
docker run --rm -it -p 4000:4000 -v "$(pwd):/srv/jekyll" jekyll/jekyll /bin/bash
jekyll new .
bundle exec jekyll serve
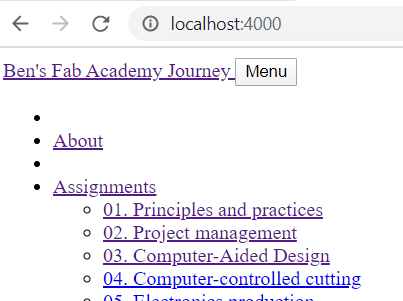
We can now go to localhost:4000 and we already have the project running !

However, this is just a temporary solution. The files are going to stay on my hard drive but the docker and its programs will disappear as soon as I quit. So let’s make a more permanent solution.
Creating Dockerfile and docker-compose
-
Let’s create a Dockerfile with
touch Dockerfile.There is no need to build itFROM jekyll/jekyll ADD . /srv/jekyll RUN bundle install EXPOSE 4000 -
And let’s create a docker-compose file with
touch docker-compose.ymlversion: '3' services: jekyll: image: jekyll/jekyll container_name: jekyll_blog environment: - JEKYLL_ENV=docker # force_polling makes the linux box watch for any changes to files, then it will regenerate # livereload gets the browser to automatically refresh when changes happen to files command: bash -c "bundle install && jekyll serve --force_polling --livereload" ports: - 4000:4000 - 35729:35729 volumes: - ./:/srv/jekyll -
Now we can launch it with
docker-compose upand visit http://localhost:4000 to see our project.
And it works

Installing the theme
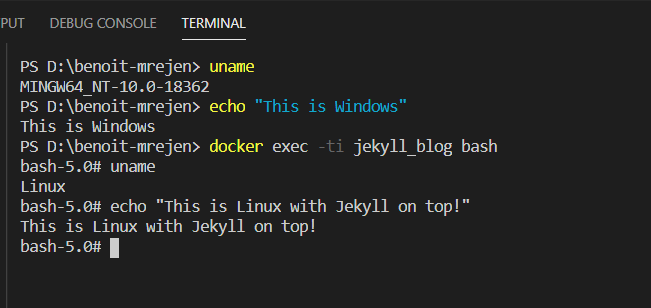
We are going to modify some files that are inside the docker. We do not need to stop the docker for that. However, I am running Windows and I am too lazy to install Ubuntu, so I am going to attach my terminal to the running docker so I can work with UNIX commands.
-
Attach to the docker
docker exec -ti jekyll_blog bashAaaand we’re in!
Now I can run the following commands inside my docker
-
Add the theme to the
Gemfilegem "just-the-docs" gem "jekyll", "~> 3.3" # unfortunately, we have to downgrade Jekyll to use this theme - Install the gems with
bundle install - Add the theme to
_config.ymltheme: "just-the-docs" - Since we modified
config.yml, we need to restart docker (Ctrl+C) and launch it again withdocker-compose up
Now we can go to localhost:4000 and see the website with the new theme
You can notice that the other terminal also got detached from the docker when it closed. You might need to repeat step 1 to get back into it.
Deploying
In my previous configuration, the _site folder (where Jekyll builds the site) was ignored by git, and Gitlab would proceed to building it itself. Unfortunately, this was a pretty buggy solution because bundler has 2 different gemspecs and the job always failed because of a wrong bundler version no matter what. So we are going to build everything locally and push everything to Gitlab - both sources and build.
- Let’s create a config file for Gitlab with
touch .gitlab-ci.yml -
Let’s just keep the minimum info in it
 image: python:alpine
 pages:
 script:
 - mv _site public
 artifacts:
     paths:
     - public
 only:
 - master
Keep in mind that you should NOT use tabs in config files, only spaces.
Now, when we push anything on the master branch, Gitlab will rename the _site folder in public, and the files will be served from there.
Caution! This means we need to build the files before pushing them. We will solve this problem later.
Deploying for the first time
- Let’s create the build with
jekyll build -
Let’s make sure that the folder will be pushed as well. Go to
.gitignoreand remove the following line_site -
Let’s push
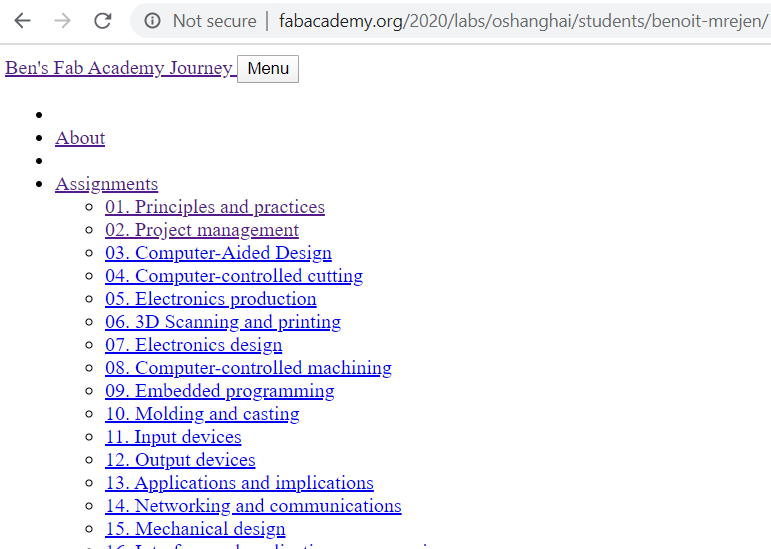
git add . && git commit -m "initial commit" && git push origin masterNow you can go to http://fabacademy.org/2020/labs/oshanghai/students/benoit-mrejen/
- Ouch ! We have styling issues !
The links are messed up. Jekyll cannot find the pages, assets or css stylesheets. What happened? We need to fix our links.
Fixing the links
Working with Jekyll is a big pain in the ass when it comes to links. Relative paths do not work when you are inside a subfolder. Many workaround exist but none of them is very satisfactory.
For the time being, we will simply tell Jekyll to pre-pend each relative path with a baseurl. This is not very good practice, but it will do for this project.
-
Let’s go to
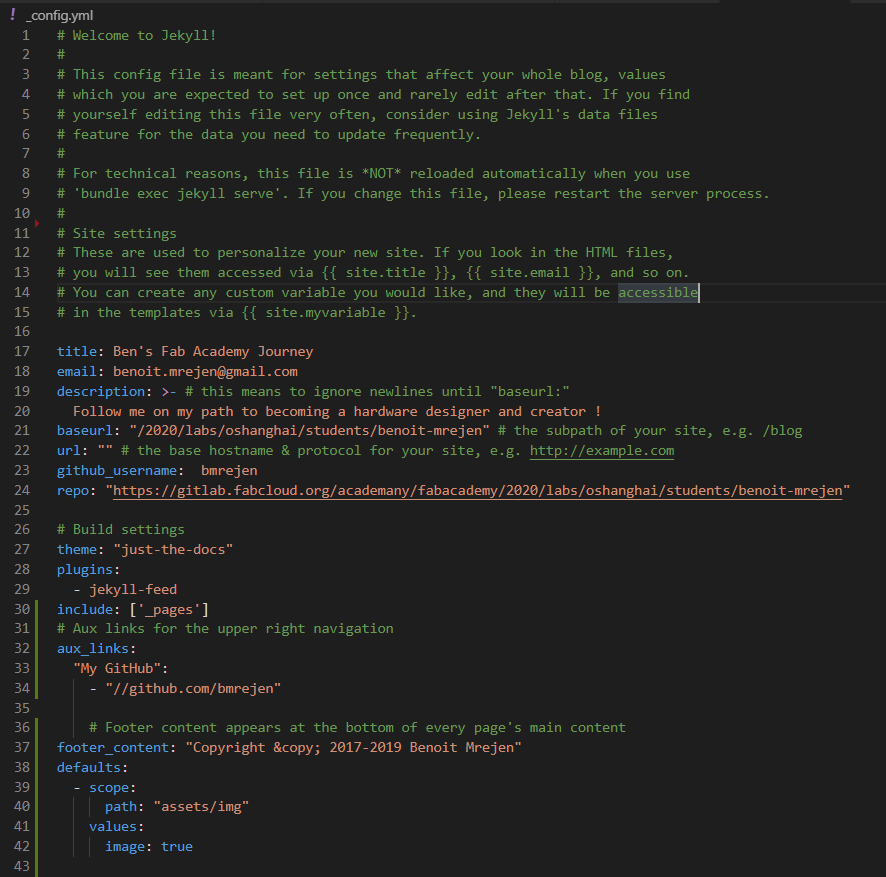
_config.ymland change the baseurl (you can see the full file at the bottom of this page)baseurl: "/2020/labs/oshanghai/students/benoit-mrejen"This is the the subpath of the site. Now, every link should be working.
It’s not very nice but it works.
-
Since we have touched the
_config.yml, we need to stop the docker (Ctrl+C) and restart it again withdocker-compose up - Let’s re-attach the second terminal so we can build our files. Type
docker exec -ti jekyll_blog bash jekyll b -
Let’s stage, commit and push
git add . && git commit -m "add baseurl" && git pushLet’s go to our website
It works!
Fixing the localhost links issue
As I said, this is pretty bad practice. You can already see the result: since the links are hardlinked to the FabAcademy website, my localhost cannot find the content or the CSS files.
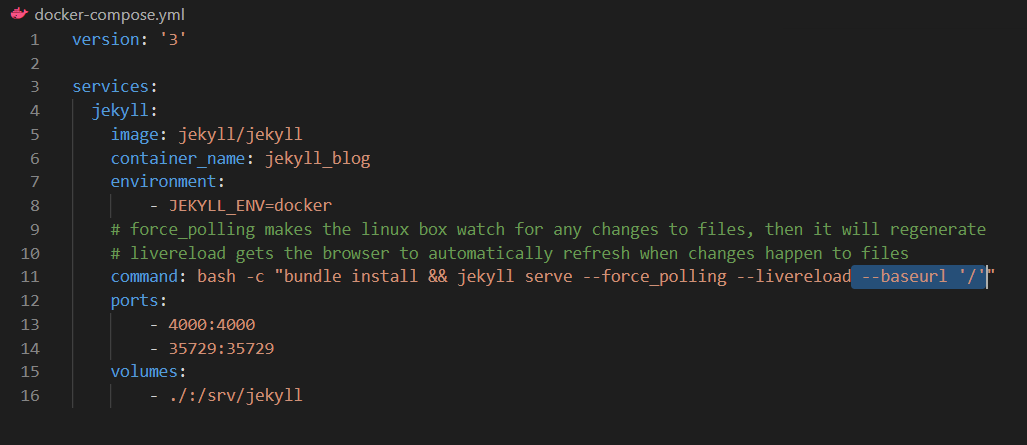
Let’s try to solve this problem. Let’s open our docker-compose.yml again and add one option
transform this line:
command: bash -c "bundle install && jekyll serve --force_polling --livereload"
into this
command: bash -c "bundle install && jekyll serve --force_polling --livereload --baseurl '/'"
Now when docker-compose runs, it well serve the files with no baseurl, and my localhost looks exactly like my live website. Solved !
Adding content
Just the Docs doesn’t work with posts but pages, so let’s create these.
-
Inside the docker let’s make a folder _pages with all our pages in it:
mkdir _pages && cd _pages touch index.markdown 01-Principles-and-practices.markdown 02-Project-management.markdown - we need to tell Jekyll to look into this folder for pages in
.config.ymlinclude: ['_pages'] - We want to put all assignment pages under an Assignment menu, so our
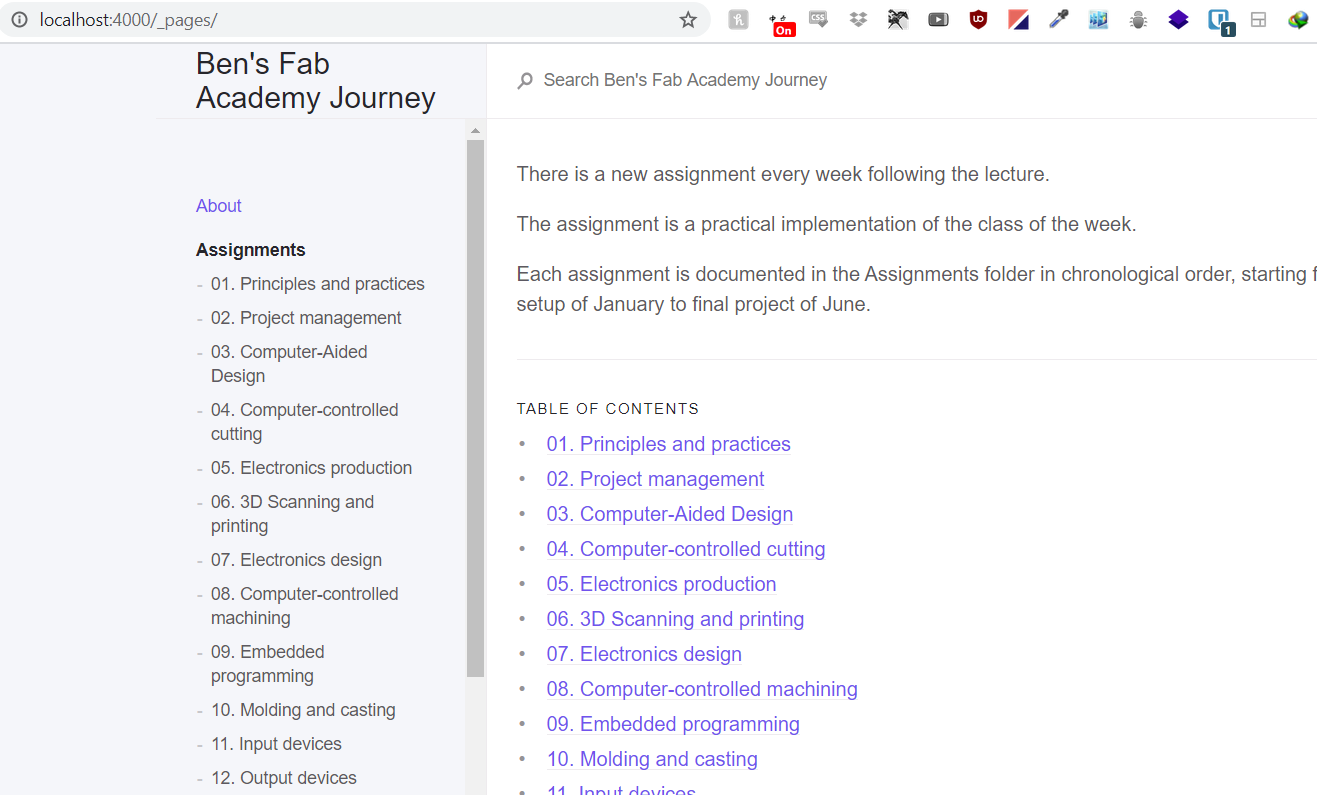
/_pages/index.markdownwill look like this--- layout: page title: Assignments nav_order: 1 has_children: true --- This is the list of assignmentsand
01-Principles.markdownwill look like this--- layout: page title: 01. Principles and practices parent: Assignments nav_order: 0 --- Today we spoke about principlesand
02-Project-management.markdownwill look like this:--- layout: page title: 02. Project management parent: Assignments nav_order: 1 --- Today we spoke about project management - Let’s add some info in
/index.markdown - Add a
favicon.icoto the root - Let’s add some personal info in the
.config.ymland restart the docker
-
It works !
We now have a working website
Now all we need to do again is to build and push:
 jekyll b
 git add . && git commit -m "final version" && git push origin master
And we’re live!
Using git
Using git is the same workflow as always:
-
Fire up the docker
docker-compose up -
Change the files that I want
-
When all is good, we will need to build the assets and files, but for this, we are going to open a new terminal and get inside the docker that we fired up in step 1
docker exec -ti jekyll_blog /bin/bash
-ti = interactive
/bin/bash can be abbreviated by bash because it is in my $PATH
-
Once inside, we can run
jekyll buildor simplyjekyll b -
Look at the result with
git statusand select the files we want to commit withgit add file1 file2 file 3or simplygit add .to stage everything for the commit -
Commit them with
git commit -m "Type commit message here" -
Push them with
git push -
Navigate to the website and see the changes
If this were a bigger project, we would create branches with git checkout -b branch_feature and merge it back to master. But this is a small project, so pushing everything to the master branch is okay.
In the future
-
Pre-push hook
It’s a bit cumbersome to manually build the files before pushing them. In the future, we can set up a pre-push Git hook to do that for us.
-
Better Git workflow
It could also be good practice to stop pushing on the master and use better versioning practices for our workflow
