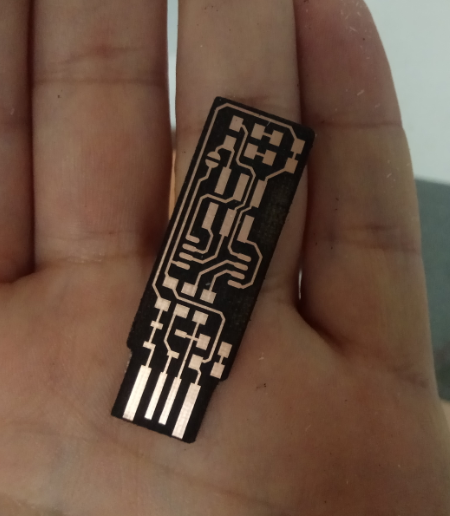
04. Cutting
Precaution rules
- Do not touch microchips with hands. Static electricity is enough to kill them
- Do not place an Arduino on metal. It’s easy to short it.
- If you use through-hole pins, try to have 4 pins together as it will make them more sturdy
- Always do multiple passes when cutting and check with a microscope to see there aren’t any hairs or shorts.
- Always use the air pump and the exhaust pump when using the laser cutter
- Always stay next to the cutter while cutting as a fire can break out easily.
Settings
We use the following settings:
| Fiber | CO2 | |
|---|---|---|
| Goal | Carve | Cut |
| Line style | Raster | Vector |
| DPI | 1200 | (none) |
| Speed | 10 | 30 |
| Power | 100 | 70 |
| Frequency | 1 | 100 |
| Focus | +4.0 | +4.0 |
| Passes | 2 | ~20 |
Carving
We stick a board of FR1 or FR4 using double-sided adhesive tape to a metallic plate. And put it inside the cutter. We caliber it (Z axis) with the appropriate tees and set the home (X and Y axis). 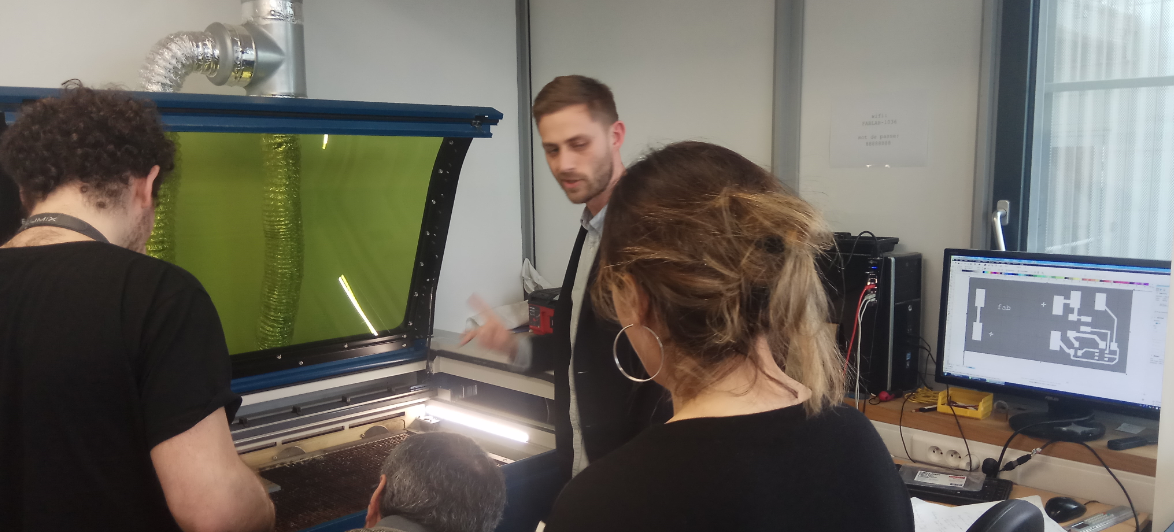
We first download and print this image for the circuit, using the Fiber cutter 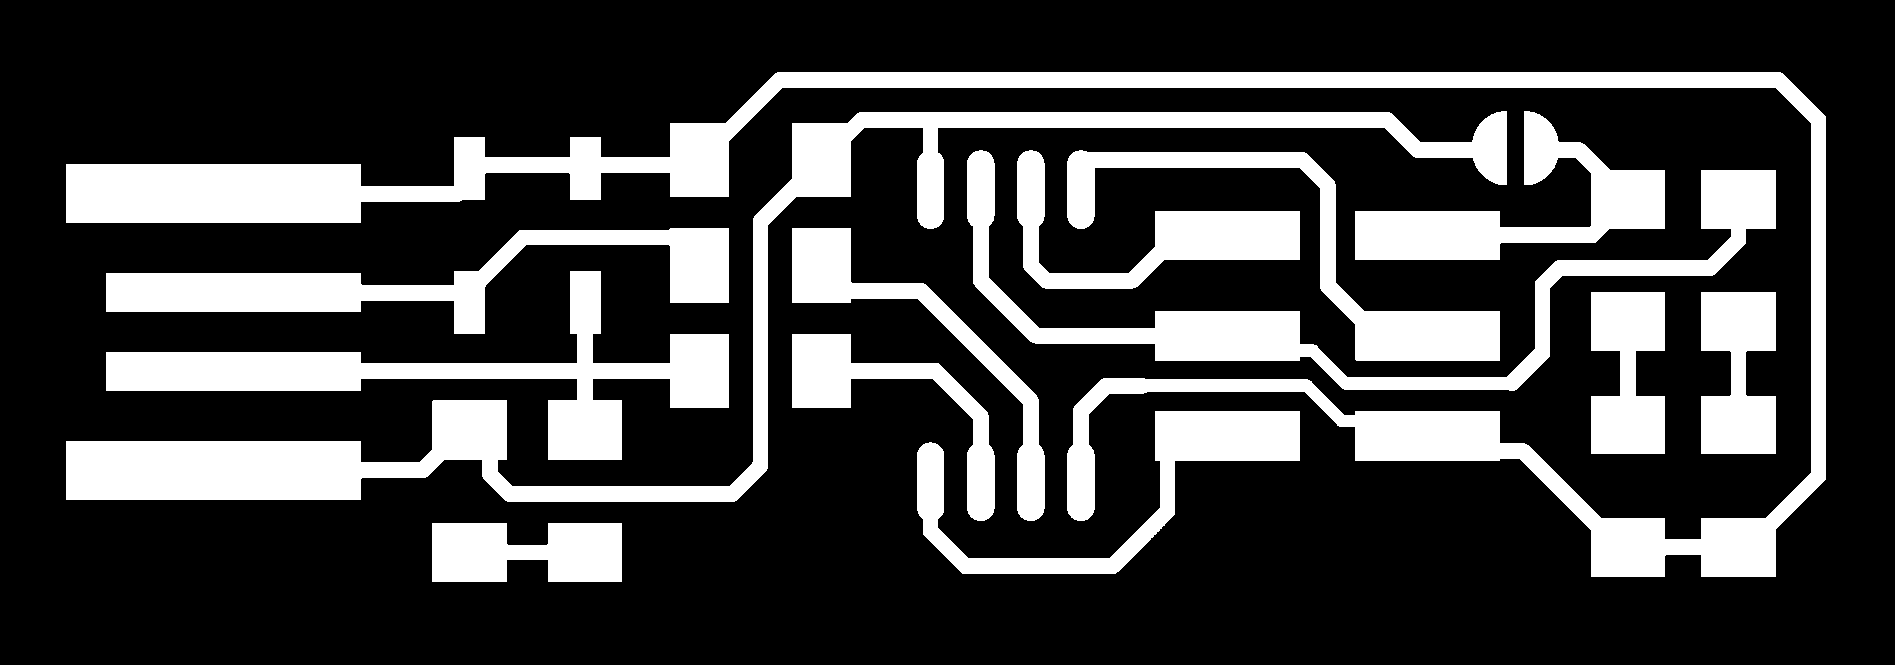
We don’t forget to set the home on the X and Y axis.
The fiber cutting should give a green light 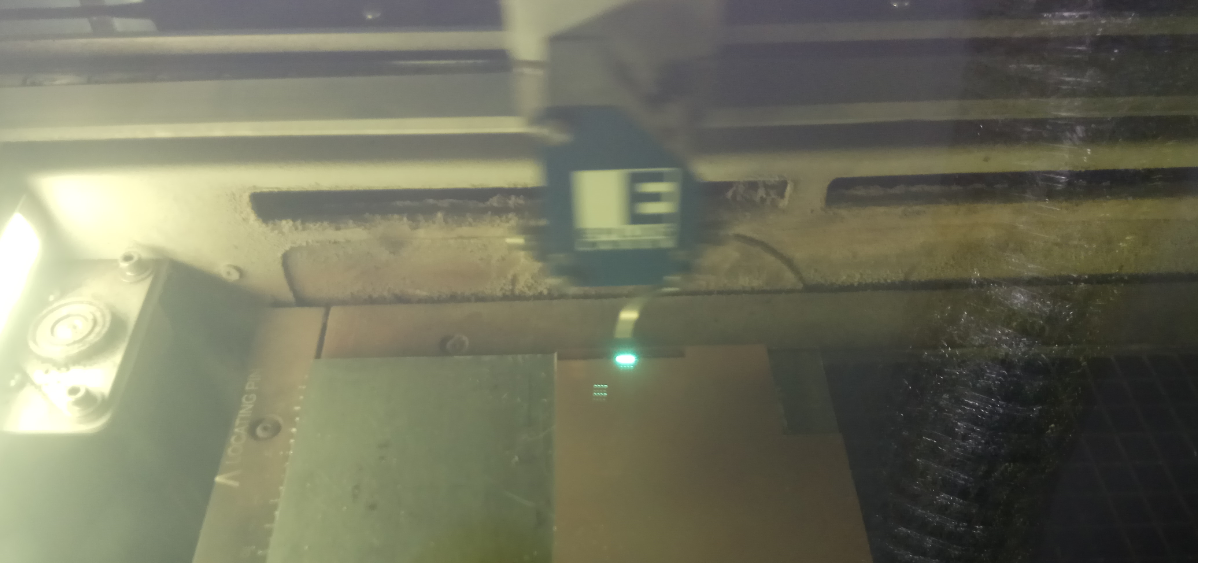
When this done, we test it for continuity 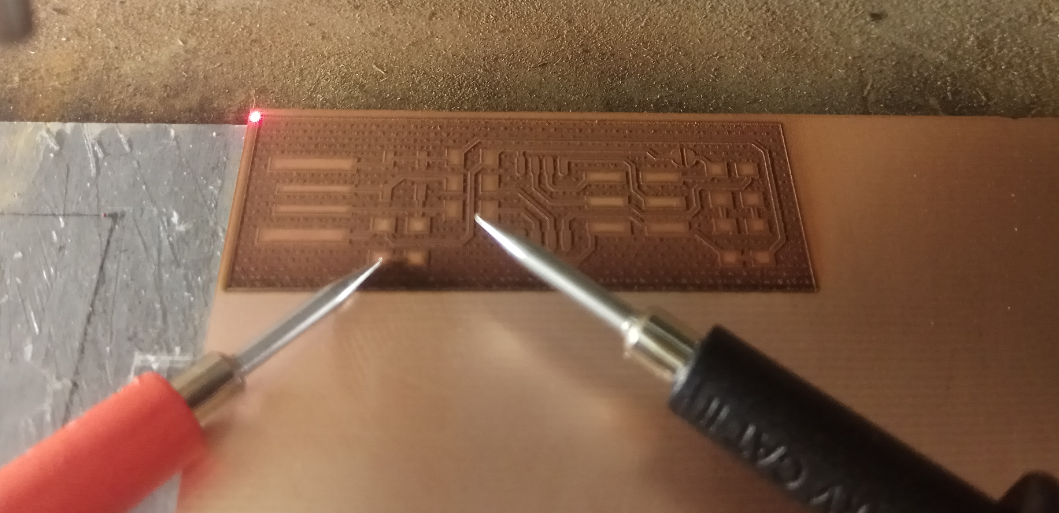
We test it for continuity with a multimeter in continuity mode 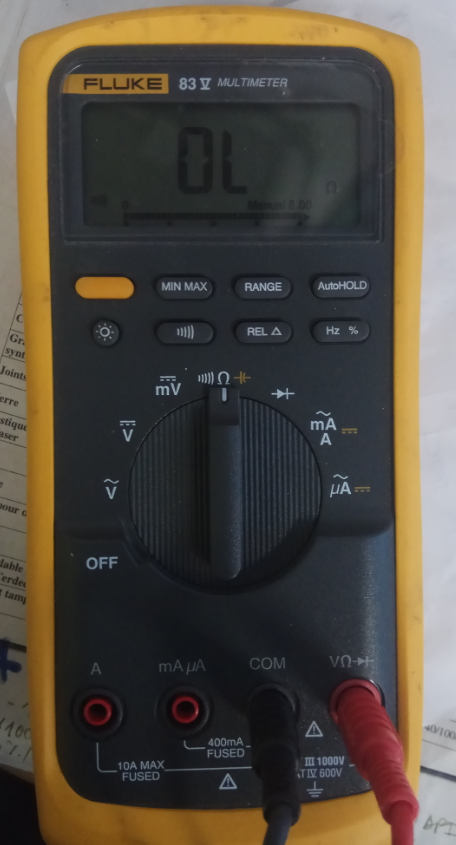
Cutting
When this is done, we leave it inside the machine and cut the edges using this image with the same home, using this time the CO2 cutter 
Since we will not be milling, this image is not good. We only need a small line at the junction of the black and white areas. We use CorelDraw to create a hairline along this border and print it.
The cutting gives a yellow light
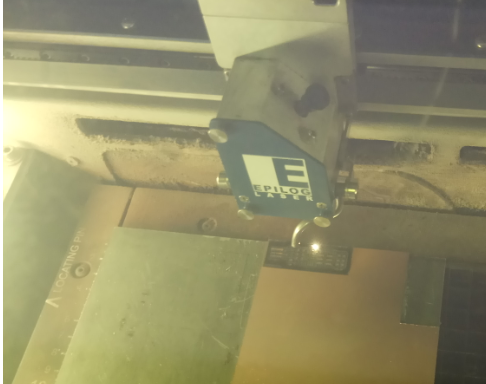
We can now take out the board, and clean it using some acetone 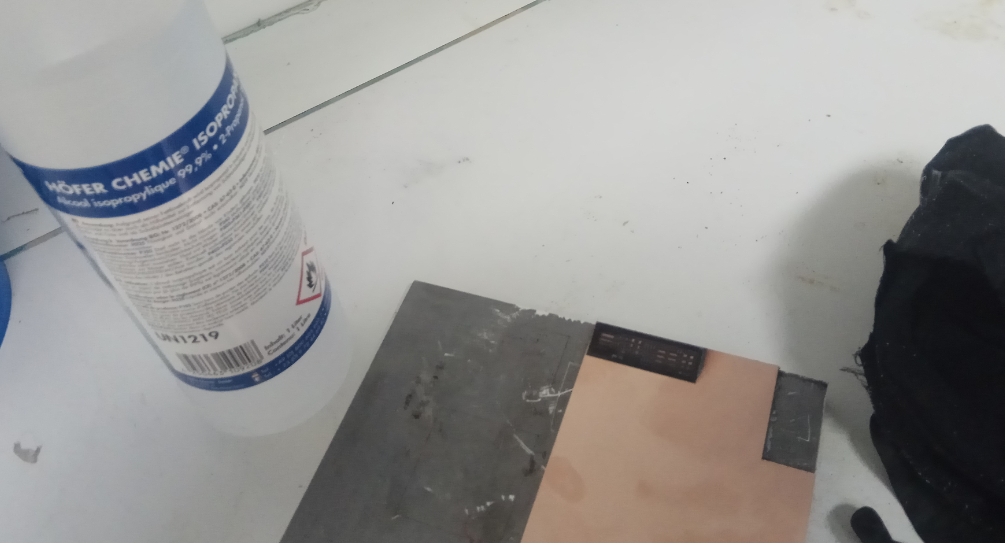
We do not forget to use a mask and a fume extractor 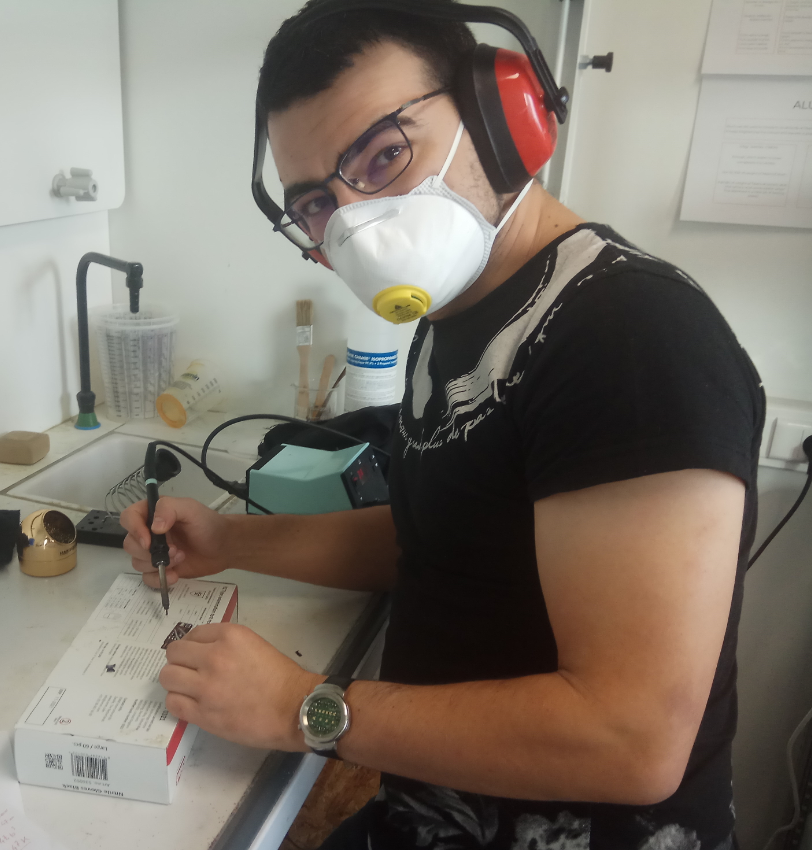
After cleaning 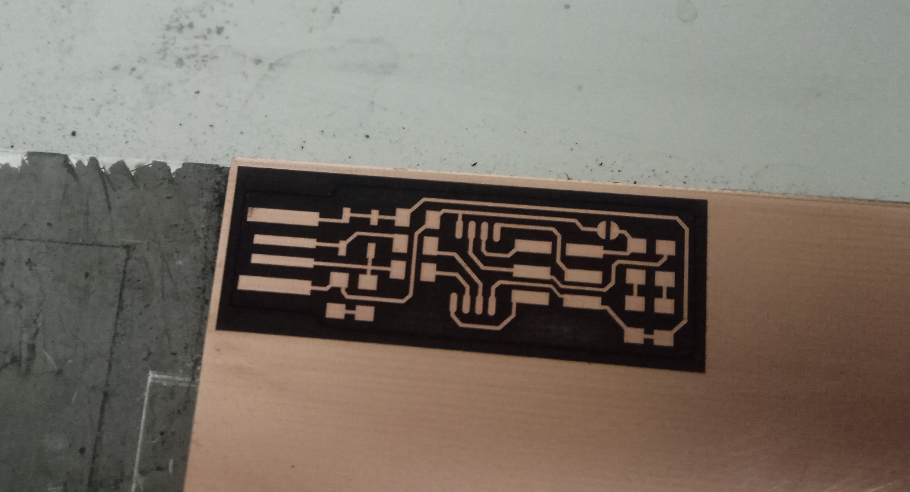
Let’s re-test it to make sure 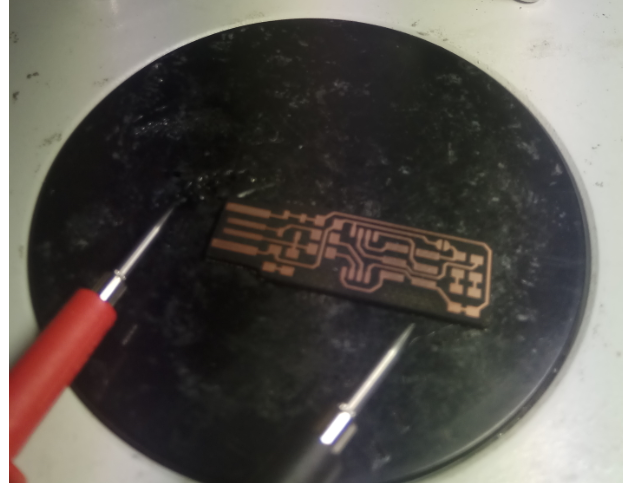
We now have a functioning board. 